Hawa Koth Shrine
Games | ||
Location | ||
Inhabitants | ||
Items | ||
Rewards | ||
| Attributes | ||
|---|---|---|
Type | ||
| Guides | ||
Walkthrough | ||
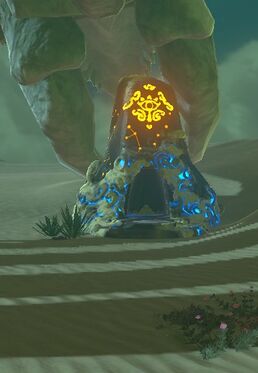
Hawa Koth Shrine, also known as The Current Solution, is one of the many Shrine of Trials from Breath of the Wild.
Requirements
Hawa Koth Shrine is one of the most difficult shrines to reach, as the region surrounding it is plagued by sandstorms that impede the function of the Sheikah Slate's map. Aside from that, aiming for the shrine without Lv. II heat resistance will produce heat damage on Link.
Whereas Link can be aimed to run southwest from outside the sandstorms, he can stumble upon a skull Bokoblin encampment nearby.
The shrine is immediately next to Great Fairy Tera's fountain, this being the fountain closest to shrine out of all Fairy Fountains in the game. However, out of those, it's the least central in the map.
The Current Solution
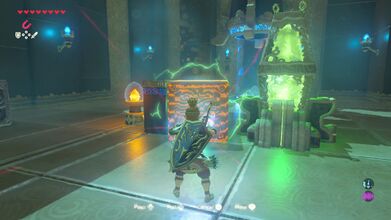
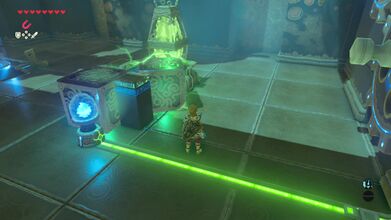
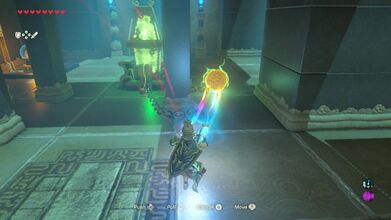
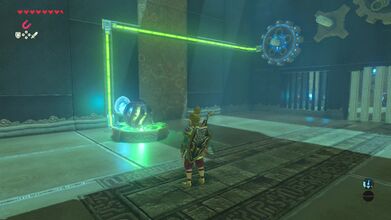
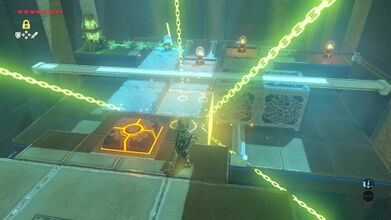
- Use Magnesis to grab the two blocks and place them in between the electric charger and the light bulb. Place one of the blocks on each side, so that electricity flows and powers the light bulb, causing the gate to open.
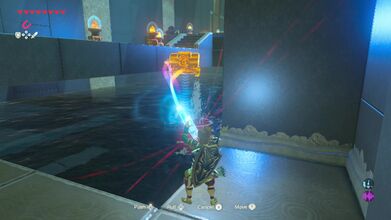
- Looking into the water on right and you'll find a treasure chest. Use Magnesis to pull it up and open it to get an Ancient Core.
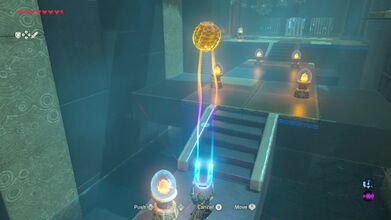
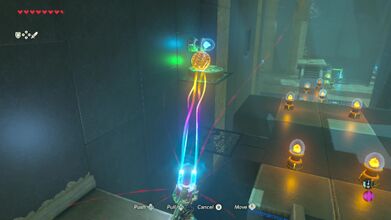
- Grab the energy ball and unwrap it around the post. Pull the orb so that it charges up the light bulb. This will activate the nearby ramp. Ride it up to the higher platform.
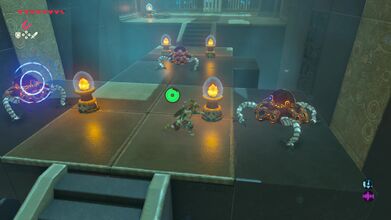
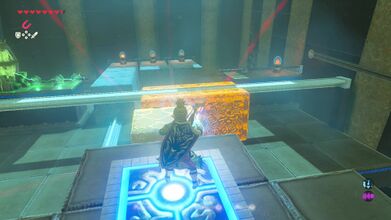
- Before dealing with the energy ball here, run up ahead and defeat the three Guardian Scout Is. Then return to the energy orb and grab it with Magnesis. Keep it in the air so that it doesn't hit any of the light bulbs. If any of the bulbs on the ground level get powered, it will twist the platform, causing Link to fall back. Walk all the way to the other side, near the closed gate.
- If Link turns around, he'll see a light bulb on the higher wall. Use Magnesis to drop the energy orb here, causing a nearby wall to open up. Run through this passage and open the chest to get a Gold Rupee. Then grab the energy orb once against and place it on the pedestal near the closed gate.
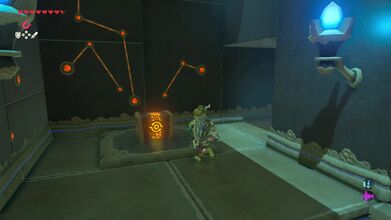
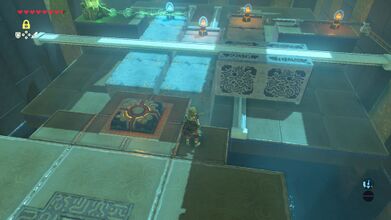
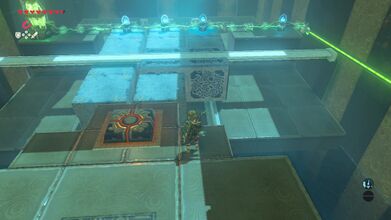
- Make your way through the passage to the right of the gate to find the next puzzle. The goal in this next puzzle is to line up all three light bulbs. First step on the switch and pull the metal block to the right side, so that it is only blocking the third column. Then step off the switch. The second column is off by one block.
- In order to line it up properly. Use Stasis on the block in the 2nd column that is closest to the floor switch. While in Stasis, step on the floor switch. Then use Magnesis to pull the metal block so it cover the 2nd and 3rd columns. This will cause electricity to flow, opening the gate in the other side of the room.
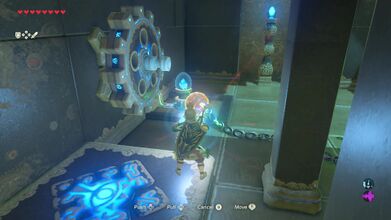
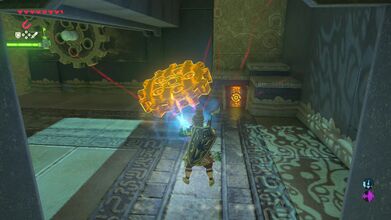
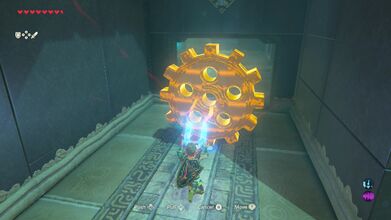
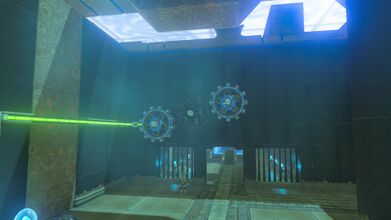
- Move the cogwheel and open the chest behind it to get a Sapphire. Then take the cogwheel back to the previous room and stick it on the wall, right above the closed gate. This will connect the three wheels, causing the gate to open. Run ahead to the altar and speak with Hawa Koth to get a Spirit Orb.
Gallery
Use Magnesis to place the block near the electric charger. Pull the treasure chest out of the water to get an Ancient Core. Run up ahead and defeat the Guardian Scout Is. Run through the passage that opens up to get a Gold Rupee. Use Stasis on the block in the 2nd column, closest to the switch. Move the cogwheel with Magnesis and open the chest for a Sapphire gem.


