- Chapter 1 – Eastern Palace
- Chapter 2 – House of Gales
- Chapter 3 – Tower of Hera
- Chapter 4 – Hyrule Castle
- Chapter 5 – Thieves’ Hideout
- Chapter 6 – Desert Palace
- Chapter 7 – Dark Palace
- Chapter 8 – Swamp Palace
- Chapter 9 – Skull Woods
- Chapter 10 – Turtle Rock
- Chapter 11 – Ice Ruins
- Chapter 12 – Lorule Castle
6.1 Sand Rod
NOTE: This chapter covers the Desert Palace. However, any of the other Lorule Dungeons can be played at this time. The only requirement is that you must have completed the Thieves’ Hideout prior to going through the Desert Palace. This is just one of the many possible orders to complete the dungeons.
After saving the sage from the Thieves’ Hideout, the Sand Rod is now available at Ravio’s shop. This item is required in order to access the Desert Palace, so be sure to pick it up. If you haven’t been back to Hyrule since visiting Lorule, then you’ll have to find an entrance. You can head to where Ravio’s Shop is in Lorule and you’ll find such a portal just south of it.
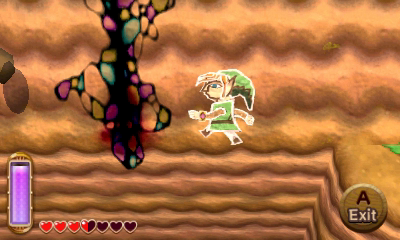
The Desert Palace is located at the southwest corner of the Overworld. While in Hyrule, walk towards the Desert, but you cannot quite reach it as it is blocked off. However there is a crack nearby where you can enter Lorule, so go ahead and do so.

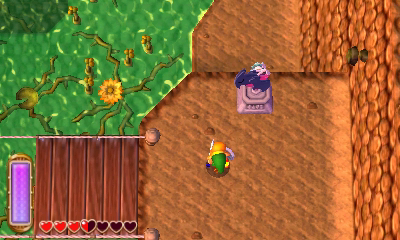
Now in Lorule, go ahead and enter the swamp at the southwest part of the overworld known as Misery Mire. Be sure to save at the nearby weather vane. Just north of the weather vane, you’ll find a crack in the wall, so go through it to get back to Hyrule.

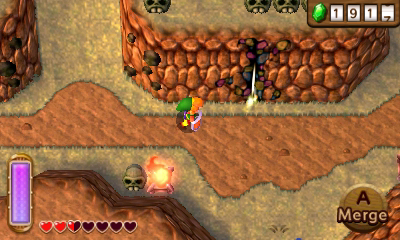
Walk to the southeast part of the desert and climb up the pair of stairs. Just to the left you’ll see a higher pillar with a red rupee. Use the Sand Rod on the desert sand below to create a pathway to walk on. Use the rod again to make your way to the platform to the left. From here, merge onto the wall and walk to the left to find another crack, leading to Lorule.

Walk across the bridge and make your way to the southwest corner of the swamp. Merge into the wall and head through the crack here to get back to the desert.

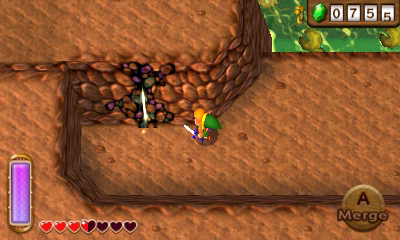
Use the Sand Rod to reach the pillar just to the north. Watch out for the enemy vulture that is flying around. Continue onward to the pillar to the north, and then to the pillar to the right. Use the Sand Rod once again to reach the wall to the north. From there, merge into the wall and walk to the west to get back to stable ground.
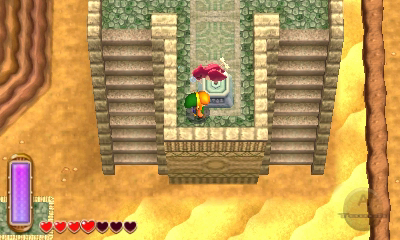
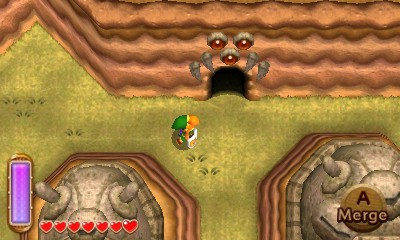
Climb the steps nearby and be sure to save at the weather vane. Use the sand rod to get across the gap to the north and finally enter the Desert Palace.

Once you acquire the Sand Rod, there are three additional Maimais for you to collect. Two of them are located in Hyrule, right near the Desert Palace. A third is located in Kakariko Village, near a small batch of sand. Consult our Maimai Locations Guide for a full listing.Optional: Sand Rod Maimais
Now that we have the Sand Rod, there is also a Heart Piece for us to collect in the Desert region. Make your way to the north end of the desert and climb the staircase that is accessible. Use the sand rod to create a pathway heading eastward to the platform. There is a bombable boulder against the north wall. Create a path of sand and toss a bomb on top of it to blowup the boulder. Pass through the Fissure along the northern wall to travel to Lorule and find the heart piece.Optional: Heart Piece #26


6.2 Desert Palace
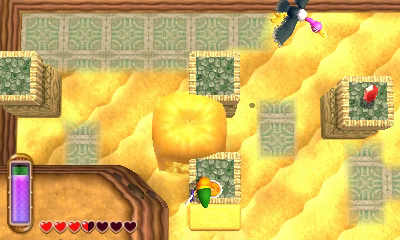
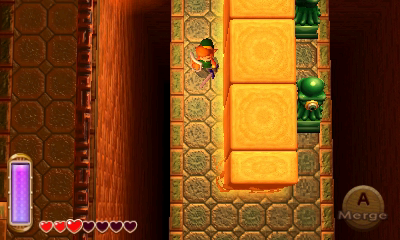
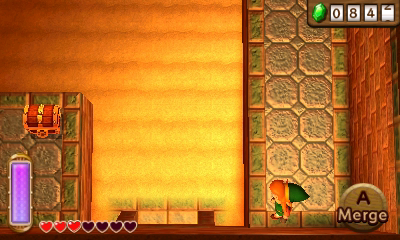
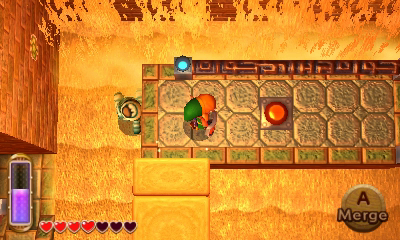
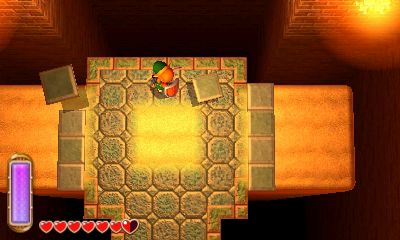
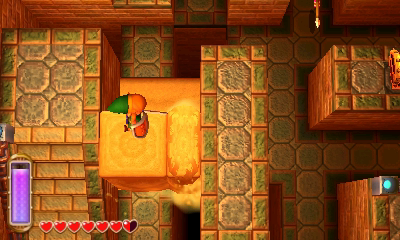
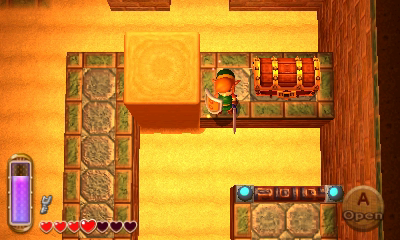
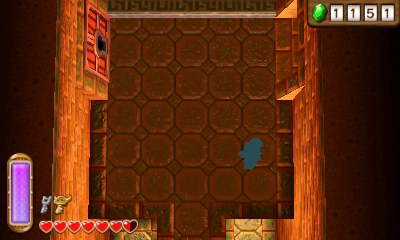
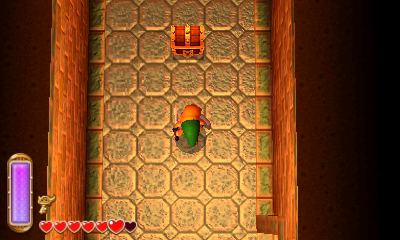
Walk straight ahead and use the Sand Rod to create a pathway heading northward. Walk across and then head to the left side of the room. Use the Sand Rod to create a pathway to the treasure chest near the center of the room. Merge against the sand wall to reach the treasure chest that holds a blue rupee. Create a sand path and then head up to the next room.
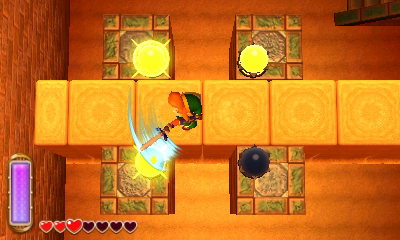
Climb up the steps on the right side of the room. Quickly run passed the Beamos and then head right a screen. Walk up to the top of the room and use the Sand Rod to create a pathway to get to the right side of the room. There are four switches in the center of the room. Use the sand rod to create a path of sand towards them and then strike them with your sword, causing the gate below to open. Run southward passed the beamos and head down a screen.
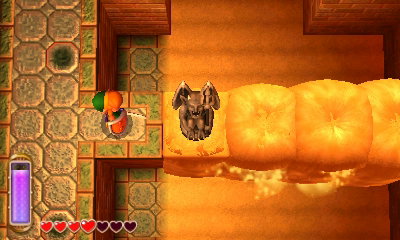
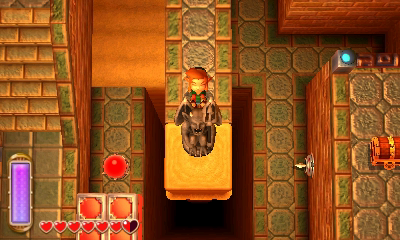
There are three gargoyle statues here and there are three floor switches on the left side of the room. First, pull the statue on the lower level to the right twice, and push it up once. Then climb the steps to reach the higher platform. Use the Sand Rod to lift the statue up and then quickly pull it. Move it so it sits on the middle switch.
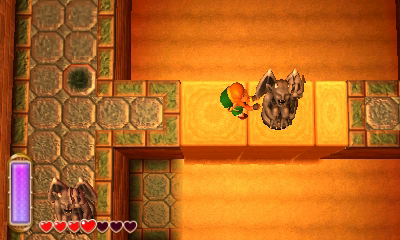
The second statue on the east end of the room can be reached by using the Sand Rod to create a pathway. Quickly pull it across the sand and place it on the floor switch. Move the third statue onto the third switch and then head left a screen.
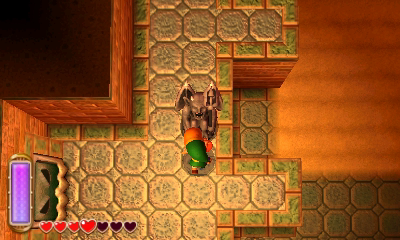
Step on the switch here to create a shortcut. Then use the Sand Rod to reach the higher ledge on the west side of the room. Watch out for the moving spikes as you head left a screen. There is a sand enemy burrowed under ground. Uses the sand rod to bring it to the surface and then slash at each piece of its body to break them off. Climb the steps and head up a screen.

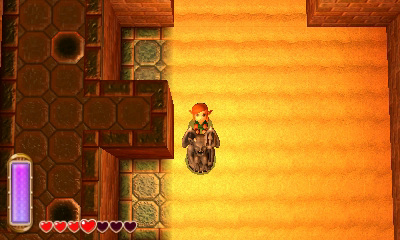
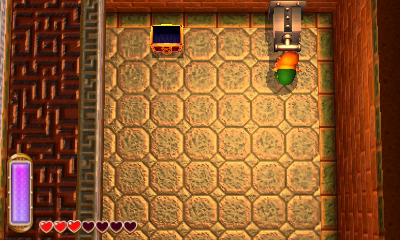
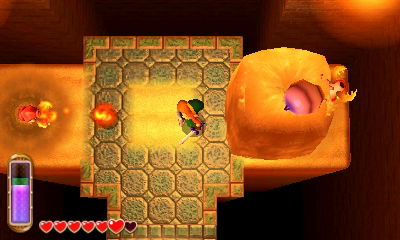
Walk to the northeast part of the room and climb the steps. Make your way to the southeast corner and merge along the way to reach the nearby treasure chest. Open it up to get a monster tail. Use the sand rod heading northward to the next platform and then head up a screen.

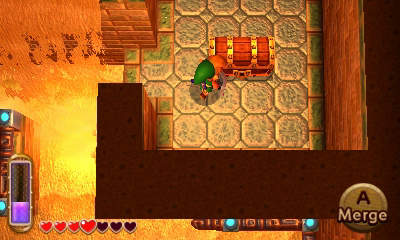
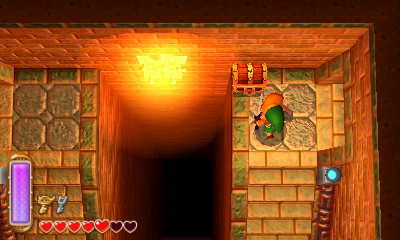
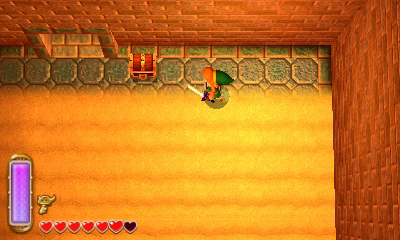
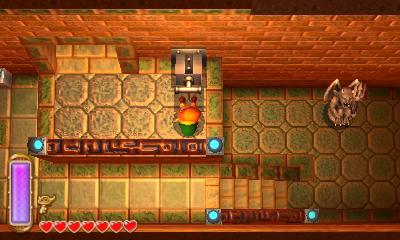
Open the treasure chest here to get the Compass and then pull the nearby lever, causing sand to flow to the previous room. Back in that room, open the treasure chest to get a small key. Use that key on the locked door and head right a screen.

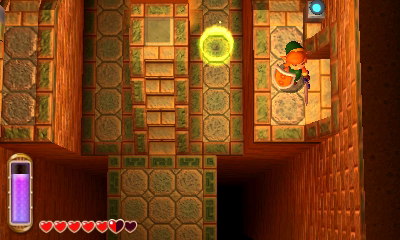
At the top of the room, pull the lever to cause sand to fill this room. Use the sand rod to reach a pillar in the center of the room and then use it again to reach the higher ledge at the north end of the room. Press the switch, causing a nearby wall to open up.

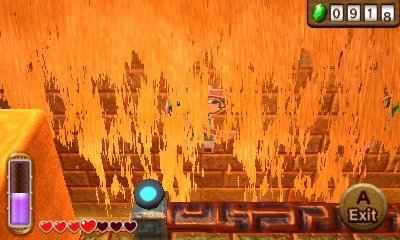
Use the sand rod to create a path of sand directly to the west. Then merge into the sand and walk along the northern wall, behind the falling sand to reach the treasure chest at the northeast corner of the room. Open it up to get the Titan’s Mitt, which gives Link the ability to lift larger boulders.
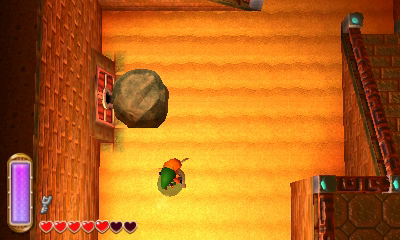
Drop off the ledge and backtrack left a screen and down a screen. Climb the stairs on the right and use the sand rod to reach the southern ledge. Lift the large rocks and open the treasure chest to get a small key. Drop down below and lift the large rock to the left. Use the small key on the door and then exit this portion of the dungeon through the door below.

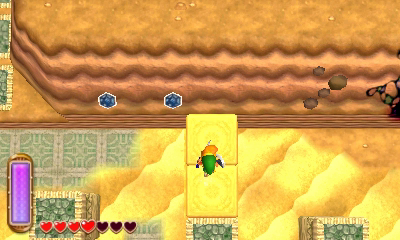
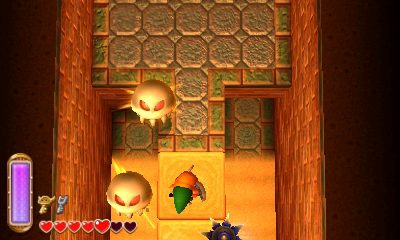
Walk to the wall at the north end of the room and then re-enter the dungeon through this entrance. A bunch of floor tiles will shoot towards you, which you can easily deflect with your shield. If you don’t have a shield, you can strike at them with your sword, or create a pillar of sand to latch onto.
After the floor tiles are done away with, a pair of new enemies will appear in the sand. Use the sand rod to bring them to the surface and then slash away with your sword. Once defeated, a green portal will appear and the bridge will extend. Walk to the north end of the room and use the sand rod to reach the stairs to the right. Continue onward to the next room.
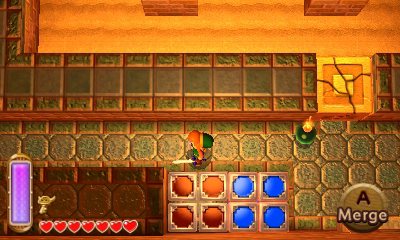
Run passed the enemies and head right a screen. Run to the southwest part of the room and stand on the red blocks. Hit the orb so the red blocks move up, along you to reach the higher ledge. Use the sand rod to reach to the platform in the center of the room.
There is a gargoyle statue just to the south. Use the sand rod to pull it higher and then pull onto the higher ledge. With the statue out of the way the wall turret will constant shoot arrows at the orb, alternating which color blocks are lowered and raised. Use the blocks at the southeast corner of the room to get a small key. Then use the blocks at the northeast corner to reach the higher ledge and then head up a screen.


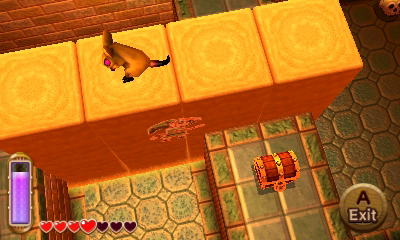
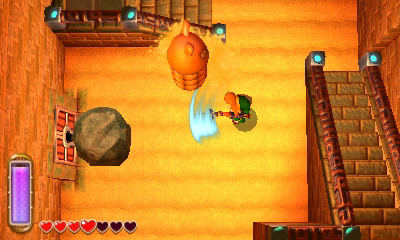
Lift the rock that is on the ground and you’ll find a half buried treasure. Use the sand rod to bring it up to the surface and open it to get a silver rupee. You cannot really see it along the wall, but if you look at the map, there is a doorway heading southward. Go through and lift the rock. Bring up the treasure chest and open it to get a silver rupee. Return to the previous room.


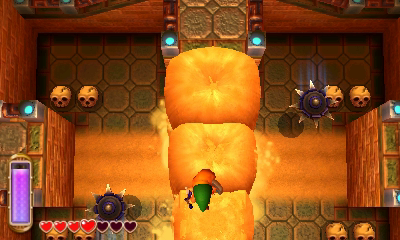
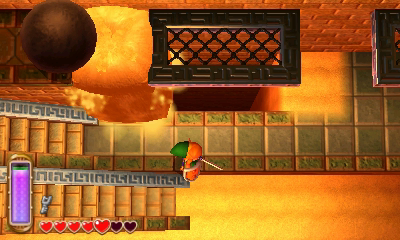
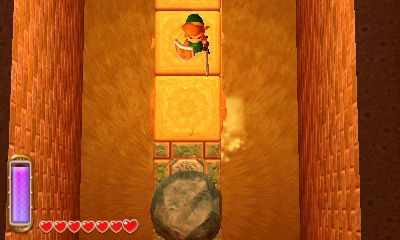
Walk to the west end of the room and you’ll see a pair of large bowling balls rolling. There is a gap between the grates, causing the bottom ball to fall down. Use the sand rod to create a sand wall, allowing the bowling ball to pass, crashing right into the nearby grate. Climb the steps and then use the sand rod to get the upper bowling bowl to run into the other grate. Alternatively, you can just use bombs to blow up these grates.


Lift the rock that is along the northern wall. There is a bowling ball that rolls along the northern wall, as well as a series of small sand pits. You’ll have use the sand rod a number of times, creating a pathway for the bowling to roll all the way to the northeast corner of the room. This will cause the ball to roll into a grate, breaking it, and causing sand to flow to the room to the south. Climb the steps at the southeast corner and head back down a screen.

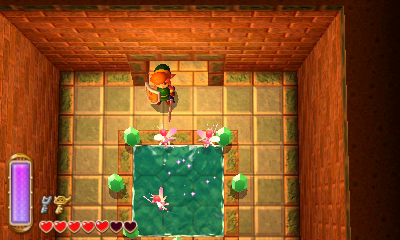
Now that there is sand in the room, you can use the sand wand to make your way to the treasure chest on the right side of the room. Open it up to get the Big Key. At the south end of the room, you can access a fairy fountain, so be sure to capture some fairies.
From the room with the big chest, backtrack left two screens to get to this part of the dungeons entrance. Walk along the wall to get to the left side of the room and continue left one screen. Drop down and walk to the north end of the room. Defeat the gargoyle statue on the right and then walk under the higher platform to reach the north end of the room. Lift the rock and bring up the treasure chest to get a silver rupee.

Return to the southern edge of the room and stand at the center of the higher ledge. Use the sand rod facing northward, creating a long pathway. Carefully run across, avoiding the enemies along the way and then head through the door on the right.

There is a beamos statue here, but if you use the sand rod, you can lift him up, and then merge onto the sand wall, making it easier to avoid the enemy. Open the treasure to get a silver rupee and then backtrack to the left a screen. Use the small key and head through the locked door.

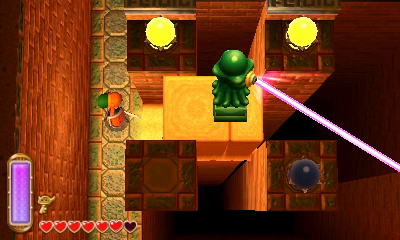
There is a beamos statue at the south end of this room. Use the sand rod to raise the beamos statue higher and its beams will shoot the three orbs that are on the higher pillars, opening the nearby door. Walk down a screen and defeat the enemies that appear. Open the treasure chest to get a small key and then return to the previous room.
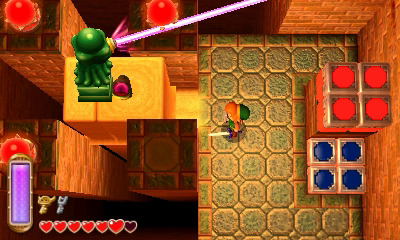
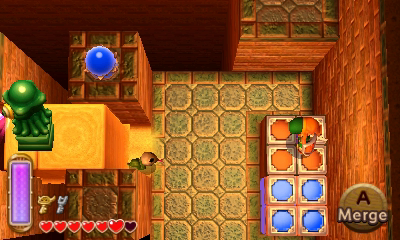
At the north end of the room there is another beamos statue and three more orbs. These orbs control the colored blocks on the right. Each time an orb is hit, Link can progress along the blocks. Once he is at the highest point, merge into the wall to reach the northeast corner. Use the small key and head through the locked door.
There is a hidden door beneath the sand fall on the left side of the room. Sneak through the door and open the treasure chest to get a silver rupee. Return to the previous room and head down a screen.

Walk down another screen and you’ll find a series of gargoyles in the center of the room. Standing on the higher ledge from the left, use the sand rod to create a pathway to the right. Defeat the gargoyles as they awaken to reach the ledge on the right. If you fall down you’ll just have to return to the previous room to get back up. Open the treasure chest on the right to get a small key and then head up a screen. Use the small key on the locked and continue onward to the next room.


Use the bombite to blowup the nearby crate. There are a number of crates on higher pillars. You must defeat a bombite near these pillars, and then use the sand rod to lift the bomb to blowup the crate. Once all the crates have been blown up, the wall turret will be shooting arrows at the orbs to the left, causing the colored blocks to raise and lower. Use the blocks to reach the higher ledge and head back down a screen.
Pull the nearby lever, causing sand to fill into this room. Walk over to the right side of the room and use the big key to open the locked door. Stand in the center of the room and create a pathway southward with the sand rod. Lift the large rock and continue southward, exiting the dungeon. Once you are ready, walk through the crack in the wall to take on the dungeon boss, Zaganaga.
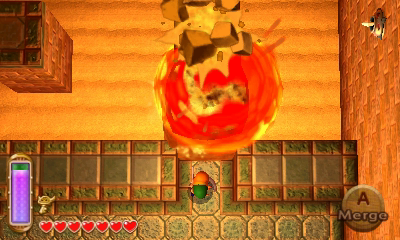
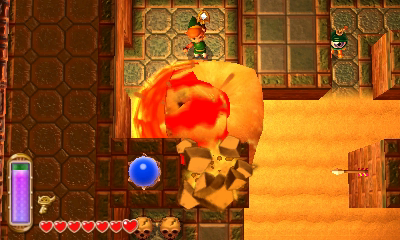
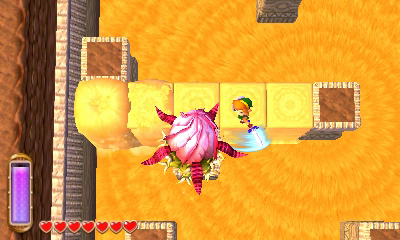
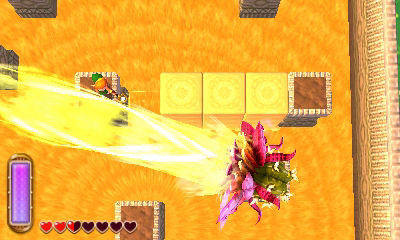
The boss will appear on one of the pillars in the area. Use the sand rod to create a pathway to the boss and then slash away with your sword. The boss will unleash some small minions that can be quite annoying, so be sure to slash away at them. After awhile, the boss will start to shoot out a beam of sand towards you, and in this instance it is best to run away by creating paths of sand. Repeatedly strike at the boss until he has been defeated.

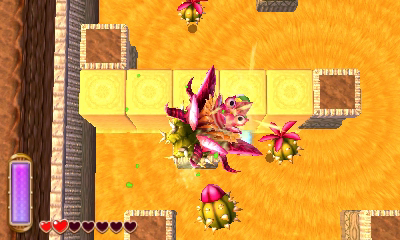
Be sure to grab the Heart Container that appears and then touch the painting to save the sage.


- Chapter 1 – Eastern Palace
- Chapter 2 – House of Gales
- Chapter 3 – Tower of Hera
- Chapter 4 – Hyrule Castle
- Chapter 5 – Thieves’ Hideout
- Chapter 6 – Desert Palace
- Chapter 7 – Dark Palace
- Chapter 8 – Swamp Palace
- Chapter 9 – Skull Woods
- Chapter 10 – Turtle Rock
- Chapter 11 – Ice Ruins
- Chapter 12 – Lorule Castle
