- Chapter 1 – The Beginning
- Chapter 2 – The Forest Realm
- Chapter 3 – Tower of Spirits 2
- Chapter 4 – The Snow Realm
- Chapter 5 – Tower of Spirits 3
- Chapter 6 – The Ocean Realm
- Chapter 7 – Tower of Spirits 4
- Chapter 8 – The Fire Realm
- Chapter 9 – Tower of Spirits 5
- Chapter 10 – The Sand Realm
- Chapter 11 – Tower of Spirits 6
- Chapter 12 – The Dark Realm
3.1 Castle Town Goodies
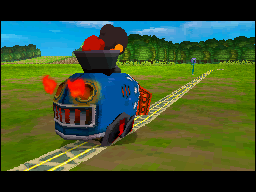
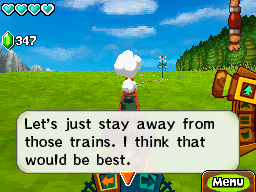
With the Forest Temple now behind us our next primary destination is the Tower of Spirits. There are few optional goodies we can find in Castle Town, so trace a path to Castle Town if you’d like; otherwise head to the Tower of Spirits. Once you arrive in the eastern portion of the map however, what used to be friendly trains have turned into fearsome Dark Trains! They move much quicker and their only goal is to hit and destroy Link’s train, so be careful!
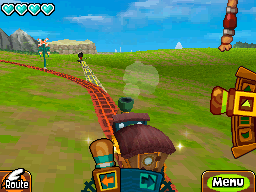
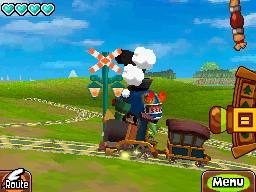
You may need to alter your path due to these dark trains. It’s a good idea to keep an eye out on the map above and specifically the direction arrows where the tracks split. This gives away which way the dark trains will be turning next, so you can plan ahead your particular route to avoid them.
All remaining content in this section is optional. If you are not interested, skip down to next section.
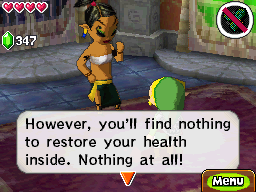
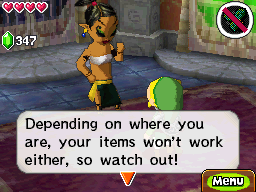
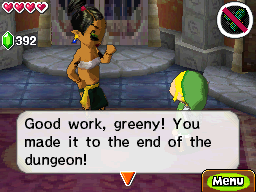
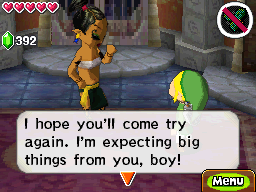
Since we’ve beaten the Forest Temple, the first phase of the Take ‘Em All On’ game is now open. This is located in the building at the south-east part of town. It is 50 rupees to play and the goal is to kill all the enemies that you can, without dying. However, throughout the entire game, there are no recovery hearts, so the only way to restore your health is by use of potions. You can purchase potions at the local shop in Castle Town if you need them. All of the enemies are ones we have fought before except for one, an Octorok. These are common enemies to the Zelda series but these will be the first ones we’ve encountered in Spirit Tracks. They are quite simple to defeat, just two sword slashes or one jump attack. Watch out for the rocks they shoot out of their mouth. Room 7 can be tough with two Mothulas, but Room 9 is definitely the biggest challenge here. At Room 10 you fight Stagnox once again. The battle is the exact same as before; the only difference is that you won’t get any recovery hearts from around the room. Makes it more of a challenge, especially after already going through nine rooms! Mini-Game: Take ‘Em All On! (Green Door) Room 1 – Six Yellow Spinuts After defeating Stagnox, walk through the blue warp portal and you’ll return to the entrance room. If you are able to get through the whole thing in a reasonable time, your prize is…a full Heart Container! You can play the game over again if you’d like and your reward will be a treasure piece if you make it through.Optional: Take 'Em All On!

Required: Forest Temple Completed
Cost: 50 Rupees
Prizes: Heart Container 


Room 2 – Seven Octoroks
Room 3 – Five Rats, Four Bubbles
Room 4 – Six Red Chuchus
Room 5 – Six Blastworms
Room 6 – Six Keese
Room 7 – Two Mothulas
Room 8 – Three Yellow Spinuts, Three Octoroks
Room 9 – Four Yellow Spinuts, Four Octoroks, Four Red Chuchus
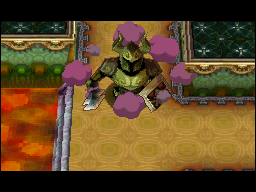
Room 10 – Stagnox, Armored Colossus 


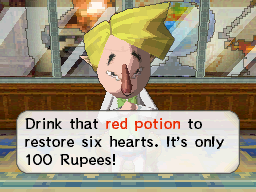
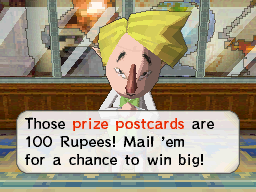
It’s a good idea to head on over to the Castle Town shop as well, located on the right side, just before you enter the Castle courtyard. You should have nearly 300 rupees by now. Purchasing the Prize Postcards for 100 rupees is something you may want to get as well. Lastly, it’s always handy to have a red potion with you, and they cost 100 rupees. Leave the shop. Before leaving town, you can run on over to the mailbox and send out the 10 prize postcards that you just purchased. They might come in handy later on! Run back over to the train and jump on board.Optional: Prize Postcards

3.2 Tower of Spirits, Part 2
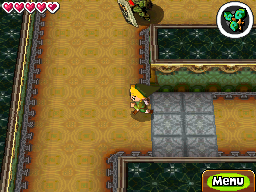
Ride your train over to the Tower of Spirits if you are not already there. Once you arrive walk up the stairs like before, but this time Princess Zelda notices that there is now another staircase available that will lead higher up. Walk all the way up to this higher area and enter the 4th floor of the Tower of Spirits.
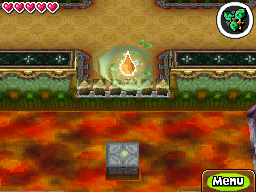
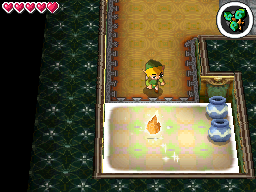
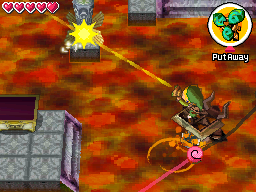
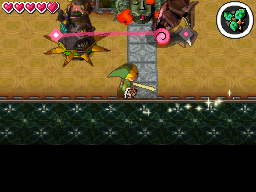
Immediately upon entering you’ll see two phantoms as well as the locations of the three Tears of Light. The first one you see is hovering over an area of lava. Stand at the area just south of it, pull out the whirlwind and send a gust towards the tear. This will blow the tear to the north side of the room. Maneuver around the Phantom, utilizing the purple safe zones if you need to, and collect the first Tear of Light!
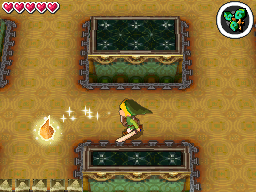
The second Tear of Light is found in the top right corner and is a little easier to get to. Simply follow the path, watching out for the gaze of the phantoms, which can see you from pretty far away. Wait for the fire statues to stop blowing fire and get the Tear of Light in the Safe Zone.
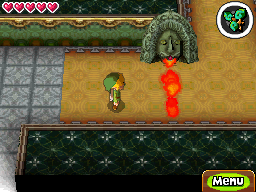
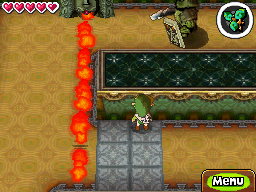
The third tear is located on the left side of the map. There’s a phantom patrolling the top path, so take the lower one. However, there’s a line of fire on this left side that does not go away! You’ll notice, however, that the phantom will continually walk through the fire. You will need to wait for the enemy phantom to be stand in front of the fire along the top path, which will allow Link to quickly run past and collect the final Tear of Light!
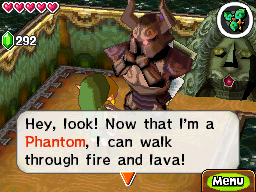
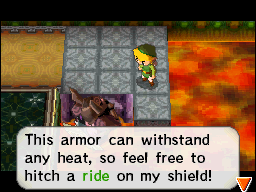
Wait for a good opportunity to sneak behind one of the two phantoms and stab it in the back. If you’re on the left side of the map, just wait in the safe zone and attack the phantom as it’s heading back along the top path, just before re-entering the flames. If it’s the bottom phantom near the lava, just hang around in one of the safe zones and follow behind it. Once you’ve snuck up behind one of them, nail it in the back with your sword. Tap on it once again and Princess Zelda will be able to take control of it. Yayz! The princess will quickly comment that she can withstand incredible heat as a phantom. Hint-hint…
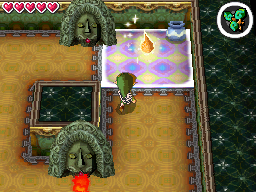
Before progressing, you’ll see there is a treasure chest just to the right of where you got the first Tear of Light. Open up that treasure chest to get a random piece of treasure.
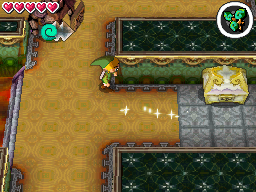
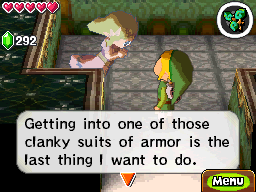
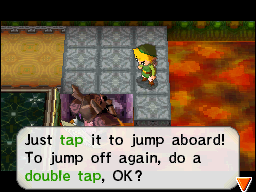
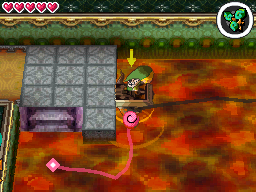
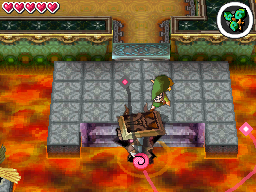
Just south of that treasure chest you’ll notice a large area of lava, and if Link tries to run across he will burn himself. However, the metal body of the phantom can walk through the lava unharmed. Send the phantom into the lava but keep the phantom close to the ledge. Now Link can jump and land on top of the phantom. From here, control the phantom and carry Link over to the right side and back onto the surface. Tap the ground and Link will jump off the phantom. Run around the corner and head up the stairs to get to the 5th floor.
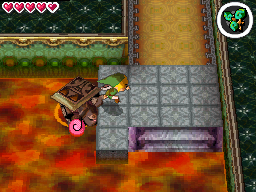
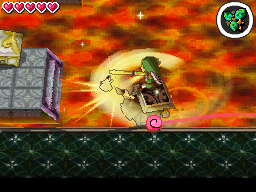
Run around the corner and you’ll find more lava. Send the phantom into the lava and then jump on top of the phantom once more. Walk across the lava to the left side and you’ll see a treasure chest. Jump off the phantom and open the chest to get 100 more rupees! Now jump back on top of the phantom. You’ll notice that there are two keese flying around this area. Not a problem! While Link is on top of the phantom, he can still perform a slash attack with his sword and defeat some of the keese. Link can also use his whirlwind to get rid of those pesky keese.


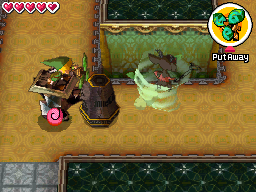
Just north of the treasure chest you’ll see a small rotating totem. Use the whirlwind to send a gust, which will cause it to start spinning. There is another one of these totems to the northeast and you can see them by the small dot that is on your map. Walk on over and use the whirlwind once again. Once both of these twirly thingies are spinning, the door will open up.

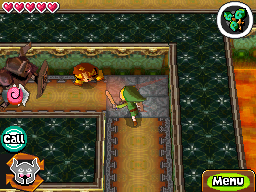
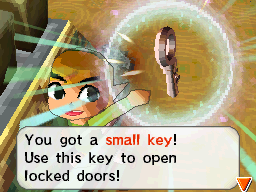
Walk up the stairs and continue to your left. You’ll notice that an enemy is on the bottom left part of the map. It’s nothing more than a yellow spinut, except this one is a bit different. This fellow will run away when Link tries chasing after him. However, since we have both the phantom and Link, we can double team this sucker. Trace a line for the phantom so that when Link attacks the yellow spinut it will run towards the phantom and thus get cornered. Once you’ve got it cornered, slash away with your sword and it will drop a small key! Pick up the small key and use it on the door above.


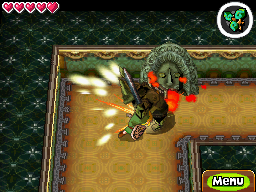
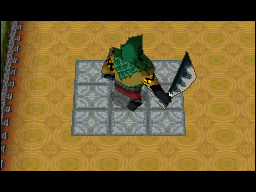
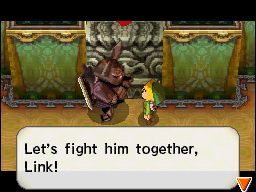
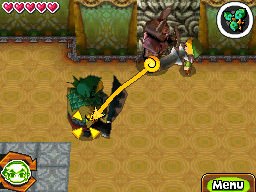
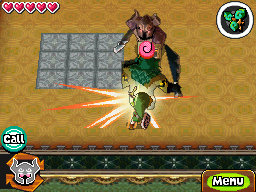
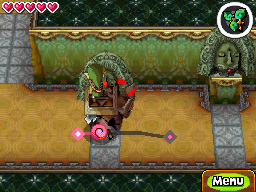
Once you surface at the 6th floor the door behind you will close and a massive Geozard will appear. Princess Zelda suggests that the two of you work together to defeat this baby. Well, we’ll do just that! Move the phantom and then target the geozard. While the phantom is hitting the geozard from the front, sneak around to the back and deliver several sword strikes of your own. There isn’t much to this; just keep repeating. It can be quite annoying at times to repeatedly switch back and forth between Link and the phantom in such a short period of time, but you’ll eventually get the hang of it.
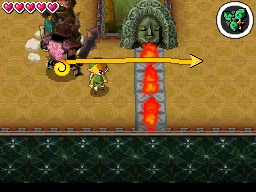
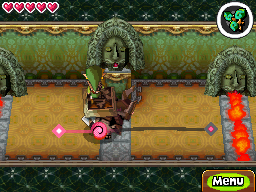
Walk around the corners to get to the southwest portion of the map where you will find a Miniblin sitting on top of a moving statue that somewhat resembles an Armos from Phantom Hourglass. Unfortunately, the miniblin is too high for Link to be able to target him. There is a flame at the bottom of the room that is blocking the path. Move the phantom so that it stops the flame and then run past with Link.


Just to the north there is a small staircase that leads to a higher platform. Set the phantom on the lower platform and then jump on top of the phantom. Now with Link on top of the phantom you can take down that annoying miniblin by getting close and using the sword, or using the whirlwind and jumping down and attacking it. There are two more miniblins on top of statues in the square corridor just to the right, so defeat those guys as well if you like (it’s totally optional).

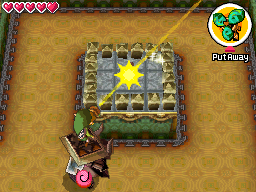
Remain on top of the phantom and walk to the south end of the room. There are three consecutive flames that block the path, but the second one is actually higher up. Walk right past the first one, and then time your movement so you don’t get burned by moving past the second flame. Walk right past the third flame and you’ll notice that there is a small key on a higher platform here. Use the whirlwind to knock the key down to the lower floor. Jump off the phantom and collect the small key.

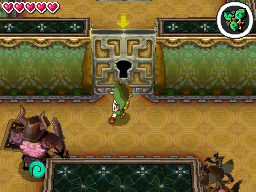
Use the phantom to block the fire for the two lower sets of flames. Run on over to the locked door (ignoring the miniblins), use the small key, and head up to the 7th floor.
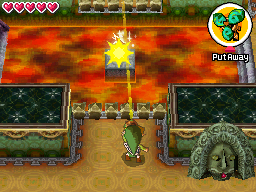
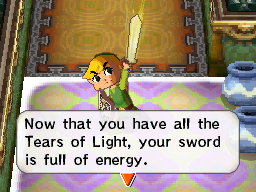
Once you arrive, Princess Zelda will leave the phantom suit and Link’s sword will lose its power, signifying that we are at the end of this section of the Tower of Spirits. Climb up the steps and collect the Snow Rail Map! This will restore some of the Spirit Tracks to the northwest! Afterwards step into the blue portal that is created to warp back to the entrance of the Tower of Spirits.


Speak with Anjean, who will tell you to explore the Snow Realm in order to restore more tracks. Jump back on the train and let’s take a ride into the Snow Realm! That concludes Chapter 3 of this walkthrough.


- Chapter 1 – The Beginning
- Chapter 2 – The Forest Realm
- Chapter 3 – Tower of Spirits 2
- Chapter 4 – The Snow Realm
- Chapter 5 – Tower of Spirits 3
- Chapter 6 – The Ocean Realm
- Chapter 7 – Tower of Spirits 4
- Chapter 8 – The Fire Realm
- Chapter 9 – Tower of Spirits 5
- Chapter 10 – The Sand Realm
- Chapter 11 – Tower of Spirits 6
- Chapter 12 – The Dark Realm
