- Chapter 1 – Eastern Palace
- Chapter 2 – House of Gales
- Chapter 3 – Tower of Hera
- Chapter 4 – Hyrule Castle
- Chapter 5 – Thieves’ Hideout
- Chapter 6 – Desert Palace
- Chapter 7 – Dark Palace
- Chapter 8 – Swamp Palace
- Chapter 9 – Skull Woods
- Chapter 10 – Turtle Rock
- Chapter 11 – Ice Ruins
- Chapter 12 – Lorule Castle
7.1 Overworld Roundup
NOTE: This chapter covers the Dark Palace. However, almost any of the other Lorule Dungeons can be played at this time. This is just one of the many possible orders to complete the dungeons.
NOTE: Section 7.1 can only be completed after acquiring the Titan’s Mitt from the Desert Palace, which is covered in Chapter 6. If you don’t have it, just skip ahead to section 7.2.
Once you acquire the Titan’s Mitt, every single Maimai in the Overworld can be acquired. This includes the 13 Maimais that all require the Titan’s Mitt. Consult our Maimai Locations Guide for a full listing of all 100 of them.Optional: Titan's Mitt Maimais
Once you have found all 100 of the Maimais, return to Mother Maimai, located just southeast of Ravio’s Shop. In return for saving all of her babies, she will upgrade your spin attack to the great spin attack, making it double its original size.Optional: Great Spin Attack
In Hyrule, lift the large rock that is in front of the Blacksmith’s House. Enter the cave to find the Piece of Heart.Optional: Heart Piece #27


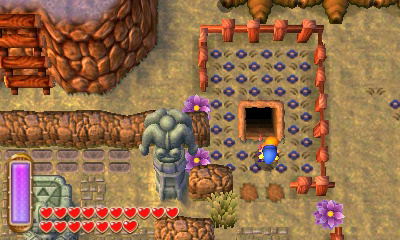
Once you have the Titan’s Mitt, you can acquire another Master Ore piece. Make your way to the Sanctuary in Hyrule and use the Fissure that is inside to make your way to Lorule. Exit the building and make your way to the Graveyard just to the east. At the northeast corner of the Graveyard, lift the large rock to find a secret path. Inside you can smash the pots on the left to find a floor switch, opening the closed door above. Make your way to the northwest part of the room and climb the steps. Walk along the path to the right until you reach a treasure chest. Merge along the wall to the east and walk on over to the small key. Use the small key on the locked door to the northwest. Defeat the three red Eyegores that appear and then head up to the next room. Pull the switch on the right and then head up the staircase. Merge along the wall to the right to reach the large treasure chest and open it to get the Master Ore.Optional: Master Ore #2
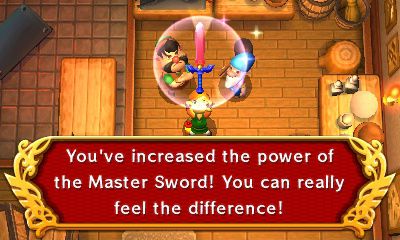
If you’d been following the guide, you have now acquired two Master Ore pieces, one from the Thieves’ Hideout and another from the Lorule Graveyard. If you missed either, be sure to consult our Master Ore Locations Guide. With two pieces of the Master Ore, return to the Blacksmith in Hyrule and show him both pieces. The Craftsman will temper your sword, upgrading it to the Master Sword Lv2.Optional: Master Sword Lv2

7.2 Stealth Maze
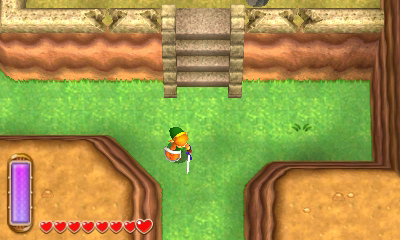
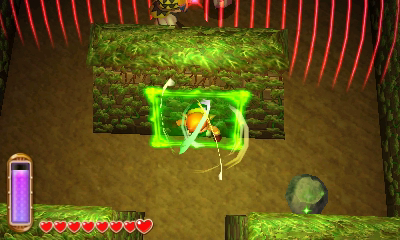
Our next destination is over at the east end of the overworld. To tackle the Dark Palace, you will need to have acquired the Bombs from Ravio’s Shop, so be sure to rent or purchase them. Back in Hyrule, swing the bell and warp over to the Eastern Palace. Walk to the southeast corner of this area and head down a screen. On the west side of this area, blow up the boulder to reveal a crack. Merge into the wall to reach Lorule.
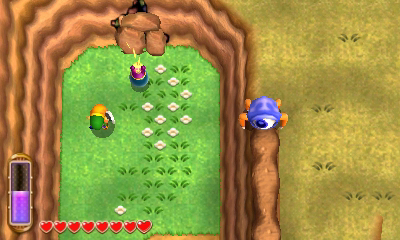
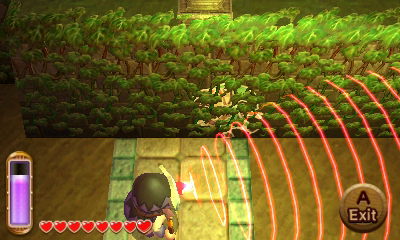
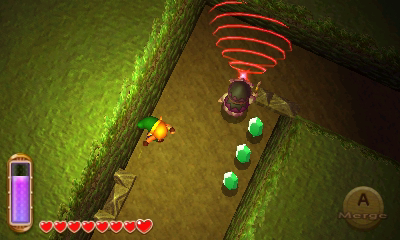
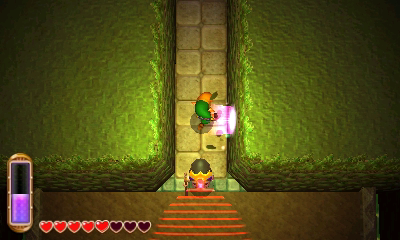
Climb the steps and head up a screen to reach the Dark Palace Grounds. Run to the southwest part of the area and you’ll see the first guard. Their line of vision is indicated by the red beams. Merge against the wall and sneak by the first guard.
This area has two guards that will patrol the north part of the northern hall. Merge into the center wall and walk to the northern part of the area. When the two guards are facing opposite directions quickly run northward.
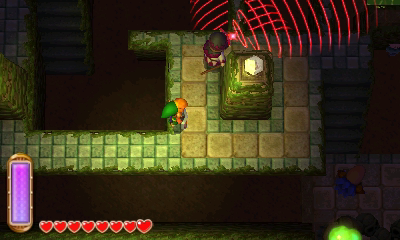
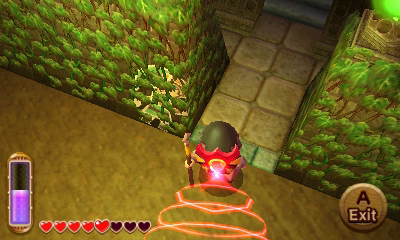
Run to the west and you can optionally head southward and sneak by the guard to get some rupees. There are two guards to the north and they’ll patrol back and forth. Carefully sneak along the western wall to get by these two.
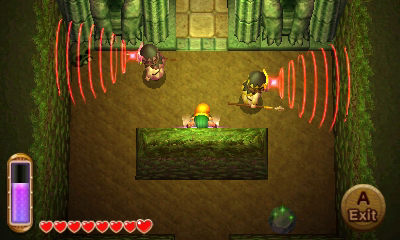
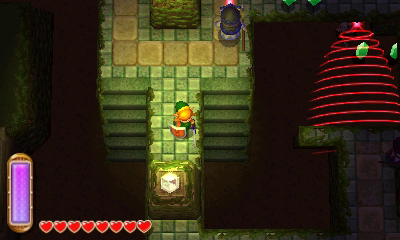
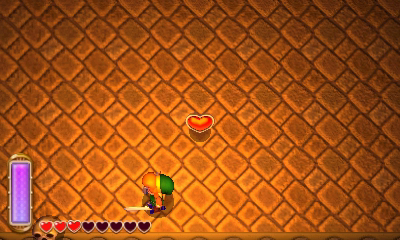
Climb the steps on the right and if you’d like, carefully sneak to the right side of this area to get a piece of heart. Sneak your way to the southeast corner and head southward. This next area has three guards. The key is to merge along the middle wall to get to the northern side. Wait until the guard looks in your direction, and then quickly run to the northern wall. Merge into the wall and walk by the guard.


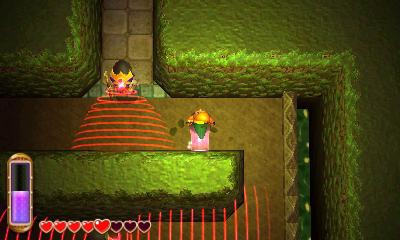
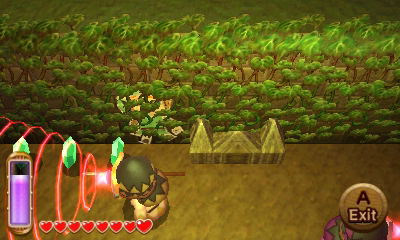
This last guard has a few rupees in front of him, but they are a bit risky to get as they are right in his line of sight. You can easily sneak by him by merging into the wall. Be sure to save by using the nearby weather vane. Use a bomb to blow open an entrance into the dungeon and then head inside.

7.3 Dark Palace
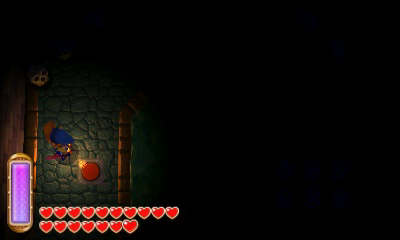
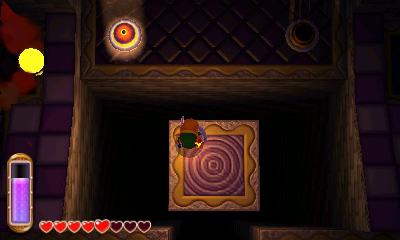
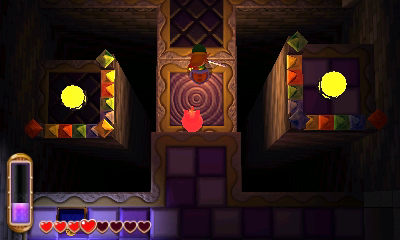
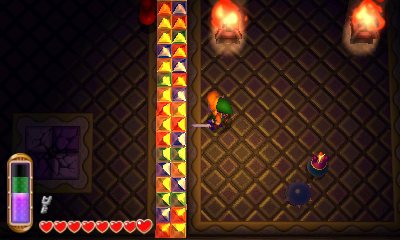
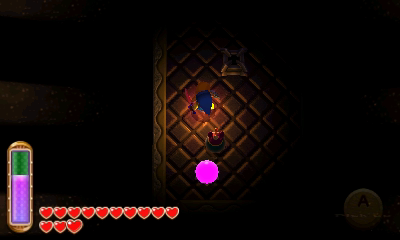
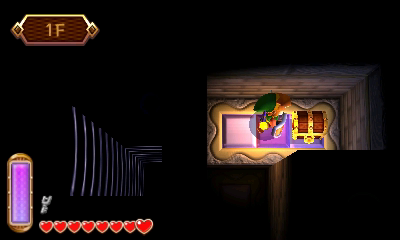
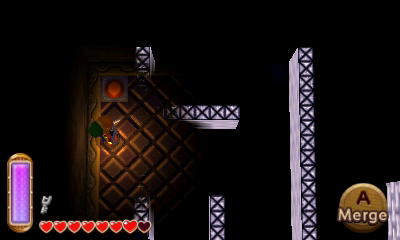
Once you enter the Dark Palace bomb the wall along the right corridor and head up a screen. Open the treasure chest here to get a blue rupee. Back at the first room, place a bomb near the orb on the west side of the room. Quickly run over to the large platform in the center of the room and ride it northward.
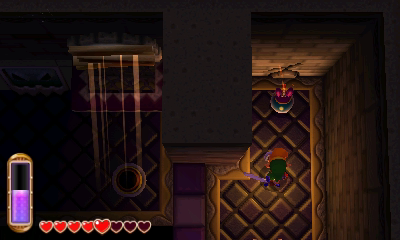
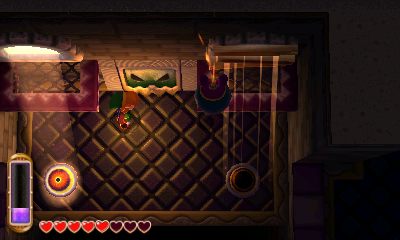
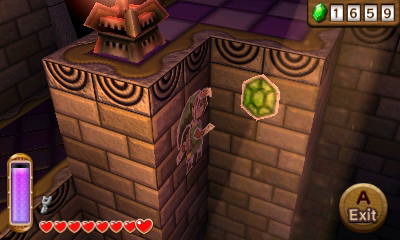
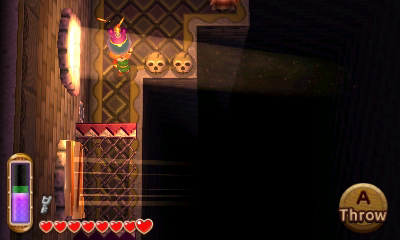
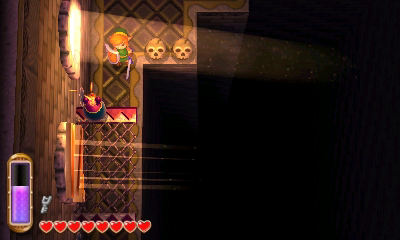
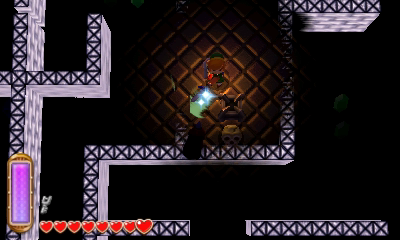
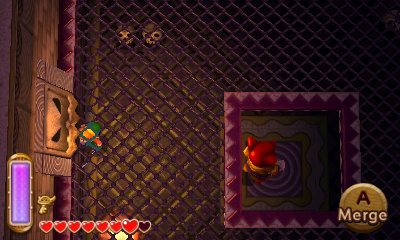
There is some wood on the right side that is preventing light from shining in. Place a bomb, pick it up, and throw it onto the higher ledge, causing the wood to break. Light will shine on the eyeball, opening the door in the process.
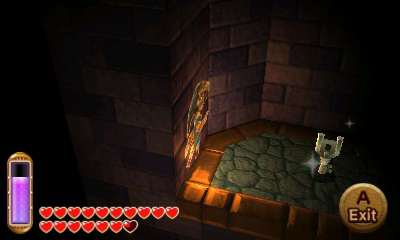
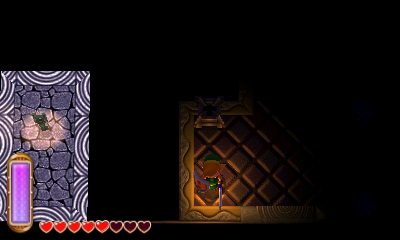
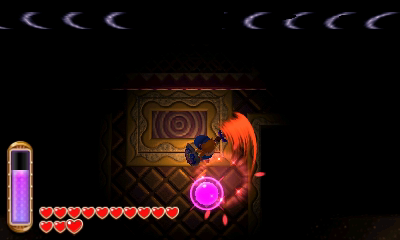
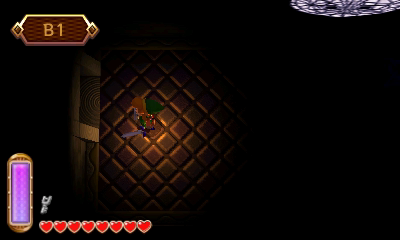
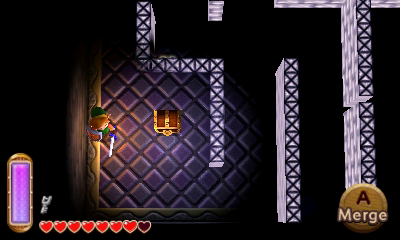
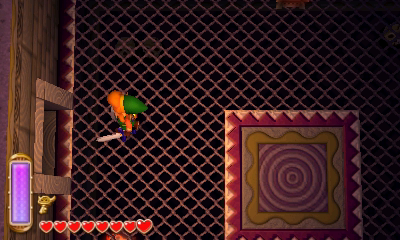
Walk to the northwest corner of the room and step on the floor switch, causing a small key to drop down. Place a bomb to blowup the nearby cracks, as this will help later in the dungeon. Merge into the wall and walk to the southwest corner to grab the small key. Use the key and head up a screen.

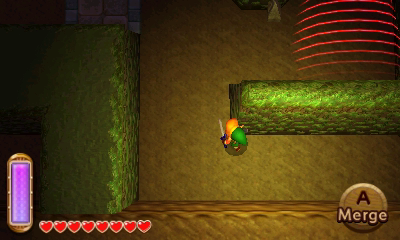
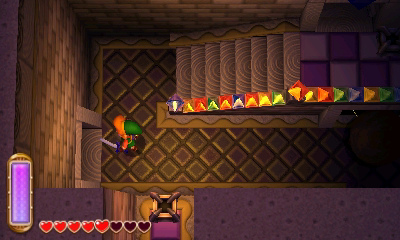
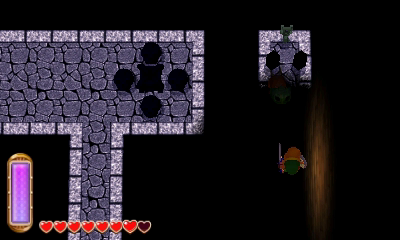
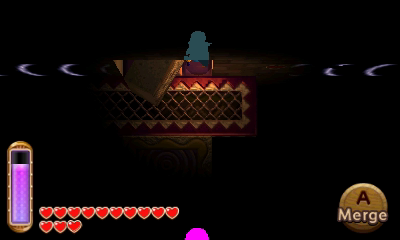
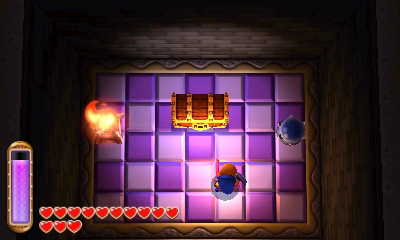
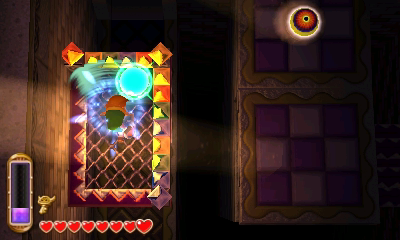
This room has the same bowling ball appearance as seen in the Eastern Palace. Merge into the walls to sneak by the large balls and head through the door at the northwest corner of the room. There are two switches in this room and there are barriers just in front of them. Place a pair of bombs and throw one at each of the two orbs, causing a treasure chest to appear which contains the Compass.

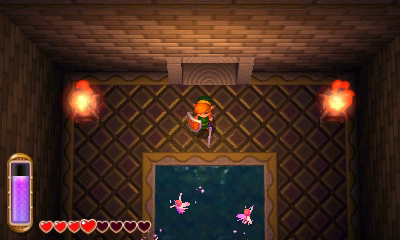
There is also a secret fairy fountain room just to the south. Stand on the moving platform that is going up and down. Place a bomb near the south part of the platform when it is at its highest point. It will come to its lowest point and the bomb will explode, causing a secret wall to also explode. Walk southward to reach a fairy fountain. Return to the previous room and head right along the southern half of the room.
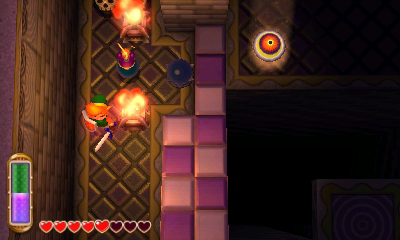
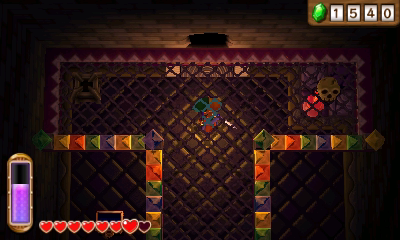
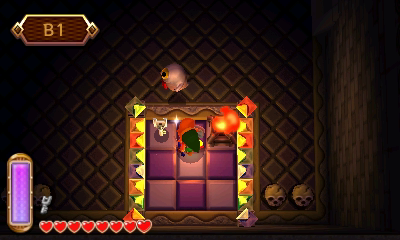
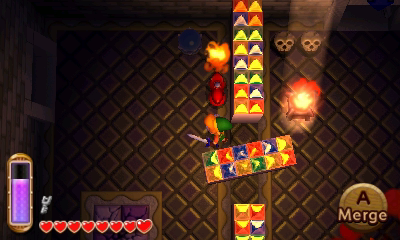
Walk right another screen and you’ll find a trio of Goriyas. These enemies will mimic your moves and the red ones will shoot flames out towards you when they are directly in front. The green ones can be defeated with sword slashes but the red ones are a bit more tricky. The best strategy is to toss a bomb and then move the goriya so it runs into it. After the enemies have been defeated, the nearby platform will start moving. Climb up to the higher level and place a bomb against the southern wall to reveal a secret entrance.

On the higher level, open the treasure chest on the right to get a purple rupee. Return to the previous room and drop to the lower level. When the platform has been lowered, run southward back into the room and open the other treasure chest to get a monster tail.

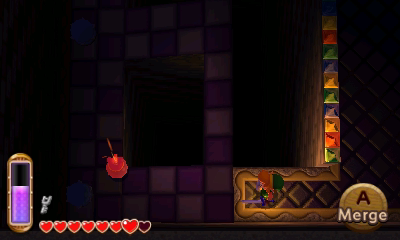
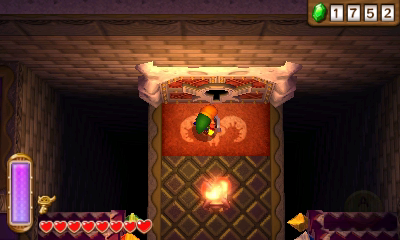
Place a bomb on the floor at the northeast corner of the room and drop down to the lower level. Open the treasure chest found here to get a monster horn. Slash at the nearby torch, causing the room to go to darkness. However, this strangely allows you to see the pathways. Walk to the northeast corner of the room to collect a small key.
Run to the northwest corner of the room and head left a screen. Defeat the enemies if you’d like and then climb the steps at the north part of the room. On the right side of the room there is a narrow pathway heading southward. Place a bomb on the cracked blocked to blown them up and then fall back down to the basement. Grab the small key and then head back up the stairs. Use one of the small keys on the locked door and make your way to the second floor.
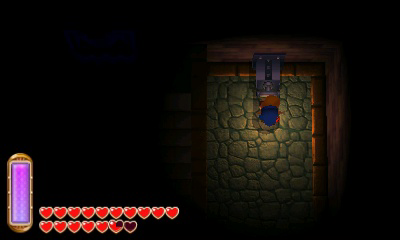
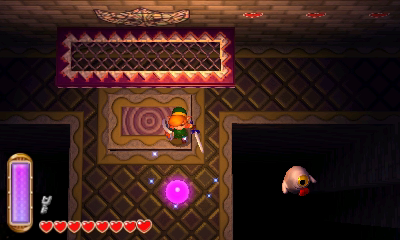
Place a bomb next to the orb at the south end of the room and then stand against the wall to the left. When it explodes, hold left and the wall will carry you to the left side of the room. Continue onward to the next room. Quickly run southward, hit the orb, and run to the door. If you take too much time, floor tiles will disappear and you’ll have to try again.
Walk to the east side of the room and merge against the wall. Walk to the far east side of the room and open the treasure chest to get some monster guts.
Near the center of the room, stand on the platform to the south. Hit the orb, raising you to the higher level. Walk along the wall to the right side of the room. You’ll see two windows that are boarded off with wood. Place a pair of bombs to blowup the the wood, causing light to shine down.
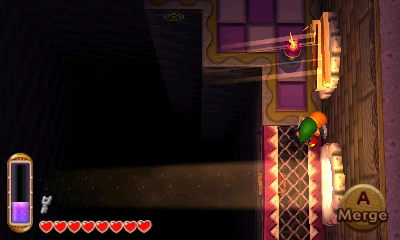
Run over to the west side of the room and you’ll see wood blocking the window on the higher ledge. Place a bomb and throw it up to blow up the wood. With all six windows now shining light, there is still one optional quest for us to complete here in this room.
Just north of this room there is a small rectangular room that has a treasure chest. In order to reach this room, first be sure the platforms in the center of the room are lowered. There are two switches, and while both activate the platforms, the lower switch also causes the wall to the north to flip when it is hit.
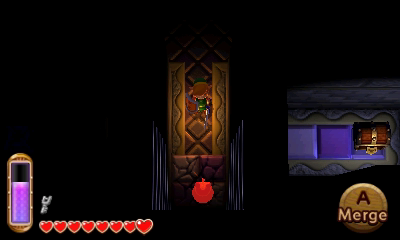
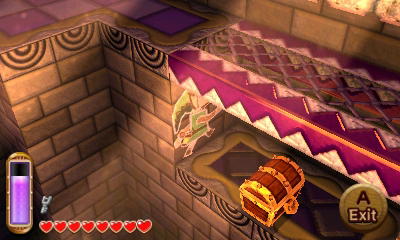
Place a bomb next to the bottom switch and then quickly run northward to the platform above. Strike the nearby switch to get to the higher ledge and run to the northern wall. Once the bomb explodes and hits the southern switch, the wall will flip, causing Link to enter the small rectangular room. Open the treasure chest to get the Master Ore. Return to the previous room and head through the door at the top-right.
There is an orb here that you can toss a bomb up to, but it just leads back southward. Walk left a screen and use a bomb to blow up the crack in the floor and drop down to find a treasure chest containing a purple rupee. Leap off the ledge to the south and then run back up to the north part of the room. Walk down the steps to get back to the basement.

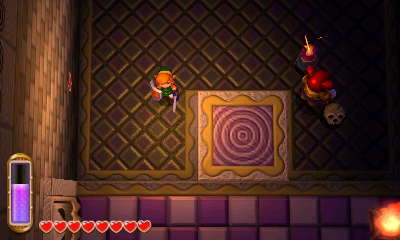
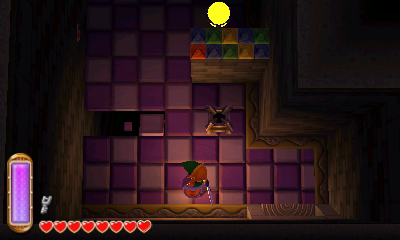
Take the left pathway and slash at the torch in the room. There are a bunch of secret walls here and you’ll have to merge into the wall to sneak through the small cracks. Make your way to the northwest corner of the room and step on the switch that his hidden beneath the skull. This causes a treasure chest to appear, so run on over and open it to get a small key. Make your way to the southeast corner and head down a screen.
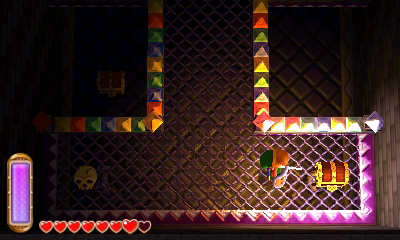
Use a small key on the door to the left and then stand on the moving platform. There are three orbs on the far left of the room. Use a bomb to hit each of the three orbs, causing a treasure chest to appear. Open it up to to get the Big Key. Return to the previous room and head through the locked door on the right.

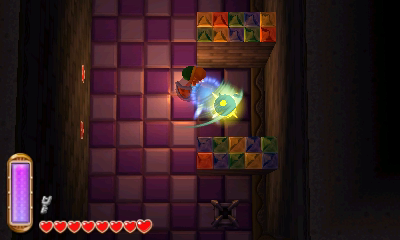
Move the three goriyas in this room so that they fall down the hole in the center. Then defeat the three, causing the green portal to appear, as well as causing the moving platform to activate. Climb up to the higher platform and head left a screen.
Walk along the wall to reach the western wall and hit the crystal orb. Drop down and run over to the boss door. Open the door with the Big Key and enter to take on the dungeon boss, the Gemasaur King.
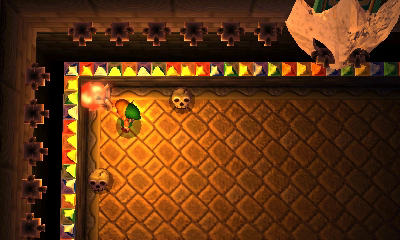
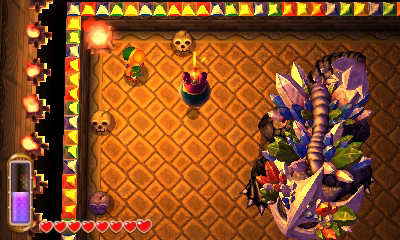
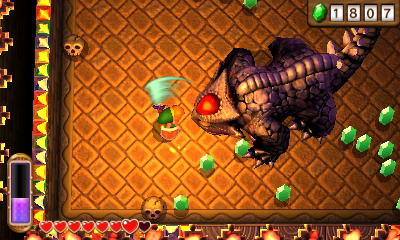
Light the two torches in the room and the boss will awaken. During the first phase, simply toss bombs out towards the boss, causing his helmet to slowly start to crack. After a number of hits it will completely fall, revealing its weak spot. Slash at the red spot until the the boss blows out the torches, turning the room dark. He’ll then run in a circular pattern around the room and is indestructible. Use the lantern to light the two torches and then deliver some sword slashes. Repeat this process until the boss has been defeated.
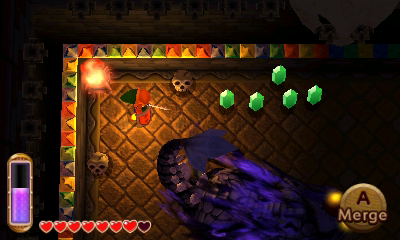
Be sure to grab the Heart Container before touching the painting.
- Chapter 1 – Eastern Palace
- Chapter 2 – House of Gales
- Chapter 3 – Tower of Hera
- Chapter 4 – Hyrule Castle
- Chapter 5 – Thieves’ Hideout
- Chapter 6 – Desert Palace
- Chapter 7 – Dark Palace
- Chapter 8 – Swamp Palace
- Chapter 9 – Skull Woods
- Chapter 10 – Turtle Rock
- Chapter 11 – Ice Ruins
- Chapter 12 – Lorule Castle
