NOTE: At this point in the game, you do not need to venture to Zora’s Domain. For the Free the Divine Beasts objective, you can venture in multiple directions, going to any of the four major beacons and doing them in any order you wish. Since Zora’s Domain is the closest one to areas already explored by this walkthrough, this is our first destination. If your wanderlust leads you in a different direction, simply select the relevant chapter from the list below.
- Chapter 1 – Great Plateau
- Chapter 2 – Dueling Peaks
- Chapter 3 – Hateno Village
- Chapter 4 – Zora’s Domain
- 4.1 – Lanayru Tower
- 4.2 – Zora’s River
- 4.3 – Zora’s Domain
- 4.4 – Ploymus Mountain
- 4.5 – East Reservoir Lake
- Chapter 5 – Vah Ruta Dungeon
- Chapter 6 – Goron City
- Chapter 7 – Vah Rudania Dungeon
- Chapter 8 – Gerudo Town
- Chapter 9 – Vah Naboris Dungeon
- Chapter 10 – Rito Village
- Chapter 11 – Vah Medoh Dungeon
- Chapter 12 – Captured Memories
- Chapter 13 – The Master Sword
- Chapter 14 – Hyrule Castle
- Chapter 15 – The Champions’ Ballad
4.1 Lanayru Tower
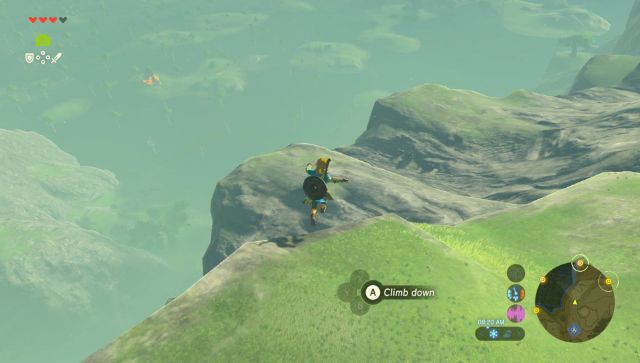
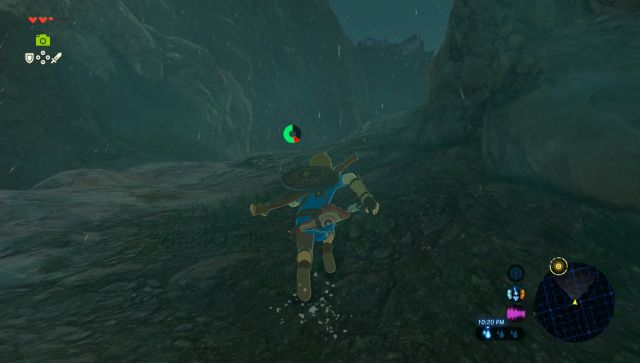
Warp over to Kakariko Village and climb your way northward up the mountainous peaks. You’ll eventually reach a massive body of water. If you look down below, you’ll be able to see a pair of shrines, one nearby and one in the distance. Take the plunge and drop down to the Daka Tuss Shrine. Complete the shrine if you wish, or don’t, but it’s always a good idea to at least activate its warp point. From here travel northward to reach the Goponga Village Ruins as you head to another shrine in the distance.
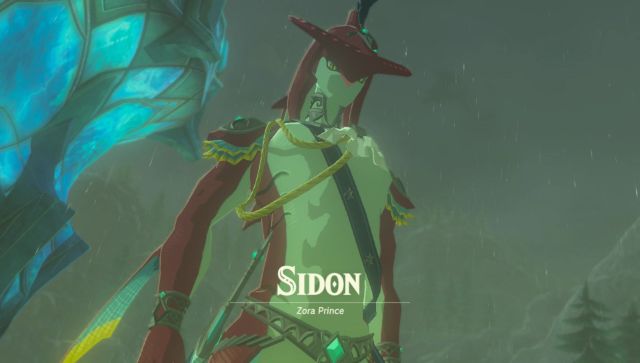
As you walk across the swamp area towards the shrine, you’ll more than likely encounter one of many Zora that are swimming around this area. Each of them will call over from the water if they see you and then point you in the direction of the Lanayru Sheikah Tower. They ask you to go upstream to Zora River, which is just north of that tower, leading to the Inogo Bridge, and seek out Prince Sidon, who is in desperate search for a Hylian like Link. Swim across to the north side of the river and then begin your journey to the tower to the east.


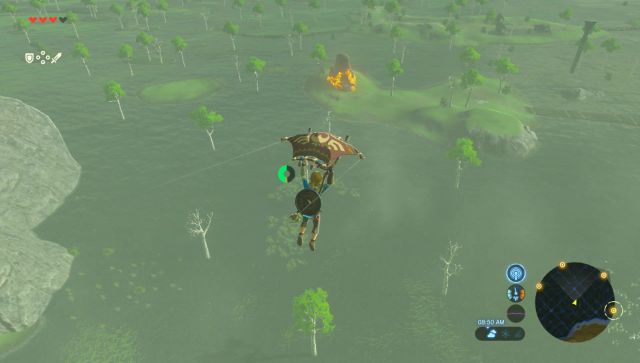
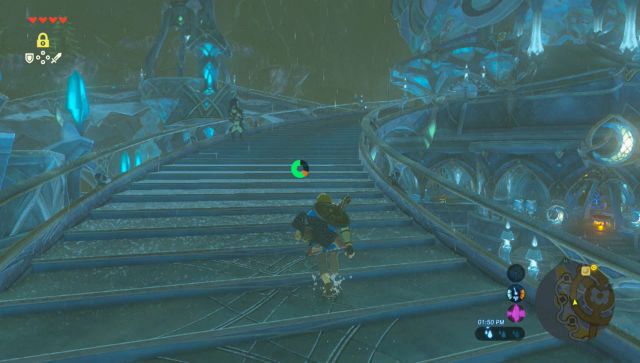
As you travel towards the tower, if you look back at the water, there is a massive enemy stronghold here. Just east of this stronghold there is a long bridge that eventually leads to a pathway up to the tower. This is your best option for reaching the top of the tower. The path is filled with enemies so be careful. It’s a bit curvy as you make your way up and you’ll have to climb up against some rocks. Nevertheless, slowly make your way up to the Lanayru Tower. As the rest of this chapter and the next will be in this region, now is the best time to climb the tower and unlock it.


4.2 Zora's River
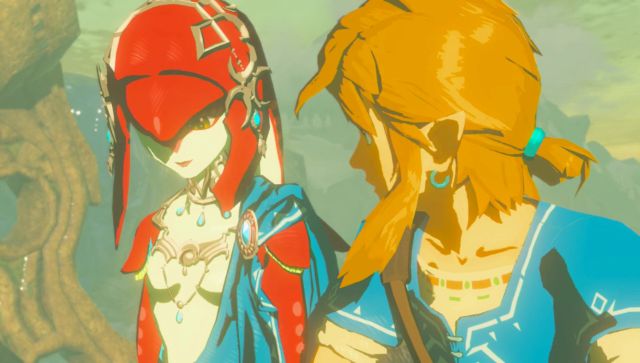
After you unlock the tower, we now want to take the pathway that is just north of the tower. This area is filled with some more treacherous enemies, including Lizalfos and Octoroks. If this is the first region you’ve ventured to after Kakariko Village, then you are definitely in for a challenge, however if you unlocked the tower, you can simply glide over a great portion of enemies. Continue along the path until you reach the Inogo Bridge where you will find the Zora Prince, Sidon. He will give you an Electro Elixir, which will give you mid-level resistance to electricity when used. After talking to him, it will trigger a new objective, Reach Zora’s Domain.
Try your best to stick to the path as much as possible. As you progress, I highly recommend using arrows or a shield bash to get rid of the Octoroks in the water as they will certainly cause you some trouble. They have a lot greater range and accuracy than one might expect. As you scale the area, you’ll see some small blue beacons sticking out of the ground. These are there to help guide you along the proper path. Furthermore, if you unlocked the Lanayru Tower like we recommended, a road appears on the map to give you direction.


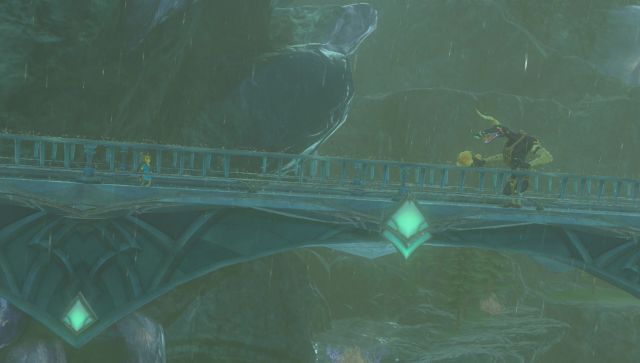
There are parts where you will have to walk across some rocks to get across the river. Just continue progressing and you’ll eventually see Sidon once again. Continue following the path and just eye your map so that you stay on the path. At one point you’ll have to diverge as spikes are blocking your way, but just keep pressing onward. You’ll eventually come to Luto’s Crossing, a massive bridge where Sidon will once again appear. As he’s talking to you, you’ll be confronted by a massive sized Moblin. Defeat the enemy and then continue across the bridge and along the path.


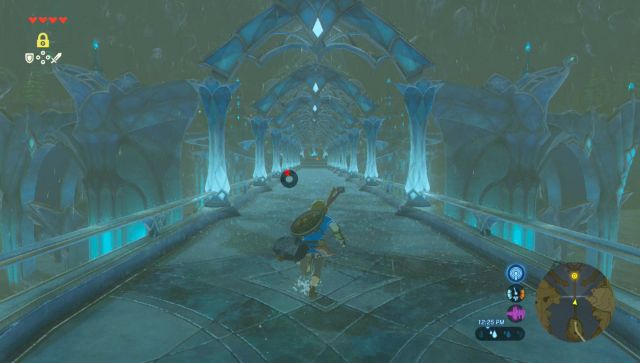
After crossing Luto’s Crossing, the pathway is still a bit lengthy, but not nearly as treacherous. Just follow the linear pathway until you eventually come to the entrance of Zora’s Domain.
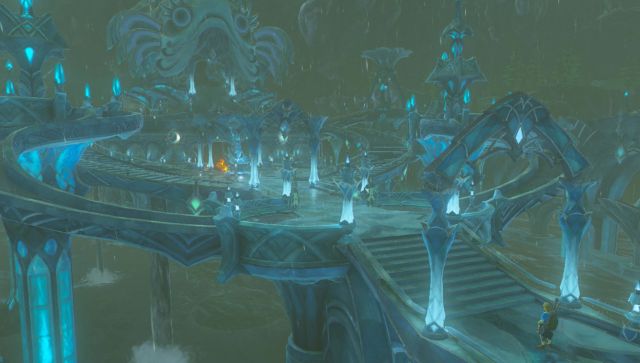
4.3 Zora's Domain
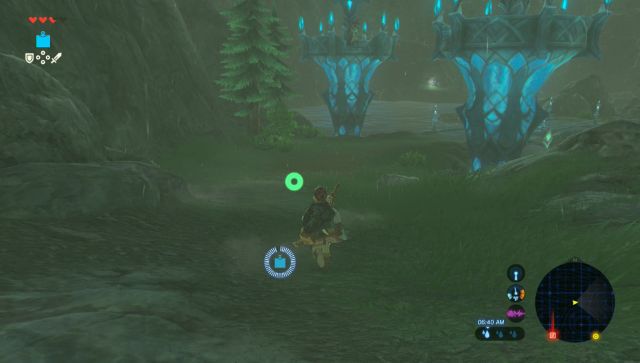
Once you arrive at Zora’s Domain, run ahead and speak with Sidon who will want to introduce you to the King. At this point, you can wander around and talk to some of the various characters. I’d also recommend at least examining the Ne’ez Yohma Shrine, to get a warp zone for this area.


Climb up the rounded staircase on the sides and then up to reach the throne room where you will meet King Dorephan. Here he will tell you about the dire situation that Zora’s Domain is in. The king will also give Link the Zora Armor, which gives Link the ability to swim up waterfalls when worn. This will eventually trigger the next mission, the Divine Beast Vah Ruta.

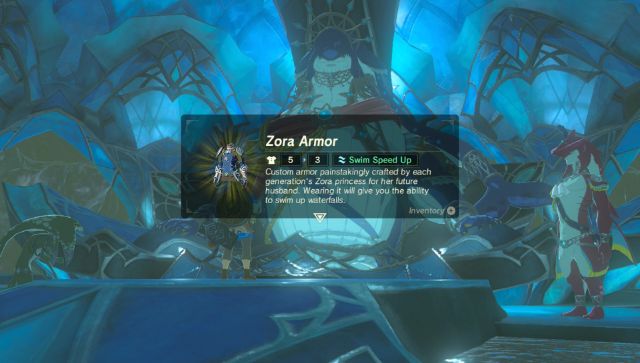

Make your way back to the entrance of Zora’s Domain by the large statue of Mipha. Here you will find Muzu and he still doesn’t want Link’s help. Being in front of the statue will trigger a memory that Link has of Mipha. Even so, Muzu still doesn’t believe Link. It isn’t until after you put on the Zora Armor that Muzu will finally help you out. He mentions that you will need to find Shock Arrows. There are Shock Arrows atop of Ploymus Mountain, but the area is guarded by a Lynel. Muzu says that you will need to collect at least 20 Shock Arrows.

Climb back up the spiral stairs as if you are going up to see the King again, and this time exit Zora’s Domain to the east.
4.4 Ploymus Mountain
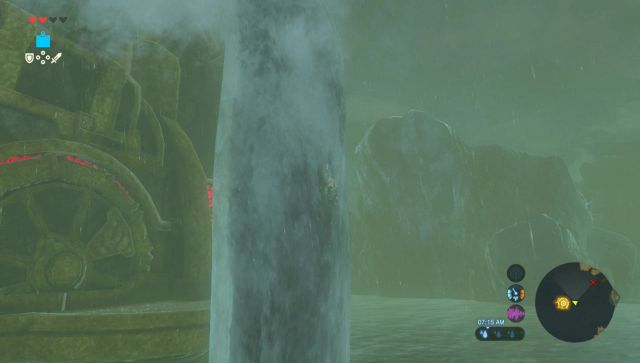
Follow the sign that says it is a shortcut to Ploymus Mountain. From here, jump on the rock and swim into the waterfall. As long as you have the Zora Armor on, you will be able to swim up the waterfall. In the next area repeat the same process and swim up a second waterfall. Run ahead and you’ll find a third waterfall, so swim on up.


Walk clockwise around the mountain until you reach the peak and you’ll see the vicious Lynel. If this is the first realm you chose, you are almost certainly too underpowered to take on this Lynel (but for those who wish to try, cooking 5 Ironshrooms will make a meal that will give you some defense, as well as wearing an upgraded Soldier’s set if you have one; your attack power will still be low though so it would be a long fight). However, at this point it is not worth the time to defeat it, even if you can. If you recall, the goal here is to collect 20 Shock Arrows and they are scattered about, with most of them on tree trunks in this area. It’s important that you do not let the Lynel see you as because of its strong attacks and its very fast speed, it will be rather difficult to get away from him.


I would suggest saving your progress each time you get a few Shock Arrows. This way, if you are about to get a game over, you won’t have to recollect those ones. There are more than 20 Shock Arrows here, so just be patient and keep checking tree trunks for them. After getting at least 20 Shock Arrows, make your way to the south end of the mountain where there is a caution sign. From here leap down to reach the East Reservoir Lake.
4.5 East Reservoir Lake
Put on your Zora Armor if you don’t already have it on and then talk to Sidon. I would highly recommend having a full batch of regular Arrows, as well as the 20 required Shock Arrows. Once you are ready for a battle with the Divine Beast Vah Ruta, let Sidon know and Link will jump on Sidon’s back.


Sidon will swim along the perimeter but the Divine Beast will launch Ice Blocks out towards you. You will have to destroy these blocks, otherwise you will take damage. There are many methods for this, but by far the easiest way to break the ice blocks is to use your Cryonis ability as it will cause them to break immediately, does not require ammo, and can be done at any distance. Alternatively, you can also just shoot regular arrows, or even wait until they get close and melee them, or try to use stasis so they crash into each other, but these methods are not as effective. After all the ice blocks are out of the way, Sidon will swim towards the waterfall. Swim up the waterfall and it will launch you into the air. While in mid-air, pull out your bow and shoot a Shock Arrow out at the glowing pink orbs.


After each time you hit a glowing pink orb, the ice portion of the battle will change. The Divine Beast will launch a spherical ice block at you and it will chase you down from the back. Repeat the same process of destroying it. Other than this difference, the cycle is the same; after all the ice is gone, swim up another waterfall and hit another pink orb with a Shock Arrow. In the final phase of this battle, there are significantly more ice blocks, and you’ll have to get rid of them in order to get a chance to hit the beast. Repeat this process until it has been defeated.


Link will then get dropped off at the dungeon entrance and this will begin the major dungeon of this region.
