- Chapter 1 – Eastern Palace
- Chapter 2 – House of Gales
- Chapter 3 – Tower of Hera
- Chapter 4 – Hyrule Castle
- Chapter 5 – Thieves’ Hideout
- Chapter 6 – Desert Palace
- Chapter 7 – Dark Palace
- Chapter 8 – Swamp Palace
- Chapter 9 – Skull Woods
- Chapter 10 – Turtle Rock
- Chapter 11 – Ice Ruins
- Chapter 12 – Lorule Castle
5.1 Lorule Overworld
NOTE: This chapter covers the Thieves’ Hideout. However, any of the other Lorule Dungeons can be played first, with the exception of the Desert Palace. The location of Thieves’ Town is convenient to where we start in Lorule[, and it also gives us access to the one item that isn’t in Ravio’s shop.
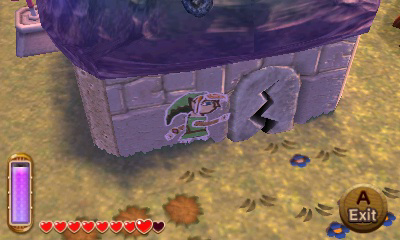
Now that you have arrived in Lorule, there are several Fissures that have appeared on walls throughout the Overworld, connecting Hyrule with Lorule. Lorule is segmented into seven sections and the only way to reach these respective sections is by traveling in through a Fissure in Hyrule. While it is a bit out of the way to collect all the Maimais now, there are 43 additional Maimai’s that you can now collect, bringing your total to 82. Consult our Maimai Locations Guide for a complete listing.Optional: Tons of Maimais
Additionally, now that you have access to Lorule, you can collect 11 additional Pieces of Heart that are found in the Overworld. Consult our Heart Piece Guide for a complete listing of all the Heart Pieces.Optional: Heart Pieces
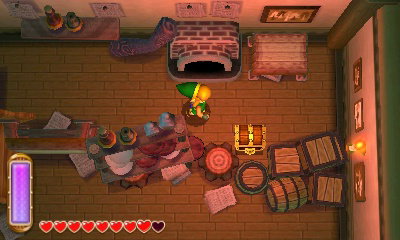
A bottle can be found in the Vacant House near the center of Lorule. The Vacant House is located in the central part of Lorule, just south of Lorule Castle. It corresponds to Link’s House or Ravio’s Shop in Hyrule. Place a bomb along the northern wall, just outside the house to break open a hole. Walk inside to find a Bottle inside the treasure chest.Optional: Bottle #4


In Lorule, make your way to the area that corresponds to just south of where Kakariko Village was, right were the Cucco mini-game was located. Enter the building here and speak with the Bomb-Shop Man. Pay him 200 rupees to rent out the Big Bomb Flower, then exit the building to the right. Walk up to the bomb flower and use it to blow up the large rock just below. Now get another bomb flower and blast the rock, located just northwest of the building. Inside you will find a Great Fairy Fountain. You can toss either 50 rupees or 200 rupees into the fountain. In order to get the final bottle, you will need to toss a total of 3000 rupees into the pond in order to get this bottle. You likely don’t have that type of money at this point in the game. Even if you did, I would recommend spending it on purchasing items from Ravio’s Shop. However, if you’d like to grind out rupees at this point you can to get this final bottle.Optional: Bottle #5


5.2 Thieves' Hideout
Link awakens in Lorule at the Blacksmith’s House. Exit the house and be sure to save using the nearby weather vane. Travel to the west to enter Thieves’ Hideout. There is an X marked on your map at the north end of the town. No items are necessary, just walk up and examine the door. There are a few questions to enter the proper answers are listed below.
- a narrow path
- really despair
- to thievin’!

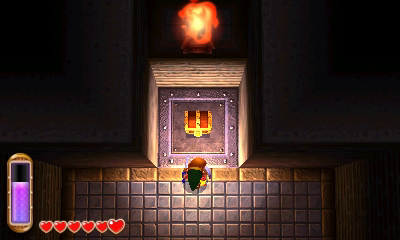
As soon as you enter, the Spear Boy will leave, thinking you are his replacement. The boss door is visible just to the right, but we have long ways to go before then. Walk to the north end of the room and head through the door on the left. Open the treasure chest here to get a purple rupee. Then walk back to the entrance and head left a screen.

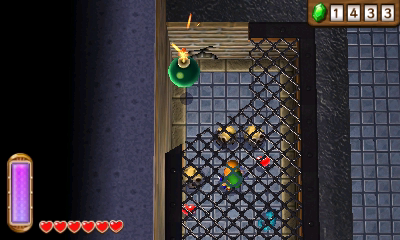
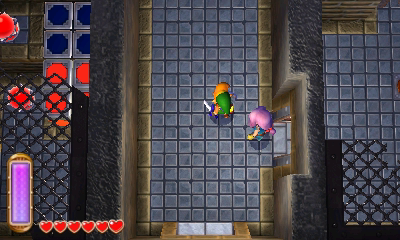
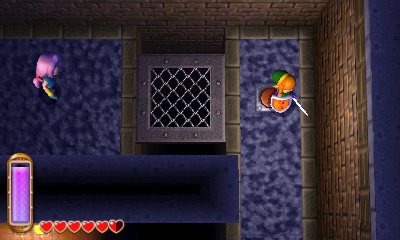
Hit the crystal orb in the center of the orb to change which bars are lowered. Merge into the wall to get passed the bars and make your way to the southwest corner. There are two gargoyle statues found here. Pull and push one of them so that is blocks the arrows being shot from the turret on the left. Now push the second statue so that it sits on the switch at the top-left part of the room.

Merge into the wall to get back near the center orb and hit it, so that the nearby bars lower. Now pull the other gargoyle statue onto the switch at the top of the room. Now merge into the wall on the right side and walk through the bars. Step on the third switch to open the door in the room. Open the treasure chest to get a purple rupee and then head head up a screen.
Continue up another screen and then drop down to the floor below. Make your way to the north end of the room and climb the steps on the right. Walk over and open the treasure chest to get a purple rupee. Walk across the room and head down a screen.
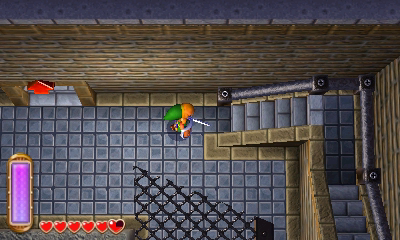
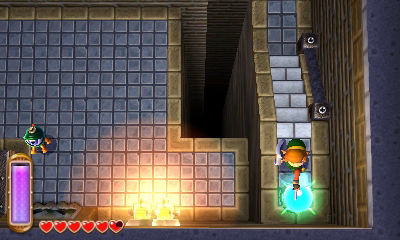
Climb the steps in the middle of the room and once you reach the edge of the treadmill, merge onto the northern wall. Walk to the southeast corner of the room and hit the orb, causing one of the nearby treadmill to change direction. Drop down and hit the nearby bombite to set it off. Quickly pick it up and throw it to the south, so it lands on the treadmill. It will move over and explore, hitting the orb, and opening the nearby door. Continue southward through the door that opens.
Walk to the right a screen and then head up a screen. Walk to the right side of the screen and merge onto the wall. Walk northward to the treasure chest and open it to get the Compass. Then merge into the wall and walk to the southeast corner of the room. The Thief here asks for your assistance in escaping. Step on the floor switch to cause a door in the room to open.
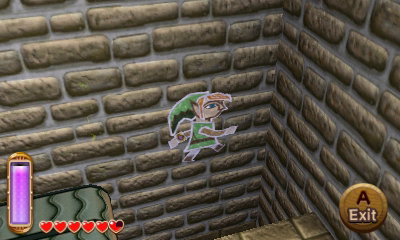
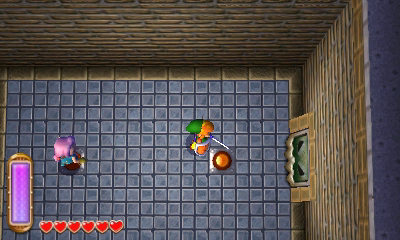
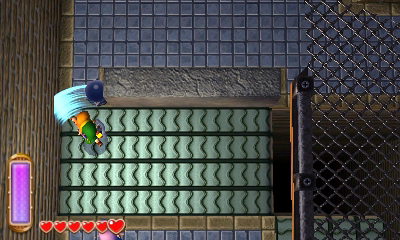
Walk to the left side of the room and merge into the wall to get through the bars. There is a crack along the northern wall that can be exploded by using either a bomb, or by using the nearby bombite.
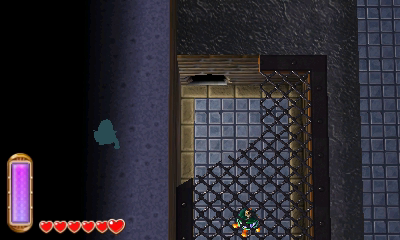
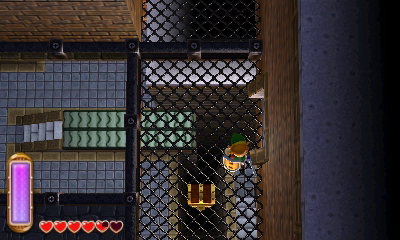
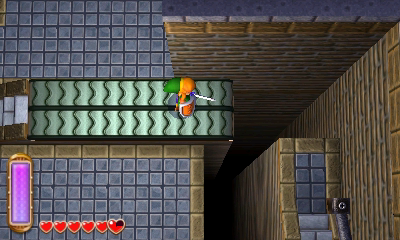
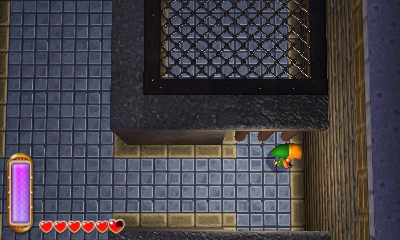
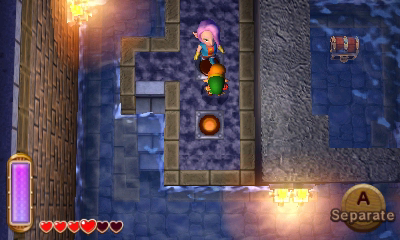
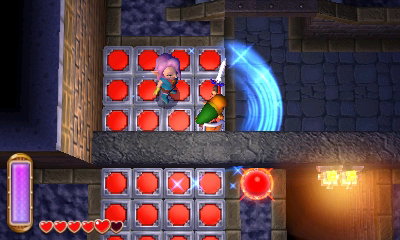
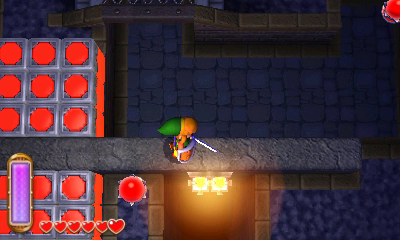
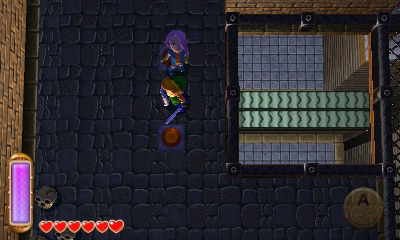
Walk through the hole that opens and turn tot he left. Walk to the southwest corner of the room and stand on the lowered red blocks. Hit the switches to get to the top of this area. Walk northward along the narrow pathway, drop down the broken cage, and then head up a screen.

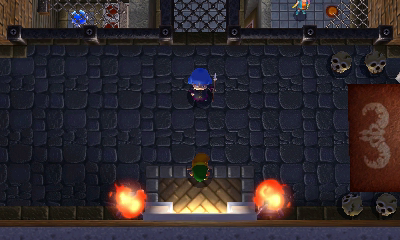
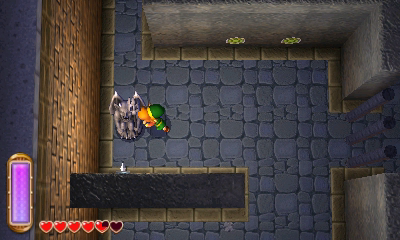
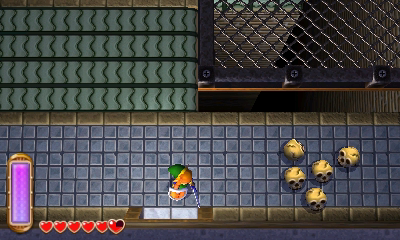
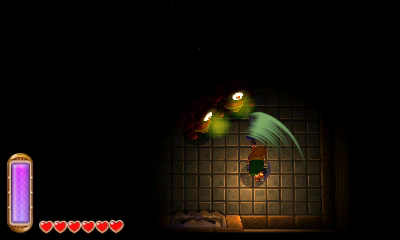
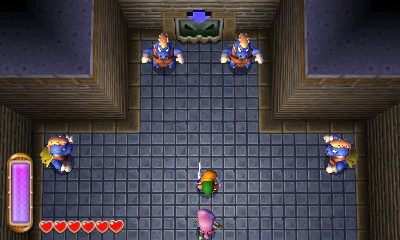
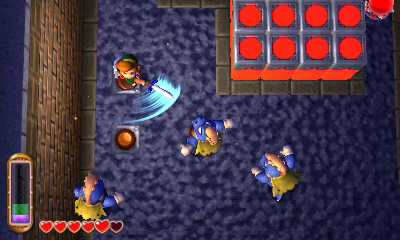
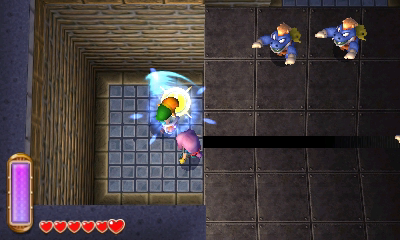
The door will lock behind you and you’ll encounter a group of red eyegores. At first they can be difficult to defeat, but try to keep as much separation. The key is to try not to awaken them all at once. Once defeated, the green portal will appear, and the nearby platform will lower. Run over and open it to get a small key. Return to the previous room and backtrack all the way to the thief.
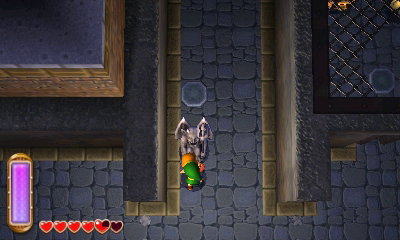
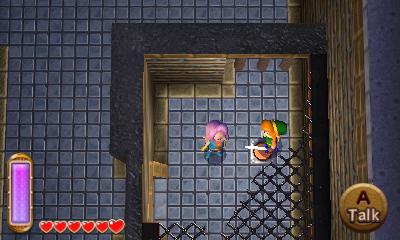
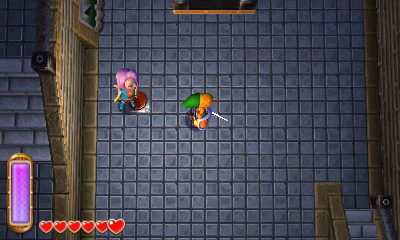
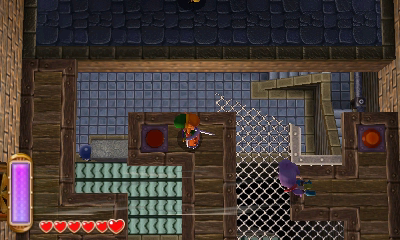
Open the locked door next to the thief and speak to the girl. The girl will now follow you and can press A to separate, or if you’d like to lead her. Walk to the north end of the room and move her so she is standing on one of the two switches. Separate from her and stand on the second switch, causing the nearby door to open. Lead her through the door that opens.
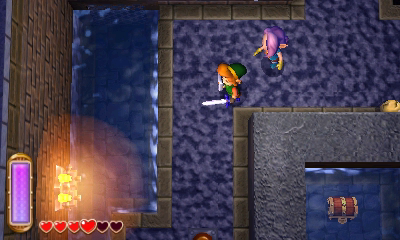
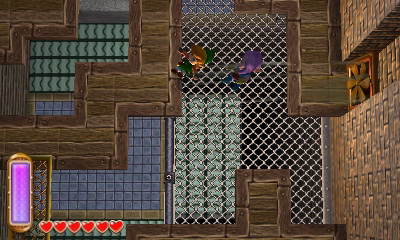
The enemy Zazak here will only try to harm the thief. If she gets touched at all, you’ll be taken back to the jail cell and have to start over. The key here is to run to the north end of the room so that the enemies appear, and then quickly run to the south end where we entered this room. Separate from her and use the narrow passageway as a way to protect her. Defeat the four enemies and then lead the girl to the lower floor.

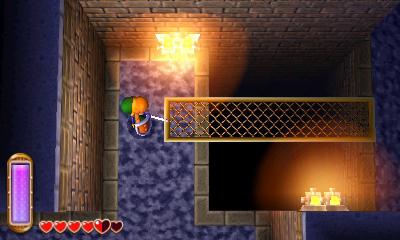
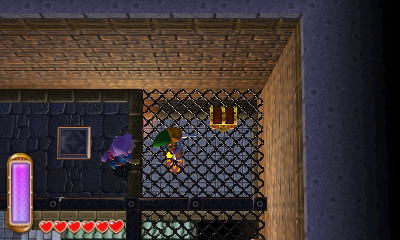
Walk across the grate on the floor and then merge into the nearby wall. On the other side, step on the floor switch, allowing the thief girl to cross.

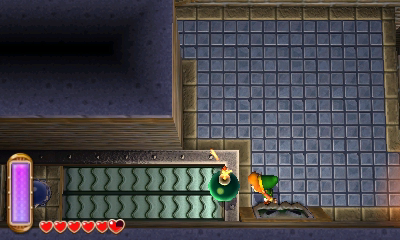
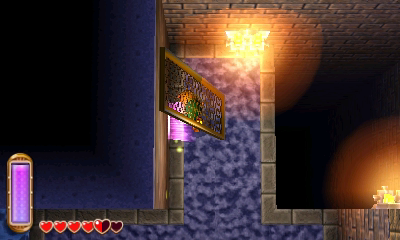
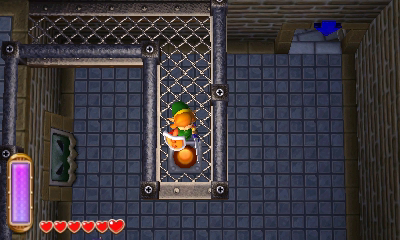
Merge into the wall on the right side and sneak through the bars. Defeat the enemies and then swim to the left side of the room. Resurface and you’ll find a gate leaning against the wall. Merge into the wall and stand directly behind the gate. Exit painting mode and the gate will come down.
Bring the thief over to the switches at the west end of the room. Stand on the two switches, causing the nearby gate to open. Swim southward, climb on the land to the left, and then pull the nearby lever to release water out of the room.
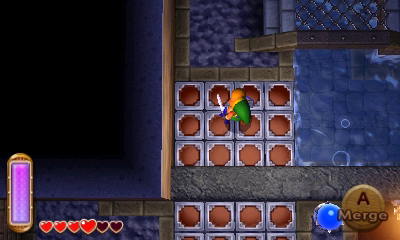
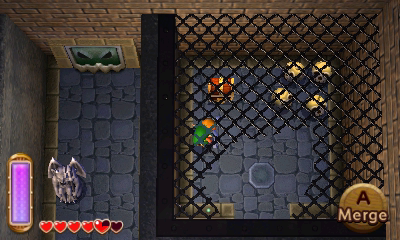
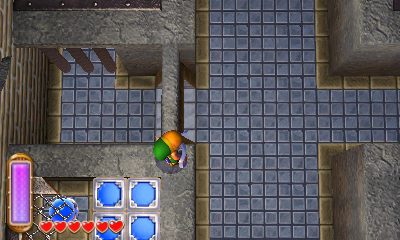
Be sure to sneak over to the nearby treasure chest to get a Silver Rupee. Lead the thief girl to the south end of the room and hit the crystal switch to lower the blue blocks. Stand on the blue blocks with her and hit the crystal switch, pushing both of you upward.

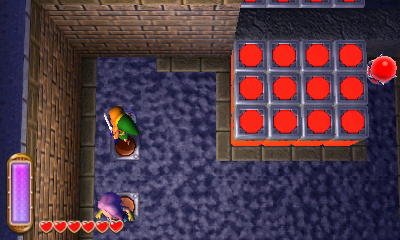
Run over to the red blocks and stand on them. There is a crystal orb on the other side of the wall, but you can hit it with a spin attack, raising the red blocks. Leave the thief girl on the red blocks and drop down to the lower level to the south. Defeat the enemies and then hit the orb to lower the girl.
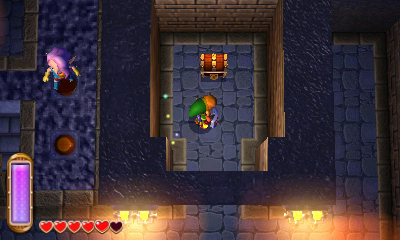
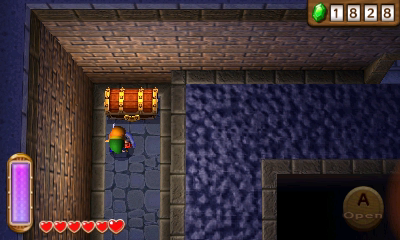
Step on the two switches here, causing the nearby wall to move. Run down this hallway, collecting all the rupees and opening the treasure chest that contains a Master Ore.
Return to the south end of the room and separate from the girl. Climb onto the red blocks and raise them. Carefully walk across the ledge to the right and you’ll find another gate leaning against the wall. Merge into the wall and knock it down, forming a bridge. Lead the thief girl up to the higher floor.
Walk over to the floor switch and have the thief stand on top of it. Separate from her and climb the steps in the corner of the room. Walk along the wall and make your way over to the other switch in the room, causing the nearby door to open. Two enemies will appear, so be careful and quickly dispose of them. Open the treasure chest on the left if you didn’t earlier, and then continue left a screen.
Continue left another screen and a bunch of enemies will appear. Quickly hit the orb on the left side of the room, causing the floor to drop, and defeating most of the enemies in the process. Continue up two screens and more enemies will appear. Hit them and they’ll likely fall down into the abyss. You’ll have to run across the moving platform and hit the orb with your sword. Alternatively, you can just hit it with a projectile if you have one. Climb up the steps to get back up to the higher floor.
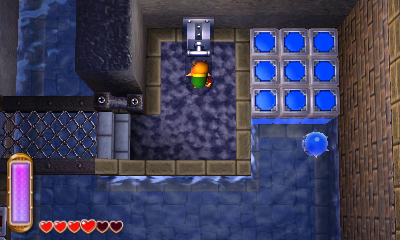
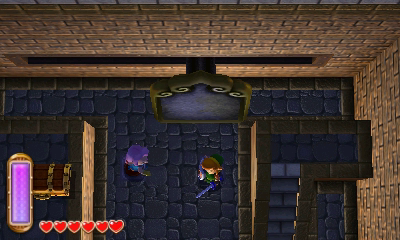
Walk on the left side and leave the girl right in front of the propeller. Merge with the wall on the left and then make your way to the center of the room. Step on the switch, causing the propeller to blow the girl to the right side of the room. Allow the wind to blow you as well and then move the girl to the other propeller on the right. Step on the nearby floor switch to blow her to the center of the room. Allow the propeller to push you to the center of the room and then lead her south one more room.
Step on the two switches here and open the treasure chest that is accessible to get a silver rupee. Lead her south a room and defeat the enemies that appear. Continue to the right a screen to get back to the dungeon entrance.
Walk to the north end of the room and stand on the two switches, causing the large shield to move. Climb the steps on the right and merge onto the shield itself. Allow it to take you to the left side of the room and open the treasure chest to get the Big Key. Lead her to the south end of the room and use the big key on the locked door. Walk to the right to take on the dungeon boss, Stalblind.
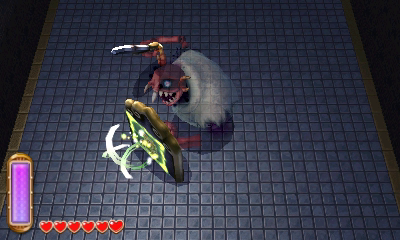
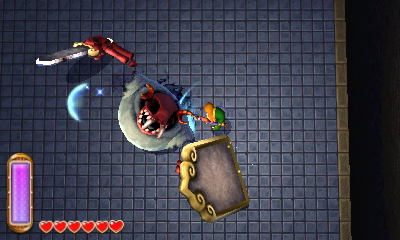
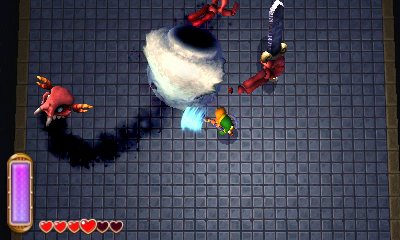
The boss wields a massive sword and shield. The trick here is to first try to swipe at him, causing him to block with his shield. Then merge onto his shield. He will pull his shield back, at which point you should exit painting mode and slash at him with your sword. After a number of hits, the boss will toss away his shield. In this phase, just be careful to avoid his sword and deliver slashes of your own. Be sure to keep moving when he spins towards you. After a number of hits, his head will pop off and start spinning around the room. Just keep slashing at him, while avoiding the black smog and his sword. After a few more hits he will be defeated.

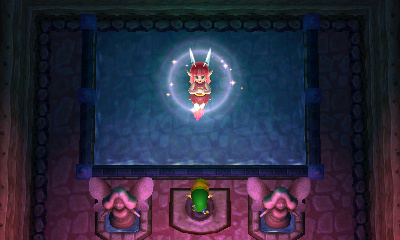
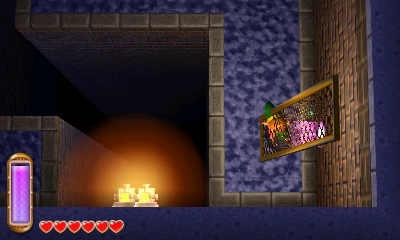
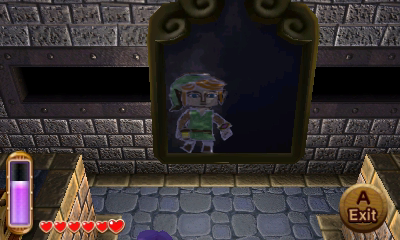
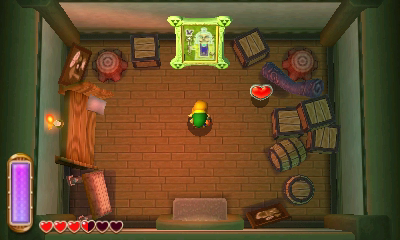
After leading the thief out of the dungeon, she will take you to the house next door, where the painting of the sage is located. Be sure to first grab the Heart Container and then enjoy the cut-scene.

- Chapter 1 – Eastern Palace
- Chapter 2 – House of Gales
- Chapter 3 – Tower of Hera
- Chapter 4 – Hyrule Castle
- Chapter 5 – Thieves’ Hideout
- Chapter 6 – Desert Palace
- Chapter 7 – Dark Palace
- Chapter 8 – Swamp Palace
- Chapter 9 – Skull Woods
- Chapter 10 – Turtle Rock
- Chapter 11 – Ice Ruins
- Chapter 12 – Lorule Castle
