- Chapter 1 – Mercay Island
- Chapter 2 – Temple of Fire
- Chapter 3 – Ocean King Part II
- Chapter 4 – Temple of Wind
- Chapter 5 – Ocean King Part III
- Chapter 6 – Temple of Courage
- Chapter 7 – Ghost Ship
- Chapter 8 – Ocean King Part IV
- Chapter 9 – Goron Temple
- Chapter 10 – Temple of Ice
- Chapter 11 – Ocean King Part V
- Chapter 12 – Mutoh’s Temple
- Chapter 13 – Ocean King Part VI
6.1 Molida Island
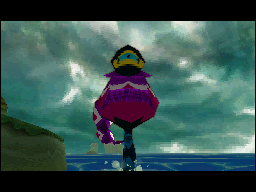
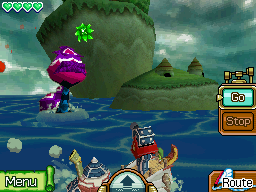
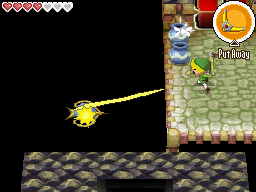
It’s now time to return to Molida Island, so sail on over. As you draw near you’ll be confronted by a Giant Eye Plant which is blocking the entrance to the island. The weakness of this giant enemy is its eye, and you’ll need to hit it with a number of cannon shots. Your best bet is to draw a half-circle, going back and forth around the Eye Plant. Draw it so that the pathway overlaps itself over and over so that you don’t have to worry about sailing and instead can just battle the enemy.

The Eye Plant will launch green spiky balls out towards your ship. These can be destroyed with a single cannonball shot, so be sure to hit them quickly as they will otherwise harm your ship. Wait until the eye of the enemy is open and then fire an attack to hit it. After a number of hits, the enemy will be defeated and Link will pull up to Molida Island.

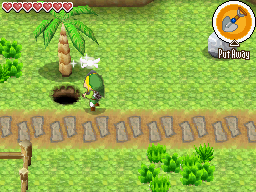
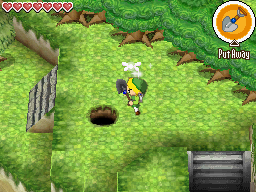
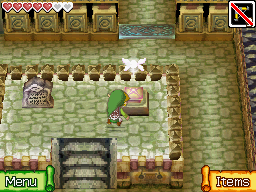
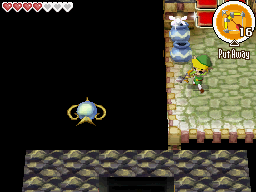
Once you arrive at Molida Island, once again dig up the hole that you dug up during your first visit to the island. It located just south of the palm tree between the 2nd and 3rd huts on the island. Run northward and tap on the door to use the Sun Key. Continue northward and exit the cave to find yourself at the north end of the island.

Once you are outside at the north side of Molida Island, use the shovel to dig up the mark in the grass just to the left. This creates a secret hole so go ahead and drop down. Open the treasure chest you find here to collect a Wisdom Gem.Optional: Wisdom Gem #5


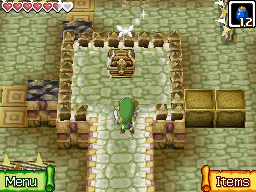
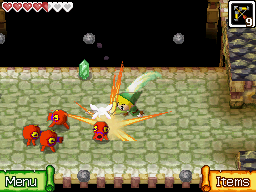
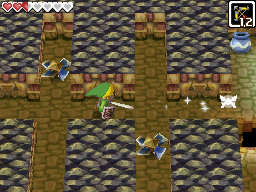
Defeat the Miniblins and Yellow ChuChu on your way to the north end of the island. You will arrive at the Temple of Courage but the door is locked. The nearby tablet tells you that the statues must focus their light gaze on the door. Continue to the right and you’ll find a statue. Strike it with your sword to activate it, and then tap on it to turn it. Rotate it so that it is facing northwest, causing the beam of light to shine on the locked door.
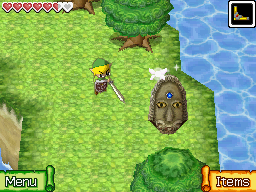

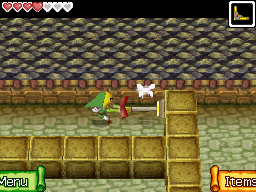
Run to the south and west and you’ll bump into a pair of Zora Warriors. Stun them by hitting their backs with a Boomerang and then finish them off with a number of sword slashes. Once they are defeated, another statue will appear. Activate it and then turn it so that it is facing northward, shining the light onto the door.

Leap off the ledge to the left and then climb the small steps nearby. While on the higher platform, if you glance to the southwest, you will find the third and final statue. This one is already facing in the proper direction and you just need to activate it. Use your Boomerang to hit the statue, which causes it to shine its light onto the locked door.

With all three lights now shining, the door will open up. Run on over and head inside to take on the next dungeon, the Temple of Courage.
6.2 Temple of Courage
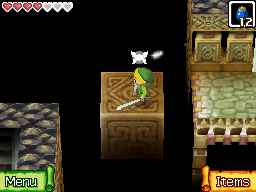
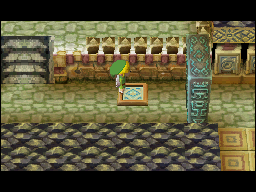
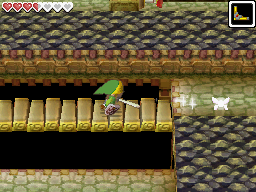
Maneuver around the spiked rollers to reach the north end of the room. You’ll find a suspicious looking wall to the north which will explode if you throw a bomb at it. Run over to the treasure chest and open it up to get a random treasure.
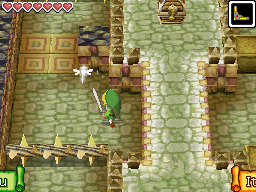


Follow the pathway southward and you’ll run into a blade trap. Move towards it to trigger its motion, then quickly run southward. Step on the floor switch here to open up the nearby door, creating a shortcut. Climb the steps to the north and open the treasure chest to get a small key. Leap off the ledge to the right and make your way over to the locked door at the north end of the room.


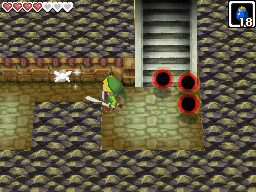
Run southward and the door will close behind you. A pair of Moldorms will appear, whose weak spot is the large red portion at the back of their body. Deliver sword slashes when you can, but then move away when the enemy charges at you. Defeat both enemies and then head down the steps.
Wait until the moving platform has come nearby and then walk onto it, riding it westward. Hit the Shell Beast on the platform so that you knock it off the ledge and then step onto the next platform. While riding the platform, use the Boomerang to hit the nearby crystal switch, changing it to blue. Then step onto the next moving platform and ride it westward. Climb up the steps here to get back to the first floor.

This room is filled with Zols as well as a new enemy, the Winder. These electric enemies cannot be defeated and should just be avoided. Run to the north end of the room and you’ll find a pair of tablets. One will give you advice on how to beat an upcoming enemy, while the other one states that “Up, Down, Right, then Left” is the order for the whole temple. Be sure to take note of it.
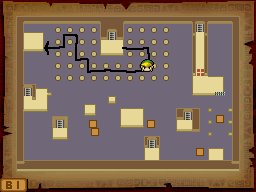
Next to the tablet on the left there is a suspicious wall. Toss a bomb to blow it up and glance at the picture of a map that is on the wall. Pull out your map and switch over to floor B1. Trace the path of the red line onto your map for future reference.

After bombing the wall that is between the two tablets, there are a pair of treasure chests. One of them contains a Ship Part, while the other holds a Power Gem.Optional: Power Gem #9


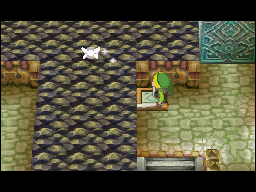
Bomb the cracked blocks to the right and continue to the next part of the room. Here you will find a Green ChuChu. This variant of the enemy will shrink into a tiny puddle when you try to attack it with a sword. Instead, stun it with the Boomerang and then defeat the enemy.


Head south to the southern platform and a giant Pols Voice will appear. These enemies are invulnerable to Link’s sword at the present moment. You will need to blow into the microphone, causing them to shrink into a tiny ball, making them vulnerable to attack. After defeating the enemy, grab the small key it leaves behind. Be sure to step on the nearby switch, causing the door to open and creating a shortcut to the dungeon entrance. Use the small key on the locked door above and climb the steps to get up to the second floor.

In this room there are four levers to be pulled, and this is where the hint about the order of the dungeon comes into play. Be careful as the room is filled with Winders and Beamos Statues, neither of which can be defeated. You have to pull the levers in the proper order. First pull the one at top, then the one at the bottom, followed by the one to the right, and finally the one to the left.


When all four levers have been pulled a treasure chest will appear in the center of the room. Open it to get the square crystal. Much like when holding the Big Key, you won’t be able to move as quickly while carrying this item. Carry it back to the staircase and head down to the first floor.


Back on the first floor, climb up the nearby steps and place the crystal onto the square pedestal. This will cause one of the nearby doors to open up, so run on over and head down back to floor B1.


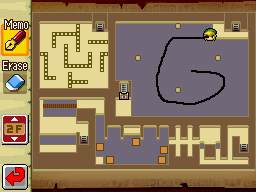
There are invisible floors that exist in this area that you can walk on. This is the floor that corresponds to that map we saw earlier. For reference, you can see the path traced on the map below. Carefully make your way through the area, disposing of the enemies along the way. Be careful as the Shell Beasts will try to bump you right off the platform.

At the end of the pathway open the large treasure chest to get the dungeon item, the Bow. Equip the bow and shoot the eye target that is along the northern wall, causing a bridge to extend to the south.
If you glance at your map, you will find a small platform in the very center of the map that has a treasure chest on it. There is a secret path that goes directly north of the treasure, connecting with the existing secret pathway. Head down this path and open the treasure chest to get a Big Green Rupee.Optional: Big Green Rupee

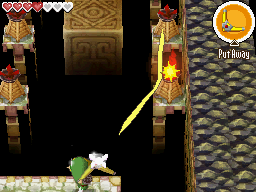
Cross the bridge and you’ll encounter a Moldorm. Now you can defeat this enemy with a single arrow shot to its red weak point. Just to the right you will see an object known as an arrow orb. Slash at it with your sword until it facing eastward. Now pull out your Bow and shoot the arrow orb which will cause an arrow to be launched to the right, and then down, hitting the crystal switch and turning it red. With the switch now red, climb the steps to get back to floor 1F.


With the blue blocks lowered, run southward and defeat the two Moldorms. Walk to the far right and use the bow to shoot the eye statue, causing one of the nearby doors to open up.


Run back to where you placed the square crystal and pick it up off its pedestal. Carry the crystal back to the southwest corner of the room and place it in the other pedestal that is found here. This will cause one of the nearby doors to open. Climb the steps to get back up to floor 2F.

In this room there are a number of Octoroks, some of which are across the gap to the south. Defeat the nearby ones with your sword and then use your bow to shoot at the other Octoroks. With all of them defeated, a bridge will appear, extending across the gap. Cross the bridge and step onto the moving platform. Ride it to the southwest corner of the area and then make your way over to the next moving platform.

While riding the moving platforms heading eastward, if you glance at the top wall, you will find a pair of eye switches. Shoot both of them with arrows and you’ll cause a treasure chest to appear. Ride over and open it up to get the Power Gem.Optional: Power Gem #10


Follow the moving platforms to the right side of the room and then run by the first two blade traps to find a Beamos statue. Take the pathway to the left of the Beamos and then use a bomb to blow up the cracked block.

Now take the pathway on the right side of the Beamos and grab onto the movable block. Wait until the blade trap is on the right side and then push the block downward. Backtrack around and then push the movable block all the way to the right. Open the nearby treasure chest and then head back down the steps.


Back on the first floor, simply walk to the west, avoiding the two Winders in the room. Step on the floor switch, creating quick access to the entrance of the dungeon. Then head down the steps to get down to floor B1.
Ride the moving platform to the right and then step onto the stationary platform. Use the Boomerang to target the lit torch and then target the unlit torches to light them up. There are six torches in total and the bottom four can all be lit from the stationary platform at the bottom-right portion of the screen. Ride northward on the moving platform and light the final torches, causing the nearby spikes to lower, giving you access to the next platform.

Hit the Shell Beasts so that they fall off the platform and then turn to the left to find an arrow orb. Hit the orb with the Boomerang twice, causing it to face to the west. Shoot an arrow at the orb and it will then hit a couple of arrow orbs before then hitting a crystal switch, causing the red blocks to be lowered. This allows you to access the steps and return to the first floor.

Before heading up, once again toss the Boomerang at the arrow orb, causing it to face northward. Once again shoot it with an arrow, and this time it will hit a number of orbs and then an eye switch. This will cause a nearby treasure chest to appear containing a Wisdom Gem. Optional: Wisdom Gem #6
In this narrow corridor a Pols Voice will drop down from the ceiling. Blow into the microphone to defeat the enemy and it will drop a small key. Use the small key on the locked door and then head up to the second floor.

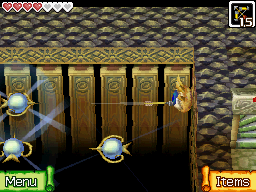
Step onto the blue block and then take a glance at your map. There are four pillars in this area and each of them has an eye target on it. You’ll have to hit the targets in the proper order. This room follows the order of the dungeon, which was also used to solve a puzzle at the northwest part of the floor earlier on. Remember, the order is Up, Down, Right, and then Left.
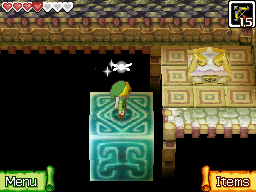
To move along on the blue platform, pull up the map and trace a pathway, which will cause the block to move. Be careful not to cause too many intersections as it will confuse the direct that you need to go. Additionally, you are standing a large block, so don’t draw your lines right into the pillars. At anytime you can pull up your map and erase the lines that you have drawn. Then you can redraw lines to move wherever you need to go.


Once all four eyes have been hit, a treasure chest will appear at the top-right portion of the room. Make your way on over and open the treasure chest to get the Boss Key. Step back onto the platform and ride it to the southwest portion of the room. Use the key on the locked door and head up to the third floor.


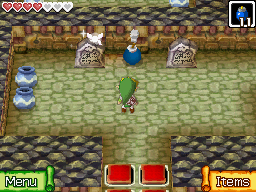
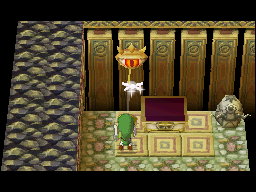
Read the tablet to create a blue warp portal that will take you back to the entrance of the dungeon. Slash all the nearby pots to collect some extra arrows and hearts. Once you are ready, climb the steps to take on the dungeon boss, Crayk.
Before walking up the staircase, walk to the north end of the room where you will see a cracked wall and a treasure chest on the other side. Blast open the wall with a bomb and then open the treasure chest to get a Courage Gem.Optional: Courage Gem #5

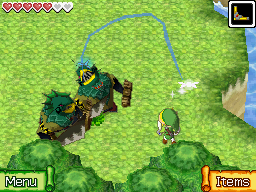
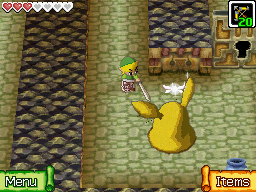
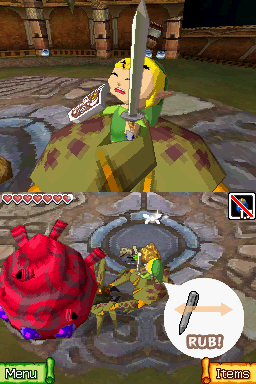
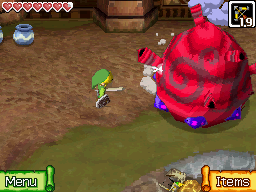
During the first phase of the battle there are smaller Crayklings scattered around the ground floor. These small creatures can be defeated with two sword slashes and will leave behind arrows and recovery hearts as a reward. Try to keep your distance from Crayk; if he comes into contact with you, he will deal damage. Crayk will also grab Link and shake him, causing there to be continuous damage each second. Rub the stylus on the bottom screen quickly to break free.
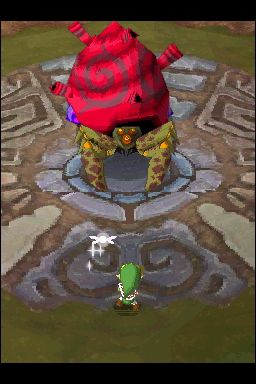

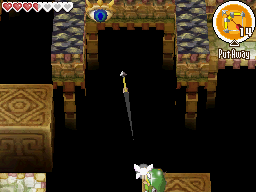
During this initial phase, Link will need to hit Crayk with an arrow. When you see Crayk looking directly at Link in the top screen, turn around until Link is directly facing the camera and then shoot an arrow in that direction. It can be a bit difficult at first and shooting a number of arrows repeatedly in the general direction should help you hit Crayk.

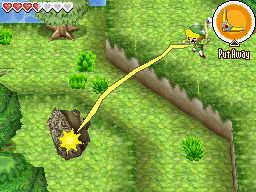
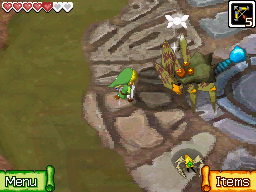
After Crayk has been hit, he will begin to spin around and becomes vulnerable to attacks. You’ll notice the small purple spheres sticking out from parts of its body. These are its weak points and you can either hit them with your sword, or aim your bow towards them. He moves pretty rapidly, so it is a bit difficult to be precise and sometimes just spamming sword attacks is your best bet. After hitting all the purple spheres, the first phase will be complete.

Crayk has now lost his invisibility and the large blue tail is his new vulnerability. He turns fairly rapidly so it at first appears hard to reach his backside. Slash at his head and he will cover up his face in defense. This will give you time to quickly run around back and slash at the blue spot. Repeat this process until Crayk has been defeated.

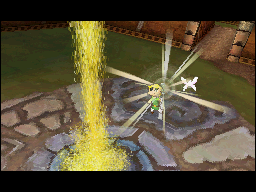
After defeating Crayk, Link will collect two more minutes of sand into his hourglass. Link will also meet with the Spirit of Courage. After an awkward talk, be sure to open the treasure chest to get a Heart Container. Step into the blue warp portal to get back outside of the dungeon.

- Chapter 1 – Mercay Island
- Chapter 2 – Temple of Fire
- Chapter 3 – Ocean King Part II
- Chapter 4 – Temple of Wind
- Chapter 5 – Ocean King Part III
- Chapter 6 – Temple of Courage
- Chapter 7 – Ghost Ship
- Chapter 8 – Ocean King Part IV
- Chapter 9 – Goron Temple
- Chapter 10 – Temple of Ice
- Chapter 11 – Ocean King Part V
- Chapter 12 – Mutoh’s Temple
- Chapter 13 – Ocean King Part VI
