Hateno Village is located just east of the Dueling Peaks area and Impa guides you in this direction.
- Chapter 1 – Great Plateau
- Chapter 2 – Dueling Peaks
- Chapter 3 – Hateno Village
- 3.1 – Hateno Tower
- 3.2 – Hateno Ancient Tech Lab
- 3.3 – Locked Mementos
- 3.4 – Find the Fairy Fountain, and Onward
- Chapter 4 – Zora’s Domain
- Chapter 5 – Vah Ruta Dungeon
- Chapter 6 – Goron City
- Chapter 7 – Vah Rudania Dungeon
- Chapter 8 – Gerudo Town
- Chapter 9 – Vah Naboris Dungeon
- Chapter 10 – Rito Village
- Chapter 11 – Vah Medoh Dungeon
- Chapter 12 – Captured Memories
- Chapter 13 – The Master Sword
- Chapter 14 – Hyrule Castle
- Chapter 15 – The Champions’ Ballad
3.1 Hateno Tower
After meeting with Impa, she will guide Link in the direction of the Hateno Village, which is located to the southeast. From Kakariko Village head south, crossing the Kakariko Bridge and then take the defined pathway eastward until it eventually leads to uncharted area. You will arrive at Fort Hateno, and along this pathway, you’ll encounter plenty of enemies and characters wandering around. Feel free to talk to anybody you choose, but when you’re finished being side-tracked, follow the pathway until it forks to the southwest. Cross the Fir River and head towards the Hateno Tower. (As usual when chasing towers, opening your Sheikah Scope and setting a pin on the tower will help with navigation.)


As you draw closer to the tower, you will find that it is covered with spikes. While they can be burned, this is not required as a path to climb is available. Climbing to the top of the tower is a bit more tedious than prior towers. If you haven’t upgraded your stamina, you will have little to spare as you climb the tower, so don’t try to jump up to fast.


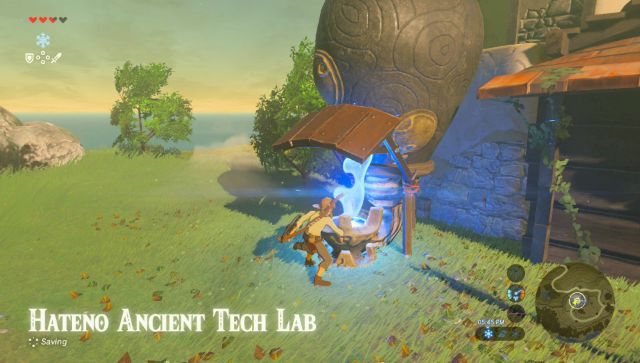
3.2 Hateno Ancient Tech Lab
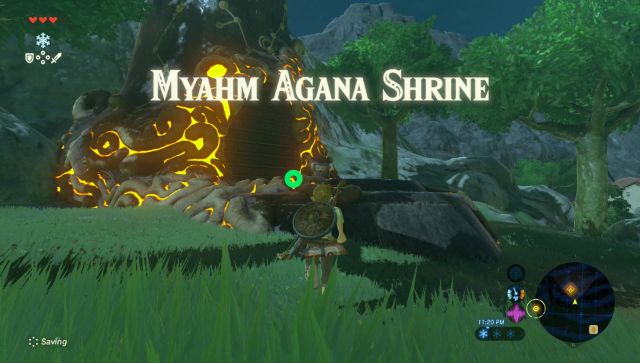
With the map revealed, Hateno Village should be easily be spotted in the direction of your objective marker. Head there and feel free to get sidetracked and look around. Several characters in town offer sidequests (one of which will allow you to swap out previously earned heart containers for stamina vessels, or vice versa), the Myahm Agana Shrine is available south of town to unlock as a warp point, and there is an armor shop. This shop sells the Warm Doublet if you never got it on the Great Plateau, the Hylian set if you didn’t purchase it in Kakariko, and an exclusive Soldier’s set. The Soldier’s set provides the highest defense in the game so far, however it does have a slight movement speed penalty. It is best worn when damage cannot be avoided through mobility, but can be reduced through defense. The rest of the time, you will typically stick with the Hylian set.
After you have explored to your heart’s content, begin to make your way towards the beacon just east of the village. The location you are trying to reach is on a higher cliff, but the road is fairly straight forward and you can reach the Hateno Ancient Tech Lab without much trouble. Once you arrive head inside and talk to the two characters in order to speak with the director.
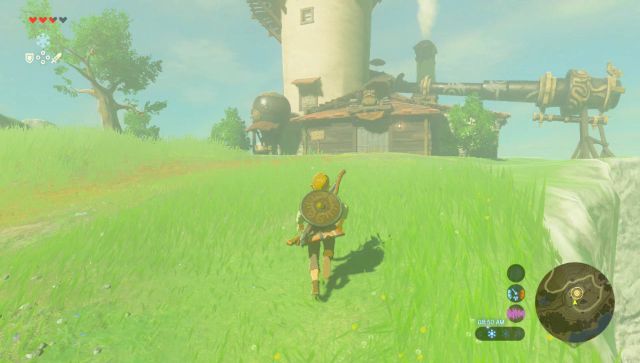

The director will fix your Sheikah Slate, but it comes at a cost. She will task you with an errand, asking you to bring the blue flame from the ancient furnace in town to light up the furnace just outside the building. If you explore around inside and outside the lab, you will likely find a torch that can be used for this.
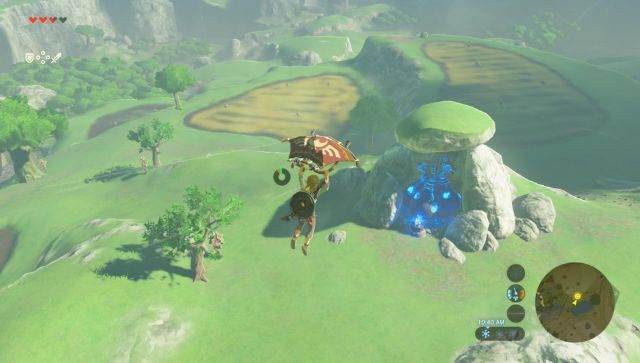
Back outside, fly on over to the new beacon and you’ll see a massive blue furnace. It may have a torch next to it as well. A torch is recommended for this as they are made to burn and will take very little durability damage for it (if any) from being on fire, but any other wooden weapon can be ignited and used. Swipe your weapon to light it on fire. If you run around, right next to a tree you will see a small lantern post. Carry the flame over and light this lantern on fire. This will light this lantern as well. In general, there is a path of lanterns all the way to the ancient furnace. If your weapon’s flame goes out or you accidentally put it away, it can be relit at any lantern you’ve lit so far.


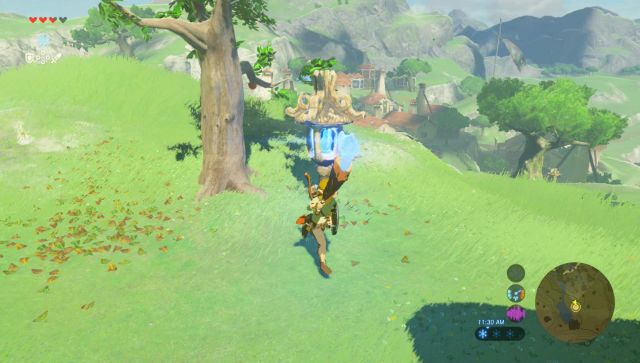
The goal here is to light these lantern posts consecutively, as you make your way back up to the Ancient Tech Lab. Travel back towards town, lighting the lantern posts as you go. Some of the posts are much further away from each other, so don’t be concerned if you feel like you missed one, you can always light it later if you want. Follow the path eastward out of the village and then take the long journey up to the Ancient Tech Lab.

Once you arrive back at the Tech Lab, light the furnace and this will cause a warp portal to appear. Go inside and speak with Purah.
As a thanks for lighting up the furnace, Purah will now repair your Sheikah Slate using the Guidance Stone. This will add the Camera Rune to your slate and Purah will immediately ask you to take a picture of her, so go ahead and do so. Show her the picture and she will then tell you that Princess Zelda once used this camera.


3.3 Locked Mementos
Purah suggests taking the upgraded Slate back to Impa. If you unlocked the Ta’loh Naeg Shrine, quickly make your way back to Kakariko Village. Otherwise do the long trek around to get there, and remember to unlock shrines next time! Once you arrive, Impa suggests that if you find the locations where the pictures are taken, it will restore some of the lost memories.
This will trigger a new main quest titled Captured Memories. This quest however, requires you to go to all the locations where the pictures are shown. At this point in time, while we can access all of these areas, none of them are readily available unless you’ve already navigated most of the Overworld. So, we’ll take on this quest slowly as we venture through the game.


3.4 Find the Fairy Fountain, and Onward
In addition, a new Main Quest is now available, although it will not be automatically added to your log. As always, this is optional, but recommended as the next step. Outside Impa’s house, talk to the painter Pikango (near the fire) who is looking for a picture of a Great Fairy Fountain. Agree to follow him and you will head up the hill above Kakariko.
He will lose courage and ask you to go on ahead, so do so. The fountain is easily located ahead on the left.
First, it will need to be unlocked. If this is the first Fairy Fountain you’ve unlocked, the cost is 100 rupees, and is well worth it. This also will unlock a tier of upgrades for your armor. It is strongly recommended to upgrade all your armor sets for the additional defense. Any that cannot be upgraded, look and see if the materials required are listed, and go get them. Intrepid explorers may already have many of the required ingredients on hand.
After you’re done with the Great Fairy, take a picture of the fountain. (The Great Fairy herself will not be in this picture, this is okay.) Return the picture to Pikango to complete the quest.
The reward is that Pikango will give you hints that will help you complete the Captured Memories Main Quest. Pikango can now be found in several places in the world to provide hints for the memory locations that are nearby.
If you complete at least one of the Captured Memories (see Chapter 12 or our Interactive Map for assistance, or use Pikango’s help) and return to Impa, she will reward you with the Champion’s Tunic. This is slightly stronger than the Hylia set chest piece, and will reveal the health of enemies. It is also upgradeable at the Great Fairy Fountain.
At this point, the direction to take is entirely up to you. With Kakariko Village and Hateno Village explored, a variety of sidequests and shrines are available. The next step is to tackle the Divine Beasts, but there’s 4 of them and you can go in any order you please. Note however that the first Divine Beast you finish will be set at the easiest difficulty level, and each time you finish one off, the remaining ones will be set to a slightly harder difficulty level.
For this walkthrough, we recommend heading to the Zora’s Domain as the next step, mostly because it is the closest and fastest to reach. If you choose otherwise, simply pick the chapter relevant to your chosen direction.
