- Chapter 1 – Parapa Palace
- Chapter 2 – Midoro Palace
- Chapter 3 – Island Palace
- Chapter 4 – Maze Palace
- Chapter 5 – Ocean Palace
- Chapter 6 – Hidden Palace
- Chapter 7 – Great Palace
7.1 Valley of Death
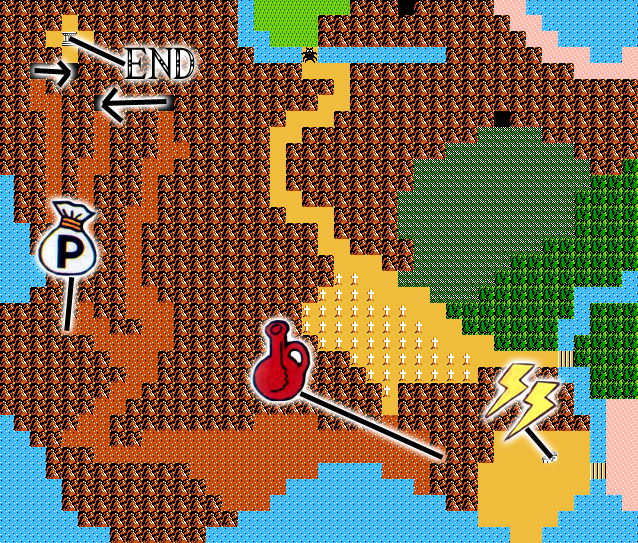
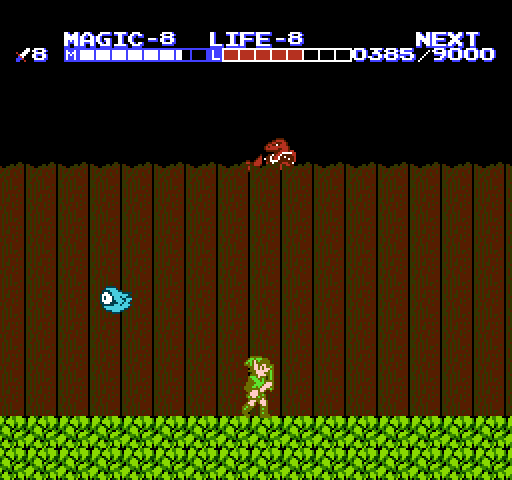
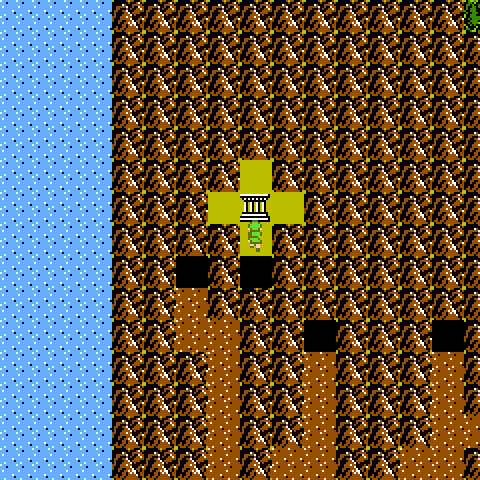
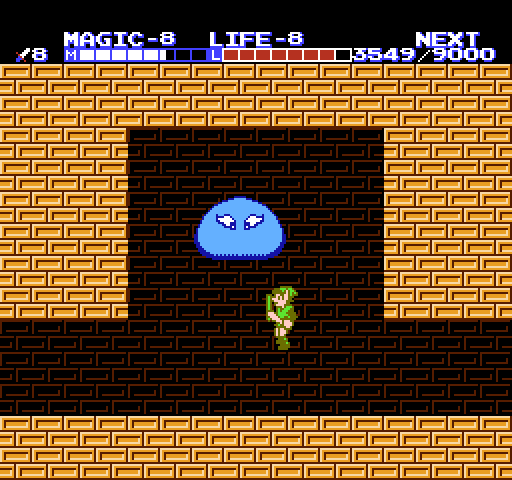
Before heading into the Valley Of Death, we’re going to get the last Spell. Go across the bridge into Old Kasuto, but watch out, it’s full of Bago-Bagos and holes in the bridge. With the Cross, we are able to see the Moas in the abandoned town. Go inside the first house you pass.
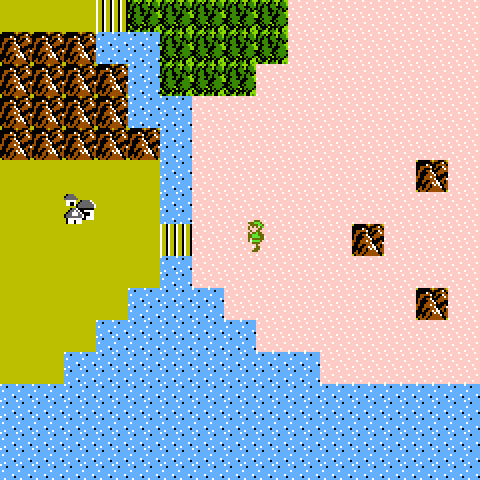
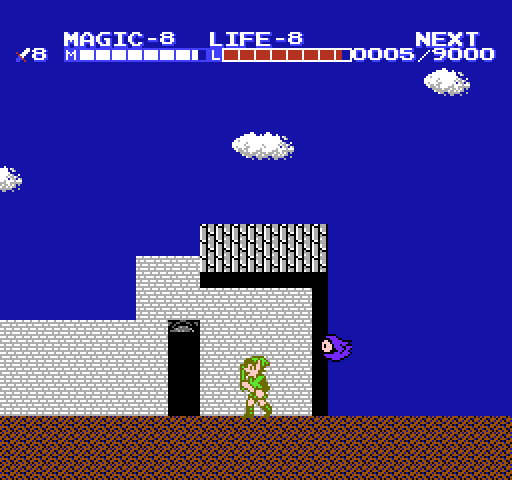
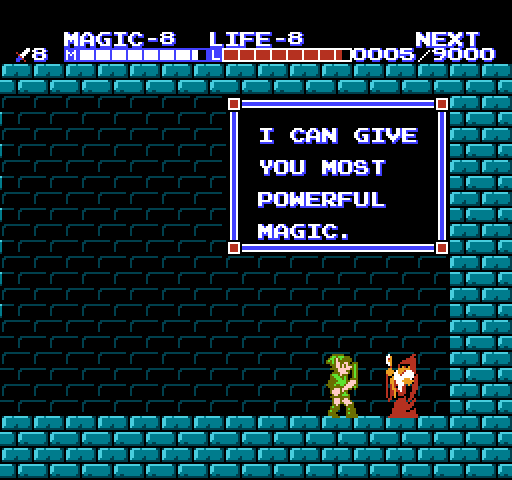
The Wise Man will give you the “most powerful magic”, Thunder. This Spell can take as little as half of your magic in one use even if you have all four Magic Containers and L-8. This town has nothing else, so go to the graveyard near the Valley of Death.
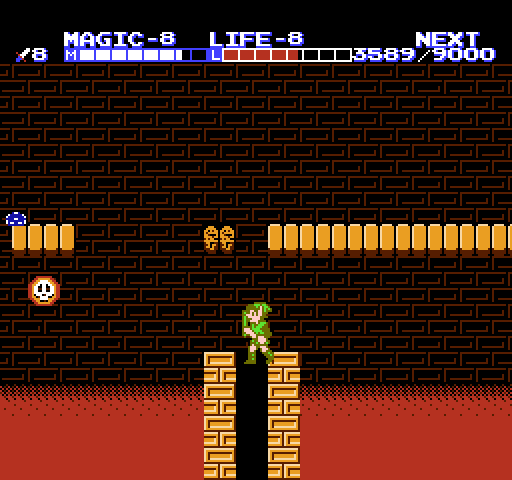
The single trail square between the graveyard and the Valley of Death has an action scene. This is similar to the first three on the trail that led here, but it has Moas. When you get into the Valley of Death, go right into the small dead-end to get a Red Potion. Start heading west.
Several battle scenes and two caves are included in this valley. Even the battle scenes caused by the enemies can be difficult to escape from. Moas are everywhere, but they aren’t invisible due to the Cross. Spell is a great way to get rid of them, since it will turn all of the Moas on the screen into Bots.
Shortly after you start heading north, a fork in the lava will appear. Take the left one into the small dead-end to get a Point Bag. Continue to head north. The battle scenes you can’t skip along the way contain Moas and Lizalfos. The pits can be quite wide at times, so it’s wise to enable Jump.

The caves have Moas as well. The first cave has two parts, while the second one only has one part. As you get further, the battle scenes start to become more intense by putting in stronger enemies. Go into the last cave.
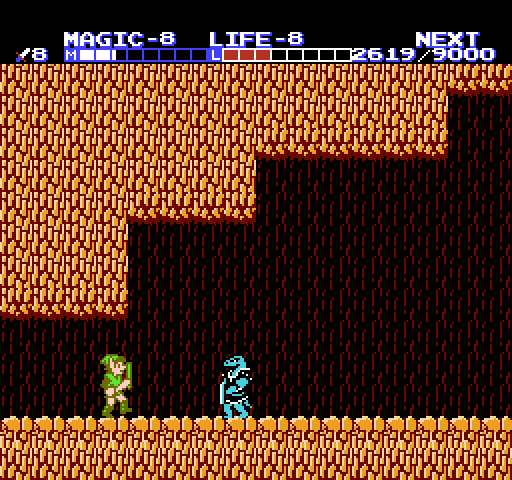
The last cave contains two Lizalfos; a blue one and a red one. If you have one life left and/or low health, skip them and head out of the cave. After you get out, you’ll be right in front of the Great Palace atop the Valley of Death.
If you die in the Great Palace, select continue on the game over screen and you’ll appear at the entrance of it. Go inside and make your way to the bottom, you must obtain the Triforce of Courage!
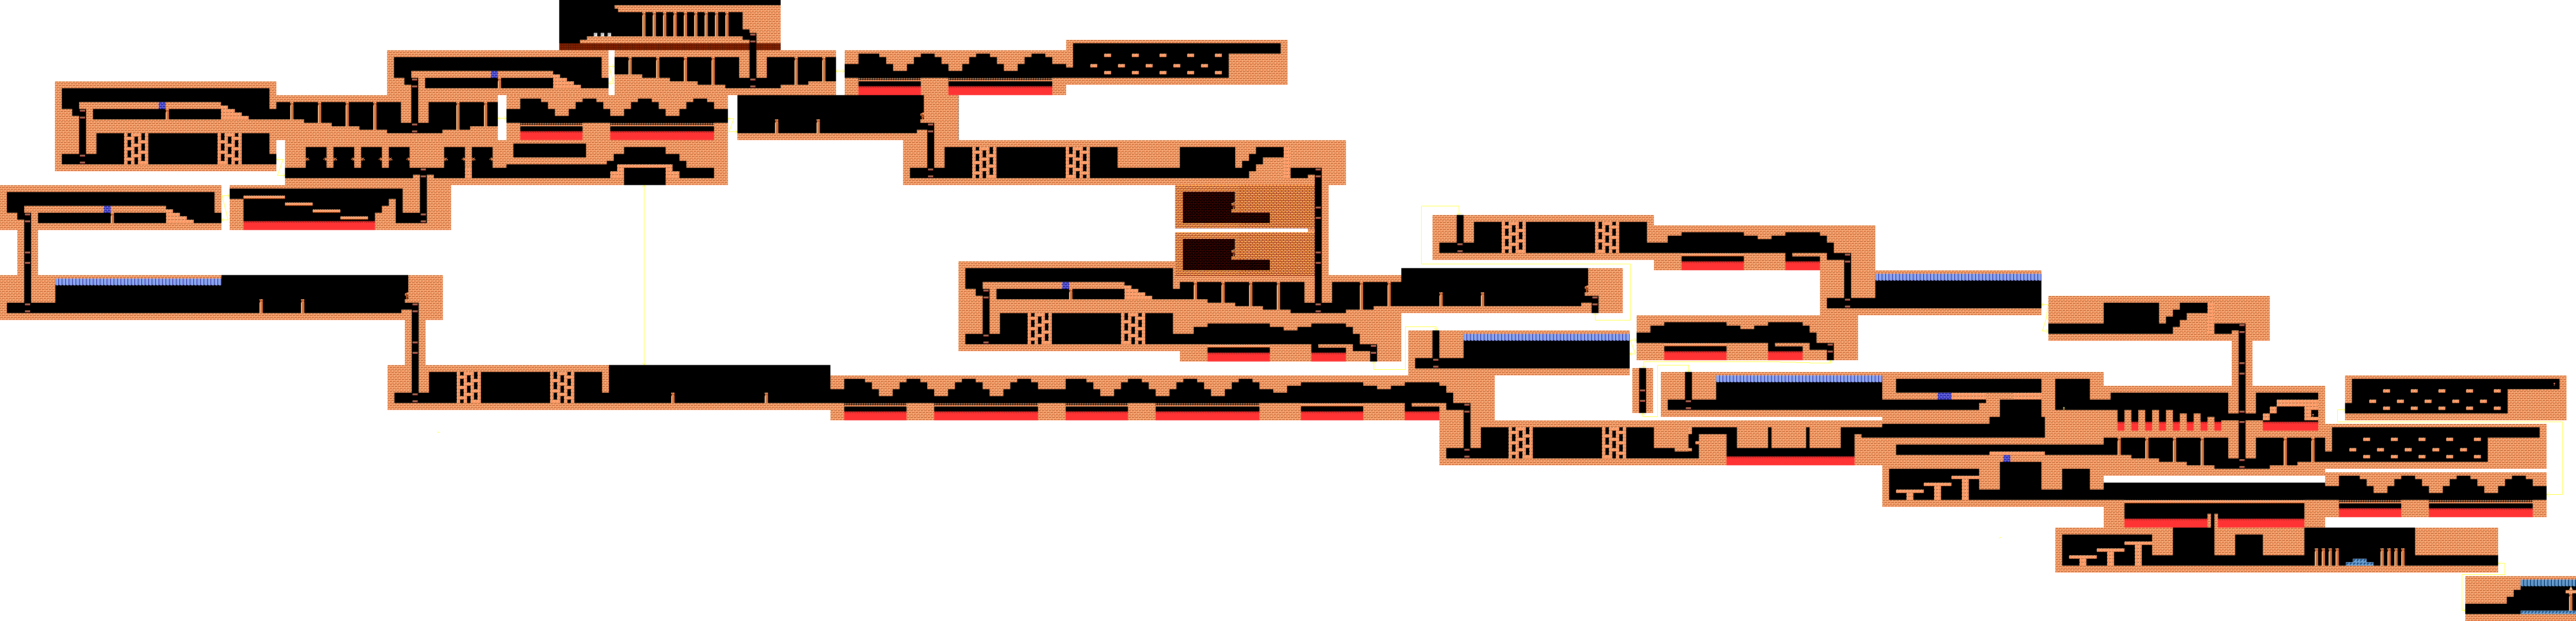
7.2 Great Palace
(Click image below to view a full-sized map of the Palace)
When you walk up to the force field, the Binding Force will be undone and the force field with disappear. If you somehow managed to get here with less than six crystals, the force field would just instantly kill you if you try to go through it.
Remember, press continue if you die in here so you’ll end up at the entrance again. This palace has a lot of its own enemies, and they are far tougher than any we’ve faced so far. The only goal in this palace is to get to the other end at the lower right corner of it. Take a deep breath, and go inside.
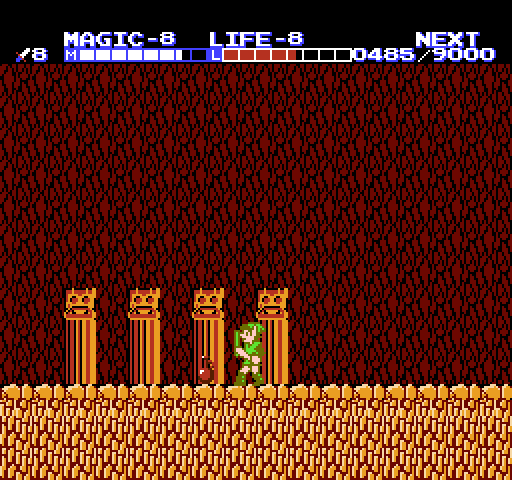
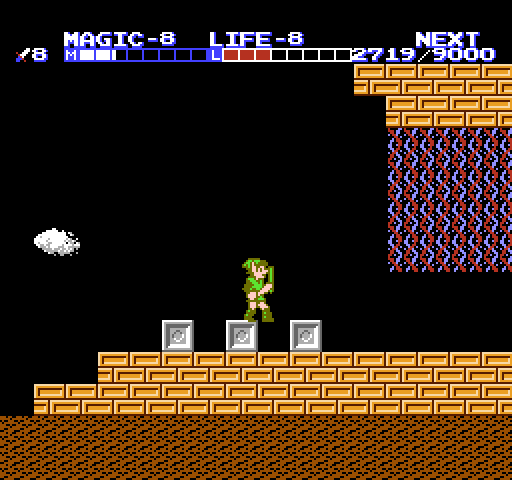
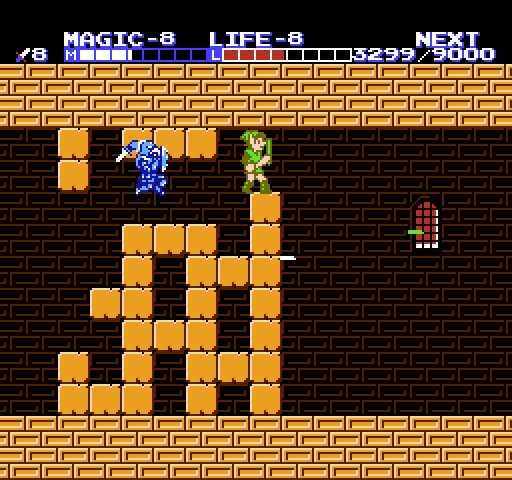
Take the left path after going down the first elevator. The first enemy we encounter is a Fotail. The fire they spit out actually moves towards you, so act fast and attack them. Go into the next room.
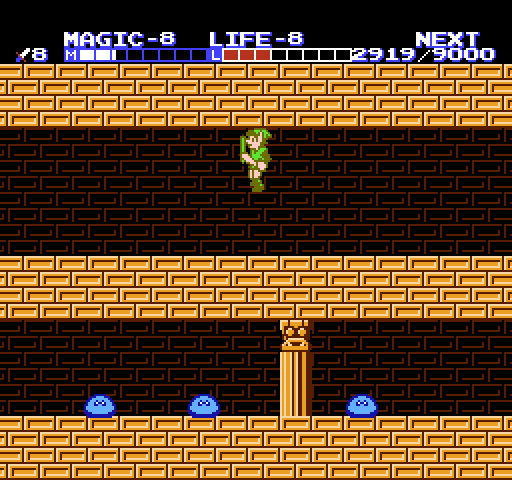
A false floor is in this room, and it’s right after the pillar. Simply jump before Link isn’t walking above it anymore. Even with an L-8 sword, the Bots below will take more than one hit. Go down the elevator at the end of the room. For a while now we’ll be heading east nonstop.
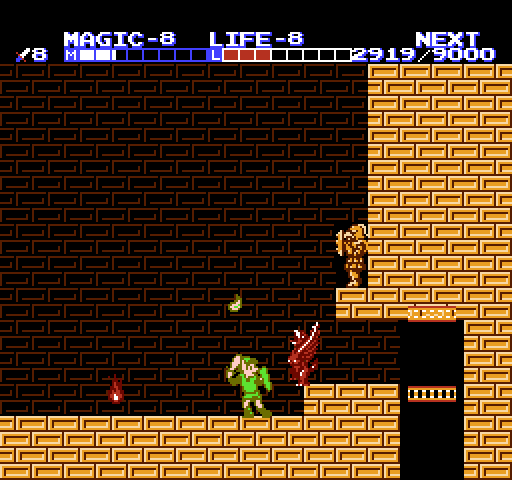
You’ll come across a room with weird block formations. Simply slash your way through them while avoiding the Dragon Heads. This room has a Red Fokka and stairs, but since they can jump you are no longer safe. You can use an Upward Thrust to attack them when they jump over you. Use a Downward Thrust to go down through the blocks and take the elevator.

When you’re almost all the way down, walk on the left wall through a hidden passage. Hit the statue to get a Red Potion. The next passage down also has a secret room, but it just contains a new enemy, a King Bubble. Go farther down the elevator, and go through the hall on the right.
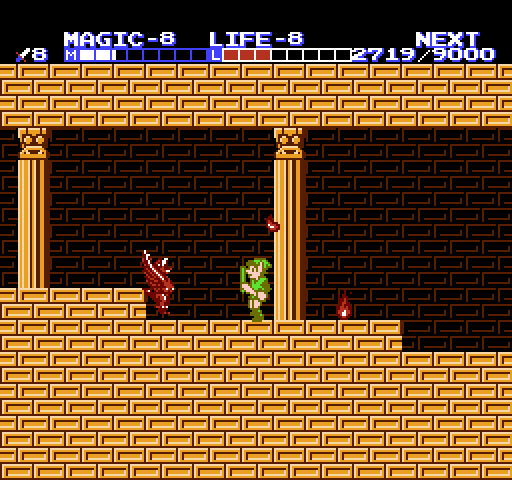
Go through the long hallway filled with Red Ropes and Dragon Heads. Slash the statue to get a Red Potion. Go down the elevator. Don’t worry, there are plenty more elevators for you in this place. 🙂 This room has giant square block structures, and a Blue Fokka.
It’s very hard to make yourself safe from the Blue Fokka in the blocks, but if done right you can avoid it and prevent it from following you. Run across the disintegrating bridge and go down the elevator. Go through the long hallway with a King Bubble and Fotail. Run like the wind from the Blue Fokka, go down through the blocks, then down the elevator.


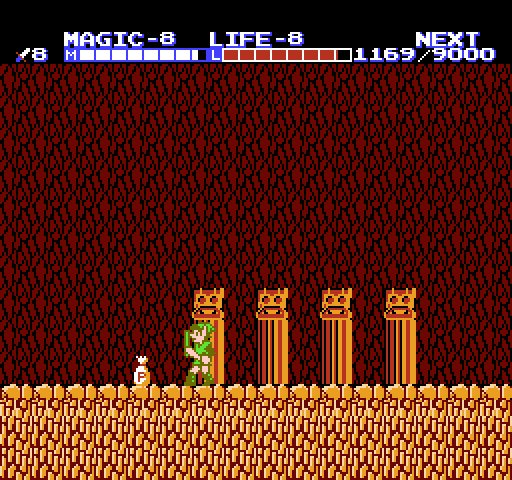
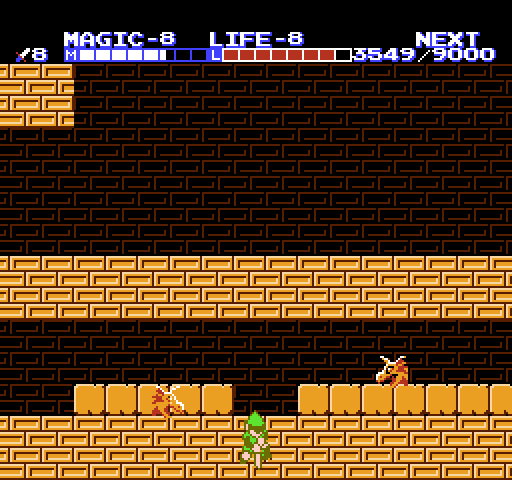
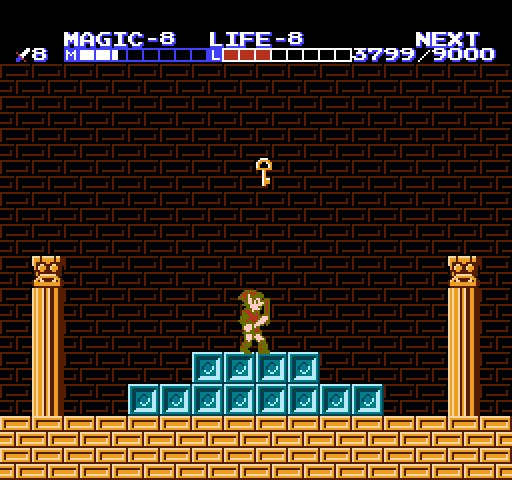
There is another hidden passage when you go down the elevator, and it leads to a Red Potion. When you get down, go right first and do a Downward Thrust until you reach the fairy. Don’t hold down too long, or you’ll fall into the lava. Take the left path and be careful with the Bots. This leads to a dead-end with a Link Doll.
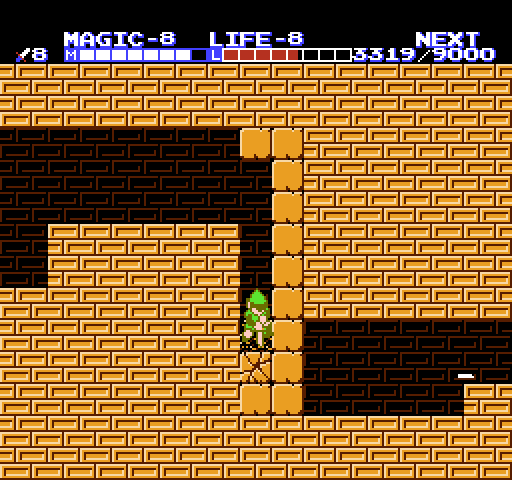
After taking the Link Doll, go back to the elevator and go down. Keep going left until you reach a room with blocks on the floor and Dragon Heads flying by. Beneath the fifth and sixth block from the left is an invisible floor, so go down it.
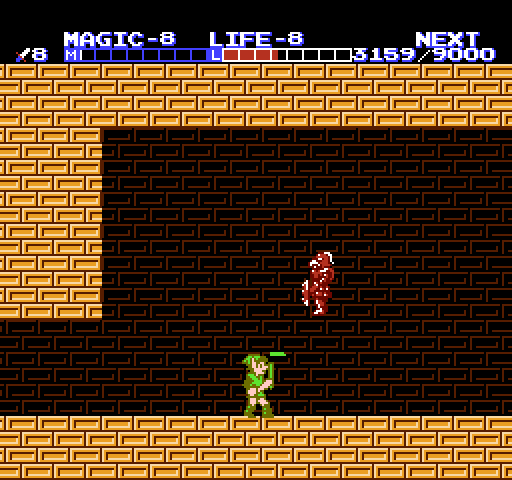
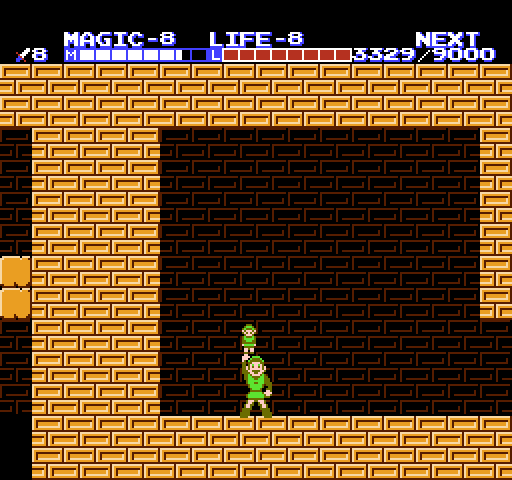
After you land, start to head east. Do an Upward Thrust when you go under the big hole in the ceiling. A Giant Bot will fall down, but your Upward Thrust makes it split into several smaller Bots. Go into the next room.
While walking on the disintegrating bridge, you’ll see a hole in the middle of the lava. Walk above it and let the bridge melt below you so you fall down it. This will make you land in a room that is close to the end of the palace.
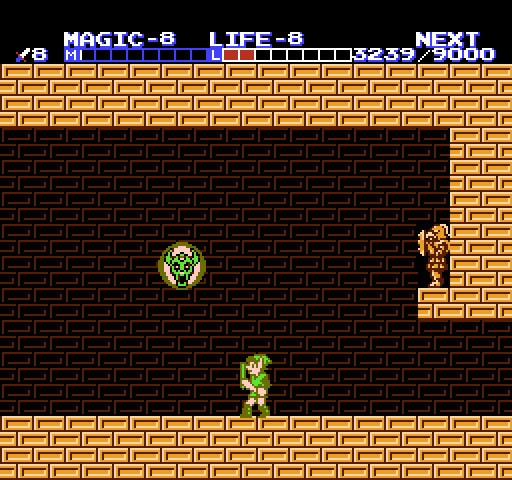
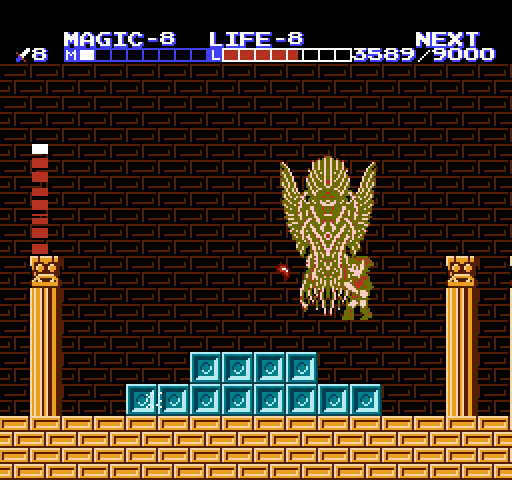
If you walk to the left you can find some Red Potions in the blocks. However, there is also a chance that the blocks can have Fokkas in them as well. Take the path on the right to reach the boss of the palace, Thunderbird. This boss is by no means easy and you’ll need at least 50% of your magic left if you want to beat him. If you only have one life left with not much magic, then you’re out of luck, my friend.
Until you use Thunder, Thunderbird is invincible and red. Use Thunder to turn him blue and expose his face. Enable Shield and Jump and start to jump at his face. Even with the strongest sword possible, he can still take several hits. Thunderbird only drops balls behind him, so to take less damage you can stay in front of him and walk across the screen. Attack him and repeat the process.
As the battle goes on, he’ll move around faster and spit fire more rapidly. Upward and Downward Thrusts do not work; you have to slash his face directly. When you manage to kill him, grab the Key and head into the final room.
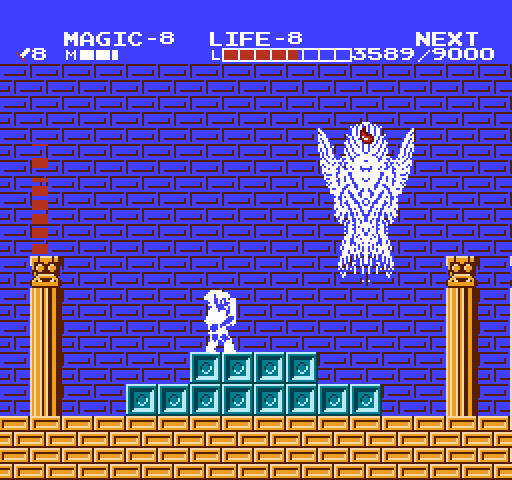
Link will walk into the last room to see the Triforce Keeper with the Triforce of Courage. However, he isn’t just going to hand it over. Link will have to do one last challenge before he is proven worthy to take it.
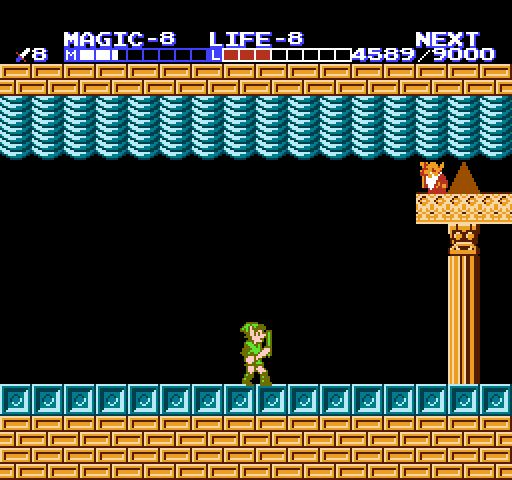
For a last challenge, the Triforce Keeper will make Link dual with his own shadow to test his strength and see if he is truly worthy of possessing the Triforce of Courage!
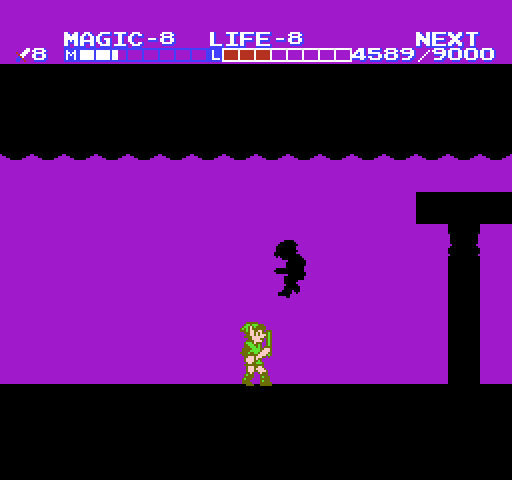
The final battle for Hyrule has come. There really isn’t much strategy to this fight unless you decide to take the easy way out. Since there is an easy way, this boss can either be the hardest, or the easiest boss in the whole entire game.
If you want to cheat, simply stand in one of the corners and keep on slashing over and over. Dark Link will get hurt every time he attempts to hurt you. When he is defeated, the room will return to normal and the Triforce Keeper will give you the Triforce of Courage!
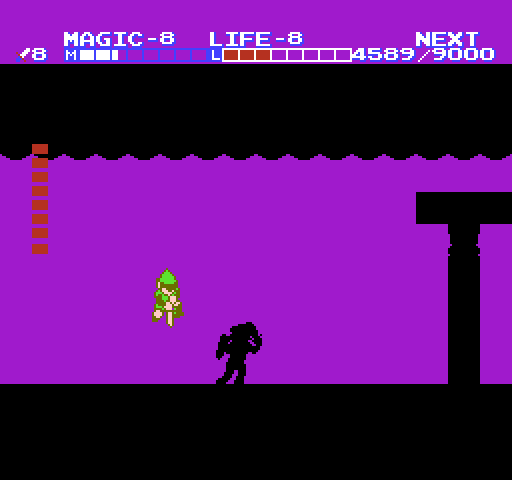

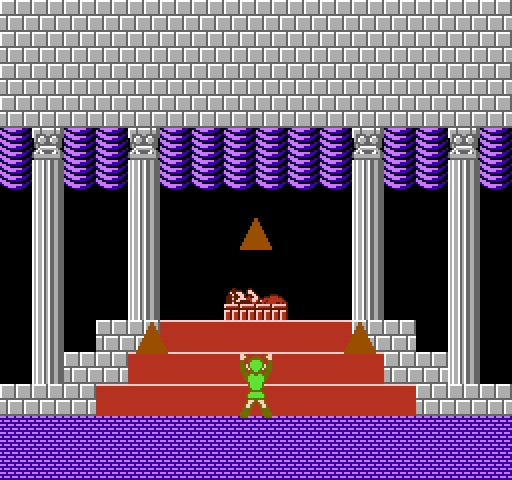
The room will return to normal and Link will automatically moonwalk to the middle of the room. The Triforce Keeper will appear in front of Link and give him the Triforce of Courage. Link takes it and returns to North Palace…
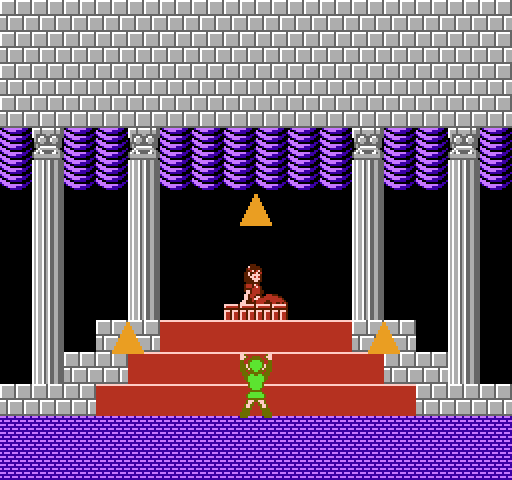
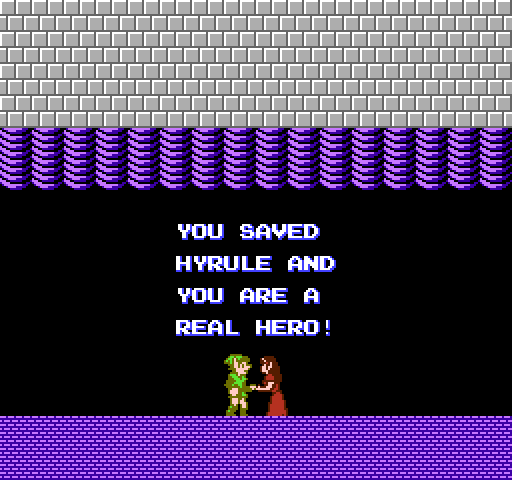
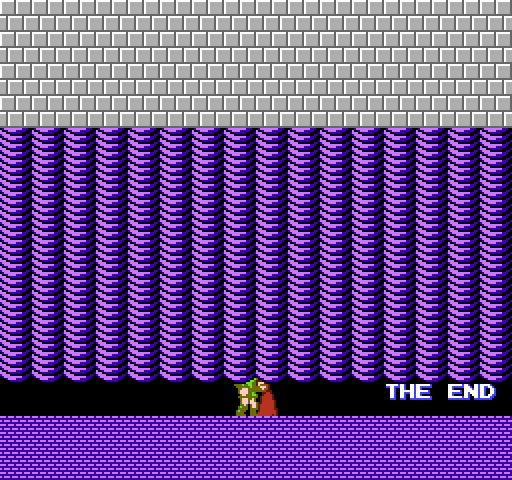
With all three parts of the Triforce, Zelda awakens and calls Link a real hero. The curtains will then lower on the two, showing only their legs. The credits will then begin to roll. Congratulations, you just beat one of the hardest Zelda titles to date, The Adventure of Link!
7.3 Credits