- The Gathering
- Level 1: The Eagle
- Level 2: The Moon
- Level 3: The Manji
- Level 4: The Snake
- Level 5: The Lizard
- Level 6: The Dragon
- Level 7: The Demon
- Level 8: The Lion
- Level 9: Death Mountan
6.1 Final Gathering
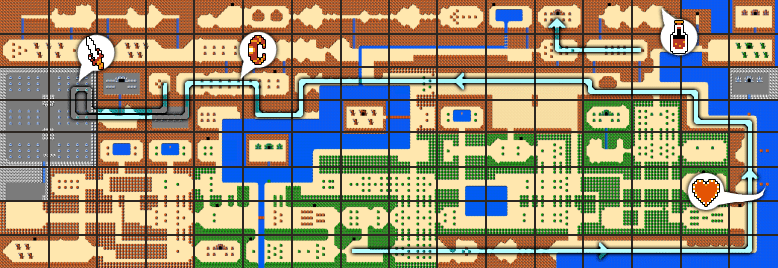
Now that you have the Stepladder, you can collect another Heart Container, which then in turn allows you to get the final sword upgrade. Make your way back to the starting screen and from there, walk to the right eight screens, and then up two screens. The Heart Container can be seen on a platform in the water. With the Stepladder you can walk up right to it.
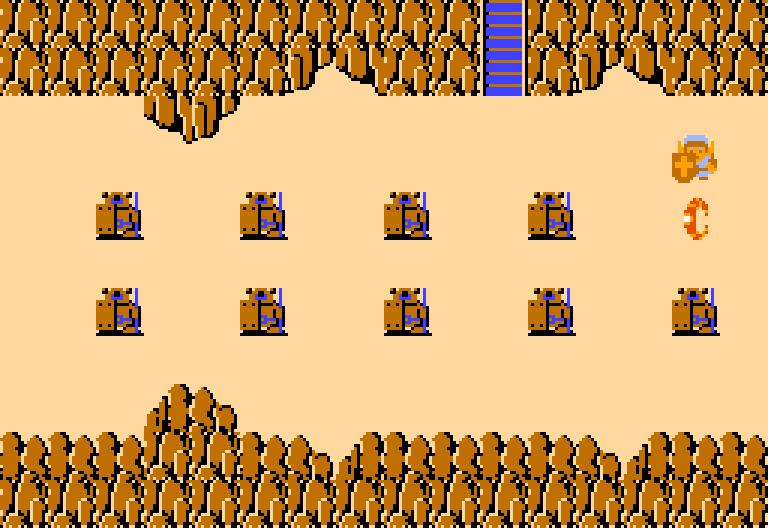
With twelve heart containers, we can now get the next sword upgrade. Walk up two screens, left a screen, up a screen, and then left eight screens, walking across the water with the Stepladder. Continue to walk down a screen, left a screen, up a screen, and left a screen. This screen has ten Armos statues. Touch the one at the top-right portion of the screen and it will reveal the Power Bracelet. This items allows you to move specific boulders in the Overworld, allowing you to uncover some secret warp portals.

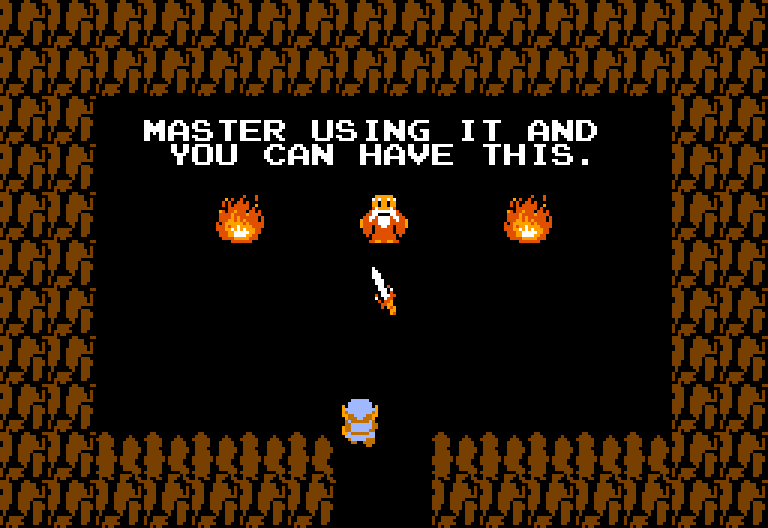
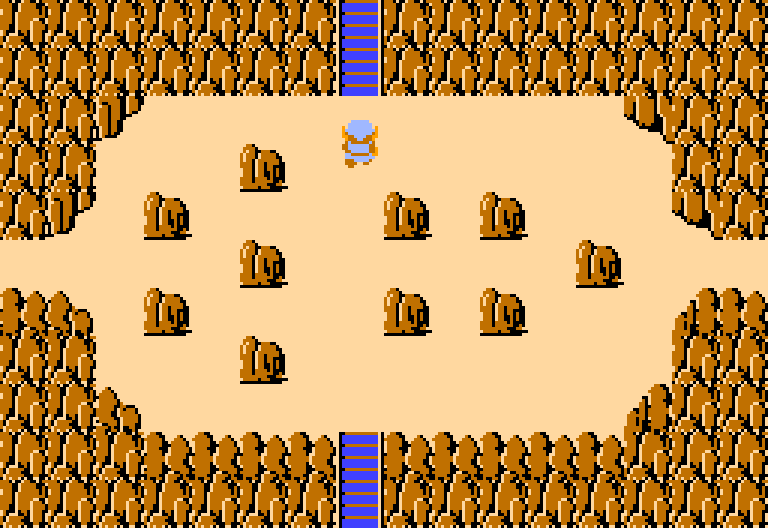
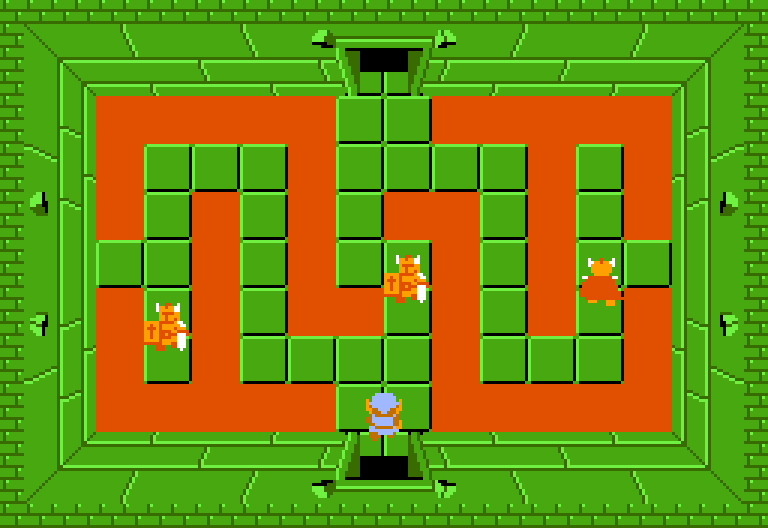
Walk left a screen, down a screen, and left two screens to reach the Graveyard. Here you will encounter enemy Ghini and if you tap a Gravestone, another Ghini will appear. If you then defeat the initial Ghini that is on the screen, all of the enemies will die at once. Go up a screen and you’ll find that there are twelve gravestones. You want to push the gravestone that is third from the left in the middle row. Inside you will find the Old Man, and since you now have twelve heart containers he will give you the Magical Sword. This baby does twice the amount of damage as the White Sword, or four times the damage of the Wooden Sword.

The next dungeon is all the way at the northeast part of the Overworld but we can use our newly acquired Power Bracelet as a shortcut. From the grave, head down a screen, right two screens, and then up along the left side. Use the Power Bracelet to push the block on the left side, creating a staircase. Enter the cave and select the path on the right.

You will appear back in the Overworld near the northeast corner of the map. From here walk left two screens to enter the Lost Hills. This is a maze like screen that will seemingly keep repeating itself. The trick is you have to walk up four times in a row and doing so will finally allow you to progress to the next screen, which is the location of the dungeon.

6.2 The Lizard


x12
Walk through the door on the right side.


x5
Here you will encounter an enemy Pols Voice. These enemies will hop around the room and are immune to almost all of Links attacks. The only weapons that work against the Pols Voice are the sword and the arrows. In the original Japanese version of the game, these enemies were able to be defeated using the built in Microphone feature that the Famicom had.
Defeat the Pols Voice and grab the key that is left behind. You can blast open the wall above to reach an optional room with the Old Man if you’d like. Otherwise head back left a screen and then up a screen.


x3
 Light up the room with the Blue Candle. The locked door to the right leads to an Old Man room where he says DIGDOGGER HATES CERTAIN KIND OF SOUND, a hint on how to defeat the dungeon boss. You can blast open a hole in the wall on the left if you have a bomb. Otherwise, defeat the three enemy Gibdo, grab the key, and head up through the door that opens up.


x3
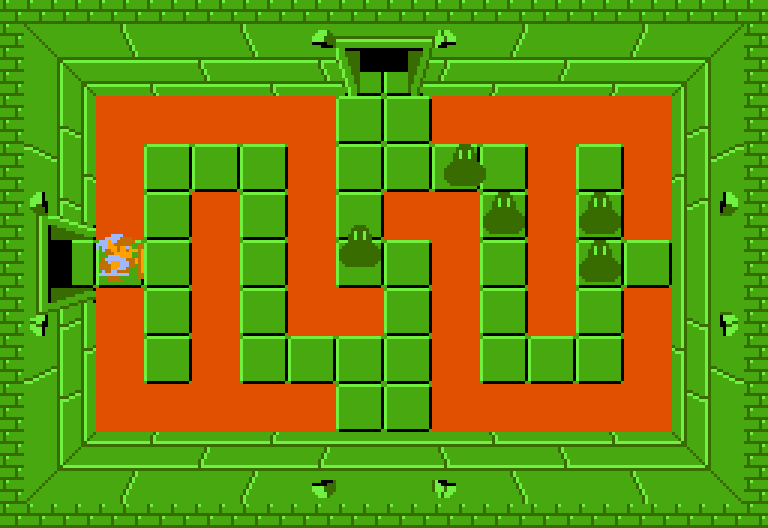
This room has three Dodongos and technically, you don’t need to defeat them at all. In the previous room, if you had a bomb and blasted the wall to the left, then this room is completely skippable. As you can only hold eight bombs, and it will take six bombs to defeat the three Dodongos, so there isn’t too much room for error. If you do defeat them, you will get some bombs back as a reward. I personally would suggest just bombing the wall in the previous room and skipping these Dodongos all together. If you have zero bombs, you are stuck and will have to leave the dungeon to purchase some bombs from a shop or get them as a reward from an enemy.
Use a key to open the locked door and head up a screen.


Grab the Dungeon Map and then head back down a screen. If you defeated the Dodongos head left a screen. If not, continue down another screen and head through the secret wall to the left.


x5
Defeat the five Zol and grab the key that is left behind. Walk down a screen.


x5
The wall on the right is bombable in this room and you likely could have entered this room from that side. Defeat all the Gibdo in this room and some bombs will be left for you as a reward. Use those bombs to blast open a hole in the wall to the left.


x5
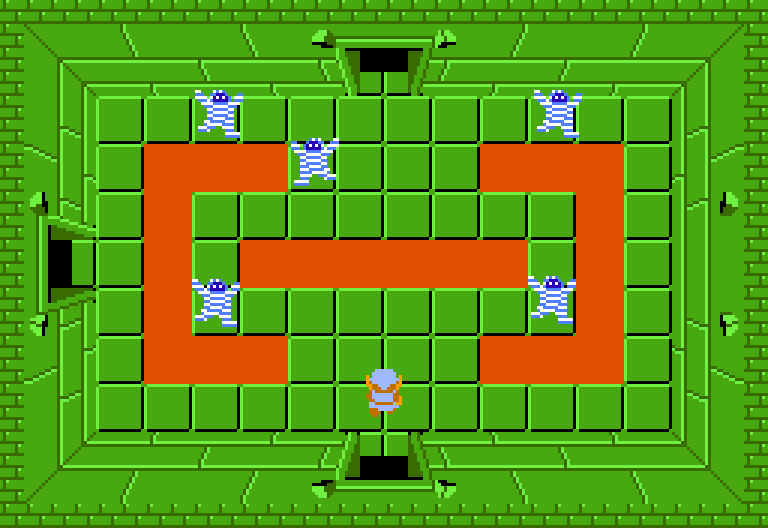
If you don’t have the most upgraded sword, this can be a rather difficult room as these Blue Darknuts have a lot of health. Fortunately if you are fully upgraded, they shouldn’t give you too much trouble. Remember, you can only slash at them from the side or from the back. Defeat all five Darknuts and then push the block on the left side of the room to reach the staircase.


x4
This underground passage has four Keese and will lead to the north end of the dungeon.


Use one of your small keys and head left a screen.


x6
Six more Blue Darknuts fill this room but fortunately, you have more room to work with. Defeat all the Darknuts and then push the block to reveal a secret staircase.

x4
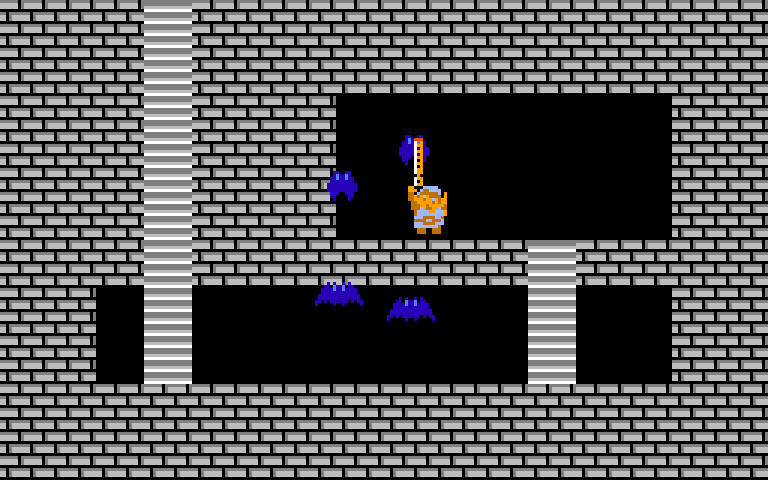
Walk over and pickup the dungeon item, the Whistle. This magical item allows you to quickly warp around in the Overworld, but its primarily use will be to defeat the dungeon boss. Return back up the stairs and then head right a screen. Use a key on the door below.


x6
Defeat the six Keese in this room and grab the key that is left behind. Use a bomb to blast a hole in the wall to the right.


The Old Man will sell you a Bomb Upgrade at the cost of 100 rupees. Walk over the rupees to make the purchase, and this will allow Link to hold twelve bombs instead of eight, which is incredibly helpful.
Backtrack left a screen, up a screen, and through the staircase passage. Continue to backtrack right two screens and up a screen to get back to the room with Dodongos. From here, head right a screen.


x5
Defeat all the Zols in this room to get some rupees and then head up a screen.

x5
Defeat all the Gibdos to get a key and then continue up another screen.


x2
x2
x2
Grab the key that is in this room and use it on the locked door to the left.


x5
Five more Gibdos in this room, but be sure to defeat them all to get a key.


x5
There are five Pols Voice here and I recommend using the Arrows to defeat them. The wall to the north can be blown up with a bomb, leading to an Old Man room. He will give you some advice, SECRET POWER IS SAID TO BE IN THE ARROW. This oddly enough is not advice about the upcoming boss, but instead, the boss of the following dungeon. Nevertheless, head through the locked door to the left to take on the dungeon boss.


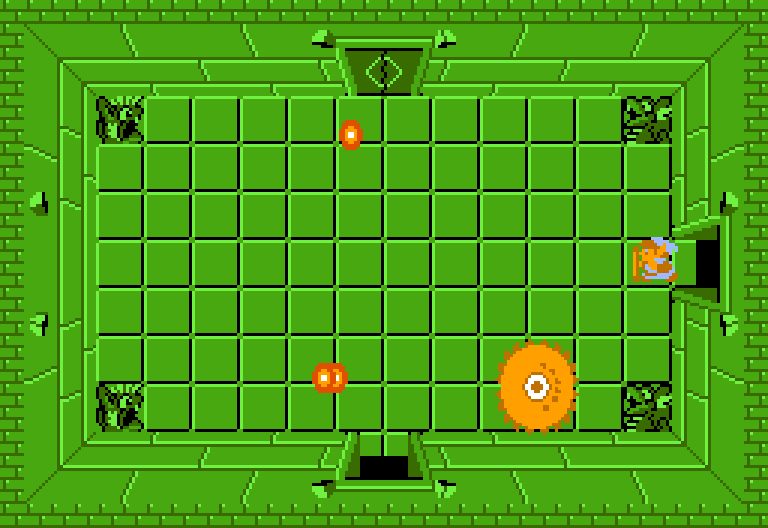

x4
Here you will take on the dungeon boss, Digdogger. Perhaps more of a threat than anything are the four stone statues that will shoot fireballs out at you, so try your best to avoid them. As the Old Man advised early in the dungeon, Digdogger hates a certain kind of sound. That’s a hint that you need to use your newly acquired Whistle. Just pull the item and play it once and it will cause Digdogger to shrink down in size to a tiny enemy that can easily be defeated with your sword.
An even better strategy is to place a bomb down right over Digdogger, and then quickly switch over to the Whistle. By the time Digdogger shrinks down, the bomb will explode and defeat the boss.
After defeating him, grab the Heart Container that is left behind to increase your overall life meter. Walk up through the door that opens up.


