The main portion of the West Necluda region is east of the Great Plateau. If you choose to follow the Seek Out Impa main quest story, it will lead you in this direction.
- Chapter 1 – Great Plateau
- Chapter 2 – Dueling Peaks
- 2.1 – Dueling Peaks Tower
- 2.2 – Dueling Peaks Stable
- 2.3 – Kakariko Village
- 2.4 – Dueling Peaks Goodies
- Chapter 3 – Hateno Village
- Chapter 4 – Zora’s Domain
- Chapter 5 – Vah Ruta Dungeon
- Chapter 6 – Goron City
- Chapter 7 – Vah Rudania Dungeon
- Chapter 8 – Gerudo Town
- Chapter 9 – Vah Naboris Dungeon
- Chapter 10 – Rito Village
- Chapter 11 – Vah Medoh Dungeon
- Chapter 12 – Captured Memories
- Chapter 13 – The Master Sword
- Chapter 14 – Hyrule Castle
- Chapter 15 – The Champions’ Ballad
2.1 Dueling Peaks Tower
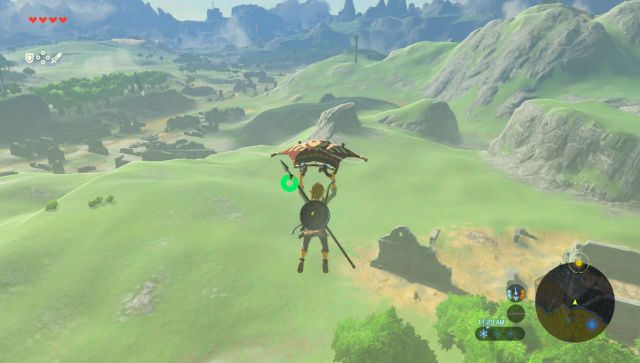
Once you are ready to leave the Great Plateau, be sure your main quest objective is toggled as Seek Out Impa so that marker appears on the map. Run over to the east end of the Great Plateau or just warp over to Ja Baij Shrine. From there, use your newly acquired Paraglider to leap off of the Plateau, heading eastward.
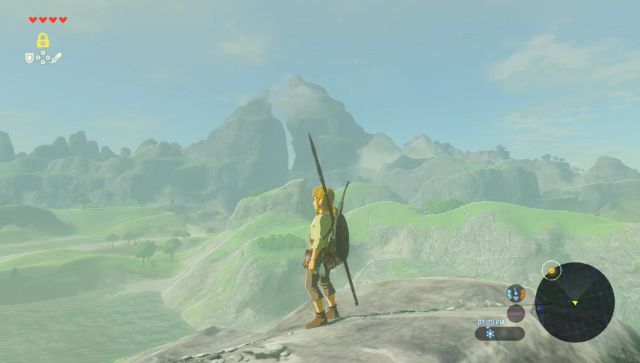
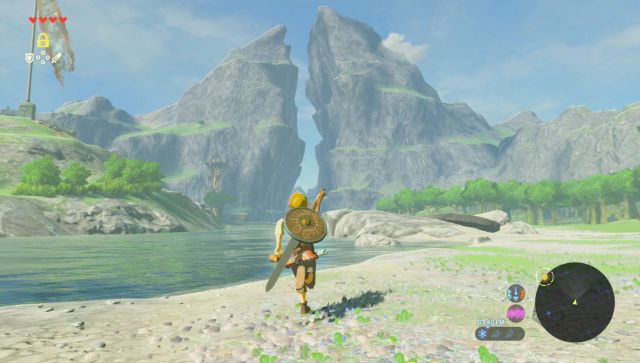
Dueling Peaks is the massive rock structure to the east that you can see from a great distance. It’s a mountain with a split directly in the middle, allowing for a narrow valley to squeeze through. Right next to this pathway, there is the Dueling Peaks Tower and that is our next destination. If you like, when the tower is visible, activate the Sheikah Scope, move the cursor to directly on top of the tower, and assign a pin. This will help orient you, especially as the map is not yet revealed.
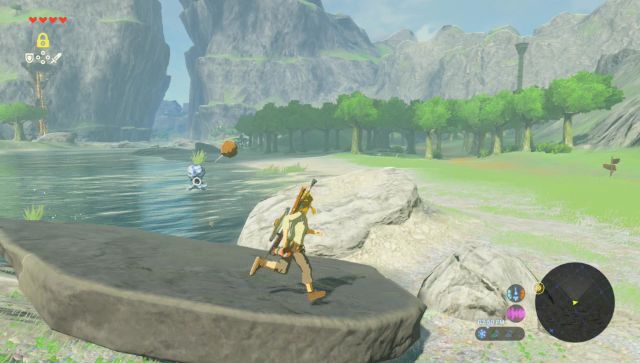
Along the path you will come across the Bosh Kala Shrine. You can tackle the shrine if you so choose (click the link to open a page with a mini-walkthrough), but definitely activate it so you can use it as a warp point in the future. Make your way eastward, crossing the Proxim Bridge. Continue making your way towards the massive rock structure in the distance. As you draw near you will see the Tower, located just north of the shallow river. Swim across, or use Cryonis to raise ice towers in the water which you can leap across, to reach the north side, but beware of the enemy Octoroks that are in the water. You can defeat them by deflecting a rock back with your shield. Be sure to pick up any Octo Balloons they drop, as this item is useful for solving puzzles. Dropping an Octo Balloon on something will lift even heavy objects into the air.


Once you draw near to the tower, swim on over and begin scaling it. These towers are rather tall and can be quite tedious to ascend. Use your stamina selectively. While jumping increases speed, you spend more stamina jumping than you do for climbing the same distance at your normal speed. Save jumping for when you know you’ll reach the next ledge without running out of stamina. When you reach the top, place the Sheikah Slate into the Pedestal to open up the beacon, revealing the map for this region.
Additionally, doing so will unlock the Sheikah Sensor. This feature will cause the Sheikah Slate to react whenever there is a shrine nearby that you have yet to visit. If you move in the direction where the reaction is strongest, you can usually find the Shrine, though some are more difficult to locate. For an overview of all shrines, use the Shrine Locations page.
It is recommended to complete as many shrines as you have the patience for. Feel free to get sidetracked and roam far and wide completing them, as they often contain additional rewards, not just Spirit Orbs. The main quest will wait for you!


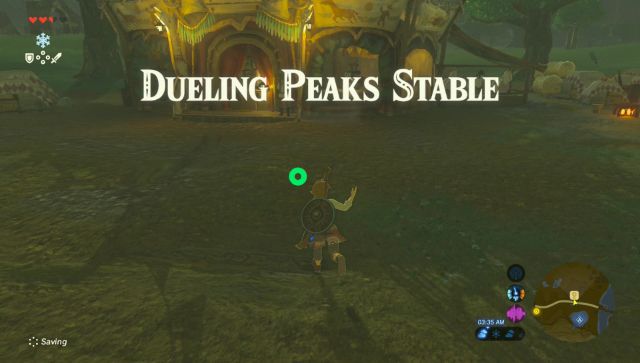
2.2 Dueling Peaks Stable
Assuming you’re moving forward on the main quest, we want to head eastward through the Dueling Peaks’ valley. There is a river here, along with a pathway on the side of the river, so Paraglide over to that side. As you travel eastward, you’ll see that your Sheikah Sensor will vibrate, highlighting the nearby shrine that is on the higher ledge to the north. You can detour if you’d like and complete the Ree Dahee Shrine, but otherwise continue heading eastward.

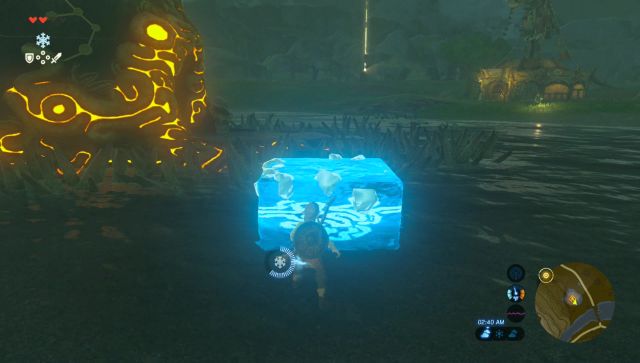
As you exit the valley, you’ll find another shrine just north of the river. This one however has spikes around it, blocking off the entrance. You can use your Cryonis ability on the water to create a pillar, and then jump over to the entrance of the Ha Dahamar Shrine. Complete the Shrine if you’d like, but otherwise, just use it as a warp location. Completing the shrine will clear the spikes around it, however you can run up the shrine along its backside to escape the area without taking damage if you do not complete it.
Head over to the Dueling Peaks Stable where you can talk with many of the characters. The depth of character interaction is deep in this game and they will often provide many extraneous background details to further your immersion into the world. For instance, wandering characters might be frightened by nearby monsters and reward you if you fight them off. Characters you have already met will have their name above their head when you get close; this helps easily identify characters you have not yet talked to. Also, characters with a quest available to you will have a red exclamation mark icon when you get close enough to them to show their name. Important and/or quest-related characters will often have a line or two of dialogue simply when you walk near them, to entice you to interact with them. And if you accidentally start a side quest you don’t intend to do right away, it will wait for you forever and you can do other things as much as you want. Ultimately, it’s strongly recommended to spend time talking to as many people as you enjoy talking to. Play the way you have the most fun!
There are a few optional things to complete in and around the stable; these can be completed at any time, do so as you wish. When you are satisfied, continue forward with the main quest, Seek Out Impa.

There are two optional side quests to complete at this stable, both of which can be completed with relative ease. We have two formats for these quests, written and video, so choose the style that suits you. Wild Horses – Given by Rensa by the stable’s kiosk. Optional: Dueling Peaks Stable Side Quests
Misko, the Great Bandit – Given by Given by Domidak and Prissen inside the stable.
As Hyrule is so vast, it might be wise to tame a wild horse. It’s strongly recommended to follow with the above side quest Wild Horses to obtain a horse. Taming a horse is fairly simple; you must first find a cluster of horses, which are fairly common in the fields behind the stable. Choose a horse which you desire, and slowly approach it, without it seeing you. If you get near enough, you will be able to mount the horse, at which point you’ll need to repeatedly press the L button to soothe the horse. Depending on your current and total stamina, you may or may not tame the horse. Horses with one color generally require more stamina, so only go for those if you have sufficient energy or stamina-based foods. Once you have tamed the horse, take it back to the stable, where you will be able to register and name the horse for a small price. This will also saddle-up the horse, which can be customized if you obtain additional saddles and bridles later in the game. Up to 5 horses can be registered at the stable, and you can retrieve your horses from any stable in Hyrule. It’s important to note that when you first start riding with your horse, it will not obey you entirely, often riding off-track or not in the desired direction. This can be resolved by continuing to soothe the horse as you ride. You can also feed them apples to increase the bond between the horse and the rider. Once maximum bond has been achieved, the horse will obey you entirely, and you will be able to change the style of mane your horse has at certain stables. Look out for stable-workers tending to the horses, as these will be able to groom your horse.Optional: Horse Taming
2.3 Kakariko Village
The path heading northward is a bit of a curvy road, but it is fairly straightforward and there isn’t much to see. There is one optional quest to complete on the path, as described below. Continue on if you want to focus on the main quest.
Along the way, just past the Kakariko Bridge, you will encounter a character known as Hestu. This will trigger a sidequest titled The Priceless Maracas, which is the formal introduction to the Korok Seed Collectibles. We have two styles of guide for this specific quest: If you haven’t found a single Korok Seed yet, there are plenty of locations nearby You can always use our Interactive Map to find seeds close to you if you feel like collecting a few. Optional: The Priceless Maracas
After completing his side quest, if you’ve been diligently exploring and have found at least two Korok Seeds, you can upgrade your inventory capacity twice, which is strongly advised. You can upgrade either the weapon, shield, or bow sections; though we recommend you upgrade the weapon slot twice. Melee weapons are the most useful at this time, which means they break often, so having space for more is always helpful. If you decide to upgrade the same section twice, the second upgrade will require two Korok Seeds to be exchanged, totaling three. As you upgrade each section further later on, more seeds will be required each time.

Continue northward until you reach Kakariko Village. Once you arrive in town, you should again run around and talk with as many of the characters as you wish. There are many side-quests and goodies to grab here, though all are optional and listed below.
Enchanted can be found along the northernmost path of the village. Head inside to browse the various armor pieces. Sold here is the Hylian set, a well-rounded set of armor which has 9 total defense, though no additional effects. You may already gave the Hylian trousers from a chest found on the Great Plateau. The Stealth set is also sold here, which has 6 total defense, though has the added effect of increased stealth. The caveat here is that it costs considerably more, so purchase when you have enough Rupees, though this particular armor set is not too useful right now. If you need more Rupees, you can sell to the store-owner here, or any store owner or travelling merchant you come across. The best items to sell right now are various gemstones (Opals, Rubies, etc.) and enemy drops, as these have little use to you right now. It may be an idea to hang on to some of each, as they can be used for armor upgrades later on. Optional: Armor Shop
This shrine can be found on top of a cliff at the north end of town. We have two methods for completion, if you require assistance:Optional: Ta'loh Naeg Shrine
There are several side-quests to be completed in the village, listed below. Some of these quests cannot be completed until other objectives have been accomplished; this is mentioned by the quests’ titles, if applicable. Flown the Coop – Given by Cado, one of the guards by Impa’s house. Optional: Kakariko Village Side Quests
Koko’s Kitchen – Given by Koko, a young girl found by the Cooking Pot by the general store, during the day.
Cooking with Koko – Given by Koko, available immediately after completing Koko’s Kitchen.
Koko Cuisine – Given by Koko, available immediately after completing Cooking with Koko.
Koko’s Specialty – Given by Koko, available immediately after completing Koko Cuisine.
Playtime with Cottla – Given by Cottla, a young girl found running around town during the day.
Arrows of Burning Heat – Given by Rola, owner of the arrow shop in the south of the village. NOTE: Requires main quest Seek Out Impa to trigger.
When you have side-tracked yourself as much as you can stand and you’re ready to progress, head towards the Seek Out Impa objective marker to find Impa’s house.
NOTE: Just opposite Impa’s House by the pond you will find a Goddess Statue. This is similar to the one found in the Temple of Time, and can be used to exchange Spirit Orbs obtained from Shrines for more hearts or stamina.
There are two guards blocking the pathway, but after talking to them, they will see your Sheikah Slate and let you pass. Climb up and enter the house here to meet Impa. Speak with Impa, who says much of what we just learned from the King on the Great Plateau. Impa will then guide you towards the direction of the Hateno Village.


At this point, even if you are primarily following the main quest, things really begin to open up as there are multiple primary objectives, which can be done in any order you like (or even skipped entirely). You can also partially complete an objective, go do something else, and come back later (or never finish it either). The freedom to play as you please in this game cannot be overstated. Therefore, do not consider this a linear walkthrough. If you prefer to head in a different direction, simply select the relevant chapter and have at it. Your Adventure Log will help you keep track of any Main Quests, Shrine Quests, or Side Quests you have located, including ones you have already completed.
For the purposes of our walkthrough, however, we recommend to head to Hateno Village as the next step. In our opinion, this is the closest, easiest, and most rewarding direction to head at this point.
If you are looking for more things to do in the Dueling Peaks region, check out the next chapter, filled with all the optional objectives to complete in this region. Complete as much or as little as you like; you can always refer back to this section when you feel like it. Otherwise, all details discussed in this chapter can be found on our Interactive Map; just toggle the objectives you are looking to complete, whether it be Shrines, Korok Seeds, Overworld Bosses or more.
2.4 Dueling Peaks Goodies
This section is entirely dedicated to the optional content you can complete in this region, which includes the region’s Korok Seeds, Shrines and Overworld Bosses.
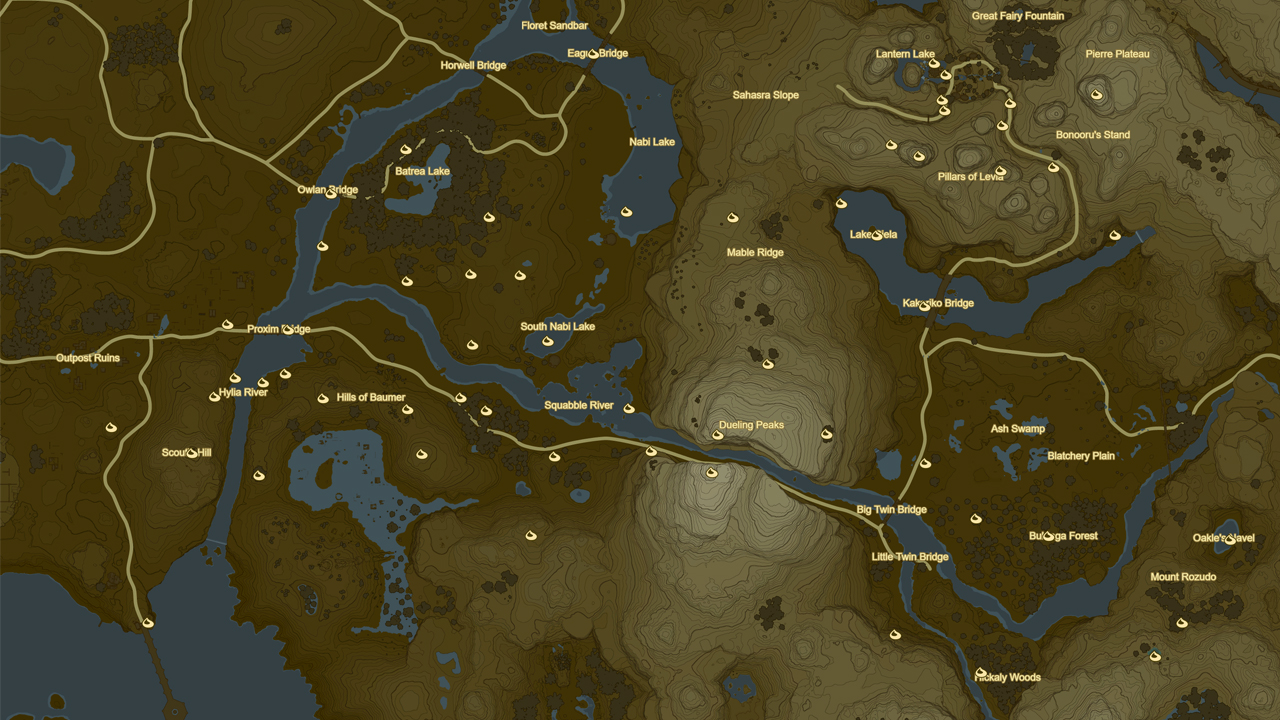
For the 59 seeds located in the Dueling Peaks Tower region, we have three options:Optional: Korok Seeds
There are a total of 9 Shrines of Trials located in this region, some of which you may have completed on your way. One Shrine cannot be accessed at the moment (Lakna Rokee Shrine), as it requires additional completion goals to access. We will return to this Shrine in the next chapter. As usual, these shrines have a written and video guide to help you: Bosh Kala Shrine – Location on MapOptional: Shrines
Hila Rao Shrine – Location on Map
Ree Dahee Shrine – Location on Map
Shee Vaneer Shrine – Location on Map
Shee Venath Shrine – Location on Map
Ha Dahamar Shrine – Location on Map
Toto Sah Shrine – Location on Map
Ta’loh Naeg Shrine – Location on Map
There are a total of 4 Stone Taluses in this region, as well as one new boss, the Hinox. See the map below for locations of these enemies. Optional: Overworld Bosses

