We’ve finally made it to Hyrule Castle, the final chapter of this walkthrough. Technically if a player wanted to beat the game, all they had to do was complete the first and last chapter, as everything in the middle were optional Main Quest sections. However, if you’ve completed everything up to this point, the final journey will be much more tolerable.
- Chapter 1 – Great Plateau
- Chapter 2 – Dueling Peaks
- Chapter 3 – Hateno Village
- Chapter 4 – Zora’s Domain
- Chapter 5 – Vah Ruta Dungeon
- Chapter 6 – Goron City
- Chapter 7 – Vah Rudania Dungeon
- Chapter 8 – Gerudo Town
- Chapter 9 – Vah Naboris Dungeon
- Chapter 10 – Rito Village
- Chapter 11 – Vah Medoh Dungeon
- Chapter 12 – Captured Memories
- Chapter 13 – The Master Sword
- Chapter 14 – Hyrule Castle
- 14.1 – Infiltrating Hyrule Castle
- 14.2 – East Passage
- 14.3 – Library
- 14.4 – Dining Hall
- 14.5 – Calamity Ganon
- 14.6 – Dark Beast Ganon
- Chapter 15 – The Champions’ Ballad
14.1 Infiltrating Hyrule Castle
NOTE: There are a LOT of different methods of attacking Hyrule Castle. Specifically, you can bypass the vast majority of the castle if you have Stamina upgrades. Also, if you are well equipped and want to take on the guardians, there is a different route you can take. The route below is one of many routes, but I find it to be safer than most, with most enemy counters being of traditional enemies we’ve already faced off with in the Overworld several times.
I think the best approach to get to Hyrule Castle is from the north. Warp over to the Woodland Tower and then make your way westward. Avoiding going to close to the castle initially, as there are some Bokoblins on horseback that can give you some trouble. Make your way close to the massive pillar that points to the castle. Just before you reach that pillar, take a look at the castle from here. You can see a small waterfall, and just to the left, there is an opening that leads down to a mine.
Use your paraglider to glide down to the lowest platform. There is a group of rocks here and if you blow them up, you can get yourself a Silver Rupee. There are two guardian turrets on the higher platforms above, one on each side of the mine entrance. Fortunately, the path is not far and with some strategic sprinting, you should be able to make it to the door without much trouble.


14.2 East Passage
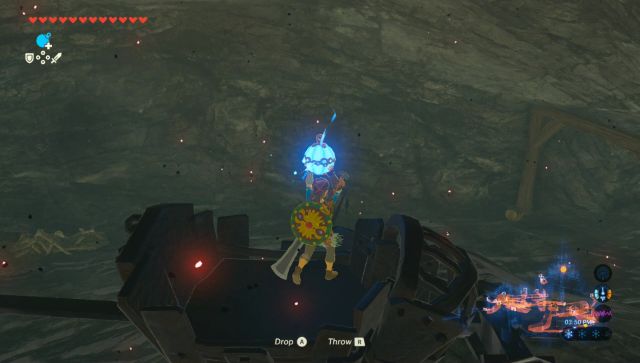
Once you enter the East Passage, defeat the Keese and then explore the area. Break the boxes to get some Arrows, as well as some Ice Arrows. The treasure chest here contains some Bomb Arrows. Generally speaking, anytime you see a crate or a treasure chest, you want to get it. Hyrule Castle has by far the best loot compared to any other location in the game. Jump into the mine cart and place a bomb into the hole. Ride the cart to the other side of the mine.
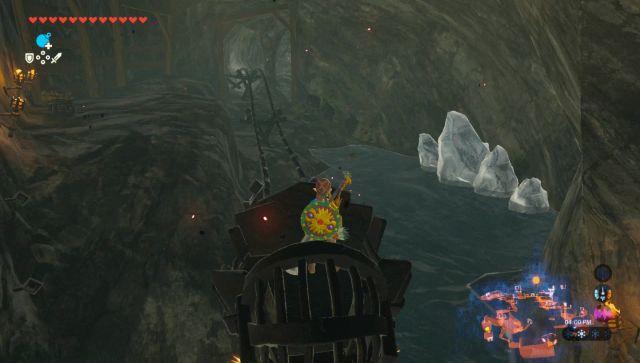
As you walk forward, a Stone Talus will appear in this underground area. As with all encounters before, you can avoid this one. Just quickly run behind him and start to scale the wooden planks. As your stamina runs out, you’ll be able to stop and rest on the planks for a moment. Continue climbing until you reach the peak.


Run ahead and use a bomb or arrow to get rid of the glowing eye. There is a Lizalfos just on the other side, so go ahead and take care of him so he doesn’t bother you. Run ahead and you’ll enter the Library.
14.3 Library
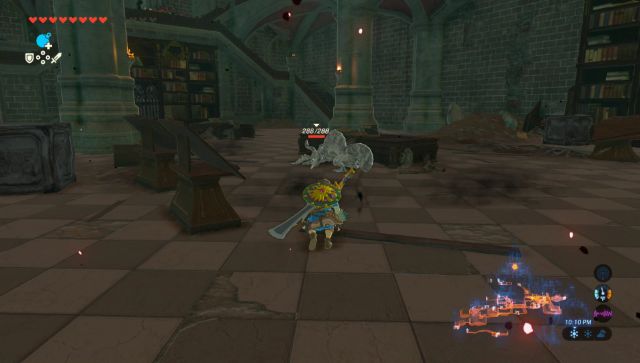
There is a single Lizalfos on the ground level and it is on the other side of the room. It will occasionally lay down on the ground so I would recommend try to sneak up to him and deliver a sneak strike. On each side of the room you can use Magnesis to pull away a wall. One side leads has a powerful weapon and a Silver Rupee. The other side leads down to the Docks and also to the Saas Ko’sah Shrine. To reach the Shrine, find the circle of lit torches with a large unlit, beacon in the center. Use a fire arrow to lit the torch and reveal the Shrine.

Back in the Library, climb the steps and you’ll find a second Lizalfos. He’s right in your path, so take the time to carefully defeat him. On the balcony level there are two more Lizalfos, one on each side. We want to head in the direction where the ground is broken. There is a bridge nearby that you can use Magnesis on, but more easily you can just leap across the gap and hug the wall so you don’t fall. The Lizalfos on the other side will shoot dangerous Ice Arrows at you though. I recommend using an arrow yourself to freeze him and then leap across to defeat him.
Run ahead and climb the steps to get to the third floor of the library. In the next room there is a Great Frostblade weapon, so grab that if you need some more power. The next room has another Lizalfos just around the corner. You can run head on to get rid of him, or wait until he lays down to sneak strike him.


Run down the hallway and you’ll find another Lizalfos around the corner, this one has bomb arrows so be careful. Continue onward to the next room and you’ll find a large Moblin. The room is filled with all sorts of goodies, as well as some applies that are in the crates. Look around the room and pickup whatever items you need. The Royal Claymore that the Moblin was holding is nice, as is the Royal Guard’s Shield that is on the floor.


Climb the staircase and you’ll find some of the steps are gone. Just climb along the wall to get across and then run down the hall that is up ahead. Take a right and then run ahead to reach the Dining Hall.
14.4 Dining Hall
There are four Moblins found within the Dining Hall. I would suggest defeating them, as there are a lot of goodies we want to collect in this room and we don’t want them to get in the way. Use Ice Arrows from a distance and then go in with some of your more powerful melee attacks.


With the Moblins defeated, grab all the goodies that are in this room. At one end of the of the room there is a cooking pot that is on fire. I would suggest using all the food that we just got here to cook up some recovery recipes. We are in the last stretch of the game at this point and we will need all the health we can get for the Calamity Ganon fight. Once you are done cooking, head through the doors to get back outside.
Once you are outside, you can take a right to get back on the main path. However, this will lead to an area that is heavily guarded by guardians. If you have the proper equipment, go head on and try to take them out. The safer strategy is to climb your way up. Right as you exit the dining room, take a left and climb up the wall to the higher ledge. There are still guardians up here, but you’ve gotten passed a pair of troublesome ones.

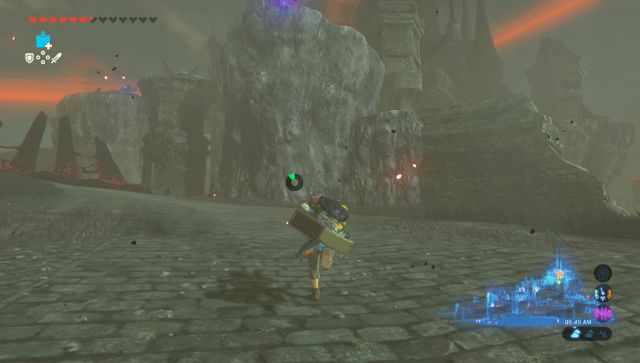
If you look at the map, you can make out the path that leads to the top of the Castle. It’s a fairly straight path, but there are a number of guardians along the way. Even at this point, there are still a few different routes to get up to the top of the tower. I’m not sure this is quite the easiest path, but it will get the job done. You might need to use a bit of stealth as you make your way up. I highly recommended saving frequently, overwriting the less of often auto-saves.


If you follow the path heading up, once you reach the malice that is blocking your way, use an arrow to shoot the eye. At this point, if you look just ahead in the water to the right, there is a waterfall. Put on the Zora Armor and jump into the waterfall. You can swim up the waterfall and when you Paraglide to safe land, you’ll be at the top of the Castle. It’s now finally time to take on Calamity Ganon. Run forward into the Sanctum to take on the Calamity Ganon.


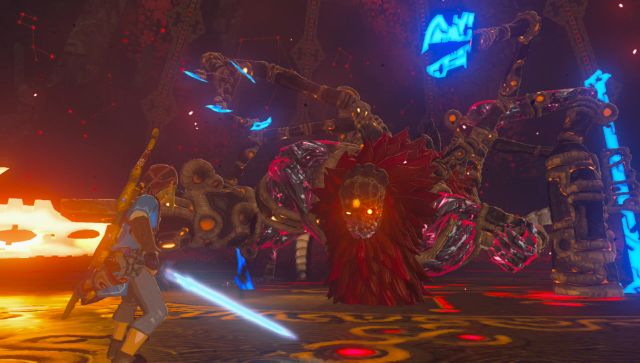
14.5 Calamity Ganon
The battle with Calamity Ganon will be substantially different, depending on whether you’ve completed much of the game or not. If you have not defeated any of the four major dungeons, than whichever bosses you haven’t fought will appear here in Hyrule Castle. So you might need to take on Waterblight, Windblight, Thunderblight, or Fireblight Ganon. Not only that, but they would be a gauntlet mode, one after another, and once you beat them, you’d then take on Calamity Ganon. If you die at any of them, you start over.
Fortunately, if you’ve been following along with the walkthrough, you should be fully prepared for this battle. With the four Divine Beasts on your side, they will strike at once, immediately taking down half of Calamity Ganon’s health, and that is where the boss battle will begin.
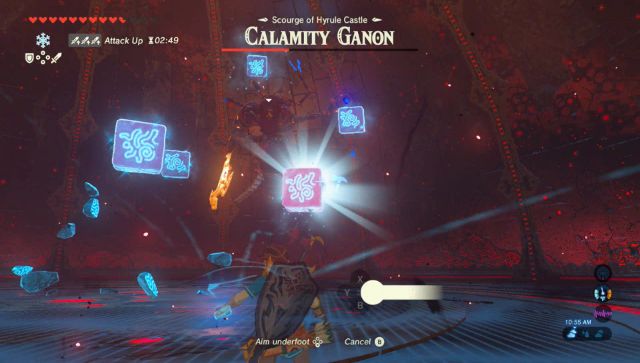
Calamity Ganon is basically a greatest hits of the four Ganon’s that we fought in the various shrines and he mimics many of their attacks. He will shoot ice blocks at you like Waterblight Ganon, at which you can use Cryonis to melt them away. He will creature a field of thunder spikes like Thunderblight Ganon, at which you should just run away. He will create tornado gusts like Windblight Ganon and you should just sprint away. He’ll also steal Windblight Ganon’s slow laser shot attack. He’ll also take one of Fireblight Ganon’s attack, launching a ball of fire at the battle field. If you see this, shoot it with an ice arrow before it can ignite the battlefield.


Calamity Ganon also has a few melee attacks where he’ll swing his fire sword horizontally or vertically. He’ll also swing his smaller blue swords as well. Lastly, like all of the Ganons we fought, Calamity Ganon will shoot a giant laser at you. Your best is to target Calamity Ganon and when the laser is shot, jump to the side to avoid the attack.
Now then, with all the different attacks Calamity Ganon has, how can we actually hurt him? Well, there are a few methods. During the first phase of the battle, you can launch Bomb Arrows or Ancient Arrows at him. While these won’t deal serious damage, they will slowly but surely chip away at him.
The more effective way is to perform either a Perfect Guard or a Perfect Dodge. The Perfect Guard can be used during his melee attacks, as well as when he shots the laser out. However, it is risky, as one mistake will leave you unguarded and you’ll take serious damage.

I personally find the Perfect Dodge to be by far the best method. Not only that, successfully doing one sets up a Flurry Rush, and you can get a number of attacks in during the slow motion scenes. In particular, I think this is most effective when he is trying to strike you with his large fire sword. If he tries a horizontal slash, do a back jump just before the sword hits you. If he tries a vertical slash, do a side jump. With proper timing and enough practice, you’ll be able to knock Calamity Ganon down.
When half of Calamity Ganon’s health is drained, it will trigger the second phase of the battle. NOTE: if Calamity Ganon started with only half health, this will trigger when he has a quarter of his health remaining. The second phase of the battle is more of the same. Bomb Arrows will no longer deal any damage and Calamity Ganon will start getting more aggressive with his laser shots. He’ll also have another attack where he launches his spear at Link.
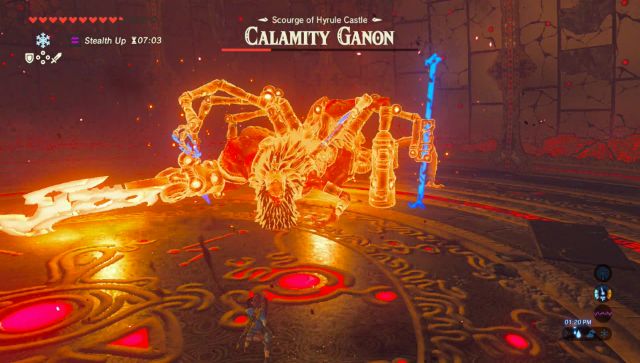

When Calamity Ganon comes crashing to the ground, he’ll create a blue circle around him and if you are within it, you will take damage. After he’s hit, he’ll take a few seconds to recover, and then recreate his impenetrable shield.
I would not bother trying to do a Perfect Guard, and instead I would try to side hop the lasers. If he hits your shield with a laser, it’s gone and you can quickly run out of shields during this battle.
Stay close, but not too close to Calamity Ganon. We want to be just close enough so that he will trigger his melee attacks. Time it right and do a Perfect Dodge. Just keep at it with sword slashes until Calamity Ganon has been defeated.


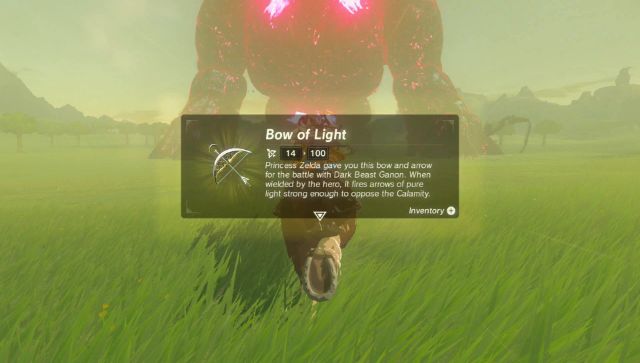
14.6 Dark Beast Ganon
The final battle will begin and Link will ride over to collect the Bow of Light. This will allow Link to fire Light Arrows. Best of all, he has unlimited ammunition while using it.
Dark Beast Ganon, for as intimidating as he looks, does not have much in the form of attacks. He will occasionally shoot out a beam of fire from its mouth. As long as you are not riding directly in front of the Dark Beast, you should be safe. When the battle begins, just ride around until Princess Zelda talks to you.

Zelda will hold the Malice back, creating glowing areas for Link to shoot his Light Arrows. Ride around on horseback and shoot the beast down with arrows. Three glowing spots will appear at first, and then three more will appear shortly after. After Link has hit six spots on the Dark Beast, the next one will appear underneath its belly.


Once last glowing area will appear, this time on an eye that appears on top of Ganon’s forehead. However, when you shoot the arrow at the eye, he will close the eye, preventing you from hitting him. Zelda will soon give you the advice that you should use his attacks to your advantage. When Ganon attacks a massive updraft will appear right in front of him. Run over and jump into the updraft, using the Paraglider to glide up. Then pull out your bow and in slow motion, deliver the final Light Arrow to defeat the beast.


