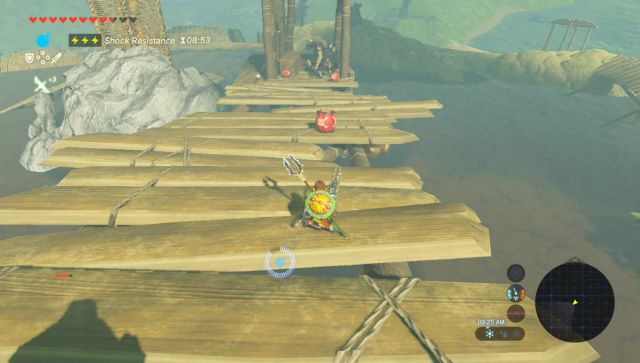
It sounds odd saying this, but The Master Sword is a completely optional item in Breath of the Wild. That said, it is highly recommended that you acquire this sword before the final battle with Calamity Ganon. In order to get the Master Sword, you must have acquired at least 13 heart containers. In order to do so, I recommend seeking out some of the Shrine Locations. After completing four shrines, you will be given the option to upgrade your hearts.
- Chapter 1 – Great Plateau
- Chapter 2 – Dueling Peaks
- Chapter 3 – Hateno Village
- Chapter 4 – Zora’s Domain
- Chapter 5 – Vah Ruta Dungeon
- Chapter 6 – Goron City
- Chapter 7 – Vah Rudania Dungeon
- Chapter 8 – Gerudo Town
- Chapter 9 – Vah Naboris Dungeon
- Chapter 10 – Rito Village
- Chapter 11 – Vah Medoh Dungeon
- Chapter 12 – Captured Memories
- Chapter 13 – The Master Sword
- 13.1 – Woodland Tower
- 13.2 – The Lost Woods
- 13.3 – Korok Forest
- Chapter 14 – Hyrule Castle
- Chapter 15 – The Champions’ Ballad
13.1 Woodland Tower
If you have yet to uncover it, our first objective is to reach the Woodland Tower so we can fill the map of this area. I find the easiest way to reach this Tower is to warp over to the Eldin Tower. From there you can paraglide westward, navigating the mountain range. From the high mountains, you can paraglide down and land right near the tower itself. If you have enough Stamina, you can Paraglide all the way to the base of the tower. Alternatively, a more straight forward path would be to warp to the Lanayru Tower and take the existing road that leads northwest.
If you don’t have any Stamina upgrades, you won’t be able to climb the tower from the bottom, so we’ll have to improvise. The area immediately around the tower is guarded by your usual crew of enemies. You want to make your way from platform to platform, defeating the enemies along the way. Just north of the Tower, there is a large structure and we want to climb up to the very top of it. From here, we can paraglide over to the tower, and then climb up to the next safe location. Continue your climb to the top of the tower and activate the Woodland Tower.

13.2 The Lost Woods
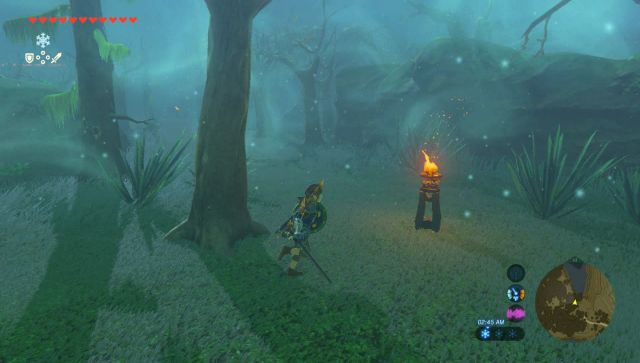
From the Woodland Tower, fly eastward and step onto the trail. From there walk northward along the path and you’ll eventually find yourself in the Lost Woods. Like the Lost Woods from prior games, if you veer off a path, you will get lost, warping you back to the entrance of the woods. The path here is completely invisible, but this first part has some markers to guide you.


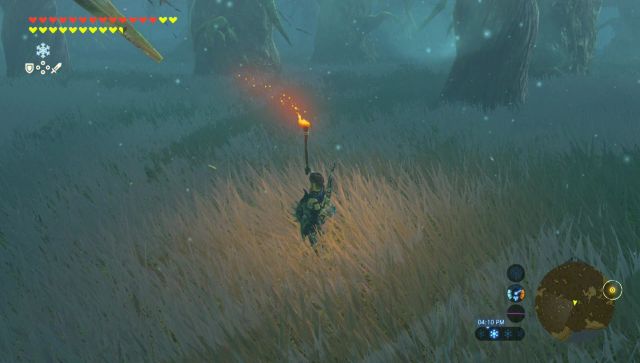
We want to follow the torches. From the entrance of the woods, you’ll see a torch directly in front of you. Turn 90 degrees to the right and you’ll see two more torches in the distance, so follow this pathway.
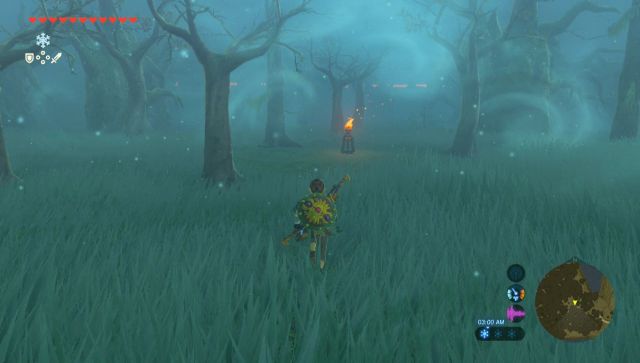
Once you reach the third torch, you’ll be in front of a large rock. Turn 90 degrees to the left and you’ll see two more torches in the distance.

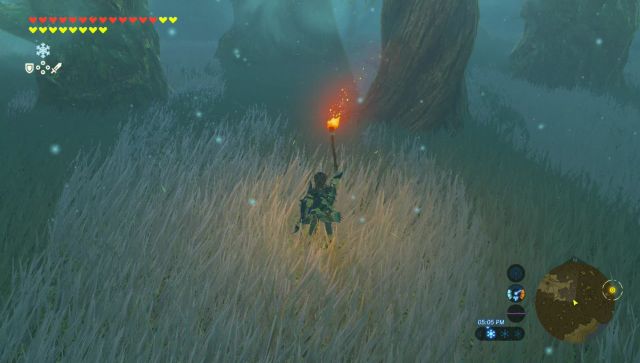
Once you reach the third torch here, once again turn 90 degrees to the left and you’ll find another torch.
From here, the path isn’t as clear, but if you turn to the right so that you are facing westward, you’ll see two torches in the distance that are right next to each other. Depending on where you are standing, the torches might be blocked off by some trees in the distance. Nevertheless, move around a bit until you see them and then make a run for those two torches.
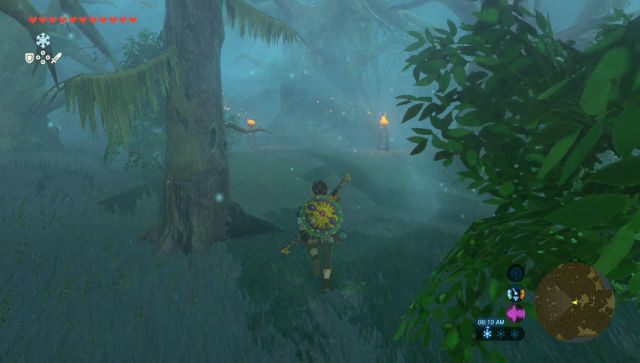
Once you reach the two torches, this basically serves as a check point. If you get lost somewhere in the woods from here on, you will warp back to these torches instead of the entrance of the Woods.
In this second portion of the Lost Woods, if you use a lit torch and just stand still, the flames will blow in the direction that you need to go. You can easily make it without the lit torch, and those directions are provided below.
Once you cross the the torches, turn to the left 90 degrees so that you are facing southward. Facing this direction, it’s almost as if there is a clear path between trees. Run straight south, passing three trees on the left and three trees on the right. After passing three sets of trees, you’ll find a lone tree in the middle of this area. Stop at the tree and you’ll see that the bark on this tree is a bit brown and there isn’t much in the form of ivy or moss on it. Turn 90 degrees to the right, so that you are facing westward.
The path here is similar, where it looks like you can run right down a straight lane. You want to follow this path, walking almost directly westward. You will pass two of those brown trees on the left, until you come to a tree that is directly in your way. Stop at this tree, turn 90 degrees to the right so that you are facing north.


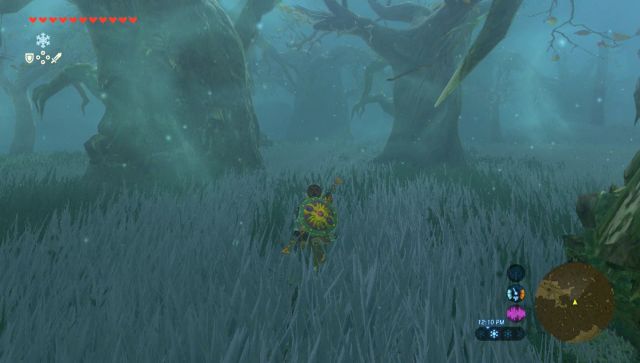
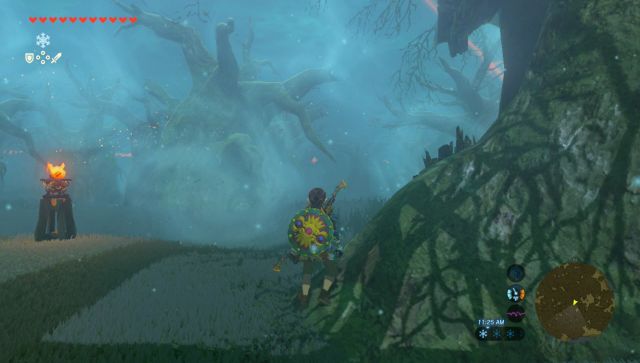
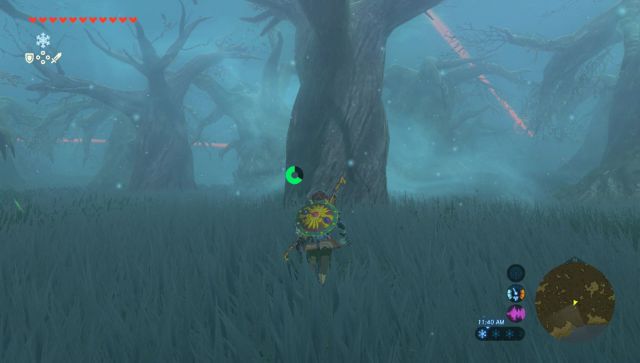
Run in a straight line heading north, and you’ll pass three trees on the right and two trees on the left until you run into a tree right in your pathway. Your Sheikah Sensor will start to go off, as there is a shrine ahead.
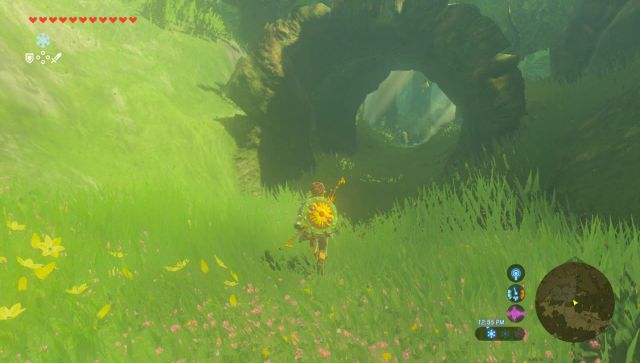
From here, turn left 90 degrees and you’ll see a trio of small thin trees. Run through them and then head directly westward. Keep running through a narrow valley between large rocks until you make it out of the Lost Woods and into the Korok Forest.


13.3 Korok Forest
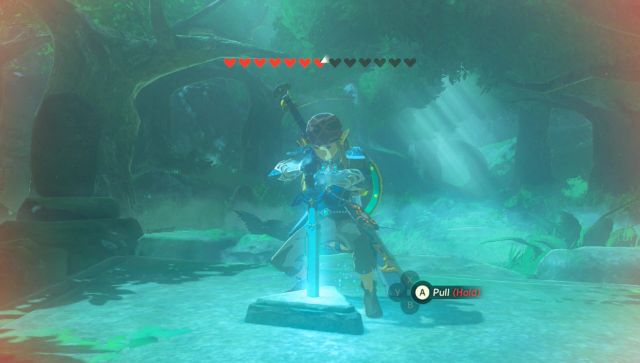
Run ahead and you’ll see the Master Sword on its pedestal, waiting for you to pull it up. As soon as you start doing it, a short memory of Princess Zelda will play, followed by a cut-scene with the Great Deku Tree.
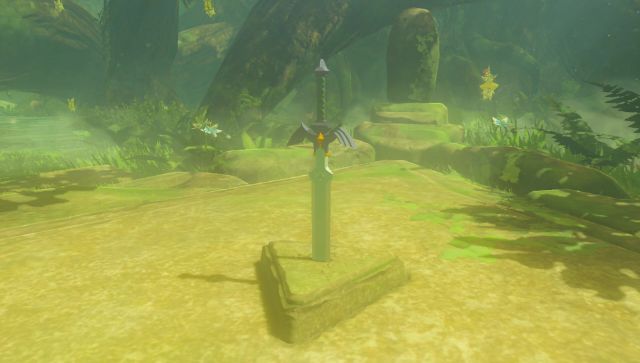

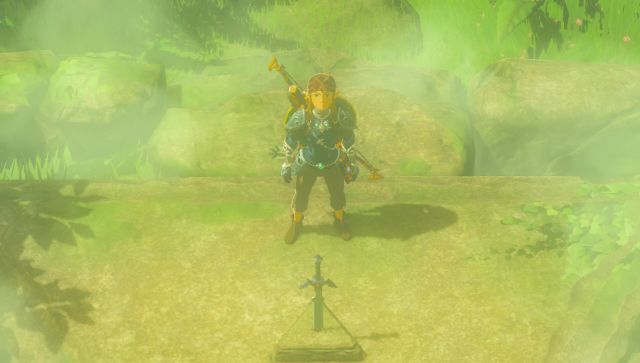
You will need to have 13 hearts in order to pull the Master Sword. If you try to do it with less than 13 hearts, your hearts will dwindle and you will die. Fortunately, the first time you try this, the Deku Tree warns you, but he won’t do that on futures attempts. With 13 heart containers, go ahead and pull the weapon out of the pedestal to claim the Master Sword. Another memory will play, this one of Princess Zelda with the Master Sword.
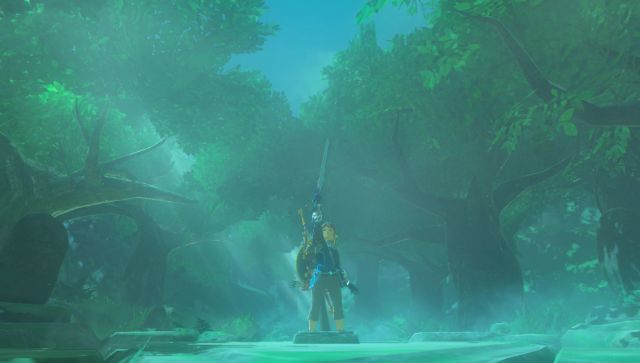
When Link uses the Master Swords against Calamity Ganon, or those tainted by his Malice, it will become suffused with holy light. The Deku Tree warns you not to overuse the sword, or it will lose some of its power.
