Thundra Plateau: Difference between revisions
mNo edit summary |
mNo edit summary |
||
| Line 2: | Line 2: | ||
| image = [[File:Thundra-Plateau.png|400px]] | | image = [[File:Thundra-Plateau.png|400px]] | ||
| caption = | | caption = | ||
| game = ''[[The Legend of Zelda: Breath of the Wild|Breath of the Wild]]'' | | game = ''[[The Legend of Zelda: Breath of the Wild|Breath of the Wild]]''<br/>''[[The Legend of Zelda: Tears of the Kingdom|Tears of the Kingdom]]'' | ||
| enemies = | | enemies = | ||
| inhab = | | inhab = | ||
| Line 13: | Line 13: | ||
}} | }} | ||
'''Thundra Plateau''' is a location in ''[[The Legend of Zelda: Breath of the Wild|Breath of the Wild]]''. | '''Thundra Plateau''' is a location in ''[[The Legend of Zelda: Breath of the Wild|Breath of the Wild]]'' and ''[[The Legend of Zelda: Tears of the Kingdom|Tears of the Kingdom]]''. | ||
==''Breath of the Wild''== | ==''Breath of the Wild''== | ||
| Line 30: | Line 30: | ||
===Animals=== | ===Animals=== | ||
<gallery mode=nolines> | |||
File:Fairy-botw.png|[[Fairy]] | |||
File:Hightail-lizard.png|[[Hightail Lizard]] | |||
File:Restless-cricket.png|[[Restless Cricket]] | |||
File:Tireless-frog.png|[[Tireless Frog]] | |||
File:Sneaky_River_Snail.png|[[Sneaky River Snail]] | |||
File:Cold-darner.png|[[Cold Darner]] | |||
File:Electric-darner.png|[[Electric Darner]] | |||
File:Winterwing-butterfly.png|[[Winterwing Butterfly]] | |||
File:Thunderwing-butterfly.png|[[Thunderwing Butterfly]] | |||
File:Grassland-fox.jpg|[[Grassland Fox]] | |||
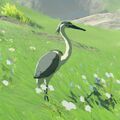
File:Blue-winged-heron.jpg|[[Blue-Winged Heron]] | |||
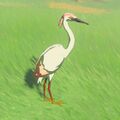
File:Pink-heron.jpg|[[Pink Heron]] | |||
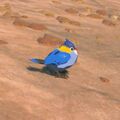
File:Blue-sparrow.jpg|[[Blue Sparrow]] | |||
</gallery> | |||
===Enemies=== | ===Enemies=== | ||
<gallery mode=nolines> | |||
File:Blue-Chuchu.png|[[ChuChu|Chuchu]] | |||
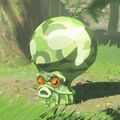
File:Forest-octorok.jpg|[[Forest Octorok]] | |||
File:Keese-Breath-of-the-Wild.png|[[Keese]] | |||
File:Stalkoblin-Model.png|[[Stalkoblin]] | |||
</gallery> | |||
===Items=== | ===Items=== | ||
<gallery mode=nolines> | |||
File:Endura_Shroom.png|[[Endura Shroom]] | |||
File:Hearty_Truffle.png|[[Hearty Truffle]] | |||
File:Hylian_Shroom.png|[[Hylian Shroom]] | |||
File:Hyrule_Herb.png|[[Hyrule Herb]] | |||
File:Rushroom.png|[[Rushroom]] | |||
File:Stamella-Shroom.png|[[Stamella Shroom]] | |||
</gallery> | |||
===Nearby Korok Seeds=== | ===Nearby Korok Seeds=== | ||
| Line 75: | Line 75: | ||
{{Cat|Breath of the Wild Central Hyrule Locations}} | {{Cat|Breath of the Wild Central Hyrule Locations}} | ||
{{cat|Tears of the Kingdom Central Hyrule Locations}} | |||
Revision as of 16:18, June 22, 2023
Games | ||
Quests | ||
Points of | ||
Related | ||
Thundra Plateau is a location in Breath of the Wild and Tears of the Kingdom.
Breath of the Wild
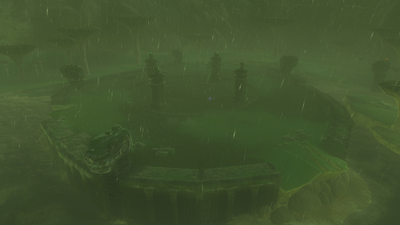
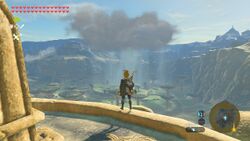
The Thundra Plateau is located just west of the Ridgeland Tower. The plateau is under a perpetual thunderstorm until Link completes the Trial of Thunder shrine quest and makes his way through the Toh Yahsa Shrine. Since it is also a thunderstorm, Link should unequip any metal weapons, bows, or shields, unless he has Unshockable.
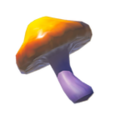
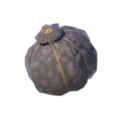
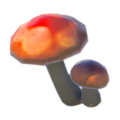
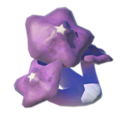
The area is filled with Forest Octoroks. There is a very wide variety of creatures and vegetation to find surrounding the plateau, including Thunderwing Butterflies, Electric Darners, Endura Shrooms, Hylian Shrooms, Stamella Shrooms, Hearty Truffles, and Hyrule Herbs.
Trial of Thunder
- Main article: Trial of Thunder
When Link first arrives at the Thundra Plateau, this will immediately begin the Shrine Quest. Link will need to get the four colored orbs all on top of the plateau and then place them in their corresponding spots. The Red and Orange orbs are located on the outside of the plateau and Link will need to use Stasis to launch these orbs onto the plateau. Successfully placing all four orbs will complete the quest, causing the Toh Yahsa Shrine to appear.
Toh Yahsa Shrine
- Main article: Toh Yahsa Shrine
The Toh Yahsa Shrine appears after completing the Trial of Thunder shrine quest. Inside, Link will find the Rubber Armor before meeting with Toh Yahsa to collect a Spirit Orb.
Animals
Enemies
Items
Nearby Korok Seeds
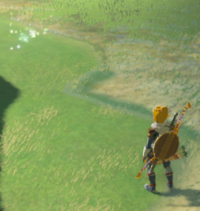
Spot the glittering trail, and run up to it and Examine it.
Trivia
- The Plateau is a fortified structure contained by thick walls, so it's not known whether its foundation "plateau" is artificial in nature per se, or whether it was a natural geographic feature which the containing walls were built upon.
- The walls, columns and statues of the Plateau have architectural Zonai motifs.


