Category:Majora's Mask Locations: Difference between revisions
Jump to navigation
Jump to search
Want an adless experience? Log in or Create an account.
Majora's cat (talk | contribs) mNo edit summary |
mNo edit summary |
||
| (53 intermediate revisions by 10 users not shown) | |||
| Line 1: | Line 1: | ||
Here is a listing of all of the locations found within ''[[The Legend of Zelda: Majora's Mask]]''. | Here is a listing of all of the locations found within ''[[The Legend of Zelda: Majora's Mask]]''. | ||
{{Galbox|Majora's Mask Locations|gallery_widths=100}} | |||
{{Cat|Locations|Majora's Mask}} | {{Cat|Locations|Majora's Mask}} | ||
{{Cat|Majora's Mask|Locations}} | {{Cat|Majora's Mask|Locations}} | ||
Latest revision as of 05:15, December 25, 2021
Here is a listing of all of the locations found within The Legend of Zelda: Majora's Mask.
- Regions
- Clock Town
- Termina Field
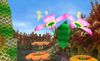
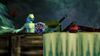
- Woodfall
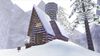
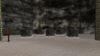
- Snowhead
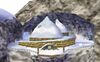
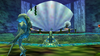
- Great Bay
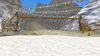
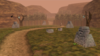
- Ikana


- [[Majora's Mask]]
- [[Majora's Mask Locations]]
- [[Locations]]
Pages in category "Majora's Mask Locations"
The following 93 pages are in this category, out of 93 total.