EX Liberate the Ancient Lab: Difference between revisions
(Created page with "{{spoiler}} {{stub}} {{Infobox|scenario | image = | caption = | number = | weaponavailable = | game = ''Hyrule Warriors: Age of Cal...") |
m (Text replacement - "{{References}}↵↵{{Listbox|" to "{{References}} {{clear}} {{Listbox|") |
||
| (15 intermediate revisions by 3 users not shown) | |||
| Line 2: | Line 2: | ||
{{stub}} | {{stub}} | ||
{{Infobox|scenario | {{Infobox|scenario | ||
| image = | | image = [[File:EX-Liberate-the-Ancient-Lab.png|400px]] | ||
| caption = | | caption = | ||
| number = | | number = Chapter EX-5 | ||
| weaponavailable = | | weaponavailable = | ||
| game = ''[[Hyrule Warriors: Age of Calamity]]'' | | game = ''[[Hyrule Warriors: Age of Calamity]]'' | ||
| stage = | | stage = [[Breach of Demise]] | ||
| previous = | | previous = [[Air and Lightning]] (story)<br/>[[EX To Zelda's Side]] (gameplay) | ||
| next = | | next = [[EX The Yiga Clan's Retreat]] | ||
| simultaneous = | | simultaneous = [[Water and Fire]] (story)<br/>[[EX Battle of Goponga Village]] (story and gameplay)<br/>[[EX Battle for Kakariko Village]] (story and gameplay)<br/>[[EX Searching Hyrule Forest]] (story and gameplay)<br/>[[EX The Princess and the King]] (gameplay) | ||
| warriors = [[Urbosa]], [[Riju]] | | warriors = [[Urbosa]], [[Riju]] (story)<br/>Any two unlocked (replay) | ||
| allies = [[Urbosa]], [[Riju]] (if not selected for play)<br/>[[Gerudo Captain]] (2×)<br/>[[Hylian Captain]] (2×) | |||
| recommended level = Lv. 44 | | recommended level = Lv. 44 | ||
| conditions = | | conditions = | ||
| battlefield materials = | | battlefield materials = [[Sneaky River Snail]]<br/>[[Armored Porgy]]<br/>[[Ironshroom]]<br/>[[Rushroom]]<br/>[[Mighty Porgy]] | ||
| boss = | | boss = [[Master Kohga]]<br/>[[Silver Moblin]] (2×)<br/>[[Guardian Stalker]] (3×) | ||
| miniboss = | | miniboss = [[Blizzrobe]]<br/>[[Fire Moblin]] (3×)<br/>[[Black Moblin]] (2×)<br/>[[Electric Moblin]]<br/>[[Meteo Wizzrobe]]<br/>[[Thunder Wizzrobe]] (2×)<br/>[[Yiga Blademaster]]<br/>[[Ice Moblin]]<br/>[[Electric Lynel]]<br/>[[Silver Moblin]] (7×)<br/>[[Ice Lynel]] | ||
| enemies = | | enemies = [[Black Bokoblin]]<br/>[[Black Lizalfos]]<br/>[[Yiga Footsoldier]]<br/>[[Silver Bokoblin]]<br/>[[Electric Chuchu]]<br/>[[Silver Lizalfos]]<br/>[[Electric Lizalfos]]<br/>[[Ice Chuchu]] | ||
| characters = | | characters = | ||
| members = | | members = | ||
| Line 23: | Line 24: | ||
| pointsint = | | pointsint = | ||
| item = | | item = | ||
| prereq = | | prereq = Complete [[EX To Zelda's Side]] | ||
| start = | | start = | ||
| reward = | | reward = | ||
| Line 47: | Line 48: | ||
* 1 [[Report: Hidden Battles]] | * 1 [[Report: Hidden Battles]] | ||
* 10 [[Hearty Durian]] | * 10 [[Hearty Durian]] | ||
* | * [[Scimitar of the Seven]] | ||
===Obtain 4 wildberries.=== | ===Obtain 4 wildberries.=== | ||
| Line 63: | Line 64: | ||
* 30 [[Hydromelon]] | * 30 [[Hydromelon]] | ||
* 30 [[Voltfruit]] | * 30 [[Voltfruit]] | ||
* | * [[Bridle of the Seven]] | ||
===???=== | ===???=== | ||
| Line 71: | Line 72: | ||
* 3 [[Report: Hidden Battles]] | * 3 [[Report: Hidden Battles]] | ||
* 10 [[Topaz]] | * 10 [[Topaz]] | ||
* | * [[Devoted Kodachi]] | ||
* 2,000 [[Rupee]]s | * 2,000 [[Rupee]]s | ||
==Cutscenes== | ==Cutscenes== | ||
===EX Liberate the Ancient Lab [text]=== | |||
{{quote|In the midst of the Calamity, they Royal Ancient Lab was captured by monsters. and the researchers are forced to flee. Urbosa and Riju bravely led troops to the lab in order to liberate it.|In-game Gallery description}} | |||
===The Thunder Helm=== | |||
{{quote|After a fierce battle, Urbosa and Riju are interrupted by Master Kohga's scheme to swipe the Thunder Helm. The hitch is that one such as Kohga shouldn't be able to handle the Helm of the Gerudo chief...|In-game Gallery description}} | |||
==Dialogue== | ==Dialogue== | ||
| Line 87: | Line 93: | ||
==Treasure Chests== | ==Treasure Chests== | ||
{{See also|Age of Calamity Treasure Chests}} | |||
<section begin=treasure /> | |||
<center><gallery widths="740px" heights="600px"> | |||
File:HWAoC-EX-Liberate-the-Ancient-Lab-Chest-Map.png|<center>There are 6 treasure chests found in [[EX Liberate the Ancient Lab]].</center><center>Note: These chests are shared with [[Road to the Ancient Lab]]. Collecting a chest from either scenario will remove it from the other.</center> | |||
</gallery></center> | |||
<center><gallery widths="400px" heights="220px"> | |||
File:HWAoC-EX-Liberate-the-Ancient-Lab-Chest-01.png|<center>300 [[Rupee]]s</center><center>On the western side of the map near the southern platform.</center> | |||
File:HWAoC-EX-Liberate-the-Ancient-Lab-Chest-02.png|<center>[[Giant Ancient Core]] x2</center><center>Southwest of the start, next to a rock formation. Use Magnesis to pull the chest out of the ground.</center> | |||
File:HWAoC-EX-Liberate-the-Ancient-Lab-Chest-03.png|<center>[[Traveler's Sword]]</center><center>Just outside the south-central platforms.</center> | |||
File:HWAoC-EX-Liberate-the-Ancient-Lab-Chest-04.png|<center>[[Amber]] x5</center><center>In the northwest area of the map, just south of the northwest platform.</center> | |||
File:HWAoC-EX-Liberate-the-Ancient-Lab-Chest-05.png|<center>[[Ancient Memory Part]]</center><center>In the northeast corner of the map, behind a rock formation.</center> | |||
File:HWAoC-EX-Liberate-the-Ancient-Lab-Chest-06.png|<center>[[Kakariko Kodachi]]</center><center>In the center of the map, just before the outpost where [[Master Kohga]] appears. Use Magnesis.</center> | |||
</gallery></center> | |||
<section end=treasure /> | |||
==Challenges & Quests Unlocked== | ==Challenges & Quests Unlocked== | ||
| Line 92: | Line 112: | ||
{{References}} | {{References}} | ||
{{clear}} | |||
{{Listbox|Age of Calamity Scenarios}} | {{Listbox|Age of Calamity Scenarios}} | ||
{{Cat|Age of Calamity Scenarios}} | {{Cat|Age of Calamity Scenarios}} | ||
Latest revision as of 18:51, June 20, 2023
| Spoiler Alert! This article describes a subject that is sensitive to plot development. |
| This article is a stub. You can help the Zelda Dungeon Wiki by expanding it. |

Number | Chapter EX-5 | |
Games | ||
Stage | ||
Previous | Air and Lightning (story) | |
Next | ||
Simultaneous | Water and Fire (story) | |
Boss | ||
Mini-bosses | ||
Enemies | ||
Battlefield-Specific Materials | ||
Prerequisite | Complete EX To Zelda's Side | |
Warriors | ||
Allies | Urbosa, Riju (if not selected for play) | |
Recommended Level | Lv. 44 | |
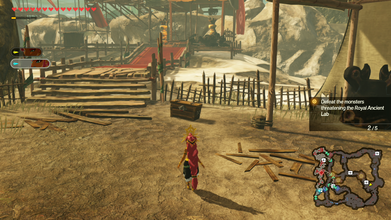
"Thanks to the Calamity's Revival, monsters are bearing down on the Royal Ancient Lab, forcing the researchers to evacuate. Urbosa and Riju lead Gerudo warriors to liberate the lab from the monsters that captured it."
- Victory Condition: Reclaim the Royal Ancient Lab
- Defeat Condition: Urbosa or Riju flees
Objectives
Memory Quests
Defeat 1,000 or more enemies.
Rewards:
Obtain 4 wildberries.
Find crates with Wildberry located around the map.

From the field on the east side of the map, to the west. 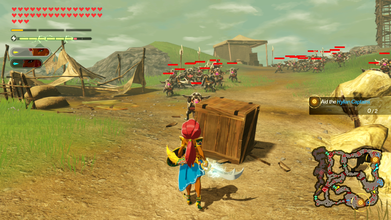
Follow the path up the hill in the southeast corner of the map. 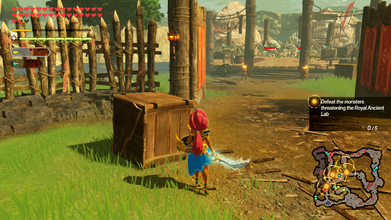
From the large field on the south of the map head north. 
From the southwest side of the map, head to the first scaffolding section.


Rewards:
???
Defeat Master Kohga with Riju.
Rewards:
- 3 Report: Hidden Battles
- 10 Topaz
- Devoted Kodachi
- 2,000 Rupees
Cutscenes
EX Liberate the Ancient Lab [text]
"In the midst of the Calamity, they Royal Ancient Lab was captured by monsters. and the researchers are forced to flee. Urbosa and Riju bravely led troops to the lab in order to liberate it."
The Thunder Helm
"After a fierce battle, Urbosa and Riju are interrupted by Master Kohga's scheme to swipe the Thunder Helm. The hitch is that one such as Kohga shouldn't be able to handle the Helm of the Gerudo chief..."
Dialogue
| Character Speaking | Dialogue |
|---|---|
| . |
Treasure Chests
- See also: Age of Calamity Treasure Chests
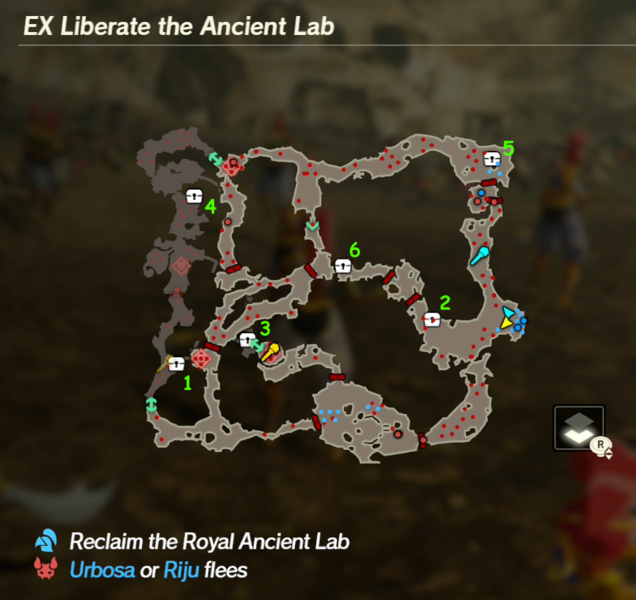
There are 6 treasure chests found in EX Liberate the Ancient Lab. Note: These chests are shared with Road to the Ancient Lab. Collecting a chest from either scenario will remove it from the other.

300 Rupees On the western side of the map near the southern platform. 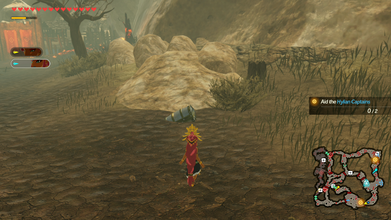
Giant Ancient Core x2 Southwest of the start, next to a rock formation. Use Magnesis to pull the chest out of the ground. 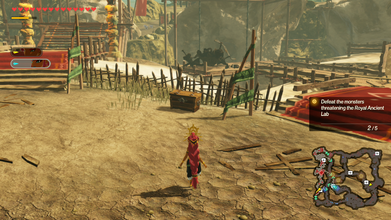
Traveler's Sword Just outside the south-central platforms. 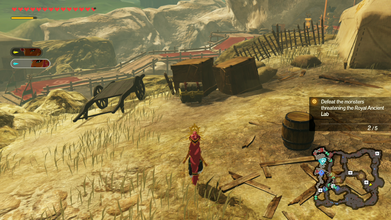
Amber x5 In the northwest area of the map, just south of the northwest platform. 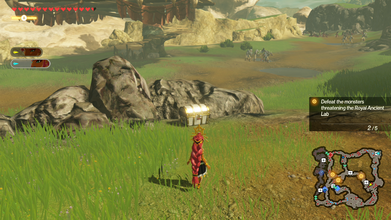
Ancient Memory Part In the northeast corner of the map, behind a rock formation. 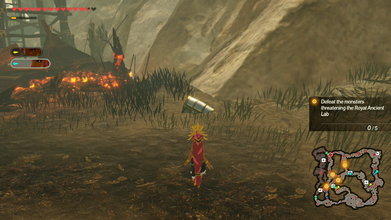
Kakariko Kodachi In the center of the map, just before the outpost where Master Kohga appears. Use Magnesis.


