Kikakin Shrine: Difference between revisions
Jump to navigation
Jump to search
Video Walkthrough of Kikakin Shrine
Want an adless experience? Log in or Create an account.
No edit summary |
(→Shining in Darkness: Added content) Tags: Mobile edit Mobile web edit |
||
| Line 28: | Line 28: | ||
* Head straight all the way down making sure to take caution when passing through the moving spiked walls. | * Head straight all the way down making sure to take caution when passing through the moving spiked walls. | ||
* Right after the pair of moving spiked walls if you look up you can see an opening in the roof, use [[Ascend]] to go up into this room for a chest containing a [[Zonaite Bow]]. | * Right after the pair of moving spiked walls if you look up you can see an opening in the roof, use [[Ascend]] to go up into this room for a chest containing a [[Zonaite Bow]]. | ||
* Head back down and bypass the last wall of moving spikes to get a [[Small Key]]. | * Head back down and bypass the last wall of moving spikes to get a [[Small Key]], located under a floor tile which you can move with [[Ultrahand]]. | ||
* Make your way back to the beginning of the shrine to unlock the door. | * Make your way back to the beginning of the shrine to unlock the door. | ||
* The red represents a spiked wall or lasers, the green was the path taken, and the gold is chest locations. | * The red represents a spiked wall or lasers, the green was the path taken, and the gold is chest locations. | ||
Latest revision as of 23:31, March 8, 2024
Kikakin Shrine

Games | ||
Location | ||
Depths Counterpart | ||
Items | ||
Rewards | ||
| Attributes | ||
|---|---|---|
Type | ||
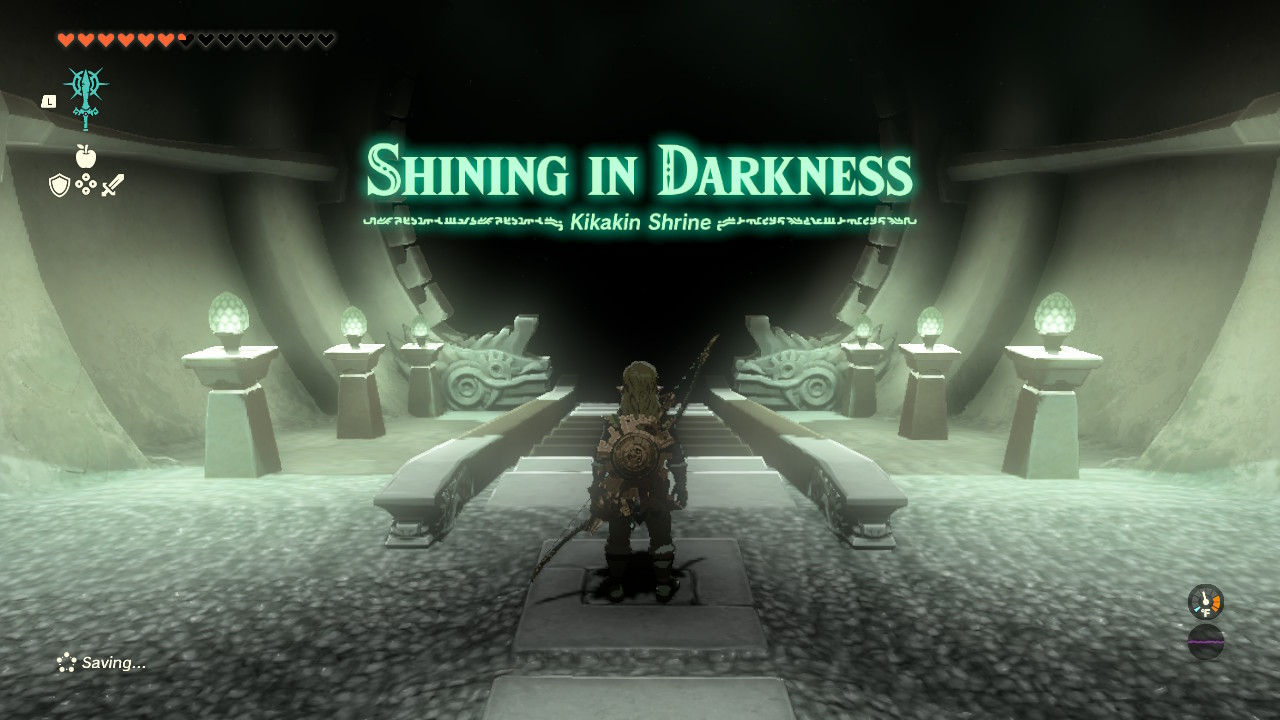
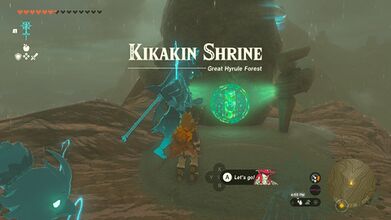
Kikakin Shrine, also known as Shining in Darkness, is a Shrine of Light from Tears of the Kingdom.
The Shrine is located west of the Great Hyrule Forest.
Shining in Darkness
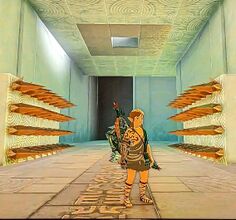
- Upon entering this shrine you will see a locked door to your right.
- You can pick up the Zonai light, or use Brightbloom Seeds if you have them.
- Proceed to the corridor to your left, lighting the way as you go.
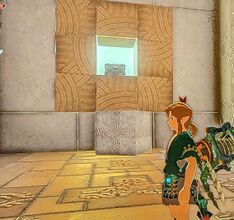
- Up ahead there will be a corridor to your right, proceed to find a box in the wall and remove it using Ultrahand in order to find a chest containing a piece of Amber.
- Head back the way you came, and turn right at the spiked wall.
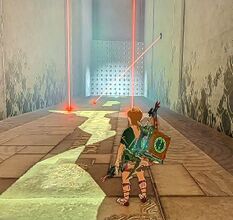
- Follow the corridor and go straight, you will come to a room with lasers, by-pass them to get a chest, careful with the spiked wall at the end of this room.
- Head back again and turn left.
- Head straight all the way down making sure to take caution when passing through the moving spiked walls.
- Right after the pair of moving spiked walls if you look up you can see an opening in the roof, use Ascend to go up into this room for a chest containing a Zonaite Bow.
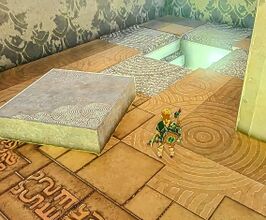
- Head back down and bypass the last wall of moving spikes to get a Small Key, located under a floor tile which you can move with Ultrahand.
- Make your way back to the beginning of the shrine to unlock the door.
- The red represents a spiked wall or lasers, the green was the path taken, and the gold is chest locations.

Video Walkthrough
Video Walkthrough of Kikakin Shrine
Gallery
Outside the Shrine
First Hidden Chest
Laser room, location of 2nd chest
Double spiked wall, Use ascend to reach the room in the roof
Last chest, location of small key
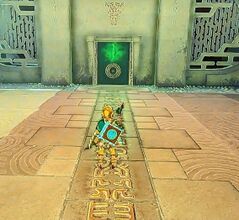
Locked door


