B O O M E R A N G B O O M E R A N G |

|
The Boomerang can grab far away rupees and hearts as well as stun or even kill enemies. |
|
 S T A L F O S S T A L F O S |

|
Stalfos were in the First Quest, but in the Second Quest they've gained the ability to shoot a sword beam similar to yours.
|
|

|
 |

x 12 |
|
|
|
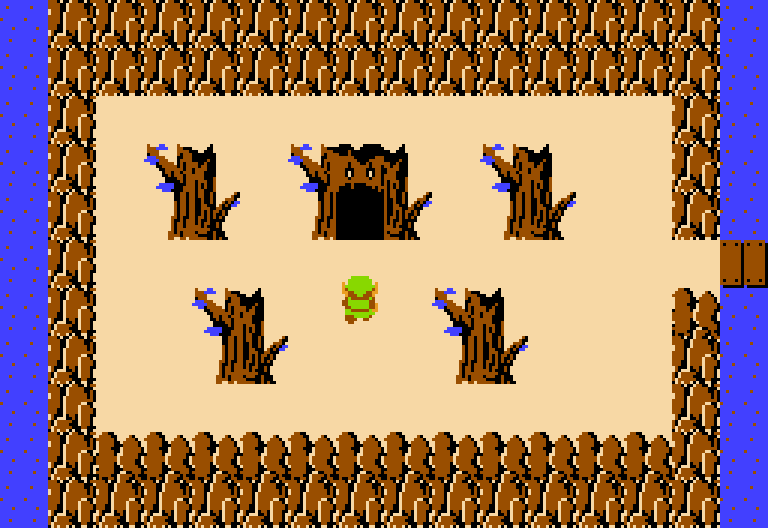
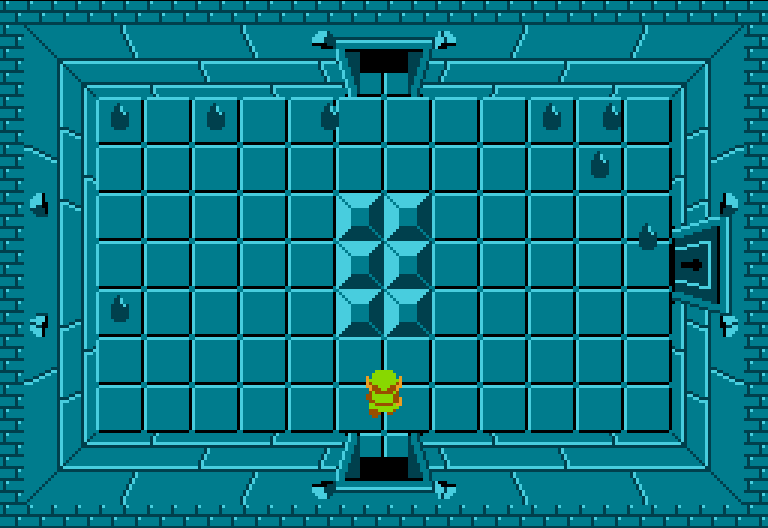
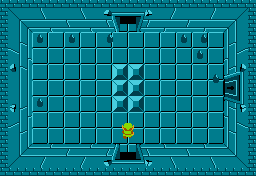
This room is the entrance. Not much to do here, so head left. |


|
 |

x 5 |
|
|
|
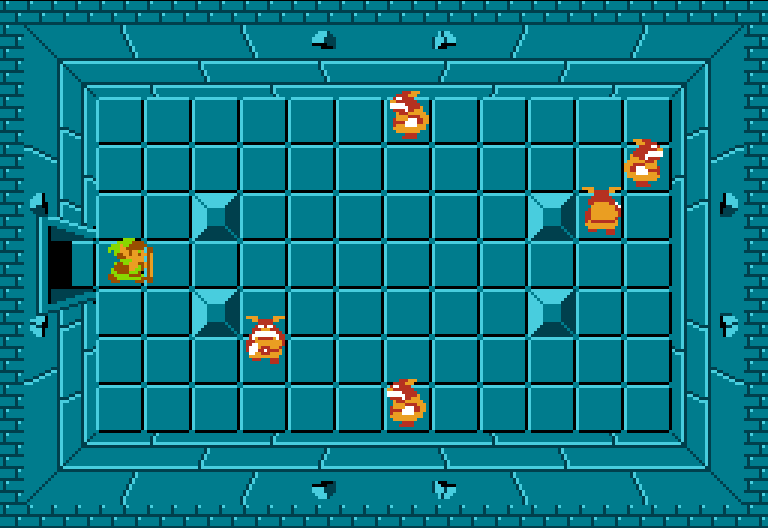
This room has 5 Goriyas. Kill them all for a new item, the Boomerang, which is an extremely useful item to have with us. I reccomend having it at all times. Blowing up the north wall will result in a hole, and we'll use that later, so blowing it up now isn't a bad idea. Head left and up. |


|
 |
x 3 |
x 2 |
|
|
Kill the three Goriyas while avoiding the fireballs the Statues shoot for a key. |


|
 |

x 5 |
|
|
|
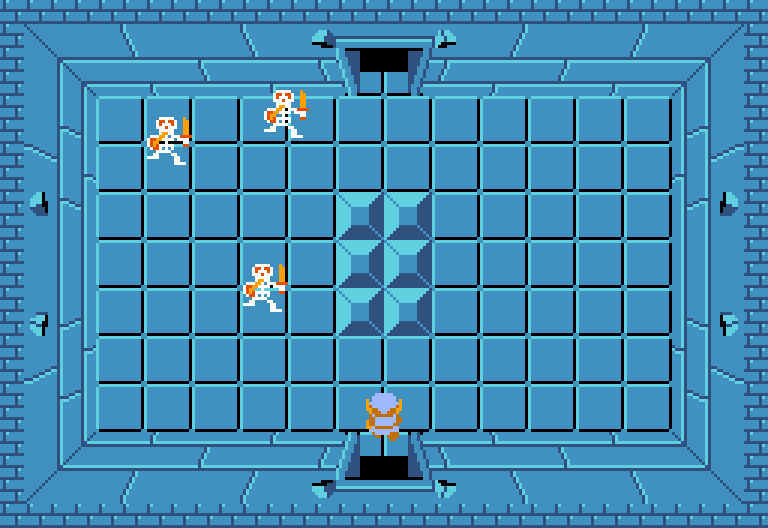
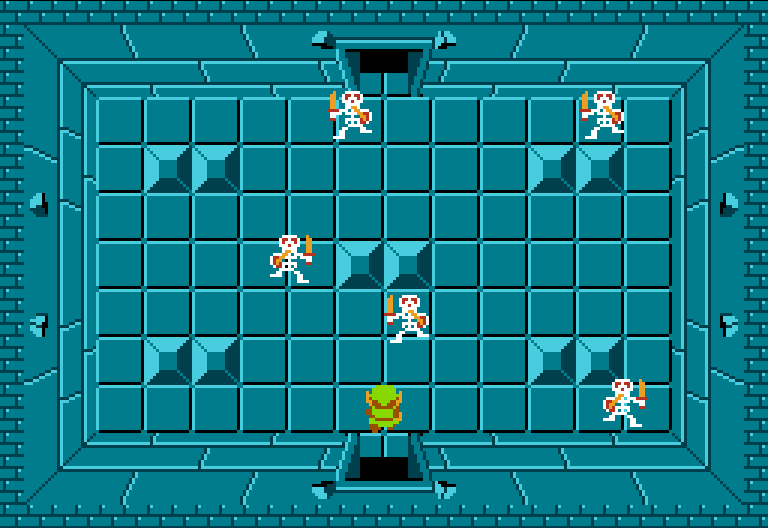
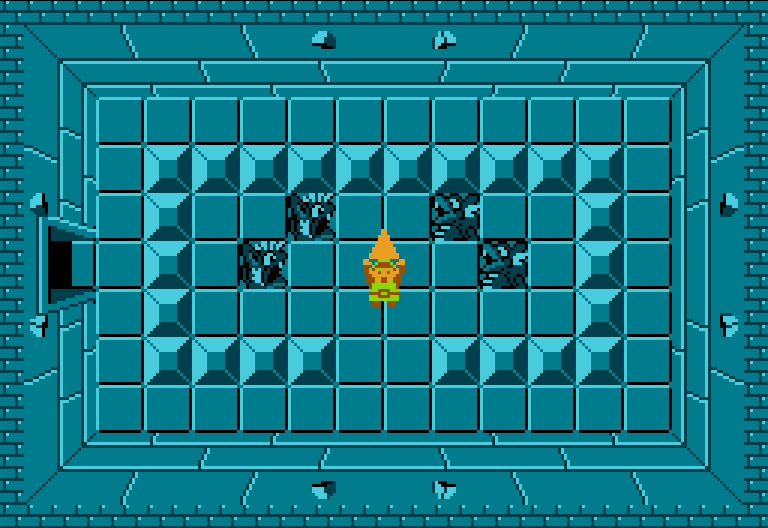
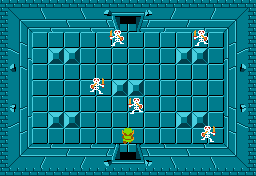
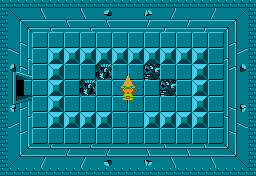
These Stalfos are different from their First Quest counterparts, as they've gained the ability to shoot a sword beam, which are a pain, but easily dodged. Kill them all for the compass. Head up. |


|
 |

x 3 |
|
|
|
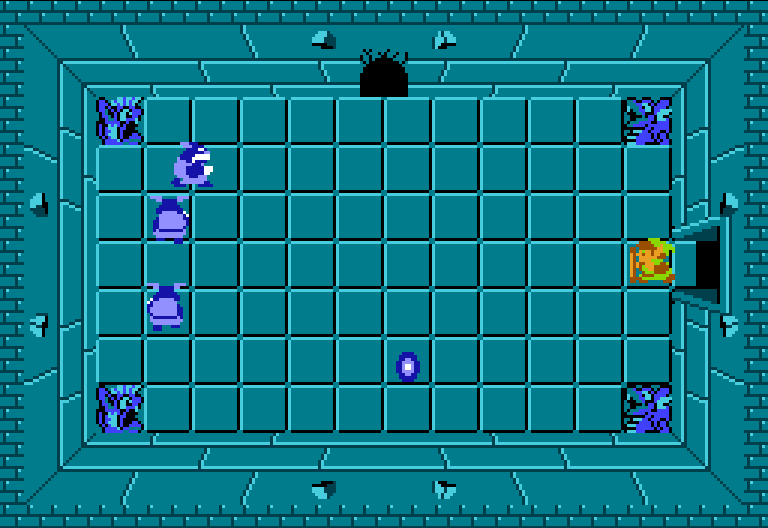
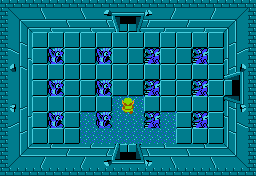
Blue Goriyas are a bit harder than the Red ones, so they may be a challenge, especially with a lack of space to maneuver and attack. Kill them all for some bombs, which I reccomend if you don't have any. Head up. |


|
 |

x 8 |
|
|
|
These pathetic Gels can be skipped altogether if you don't care for some easy 5 rupees. Just head right using a Key and be done with it. |

|
 |

x 1 |
|
|
|
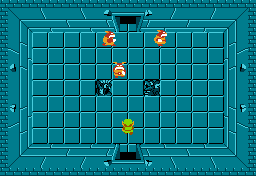
This Dodongo, who was a boss in the first quest makes an appearance as the dungeon's mini-boss. Blow him up like you did in the first quest and the door down will be unlocked. Enter it. |


|
 |

x 3 |

x 3 |
|
|
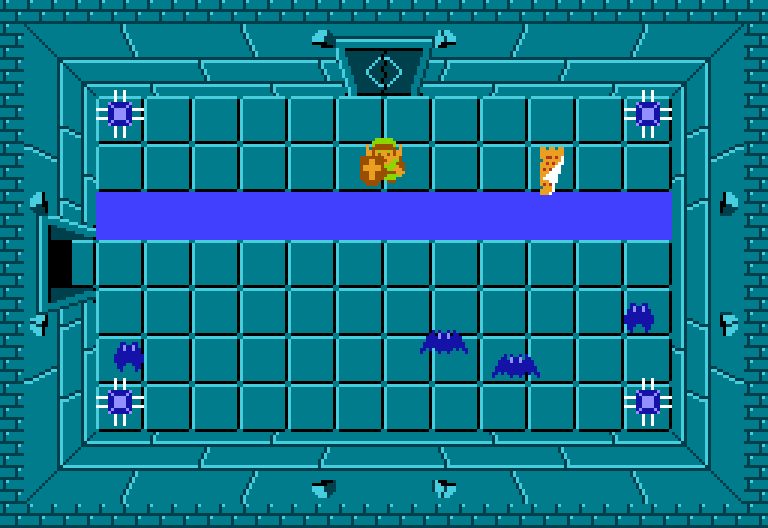
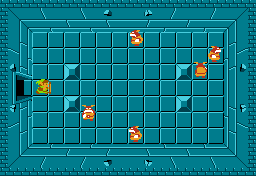
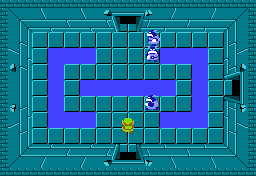
Avoid the Blade Traps and you'll realize you are given very little room to fight without being hurt. Kill the Keese using the boomerang to unlock the door. Make sure to grab the Dungeon Map and head back to the boomerang room and head up using a bomb. |

|
 |
x 6 |
|
|
|
Kill the Keese and you'll be able to push the far left block opening the path to the staircase. |
|
 |
x 4 |
|
|
|
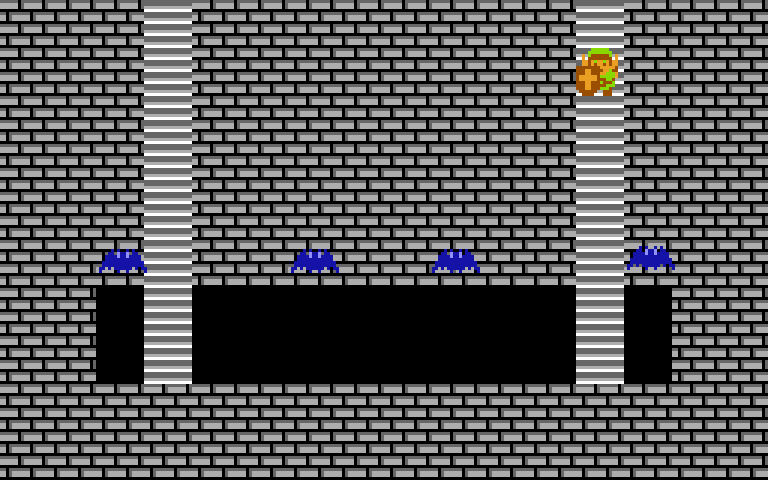
You can avoid or kill the keese, but survive long enough to make it to the other side. =P |

|
 |

x 4 |

x 5
|
|
|
It may seem like you need to turn around, but stand next to the walls and kill the Wallmasters for a key. Obviously, use it to open the door to your left. |

|
 |
x 3 |
x 4
|
|
|
Kill the Goriyas if you wish, but blow up the upper wall and enter it. |

 |
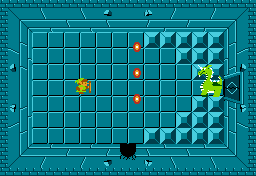 |
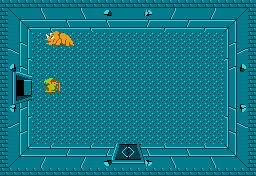
This room is home to the Boss of the dungeon, Aquamentus. He is the exact same as he was in the first quest, so no suprises here. He shouldn't be a difficult battle.
Either use a sword beam from afar to easily kill him, or just slash him up close, but be aware that it's easier for him to hit you when you're close. Alternatively, if you have some bombs left over, place two next to him and he'll explode.
Upon his death, pick up the Heart Container and head right. |
|
View this Boss in our Boss Guide
|


|
 |
x 4 |
|
|
|
Grab the Heart Container and your life will regenerate and you will be brought back to the entrace. One down, seven left! |
|
|