- Chapter 1 – Eastern Palace
- Chapter 2 – House of Gales
- Chapter 3 – Tower of Hera
- Chapter 4 – Hyrule Castle
- Chapter 5 – Thieves’ Hideout
- Chapter 6 – Desert Palace
- Chapter 7 – Dark Palace
- Chapter 8 – Swamp Palace
- Chapter 9 – Skull Woods
- Chapter 10 – Turtle Rock
- Chapter 11 – Ice Ruins
- Chapter 12 – Lorule Castle
9.1 Skull Woods
NOTE: This chapter covers the Skull Woods. However, almost any of the other Lorule Dungeons can be played at this time. This is just one of the many possible orders to complete the dungeons.
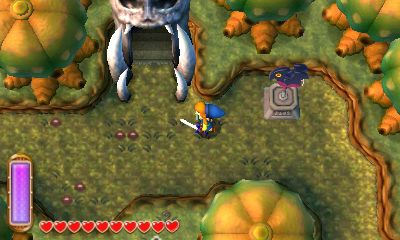
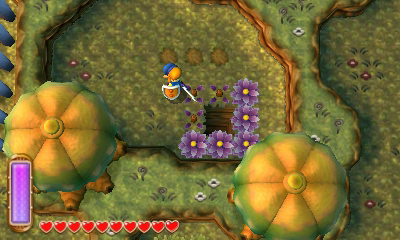
The Skull Woods is located at the northwest part of Lorule. The best way to get there is to warp over to Kakariko Village in Hyrule. At the north end of Sahasrahla’s house, there is a crack where you can enter Lorule. Exit the area to the northeast and then head up to enter the woods.
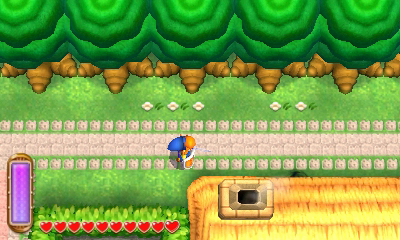
Run onward and be sure to save at the weather vane nearby. Once you are ready, go ahead and enter the dungeon.
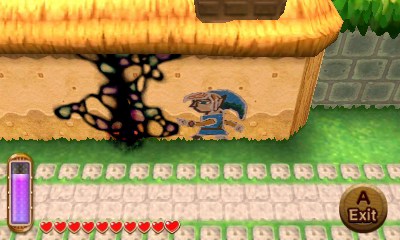
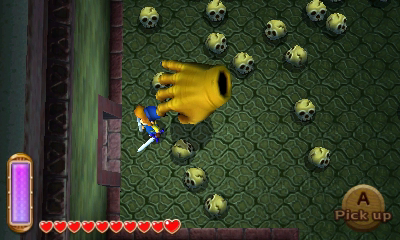
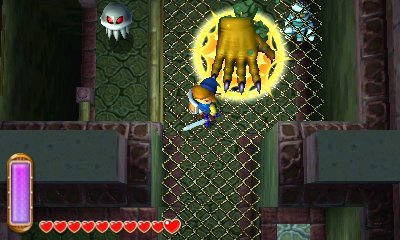
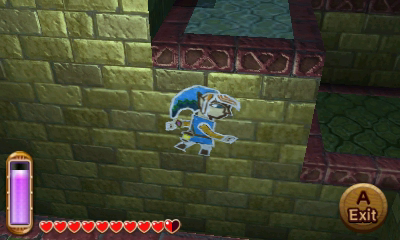
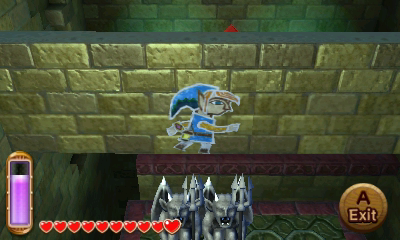
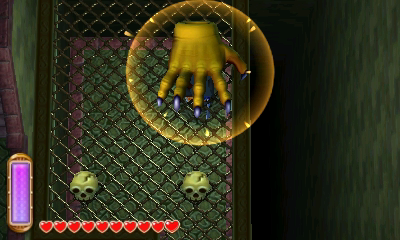
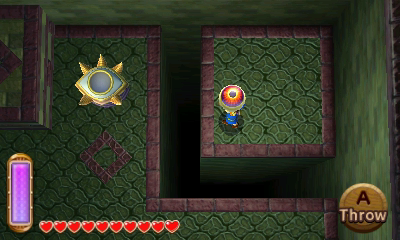
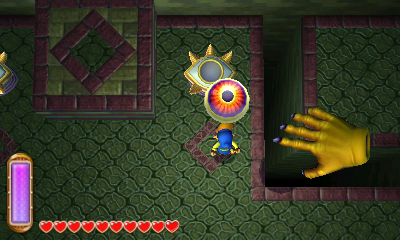
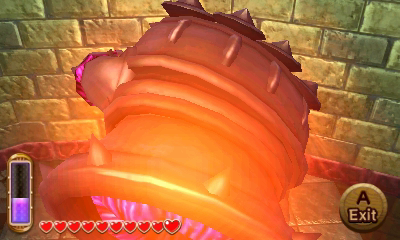
When you enter the dungeon, you’ll immediately notice the Wallmaster. This giant hand will threaten to grab you and bring you back to the dungeon entrance, so be careful. You can defeat the hand with a few sword slashes, causing it take a longer time to reappear.
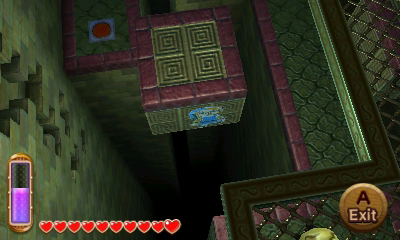
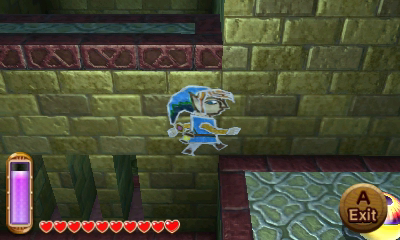
From the dungeon entrance, take the pathway to the left. Walk southward and step on the floor switch found here to open the nearby door. Continue to the next room and carefully walk around the narrow ledges, exiting the dungeon at the door to the south.
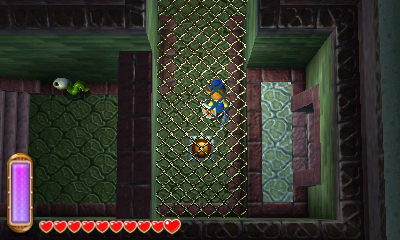
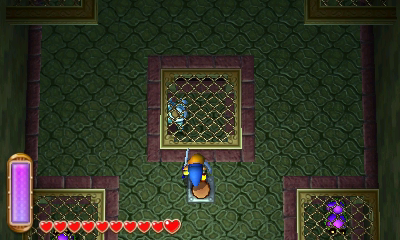
Back outside, walk to the right and follow the pathway until you come to a hole. Drop down to renter the dungeon in the room where we just were. Step onto the moving platform and ride it around the room. If the wallmaster is about to grab you, merge into the wall.
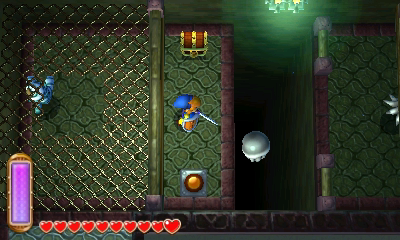
Ride the platform until it reaches the treasure chest. Open it up to get a small key and then head up a screen. Make your way to the southeast corner of the room and open the locked door. Walk southward to get back outside.
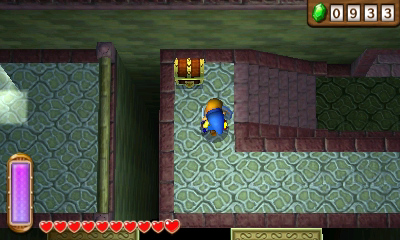
Walk northward and fall down the first hole that you encounter. Open the treasure chest here to get a silver rupee. Jump off the ledge to the south and open the treasure chest nearby to get the Compass. Walk down a screen to get to a familiar room. Once again head through the door at the southeast corner of the room and then exit the dungeon.

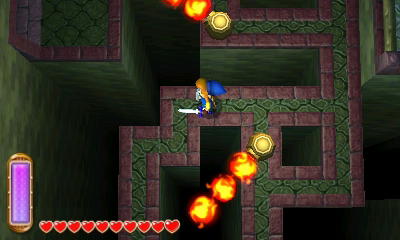
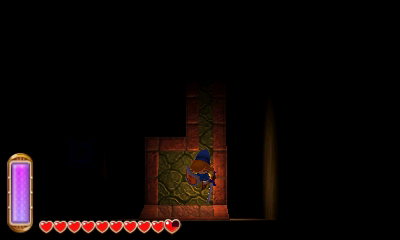
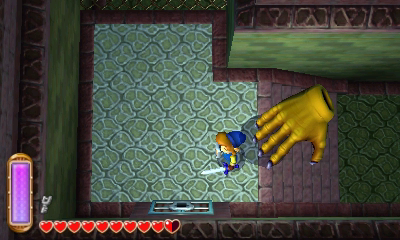
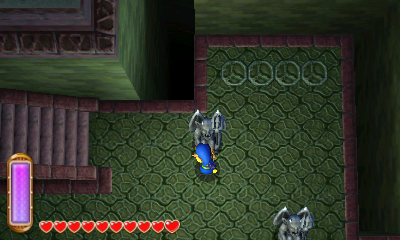
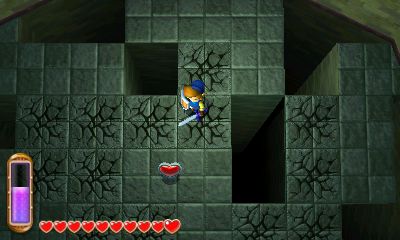
Walk northward once again, but this time walk passed the hole in the ground. There is a set of 9 bushes just to the left. Slash them and fall down the hole that is revealed. Walk to the left a screen and you’ll notice a crack along the top of the grate. Stand on top of the crack and wait for the wallmaster to come down. Quickly walk out of the way, causing the wallmaster to break the floor below.
Drop down and step on the floor switch below. Climb the steps and you’ll find another cracked floor at the northwest corner of the room. Repeat the same process and then drop down the hole. Open the treasure chest here to get a small key.
Step on the floor switch, causing a bridge to appear. Make your way to the southwest corner of the room and head through the locked door. Pull the nearby lever, causing a platform to lower, and revealing a staircase. Walk down to reach the basement.

Walk along the right way to get to the south end of the room and defeat the enemies here. There are four switches above and two gargoyle statues. You want to push two of the statues so that they are standing on the two left-most switches. This will create a wall just to the north. Climb the nearby staircase and merge onto the wall. Walk all the way over to the east end of the room. Pull the lever to create a staircase and then head through the doorway.
Step on the floor switch and the nearby platform will begin to move. Merge onto the platform and let it carry you over to the middle of the room. Walk to the north end of the room and you’ll see a switch on the higher ledge. Stand right below and allow the wallmaster to slam into it, causing another platform to move. Merge onto that platform and ride it to the north end of the room. Step on the switch nearby and then head up a screen.
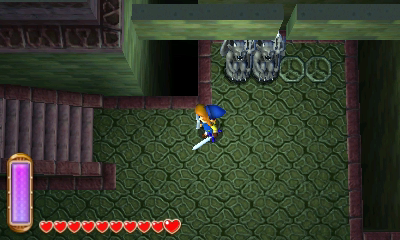
This room has five enemies that you must defeat to progress. Step on the floor switch to bring three of the enemies up to the surface. The other two can be defeated by standing underneath them and allowing the wallmaster to smash them. With all the enemies defeated, head through the door that opens.
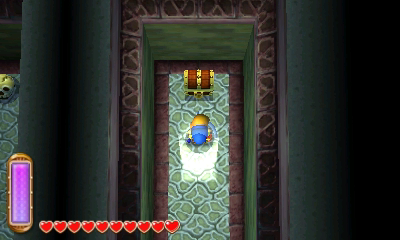
Ride the platform to the west and make your way to the southwest corner. Allow the other platform to move to the western wall and then step into it. There are gaps on this platform on all four sides. Ride it eastward and open the treasure to get a small key. Use the key and head through the locked door below.
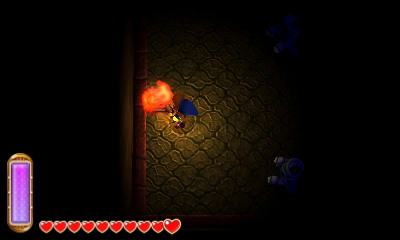
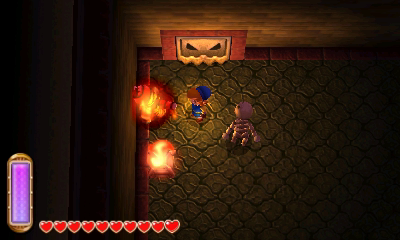
Run to the far left of the room and use the lantern to light the torch. Defeat the two Gibdo enemies and head through the door that opens. Continue up the stairs to get back to the higher floor.
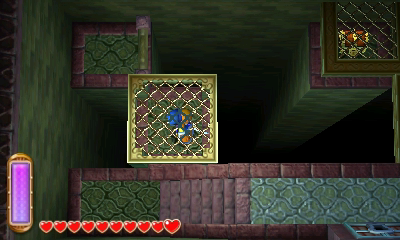
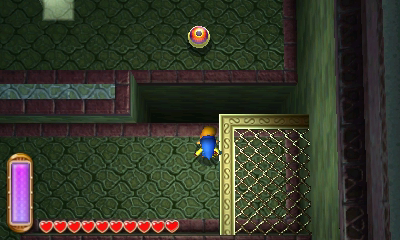
Merge onto the wall and sneak through the small gap. There are two eyelids at the top of the room and you’ll need to find the two eyes to go with them. One of them is at the northeast corner of the room. Merge on to the wall to reach the eyeball. Toss it over the gap and then make your way over to the eyeball. Toss the eyeball into one of the two eyelids.
Walk across the bridge that appears and make your way to the moving platforms. You can simply merge onto the northern wall and quickly walk over the gap. Continue to the next wall to the south and merge along that one as well. Make your way to the south end of the room and sneak through the bars. Exit the dungeon below.

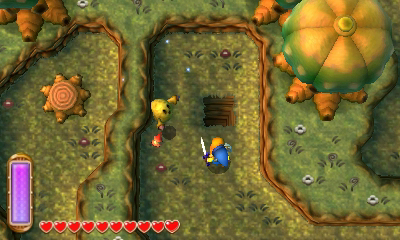
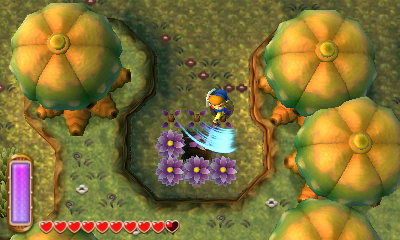
Outside, walk to the left to find a treasure chest containing a purple rupee. Walk northward and you’ll find a number of bushes and holes in the ground. Turn to the right and slash the nine bushes to find a hole. Drop down below to get back to the previous room.
Now on the higher ledge, walk along the southern wall to reach the eye at the southwest part of the room. Before dealing with the eye, continue walking along the wall to reach the large treasure chest just above. Open it up to get some Master Ore.

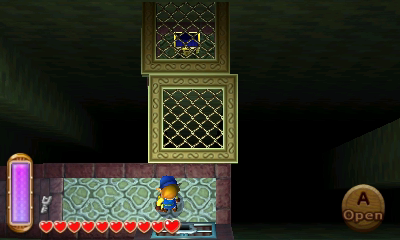
Return to the eyeball and grab it. Drop down to the lower area and walk to the right. Toss the eyeball over the gap and then head on over by merging into the wall. Continue taking the eyeball across the room by utilizing the moving platforms. At the top of the room, toss it into the eyelid and open the big treasure chest to get the Big Key.

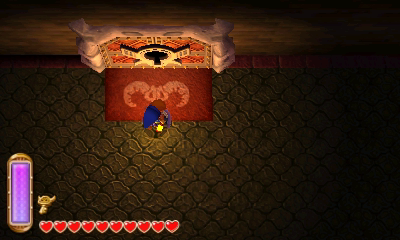
Climb down the staircase at the top-left part of the room to get back to the lower basement. Walk south a room and then use the big key on the locked door to find the boss, Knucklemaster.

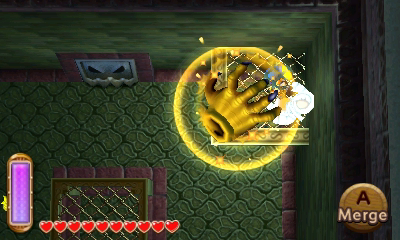
The boss will charge up and dash towards you. Stand near a wall and once the boss comes close, merge with the wall and it will slam right into it. While the boss is stunned, hit his eye with a series of sword slashes. When the giant hand is in the air, quickly run around the room and merge with the wall if needed to avoid the attack. Keep hitting him in the eye until he has been defeated.


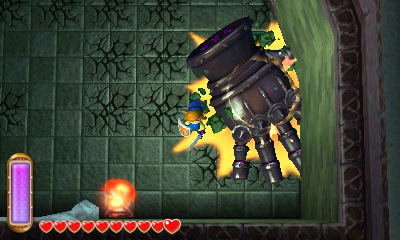
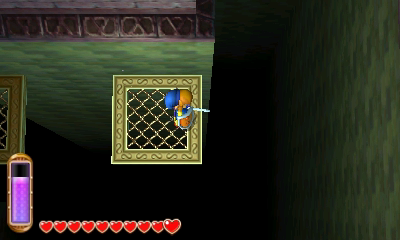
Grab the Heart Container and then head through the door above. Touch the painting to save the next sage.

- Chapter 1 – Eastern Palace
- Chapter 2 – House of Gales
- Chapter 3 – Tower of Hera
- Chapter 4 – Hyrule Castle
- Chapter 5 – Thieves’ Hideout
- Chapter 6 – Desert Palace
- Chapter 7 – Dark Palace
- Chapter 8 – Swamp Palace
- Chapter 9 – Skull Woods
- Chapter 10 – Turtle Rock
- Chapter 11 – Ice Ruins
- Chapter 12 – Lorule Castle
