- Chapter 7 – Water Temple
- Chapter 8 – Bottom of the Well
- Chapter 9 – Shadow Temple
- Chapter 10 – Spirit Temple
- Chapter 11 – Gerudo Training Grounds
- Chapter 12 – Ganon’s Castle
7.1 Water Temple
The first thing you may notice about the Master Quest Water Temple is that there are no annoying Blue Tektites to get in your way. Jump in the water and equip your Iron Boots. When you get to the bottom, take the outside west path (the only one you CAN take at the moment) and once again, you’ll be completing a dungeon with the help of Princess Ruto. She greets you with talk about your “vows” even though you had not a word in edgewise. She then begins to belittle you. She quickly changes it up, trying to show she’s matured, but inside she’s still the same spoiled brat.
Float to the top where she has disappeared (good riddance) and use Din’s Fire in the center of this room. If you’re in a good spot, you’ll light all four torches and open the door. Head through, and you’ll be attacked by three Stalfos. Defeating them one by one is easiest, since they can easily overpower you if you allow them to. The easiest method is to simply stay in a corner, since they won’t come at you all at once if they can’t surround you. Once that’s done, Hookshot the center of the picture for the Dungeon Map.
Back out of that room, play Zelda’s Lullaby in front of the triforce to lower the water all the way to the bottom. Jump down to the bottom and either use Din’s Fire or shoot arrows through the one lit torch to light the other two in this room, and through the newly opened door. All you have to deal with in this room is a laughably easy Spike, and two Lizalfos. Laugh at them too! Defeat all the enemies to earn your Compass. You can Hookshot the picture on the wall for a red rupee if you like. Head back through the door you came, Hookshot on top of one of the targets to get some reach, then up to small target block on the second floor. Hookshot the picture in this room to claim your Longshot!
NOTE: You can now go outside, use the Longshot in combination with the Scarecrow’s Song and Fairy’s Bow in order to get the the platform for the Fire Arrow. Doing so will make some things easier, but isn’t necessary for now. This is written with the assumption that you have not.
Equip it right away. You will be able to use this thing in practically every dungeon and battle to come, and it’s going to get some definite practice here. Drop down and head to the south side of the center. Take the inner south door, Longshot all the way to the top, and play the Song of Time where prompted by Navi. Once the block has moved, jump down a level and play Zelda’s Lullaby at the triforce to raise the water back up to the second floor. Exit to the second floor and swim across to the outer south path.
Stand on the yellow button switch to open the gate. It only lasts about a second, so you’ll be locked in after you step through. Follow the corridor until you get to the split. There should be a iron gate on the west wall. Using Din’s fire not only opens the gate, but it kills a Golden Skulltula, whose token we can claim. The left holds nothing but a Lizalfos guarding a few measly trinkets you can find by breaking the various pots and crates, and the right path holds a Lizalfos guarding the way out. Head right, kill the Lizalfos and Longshot your way to the top. Jump straight down to the second floor and turn around. You should have come from the west side on the third floor and are now facing west on the second floor.
Head through, Longshot to the target on the wall ahead, and to the third target on the roof. Watch out for the spikes and torch as you Longshot to the top. Grab a box (the crates only have rupees, but the jars have hearts if you need them). Carefully jump back down, over the spikes, to the center of the main room. Carry the box around to the east side and place it on the blue switch to open the far east door.
Through the door, break the crate next to your entrance to find the diamond switch. Hit it to raise two Longshot targets, one in this room, and one above. Head towards the target and you’re ambushed, but you can easily kill the Lizalfos, (the jars here have hearts if you need them too) and climb on the target. Aim your Longshot up, to the target in the room above. If you hear the scritch-scratch, break a crate to find a Golden Skulltula, and continue through the west door to the main room.
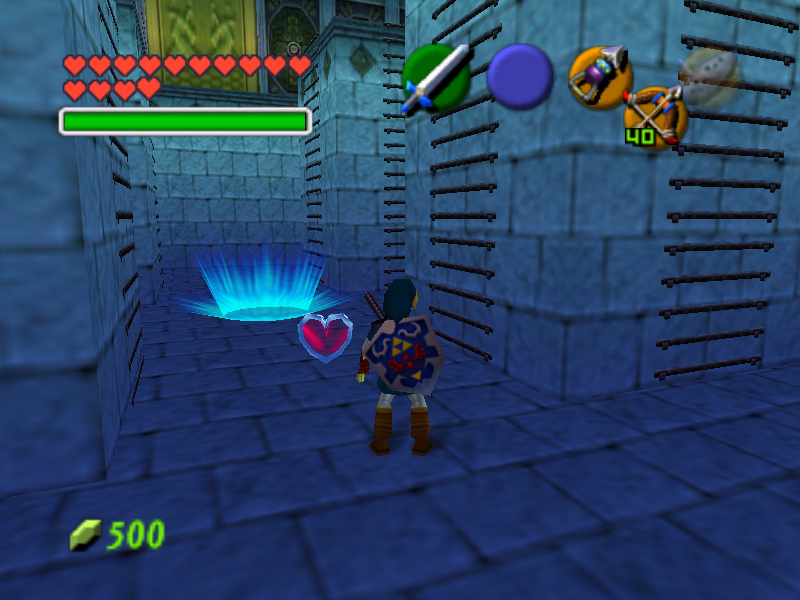
Play the Song of Time to raise the water, and jump in. Use your Iron Boots to walk around the center at the second floor level. Go back into the center via the north door, and Longshot to the top. Climb on top of the time block, and use Din’s Fire to light the torches in the top of this room to open the gate at the bottom. Jump back in with your Iron Boots to sink to the bottom and through the newly-opened gate. Ignore all of the crates (unless you need the rupees). One crate hides a switch that opens a gate in the ceiling, but this one only serves to drop enemies onto you. At the end, there are two partially raised brown walls. Jumping on them lowers them into the ground and reveals the switch you need. It opens a gate in the south-west ceiling of this room. Stand under the hole and Longshot the target to get into the room, and Longshot the center of the picture for a small key.
Head back to the center room, through either door to the main room; rise to the top, and take the key to the east door. Walk to the edge, look up, and hit the diamond switch with your Longshot. A dozen or so targets should have raised on the other side. Jump down onto the lone platform, and quickly take aim (you’re on a timer) at the UPPER target on the far right hand side. You’ll fall down onto the lower target, if you aimed right. Then look up and Longshot the center of the painting directly above (if you’re in the right position, Navi will help you aim; she doesn’t always) to raise the highest target. Your Longshot should just barely reach, and it’ll let you climb up to the top, away from the danger.
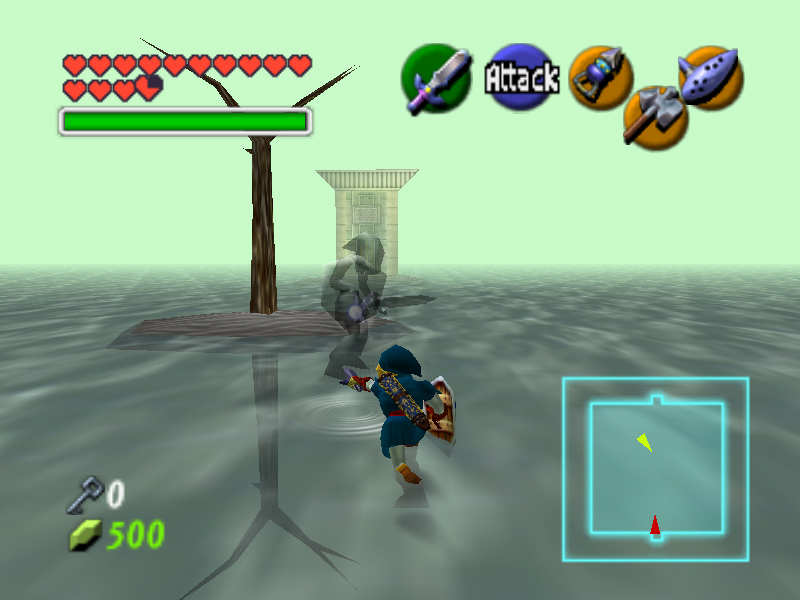
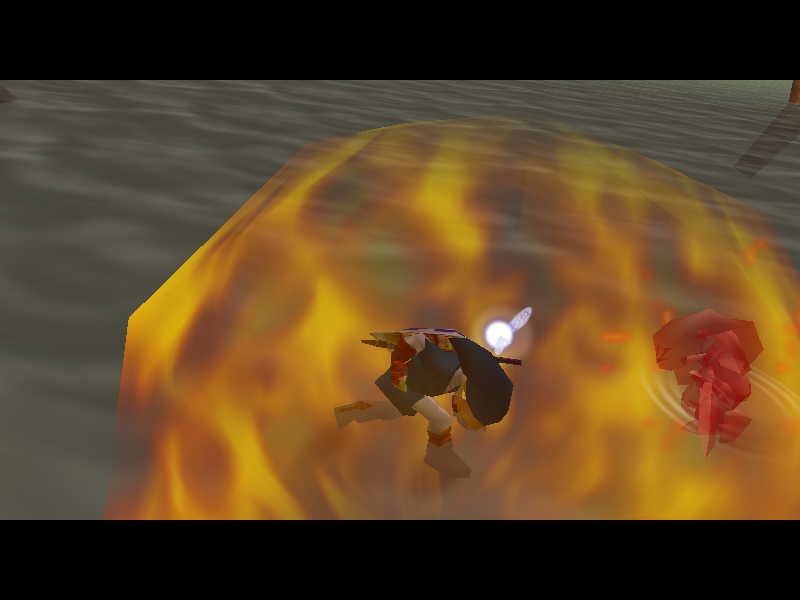
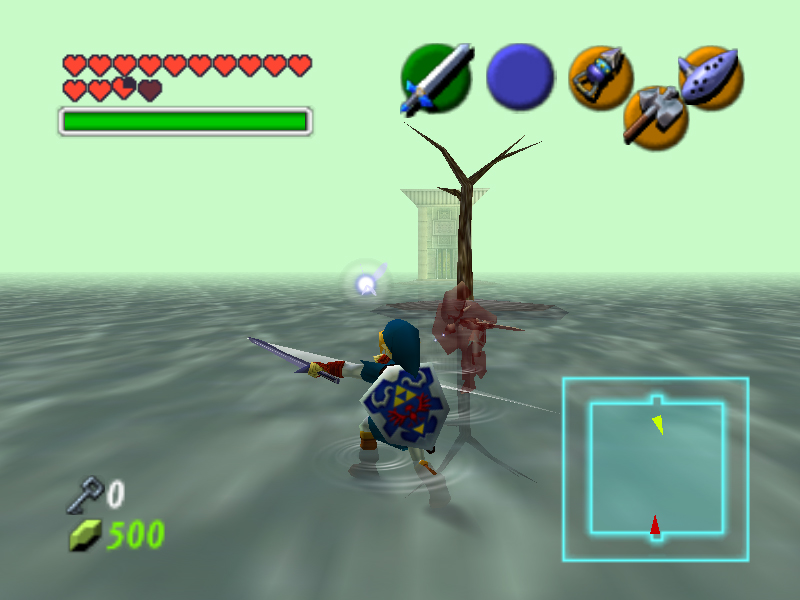
In the next room, jump down and have another fight with three Stalfos, just like the map room; use the same tactics to win. When they’re defeated, the dragon heads will rise. Lookshot to the one on the southeast side, then longshot straight to the top. The three jars down below contain two fairies and a random item, and the two near the door house large magic potions, in case you need to know. You can also call a scarecrow to the small platform in the center of the room. Playing the Song of Storms or the Song of Suns at the top will each release a red fairy spirit. You find yourself in the familiar Dark Link room, so approach any wall, and face the tree in the middle.
This battle can be intimidating at first, but after you begin seeing the patterns in his attacks and simply avoid the moves that cause him to react, he can be quite easily defeated. Basically, he mirrors your every movement at first, but then gets more aggressive as the battle progresses.
Avoid using the Jump Attack (Z + A) and stabbing with the Master Sword (Z + B + Forward). Each of those cause him to counterattack, not that regular slashing doesn’t, but those two are guaranteed to fail every time (unless you miraculously catch him at a good time right after he attacks, very rare, not worth it).
Z targeting: More safe, can sometimes trick him. No targeting: Risky, tend to take damage yourself at the same time. Much faster.
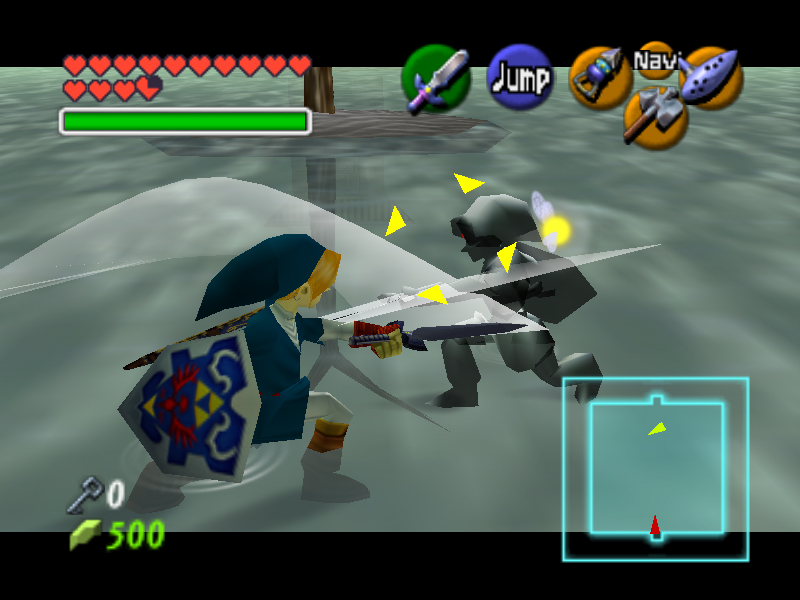

There’s two ways to go about this fight: Z targeting or without. While targeting, he mirrors your every move more accurately, but at the same time, you can angle your slashes as to get past his defenses, so while it’s harder it’s also easier to score a hit if you watch him closely. Without Z targeting, you can run around and your slashes have a chance to penetrate his defenses. An example: run away from him, turn around quickly and use a downward slash on him, or stand side by side facing opposite directions and continually just press the B button, eventually your sword will curve around and hit him in the back because he’s using a different type of slash that won’t hit your sword after awhile. A combination of the two methods will throw him off guard (because he’ll continually only roll, or only be aggressive, etc).
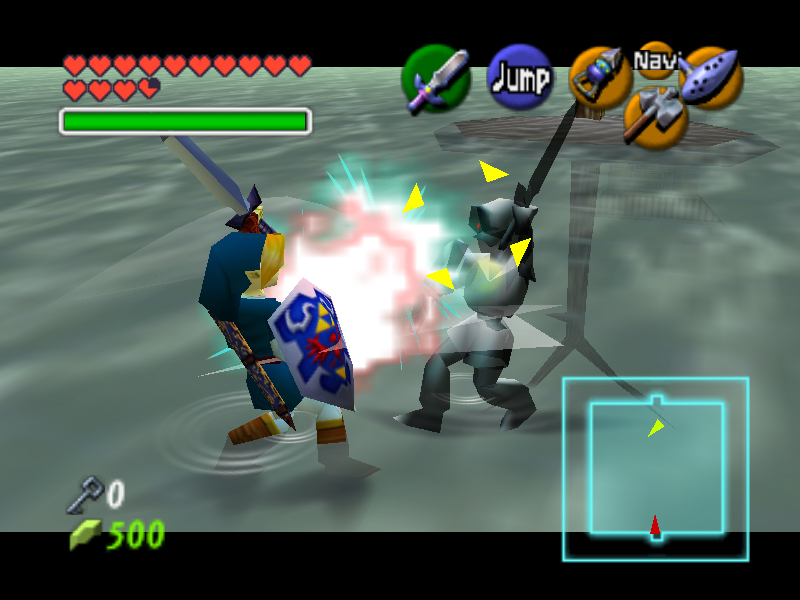
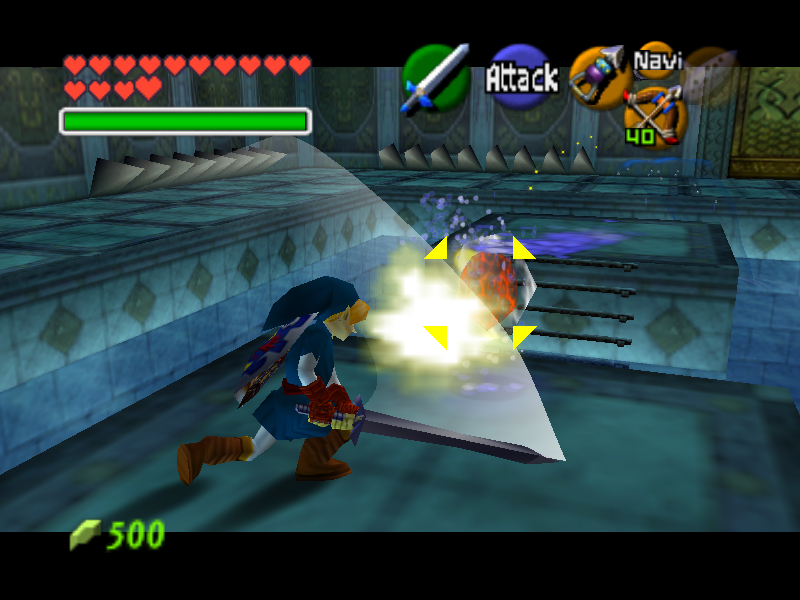
This battle is quite memorable and hard if you only use the Master Sword and tricks to defeat him. If you want this to go quick or are running low on life, you can always just use other attacks, seeing as he ONLY has the Master Sword, you can take advantage of that. In other words: Din’s Fire or the Biggoron’s Sword. The larger sword + stab is very effective because he doesn’t have that same stab counterattack. Z targeting and just regular slashes are also very effective.
If you’re out of magic and don’t have the Biggoron’s Sword, your best bet is to either have no Z targeting and try to inch your way along his side while you slash continually. Otherwise, to Z target and angle your attacks with the Analog Stick to try getting past his slightly delayed attacks (just don’t stab with the Master Sword). It does work, it just takes a little persistence.
After you’ve defeated him, the room’s illusion will cease and it’ll revert to normal as well as open the next door. Spooky.
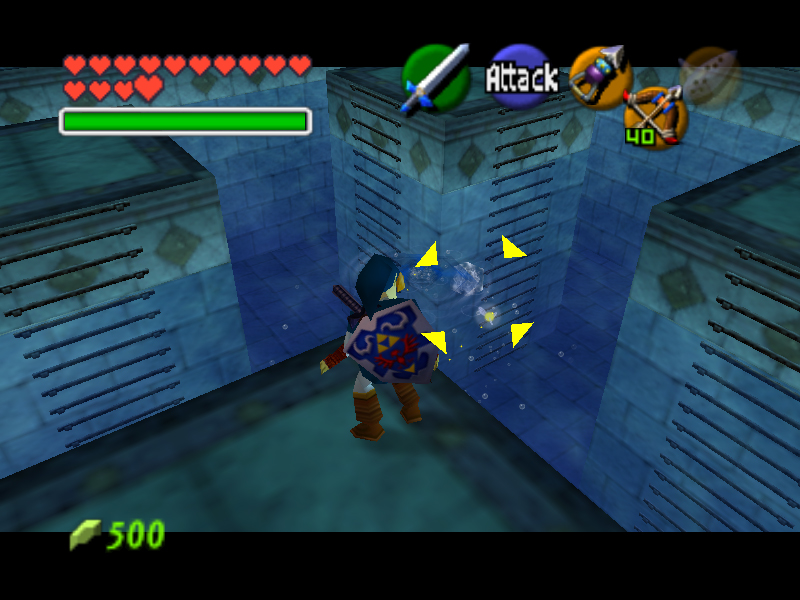
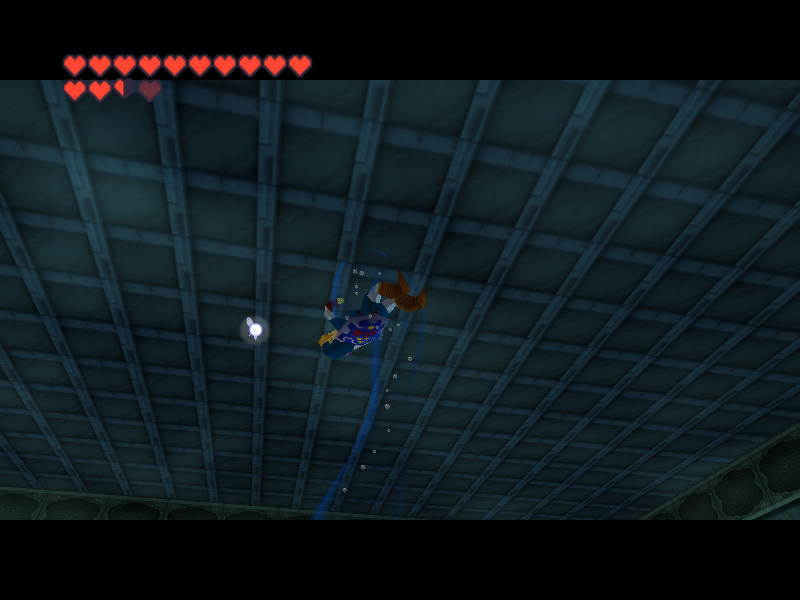
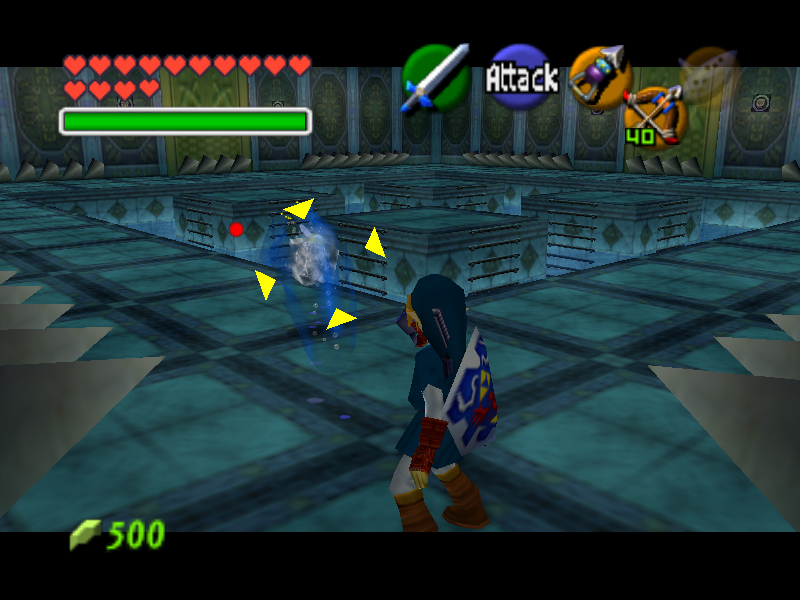
Deal with him whatever way you please and head through the new door. One of these pots contains a fairy, and one an item. Longshot the middle of the picture on the wall to open the way down, as well as get a magic potion. Equip your Iron Boots and Longshot and jump into the hole. Hookshot yourself from target to target. If you miss (or are too far away) the Iron Boots keep you from sliding into a whirlpool. Above the third target below, right around the bend next to a whirlpool, is a Golden Skulltula crawling on the roof. Make sure to claim its token before continuing. When you get to the jars on the ledge in the corner, one has a fairy if you need it. Make it to the end, and jump down into the big vortex room. Longshot into the underwater alcove and remove your Iron Boots to float to the top. Climb out and use Din’s Fire (if you need the magic, abuse the picture) to unlock the door back above the vortex.
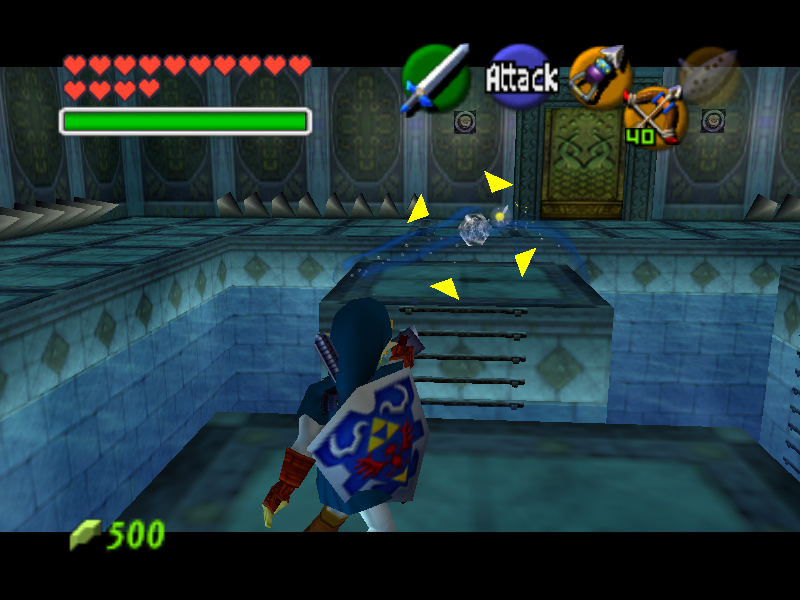
Head back the way you came, fight the vortex to climb out up top and make it to the now-unlocked door. In the next room, hit the Diamond switch. When the water rises, use it to jump to one of the opposite corners, then use Din’s Fire to light the torch on the other side of the gate, opening it and allowing you to claim the Boss Key. Sink or dive through the hole, and use your Longshoting-sinking-floating skills to get to the switch above, and press it to let yourself out, into the main room. Back on the first floor, head for the north path that you just unlocked (don’t take the south path (unless you already have the Fire Arrow)).
Inside, use the Scarecrow Song on the flow at the left, and use your skills to work your way around and kill the Golden Skulltula at the end and claim its token for your reward. Hookshot to the target on the ceiling for a shortcut out, and head back where you came from. Back to the main room one last time, float to the top, climb up and Longshot to the outer north door. In here, the two pictures on the wall (on either side of the door you used) can be Longshot for a fairy and a large magic potion. Longshot the crystal switch to raise the targets, and Longshot yourself up, through the door, to face the boss.
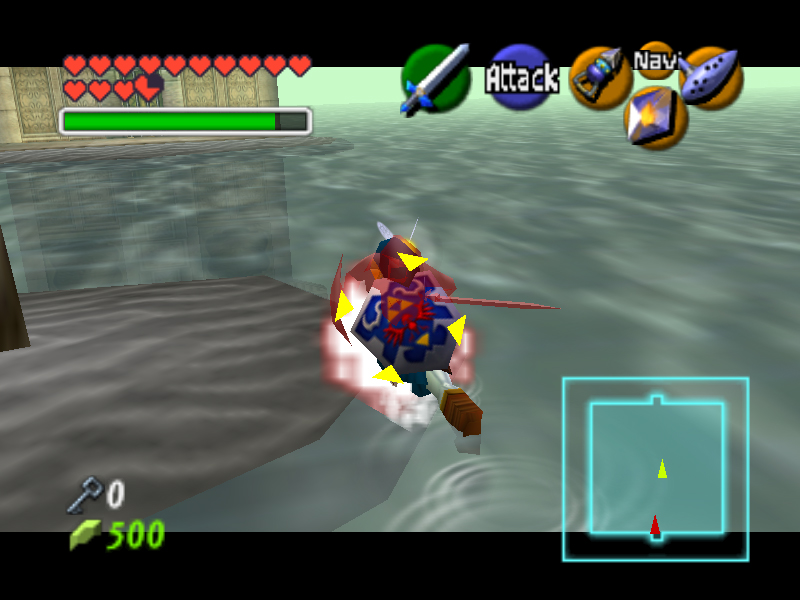
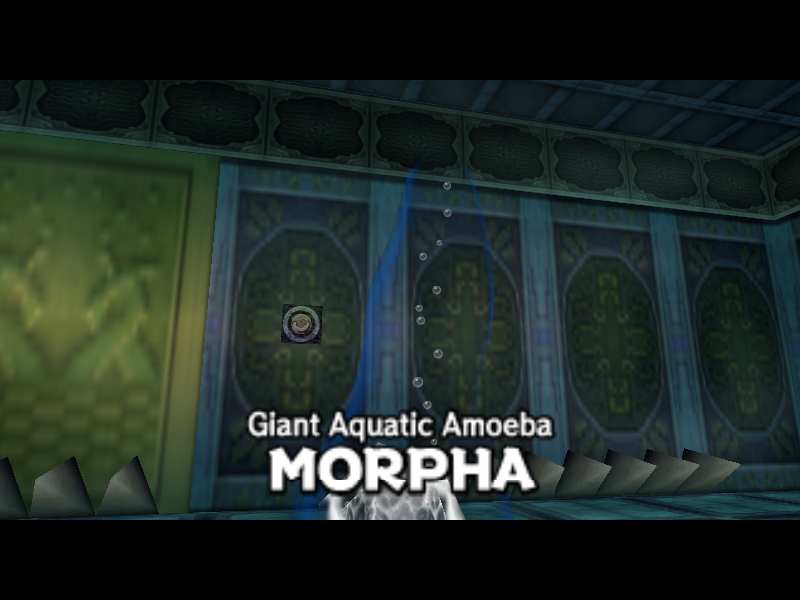
Alike the last boss, this one deals out quite a bit of damage should you accidentally get caught. This boss is rather simple: it really only consists of a single orb that controls the water in this room (in the form of tentacles that try to grab you). You can easily tell where the tentacles are coming from by the noises they make.
To avoid taking loads of hurting, simply stay a good distance away from each tentacle as soon as you see them beginning to appear. It’s pretty easy to stay out of their range. Wait until the nucleus attacks through a tentacle, use Z targeting and Longshot it. Make sure there’s plenty of room on the ground in front of you for it to bounce around, lest it fall back into the water as soon as you get it! As soon as you do get it, smack it with your sword, quick-like.
After several hits, it’ll summon two tentacles at once, and eventually three. Repeat the processes just like you did before. If you’d like this to be a challenging experience, stay ONLY on the four platforms in the water. If you’d like it the other way… just hang out in the corner where it can’t reach you… *GASP!*
After its been defeating, Morpha will explode into a pile of water, leaving the rest of the possessed water in the room to suck up to the ceiling and trickle away. Pretty sweet little cinematic really.