- Chapter 10 – Spirit Temple
- Chapter 11 – Gerudo Training Grounds
- Chapter 12 – Ganon’s Castle
10.1 Spirit Temple
Heading in, you’ll see a staircase in front of you. Two boulders sit in front of two strange statues. Off to either side of you are two jars. The jars contain hearts and magic potion, in case you need it. Smashing either boulder with your megaton hammer will reveal silver rupees. Up the stairs you can find your first chest with some bombchu. Up the stairs to the right is a powerful water fountain which you can’t pass, and you can see two more silver rupees beyond. Just behind the statue nearest the water is a boulder. Blowing it up will reveal an eye, and shooting it will release another small chest, this one containing a Small Key. From the top of the stairs you can aim towards the top of the pillars to find and shoot a crystal switch, releasing another chest with Bombchu. The left has a small tunnel you can’t fit through. Head back outside and Sheik will come to teach you the Requiem of Spirit.
He explains that you need to ride the Master Sword as a portal through time to accomplish all of your goals. Shortly before stepping back and disappearing into the desert. Warp back to the Temple of Time and place your sword to once again become a child. Make sure you have bugs in one of your bottles and warp back to the Desert Colossus. Dodge the Leevers on your way back up to the stone steps, and find the patch of soft soil right near the entrance. Use your catch and release tactics to get another Golden Skulltula, then plant your last magic bean. Head inside.
The temple is exactly as you left it seven years… from now. Heading left towards the small tunnel you will find a Gerudo woman clad in white. Talk to her and answer all of the bottom questions. She’ll reveal she is Nabooru. She wants to overthrow Ganondorf and she promises to help you, too, if you get the Silver Gauntlets for her, since they’re through the small tunnel that only you can can fit through. Crawl through and up the short steps to find two Torch Slugs.
Deal with both of them to unbar the large doors in this room. Shooting the eye will put out the fires temporarily (useful if the Torch Slugs keep relighting) and allow you access to a single heart. Take the right door. Kill the Gibdo here, then pull the tombstones back to reveal a switch. Press it to lower the gate bridge… the wrong direction. Stand near the edge, and use a Bombchu (aiming perfectly straight) to destroy the boulder and reveal an eye. Shooting it will make a floating block appear. Jump on the floating block and across. Destroy the Gibdos here to open the next door.
Jump on the spinning platform and you’ll be ambushed by a Stalfos. You can defeat him the old fashioned way (which is harder because you’re a kid) or you can attack him relentlessly when he’s near the edge to knock him over. Either way, the doors unlock. Take the new door (it’s the one on the right, if you get confused) to the second room with a gate bridge.
Shoot the Keese flying around here, (if it catches fire, unequip your Deku Shield), and shoot those hanging on the walls. Pull back the Tombstone to reveal a button switch. Press it to lower the bridge. Walk unto it to find the last Keese from underneath coming after you. Shoot it down, and advance towards the chest and see an Anubis.
Take it down, and if you got all of the Keese (there are a total of five), a small treasure chest will appear. The large one contains the Dungeon Map, and the new small one hides a Small Key. Exit through the new door to find the room that used to hold the Torch Slugs. Crawl through the hole in the north of the room (ignore the rusty switch for now) and use the key on the door here.
Hit the crystal switch and a Like Like drops from the ceiling. If it gets your shield, make sure to destroy it quickly to get it back. Try to keep the crystal switch between you and it so it can’t get you though. Climb up and defeat the Baby Dodongos that come after you, then use Bombs or Bombchus to destroy the Beamos in the room, and get a chest with more Bombchu. Target the boulder on the wall (Navi helps for once) and blow it up to release a chest, but you cannot get it yet. Instead, use your second key to continue through the locked door.
Immediately head left and shoot the eye on the wall. When the chest appears claim your Compass. Head straight south and stand directly under the Door. Use Din’s Fire to melt the ice and hit the switch (it doesn’t always hit the switch at the same time, in which case step back and shoot it with your Fairy Slingshot). Through that door shoot the eye in the pit to claim another Small Key, then back to the big room. Climb the stone wall and up the stairs (watch out for flying pots) to see the time block. Jump onto it, and pick up the box (if the box is on the ground, play the Song of Time so the time block appears directly over it, then leave through any door and immediately come back). Jump straight west to land on the second floor, then take the stairs to the top. Set it down and play the Song of Time to move the block, then jump across with the block, and down onto the statue’s hand. Set the box on the button, then one last time climb to the top and through the newly opened door.
Time your run through the fire and head through the door at the top of these stairs. A Wallmaster will descend upon you in this room, so wait to take it out so it’s not a problem later. Advance further and you’ll find some Red Bubbles. You have to simply dodge the Bubbles for now.
You can turn off the fire with the Crystal Switch in the middle of the room, but you can simply climb over on the slightly shorter portions for now. Either way, head towards the sunlight. There should be three sun blocks in this section, one opens the barred door (what we want), one releases a chest (just a heart, not necessary), and one makes a translucent block appear (useful only to Adult Link). The one nearest the light is the one you want, so put it in the light (any four can fit at one time, and there are five in the room). Continue through the newly opened door.
Shoot down the Skulltula and use your key on the locked door here. Around the corner, you’ll find yourself with another Iron Knuckle. The pros of fighting him as a kid? When he does his horizontal swing, if you “block” you’ll be ducking so low he can’t hit you. The cons? He takes twice as much damage and deals twice as much. This battle is both easier and harder because of this. There are two good methods you can use. First, is approach him so he swings, duck, and as soon as it’s safe, jump attack and repeat. If doing this, watch out because his overhead swing will still hit you and you’ll have to move sideways. The second is just keep standing back and chuck Bombchu after Bombchu after him. This, however, takes fifteen total to bring him down. A combination of the two is also very effective. He’ll slash the pillars and his throne, which all release three hearts for your convenience.
Once he’s defeated, take the door he guarded outside. As soon as you see a chest, Kaepora Gaebora will talk to you. He advises you to turn the power of the witches against them, and then leaves you to your treasure. Open the chest to find the Silver Gauntlets.
Since we did make a deal with Nabooru, we need to take them to her, instead of keeping them for ourself. Before you get to, though, a sandstorm blows a scream to your ears. You see the witches sucking Nabooru into the sands. She warns you to escape. You can go back inside and slowly work your way out, or just jump down. Alternatively, the quickest choice is to play the Prelude of Light; warp back to the Temple of Time to become an adult again.
Warp back to Desert Colossus. Head to the bean plant and ride it for the Heart Piece on the arc near the entrance. Ride it again (if it’s night; if not, play the Sun’s Song first) and get the Golden Skulltula on the plateau in the northeast part of the area. Head back to the entrance and go in.
Upstairs, look up to see a boulder in the ceiling. Use a well aimed Bombchu to destroy it. Get a good angle and Longshot all the way up. Now, with your Silver Gauntlets, push the extra large and extra heavy block until it falls into place. Continue through, past the opened chest to the door, to find yourself in the room with the statue of the evil Desert Colossus. Exit through the west door and use your Longshot to reach the small chest you released as a child for a Small Key.
Hit the crystal switch, and drop down. Through the door, use the Megaton Hammer on the Rusty Switch to drop a chest… into the area where you have to be a child to access. Head back, in the Desert Colossus room, solve the blue button switch puzzle again, and head up to the room with the Red Bubbles. This time you can easily kill them. Let the Red Bubbles run into your shield, then slash them dead. Begin solving the sun block puzzle, and a couple Wallmasters may be released at you, so deal with them the usual way. If they get you, you’ll have to make it all the way back and start over, so be careful.
The third block will open the door. The fourth and fifth blocks appear to do nothing individually, but when both are in the light, another translucent block will appear. Use the Longshot on the target above it to gain an angle you can get the Golden Skulltula (on the first translucent block) with your Longshot. At this point you can go through the newly opened door, outside jump down and enter the Spirit Temple again (useful because the items and pots reset, but so do the enemies you’ve killed) or you can head back the way you came.
Back to the room with the Desert Colossus, get a good vantage point to shoot all three torches with fire arrows in rapid succession (can be upstairs, or down, anywhere where you can shoot all three from the same spot) to unlock the door on the east side. Climb the stairs, and Longshot to the torch over there. A Floormaster may be here, so take care of it if you need to. (You can kill two birds with one stone here; if the Floormaster is within Longshot range, you can Longshot him, stunning him and getting you over there and in prime position to strike.)
If you want to collect all the chests, climb to the top here, and at the gap on the far east side use your Lens of Truth to see the invisible chest. Longshot to it to gain a single heart, then jump onto the statue’s other hand and play Zelda’s Lullaby to release the last chest here with a blue rupee. If you jump down for that, climb back up, and use your small key to take the upper door on the east side.
Destroy the four Beamos in this room to release a chest containing some Arrows. Play the Song of Time standing near the block at the northwest corner to move it under the floating block. Get close to the two blocks now, and play the Song of time again. This moves the first block back, and moves the floating one down. The box on top of it falls, but lands on it’s new position. Stay where you are and play it once more, the floating block rises again, and the first time block goes to it’s floor-level place. Jump over, grab the box which fell on it, and place it on the blue switch to unlock the door and continue. If you lose the box at any time, leave from the door you entered and come back to try again. Through the new door, you’ll find some Dinalfos.
Deal with them, don’t be discouraged if you lose a heart or two. When they’re gone, approach the chest, and Navi will target it. “What’s that?” she asks. Let’s find out. Open the chest and you’ll be frozen, much like the Freezards from the Ice Cavern did to you. Including sound effects. The upside is a heart, so if you break out of it quickly enough (ie; mash buttons) you’ll gain more than you lose. Open it or leave it, it’s your choice. Proceed through the door the Dinalfos, then hit the chest in the room with your sword to open the door.
Through the door you’ll find another Iron Knuckle. Use the same tactics you did the first time you fought; bait him into attacking, then use an attack (preferably a jump attack) when it’s safe. Rinse and repeat. Trick him into destroying the pillars/throne if you need health. When he goes down, go through the door he so kindly opened in order to find the Mirror Shield.
Head back the way you came until the Dinalfos ambush you… again. Defeat them… again. Climb on top of the time block on the side the light is shining from, and use your shield to reflect it towards the sun emblem on the wall. When the door opens, take it. Defeat the Gibdo to claim the Boss Key! Back through the Dinalfos (you can just ignore them now if you want) and head back all the way to the Desert Colossus room once again. This time, go downstairs (deal with or ignore the Floormaster) and take the lower eastside door. In here, two Stalfos attack you, but luckily they don’t regenerate each other.
Defeat them using jump attacks as much as possible, because the whole time a Wallmaster is trying to descend upon you. When they’re gone, deal with the Wallmaster, then focus on the suns on the wall. Using your mirror shield, you’ll find that all three are wrong, and each sends another Wall master after you. Defeat them all (or dodge them, these extra ones only come once) to open the gate. Drop down, avoid the sliders (the pots here contain hearts if you need it), and through the door.
Now you find yourself on the other side of the water fountain from the first room. Take the door immediately to your right. Use your Longshot to claim the Golden Skulltula on the roof, then jump down into the sand. You’ll be ambushed by about a dozen Leevers. Defeat them all (quick-spin attacks are recommended), but make sure to keep moving so you don’t sink into the sand. You’ll hear the success tune and a larger Leever will arise. This one is more powerful, but also slower. Defeat it to make a chest with 50 rupees appear. Play Zelda’s Lullaby on the triforce to open the door and exit.
Grab the Silver Rupee just outside the door, the get the one on the bottom of the steps. Use the Megaton Hammer to destroy the boulder and press the rusted switch. Quickly run to the gap and jump over, claiming the third Silver Rupee. In the main room, grab the last two to drop the final chest here, and claim another Silver Key. Now, hookshot up, and work your way all the way around until you come to the other side of the Water Fountain again.
(Note: If you’re not collecting Golden Skulltulas, head to the locked door in the Beamos room instead.)
Use your key on the east door, and smash the rusty switch here with your Megaton Hammer. Jump down, to the side so the large Club Moblin can’t get you. Deal with him with whichever means you chose (I like smashing his foot with the hammer). Then, look at the gate you opened. It has a time block above it, so enter and play the Song of Time. You’ll open a gate with the Lon Lon’s Ranch crate above it, so go in that alcove and play Epona’s Song. This opens the gate to the Sun alcove. Play the Sun’s song, then the new alcove doesn’t have a clue.
It’s not going to be a teleportation spell, and obviously won’t be one we’ve used. This leaves Saria’s Song, Zelda’s Lullaby, and the Song of Storms. A little trial and error reveals that the winds of the Song of Storms will blow open the last gate. That one also doesn’t have a clue, but Zelda’s Lullaby will unbar the door the Club Moblin was guarding. In here you’ll be ambushed by ten Skulltulas, and the Lens of Truth reveals another directly over the chest. The chest only contains fifty rupees, but the real prize here is another Golden Skulltula.
Claim the token, then warp back to the Temple of Time to become a child. Warp back immediately, and take the left tunnel to claim the chest you released as an adult for the last Small Key. Play the Prelude of Light again, grow up, and play the Requiem of Spirit one last time. Work your way up to the beamos room (they should all still be gone, regardless of your trip through time) and use your last Small Key on the door in this room.
First thing is shoot down all of the Keese in this room so they won’t mess you up. Then, watch the pattern of the wall and time your climb so you’ll collect the Silver Rupees as you ascend. If you’re between panels as they slide or you slide into the wall you’ll take damage and fall all the way down. This will inevitably take a few tries, as getting some of the off-center rupees will cause you to be too far from the next level up. If you’re going to take damage, instead let go and roll so you take none. When you make it to the top, there will be a torch slug waiting so make sure you don’t climb into him.
Through the next door, play Zelda’s Lullaby on the triforce to unbar the door and continue. These chambers hold a Torch Slug, two giant (they’re just bigger, not badder) Green Bubbles, and a single Dinalfos. Defeat them all, then in the first chamber use your mirror shield to light up the sun. Quickly run and turn the last mirror once clockwise. Then, turn the first mirror clockwise until it hits the second and the light shines through the bars. Use the Lens of Truth in the light to find the small chest with the last Small Key of this dungeon.
Back through the last door, back to the door with the triforce in front of it, use the key. This Iron Knuckle will destroy the thrones, revealing two Golden Skulltulas for you. When you’ve gotten them all out in the open, finish him off and claim both tokens. Back to the room upstairs, light up the sun to activate the elevator. Navi will warn you of Wallmasters (even though they always attacked you on the floor of this room). You have to defeat it on this platform without falling off. You have little room to work with, but it shouldn’t be too difficult.
Target the face of the Desert Colossus, and shine light onto it to destroy it. Longshot to the gate and it’ll raise, revealing the Boss Door. Use the key to continue through, and face the witches that just (seven years ago) took away the only Gerudo willing to stand up to Ganondorf; Koume and Kotake. They give life to an Iron Knuckle.
When it’s armor does fall off, it turns out to be… Nabooru!? She appears to not know what she was doing, but then the witches take her away again. Continue through the now open door, through the hallway, and climb up to the large square. Walk up to be confronted by the twins again, who, after some smack talk, begin the fight with Twinrova.
For the first phase of the battle, the sisters will circle around the room, pausing every once in a while and taking turns shooting their magical beams of opposite types at you.
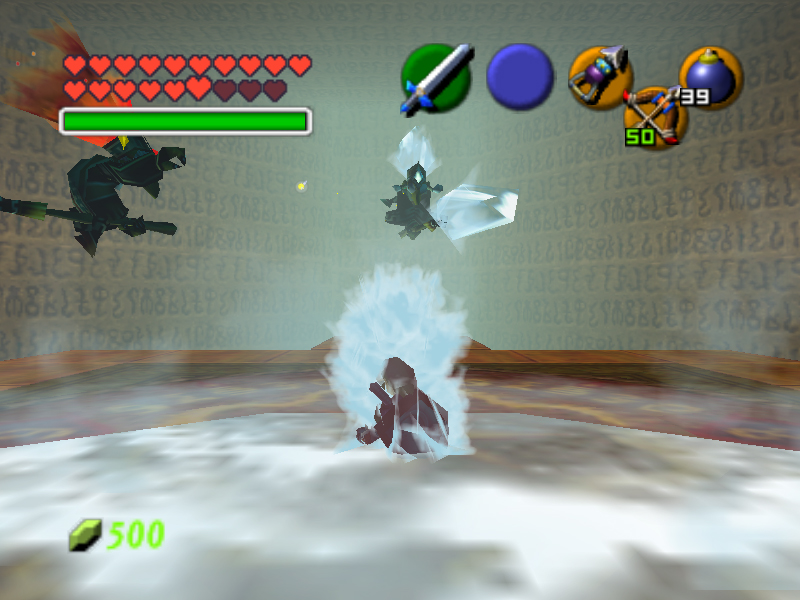
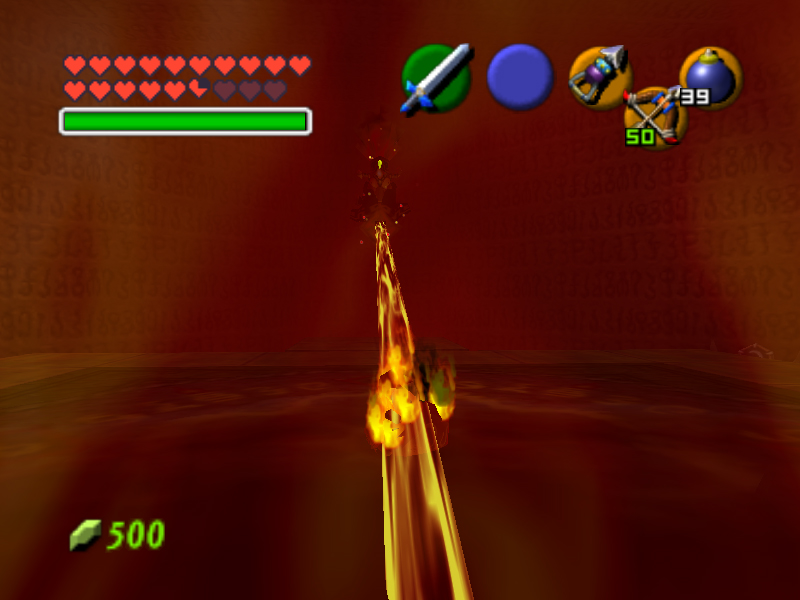
They’re attacks are slow beams that can easily be avoided by continually moving, but they still have a very wide area of effect. Each beam does about two hearts of damage, but afterwards, they leave a wide area where the beam hit that will damage you if you touch it. The Ice one freezes you for awhile, but doesn’t do too much damage, while the fire one hurts you A LOT if you stay there (roll if you are on fire to make it stop). Together, they’re a formidable foe that can easily kill you in just three hits!
Logically, you’ve probably already figured out, (Navi confirms it,) you need to use your Mirror Shield to reflect their attacks at the opposing sister. I suggest waiting on the opposite side of the room from wherever they’re currently at. At this point, you can either Z target one of them, or just hold in R without targeting. Regardless, face the one who’s about to shoot. As the beam is coming towards you, quickly point your shield (or switch targets) to the opposing sister. If you’re close enough (you can move while targeting, just make sure you stay within the beam) this will cause damage.
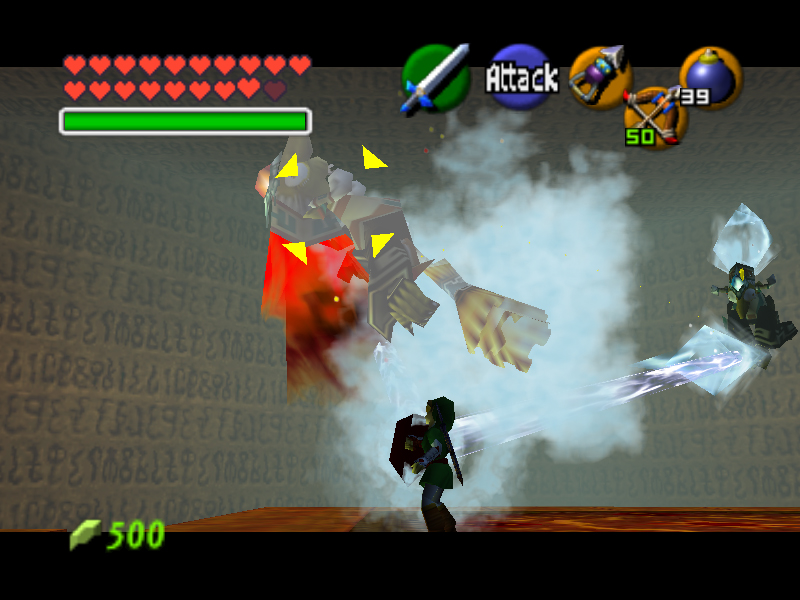
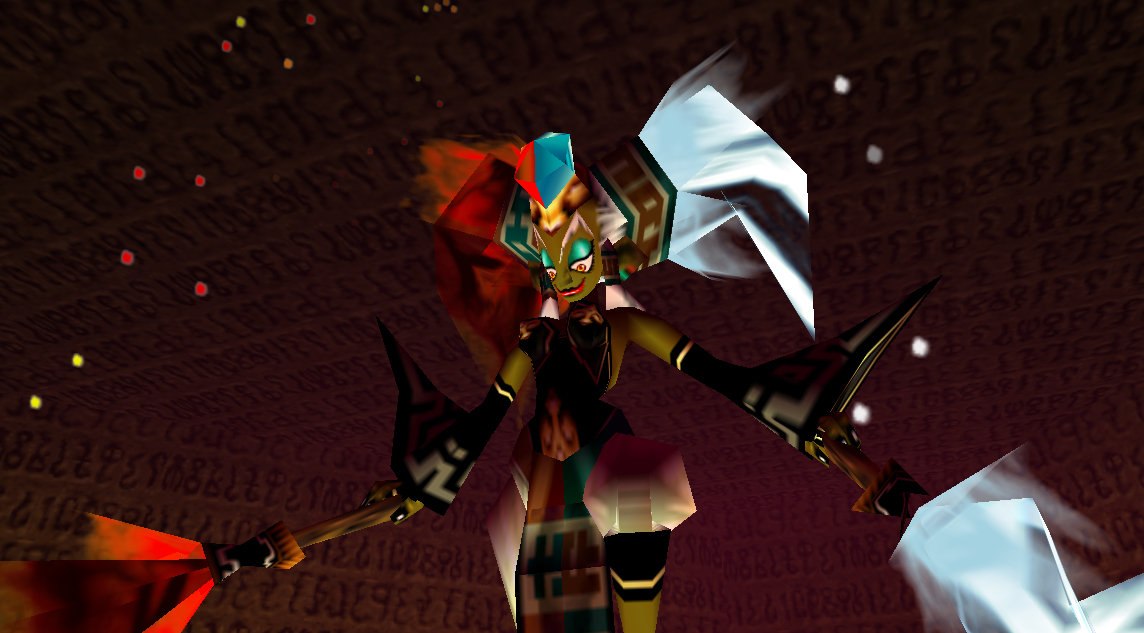
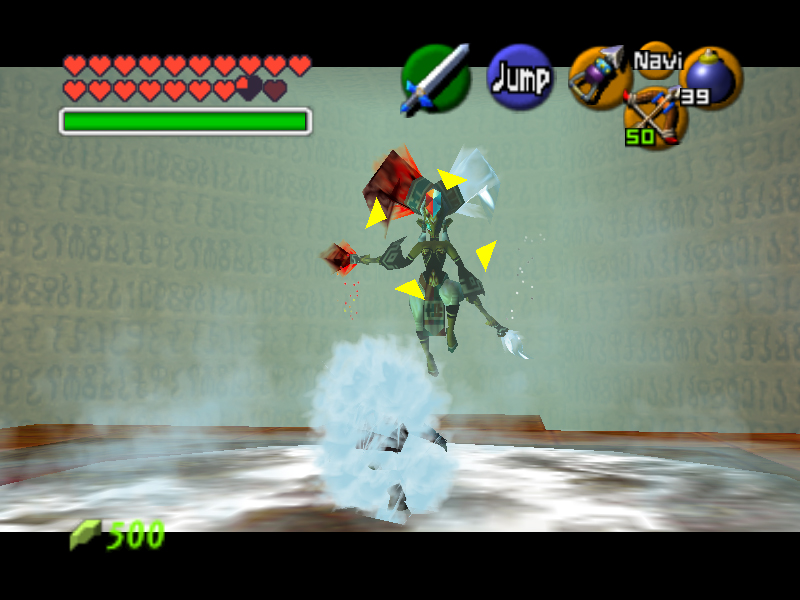
After a several good hits to either sister, (or you take too long,) it will show a little scene in which they combine to form Twinrova. In this new, singular form, the attacks differ slightly. Each beam will power up your shield instead and gathering an opposing element will make your shield burst energy on you. As a result, as soon as you see her shoot an element (fire when you’re using ice for example) jump out of the way.
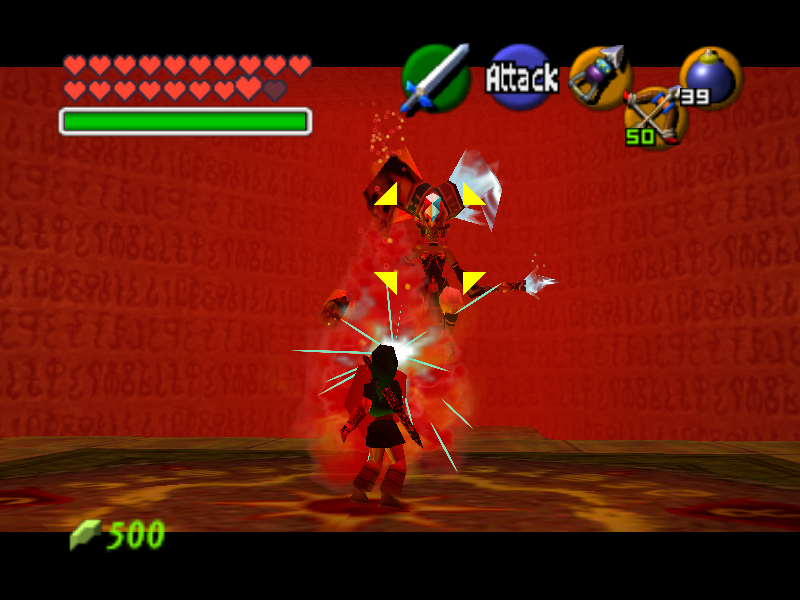
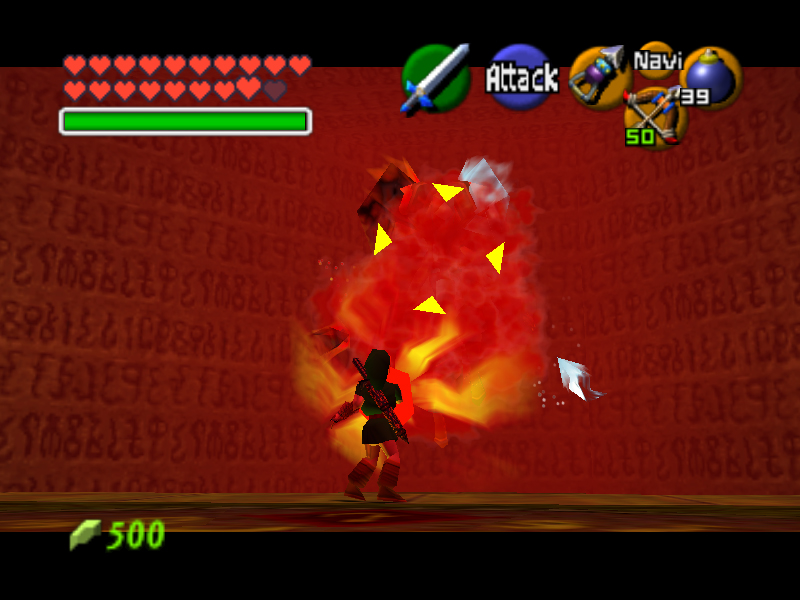
Once you’ve collected three of either element, your shield will start releasing the energy. Run towards her and point it towards her (either by turning left or using R). If you’re close enough, and in time, she’ll fall down onto one of the four platforms. Jump over and start slashing her to bits. You can also use B in mid air to do a jump attack when you’re first going over, but it’s tricky. Repeat this process several times to defeat Twinrova.
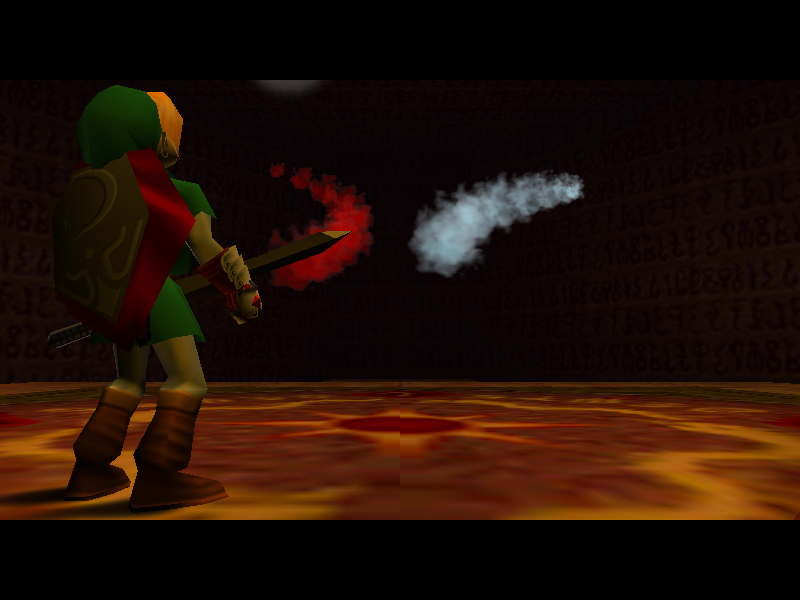
After they’ve been defeated, you’ll witness an amusing scene in which the two sisters bicker with one another about pointless matters before disappearing. The last message you see as they go away is “I’ll come back to haunt you!” Foreshadowing of one of the other Legend of Zelda titles…
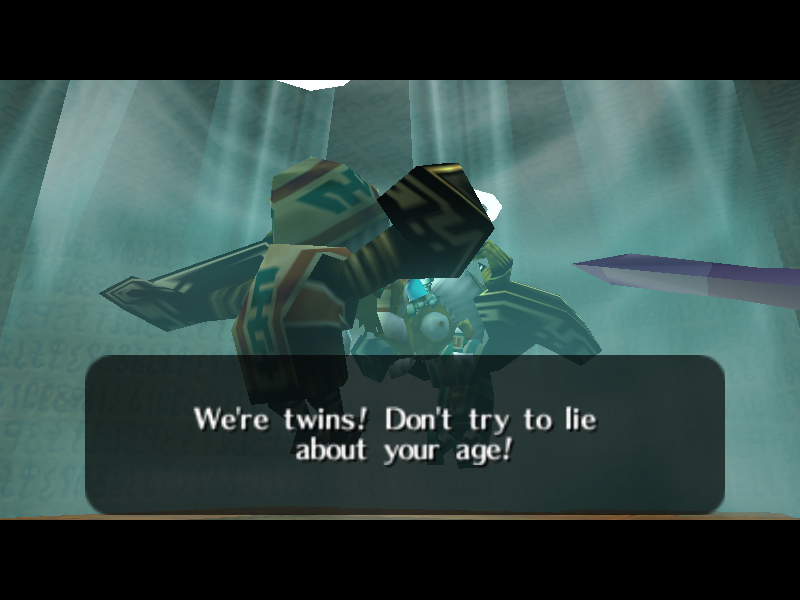
After they’ve been defeated, you’ll witness an amusing scene in which the two sisters bicker with one another about pointless matters before disappearing. The last message you see as they go away is “I’ll come back to haunt you!” Foreshadowing of one of the other Legend of Zelda titles…
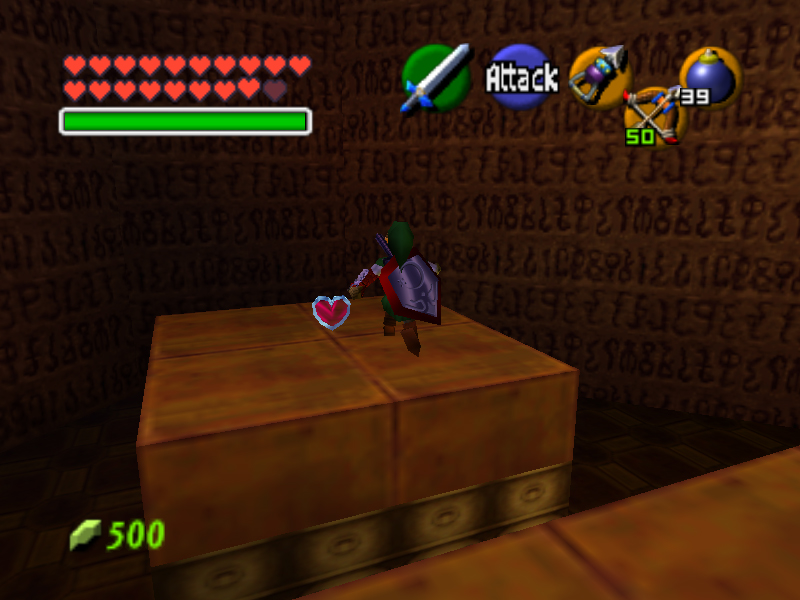
Anyway, go snag the Heart Container awaiting you on one side of the room, then at long last, step onto the portal.
- Chapter 10 – Spirit Temple
- Chapter 11 – Gerudo Training Grounds
- Chapter 12 – Ganon’s Castle


