Network Sites: Hyrule Warriors Walkthrough | Pokemon X and Y Walkthrough | Darksiders Dungeon | GenGAME
-
- Walkthrough
- Video Walkthrough
- Bosses
- Characters
- Enemies
- Guides
- Info
- Media
-
- Walkthrough
- Video Walkthrough
- Enemies
- Quest
- Guides
- Info
- Media
-
- Walkthrough
- Bosses
- Characters
- Enemies
- Items
- Guides
- Media
-
- Walkthrough
- Video Walkthrough
- Enemies
- Quest
- Guides
- Info
- Media
-
- Walkthrough
- MQ Dungeons
- Video Walkthrough
- Dungeons
- Enemies
- Quest
- Guides
- Info
- Media
-
- Walkthrough
- Video Walkthrough
- Text Guide
- Enemies
- Quest
- Guides
- Info
- Media
-
- Walkthrough
- Bosses
- Enemies
- Rings
- Guides
- Media
-
- Walkthrough
- Enemies
- Characters
- Rings
- Quest
- Guides
- Media
-
- Walkthrough
- Enemies
- Quest
- Guides
- Info
- Media
-
- Walkthrough
- Coming Soon
- Enemies
- Walkthrough
-
- Walkthrough
- Enemies
- Quest
- Guides
- Info
- Media
-
- Walkthrough
- Ordon Village
- The Twilight
- Faron Woods: Twilight
- Forest Temple
- Kariko Village: Twilight
- Death Mountain
- Goron Mines
- Lanayru Province: Twilight
- Lake Hylia: Side Quest
- Lakebed Temple
- The Master Sword
- Gerudo Desert
- Arbiter's Grounds
- Scaling Snowpeak
- Snowpeak Ruins
- Sacred Grove
- Temple of Time
- In Search of Sky
- City In The Sky
- Palace of Twilight
- Cave of Ordeals
- Hyrule Castle
- Video Walkthrough
- Ordon Village
- The Twilight
- Faron Woods: Twilight
- Forest Temple
- Eldin In Twilight
- Death Mountain
- Goron Mines
- Lanayru In Twilight
- Lake Hylia: Side Quest
- Lakebed Temple
- The Master Sword
- Gerudo Desert
- Arbiter's Grounds
- Scaling Snowpeak
- Snowpeak Ruins
- Sacred Grove
- Temple of Time
- In Search of Sky
- City In The Sky
- Palace of Twilight
- Cave of Ordeals
- Hyrule Castle
- Enemies
- Quest
- Guides
- Info
- Media
- Walkthrough
-
- Walkthrough
- Enemies
- Quest
- Guides
- Info
- Media
-
- Walkthrough
- Video Walkthrough
- Enemies
- Quest
- Guides
- Media
- Characters
- Story
-
- Walkthrough
- Video Walkthrough
- Bosses
- Characters
- Enemies
- Equipment
- Items
- Story
- Side Quests
- Upgrades
- Media
This chapter covers the introduction and taking the Four Sword from the Four Sword Sanctuary. It also covers the first three levels in the game: Lake Hylia, The Cave of No Return, and Hyrule Castle.
1.1 Four Sword Sanctuary
|
|
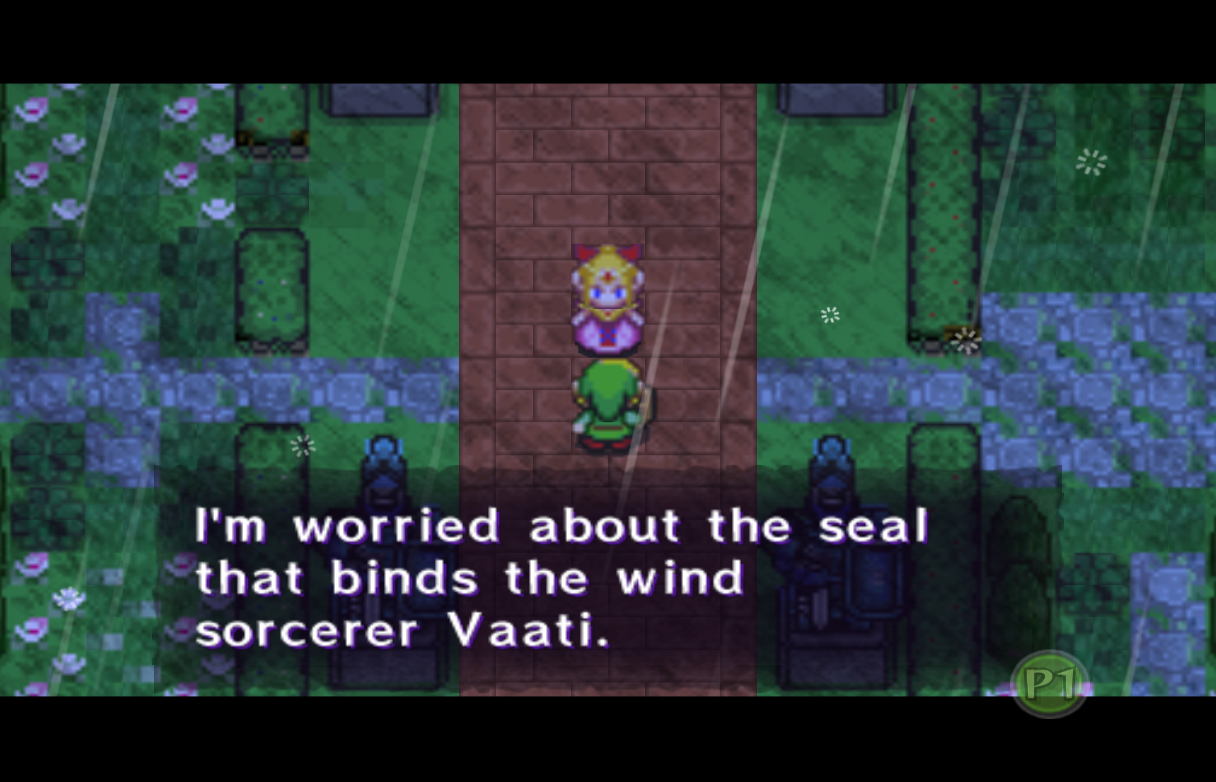
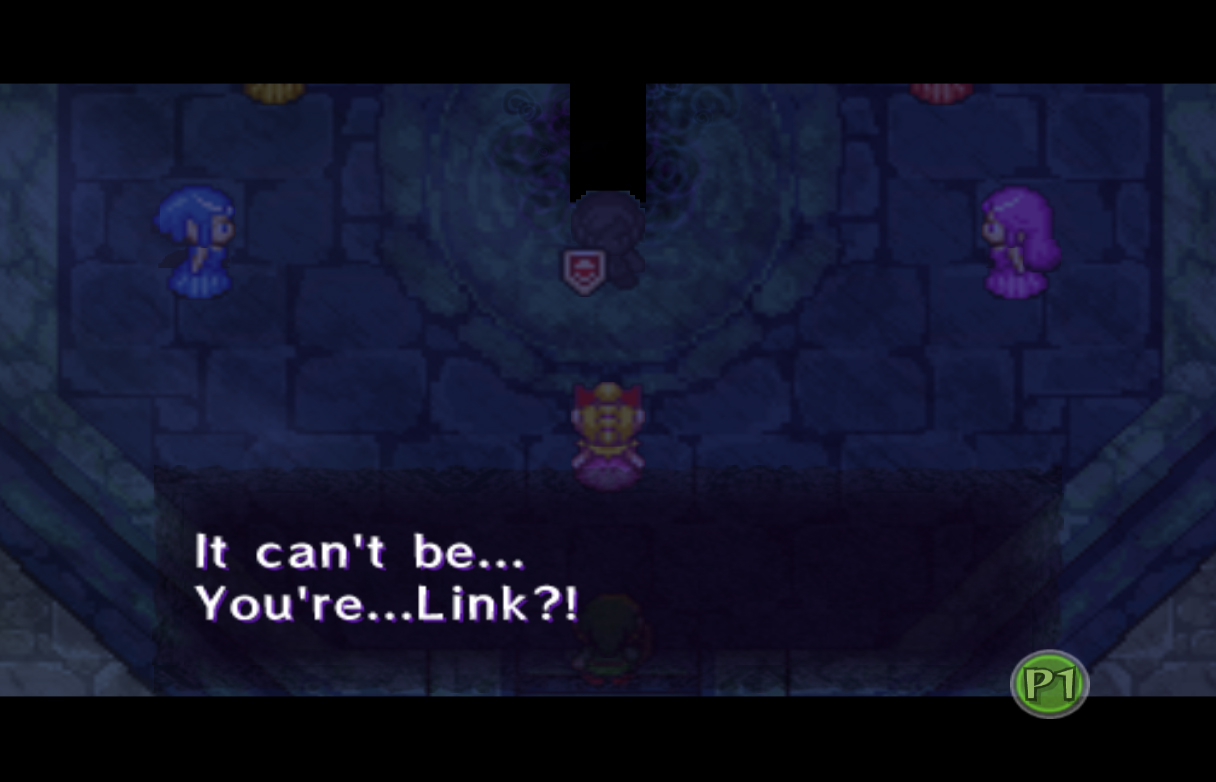
In the land of Hyrule, dark, ominous clouds cover the sky, filling the people of the land with fear. With danger swiftly approaching, Princess Zelda telepathically contacts our hero Link, telling him to quickly come to Hyrule Castle. Princess Zelda worries that the seal on the wind sorcerer Vaati is failing, and has brought Link along with seven other maidens to the castle to repair it. While opening the portal to the Four Sword Sanctuary a dark version of Link pops out, kidnapping the princess and the other maidens. Dark Link quickly disappears back into the portal with the captured maidens, with Link jumping in soon after.
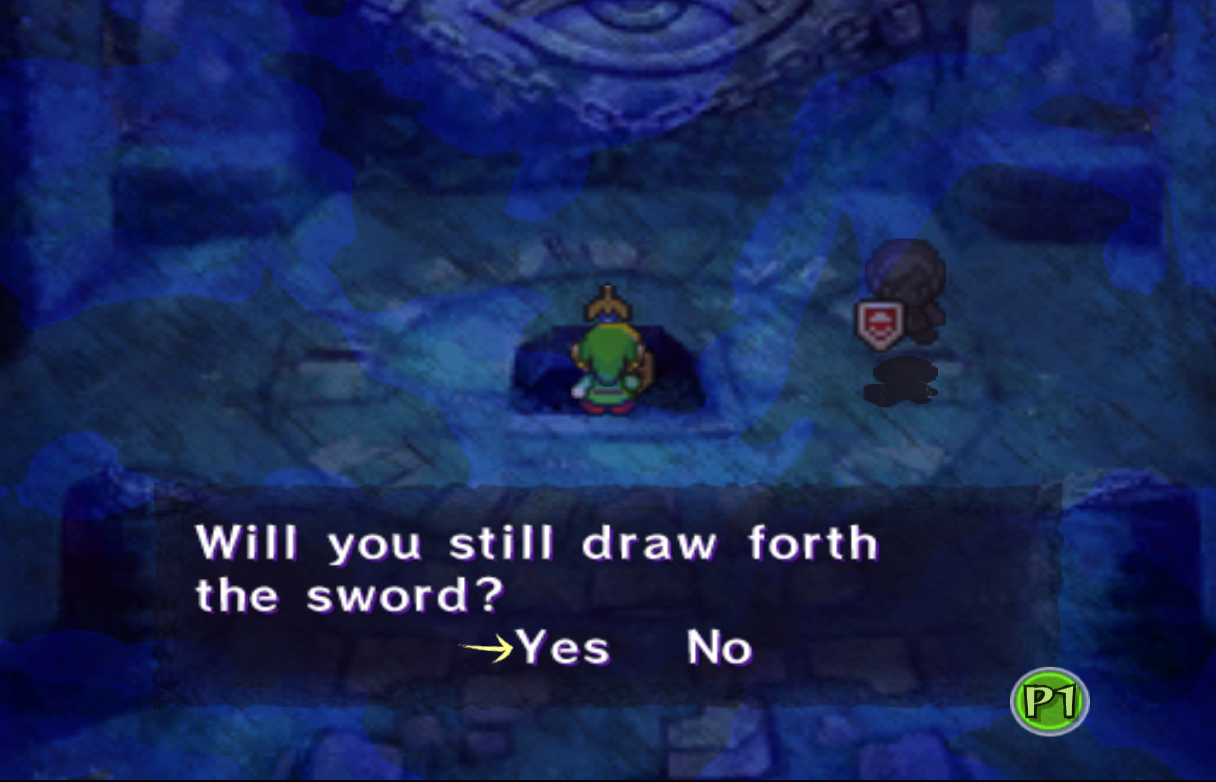
Once inside the Sanctuary you will finally gain control of Link. Use the control stick to move him forward up to the pedestal where the Four Sword rests. Press A in front of it and you will be given the option to take it out. Do so and Link will split into four different colored Links, each with their own sword. Dark Link will then run away, his task completed, as a large tornado appears sucking away the Links. Vaati will then appear, now free from his prison. The screen will then fade away as Vaati disappears to take over Hyrule.
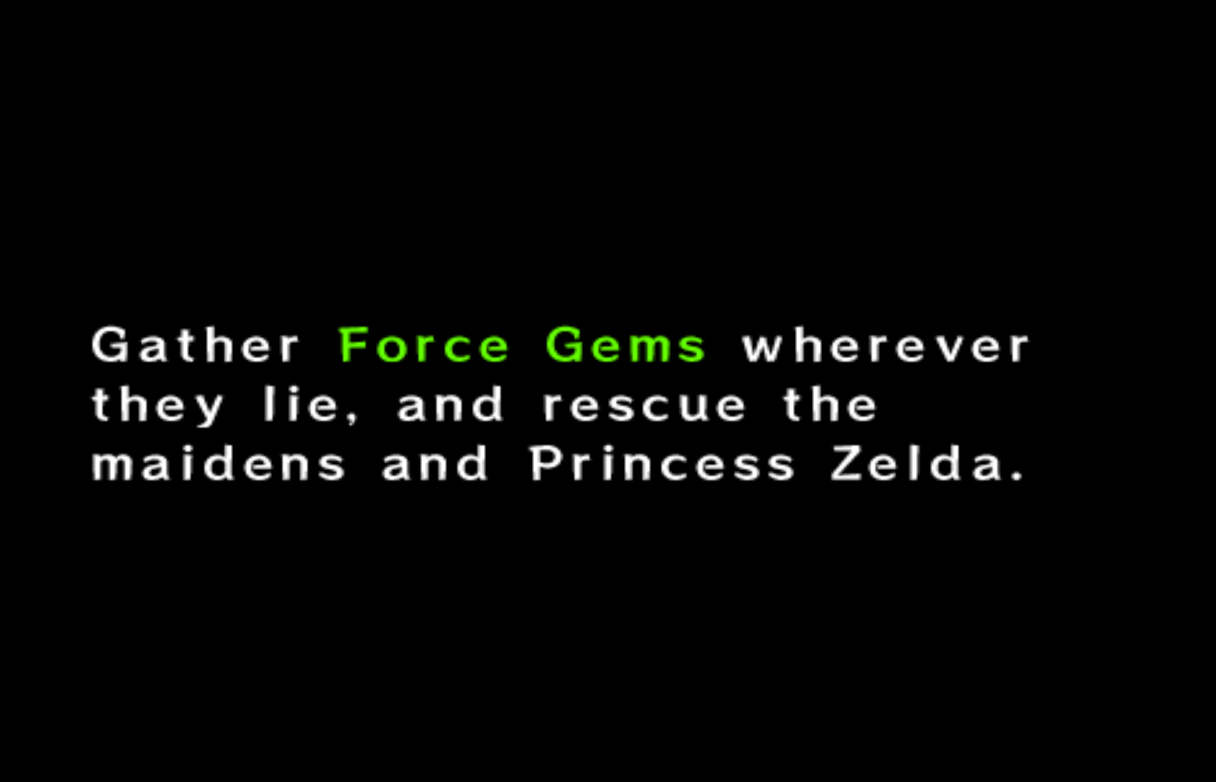
Text will soon appear on the screen. These words will say that Princess Zelda has been captured by dark forces and that the power of the Four Sword has been robbed by Vaati. To restore it to full power, we will need to collect Force Gems while exploring the land in order to vanquish the darkness and save Hyrule. |
 Link Link
Link is the main protagonist in Hyrule. After taking the Four Sword out of its pedestal, he splits into four different colored Links and is given the task of defeating Vaati and saving Princess Zelda, the Maidens, and Hyrule. [more]  Princess Zelda Princess Zelda
Princess Zelda is the Princess of Hyrule, and the seventh and final Maiden. She is captured by Shadow Link early on in the game, and doesn't appear again until near the end. [more]  Shadow Link Shadow Link
Shadow Link is the pawn of Vaati and the main annoyance we will face. He will appear countless times throughout the quest, and we will have to defeat him time and time again. [more]  Four Sword Four Sword
The Four Sword is a legendary blade that resides in the Four Sword Sanctuary. Like the Master Sword, it has the power to repel evil, and can also house evil inside of it, like the Wind Sorceror Vaati. It has the power to split Link into four copies of himself with differing colored tunics: green, red, blue and purple. [more]  Vaati Vaati
Vaati is the main antagonist at the start of the game. He was released from the Four Sword by Link, and quickly takes over Hyrule for his evil purposes. [more]
| ||||||||||||
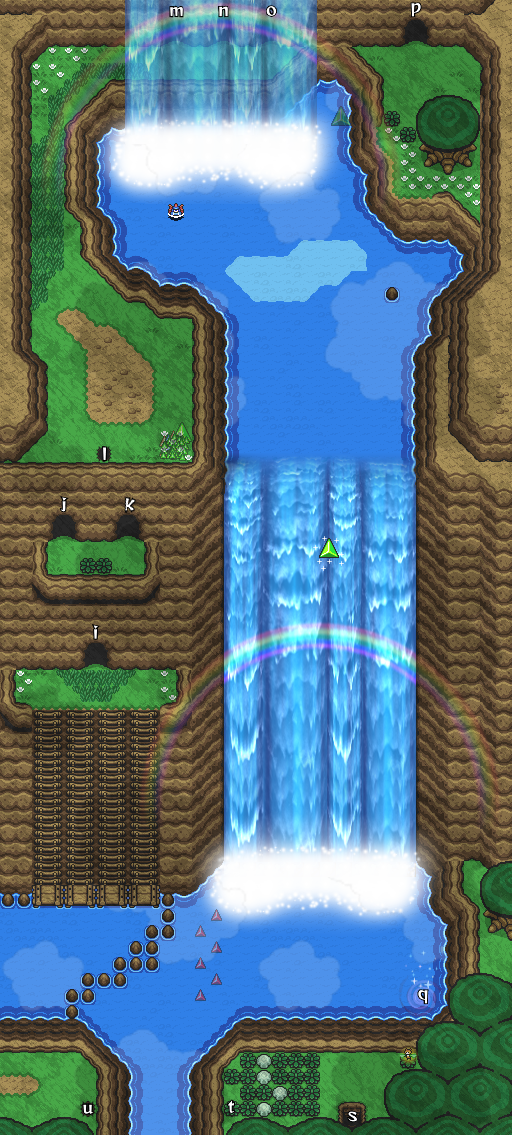
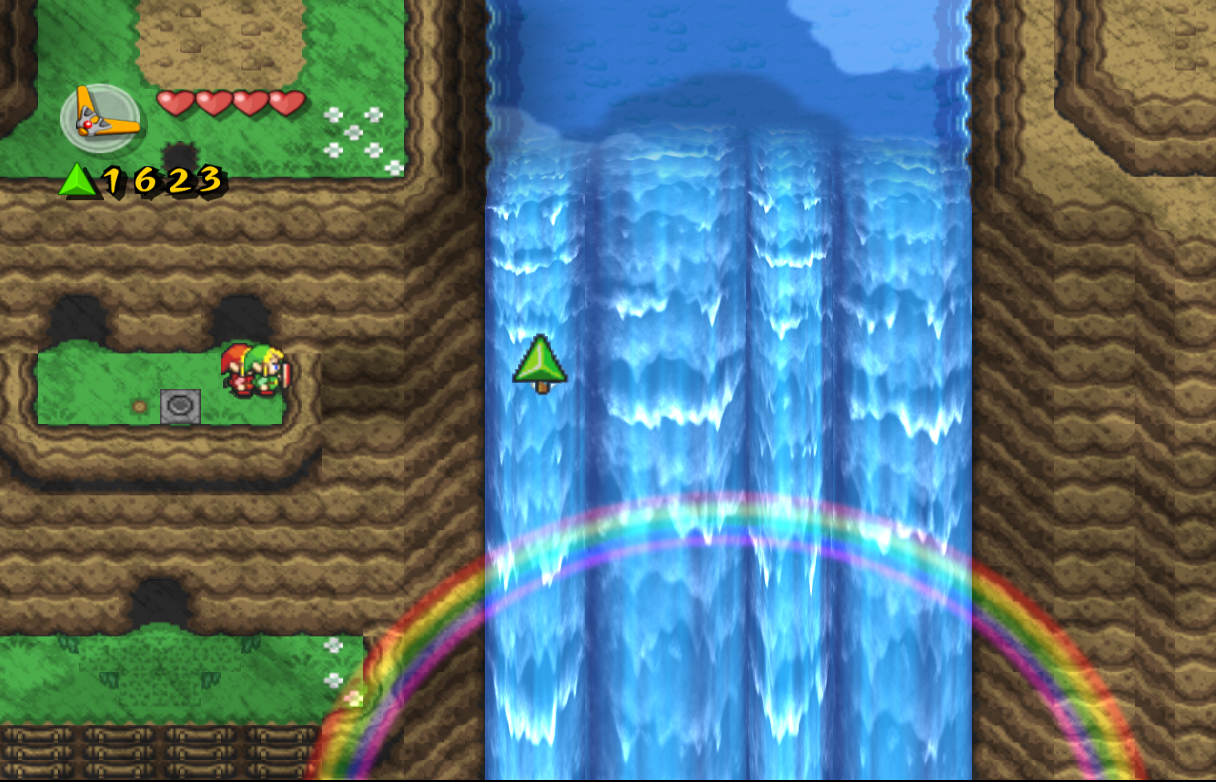
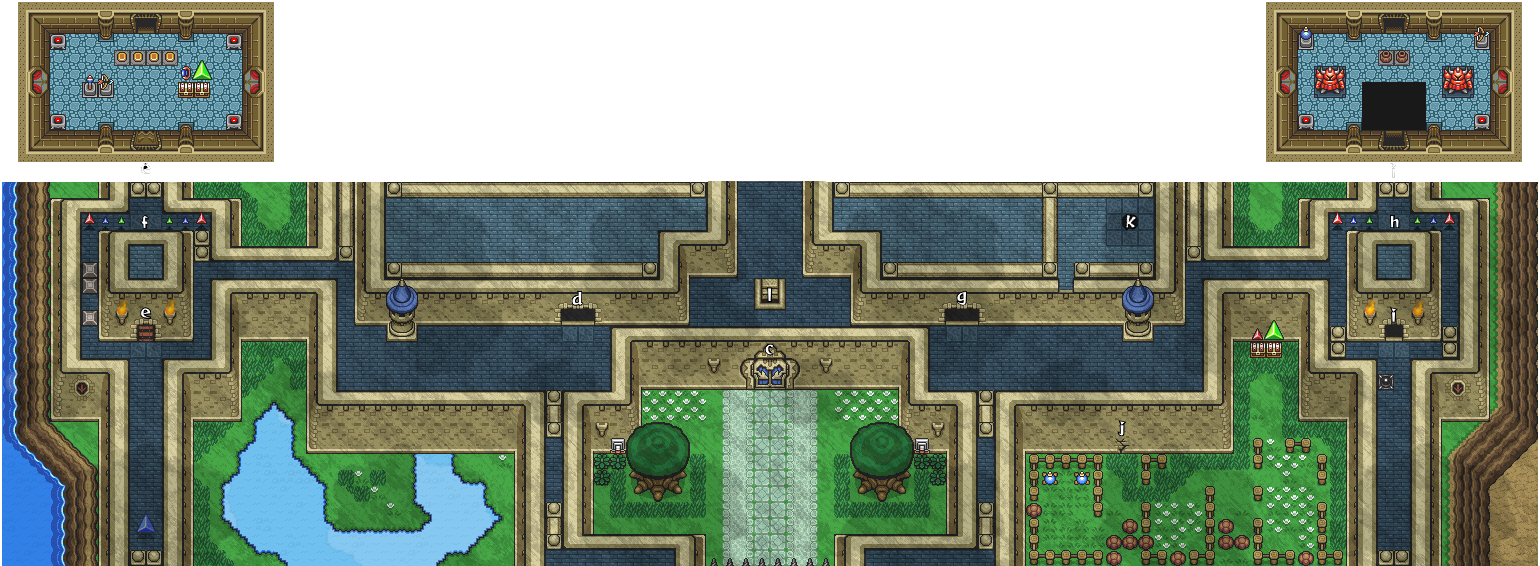
1.2 Lake Hylia
|
|
|
|
|
On the selection screen you will see all four links on one point on the map. This is a stage, and there are three stages in each level on the map. Once you complete a stage, you will break the eye covering the next point, allowing you to move on. There are eight levels in total, with one level being covered in each chapter of this walkthrough. The first level is called Whereabouts of the Wind, and the first stage is Lake Hylia. Start off by pressing A to enter Lake Hylia.
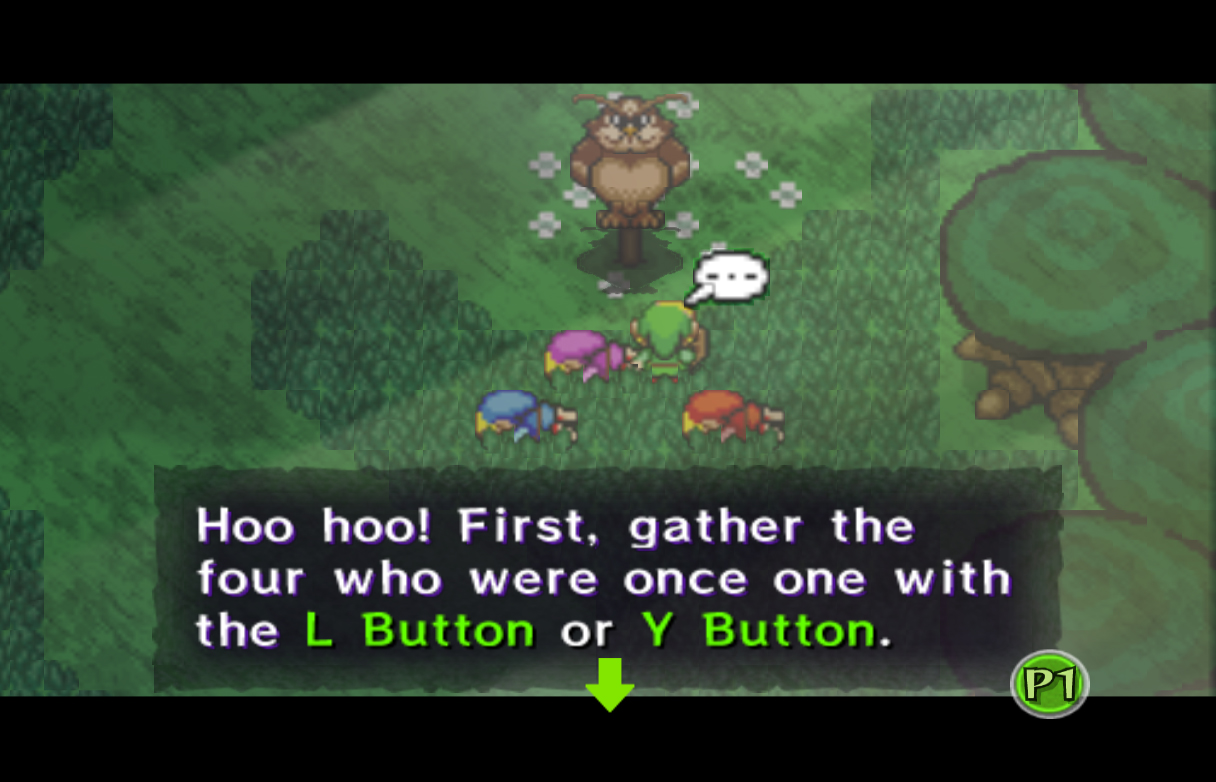
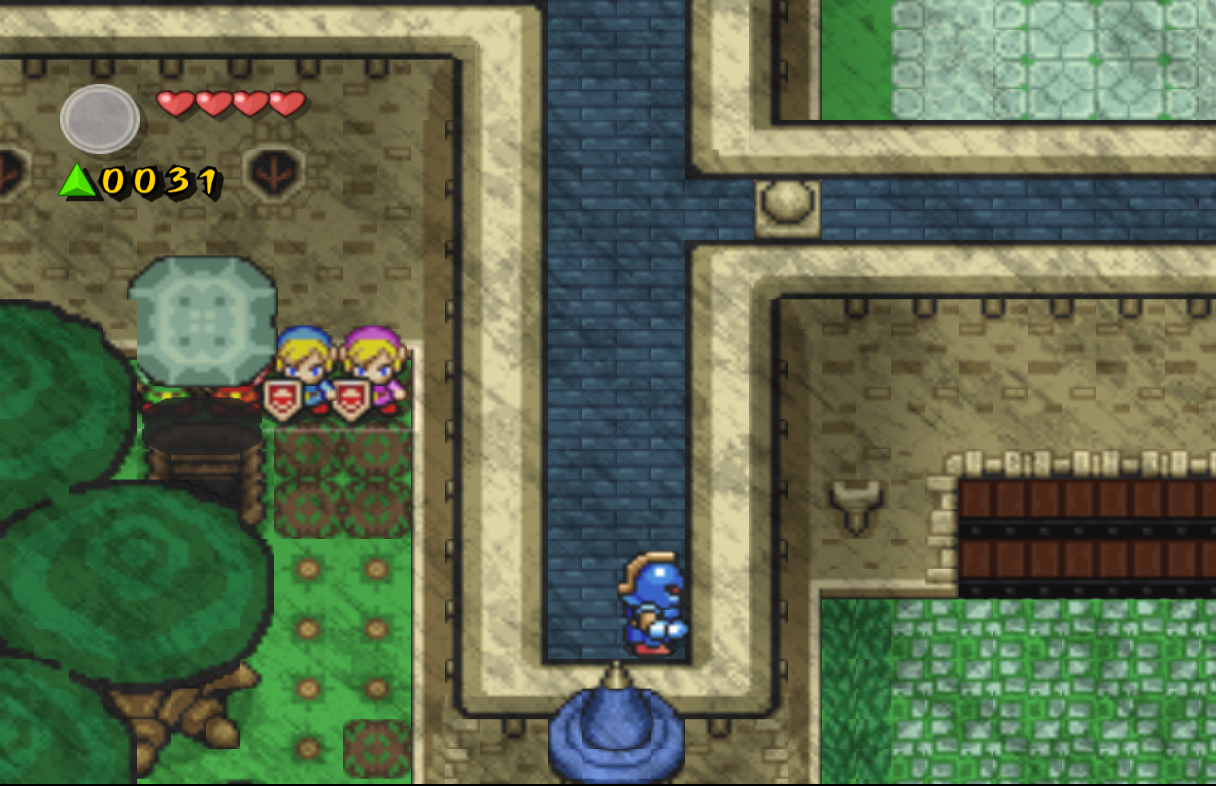
All four links will appear, surrounded by darkness. A voice soon calls out, telling Link he must awaken. The darkness fades away to a bright field, and the green Link stands up. A bird named Kaepora Gaebora will fly onto a post, and will start to tell you everything you could want to know about how this game works. He says that although we may want to find Vaati, we must first find the six maidens, along with Princess Zelda, found all across Hyrule. After finding and rescuing all of them we will be lead to Vaati. He also talks about the dark link we saw earlier, who he refers to as "Shadow Link". We will see him many times throughout the game, as he will constantly cause us trouble, and show up at the times when we least want to see him.
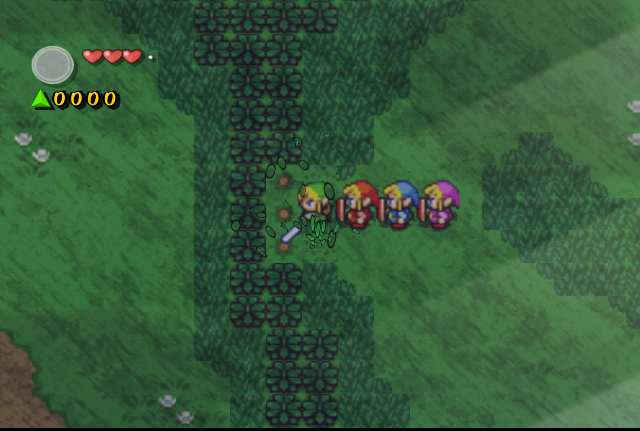
Finishing up his speech, he informs us that the Four Sword is not as powerful as it once was, but we can strengthen it by collecting Force Gems. These Force Gems are scattered all across Hyrule, in the grass, under rocks, and from enemies when defeated. They come in all sizes and colors, ranging in value from 1 to 3,000. To complete a level, you must collect 2,000 Force Gems to completely power up the Four Sword, and be able to break the eye barriers at the end of the level. If you don't collect enough by the end, you have the option to go back to the beginning of the level and collect more until you have enough. Since that explanation is now finished, you can collect and control all four links by pressing the L or Y button. When all four are controlled, you can press L or Y again to bring up a list of four options. These four formations, cross, wide, long, and box, can be used to attack enemies in different ways, push rocks, or even make it across large gaps. You can also use the C-stick to go through this process faster, and move it to a certain direction to initiate a formation.
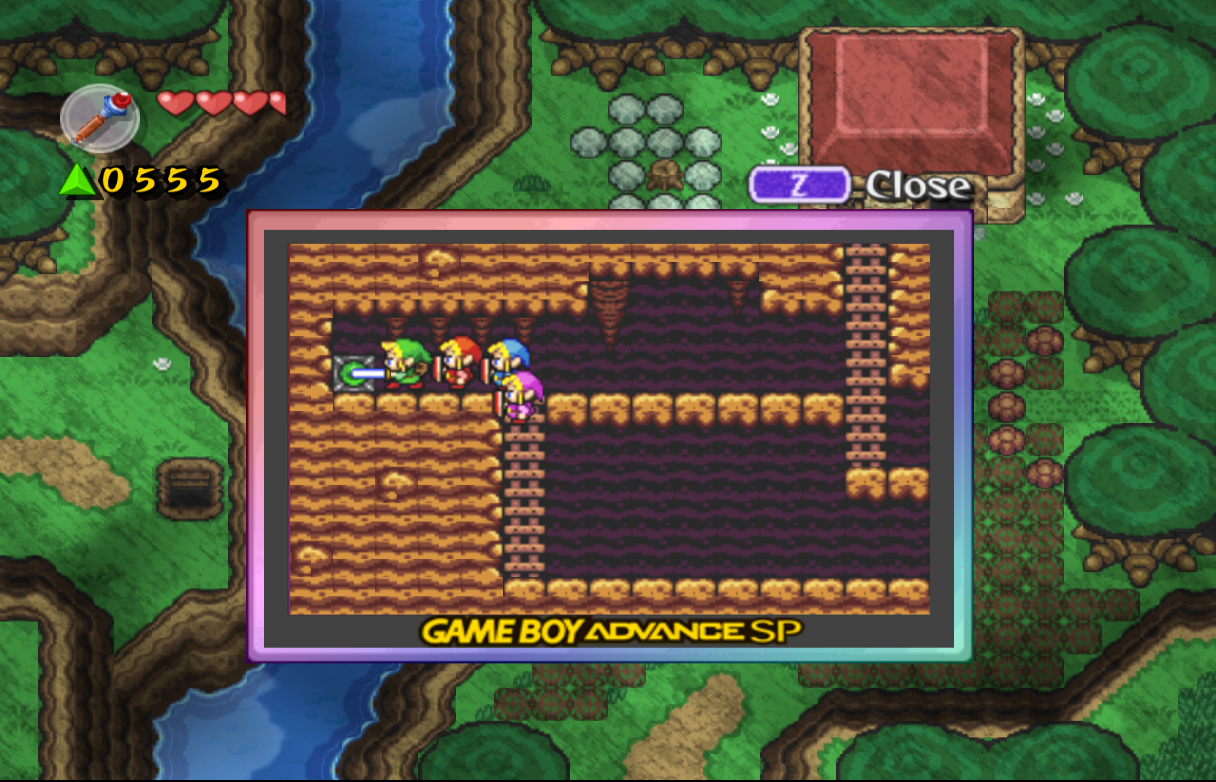
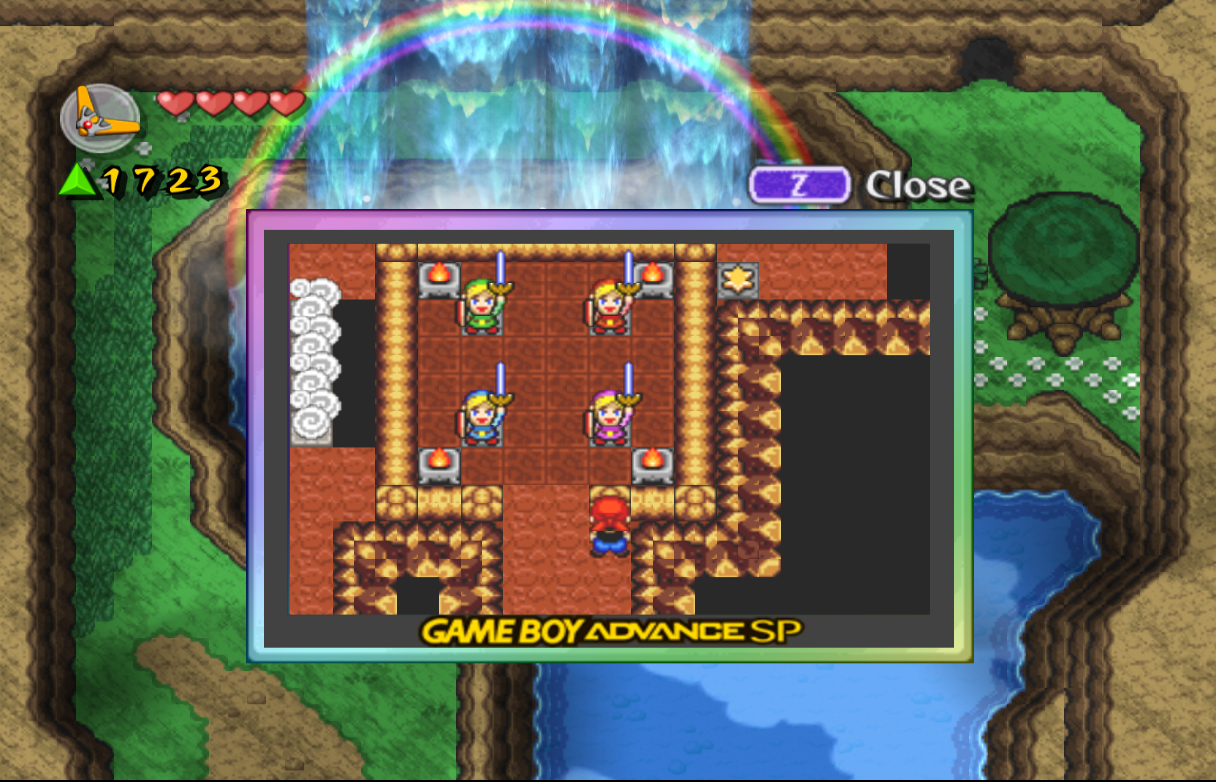
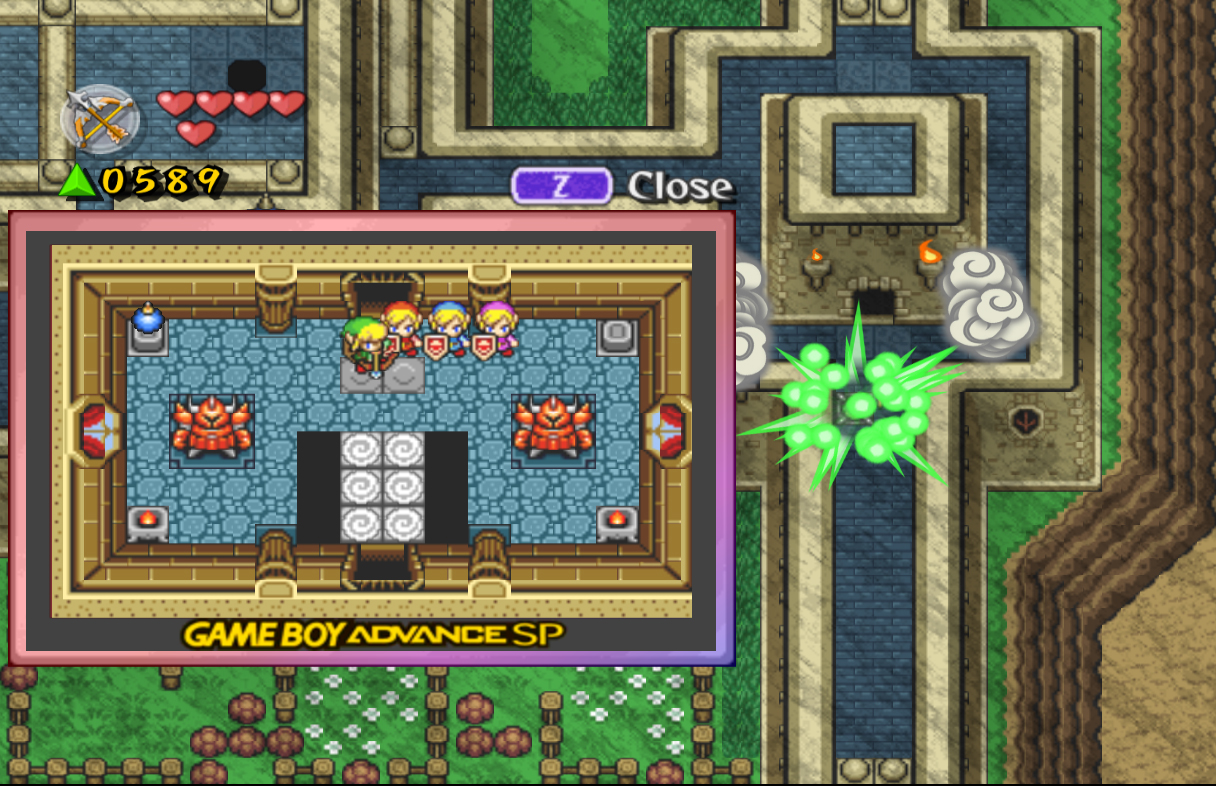
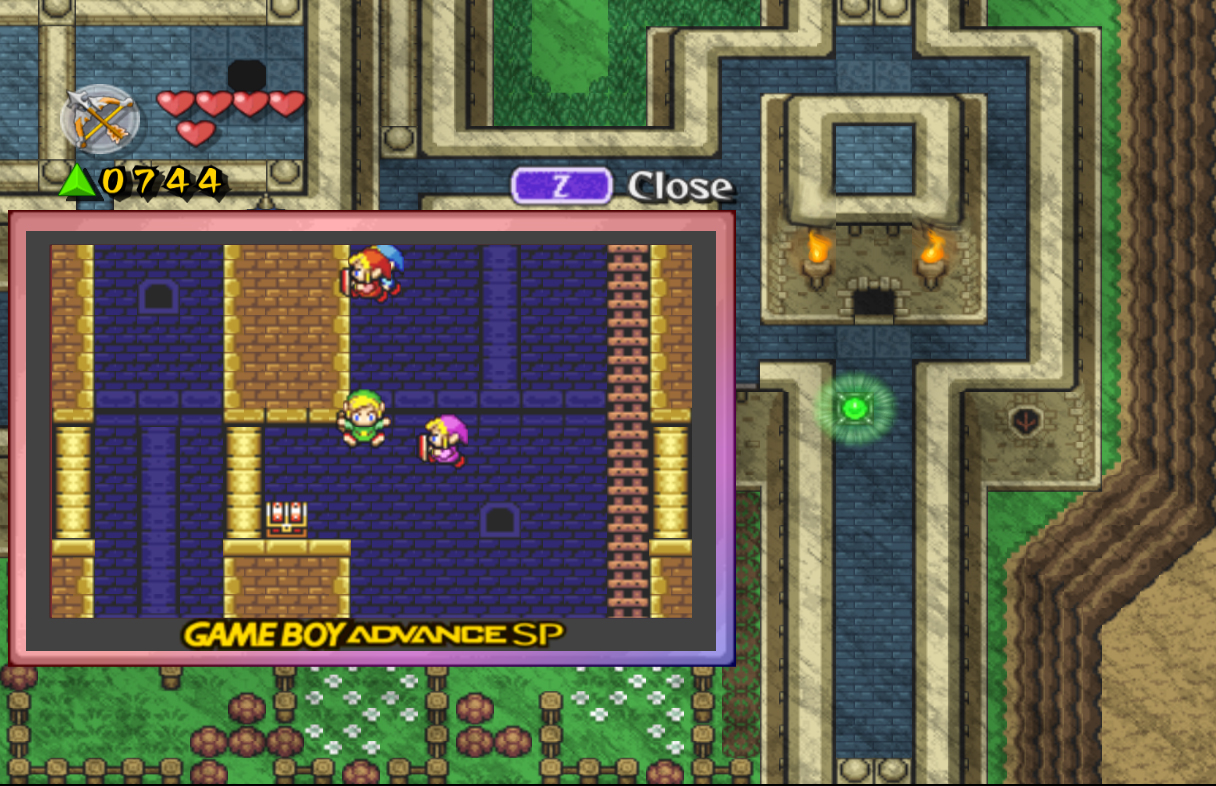
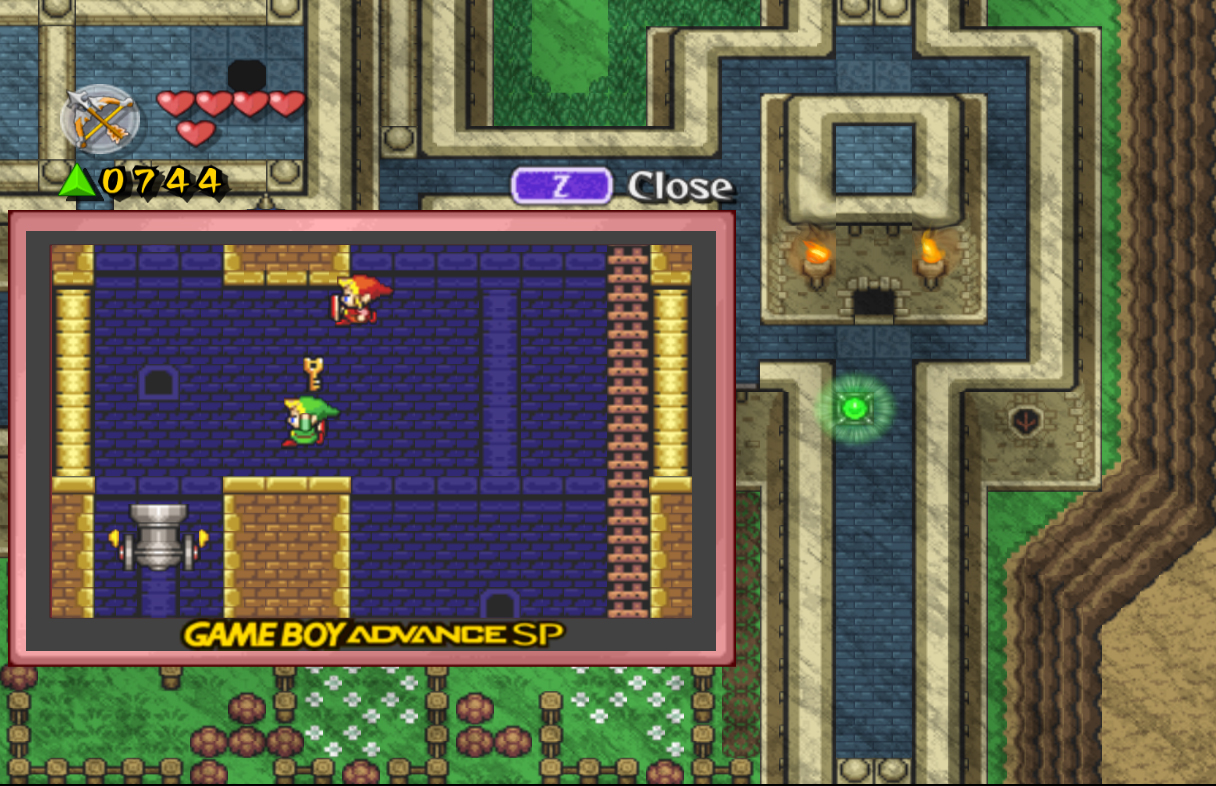
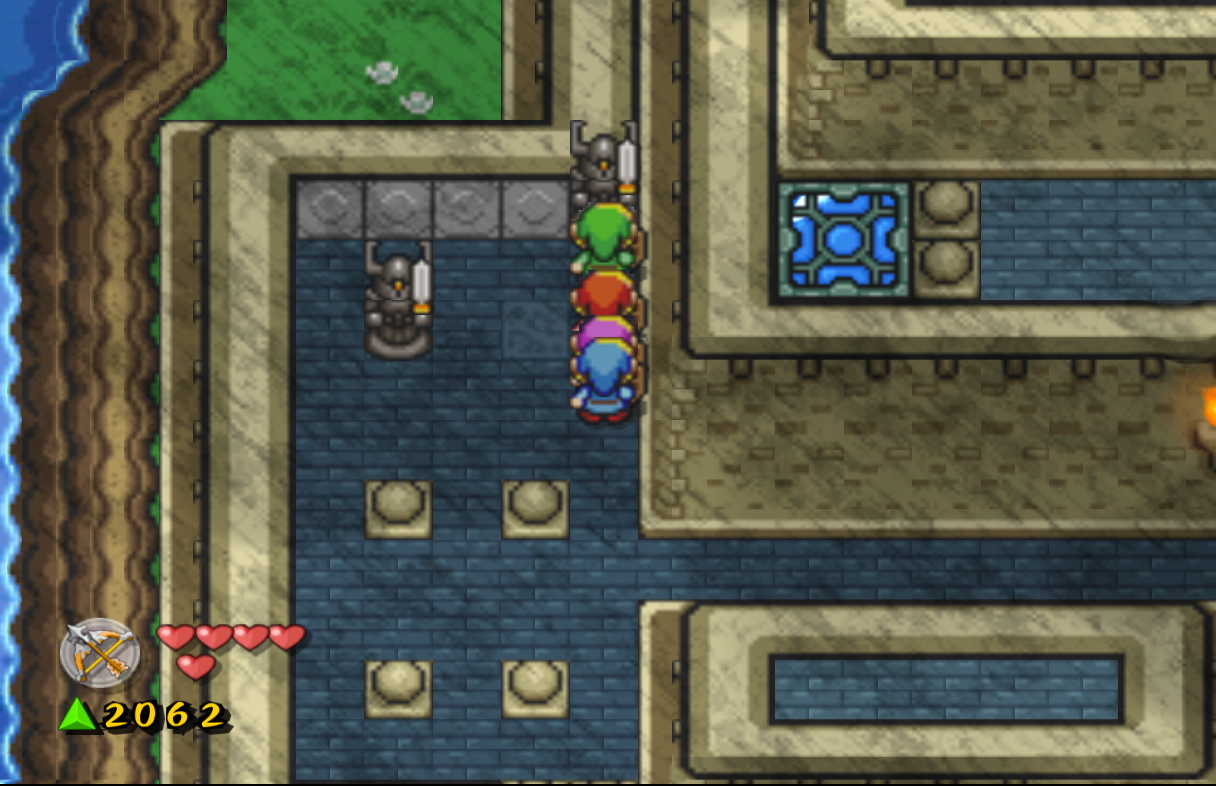
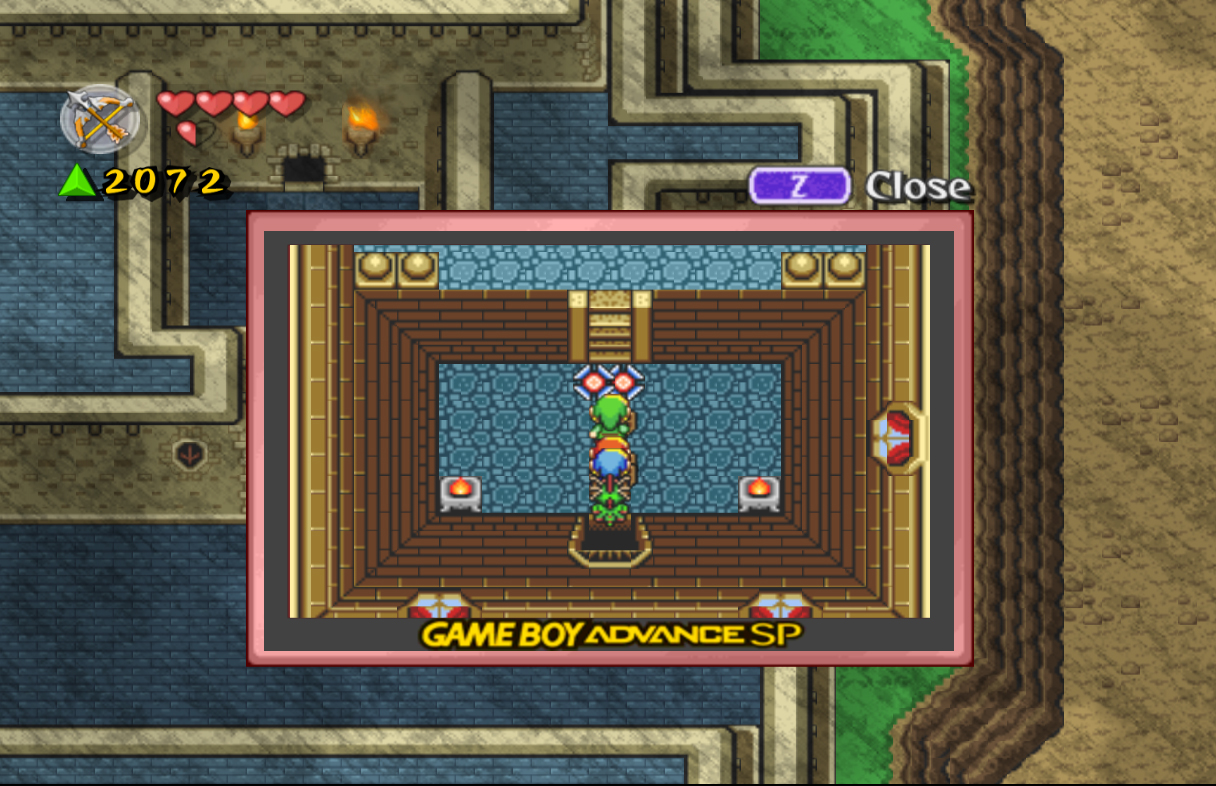
As you can use all four links to make a formation, you can also separate them. Press X or the D-pad to switch to only green link, and then press either again to move through each link. You can use this to move each link to a specific position, or to move colored blocks that can only be moved by a certain link. Finally, the R button can be used to lift up rocks and other objects lying on the ground, the A button can be used to select and use items, along with talking to people, and the B button is to use the sword. If you hold the B button, it will power up the sword, allowing you to use a charged up spin attack. Start off by using the B button to slice down the bushes and grass on the left side of the screen. Continue left and you'll appear on the next screen. Enter the house at the top and you'll be taken to a new, smaller screen. This is the Game Boy Advance screen, and it's a smaller screen used for caves, holes, and many other places. If you are playing single player, this will appear on the main screen. However, if you connect a Game Boy Advance to the Gamecube, it will show on there instead. If you are playing with more than one person, you must connect a Game Boy Advance, at which point this will show on all screens.
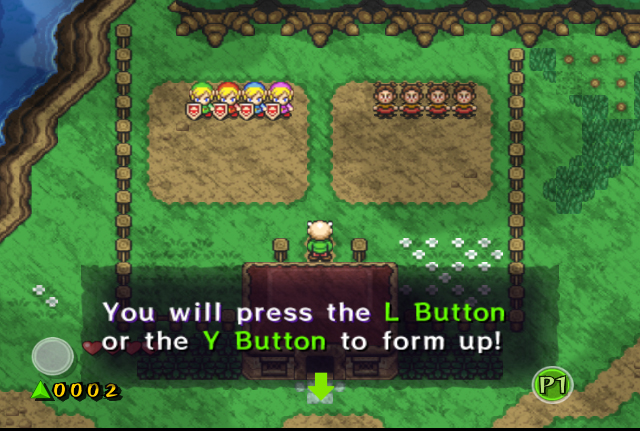
Anyway, talk with the old man inside and he'll tell you a little about his life story. He will also explain that formations are a necessity when it comes to surviving. He offers to teach you about them, and tells you to head to his backyard to learn more. Head out back and the links will automatically move to the dirt area on the left side. The old man will yell out a formation, and it's your job to use the L button, Y button, or C-stick to make it. If you're not sure of what formation he's calling out, you can look at the kids on the right to see the formation replicated. Once you've done all four formations, he'll give you a red force gem, worth 20. Walk back through the door, back through the house, and out the front door.
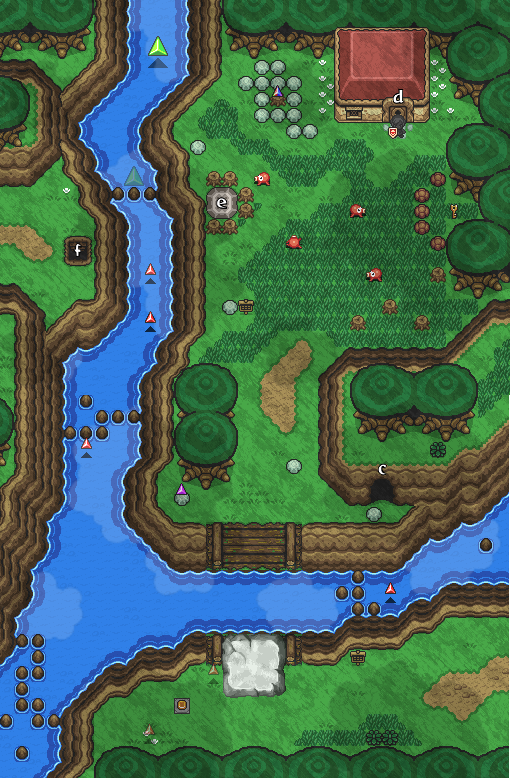
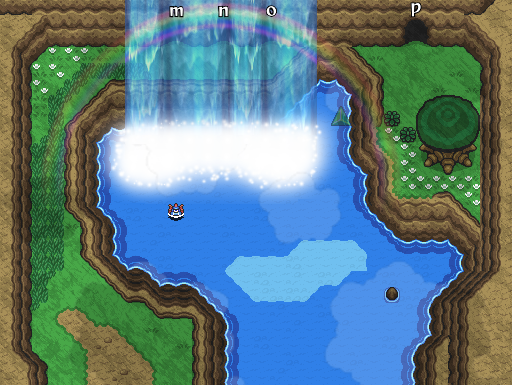
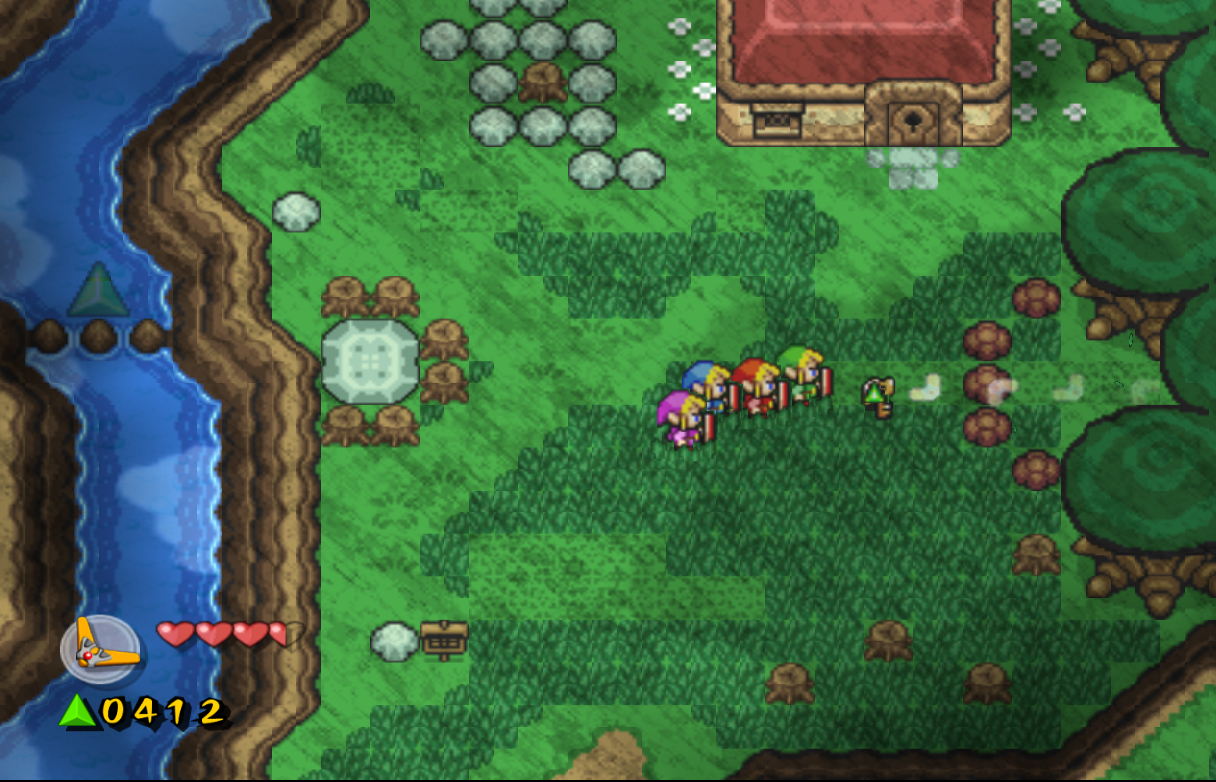
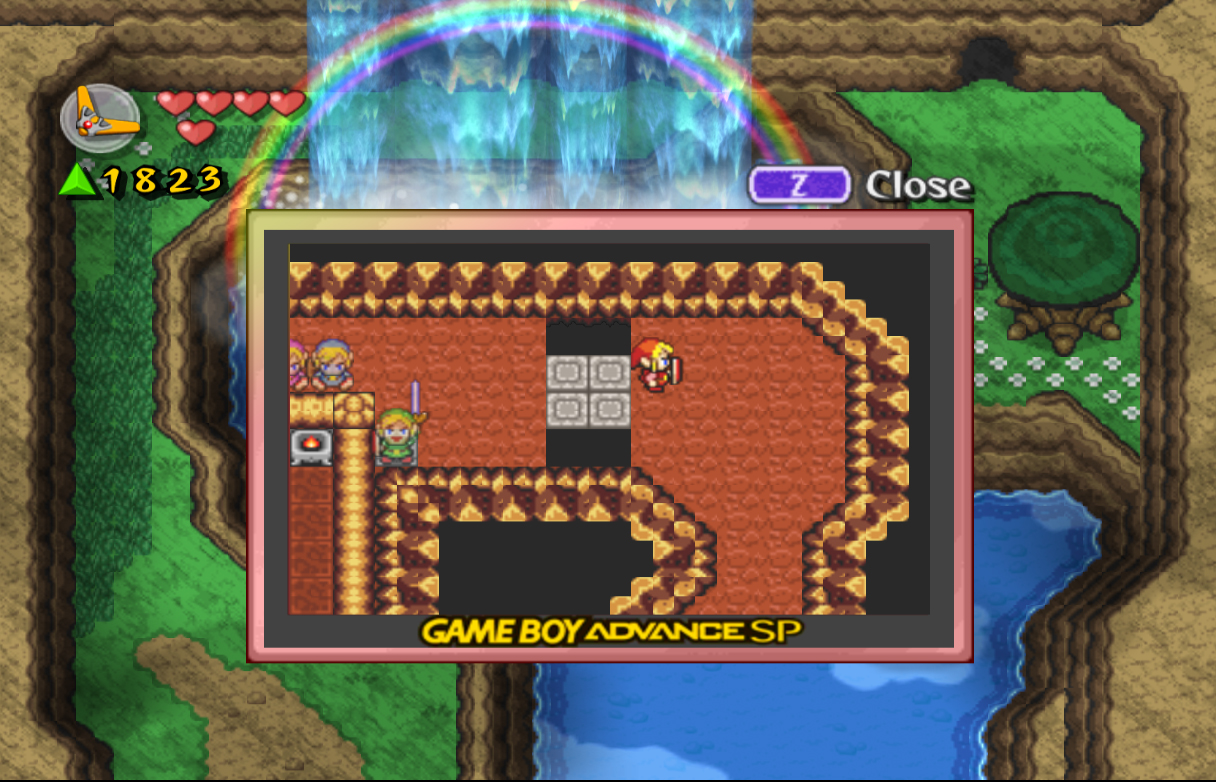
Continue making your way left and you'll reach the next screen. Read the sign nearby and it will tell you to hold B if you want to see what's across the river. Do so, and you will see that this is a small river with land on the other side. Continue walking left and step on the orange switch to drop down two red force gems. Now, use a wide (horizontal) formation, and push against the rock to make a pathway connecting the two pieces of land. Before you cross the entire gap, swim to the left and then up. Here you can collect another red force gem that is hovering above the water. Head back onto the rock and continue to the other side. Use R to lift up the rock on the left side to find a purple rupee, worth 50. Make your way right to find a cave; enter it and you'll find yourself on the Game Boy Advance screen again. Walk forward and once in the open area make a box formation. Step on the gray switch to open the door and enter to find our first item, the Boomerang. Press A to obtain it, and it will be given to all four links, just like any other weapon or item in this game. Head back out to the river and press A to use the Boomerang and grab another red rupee that's floating above it. With the Boomerang in hand, continue up to the next screen.
First off, kill all the red enemy Octoroks on this screen. At the top, you'll find Shadow Link jumping up and down. When you get close to him, he will hop off to another area close by, taunting you while you try to attack him. You can defeat him in two ways. You can either slowly walk up to him, and then run to where he's jumping to and quickly hit him with your sword, or create a wide formation and finish him off quickly. Whichever way you choose, when defeated he'll drop a big green force gem, which is worth 100. Now head to the north side of the river, and use the Boomerang to grab a big green force gem floating over it. Do the same for the two red force gems on the south side. Head over to the right side of this screen, and use the Boomerang to grab the key in the half circle of rocks. Pick it up with R, and then walk to the house's door to open it.
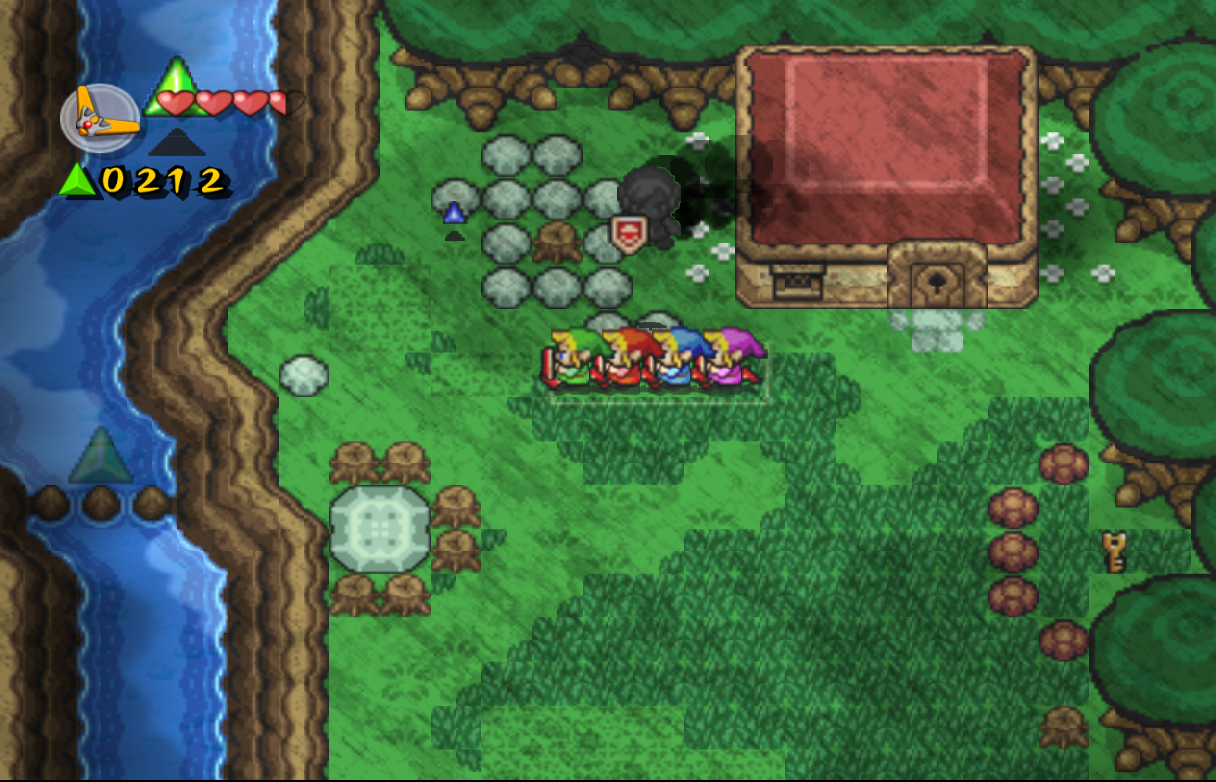
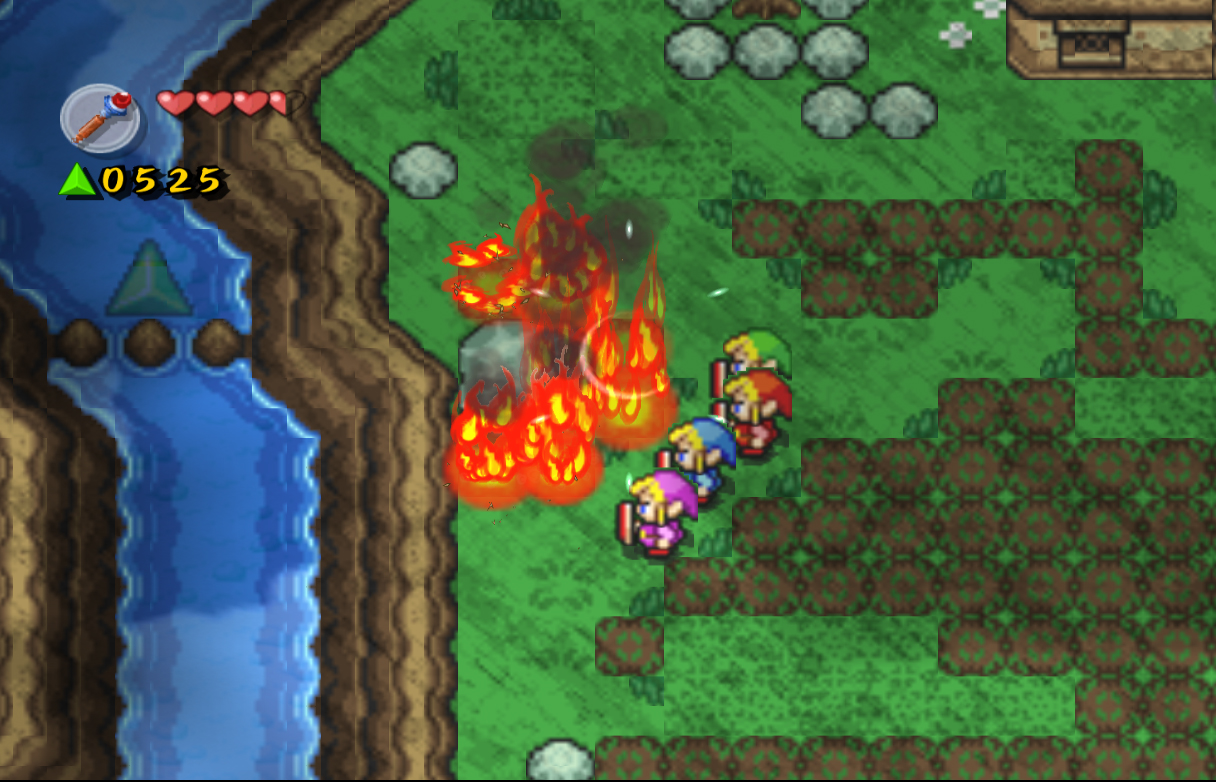
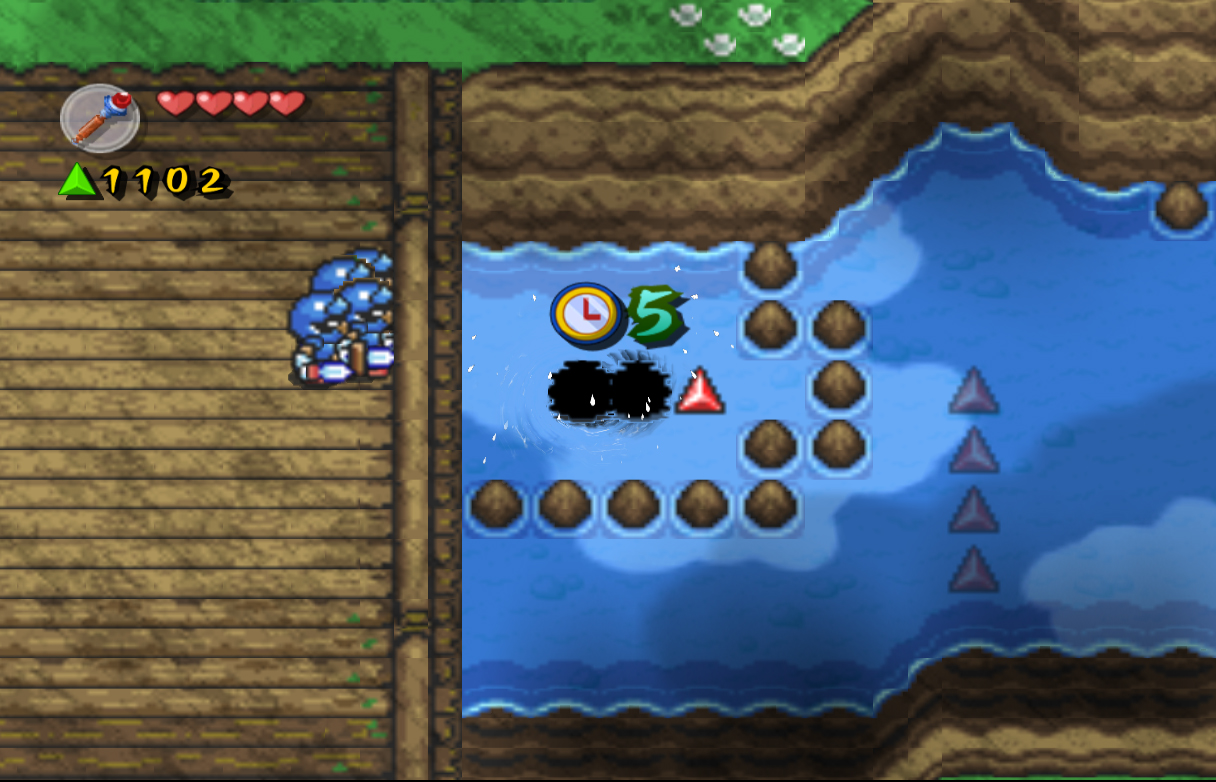
Make your way to the backyard, and make a Box formation. Use it to lift the large rock on the right side, revealing the Fire Rod. This new item will shoot fireballs that will burn down bushes, grass, tree stumps, and even hurt enemies. Walk back to the front yard, and at the top of the screen you will find a tree stump surrounded by rocks. Lift ALL of the rocks and toss them away. Shoot the stump with a fireball, and it will release a lot of force gems. Once those are collected, you can also burn the grass below. This grass in particular is connected, so if you set one area on fire, you will set all of it on fire, turning it all into force gems. When you've finished collecting, set fire to the last tree stumps surrounding the rock next to the river, and create a Box formation to lift it. This will reveal a staircase that leads underneath the river. Once underground, walk left and you'll see a quick reference to the Mario series, in the form of a Cheep-Cheep. These enemies will occasionally be out in the open underwater to harm you, but most are in enclosed caves such as this one. Continue left and climb the ladder, hitting the switch at the top. This will create a bridge across the gap and allow us access to the treasure chest nearby too. Open it for a red force gem, and then head up the next ladder to get back outside.
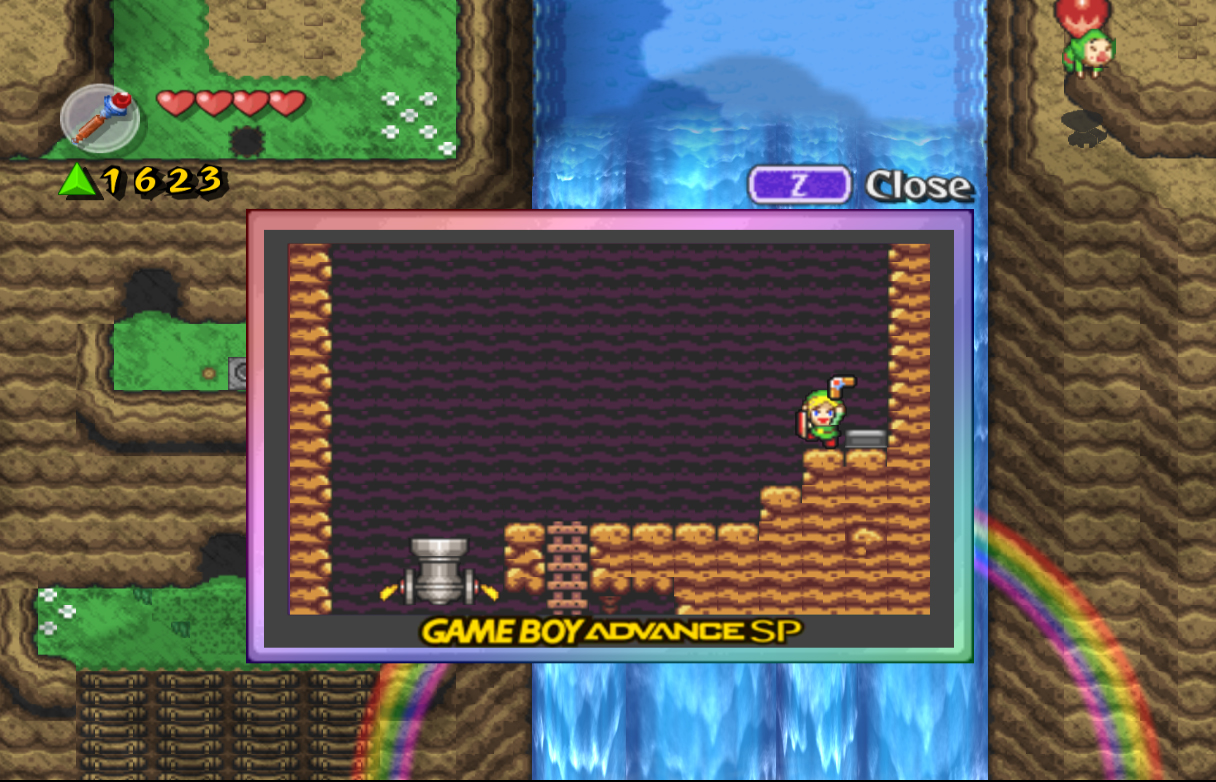
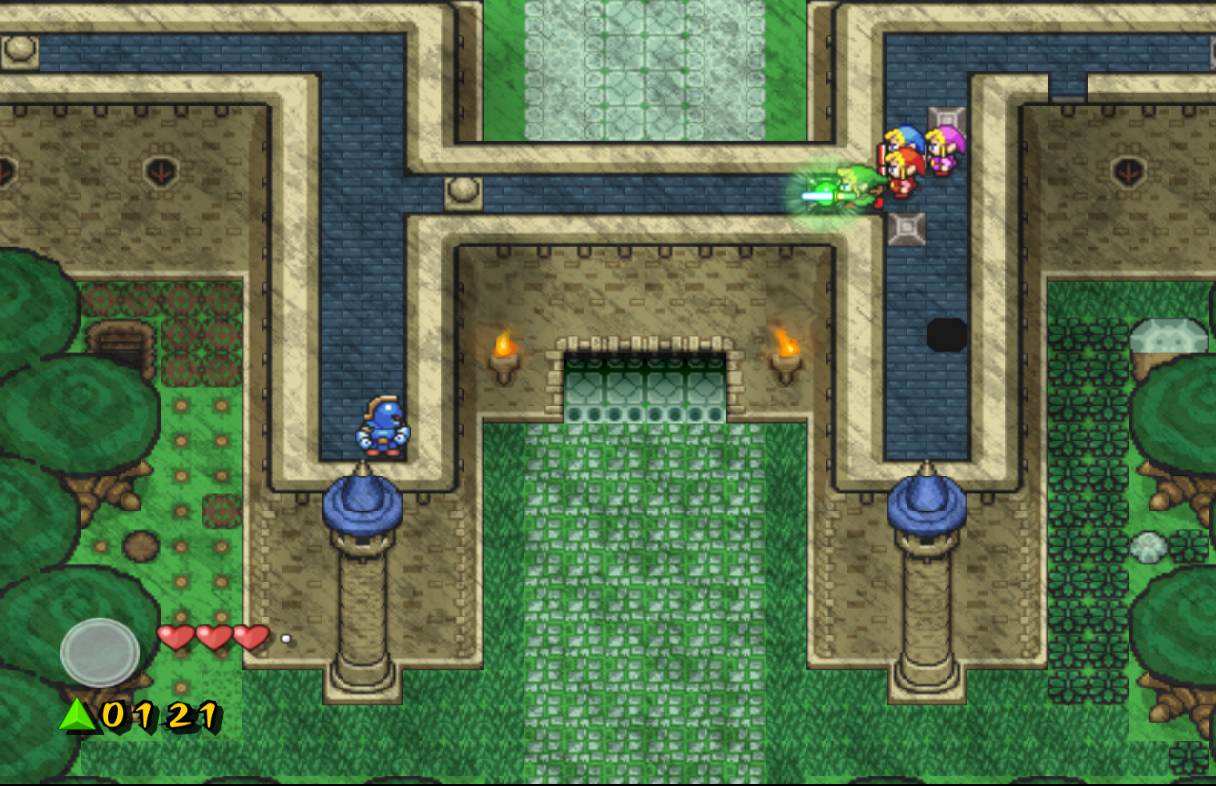
On the next screen you'll find Shadow Link once again, but this time he has a hammer. This hammer will send shock waves across the ground, that which will make you dizzy if you get too close. You can try to quickly lift the rocks, run up to him and kill him between shock waves, but you probably won't be successful. After a couple of hammer hits, Shadow Link will disappear and leave you alone if you don't manage to kill him. When you manage to lift the rocks walk up the ladder and create a Box formation. Step on the switch and many force gems will fall down, including a big green one. Collect those, and then lift the stone at the bottom left of the screen. Use the Fire Rod to destroy all the grass, bushes and enemies, then slice the lone bush to make another portal appear that will spew out force gems. Once those have been collected, make your way out, and lift the last large rock on this screen. Underneath, you will find a Zol, which isn't much harm, and can be defeated with one slash. Continue up to the next screen and castle guards will instantly see you and try to attack you. Fortunately, they are blocked by the trees, so ignore them for now. Lift the rocks blocking the river, then jump in and swim to the right. Under the bridge you'll enter another sub-screen. Climb up the ladder and lift the rock to find....Tingle. This now infamous character has been in several Zelda games, and is largely a nuisance, especially in this game. Time after time, when you find large denominations of force gems, Tingle will appear onscreen, floating across to try and steal one of the gems. If he successfully picks one up before you do, he will float off with it and you'll never see it again. Tingle will thank you for saving him, say his magic words, and then float off to the next screen. Enter the water again on the opposite side, and swim on the upper side of the rocks. Here, you can press B to dive and collect the red force gem hidden under the water. Go back a screen, and then swim on the lower side of the rocks. Here, you will find another four red force gems to be collected. Continue swimming, and climb up one of the ladders along the rocky wall.
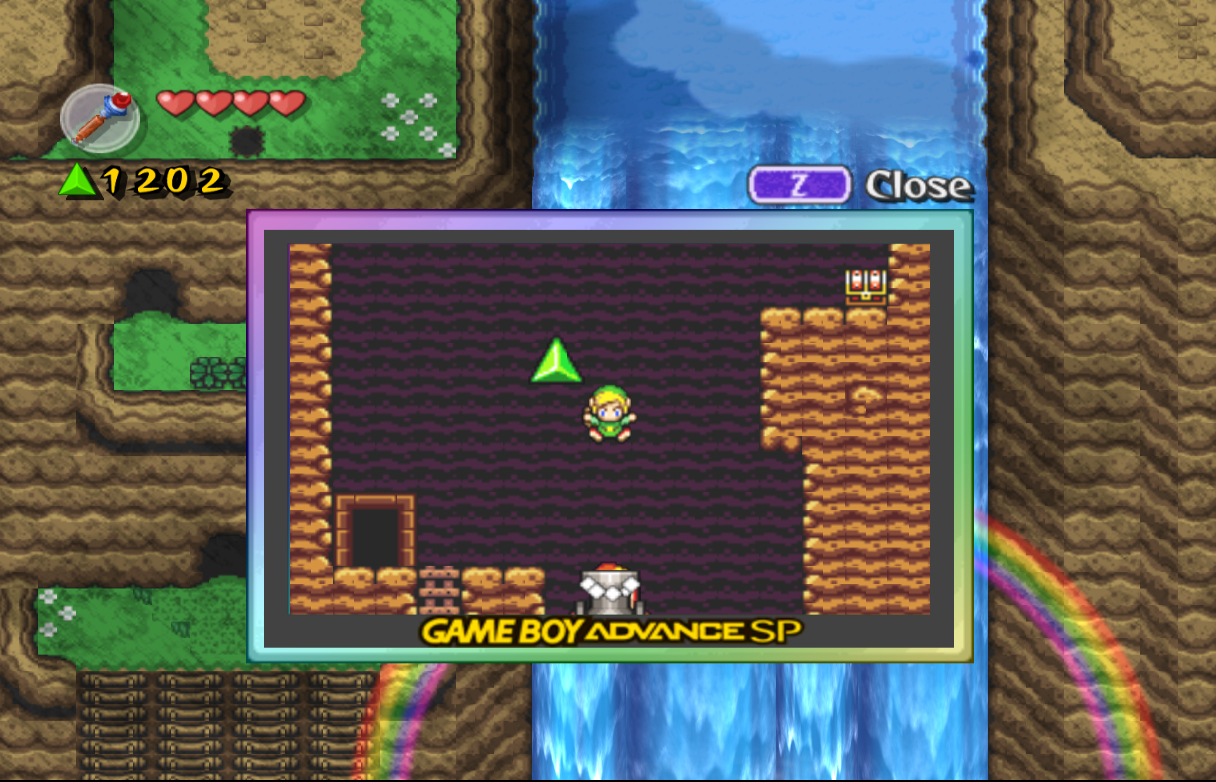
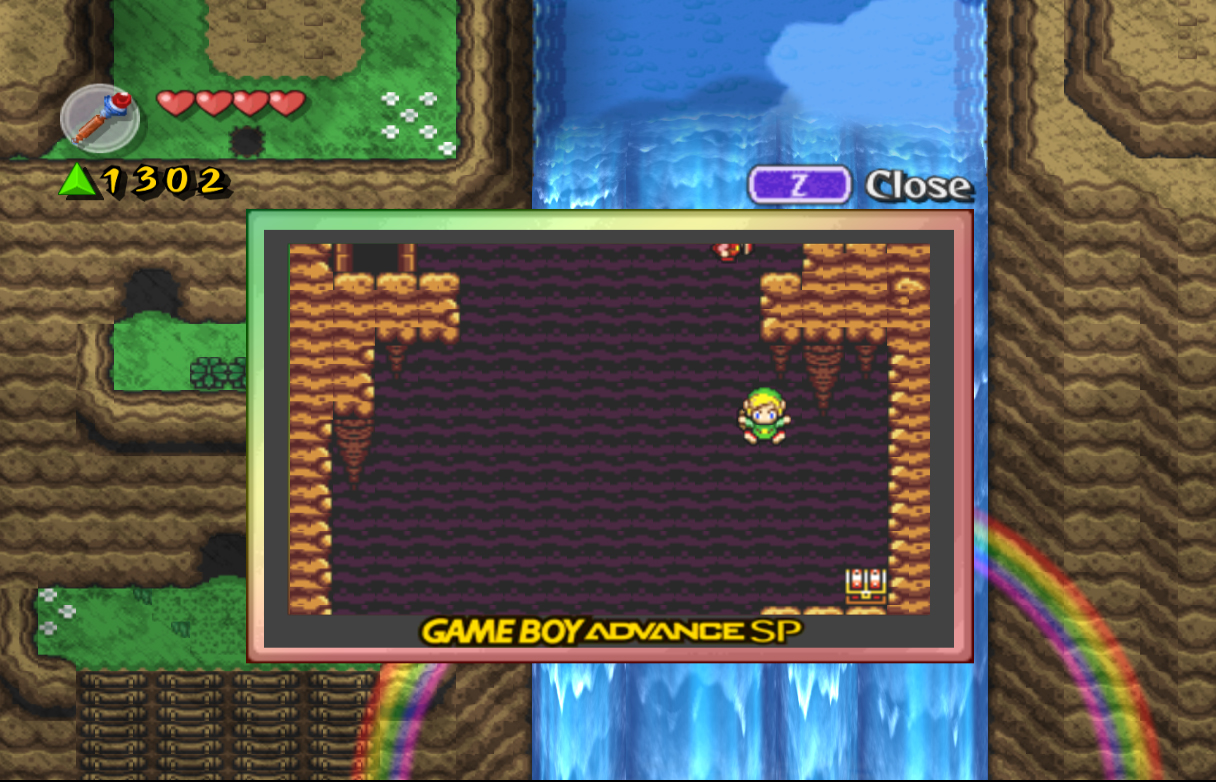
Once up top, enter the first cave and you'll find a cannon. Hop inside, and wait for the force gem to appear directly overhead. Press A to shoot out of the cannon, and hopefully you'll collect the force gem. Whether you do or not, hold right while flying and you'll land up near the top right of the cave. From here, you can drop off and hold right again to land on another ledge, this one with a chest containing a purple force gem. Hop in the cannon again, collect the green force gem if you didn't the first time, and this time hold left to reach the cave exit. Outside, burn or slash the grass, and then step on the switch. This switch will drop force gems, but unfortunately, they are on the next ledge. Quickly run into next cave, hop in the cannon, shoot up and into the next cannon, and then shoot up and out. Hold right to land on the force gems, and hopefully you were quick enough to get them before Tingle did.
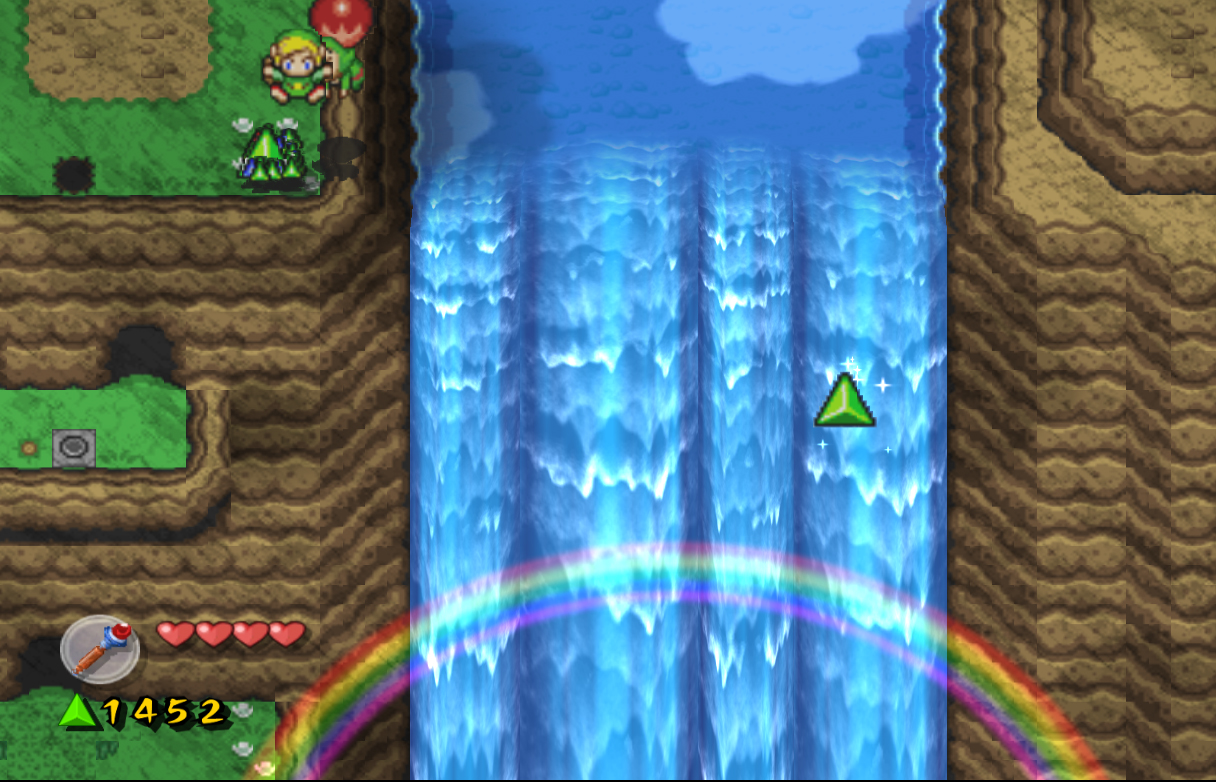
Jump back in the hole you came from and hold to the right as you fall down. This will lead to another Boomerang, so leave the Fire Rod and take the Boomerang along. Exit the cave from the lower side, and stand next to the waterfall. When the big green force gem comes near, use the Boomerang to grab it. Reenter the cave once again and shoot all the way up, collecting the floating green gem if you didn't the first time.
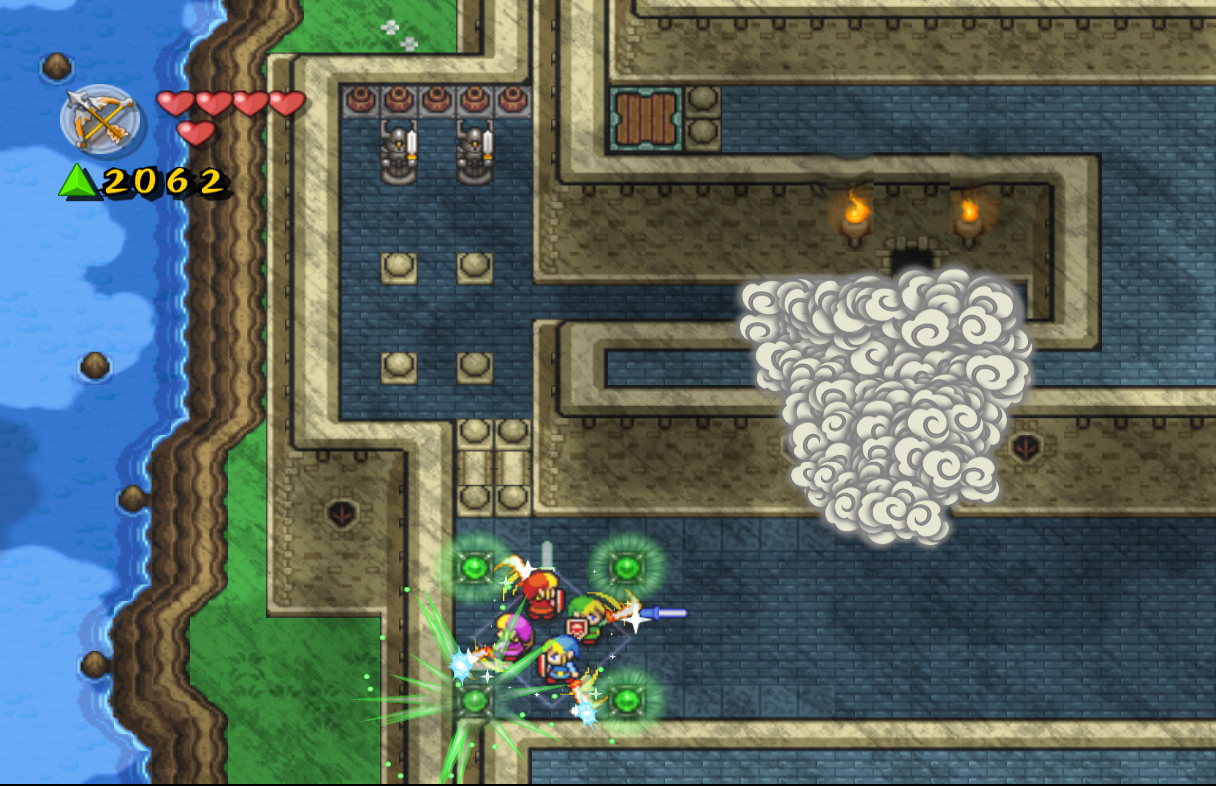
On the next screen you'll encounter a new enemy known as a River Zora. These enemies are found exclusively in water, and will shoot fireballs at you, then quickly disappear back into the water. Ignore them, and walk behind the waterfall, where there are three caves. Ignore the left one completely, and the middle one for now. Enter the right side one and speak with the man inside. He'll say that friends don't always have to do the same thing, hinting that you should use each link for a different task. Use the X button or D-pad to separate the links, then place each one of them on a switch. This will create a new bridge across the gap in the middle entrance.
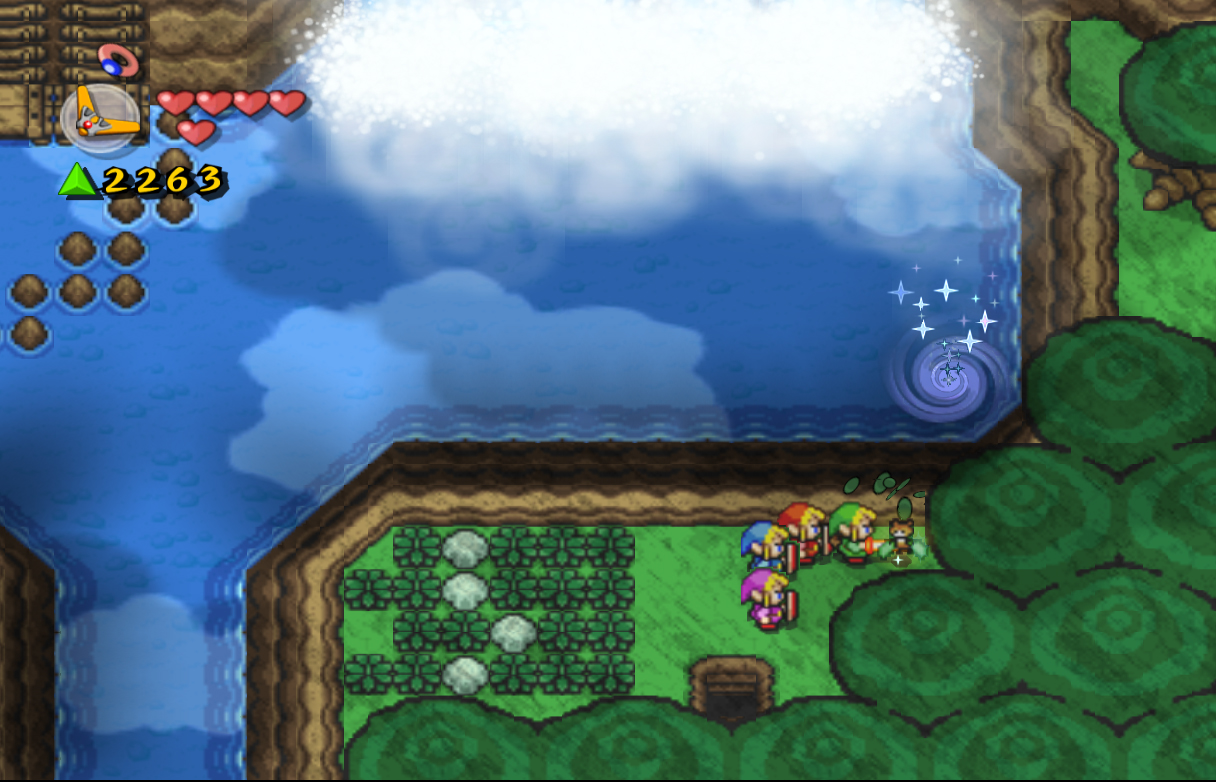
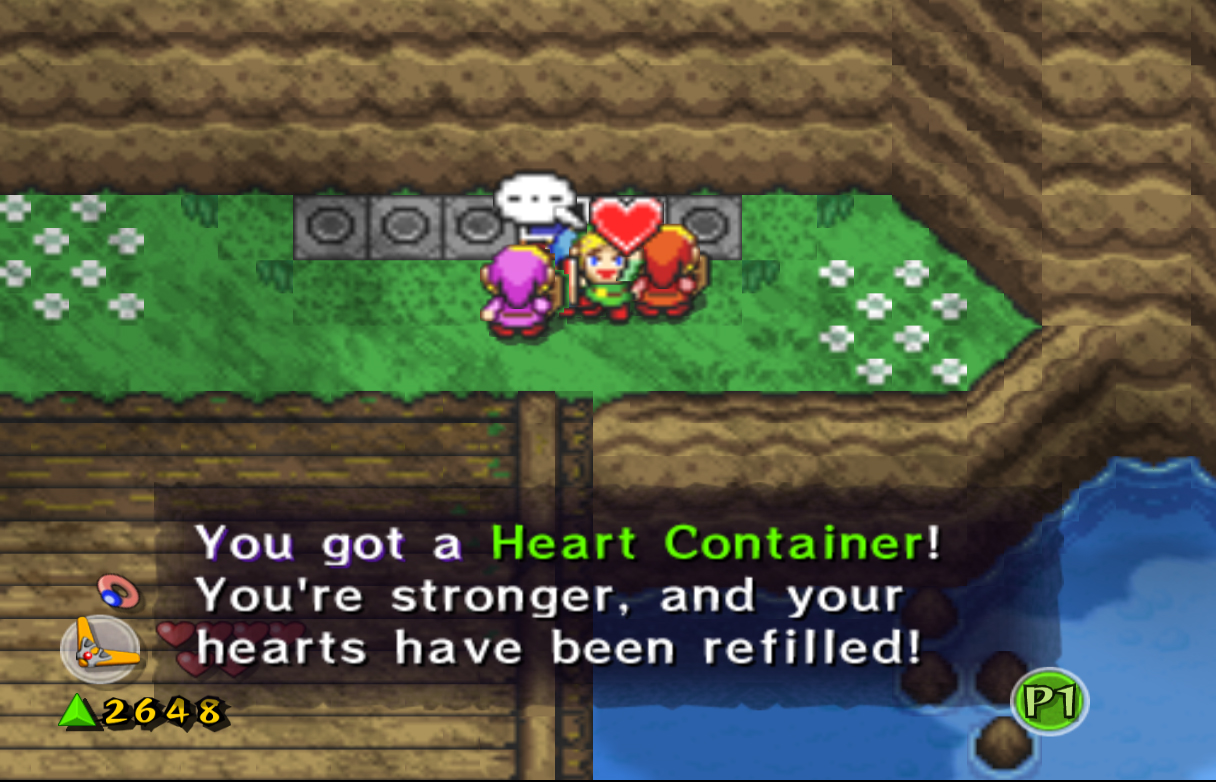
Enter the middle entrance and walk across the new bridge. You'll find two more chests, one containing a big green gem, and another with a Heart Container. In Four Swords Adventures, there are two Heart Containers that can be found in most stages, with some containing three. This is the only option in the game to upgrade your health, and the containers disappear whenever you leave a stage, causing you to start with four each time. Continue on to find a star-shaped switch. When you try and step on it, it will create another bridge, but the moment you step off, it will disappear. Press X and have one of the links step on the switch, then have another walk across the bridge. Bring all the links back together again, and they will appear on the right side. Walk the rest of the cave and exit on the opposite side of the river. Hop into the water, and head up along the right side wall, where you'll find a big green force gem hidden underwater. Now head down and jump off the waterfall on the next screen. Swim to the left and you'll find more force gems hidden underwater. Collect them, and head down a screen. You'll reappear on a previous screen, where we first got the Fire Rod.
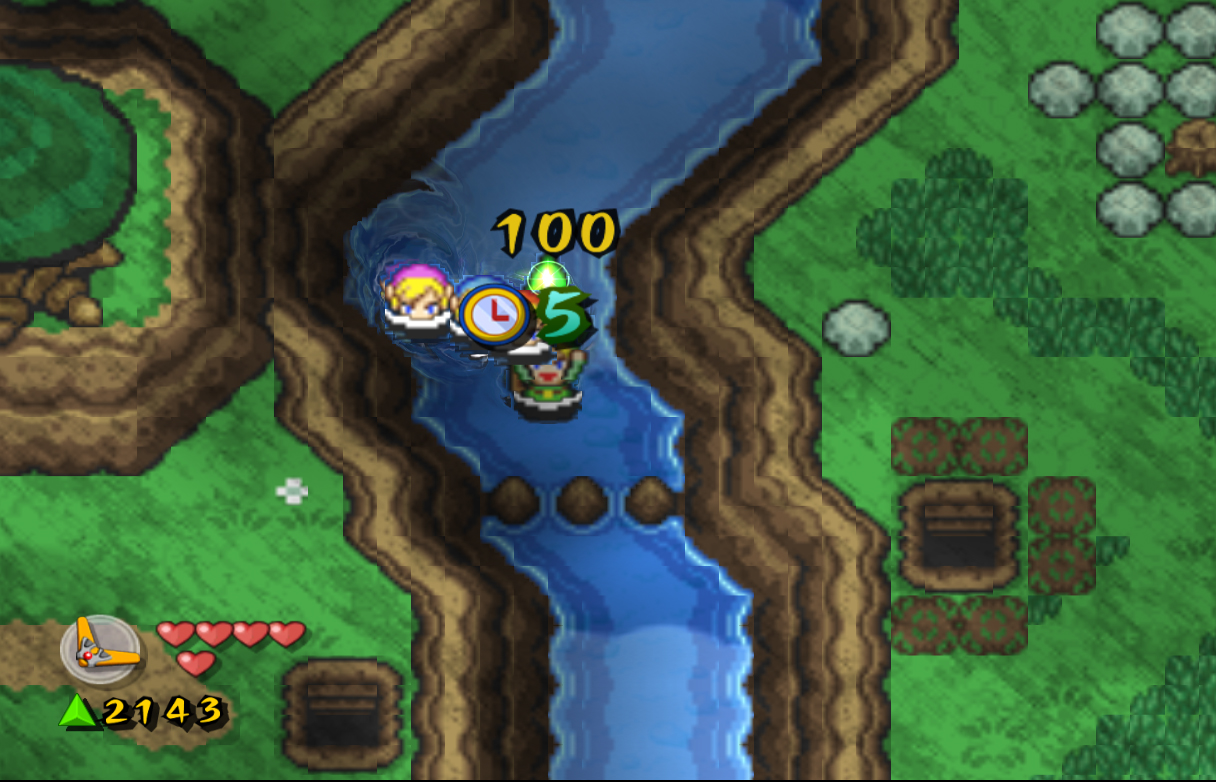
Swim south to another force gem underwater, collect it and head back up a screen. This time, head to the right, where you'll find a vortex that will pull you into an underwater cave. This part of the cave is fairly simple, swim to the other side, climb up the ladder and head to the next area. Here you'll find a large block. Use the Wide formation to push it all the way down, causing a platform to appear. Position all four links on top of it to make it move to the other side of the chasm. Along the way, a force gem will float across, make sure you obtain it. On the other side, make a Box formation, and step on the switch to open the southern door. In this room, you'll find a chest containing a red rupee, and another containing the Blue Bracelet. This Bracelet will reduce all damage you take by half, and will only last as long as you are in the same stage. Head out of this room and up the next ladder.
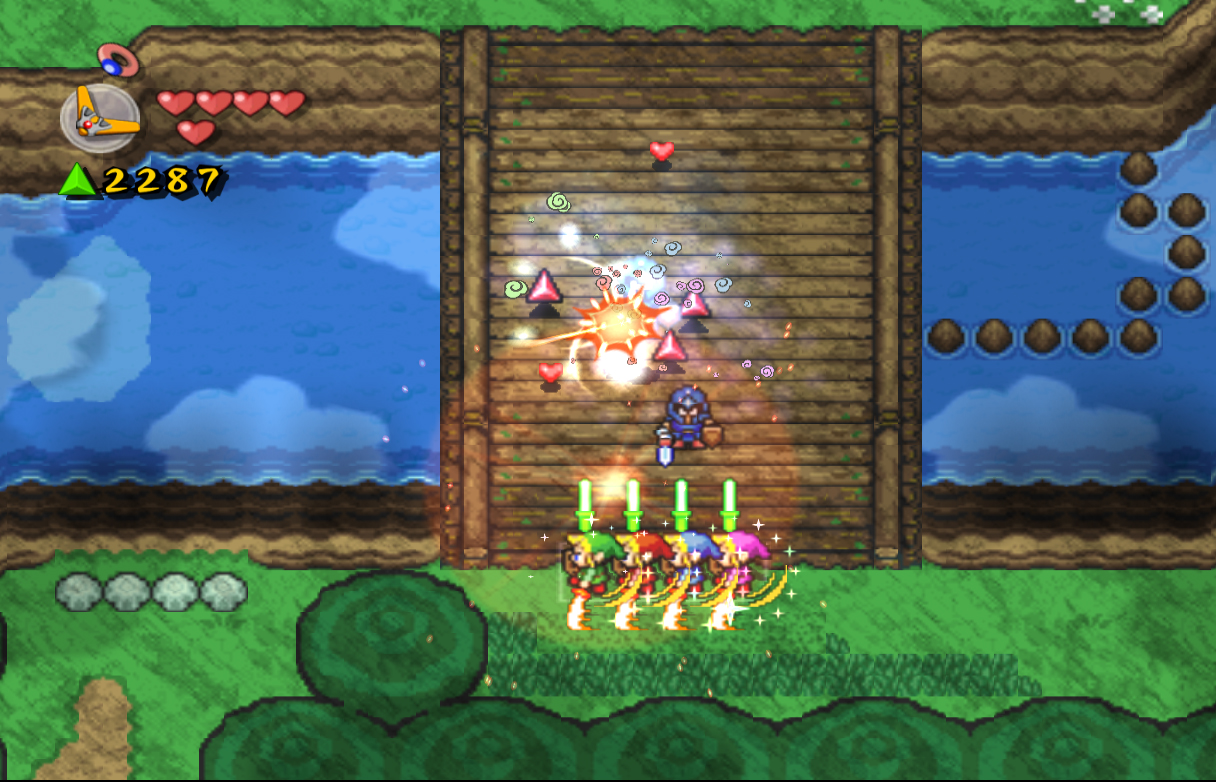
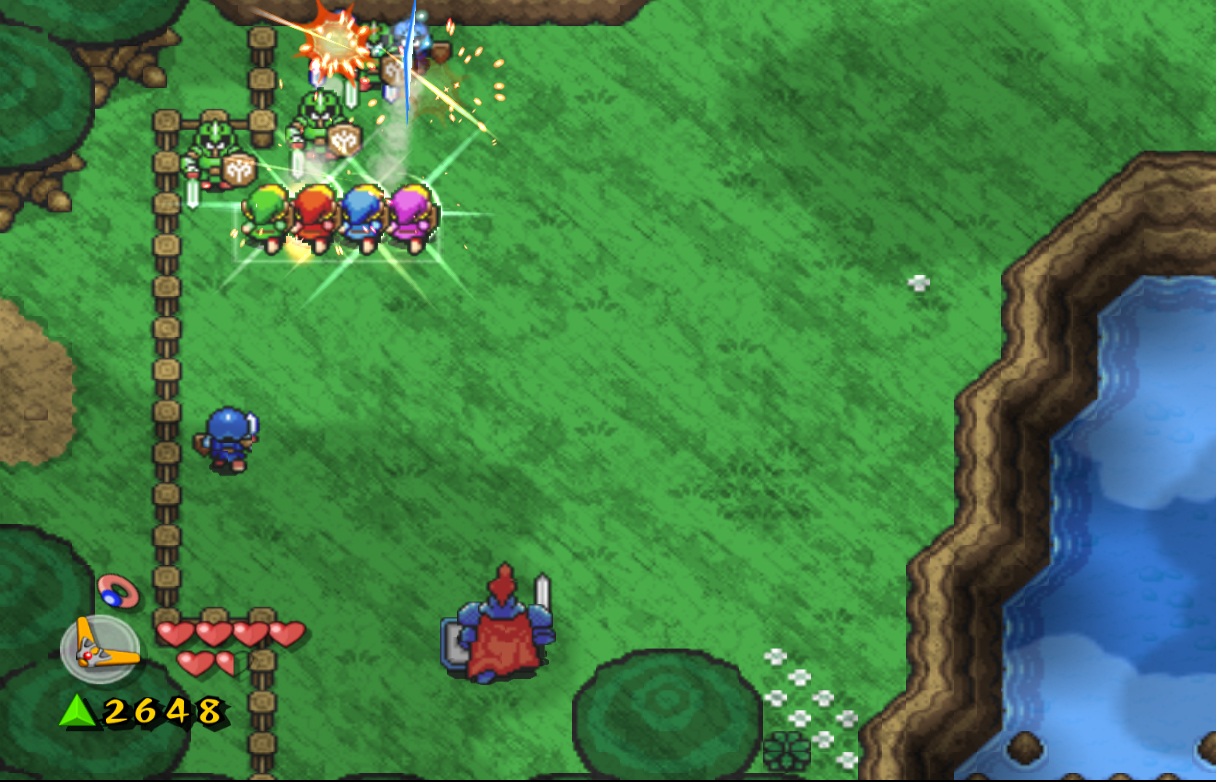
Back outside, slash the lone bush on the right side, which will produce a force fairy. These fairies will revive all four Links if they die. There are a ridiculous amount of force fairies in this game, so you should never run out if you're collecting them. On the left side, slash the bushes and lift the stones to discover another hole that leads underground. Once underground you will fall all the way down, right next to a treasure chest. Open it to get a red force gem. Climb up the ladder, but only go halfway, and then jump off onto the rock on the left. Climb up the next ladder to leave the underground and get back outside. In the next screen, you'll see a familiar bridge. Right away, form a wide formation as the castle guards and soldiers will start coming after you. If you have over 2000 force gems already, you can make this fight much easier by holding B. This will charge up your sword and allow you to use the Hurricane Spin. This Spin will shoot link across the bridge, defeating all the enemies in the way. Unfortunately, the links will be dizzy after, so make sure you aren't open to attack.
Once the enemies are gone, head up and cut down the bushes along the wall. Press X and individually place each link on one of the switches, causing two big green force gems to appear, as well as two treasure chests. Collect the force gems, then open the chests to get a red force gem and the second Heart Container in the stage.
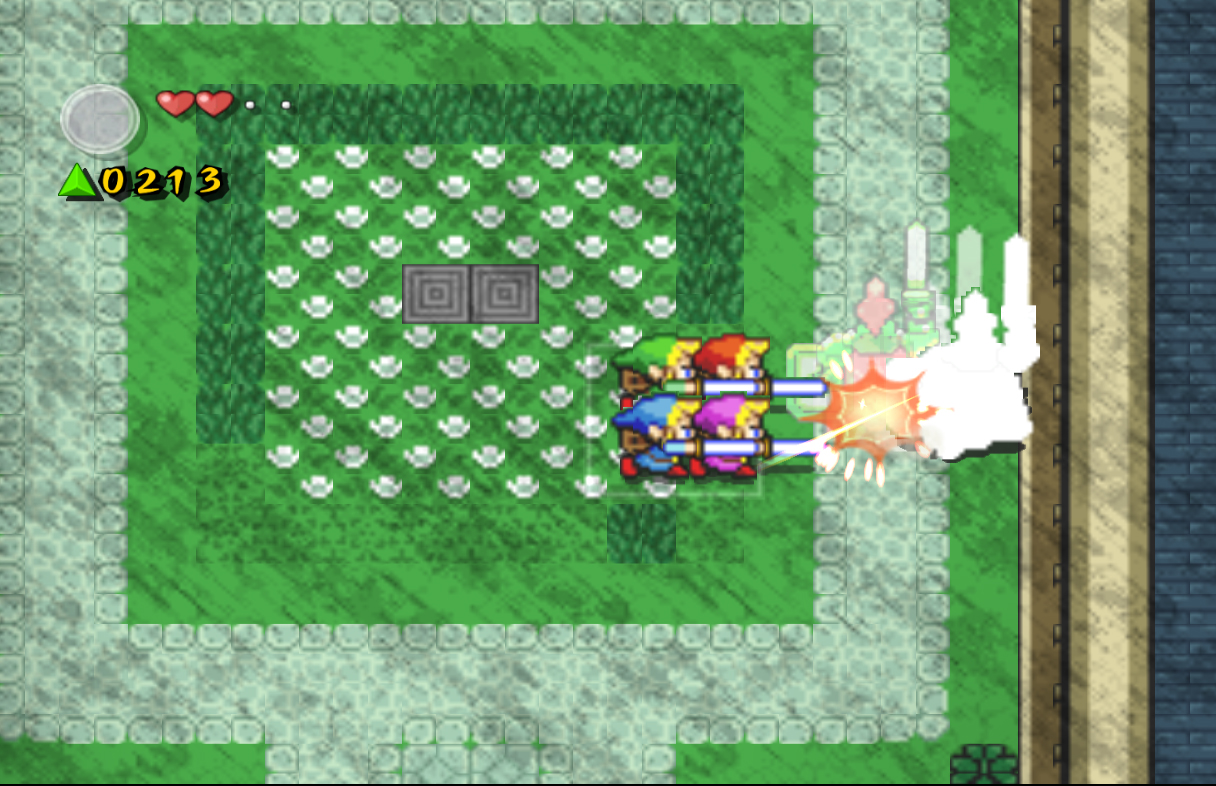
Continue left and you will find this stage's boss: Chief Soldier. He is surrounded by a couple of weaker soldiers who can be easy killed. Once they are defeated, the Chief Solider will use a thrust attack. Dodge out of the way and he will be wide open for attack so get in as many hits as you can. Repeat this process until he's been defeated, causing 150 force gems to drop from the sky. Collect them all before Tingle comes and head left another screen.
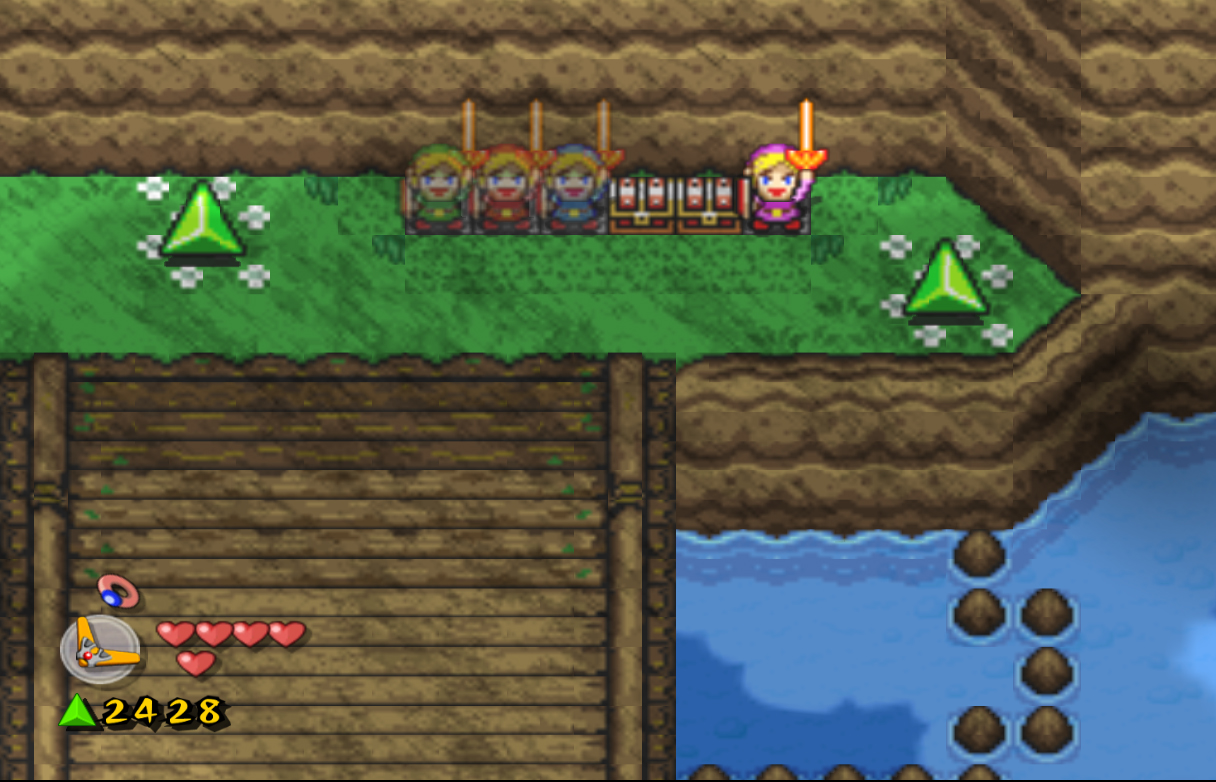
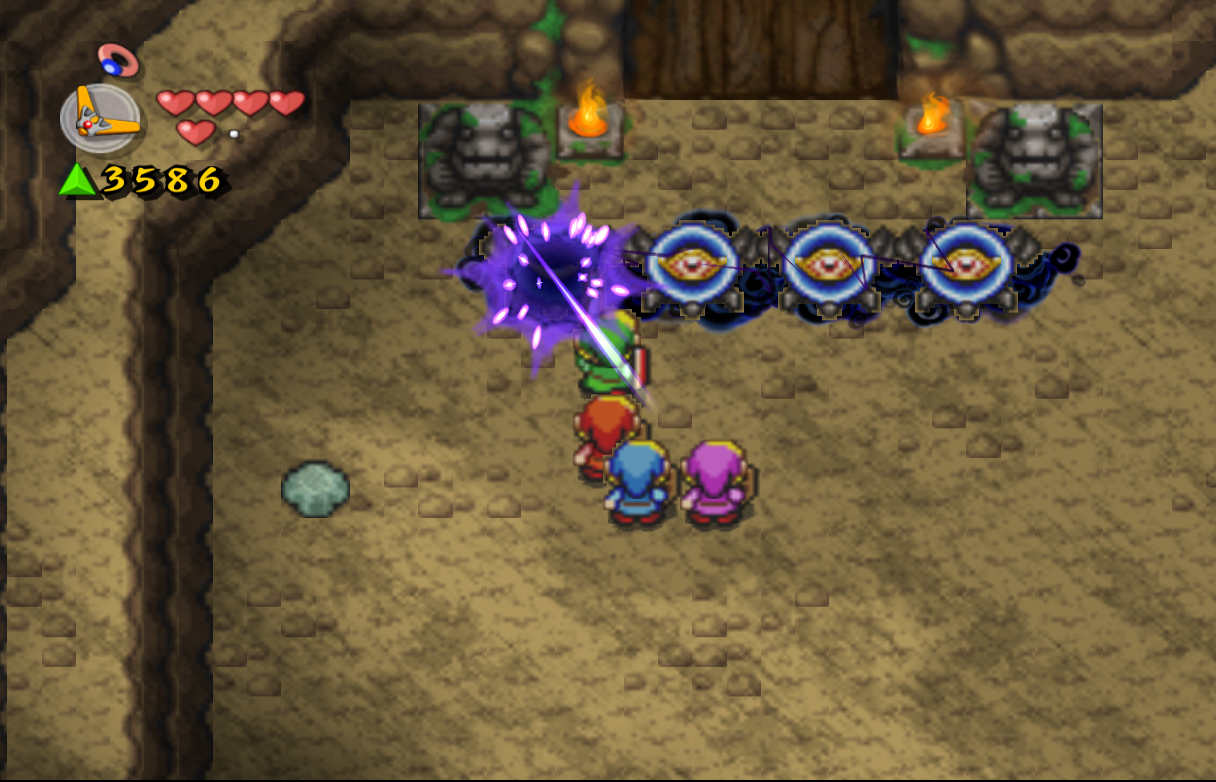
Here you will find Kaepora Gaebora once again, and he will inform you of the dark barriers blocking your path. Vaati has installed these to siphon away energy from the land, but they can be broken with the power of the Four Sword. You can only break these barriers if you have over 2000 force gems. If you don't, you will have the option to play through the level from the start until you obtain enough. Once you break the barriers, you will also be rewarded with force fairies for how many force gems you've collected and for how quickly you completed the stage. Once the door opens, enter to start the next stage, The Cave of No Return. |
 Kaepora Gaebora Kaepora Gaebora
Kaepora Gaebora is an owl that appears numerous times throughout the game. His profound depth of knowledge is of great assistance to the Links, and he will often give advice on where to go next or how to complete an area. [more] 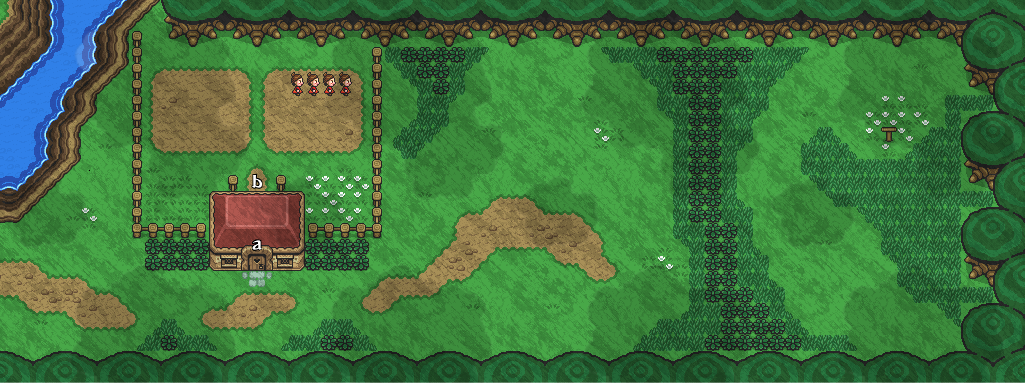
 Boomerang Boomerang
The Boomerang is a projectile weapon that can be used to grab force gems and other small items. Unlike many other Zelda games, it can be held in place to grab moving force gems. [more]  Red Octorok Red Octorok
Red Octoroks can be found on land in Four Swords Adventures and shoot rocks in only one direction. Red Octoroks are by far the most common and take only one hit to defeat. [more]  Fire Rod Fire Rod
The Fire Rod is a weapon that can be used to shoot individual fireballs or produce a constant wall of flames. If upgraded to a level 2 Fire Rod it will act much like the Cane of Somaria from a Link to the Past, creating blocks and sometimes platforms to transport the Links across gaps. If the Fire Rod is used again after creating a block the block will shoot flames in all directions, damaging anything in its path. [more] 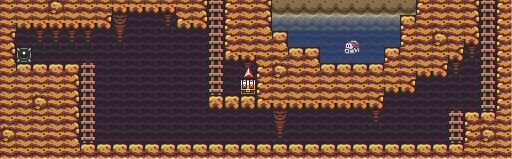
 Cheep-Cheep Cheep-Cheep
Cheep-Cheep are enemies originally from the Mario series. They can only be found in underground areas, usually in blocked off sections of water. Larger Cheep-Cheeps can also be found in various stages. These can harm you, and need to be completely avoided because they cannot be killed. [more] 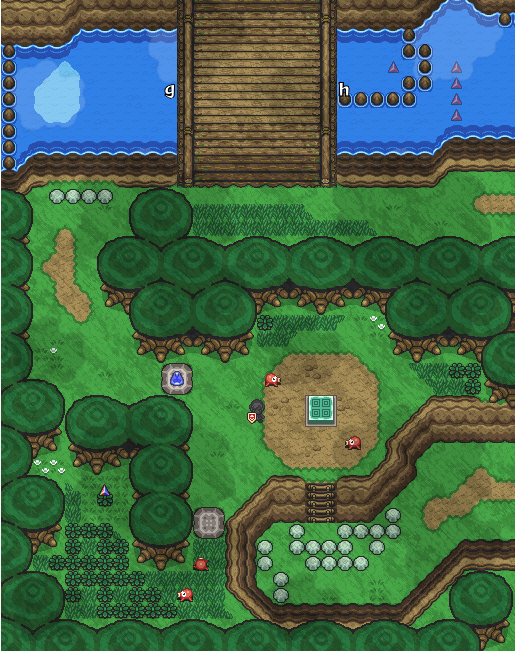
 Zol Zol
Zol are gelatinous blobs that can most often be found under large rocks. They don't appear very often in the game, and are very easy to defeat. [more]  Tingle Tingle
Tingle is a now infamous character that has appeared many times throughout the Legend of Zelda series. In Four Swords Adventures he will appear on screen whenever large amounts of force gems are dropped on the ground and will attempt to steal them. He can also be found in Tingle's Tower when playing the game with more than one person. [more]
 River Zora River Zora
River Zora are evil Zora that can be found in many rivers and lakes throughout the game. They will pop their heads out of the water and shoot fireballs that can be dodged or blocked with a shield. While most Zoras attack, some found in the Swamp level will sit below lilypads and help shoot Link into the sky. [more] 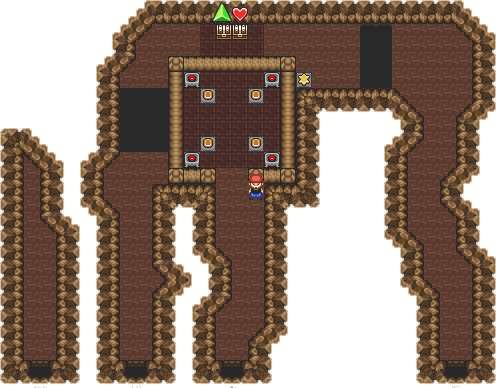
 Heart Container #1 Heart Container #1
The first Heart Container can be found in Lake Hylia at the top of the waterfall. Enter the right side cave and use the Links to step on the switches, creating a bridge. Exit back outside and enter the middle cave. Follow the path to a chest containing the Heart Container. [more]  Blue Bracelet Blue Bracelet
The Blue Bracelet is an item found only once per level in only one of the stages of that level. This means the Bracelet can only be found eight times throughout the game, and its effects only last during the stage it was found, not for the entire level as one may hope. The Bracelet cuts all damage Link receives in half, making it a very useful defensive weapon. [more] 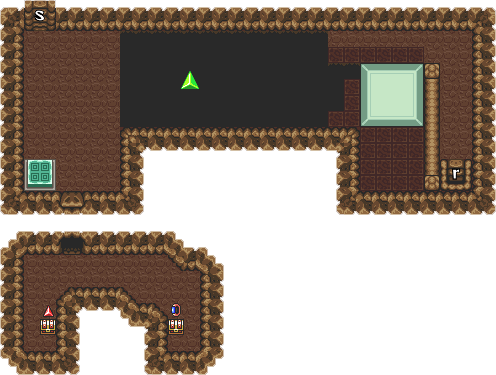
 Soldier Soldier
The basic Soldier can be found in many stages throughout the game. They will typically walk around the screen and will only start to attack once you draw near. They come in Blue, Green and Red varieties in this game, with Red being the stronger version. [more] 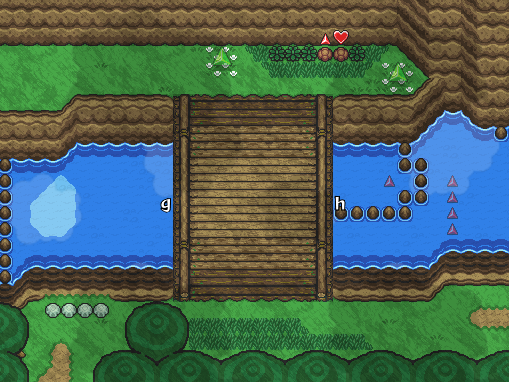 Heart Container #2
The second Heart Container can be found near the end of the level. Once you reach the large bridge before the end of the stage, defeat the many Soldiers that appear. Cut the grass along the top wall and separate the Links, then place one on each switch. Open one of the chests for the Heart Container. [more] 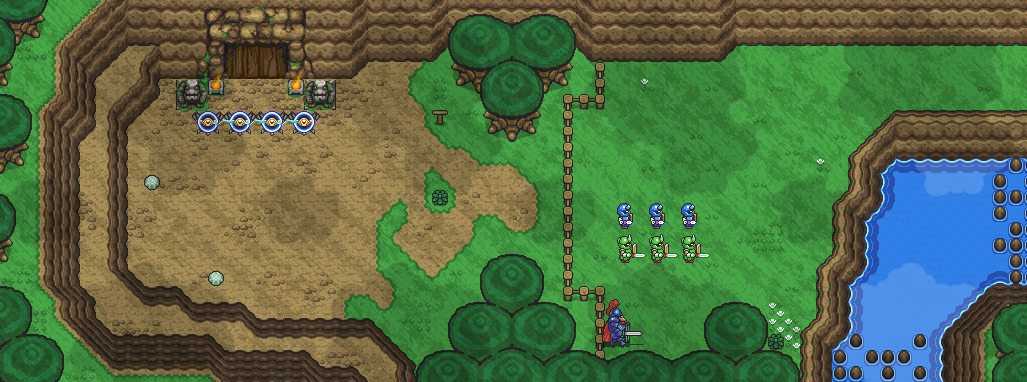
 Chief Soldier Chief Soldier
The Chief Soldier appears many times in Four Swords Adventures, twice as the main Boss of a stage, and later reappearing as a normal enemy. They are normally accompanied by a large group of Soldiers that will move back or forward when the Chief yells "Back!" or "Forth!".
The Chief attacks with a powerful thrust attack that will do heavy damage if it connects, but will leave him open to a counter attack at the back or side if it misses. There are three types of Chief Soldier: Blue, Green, and Red, each increasingly stronger than the last. [more] | |||||||||||||||||||||||||||||||||||


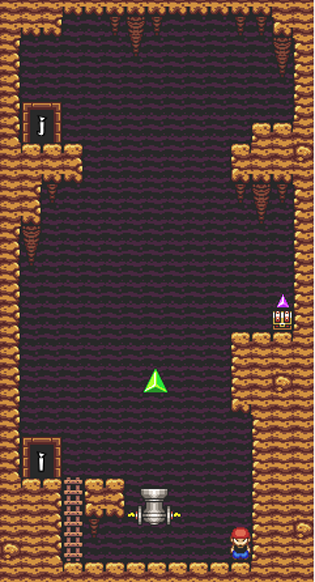
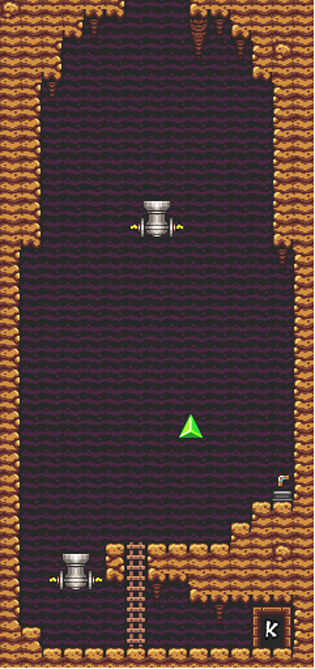
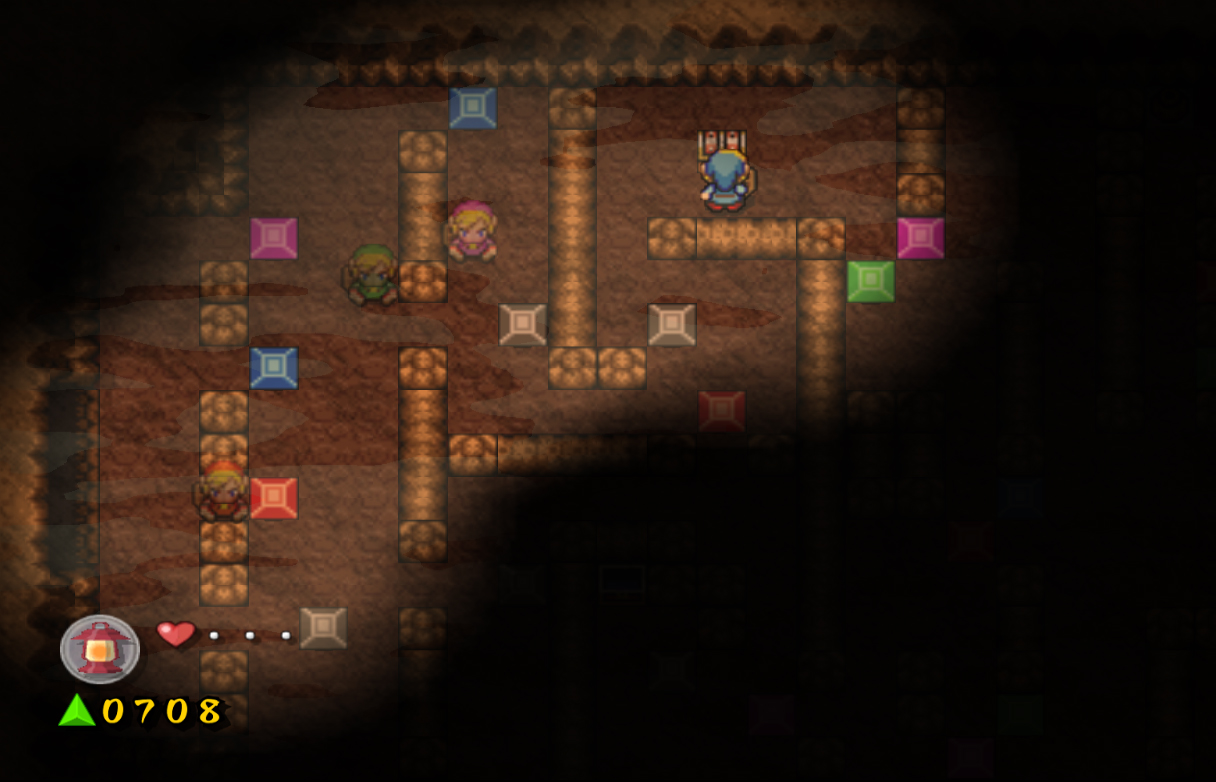
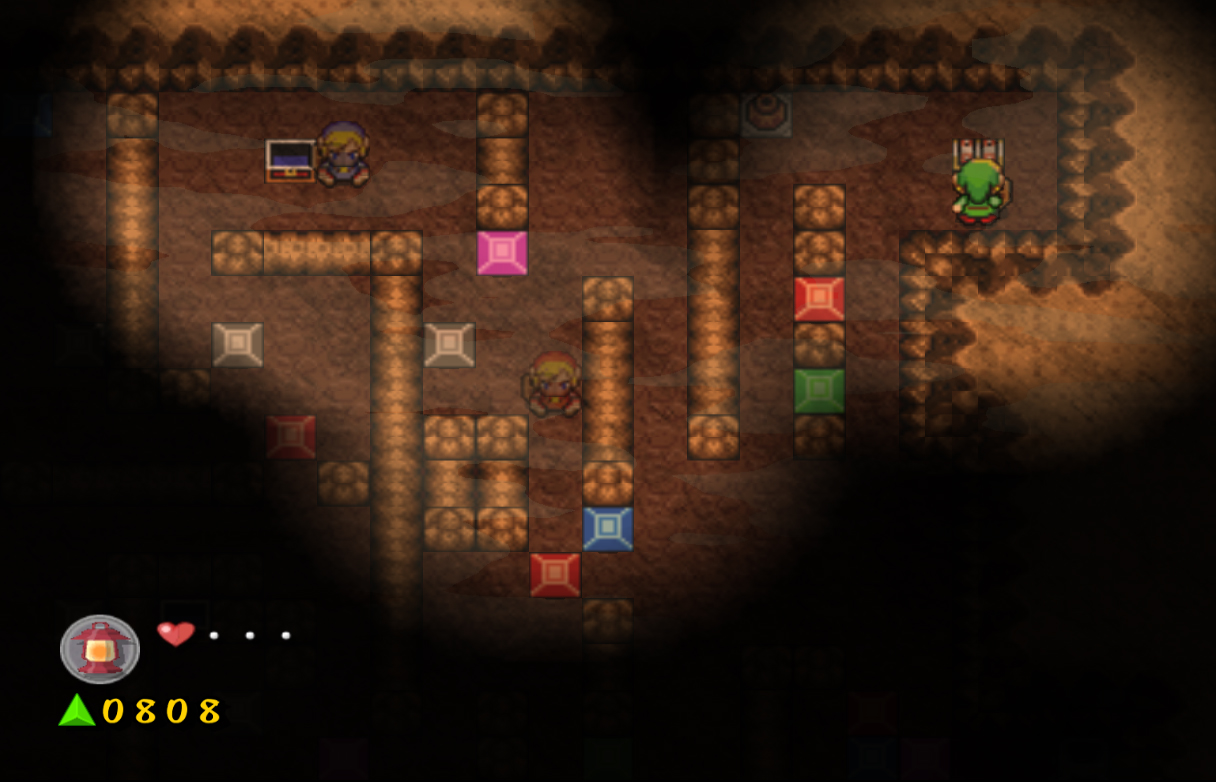
1.3 The Cave of No Return
|
|
|
|
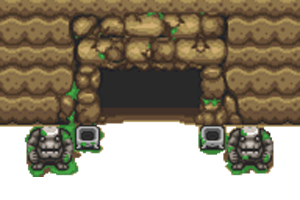
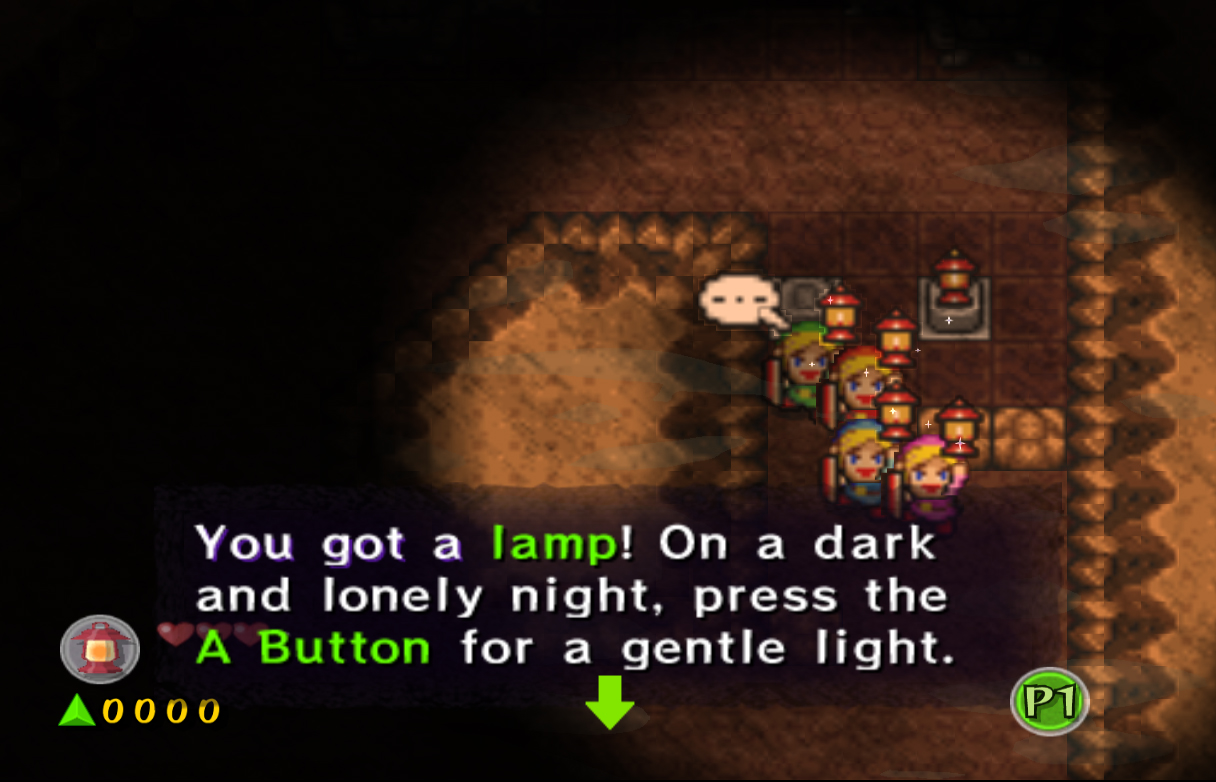
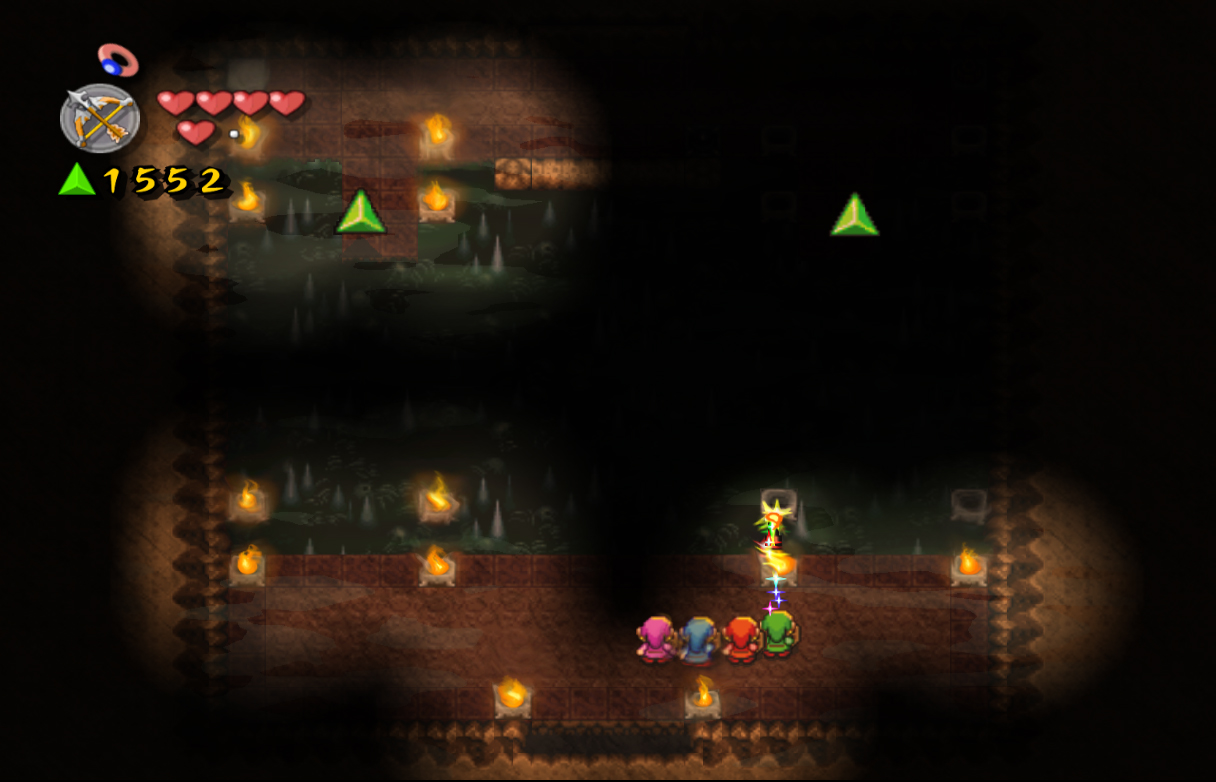
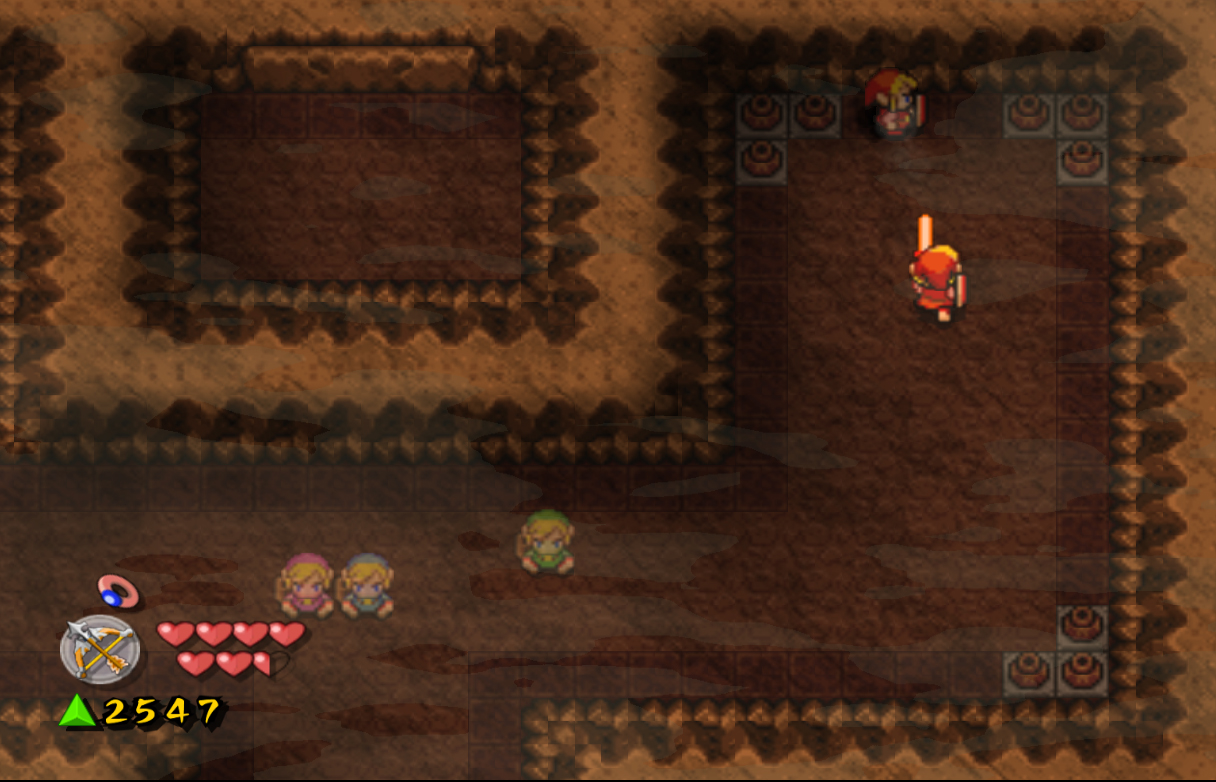
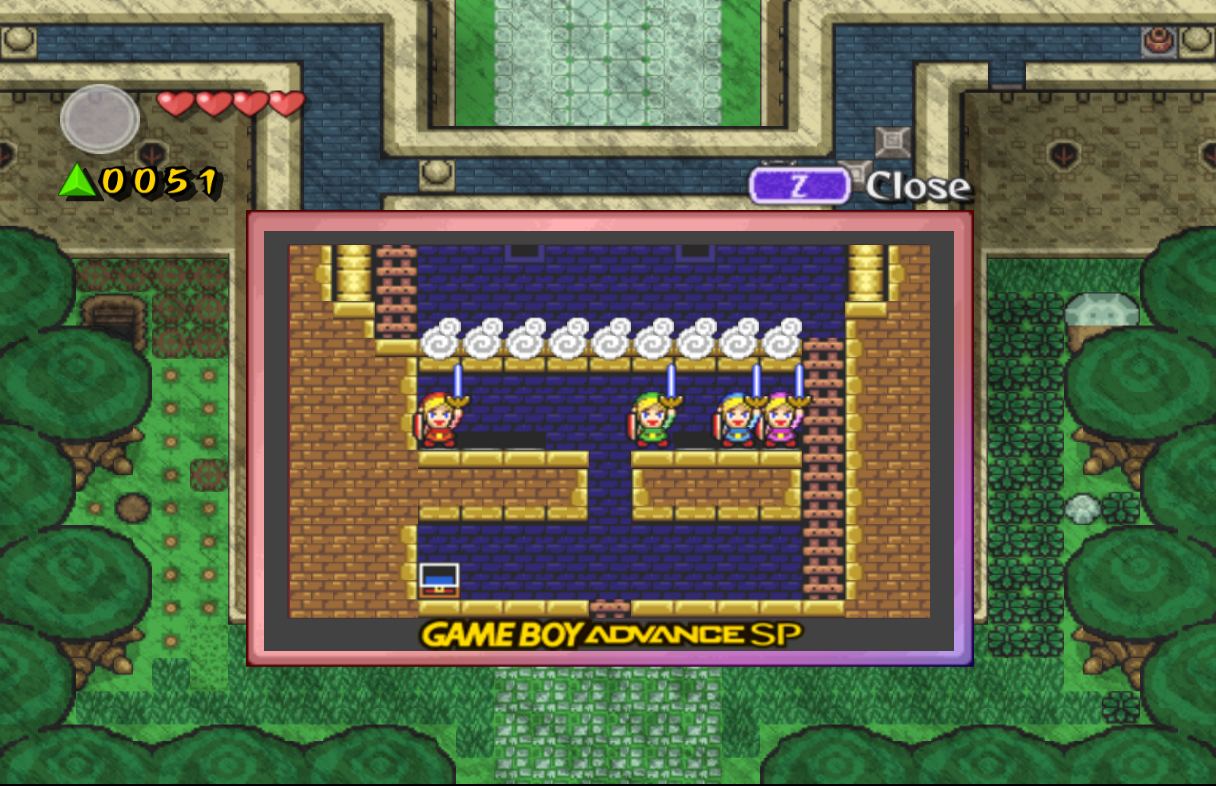
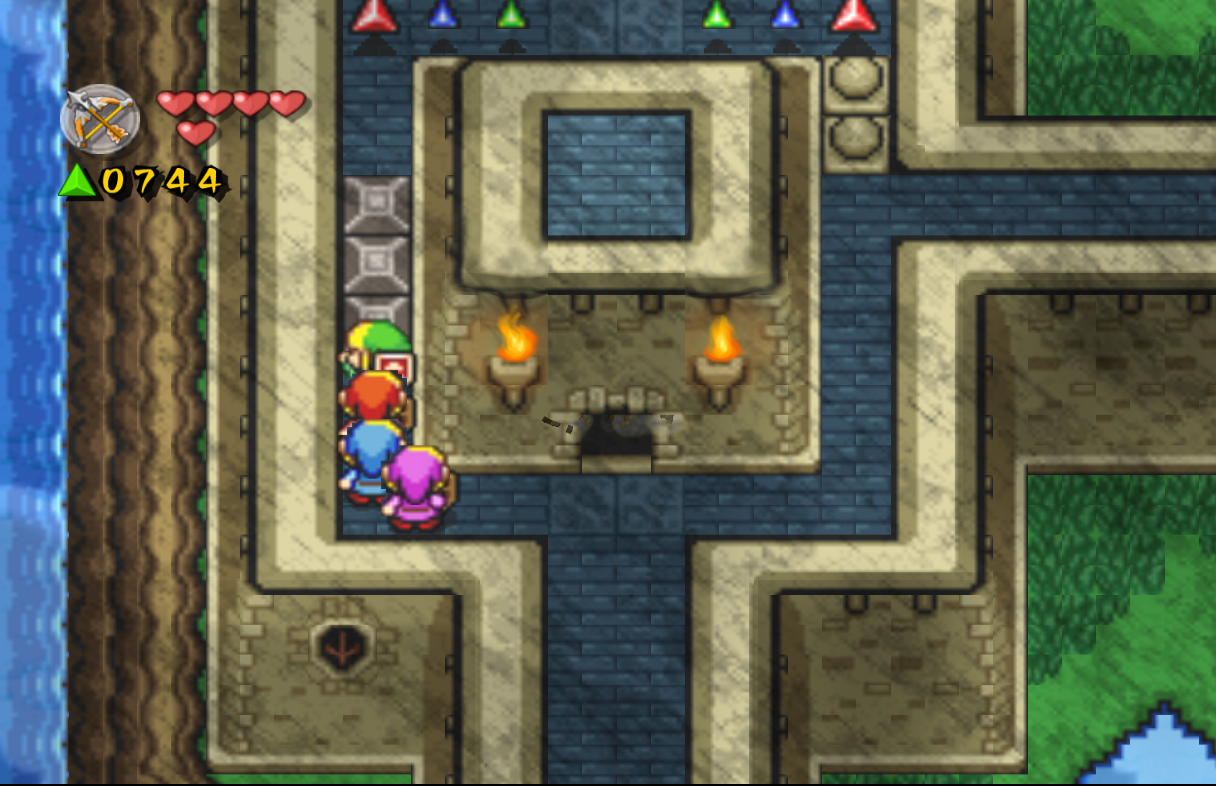
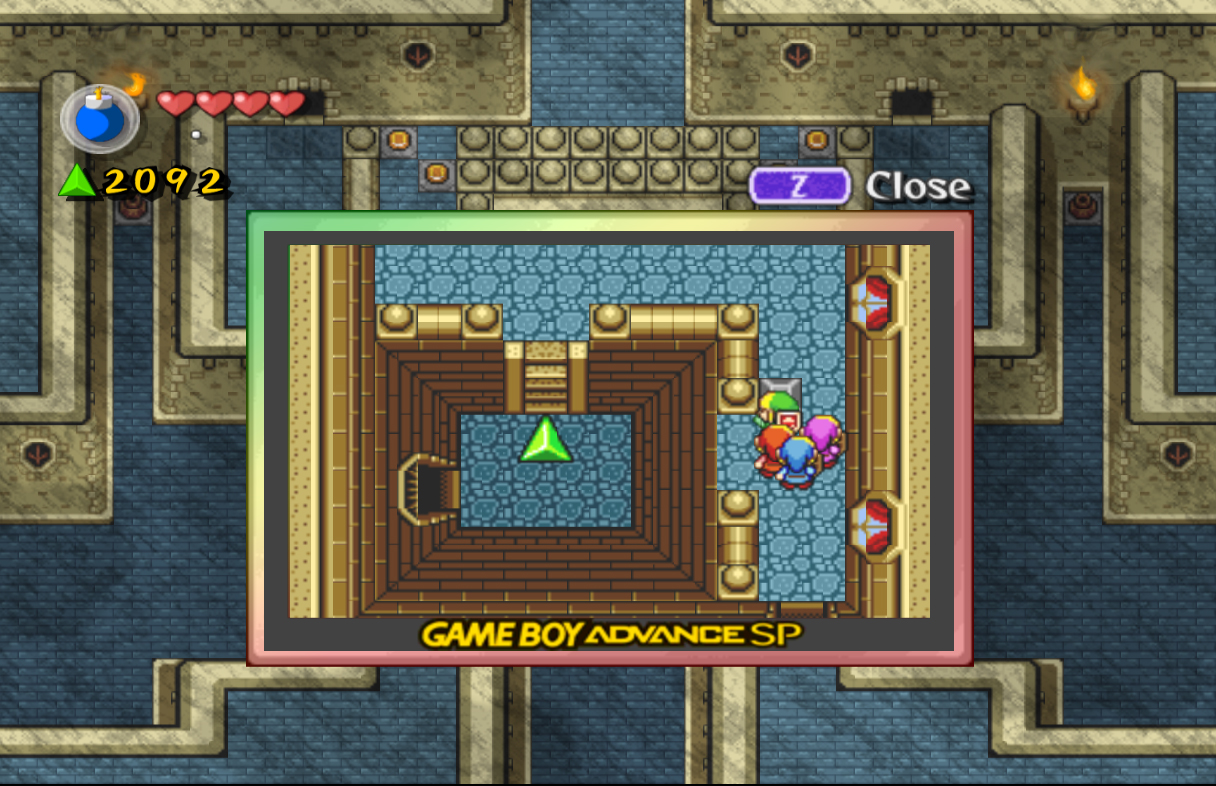
Walk upwards and the rocky wall above will open, revealing The Cave of No Return. The first room is dark, so obviously we must find some way to light it. Walk to the right and you'll see a light glowing up top. Walk towards it and pick up the glowing light to get the next item, the Lamp! As with any Lamp, this one will light a decent sized circle around you, allowing you to see what you could not before. Walk down and destroy the two pots here to get a red force gem. Do the same on the left side, and then walk to the top of the room and light the torches to open the door.
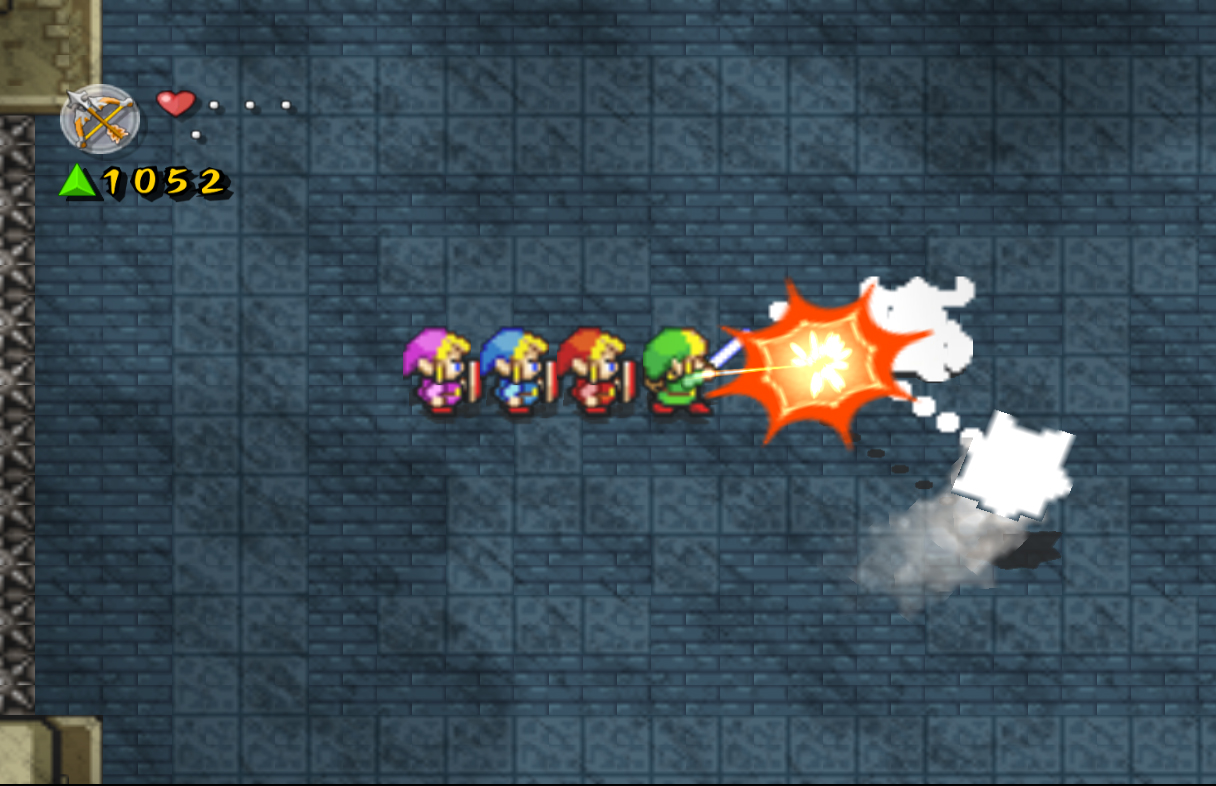
Shadow Link will appear once again in the next room, so create a Wide formation and defeat him with ease. Pick up the big green force gem he drops, then light the torch below to drop another 100 force gems from above. Continue along the path and light another torch to drop another 250 force gems! Continue walking and you'll soon be met with a wall of blocks. Push the second one from the right upwards to get to the next wall of blocks. This time, push the second one from the left upwards, and the third one from the left to the right. Defeat the rat and open the chest for another 100 force gems.
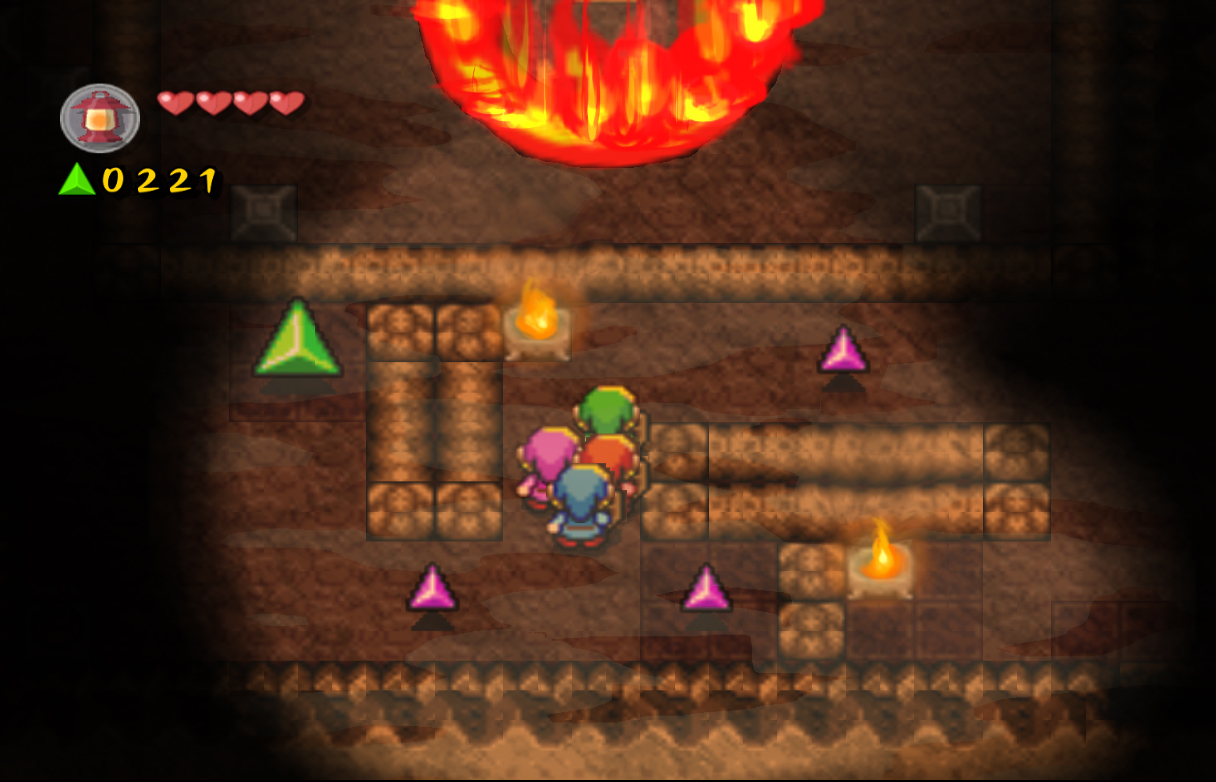
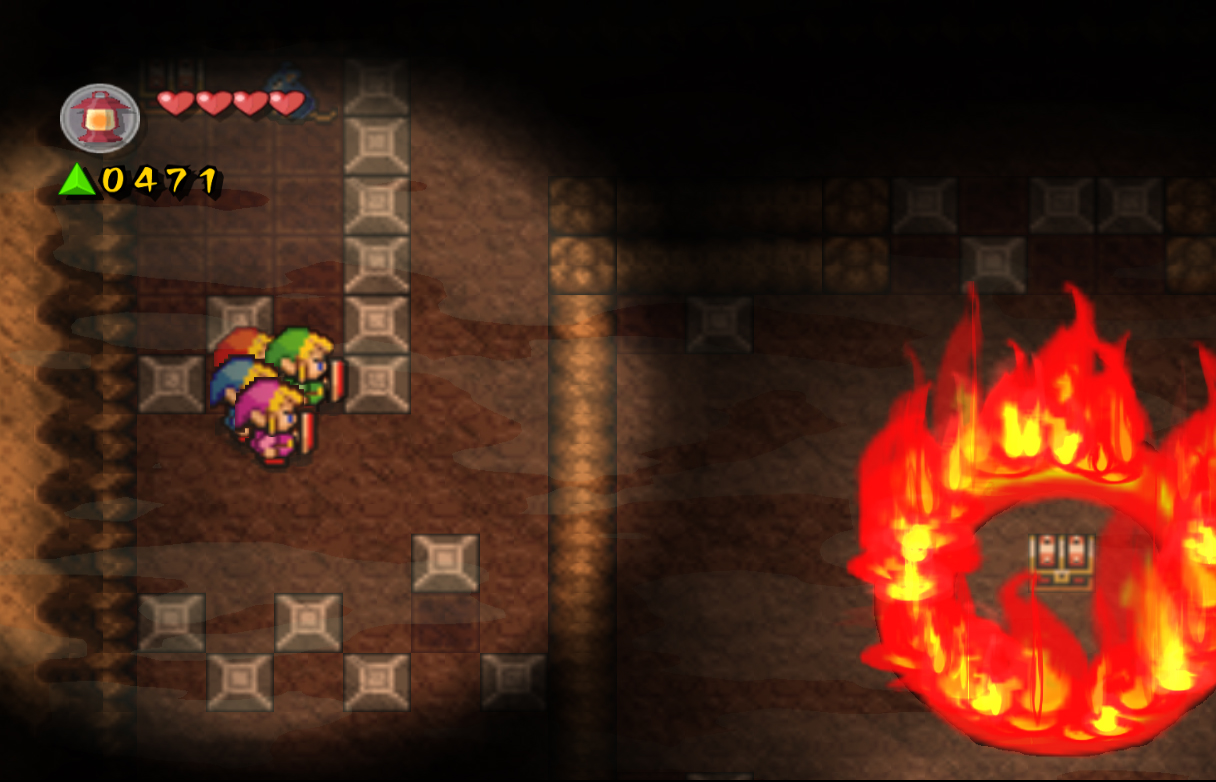
Keep walking until you're above the circle of fire. Here, push the first block from the right down, and the second block from the right to the left. Now, push the blocks on each corner of this area to their nearest wall, causing the flames to die down. Open the chest to get a key and use it on the door at the top right corner. In this room, make a Box formation, then walk up slightly, to the right, and down through the narrow path to find a block. Push as far as you can to the right, then break the pots below. Walk down, and kill the rat in the alcove to the left. Walk back right and push the next block to the right. Walk up to the top wall and open the treasure chest here for another 20 force gems. Walk to the right, then down, and push the next block down. Make your way to the right around the block, and the push the large block all the way down. Kill the rat if the block didn't, and then walk down and to the left. Break the pots here, then push the block to the right. Open the chest to get another small key. Backtrack to the large block, then use the key on the door along the right wall.
In this room, there are four different colored blocks scattered around. To complete the room, you have to use each link to move his specific colored block, slowly making your way across. Start off by singling out the green link and pushing his block right. Walk right and push the next green block to the right. Head and around the corner. Push the next green block left and open the chest to get another 100 force gems. Next, single out the purple link, and push his colored block along the left side over to the right. Now, push the next purple block nearby to the right. Single out the orange link now, and walk through the pathway now created. Push his orange block out of the way, walk around the blue one, and open the chest at the top to get another 100 force gems.
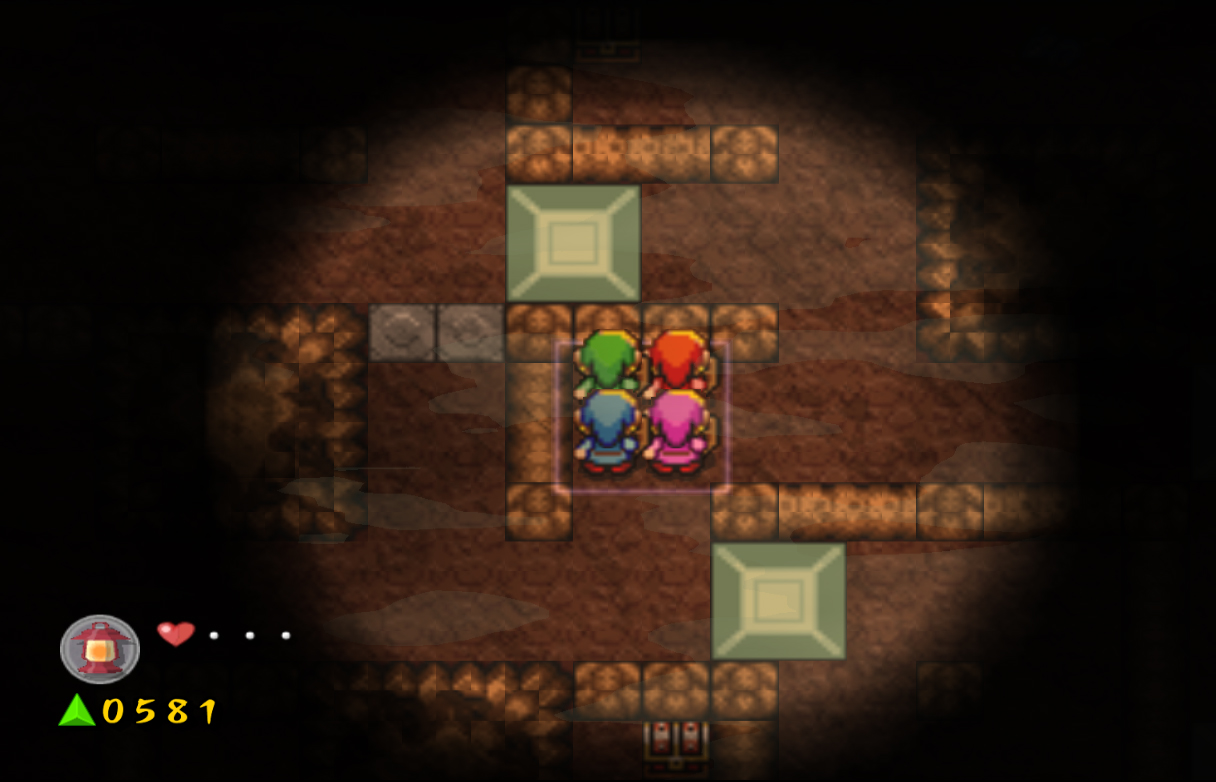
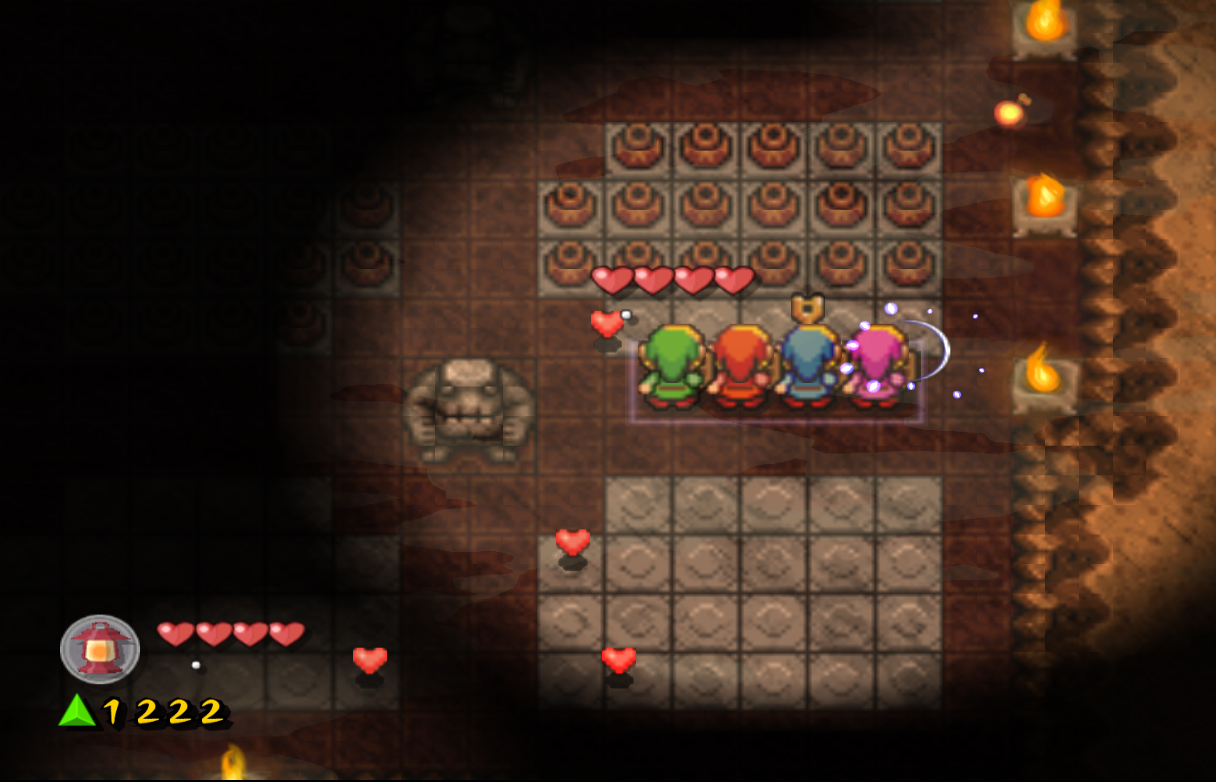
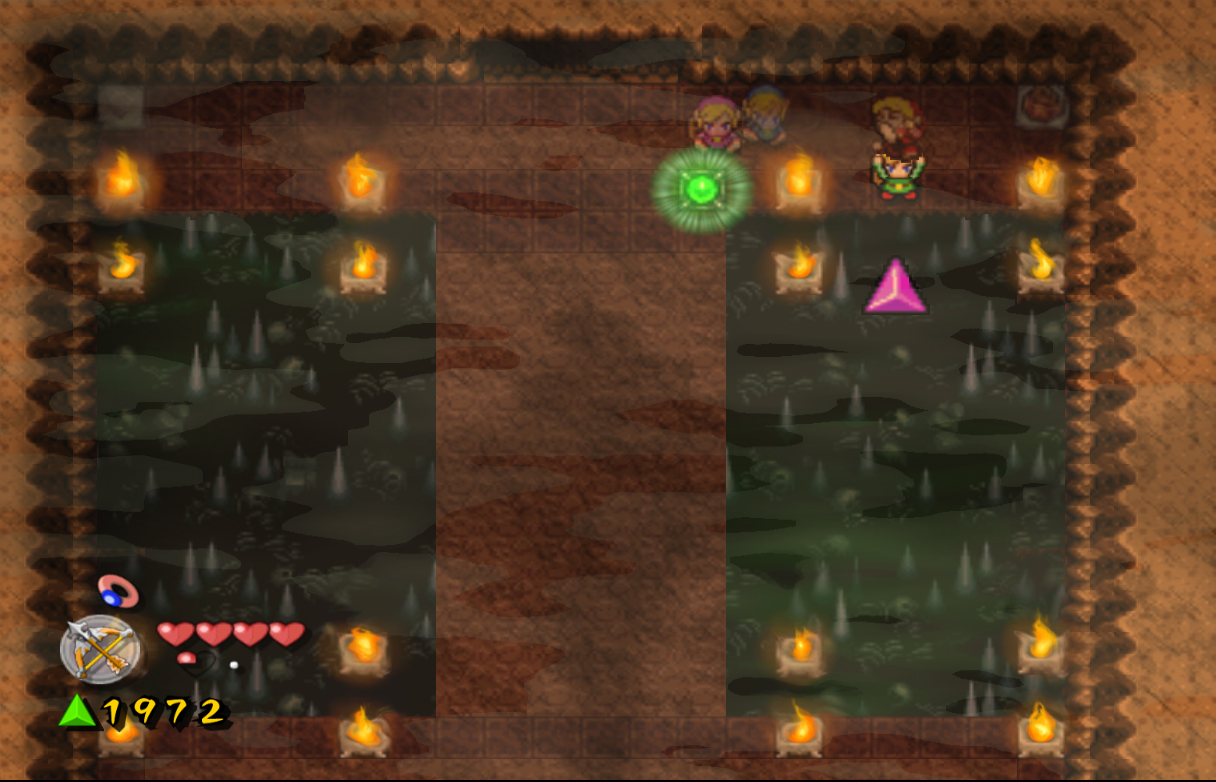
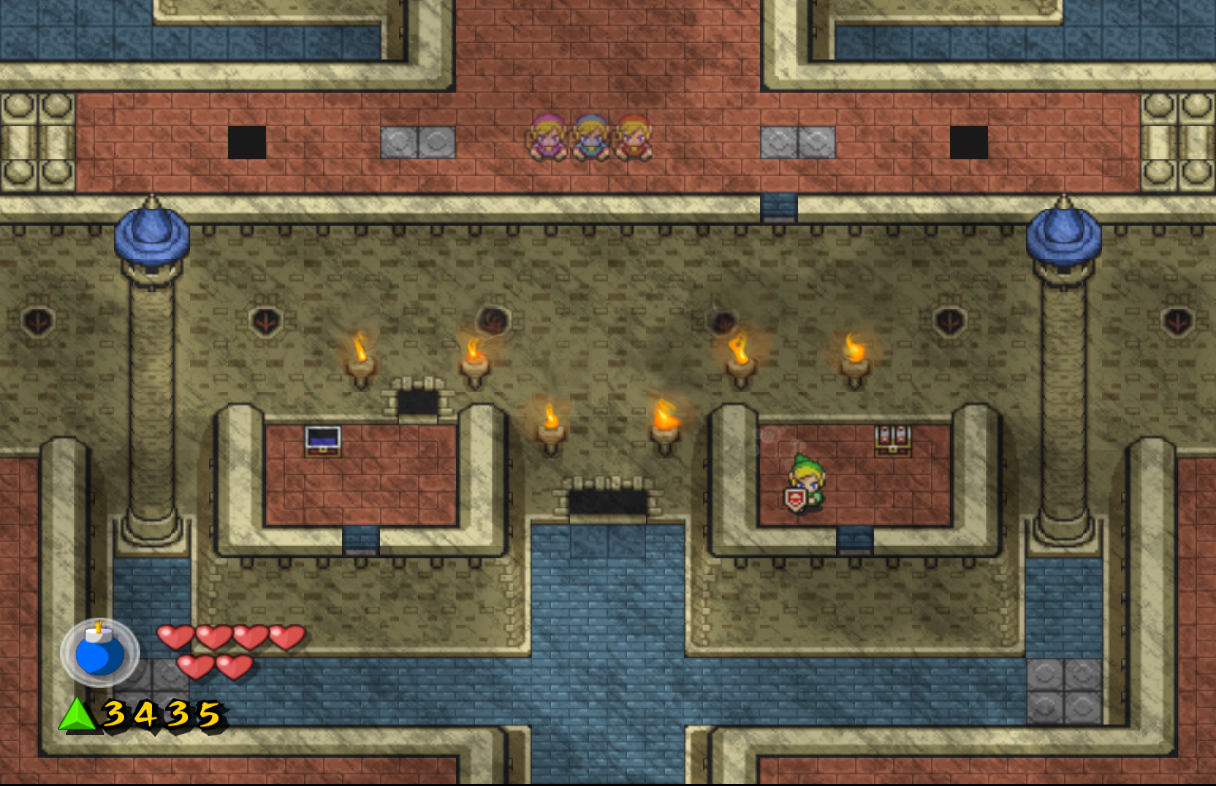
Next, bring all the links together, and walk right. Push the green block down, and walk around the pink one. Walk to the right around the next line of rock, and break the pot on the opposite side to make the rock next to it disappear. Walk right and open the chest to get a big red force gem, worth 200. Walk as far down as you can, then single out the orange link. Push his block left, then have blue link push his block down. Use purple link to push his block right, and then use green link to push his down. Light the torches nearby and enter through the door to reach the next room. There are four pits in this room, and if you step on them you will fall down to a lower level. I recommend falling through all four of them, since they will stay shown after, and its easy to make it back to the upper level. If you don't want to fall through the two left ones, at least fall through the right ones, as the top-right one has 100 force gems, and the bottom-right has a Heart Container. When you make it over to the right side, kill all the enemy Ropa. This will cause two doors to open, enter the one on the right side.
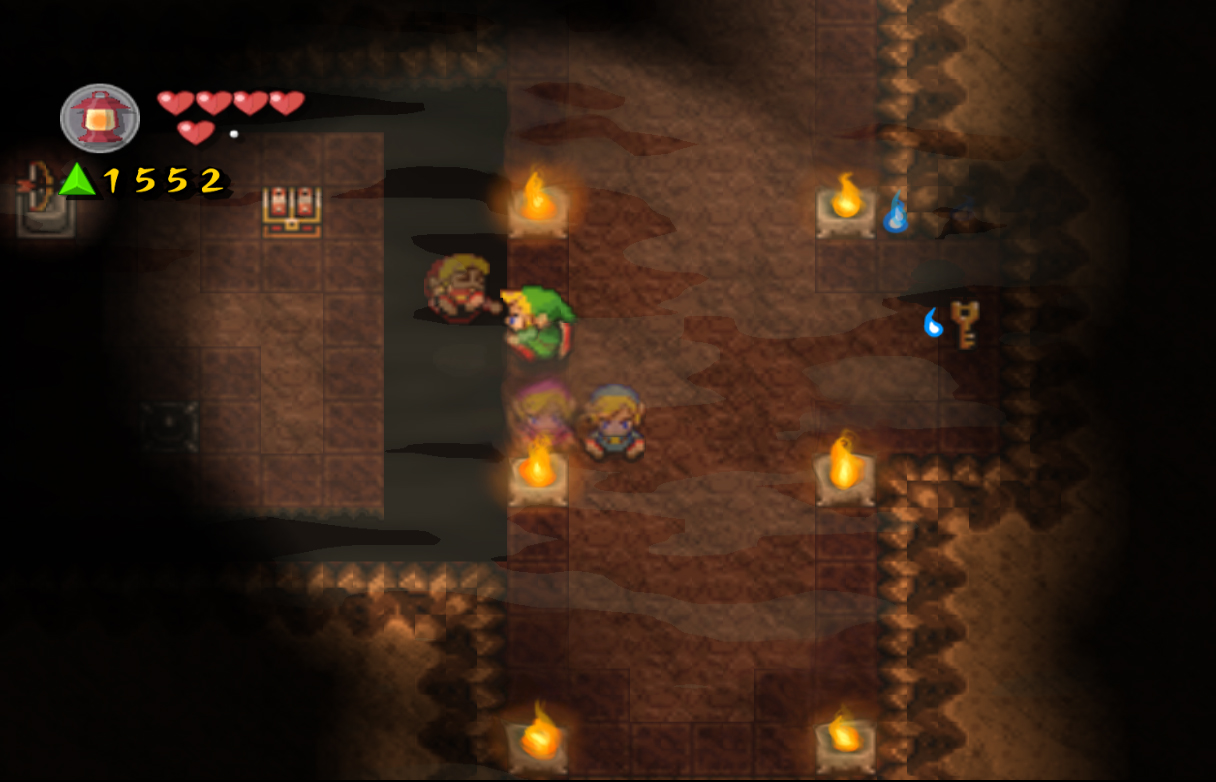
This room contains pots everywhere, and I would again recommend that you break all of them. Scattered across the room, and hidden beneath the pots are: a Heart Container, a force fairy, a Key to the next room, two force gem portals, and many other random force gems. (If you only want the key to the next room, break the middle row of pots on the far right side.) The only enemy in this room are torches along the walls that will shoot fireballs at you. You can dodge these or block them with your shield if necessary. To make this process go faster you can also make a wide formation to break more pots at once, but this will also leave you more open to fireball attacks. Once you have all the collectables, pick up the key and head back to the previous room. Head through the door at the top this time, and put down the key with A once you enter. On the right side, you will find an old man who has become a spirit. These guys are found all throughout the game, and they will give you helpful hints if you're not sure of what to do. Press X to separate the links, then use green link to lift another Link up. Stand next to the gap and throw him across to the other side with R. Single him out, then bring all the links together on the left side. Open the chest here to find the Blue Bracelet, then grab the Bow and Arrow nearby. With the Bow and Arrow you can now shoot arrows at various switches, enemies, or other things that need to be hit from a distance. Hit the black switch nearby to bridge the gap, then pick up the key again and open the door at the top of the room.
Most of this room is dark, with two rows of four torches in front of you. The objective is to stand in front of each lit torch, and shoot an arrow forward to light all the unlit torches across the gap. Do this for all four torches, which will reveal a horde of Keese flying above the gap. The easiest way to defeat them is to create a Wide formation and shoot arrows across the gap. Defeat all of them, then shoot an arrow at the switch across the gap to create a bridge. Collect the many force gems that fall down, then walk to the top left of the screen. Single out green link, then pick up another link. Throw him across the gap at the force gem, collecting another 100 force gems. Do the same for the right side, but try to collect it when it turns purple, which will give you 300 force gems instead of 100. When you're done collecting, enter the next room.
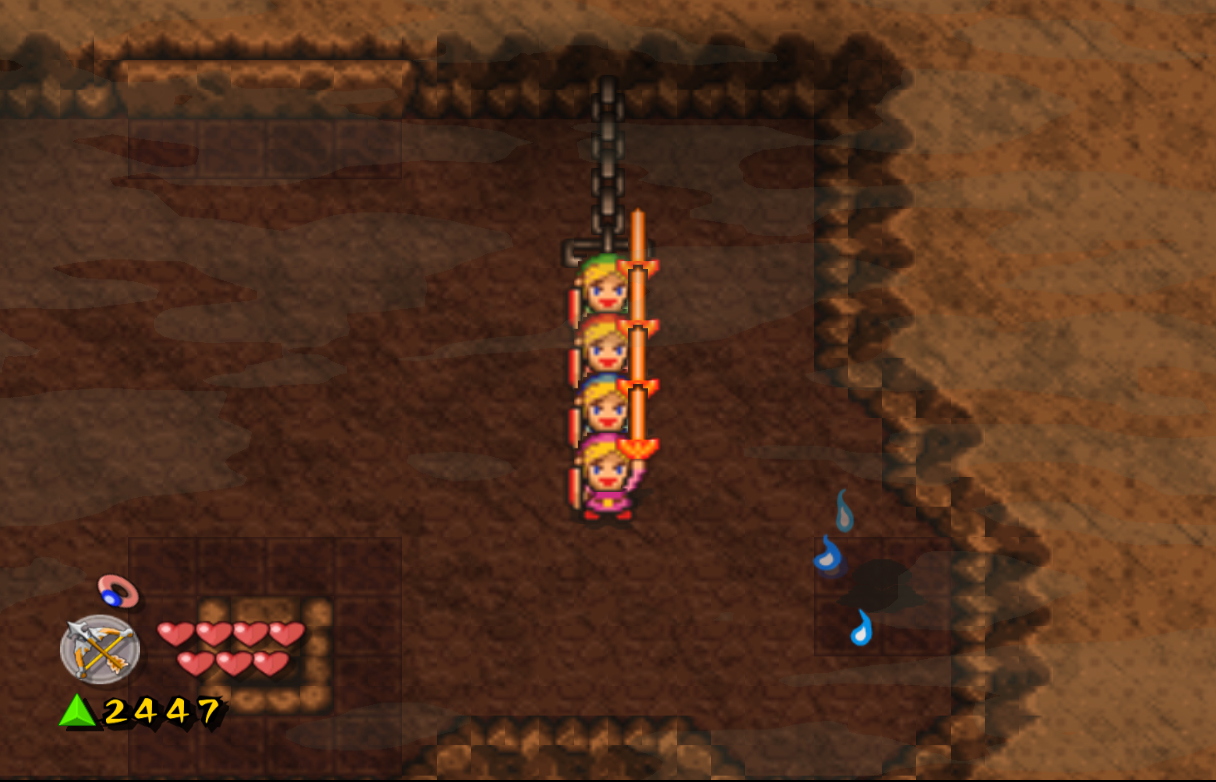
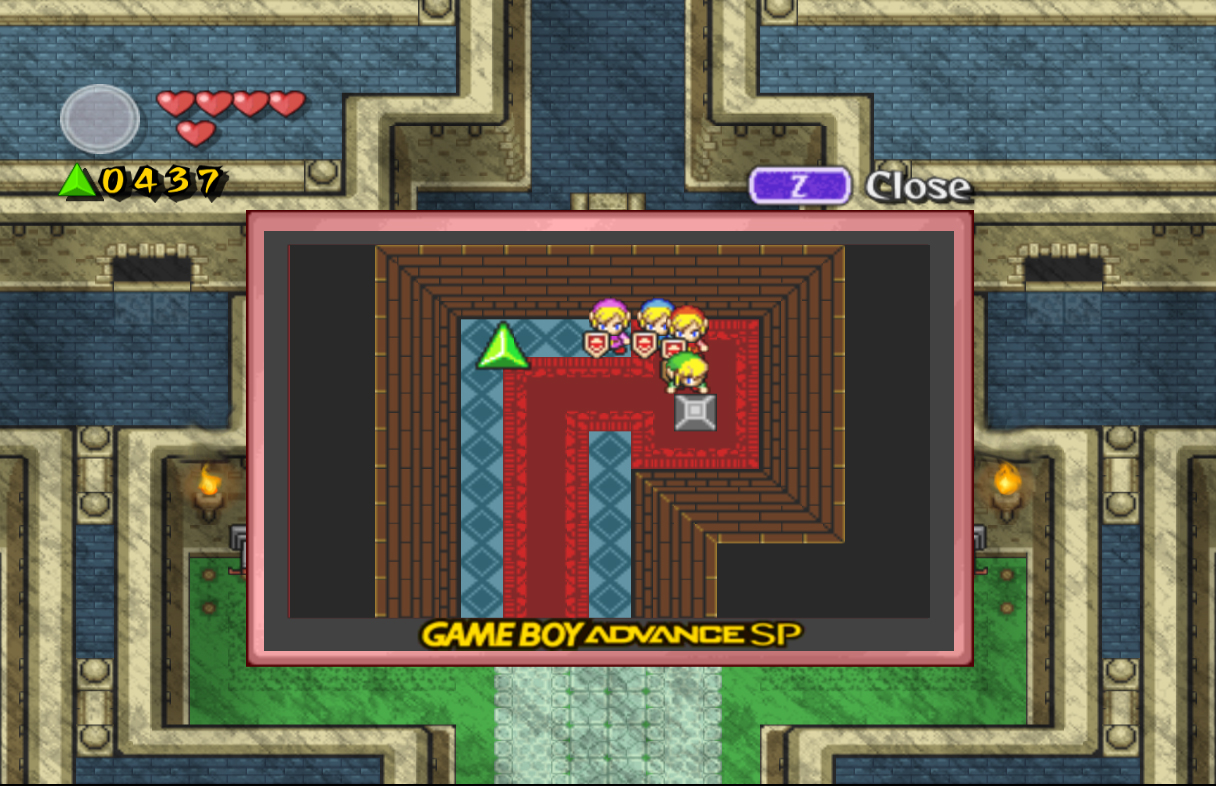
Walk down the stairs and you'll enter a puzzling underground area. If you don't take the correct path here, you will wander around and reappear in the same room until you do. The correct path is: Right, Left, Right. Along this path you will also find many chests containing force gems. Once you make it out, speak with another old man on the right, who will tell you to work as a team to pull the long lever. There are actually two levers in this room, so create a Long formation and pull both. The one on the right will open the door above, and the one on the left will give you your third Heart Container. Walk through the door above to meet the stage boss: Shadow Link.
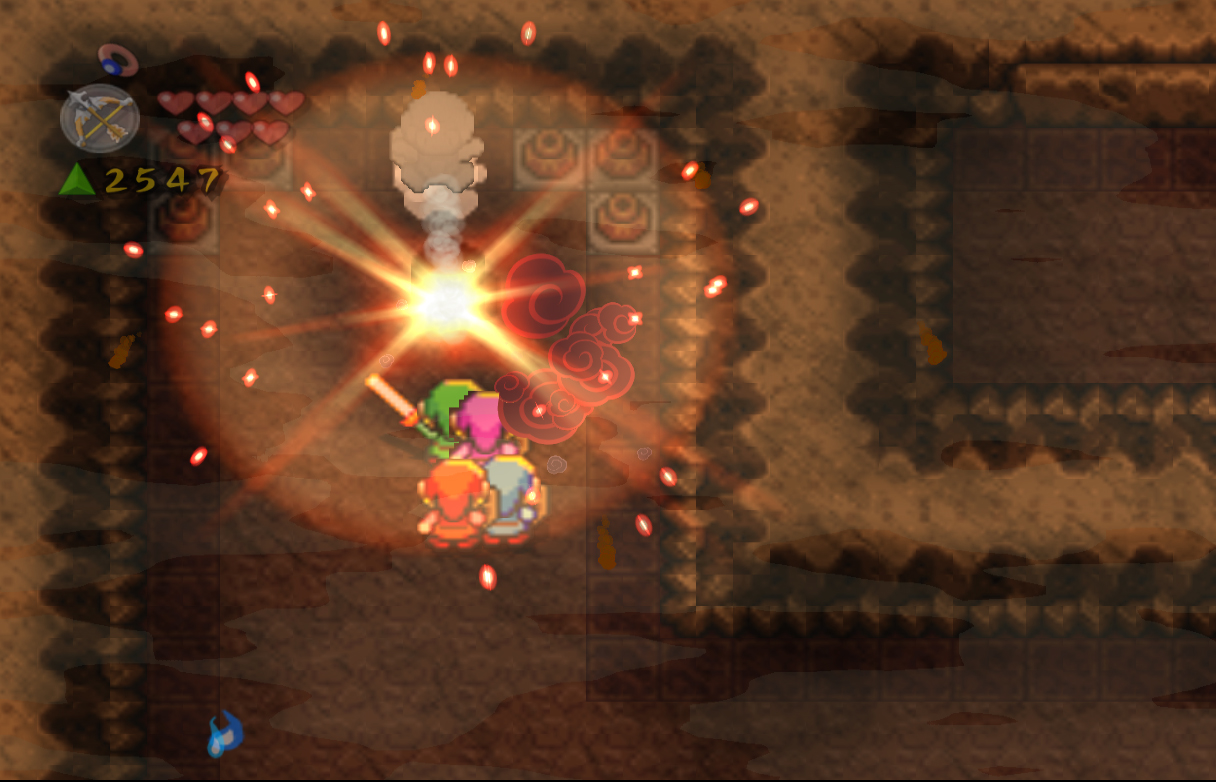
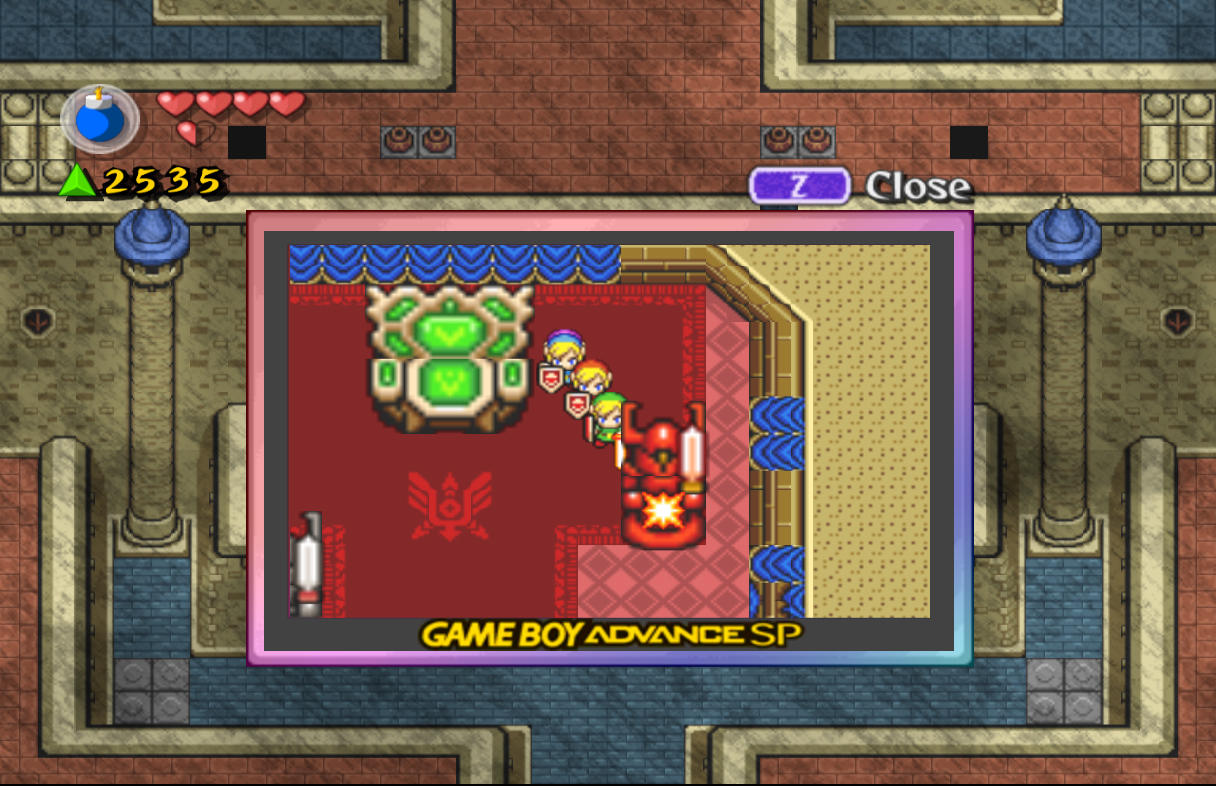
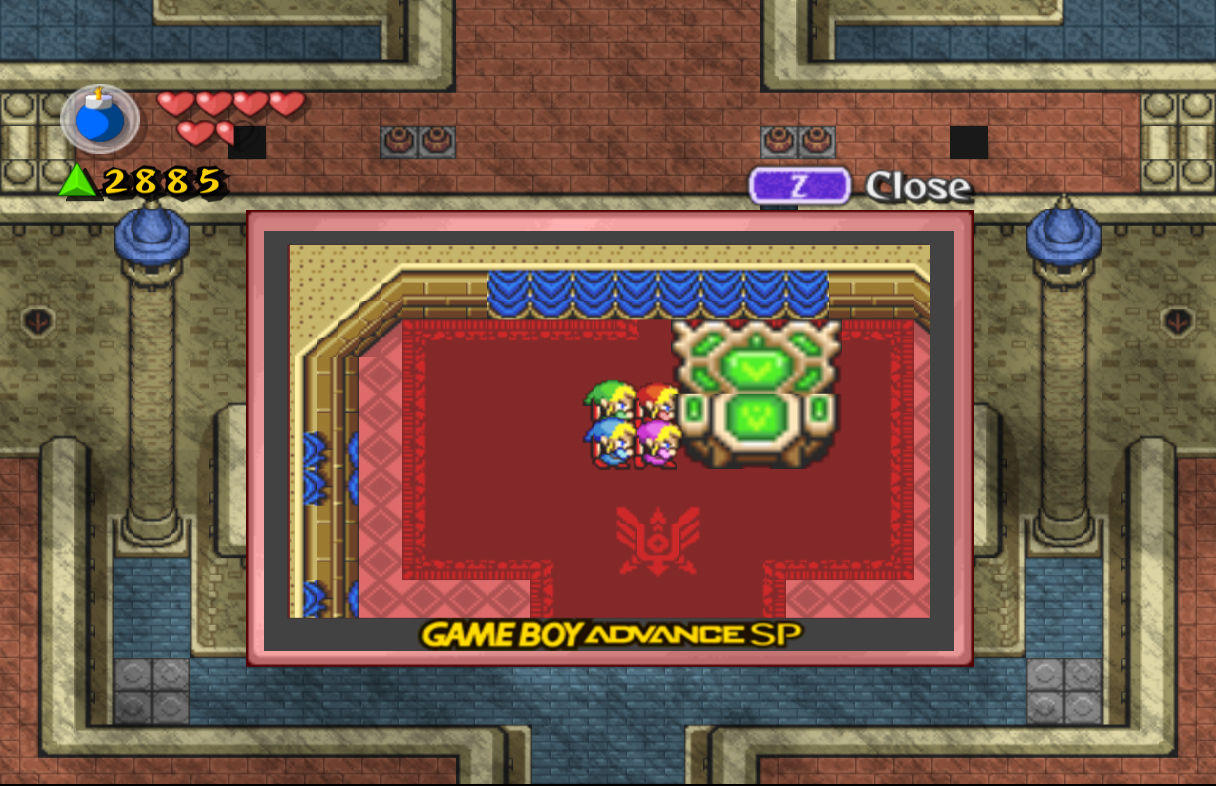
Shadow Link will start off by throwing bombs at you. You can avoid them easily and work on trying to attack him. His defenses are average, and you can get a couple sword slashes in every now and then. Once you get a couple of hits on him, he will transform into one of the colored links. Whatever color he transforms into, you can only hit him with that color. Ex: If he turns to purple, only purple link can hit him. Continue this process for a couple more hits and Shadow Link will be defeated, leaving behind another 100 force gems. Walk through the door at the top to find the eye barriers. Destroy them and complete the stage. |
 Lamp Lamp
The Lamp is an item that acts much like a Lamp in real life. It can be used to light torches found in caves. [more]  Rat Rat
Rats are pesky enemies that will dart around the floor to or away from you. They often come in groups and can be an annoyance, but are still relatively easy to defeat. [more] Heart Container #1
The first Heart Container in this stage can be found in the room with the four pits. Fall through the pit at the bottom-right and it will lead you to a chest containing a Heart Container. [more]  Anti-Fairy Anti-Fairy
Anti-Fairies, also known as Bubbles, are pink creatures that will bounce around the room. They are impossible to defeat, and must simply be avoided in order to avoid damage. [more]  Ropa Ropa
Ropa are tentacled creatures that inhibit a few locations in Four Swords Adventures. They will bounce around the room, often spraying water out the top of their bodies. They only take a couple of hits to defeat, but often appear in large groups. [more] Heart Container #2
The second Heart Container in this stage can be found in the room with the rows of pots and torches. There is a switch located under a pot in the middle-top area of pots. Step on it and a chest will appear to the southeast; open it for the Heart Container. [more]  Torch Torch
In Four Swords Adventures, torches that are already lit will sometimes shoot out fireballs. These enemy Torches will constantly attack you and cannot be defeated. They must simply be avoided or blocked with a shield in order to avoid damage. [more]  Old Man Old Man
Old Men return in Four Swords Adventures as spirits that will often give the Links advice on where to go next or how to complete a puzzle. Like the originally Legend of Zelda, the Old Men will give the advice cryptically, and will not directly explain what to do. Not all Old Men give advice, sometimes they will simply say something bizaare. [more] Blue Bracelet
The Blue Bracelet can be found in the dark room with the Old Man. Use one of the Links to pick up another and throw him across the gap to the left. Open the chest on the other side for the Blue Bracelet. [more]  Bow Bow
The Bow is a projectile weapon that can be used to shoot eye switches or enemies at a distance. When powered up to the level 2 Bow, it will shoot out charged up arrows. [more]  Keese Keese
Keese are bat-like creatures that tend to hang out in caves or other dark areas. They usually appear in large numbers and floating across gaps, at which point they can only be defeated with the Bow. They are rather pesky enemies, but can be defeated with ease. [more] 
 Mage Mage
Mages in Four Swords Adventures are cloaked women that are supporters of Vaati. They often give Link thanks for releasing him, and will aide him by giving him Moon Pearls, a book, or Medallions in order to defeat enemies. [more] Heart Container #3
The third Heart Container in this stage can be found in the room before Shadow Link after making your way out of the maze near the end of the stage. Use all four Links to pull the level on the left side revealing a chest containing the Heart Container. [more] Shadow Link
Shadow Link is back once again, this time as the boss of the Cave of No Return. He's a little more powerful this time, but still nothing as a boss.
Shadow Link will start off by throwing bombs at you. You can avoid them easily and work on trying to attack him. His defenses are average, and you can get a couple sword slashes in every now and then. Once you get a couple of hits on him, he will transform into one of the colored links. Whatever color he transforms into, you can only hit him with that color. Ex: If he turns to purple, only purple link can hit him. Continue this process for a couple more hits and Shadow Link will be defeated. [more] | |||||||||||||||||||


1.4 Hyrule Castle
|
|
|
|
We've finally made it to Hyrule Castle, the central power of Hyrule. Walk forward and you'll see a sign on the left side. This is "Tingle Times", a diary written by Tingle about his many thoughts and adventures. This one tells of a Fairy who went into the castle but never came out. If we happen to find her along our journey through the Castle, he asks that we save her from her prison. You'll see many more of these diaries and sign posts throughout the rest of the game, so get used to them.
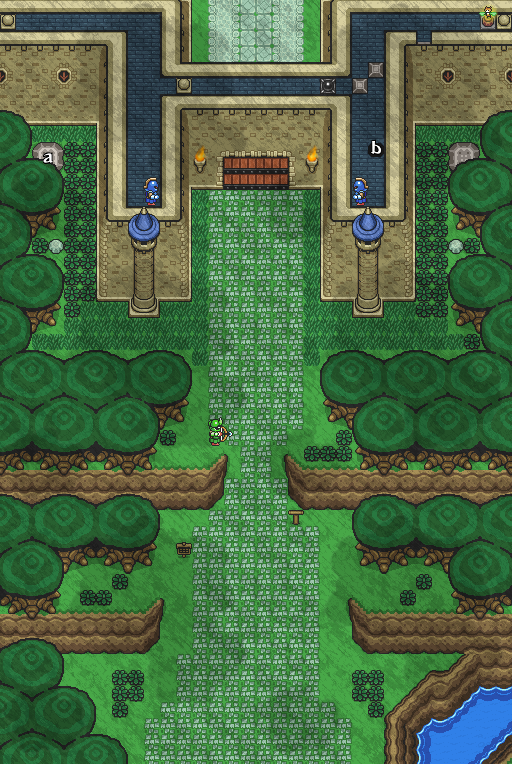
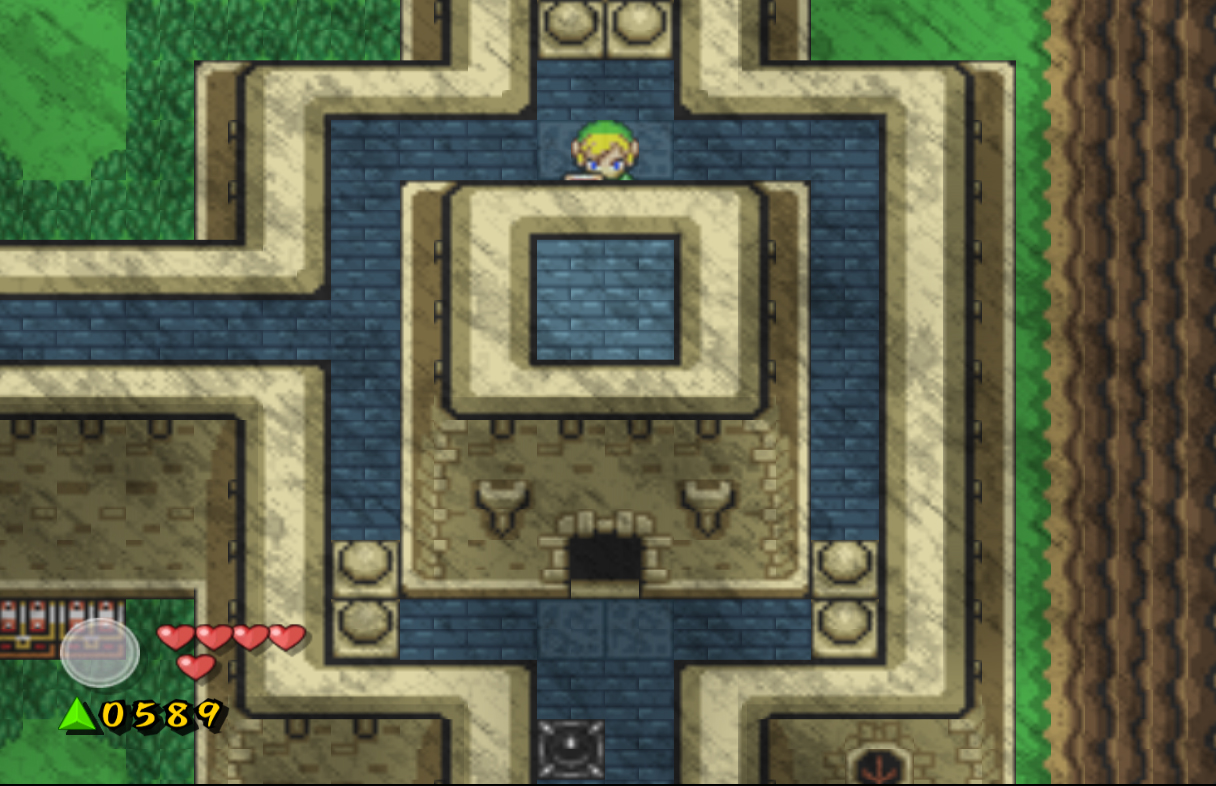
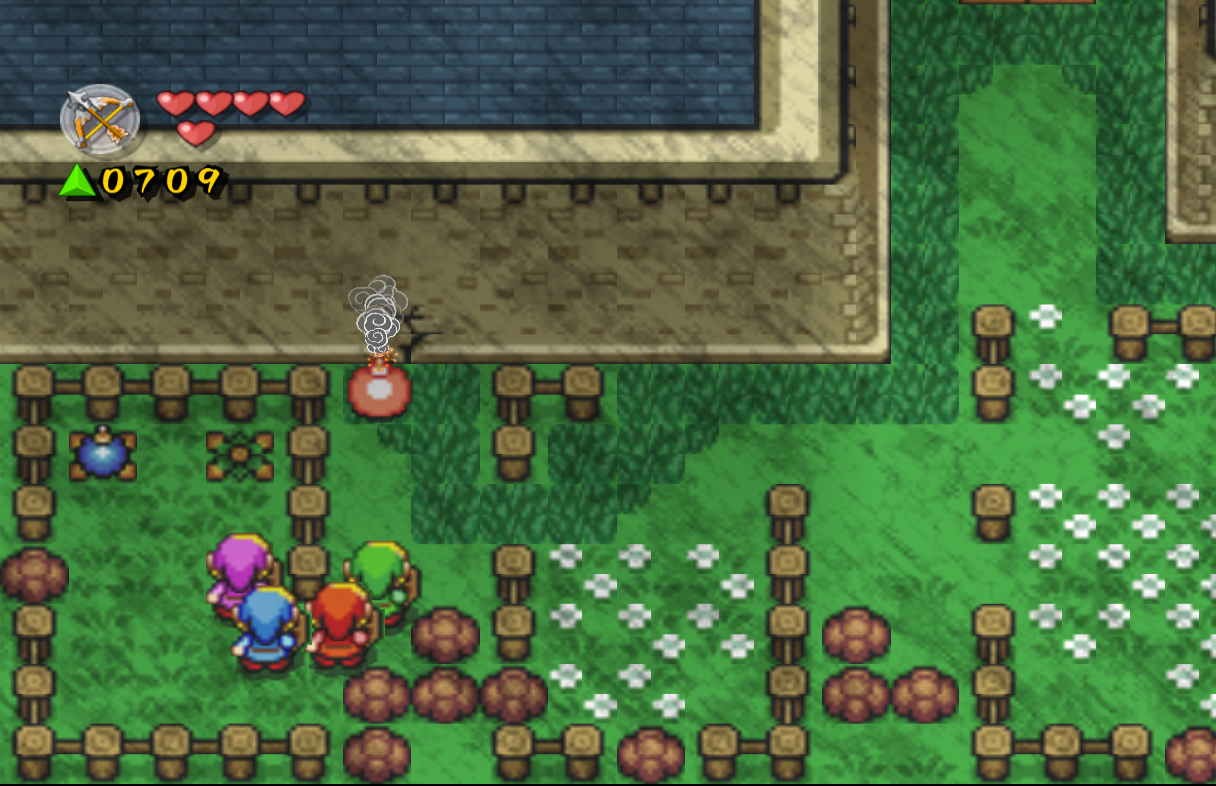
On the right side, you'll see a post. Walk towards it and Kaepora Gaebora will fly over to it. He tells you that this Castle holds a great fiend who is leeching power away from the land. To save the maidens, we must face this foe and many others like him. By now, a Castle Guard should have appeared at the top of the screen. These guys are a little more difficult to defeat, but still only take three hits to kill. Defeat him and move up to the next screen. On top of the castle walls you will see two Bomb Knights. These enemies will throw bombs at you whenever they spot you, so dodge them or you will take a few hearts of damage. You can't defeat them for now, but if you're feeling daring, you can pick up their bombs and throw them onto the grass to burn it away and collect force gems. Whatever you do, walk to the left side and all the way to the back. Lift the large rock and walk down the staircase. Walk down the pathway and climb up the first ladder to get recovery hearts if needed. Continue along and open the first chest to get a red force gem. Walk up the next ladder and break the three pots on the right side. Separate the links, then place one on the right side switch. Use another to throw a link to the left side, and have him break these pots and step on another switch to create a bridge. Collect all the links again, then walk across the bridge and up the next ladder. Open the next chest for a purple force gem, and then head up the last ladder to get back outside.
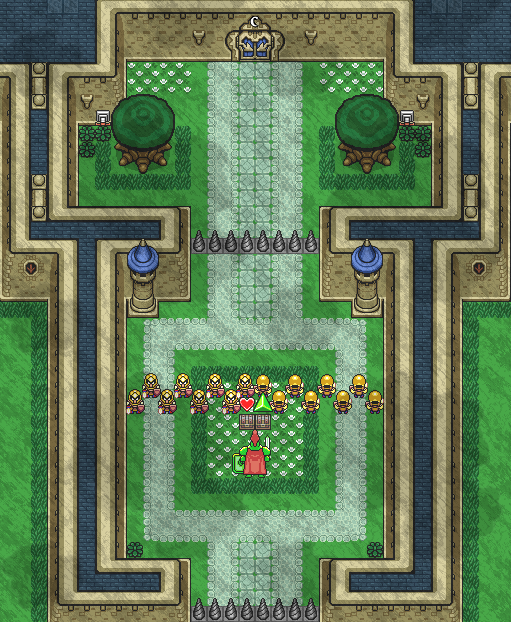
Quickly swipe at the Bomb Knight to kill him, then walk up and push the right side block up. Walk above the left block and push it down, then hit the switch to open the gate leading into the castle courtyard. Walk up and to the right. Lift up the pot to collect a force fairy, then jump off the castle from the small ledge. Enter the castle to face the dungeon mini-boss: Chief Solider. Yes, Chief Solider appears once again. This time he's green, and he's surrounded by a lot more enemies. Deal with them in any formation or way you choose to, then assault the Chief. He thrusts just like the one from Lake Hylia, so when he does, use the opportunity to attack him. Once he's defeated, collect the force gem he leaves behind, then open the two chests to get another force gem and a Heart Container. Continue up to reach the next screen.
This screen has two levers, one on each side. The left one will cause two Castle Guards to appear, so unless you want a fight, ignore that one. The one on the right side opens the door leading into the castle, so use a long formation to pull it out, and enter the castle.
Inside, defeat the two Castle Guards, then enter the room on the right side. Walk all the way north to the end of the pathway, then push the block down to cause a big green force gem to appear. Walk back out and into the main room. Walk up the stairs to the second floor, then take the left side. Follow the straightforward pathway until you reach a large, closed off building. Walk around the left side and push the lone block up to open the gate. Walk inside and grab the Bow and Arrow on the left side. Open the chests on the right to get the Blue Bracelet and another 100 force gems. Before you step on the switches, walk out the back door and collect the few force gems. Now, make a wide formation and step on the switches, dropping a big blue force gem, worth 150.
With the left side finished, head all the way back inside the Castle and into the main room. This time, take the right-upper side. Follow another straightforward pathway until you reach another building. This one is open, but without a visible or reachable entrance. There is actually a back door to this building, so walk down when you reach the middle of the building to get inside. Break the pots inside, then shoot an arrow out the front door, hopefully hitting the switch outside. This is will create a bridge and also poof away the barriers outside. Drop down to the lower grass area to the left.
Here you can use a bomb to set the grass on fire and collect a bunch of force gems. Walk up and into the alcove above to find two chests, one with 20 force gems and another with 100 force gems. Walk to the left side and you'll see a crack in the wall, so place a bomb down and enter the blown up entrance. Climb up the ladder and jump into the cannon nearby. Shoot up and hold left, and you'll fall into an alcove with a chest containing a small key. Fall down, hold left again, and jump into the next cannon. Shoot out, hold left once more, and you'll land on the castle again. Jump off the ledge and work your way back inside to the main room, then open the locked door at the top.
Defeat the lone Keese in this narrow hallway, then walk up some more stairs to get back outside. Walk forward and you'll meet three Castle Guards. This might look easy at first, but once you defeat them, a Ball and Chain Trooper will come out. This guy wields a huge Ball and Chain, and if you aren't careful, it will do some serious damage if it hits you. The trick to attacking is to wait just out of the ball's reach, then run in and quickly attack after the ball passes you. Hopefully, you will be able to attack and run back out of the ball's reach before it comes back around and hits you. Once he's been defeated, more Castle Guards will start pouring in. The best way to defeat these guys is to make a wide formation, then use either the Bow and Arrow or Bombs to damage them with all four links. Once they are defeated, collect the force gems that fall down, then walk to the next screen.
You will find more Bomb Knights here, so ignore them and head to the left side. Shadow Link is here once again, and this time he is a little tricky. There is a pit right in the middle of this pathway, so hitting him can be a challenge. The best way I've found is to create a wide formation and walk along the bottom side. When he jumps over, quickly run up and hit him. If you do happen to fall in the pit you can quickly shoot yourself back out. On the left side you'll find four switches. Use a box or cross formation to hit them at the same time, causing part of the wall to explode. Walk through the pathway, but ignore the door for now. Instead, break the pots to the left, then push one of the statues up and on the star-shaped switch at the top right. This will cause a panel to retract, allowing light into the room below it. Head back right and enter the door we passed before. Break the pot here and push the block out of the way to get through. Walk up the stairs but don't step on the left switch, this will only cause Castle Guards to appear. Instead, break the pots on the right and step on the switch there to open the door. Inside you will find a small, green Zora, which is actually half of the Queen of Fairies Tingle talked about at the beginning of the level. The other half is located on the other side of the Castle. With this half, head all the way back out to the Bomb Knights.
This time head to the right side. Shadow Link will come back once again, and this time he has a hammer. I'd advise simply waiting until he disappears, as there's no way you can kill him. When he's gone, defeat the Castle Guards, then use a wide formation to pull down the lever. This will blow up another wall, so enter the now accessible door. Inside watch out for a new enemy, Blade Traps. These enemies will wait until you get close, then quickly try to ram you with their blades. You can trick them by slowly walking up, which will cause them to attack. You can now walk past them as they retreat. Pick up the Bombs here, then enter the northern door. Bomb the wall on the right side, then enter and bomb the next wall. The second half of the Queen of Fairies is located here, so head all the way back out to the Bomb Knights. This will initiate a cool scene where the Queen of Fairies will destroy all the enemies, along with the barrier. When she disappears head inside the Castle.
Walk forward and kill the Castle Guard roaming around. Walk to the left side, then slash the top left blue curtain to reveal a hidden passageway. Head up the next set of stairs, then defeat another Castle Guard. Push the lone block up to reveal a big green force gem. Drop down and collect it, then continue to the next room. Outside, place two of the links on the two switches to take away some of the barrier nearby. Walk all the way back to the main room and slash the top right curtain to reveal another entrance. The process on this side is the exact same as on the left side. Defeat the Guard, push the block up, grab the force gem, walk outside, and step on the switches. This will completely unblock our path, so head up a screen. Walk to the left and Castle Guards will start pouring in from where we came. Defeat them however you want, then break the pots on both sides if you choose to. Enter the now open door, and you'll appear back inside the Castle.
Walk up the stairs ahead, then along then lower left pathway. Grab the blue force gem, then walk outside and open the chest to get another 100 force gems. Walk back inside, then walk over to the right side and grab another big green force gem. Walk back near the stairs, then slash the first curtain along the left wall. Enter the alcove to find a chest containing another 100 force gems. Walk back out, then head up. If you go near the large statue here, it will turn into an Armos. These large enemies look tough, but they can be defeated with a few sword slashes. Once he's defeated, slash the top right curtain to find another alcove containing a Heart Container. Walk back out, then use a box formation to push the large chair to the right. Slash at the middle of the curtains behind it to reveal another doorway. Inside use the cannon on the right side. Shoot up and collect the big green force gem floating across, as well as the blue one in the middle. Use the second cannon to get up the next area.
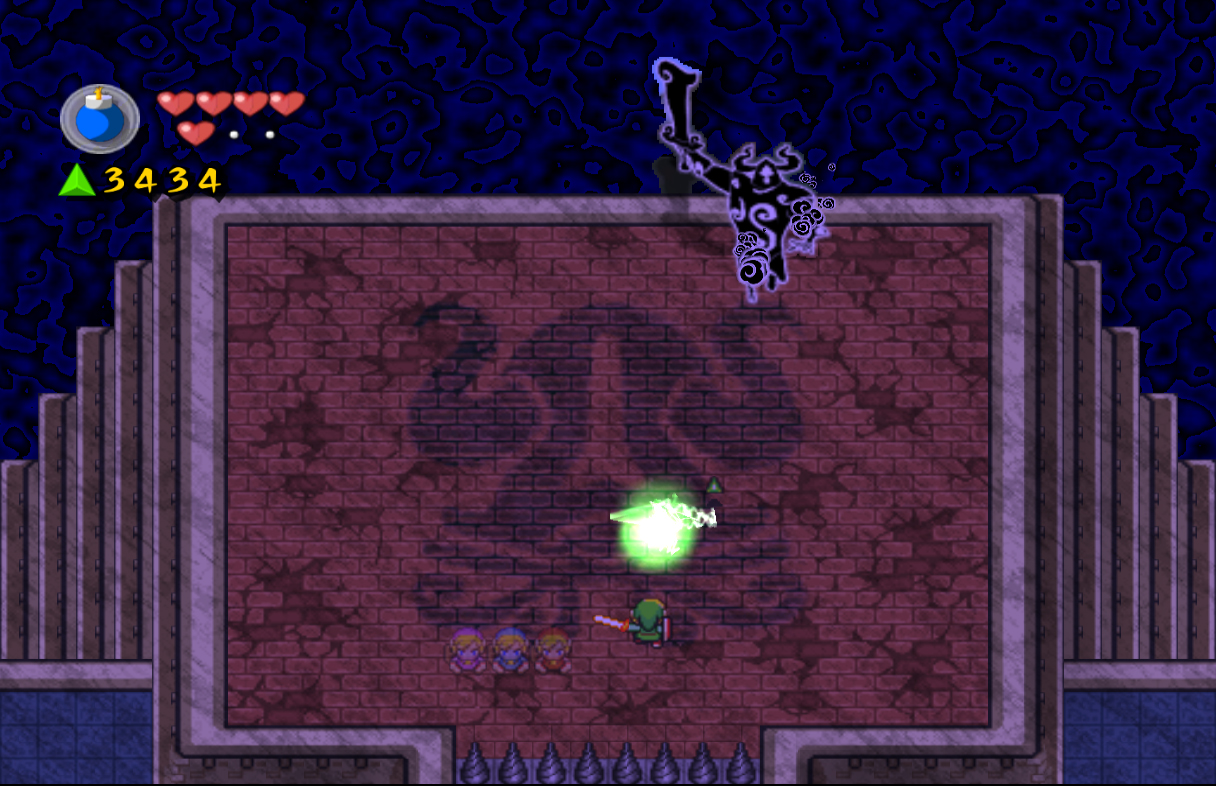
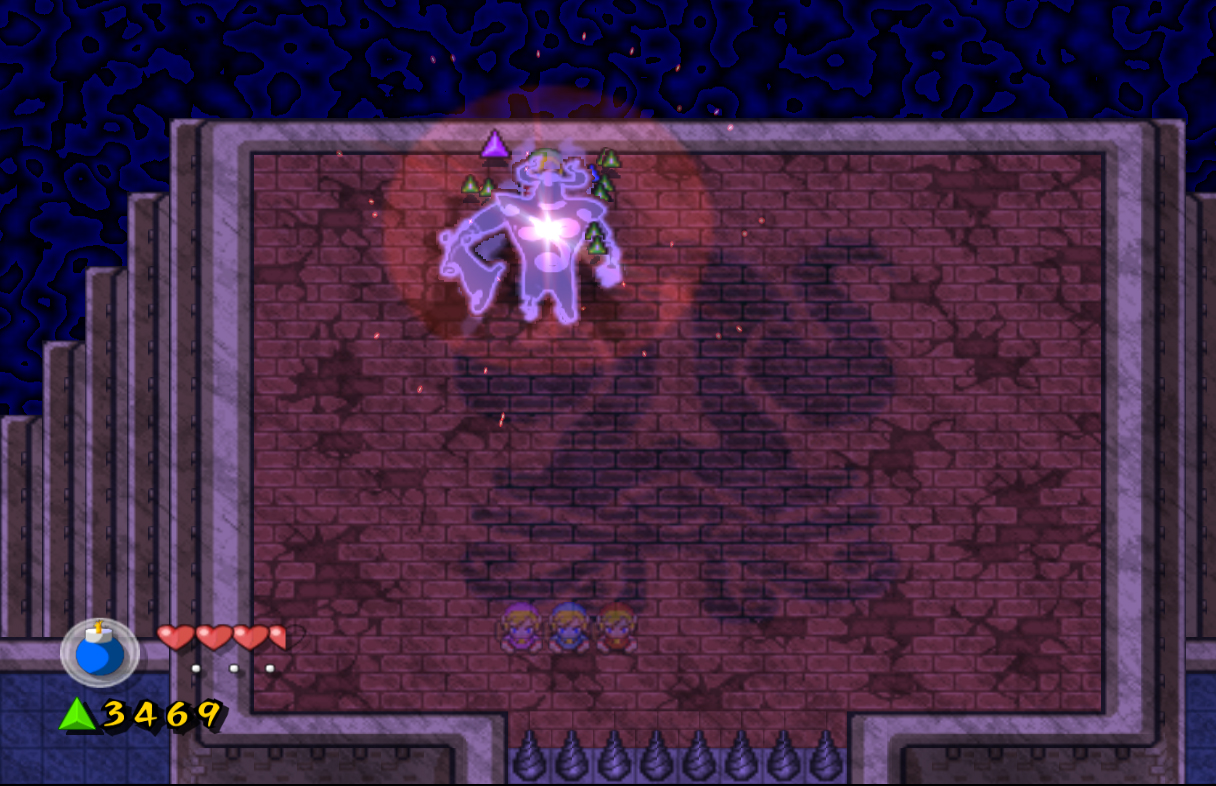
Use the third cannon to get the next green gem floating across and also the red one in the middle. Use the last cannon to make it all the way to the top. Break the pots, then separate the links. Use one to jump off the ledge on the right and down to the chest containing another Heart Container. Now, single out a different link, and bring them back together up top. When you're ready, head up to face the level and stage boss: Phantom Ganon. Phantom Ganon is a mini-boss that has appeared in many other Zelda games, and is a replica of the series boss, Ganon. He has two main attacks: a sword thrust, and his ball of energy. The sword thrust is easily dodge-able, but if he hits you you'll drop a fair amount of force gems. His ball of energy attack is the only way to defeat him. When he shoots one at you, hit it back at him with your sword. This will initiate a sort of ping-pong game, where you will hit the ball back and forth until one of you misses. This is best done by creating a wide formation to give yourself more coverage if the ball goes off in another direction. Once he misses, run up to him and slash away until he gets back up. Repeat the process until he has been defeated.
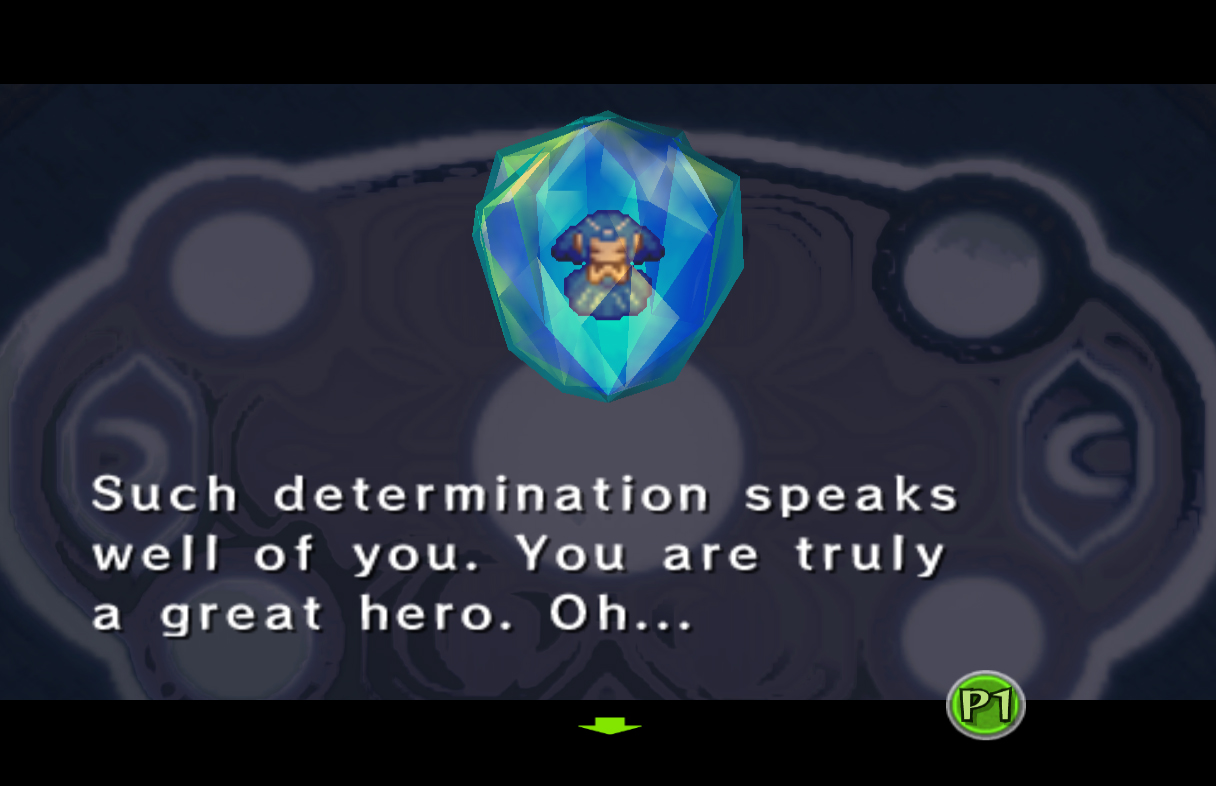
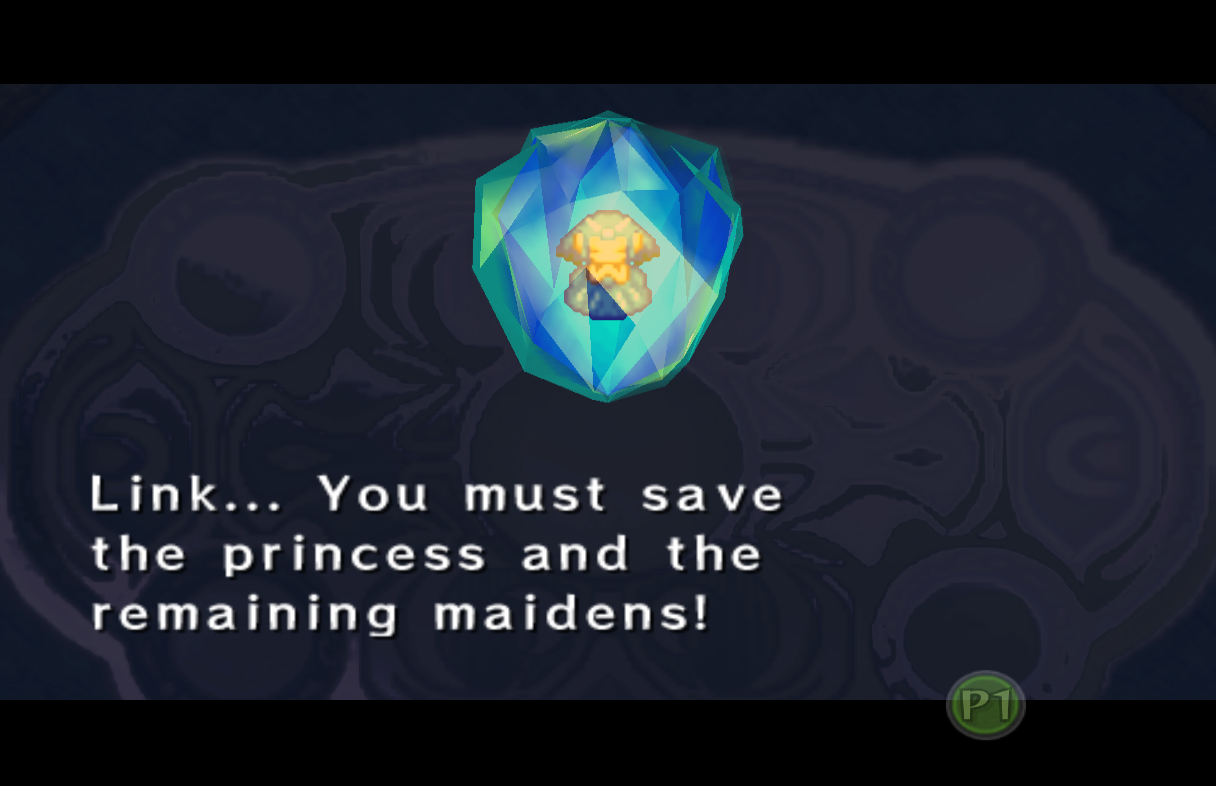
Light will return to the area, and many force gems will drop from the sky. Collect them all and head down the new stairs. You'll find more eye barriers to break. This will reveal the Blue Maiden, one of the captured Maidens from the beginning of the game. She is in charge of Eastern Hyrule, the land we will explore in the next chapter. She will repeat most of what we know, and let us continue on our way. Enter the portals, collect your fairies and complete the level.
|
 Bomb Knight Bomb Knight
A Bomb Knight is a specific type of Soldier that can be found almost exclusively on top of Hyrule Castle's walls. They will stand there and throw bombs at intruders, impervious to damage unless Link can make his way to the Bomb Knight's location. If he does, the Bomb Knights are easy to defeat. [more] 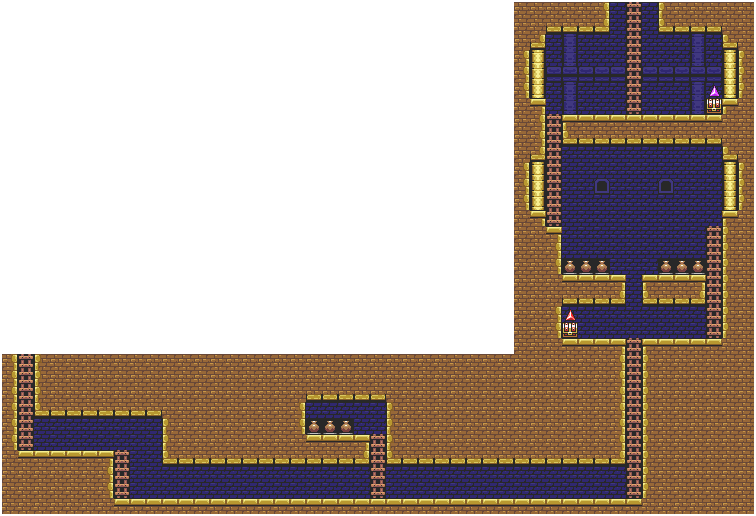
 Heart Container #1
The first Heart Container in this stage can be found inside the courtyard of Hyrule Castle. Defeat the Chief Soldier and the enemies that surround him, then open the chests that appear for force gems and the Heart Container. [more] 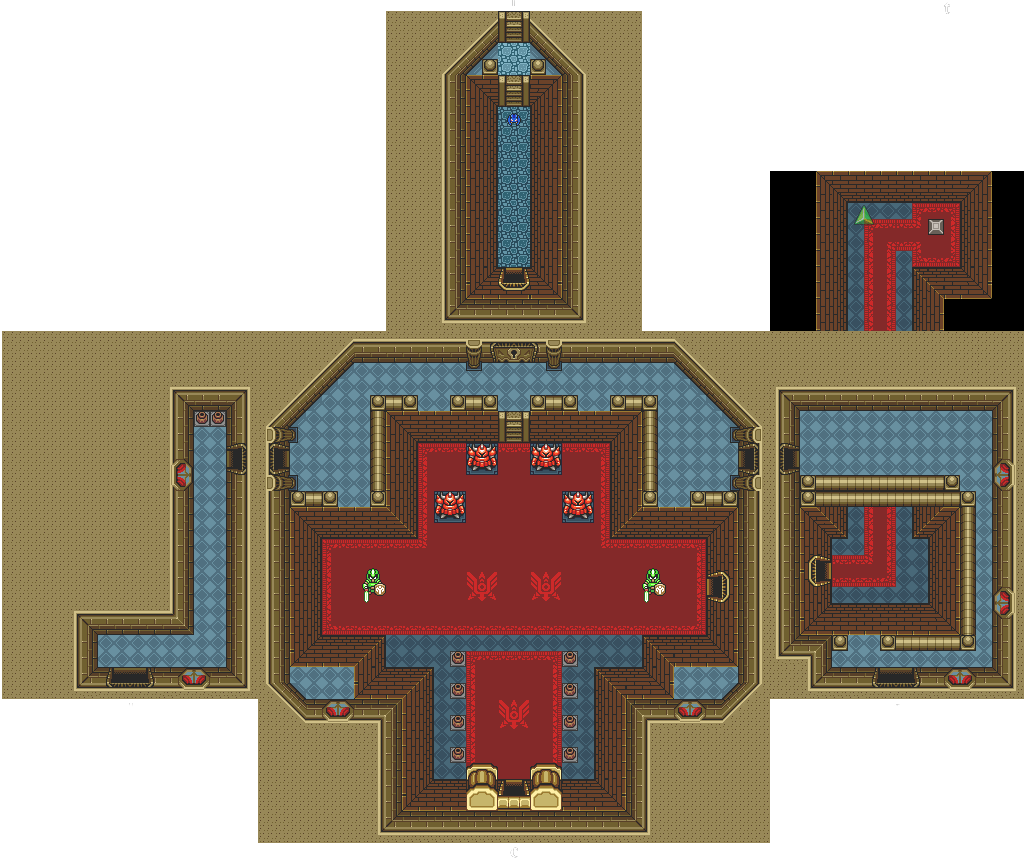
 Blue Bracelet
The Blue Bracelet in this stage can be found inside Hyrule Castle, in the room after defeating the Chief Soldier. Walk up the stairs to the second floor, then take the left side. Follow the straightforward pathway until you reach a large, closed off building. Walk around the left side and push the lone block up to open the gate. Walk inside and open the chests on the right to get the Blue Bracelet and another 100 force gems. [more] 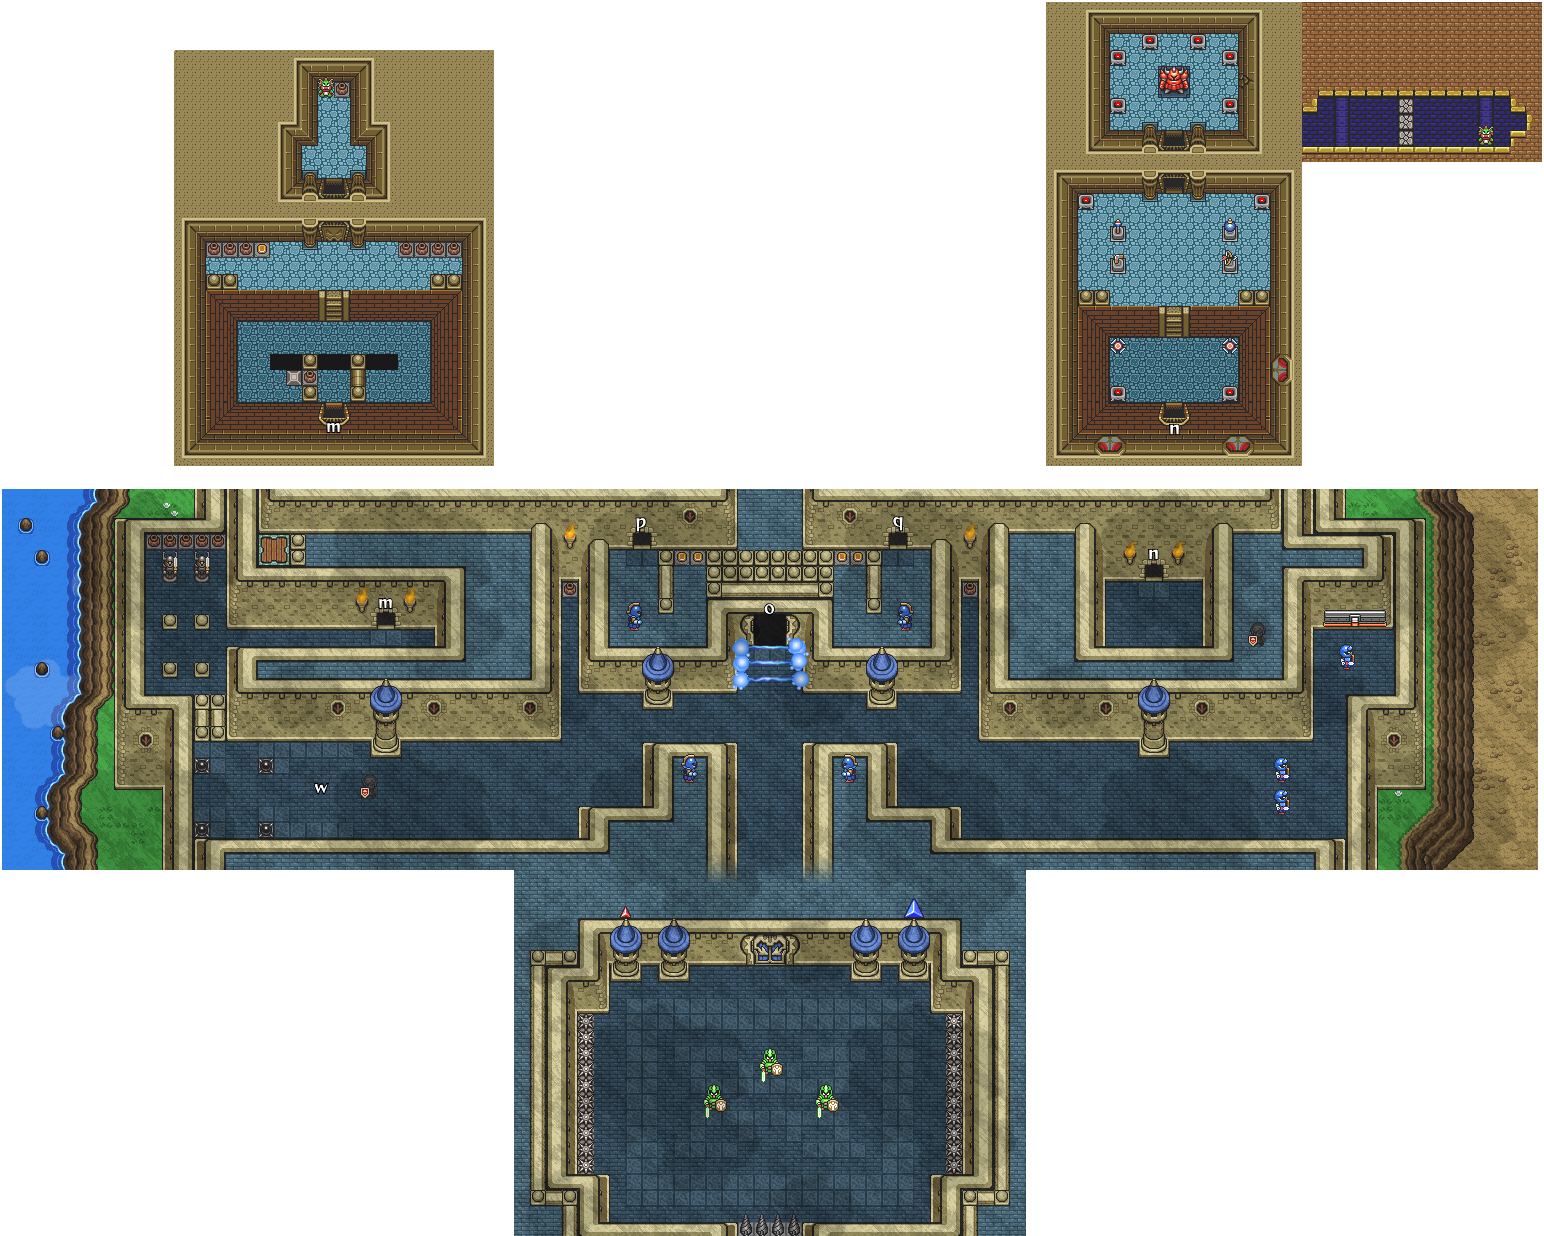
 Ball and Chain Trooper Ball and Chain Trooper
The Ball and Chain Trooper is a fierce enemy that is one of the strongest forms of a Castle Guard. It swings around a giant ball and chain that will do massive amounts of damage. The Trooper will come in three different colors, with gold being the most common.
These enemies can be very difficult to defeat, and Link must be quick to run up and slash the Trooper before being hit by the Ball. This can be made much easier when holding the Roc's Feather, as Link will be able to jump above the Trooper and dive into him with the sword, dealing a massive amount of damage. [more] 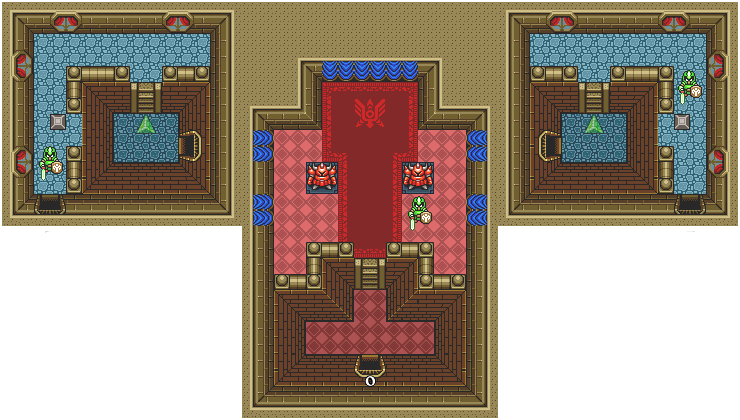
 Blade Trap Blade Trap
Blade Traps are spiked enemies that will most often sit in the corner of a room. They often come in pairs, and when Link crosses their line of sight they will swiftly attack, hoping to hit Link. After the attempt has been made, they will slowly withdraw back to their corner, at which point Link can cross to the other side. [more]  Queen of Fairies Queen of Fairies
The Queen of Fairies is a powerful character found only in Hyrule Castle. She had heard the Maidens cries from afar and came to help, but found the Castle overidden by monsters. [more] 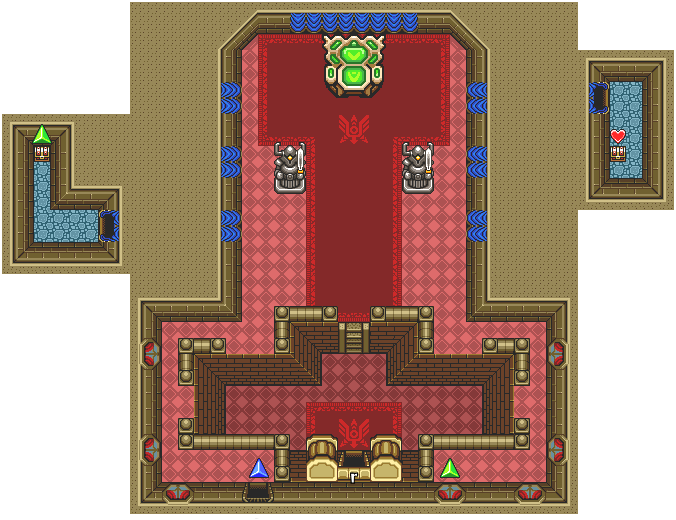
 Armos Armos
Armos are large statue like creatures that will not attack until after you touch them. They will hop around the room in an attempt to hit you with their bodies. They can be defeated with regular sword strikes. [more] Heart Container #2
The second Heart Container in this stage can be found in the main room of the Castle with the Armos and the large chair. Slash the curtain at the top-right corner to find an alcove containing the chest with the Heart Container. [more] 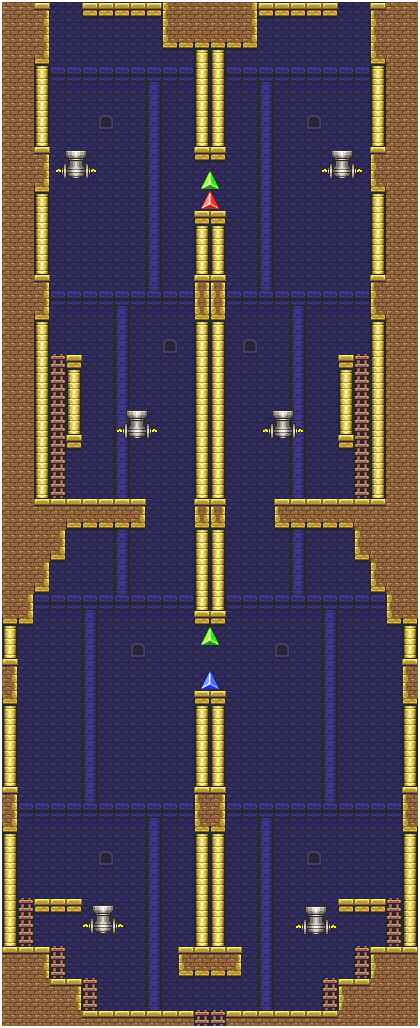 Heart Container #3
Once you make it to the top of the Castle, separate the Links and use one to drop down off the right side ledge. Open the chest for the Heart Container, then bring the Links back together at the top. [more] 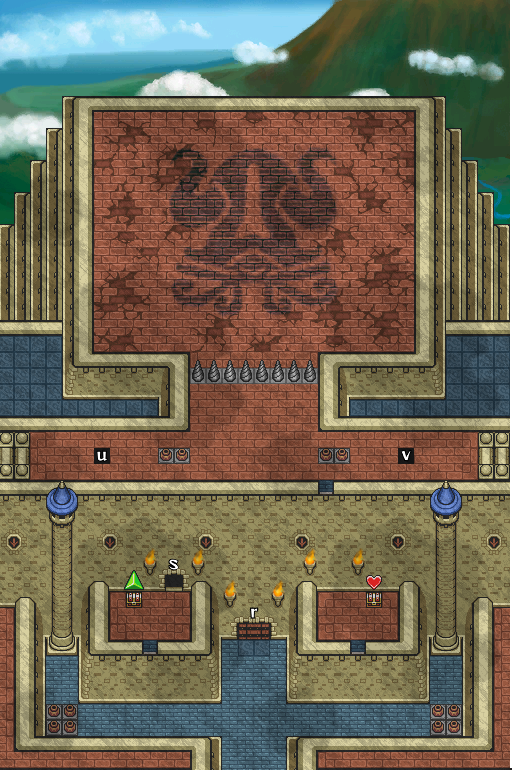
 Phantom Ganon Phantom Ganon
Phantom Ganon is a reccuring boss in the Legend of Zelda series. Like his previous incarnations, the fight with him consists of hitting a ball of energy back and forth. Once he summouns the ball of energy, hit it when it comes near and Phantom Ganon will hit it back at you.
Continue to do this until Phantom Ganon misses. Attack him with the sword until he gets back up, then continue to do this until he is defeated. If playing with more than one player, you will have to use each individual Link to hit its specific color back at Phantom Ganon. [more]  Blue Maiden Blue Maiden
The Blue Maiden is the first Maiden rescued in Four Swords Adventures. She presides over the Eastern Hyrule area, where the Village of the Blue Maiden is named after her. [more] |

| Four Swords Adventures Site Walkthrough | |
Chapter 3 - Death Mountain Chapter 4 - Near the Fields Chapter 5 - The Dark World Chapter 6 - The Desert of Doubt Chapter 7 - Frozen Hyrule Chapter 8 - Realm of the Heavens | |
| � Index | Next � |