- Chapter 1 – Eastern Palace
- Chapter 2 – House of Gales
- Chapter 3 – Tower of Hera
- Chapter 4 – Hyrule Castle
- Chapter 5 – Thieves’ Hideout
- Chapter 6 – Desert Palace
- Chapter 7 – Dark Palace
- Chapter 8 – Swamp Palace
- Chapter 9 – Skull Woods
- Chapter 10 – Turtle Rock
- Chapter 11 – Ice Ruins
- Chapter 12 – Lorule Castle
11.1 Death Mountain
NOTE: This chapter covers the Ice Ruins. However, almost any of the other Lorule Dungeons can be played at this time. This is just one of the many possible orders to complete the dungeons.
In order to complete the Ice Ruins, you must have acquired the Fire Rod and Hookshot from Ravio’s Shop. Swing the bell and warp over to the Tower of Hera. Walk to the east a screen and hookshot across the bridge. Continue eastward and enter the cave with the sign leading to Rosso’s Ore Mine.

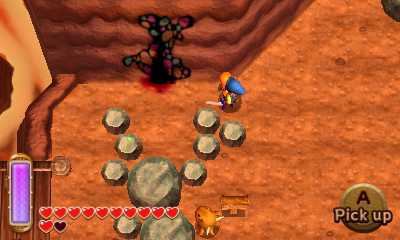
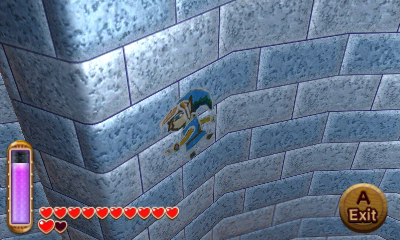
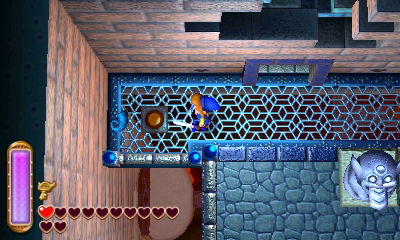
Inside this cave you’ll find a number of moving platforms. You’ll have to time it nicely and drop down to the platforms below. Drop down a few of them until you reach a large central platform with two enemy Lynels. Merge onto the wall to the right and step onto the platform that appears.
Drop down a series of more difficult drops and then exit the cave. Once you are outside, walk to the west and you’ll find a crack in the wall that leads to Lorule. Once you arrive be sure to save at the nearby weather vane. In Lorule walk to the east and enter the cave.
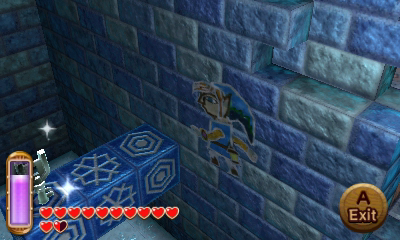
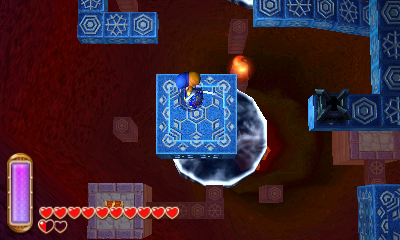
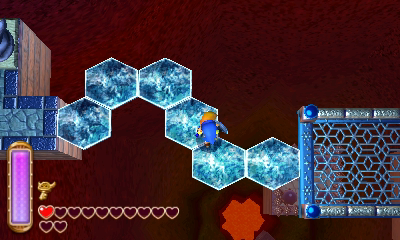
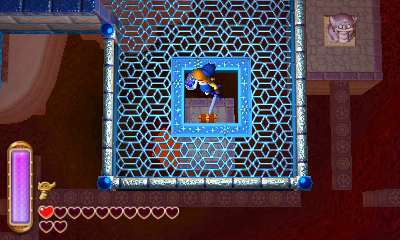
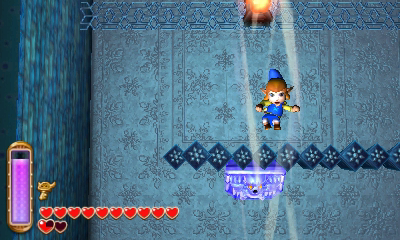
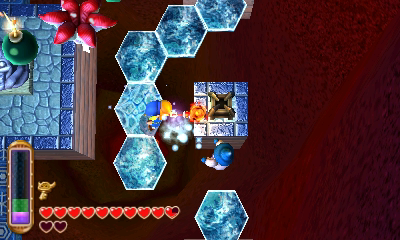
Step onto the narrow blue platform and it will ride you up to the next platform. There are a series of these platforms, some will involve Link needing to merge into the walls of these platforms. You’ll come to a platform with two Ice Gimos. The sign tells you to head north.

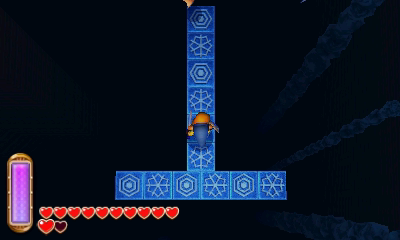
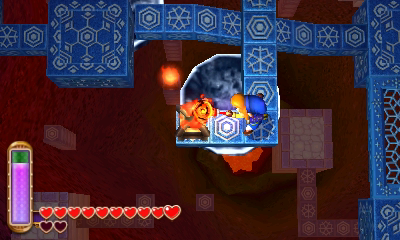
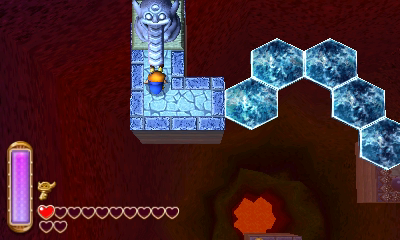
Just to the west you’ll find a Big Ice Gimos. You can defeat it with your sword or a single shot with the fire rod. Wait along the northern part of this platform and step onto the blue moving platform. Continue to scale this dark cave and exit once you reach the top ledge.
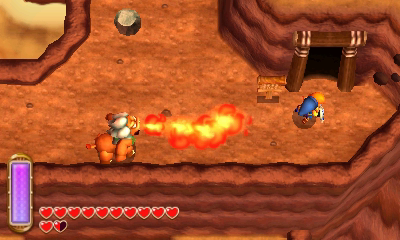
Back outside, walk to the east a screen and be sure to save at the weather vane. Burn the large ice gimos that blocks the dungeon entrance and then head inside to enter the Ice Ruins.

11.2 Ice Ruins
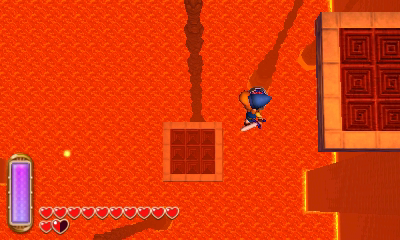
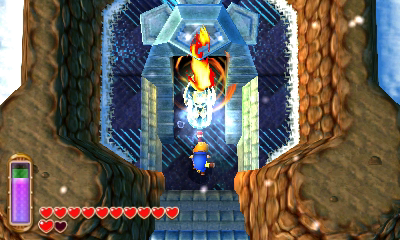
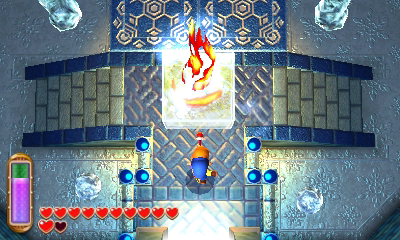
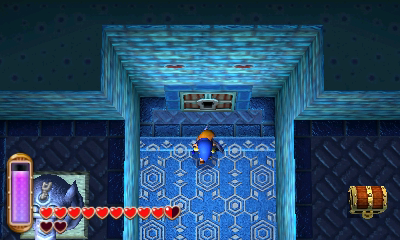
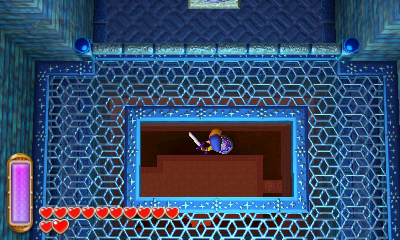
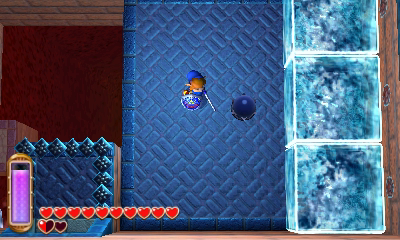
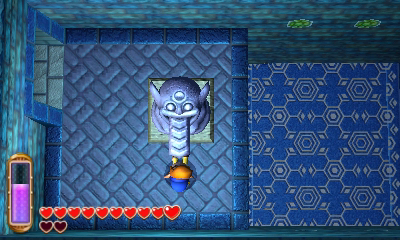
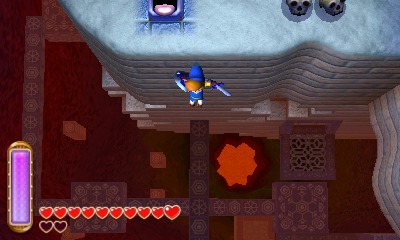
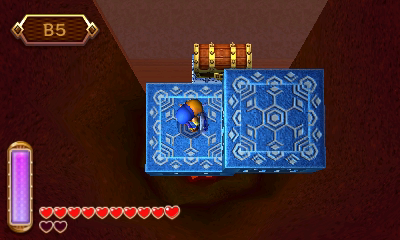
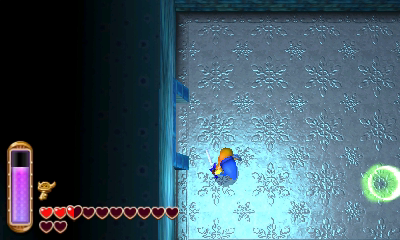
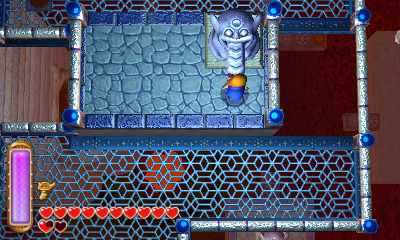
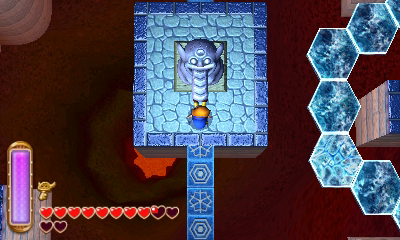
Use the Fire Rod to melt the large block of ice just in front of you. Walk ahead and pull the tongue of the large statue, causing the two platforms to turn into somewhat of an elevator system.
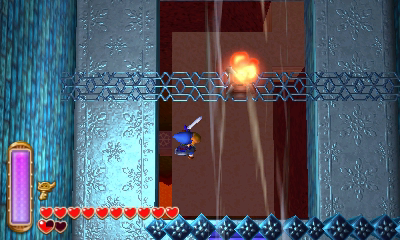
Ride the elevator down to floor B2 and you’ll find a series of icicles. Melt the one high up on the left with the fire rod to get a small key. Ride back up to floor B1 and use the small key on the locked door above.
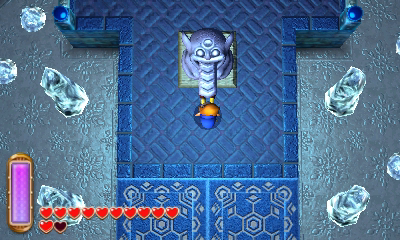
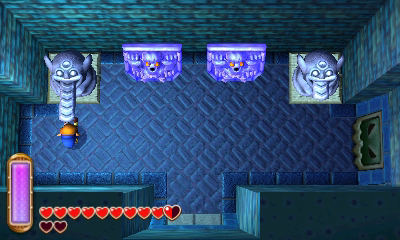
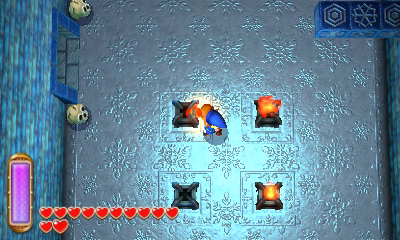
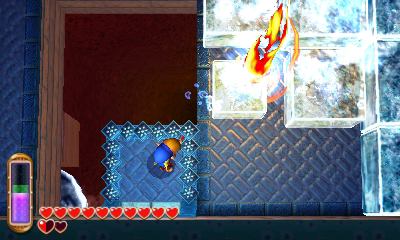
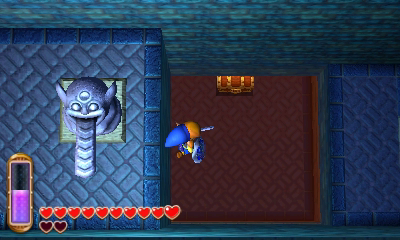
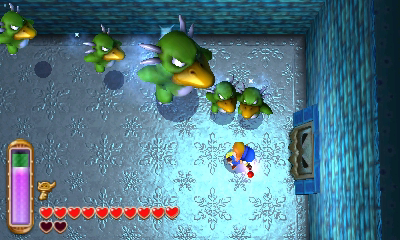
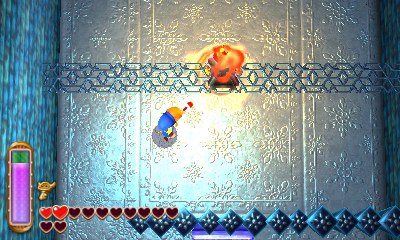
Pull the tongue on the left side of the room to open the door. Watch out for the enemy Freezor that awakens, which can be killed using the fire rod. In the next room, use the Lantern to light the four torches, causing a small key to drop on the higher ledge.
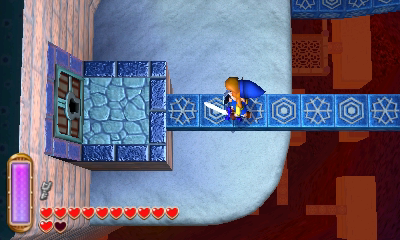
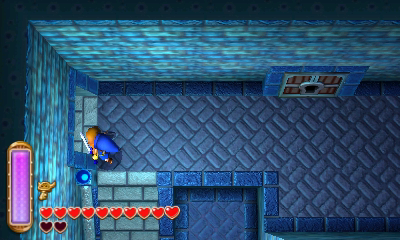
Walk south a screen and open the treasure chest to get the Compass. Walk southward to the blue narrow platform and walk along head. Walk north a screen and merge onto the wall. Return to the previous room and grab the small key.
Walk back to the room to the south and step on the blue narrow platforms again. Take the southern path and head through the locked door on the left. Merge along the wall to reach the treasure chest at the northeast end of the room and open it to get a blue rupee. Make your way to the northwest corner of the room and pull the tongue, causing the floor to drop. Fall down below to get back to floor B2.

Walk to the right a screen and use the fire rod to melt the ice. Step on the floor switch at the south end of the room to open the nearby doors. At the top-right part of the room, merge along the southern wall and walk around it to reach a fairy fountain. Next, head through the door at the top-left of the room.
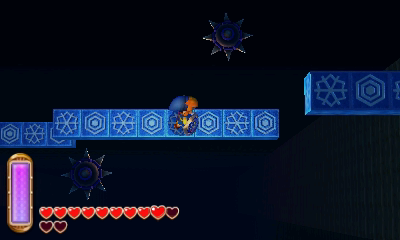
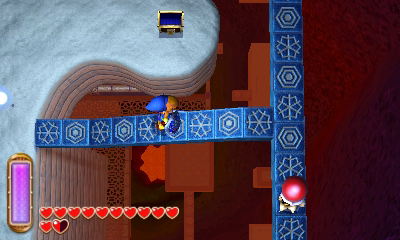
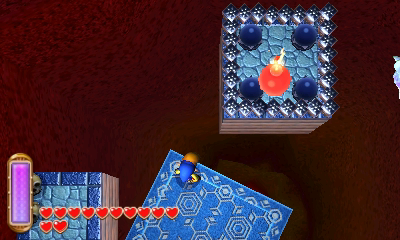
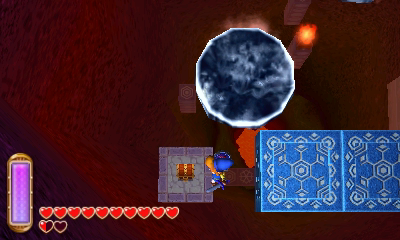
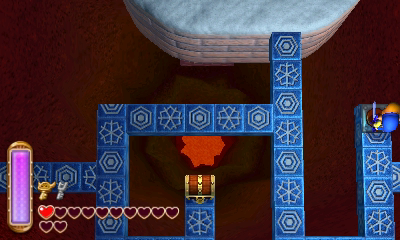
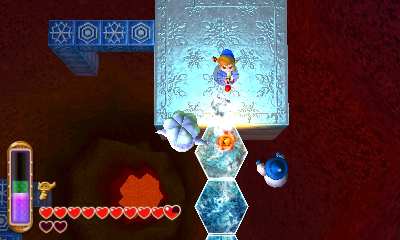
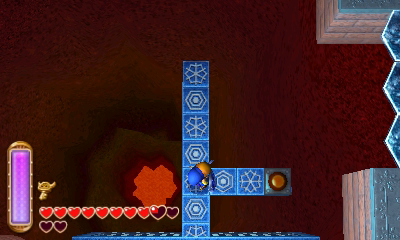
Drop down below to reach floor B3. You can use the fire rod to defeat the bomb throwing enemy here. Walk to the left and step on to the moving platform. Allow the enemy here to toss a bomb onto the platform. Quickly pick it up and throw it northward where there are four crystal switches. Hitting all four switches causes a treasure chest nearby to appear. Open it up to get a silver rupee. Take the moving platform to the west and head down a screen.
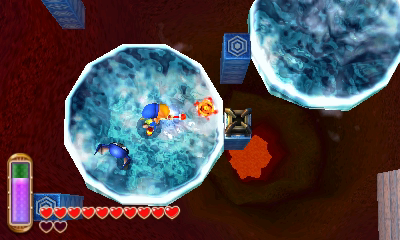
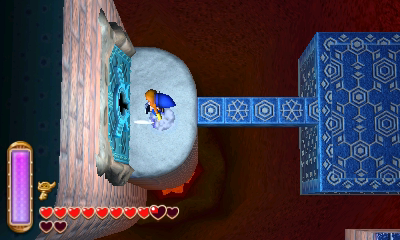
Step on the moving icicle and ride it around. There is a torch in the center of this area that can be lit with the fire rod, but be careful as the icicle will shrink. This lit torches causes a nearby platform to appear. Make your way back up to the north and ride the new platform up to floor B3.
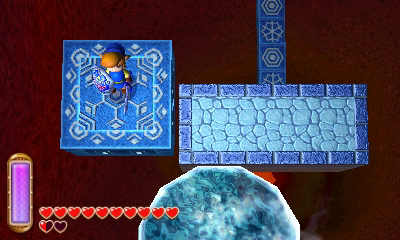
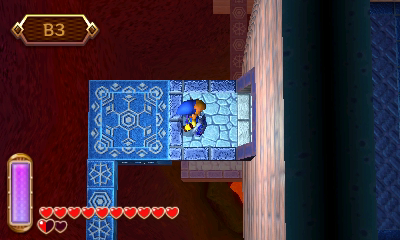
Take the path to the south and ride on a pair of moving platforms. On the right side of the room using the vertically moving platforms to reach the door to the north. In this room use the fire rod to melt the first two columns of ice blocks to the right.
Return to the previous room and ride to the southwest corner. Carefully drop down to the floor below to reach a treasure chest that contains a purple rupee. Ride the icicles back to the north and take the moving platform back up to floor B3.
Walk to the right a screen and merge along the northern wall. Make your way to the right side of the room and hit the crystal switch, causing a vertical platform to appear. Merge over to the platform and ride it up to floor B2.
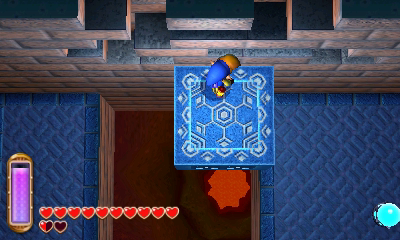
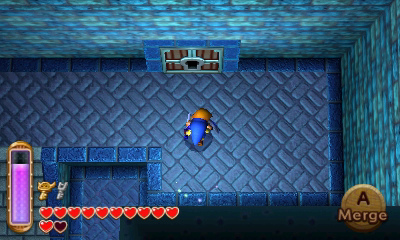
Defeat the enemies here and step on the floor switch to the left. Go through the door that opens and pull the tongue of the statue. Drop down to the floor below and open the treasure chest to get the Stamina Scroll.


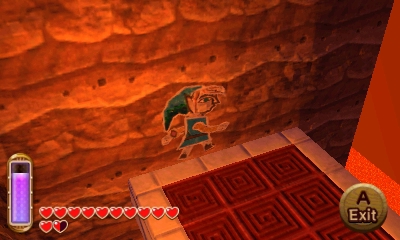
Drop of the ledge to the left and use the platform to get back up to the higher level. Walk to the northern end of this area and merge against the wall. With the stamina scroll, you’ll be able to make your way across this long wall. Walk southward and open the treasure chest to get a silver rupee.

Return along the very long wall. There are two stone statues in this outdoor area that shoot ice at you. Stand just beside the southern one and look down below. There is a narrow platform that you can drop down to. Carefully drop down to land on a blue platform. Walk southward and light the torch, causing a nearby door to open. There are two treasure chests in this room, but more importantly, this allows quick access to the entirety of the dungeon through the elevators.
Ride the elevators southward to the bottom floor and open the treasure chest to the Big Key. Return to floor B2 and head through the door on the right.
Climb the steps and go through the door at the top-left of the room. Drop down below and walk over to the statue. Pull the tongue, causing the floor to drop once again. Follow it down to floor B3.
Try to exit the room and the doors will close. Face off with the Giant Pengator. He can easily be defeated with sword slashes, or by using your fire rod. After defeating the pengator, head through the door to the left.
You can hit the red hardhat beetles with projectiles, or even melt the ice underneath with the fire rod. The ice will regenerate, so don’t worry. Walk to the left end of the area and pull the tongue, causing the large platform to move again. Return to the previous room and head through the door to the right.
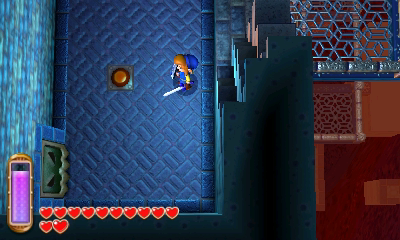
Light the torch in the center of the room and head down a screen. Step on the floor switch nearby, causing a door to open up. Merge along the southern wall to reach the bottom part of this room.
Drop down the hole nearby and open the treasure chest to get a small key. Drop off the ledge and head left a screen. Step on the switch to cause platforms to appear. If you haven’t already, be sure to open the nearby treasure chest to get some monster guts.
Return to the elevator and ride it up to floor B2. Walk right a screen and use the small key to head through the locked door. Drop off the ledge and melt the large ice block. Allow the wind to blow you southward and pull the tongue of the nearby statue.

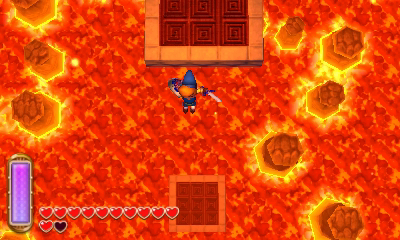
Drop off the ledge and head north a screen. Drop down the hole to reach floor B4. Walk to the right, burning the small balls of ice that block your path. Watch out for the wizzrobe and burn your way southward.
Light the torch using the fire rod and a platform will extend. Follow this platform and pull the tongue of the statue once more, moving the large platform. Walk over and press the floor switch, creating a shortcut nearby. Use the big key to unlock the large door to the left. Slash at the skulls for some recovery hearts and once you are ready, drop down to take on the dungeon boss, Dharkstare.
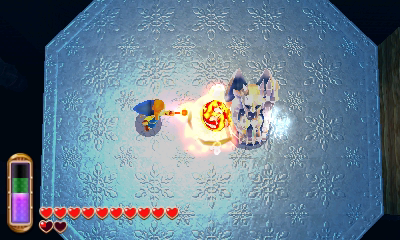
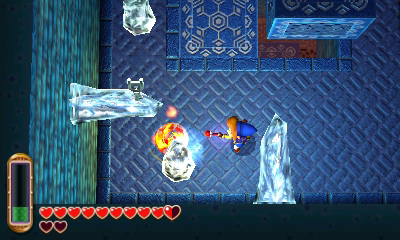
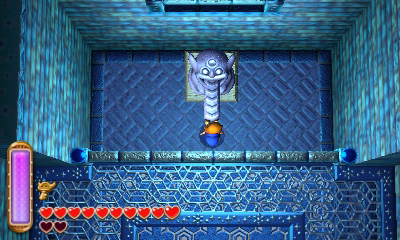
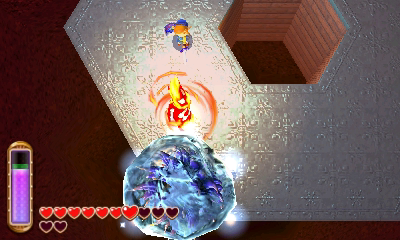
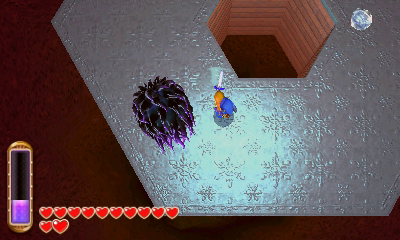
The boss is surrounded by a thick coat of ice. Use the fire rod to melt three layers of ice, removing its protection. Run over and slash away as many times as you can with your sword. The boss will throw small balls of ice, forming triangles. Stay clear of the inner portion of these triangles, as they will freeze Link. Repeat the same process of burning the ice, and then slash away at the boss until it is defeated.
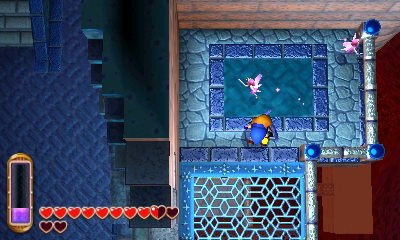
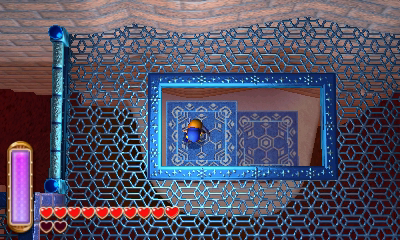
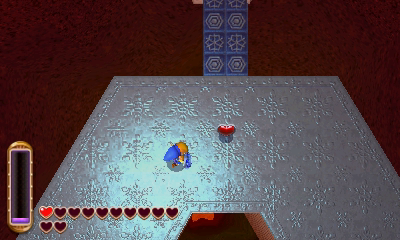
Be sure to grab the Heart Container that is left behind. Walk over and touch the painting to save the sage.

- Chapter 1 – Eastern Palace
- Chapter 2 – House of Gales
- Chapter 3 – Tower of Hera
- Chapter 4 – Hyrule Castle
- Chapter 5 – Thieves’ Hideout
- Chapter 6 – Desert Palace
- Chapter 7 – Dark Palace
- Chapter 8 – Swamp Palace
- Chapter 9 – Skull Woods
- Chapter 10 – Turtle Rock
- Chapter 11 – Ice Ruins
- Chapter 12 – Lorule Castle
