Network Sites: Hyrule Warriors Walkthrough | Pokemon X and Y Walkthrough | Darksiders Dungeon | GenGAME
-
- Walkthrough
- Video Walkthrough
- Bosses
- Characters
- Enemies
- Guides
- Info
- Media
-
- Walkthrough
- Video Walkthrough
- Enemies
- Quest
- Guides
- Info
- Media
-
- Walkthrough
- Bosses
- Characters
- Enemies
- Items
- Guides
- Media
-
- Walkthrough
- Video Walkthrough
- Enemies
- Quest
- Guides
- Info
- Media
-
- Walkthrough
- MQ Dungeons
- Video Walkthrough
- Dungeons
- Enemies
- Quest
- Guides
- Info
- Media
-
- Walkthrough
- Video Walkthrough
- Text Guide
- Enemies
- Quest
- Guides
- Info
- Media
-
- Walkthrough
- Bosses
- Enemies
- Rings
- Guides
- Media
-
- Walkthrough
- Enemies
- Characters
- Rings
- Quest
- Guides
- Media
-
- Walkthrough
- Enemies
- Quest
- Guides
- Info
- Media
-
- Walkthrough
- Coming Soon
- Enemies
- Walkthrough
-
- Walkthrough
- Enemies
- Quest
- Guides
- Info
- Media
-
- Walkthrough
- Ordon Village
- The Twilight
- Faron Woods: Twilight
- Forest Temple
- Kariko Village: Twilight
- Death Mountain
- Goron Mines
- Lanayru Province: Twilight
- Lake Hylia: Side Quest
- Lakebed Temple
- The Master Sword
- Gerudo Desert
- Arbiter's Grounds
- Scaling Snowpeak
- Snowpeak Ruins
- Sacred Grove
- Temple of Time
- In Search of Sky
- City In The Sky
- Palace of Twilight
- Cave of Ordeals
- Hyrule Castle
- Video Walkthrough
- Ordon Village
- The Twilight
- Faron Woods: Twilight
- Forest Temple
- Eldin In Twilight
- Death Mountain
- Goron Mines
- Lanayru In Twilight
- Lake Hylia: Side Quest
- Lakebed Temple
- The Master Sword
- Gerudo Desert
- Arbiter's Grounds
- Scaling Snowpeak
- Snowpeak Ruins
- Sacred Grove
- Temple of Time
- In Search of Sky
- City In The Sky
- Palace of Twilight
- Cave of Ordeals
- Hyrule Castle
- Enemies
- Quest
- Guides
- Info
- Media
- Walkthrough
-
- Walkthrough
- Enemies
- Quest
- Guides
- Info
- Media
-
- Walkthrough
- Video Walkthrough
- Enemies
- Quest
- Guides
- Media
- Characters
- Story
-
- Walkthrough
- Video Walkthrough
- Bosses
- Characters
- Enemies
- Equipment
- Items
- Story
- Side Quests
- Upgrades
- Media
This chapter covers the first three levels in the game, The Coast, Village of the Blue Maiden, and Eastern Temple.
2.1 The Coast
|
|
|
|
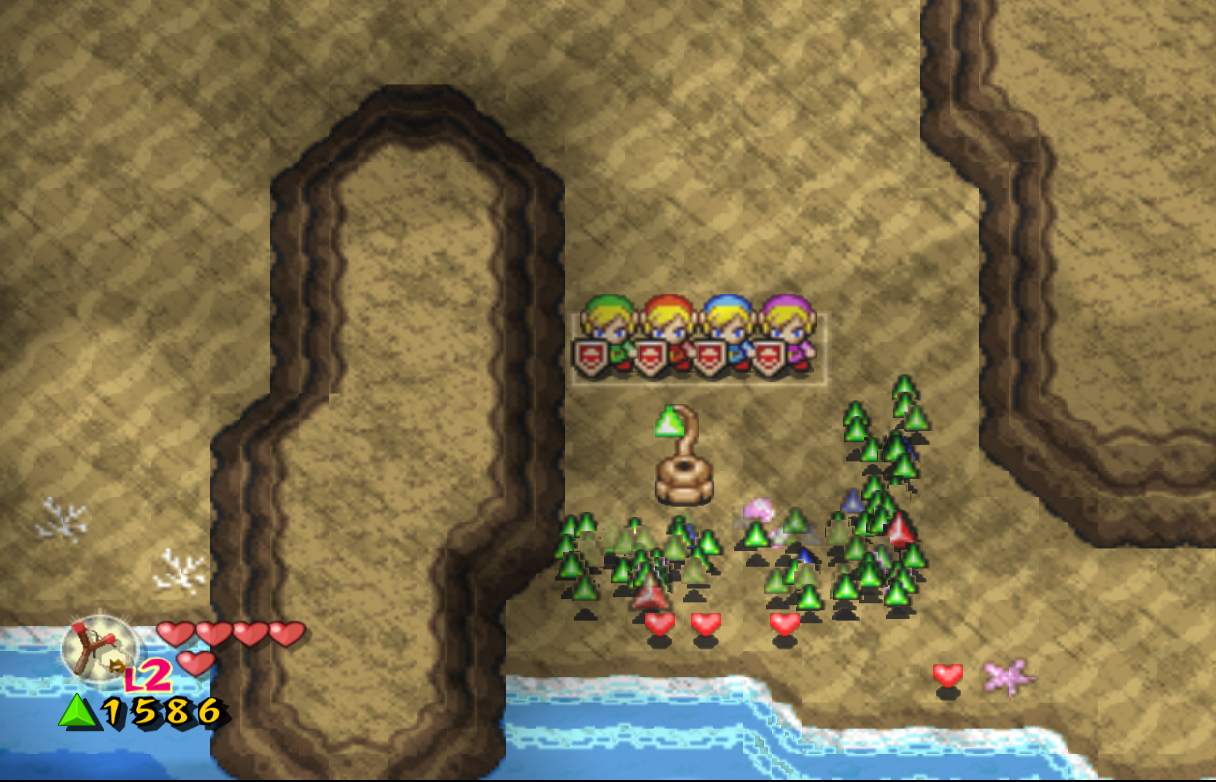
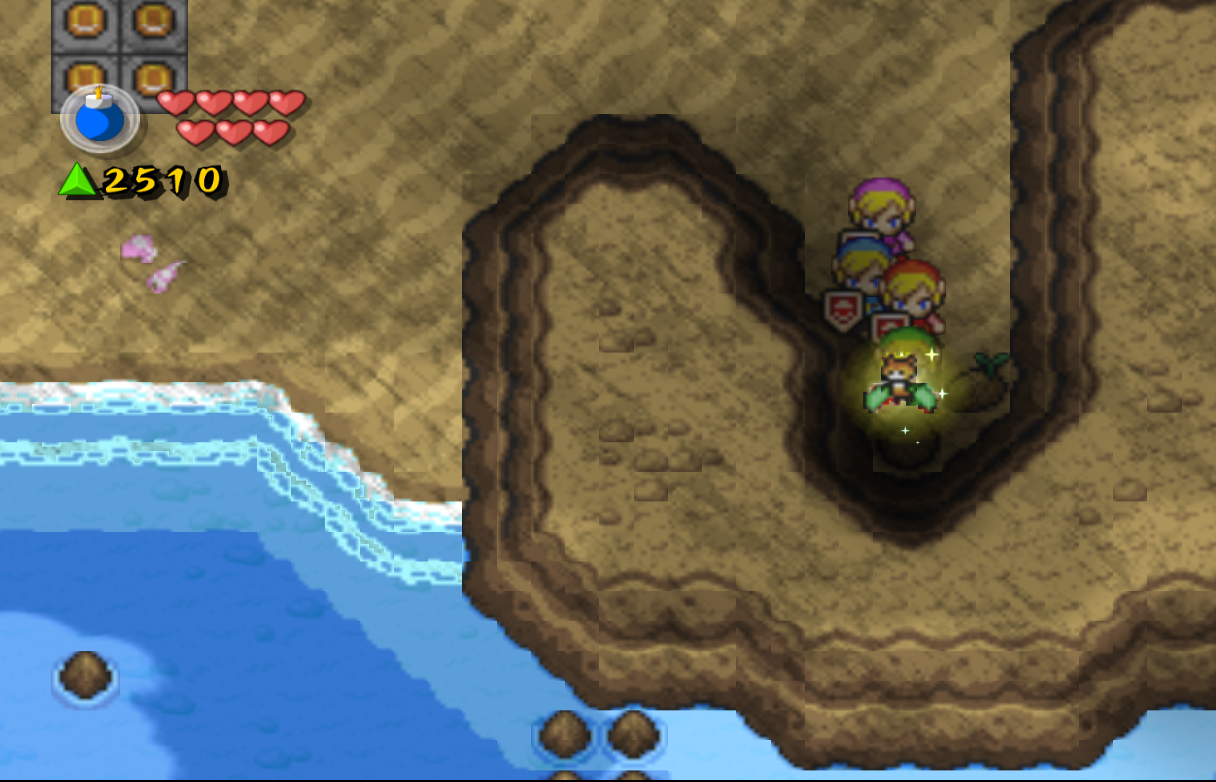
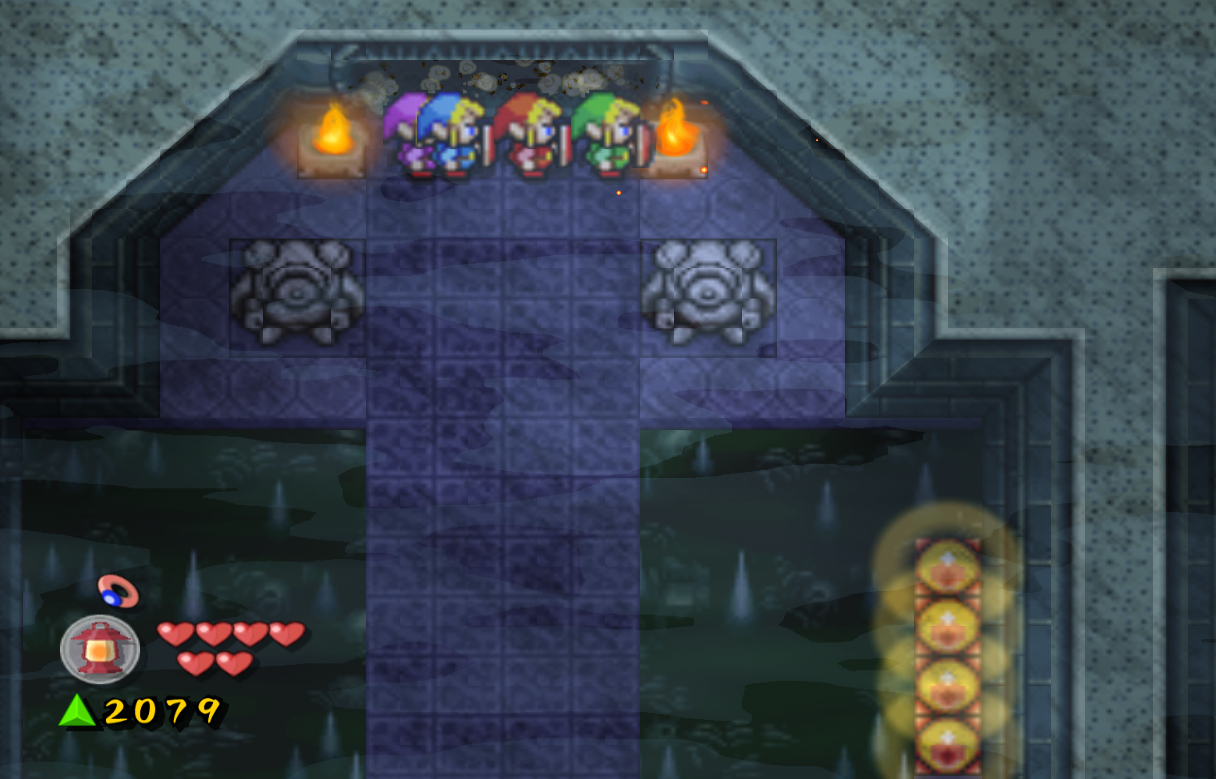
Welcome to the second level in the game, Eastern Hyrule. This stage is known as The Coast, and it will explore the coast of Hyrule. The Blue Maiden will give you a few words of wisdom, then disappear. Walk to the right and lift the two large stones nearby. Jump off the ledge onto the sand and lift the coconuts here. Defeat the Octoroks if you wish, and head right.
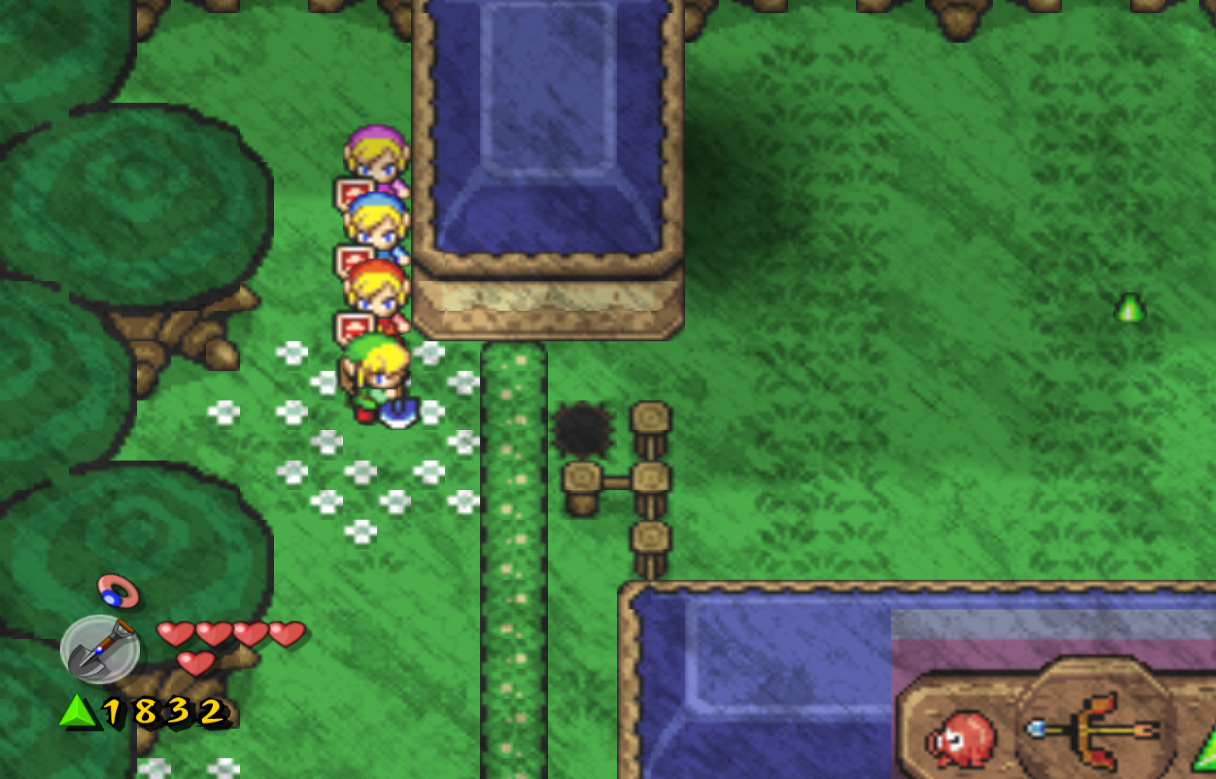
If you lift the coconut in front of the cave entrance and step on the switch underneath, it will drop a Giant Bomb. These bombs have a 10-second fuse, and will leave an impression in the ground across the entire screen once they explode. The land will slowly reverse back to its original shape, ready for more bomb explosions. These bombs can be found from stepping on switches, opening chests, or most often from Shadow Link. Throughout the game, there are specific screens where he will stay and produce big bombs, constantly exploding and trying to harm you. If you are not on a Gameboy Advance Screen when the bomb explodes, the bomb will kill you instantly. You can avoid these bombs by entering caves, diving underwater, or leaving the screen altogether.
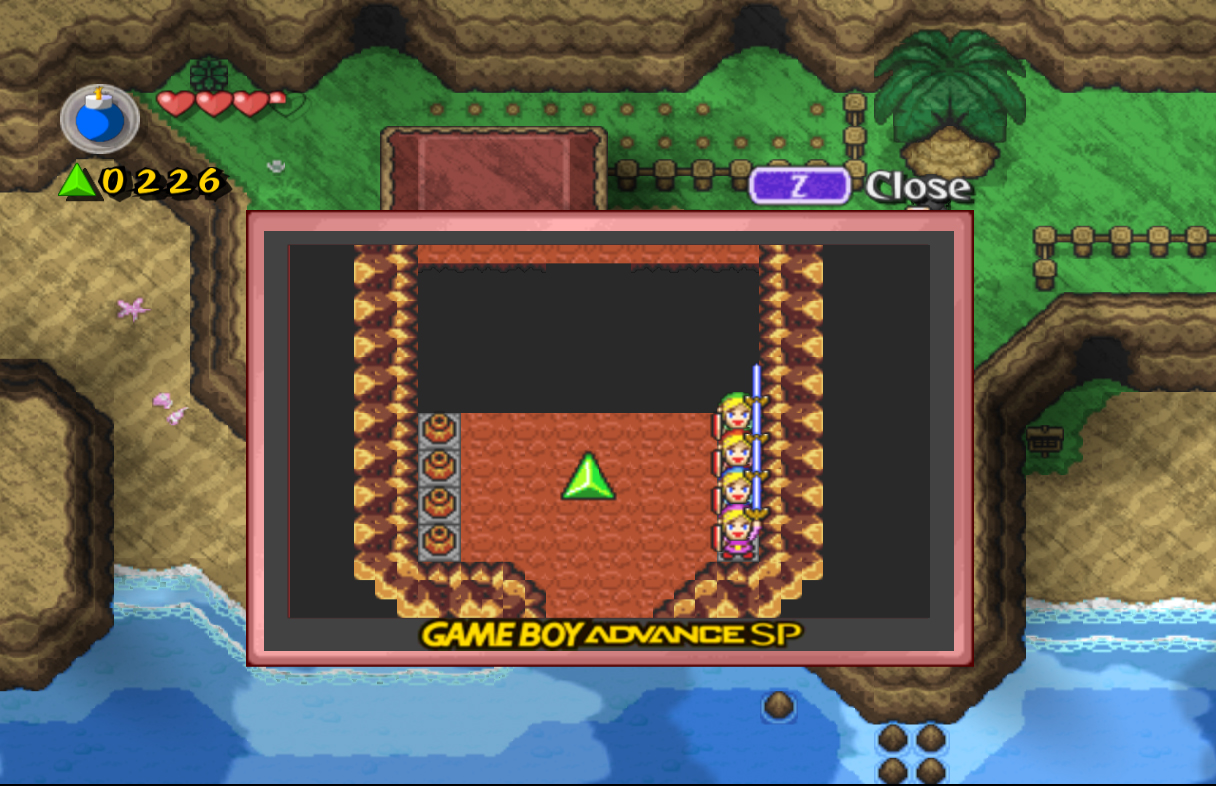
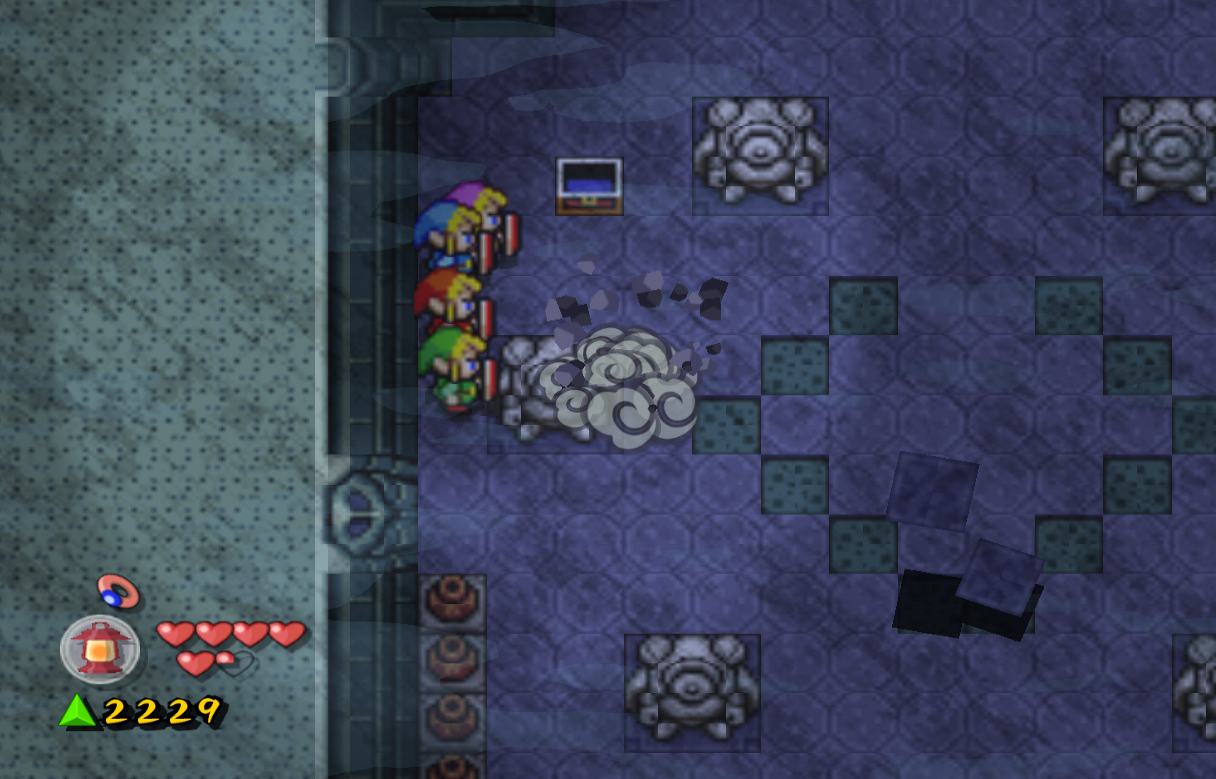
Anyway, enter the cave above and use a box formation to push the block up. Grab one of the bombs nearby and bomb the wall at the top of the room. Inside the next room you'll find two more chests, one with a red force gem, and another with a blue force gem. Continue on and bomb the dead end wall to get back outside. Walk down to the next screen, then enter the cave on the left side. Grab one of the slingshots from inside, then walk back out. In the water outside, four Zoras will appear, shooting rocks at you. The best way to defeat them is make a wide formation, then press and hold A to power up the slingshot. This will allow you to shoot rocks in a straight pathway, and hit the Zoras no matter how far they are.
Do this to kill them, and a chest containing 50 force gems will appear on the island. Swim to it and collect it, then swim back to the coast and reenter the cave where you got the slingshot. Grab the bombs again, then head out and right a screen. On this screen you will find a house and Shadow Link. Defeat the enemies, then walk as far right as you can while on the sand. Use a bomb on the rock wall right below the fence, where there is a patch of grass sticking out. Enter the cave, then push the out of place block to the left. Defeat the lone Keese, then use a bomb to blow up the cracked block. Break the pot and open the chest for another red force gem. Exit the cave, then lift up the coconuts and enter the house. If you speak to the woman here, she says that since she can't fit through the door, then nobody can. Makes sense. Head back outside, then walk up along the left path. Slash at the lone patch of grass at the top left and a big green force gem will appear on the sand. Grab it, then walk back to the previous spot.
Move right to the next alcove, and place a bomb to blow open a hole. Enter and open the chest for 50 force gems, then walk back out. Place a bomb on the grass to set it on fire, then collect the force gems and blast open a hole on the last alcove in the wall.
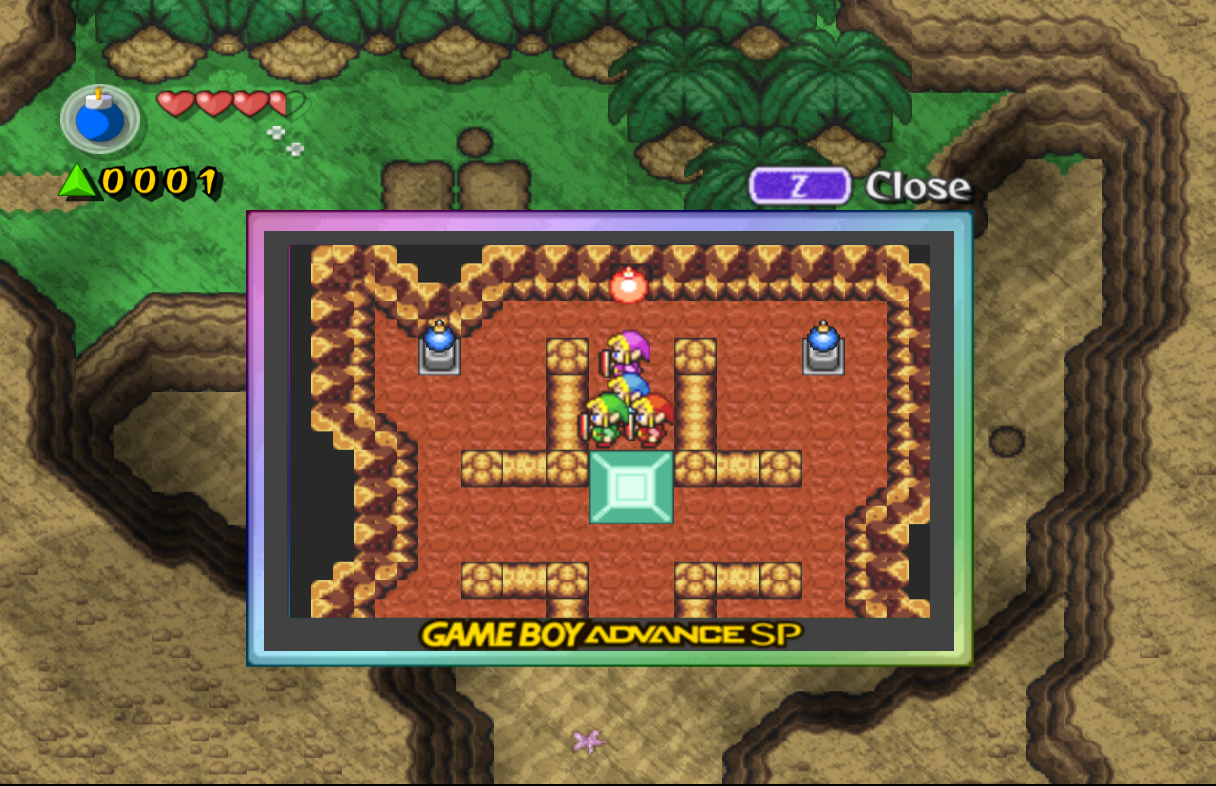
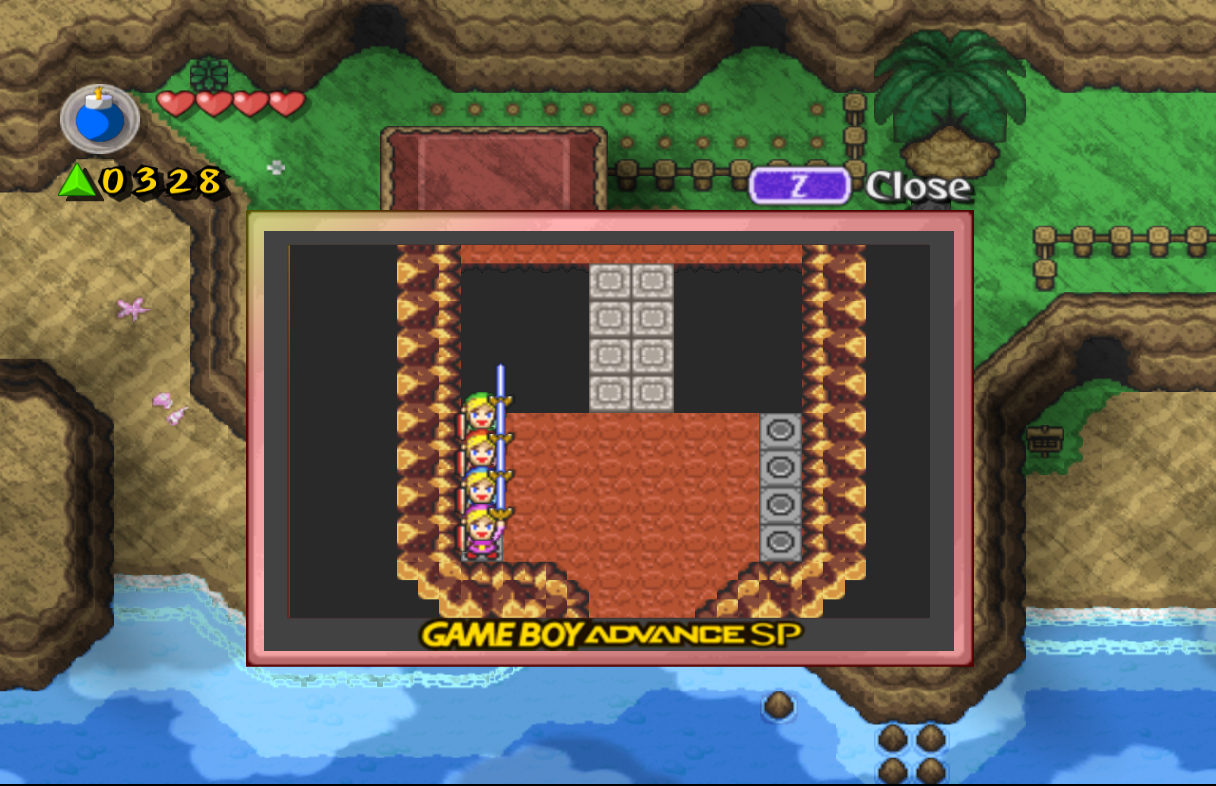
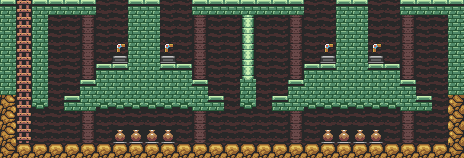
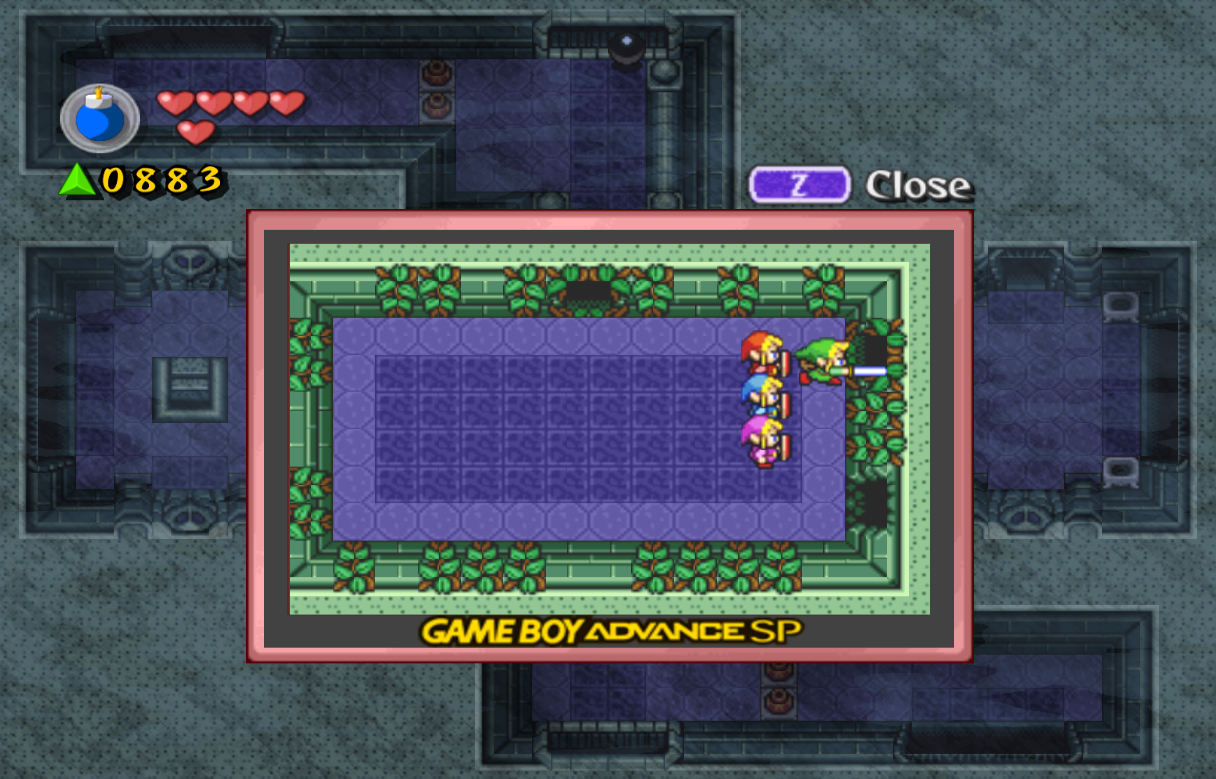
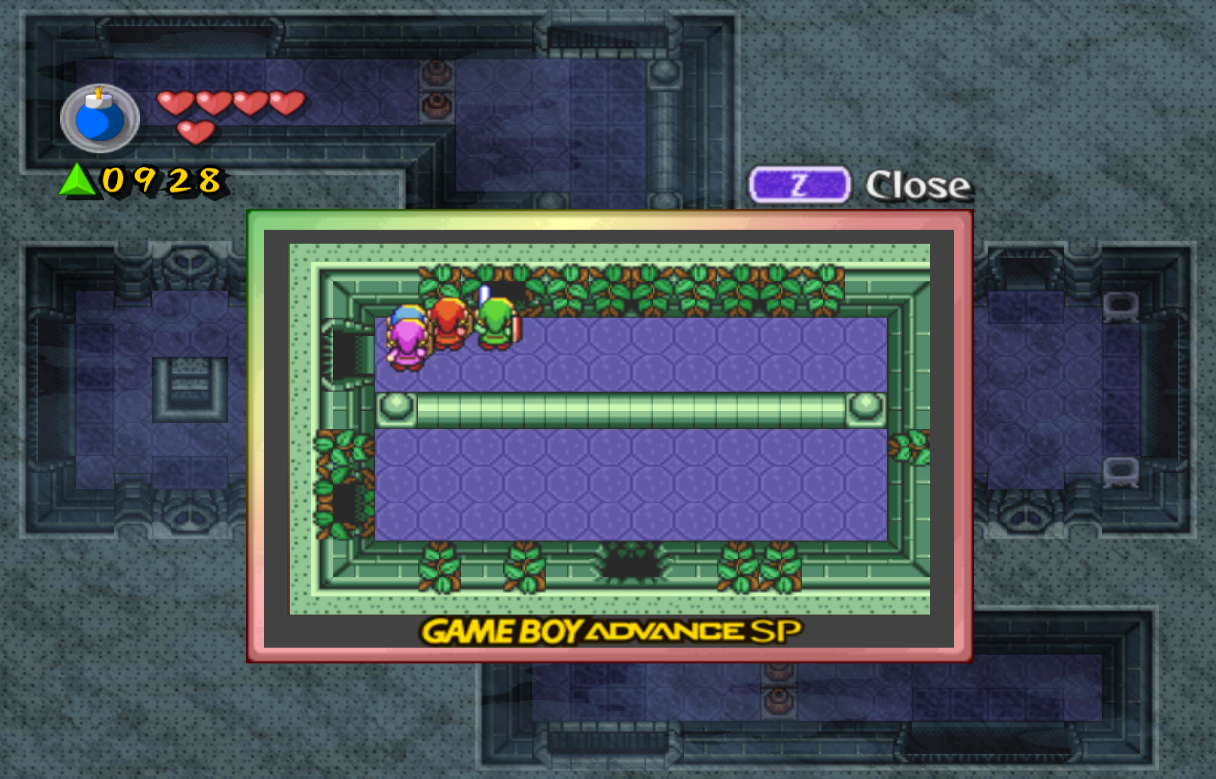
Inside the cave, break the pots on the right side, then have all four Links step on the switches. This will drop another 100 force gems. Do the same for the left side pots and switches, creating a bridge across the gap. Walk across and you'll see three bomb-able walls. The left side contains 40 force gems, and the top and right sides are the key to getting out. Whether you bombed the left side or not, enter the right side. Break the pot at the top of this area and have one of the Links step on the switch. Separate the Links, then have one exit the room and bomb the upper wall. Enter, then have this Link step on the switch under this pot, creating another bridge.
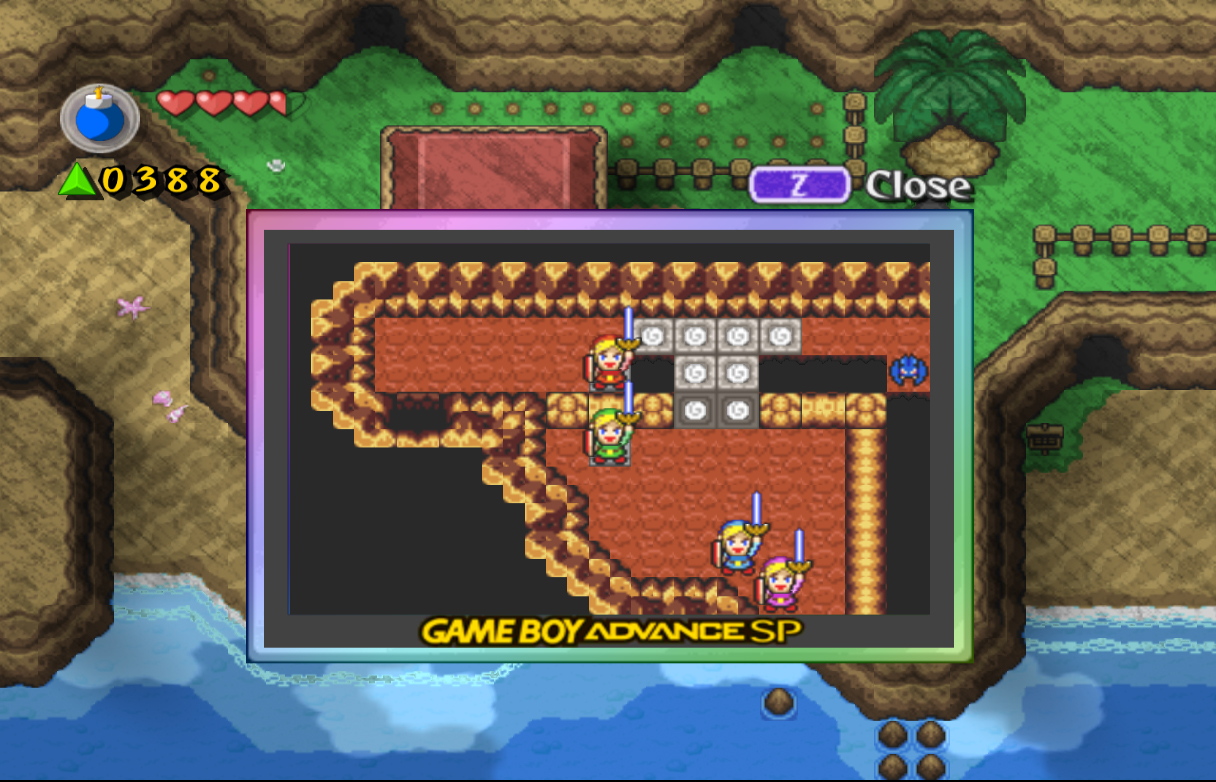
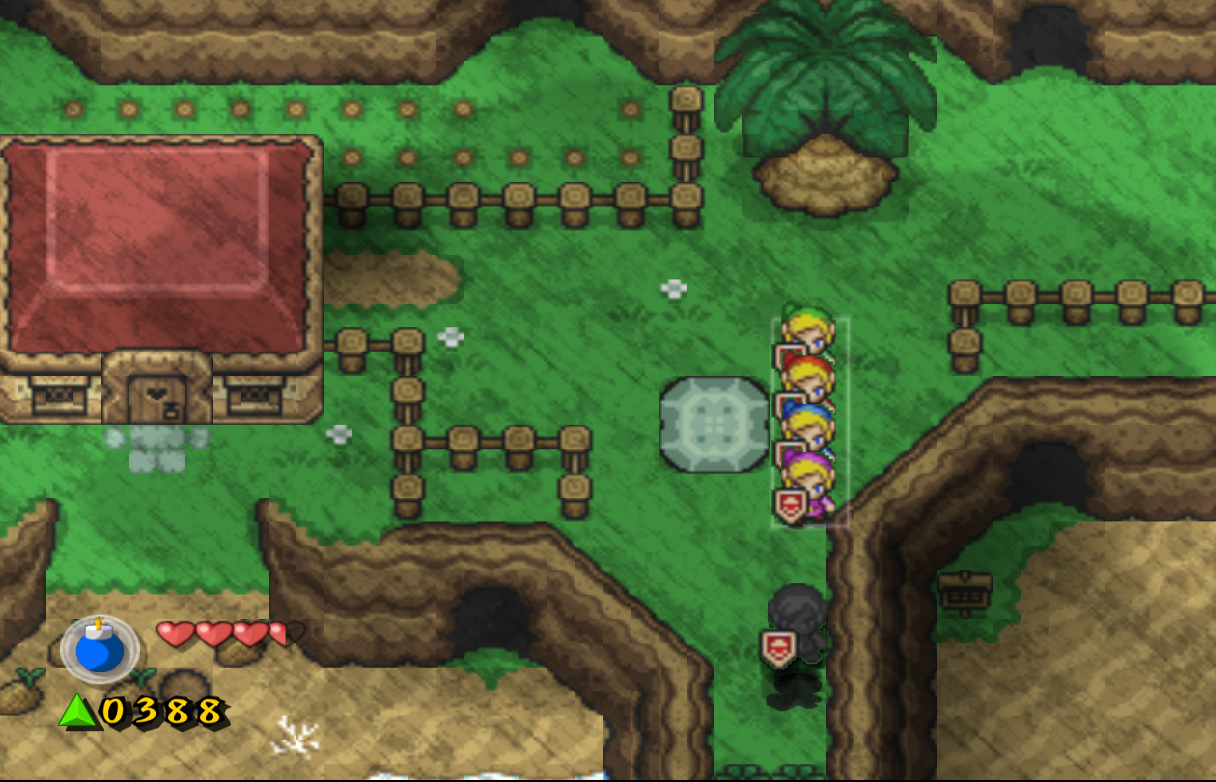
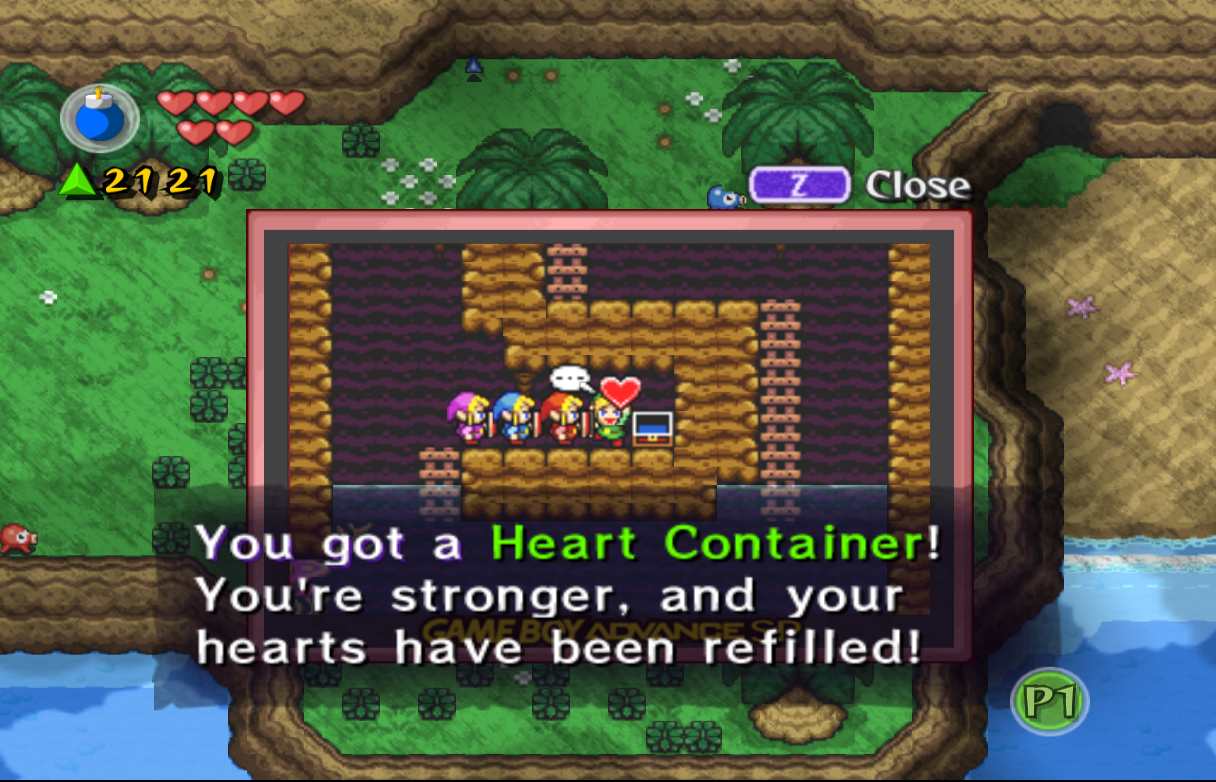
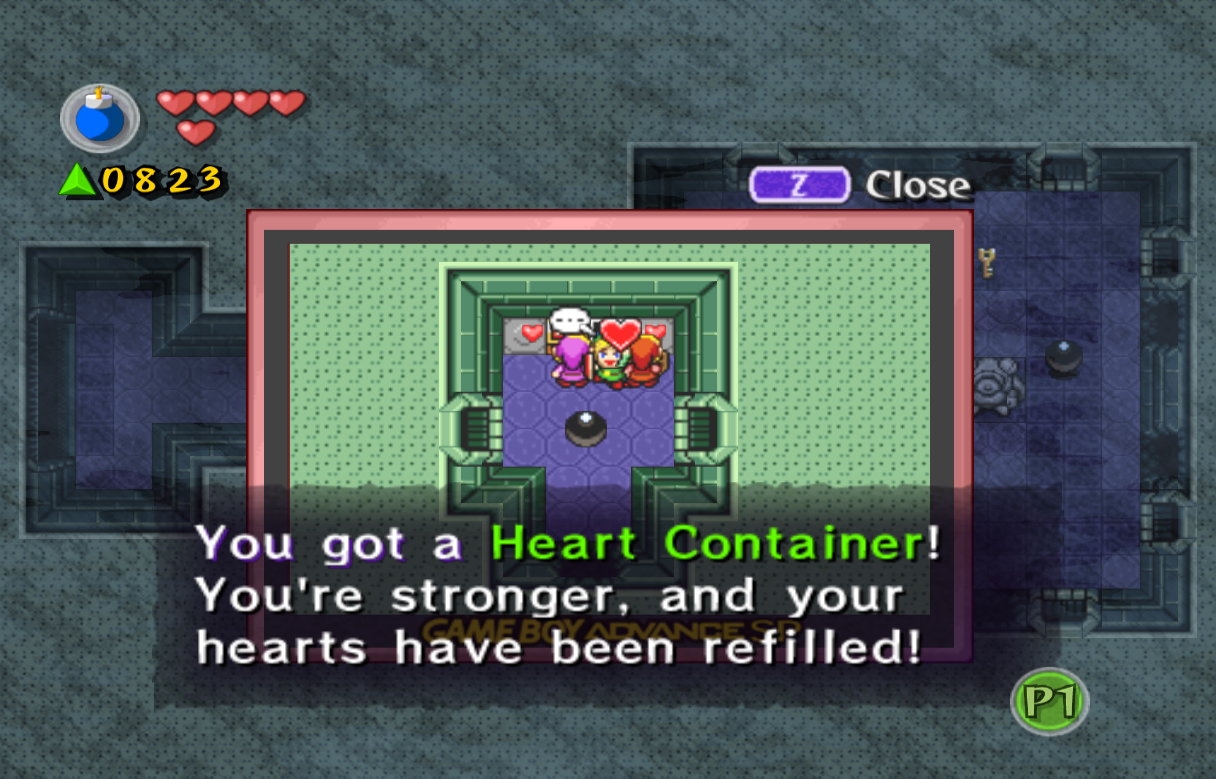
Walk across the bridge and this narrow gap, defeating the Keese, and bring the Links together again at the dead end. Bomb the wall here to exit the cave. I recommend creating a long formation here, as Shadow Link will attempt to jump north and south to get away from you. Defeat him if you can and grab the big green force gem he leaves behind. Lift up the large rock and you'll find another big green force gem, but this one will try to run away from you. It doesn't really have anywhere to go though, so you'll easily be able to grab it. Once you do, enter the house from before and open the chest here for a Heart Container. Exit the house and head right to get to the next screen.
Jump off the ledge here, then bomb the first caved in wall to find another entrance. Open the chest inside for a purple force gem, then head right back out to the beach. Unfortunately, there's no good way to defeat these blue Octoroks, so just leave them alone. The game isn't too specific at this point, but there is another bomb-able wall. Walk all the way to the right on this screen, then find the second coconut from the right. Walk straight up the wall, where you'll find another patch of grass. Bomb here to open another entrance, then open the chest inside for another big green force gem. Before you leave the screen, walk south to find a coconut surrounded by flowers. Lift it and force gems will fly out of the ground. Collect them, then head right a screen.
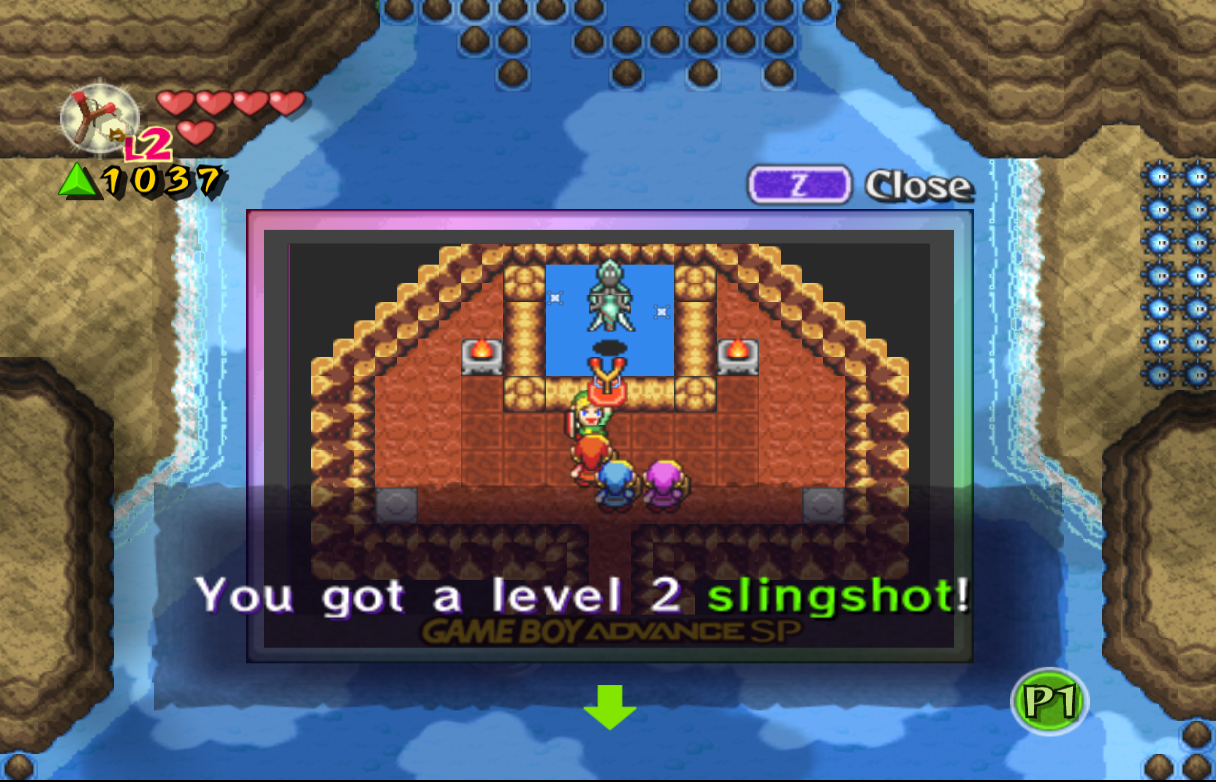
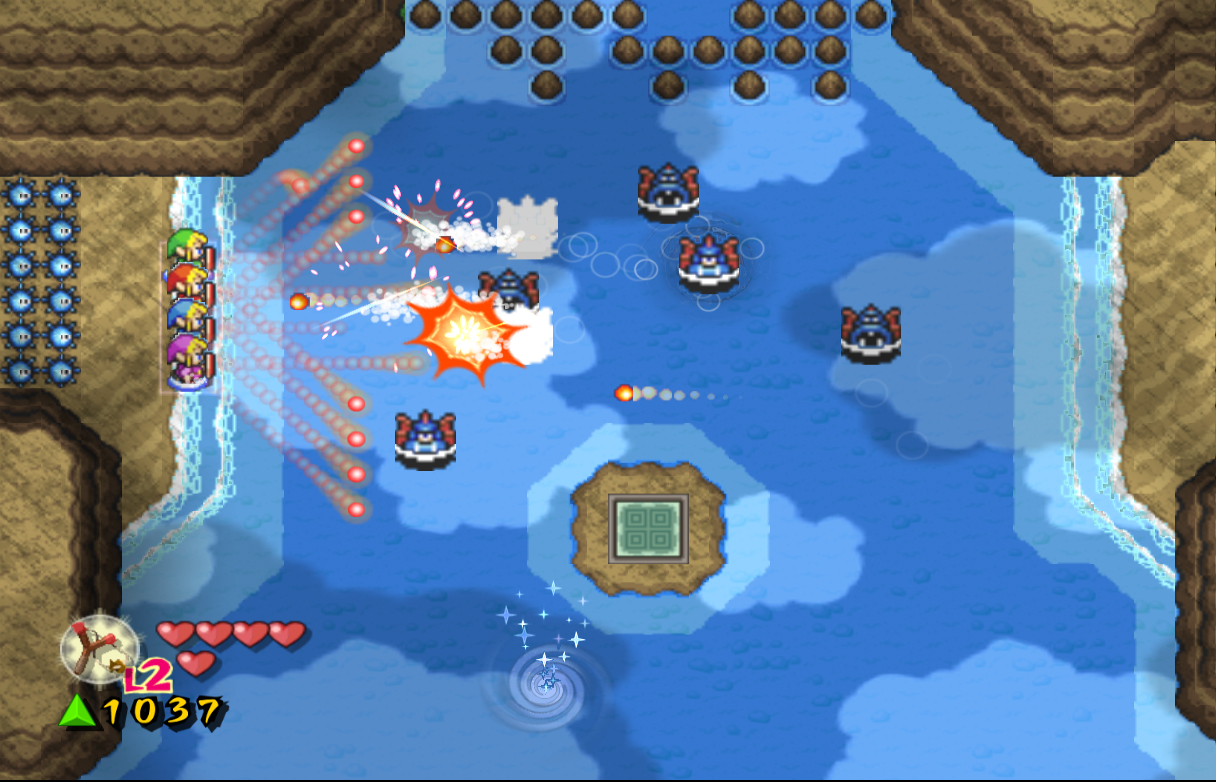
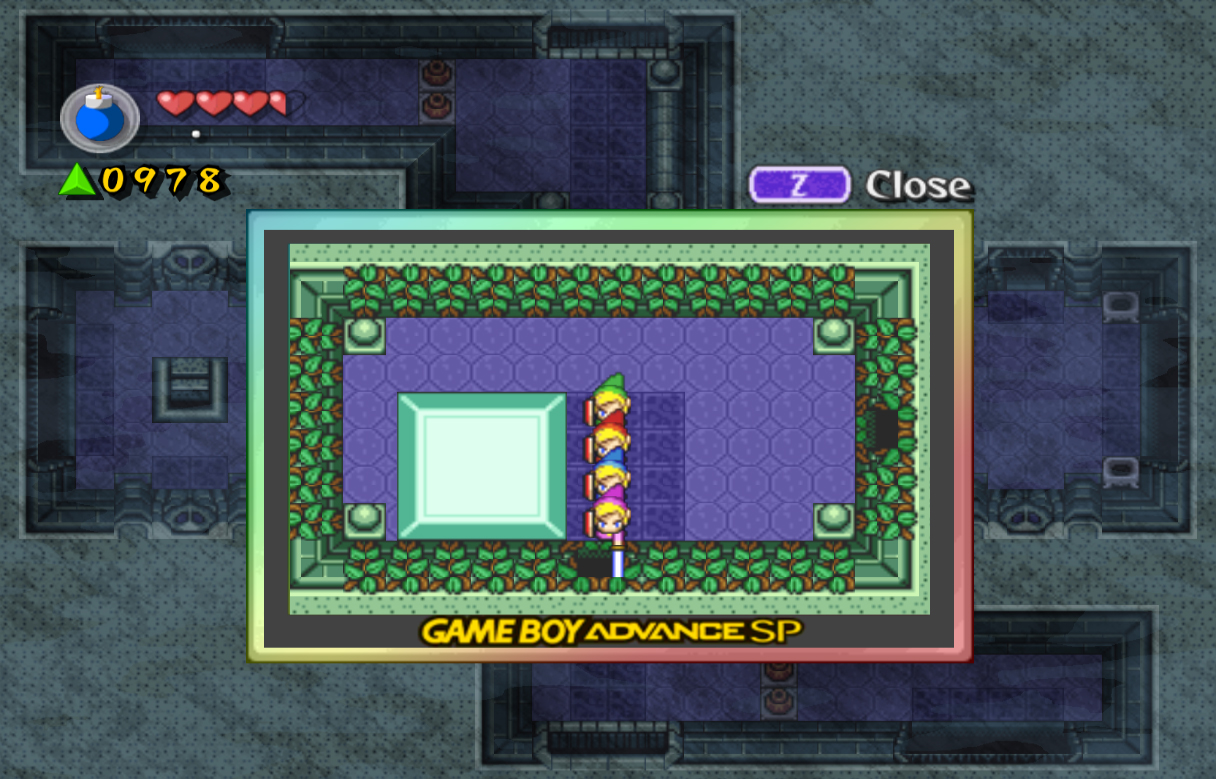
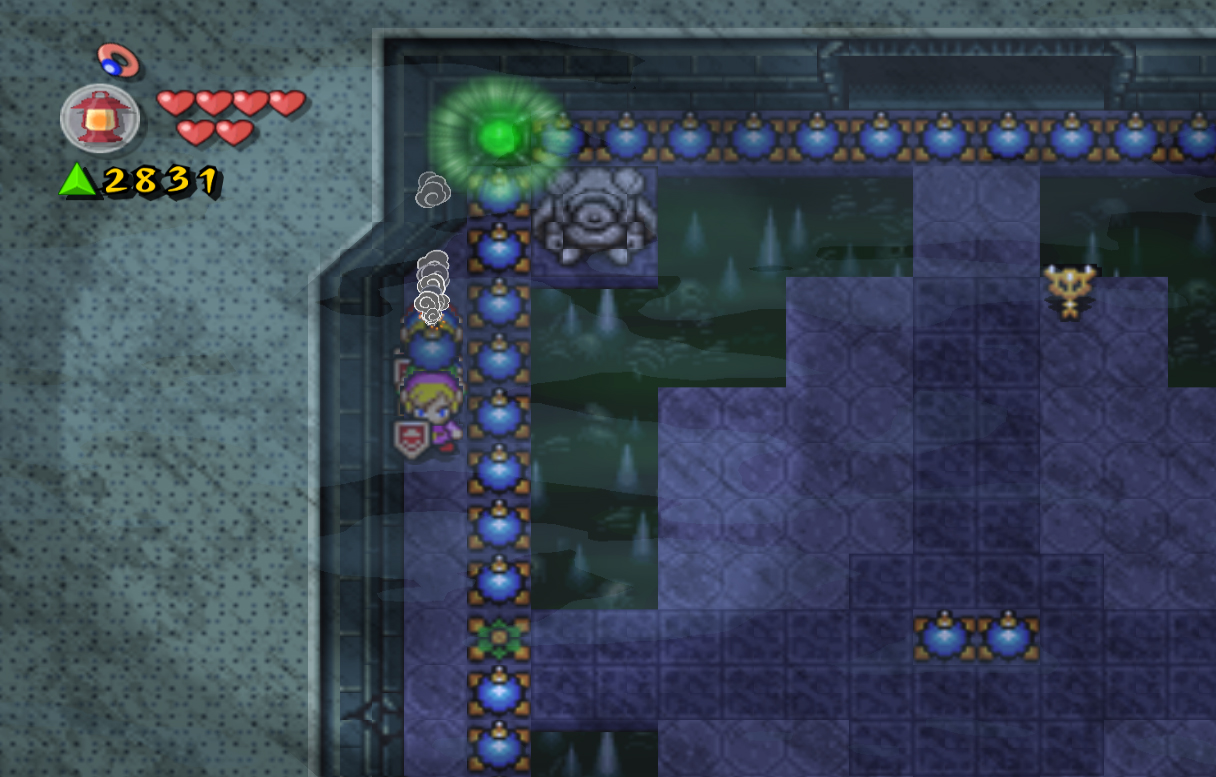
Before you do anything on this screen, swim down a little bit and enter the swirling vortex. In this underwater area, you'll find two Cheep-Cheeps, one a large version and one a small. You don't have any way to defeat them, so just ignore them. Head right, and down when you first have the opportunity to. Grab the big green force gem to the left, then swim right past the large Cheep-Cheep. Climb the ladder at the end, then head right a screen. Enter the right side entrance first and grab the slingshot. Head out, then enter the entrance on the left. This will lead to a Great Fairy, one of many in the game. Great Fairies in this game will upgrade many items in your arsenal when you throw them into the pool of water they float above. This time, throw the slingshot in and she will upgrade it to the Level 2 Slingshot, allowing you to shoot to three different directions at once. With this, head all the way back out above the water. Swim up a little bit and you'll see another gray switch. Create a box formation and step on it, causing Sea Urchins to block both the exits, and a great many Zoras to appear. Head back to the left shoreline and use your new powered up slingshot to defeat all the Zoras when they appear. Once the last Zora has been defeated the Sea Urchins will disappear, allowing you to continue to the next screen.
Swim down and around the edge of this rock to find a lot of crabs. Create a wide formation and use the slingshot to defeat all of them, changing the direction the Links face when needed. When they are all defeated, many force gems will drop from the sky. Watch out though, because a Force Gem Like Like is hidden in the force gems. These Like Likes hide beneath the ground with a green force gem on their stalk, waiting for you to get near. When you do, it will pop up and attempt to suck you inside of it, draining your force gems. These enemies don't actually cause any damage; the only damage they cause is to your force gem numbers. These Like Likes have a system to them, the amount the force gem is on their stalk is the amount they take away each time. This one has a small green force gem, so it will only steal one at a time. To find it, swing your sword as you walk through the force gems. When the Like Like is defeated it will leave behind all the force gems it stole. When you're finished, head right another screen.
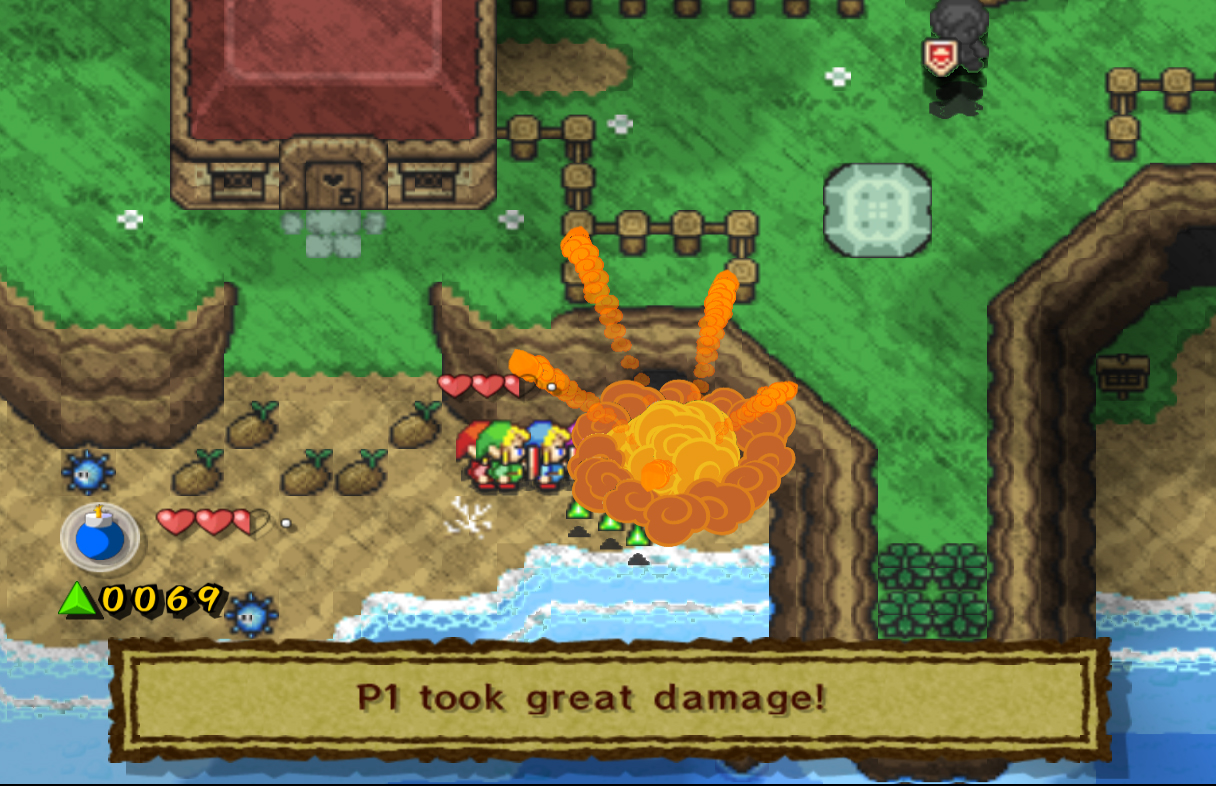
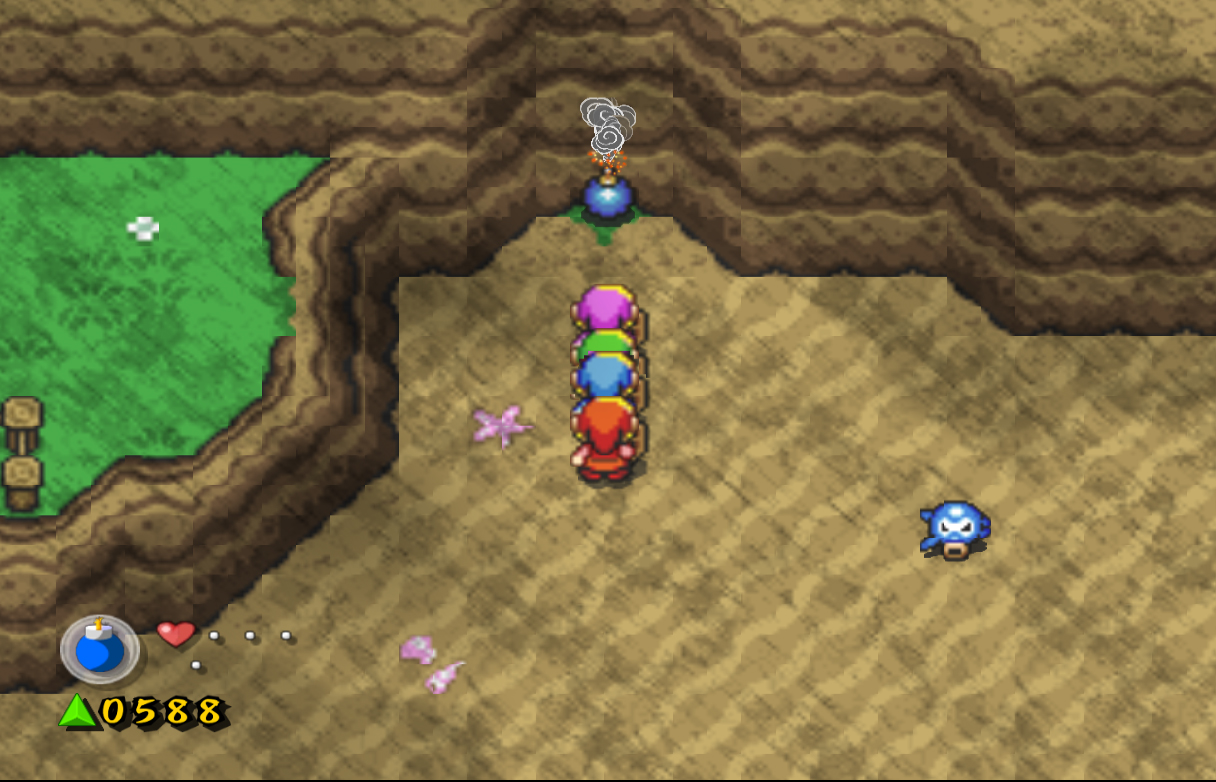
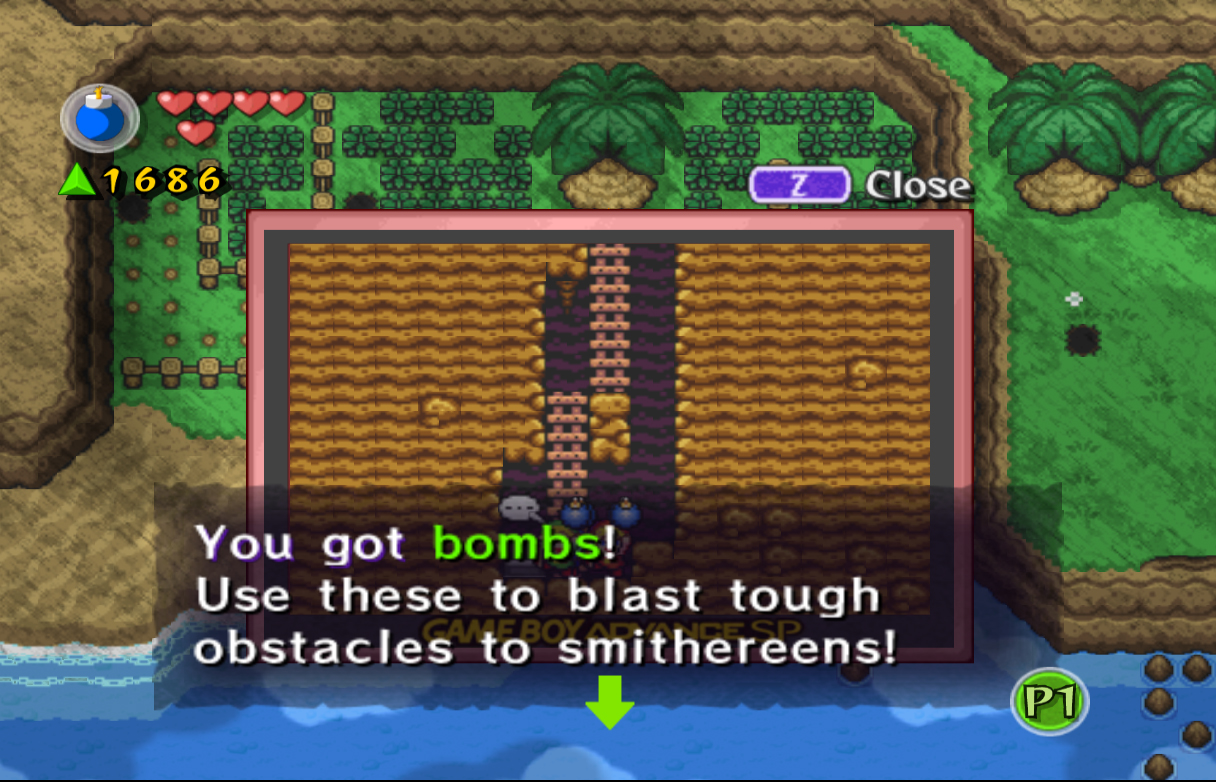
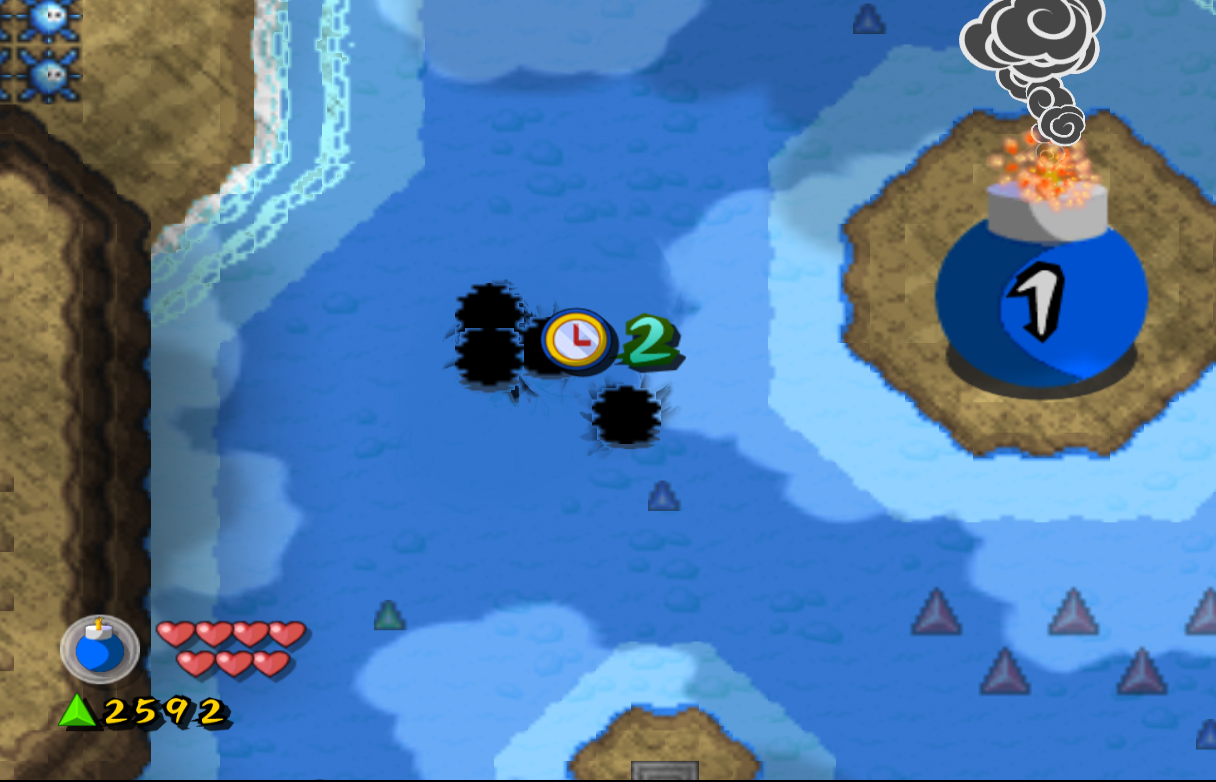
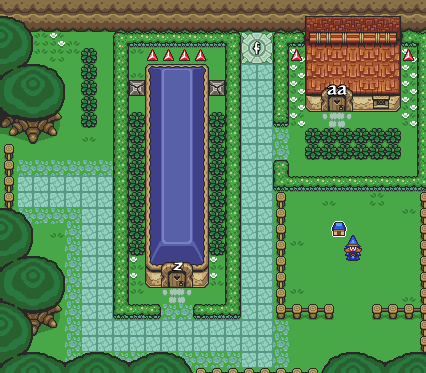
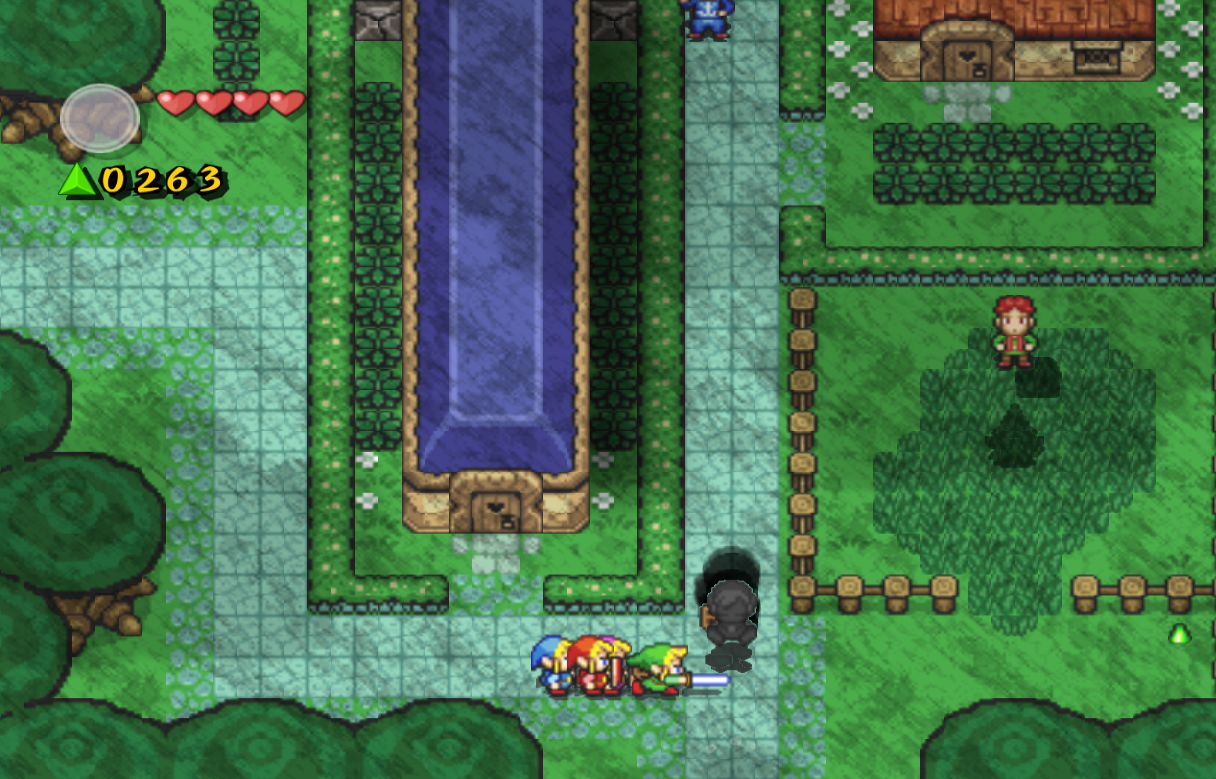
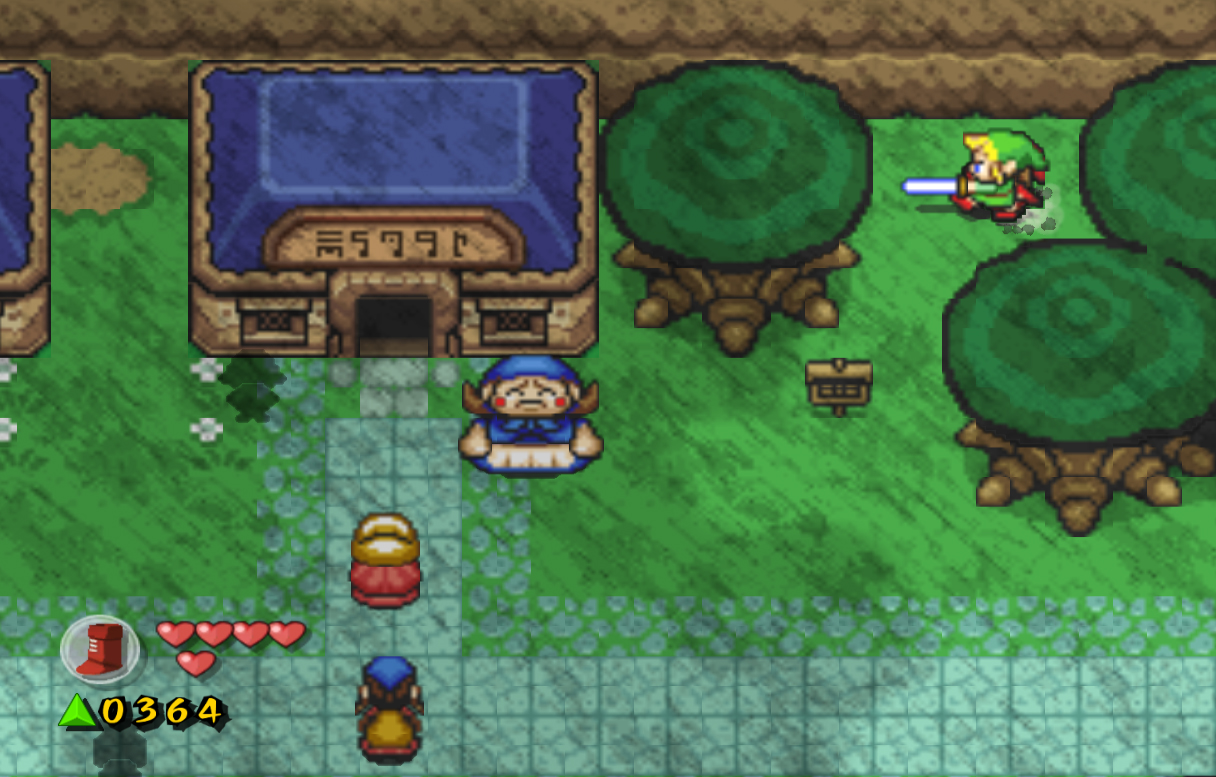
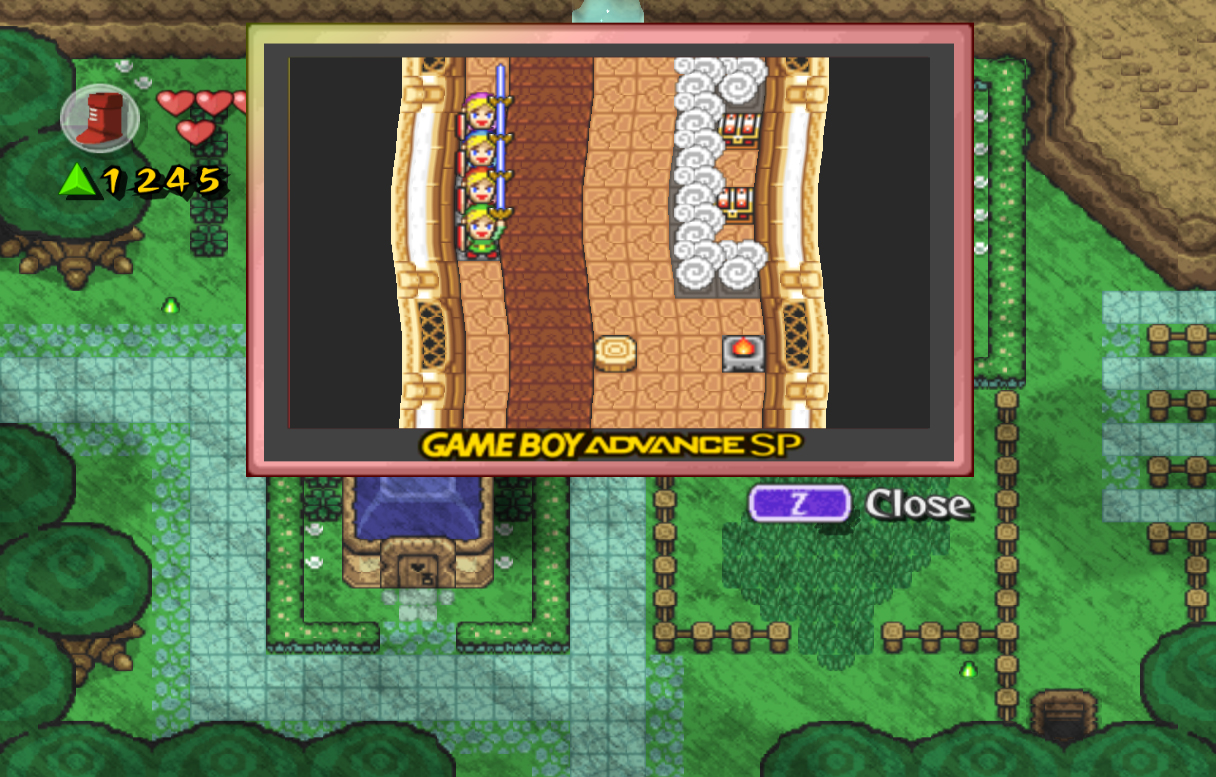
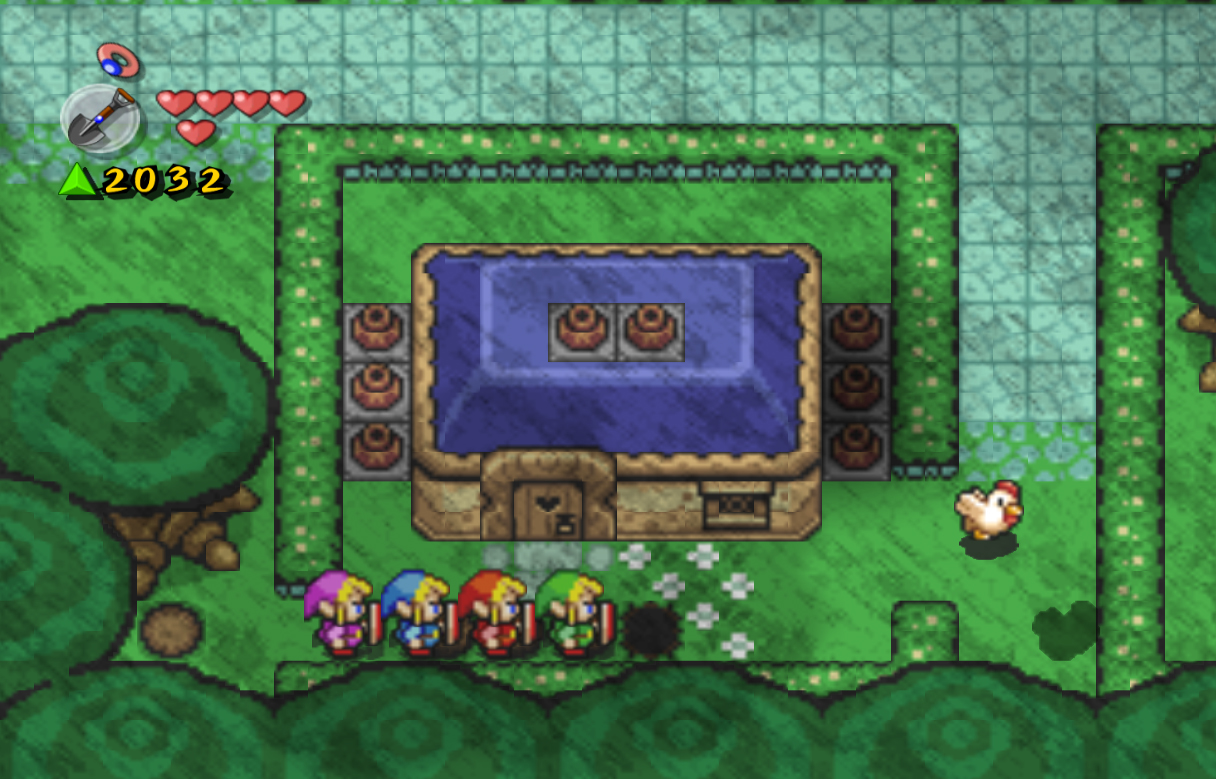
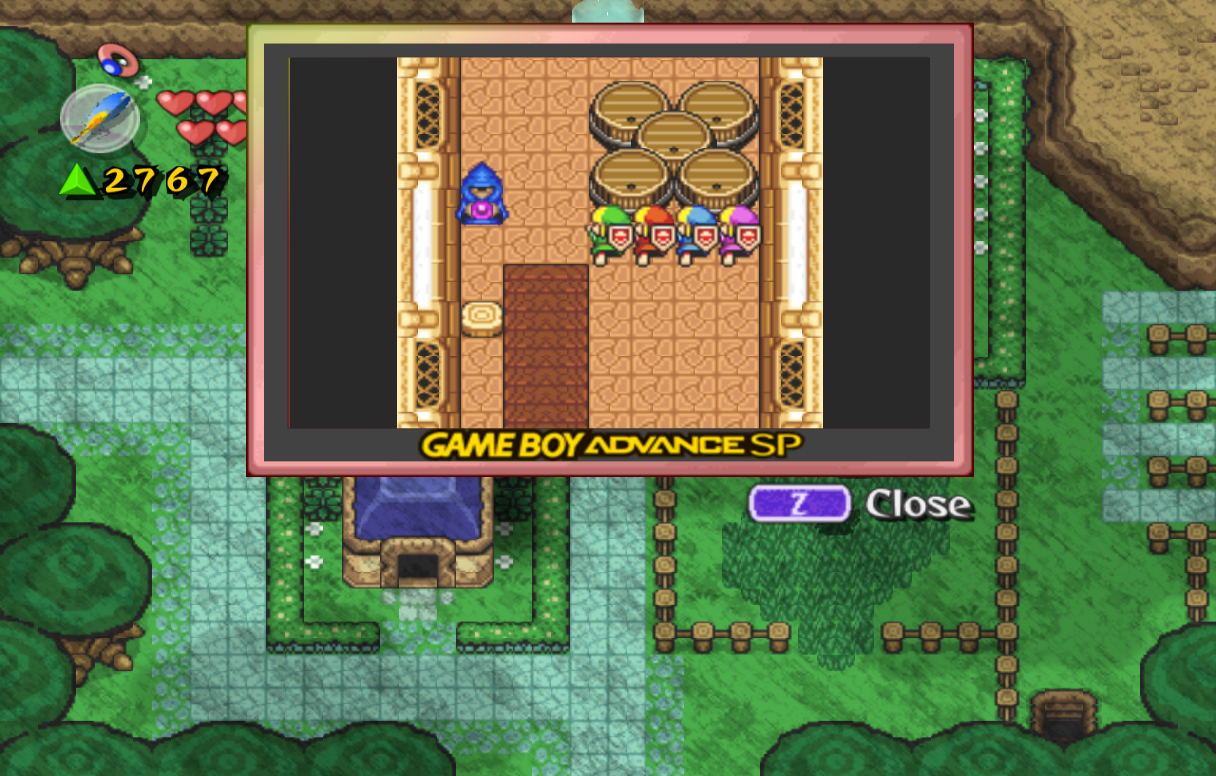
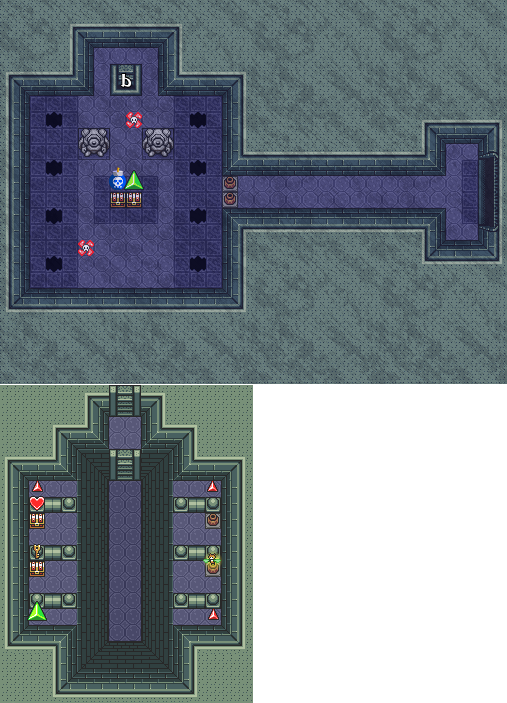
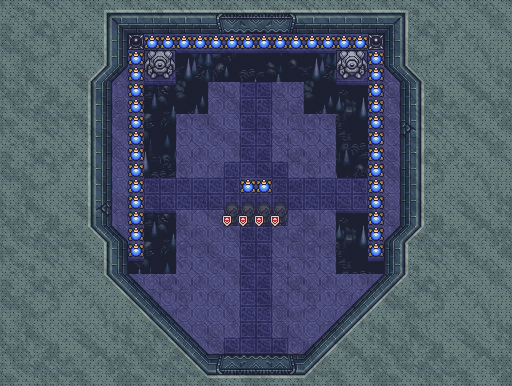
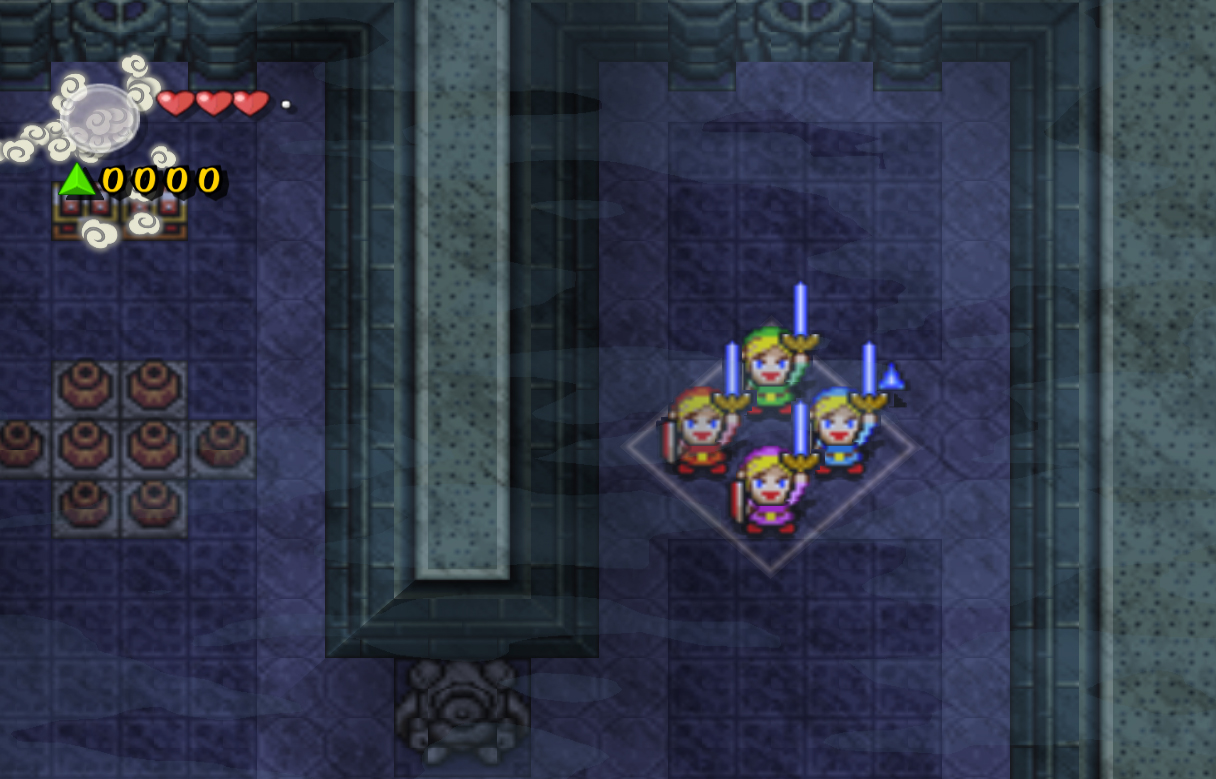
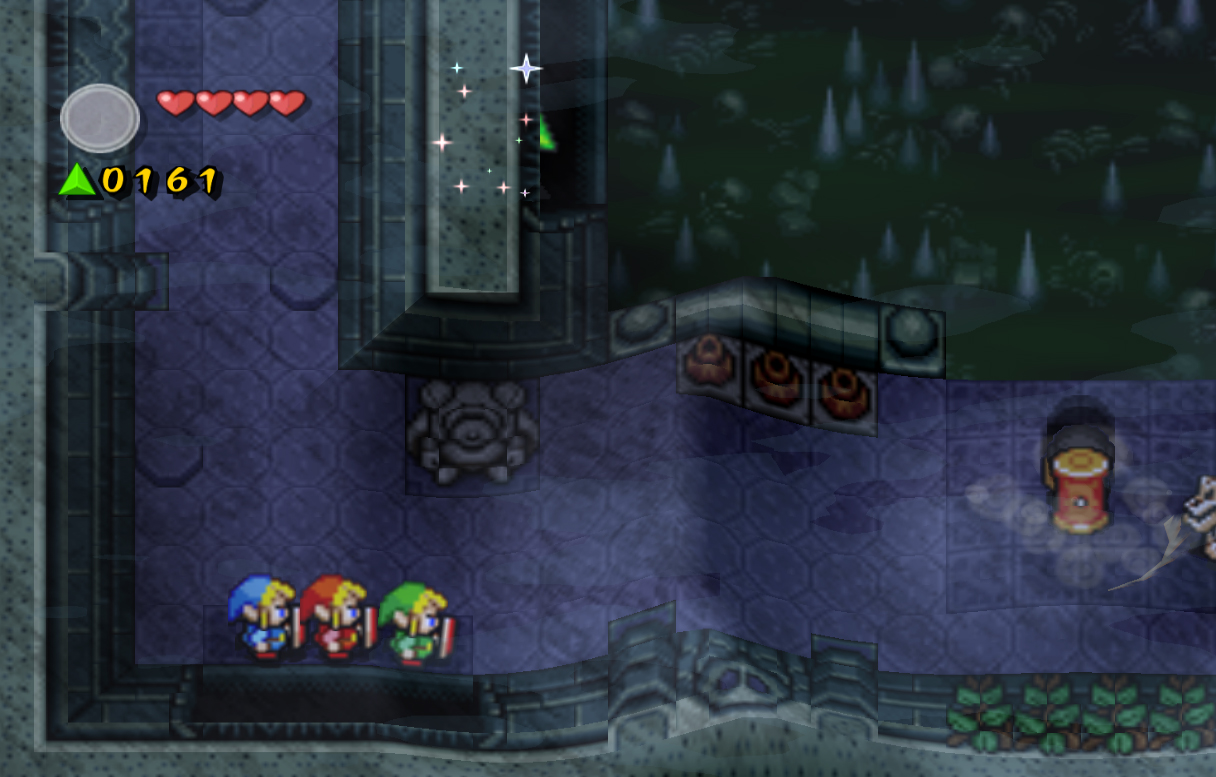
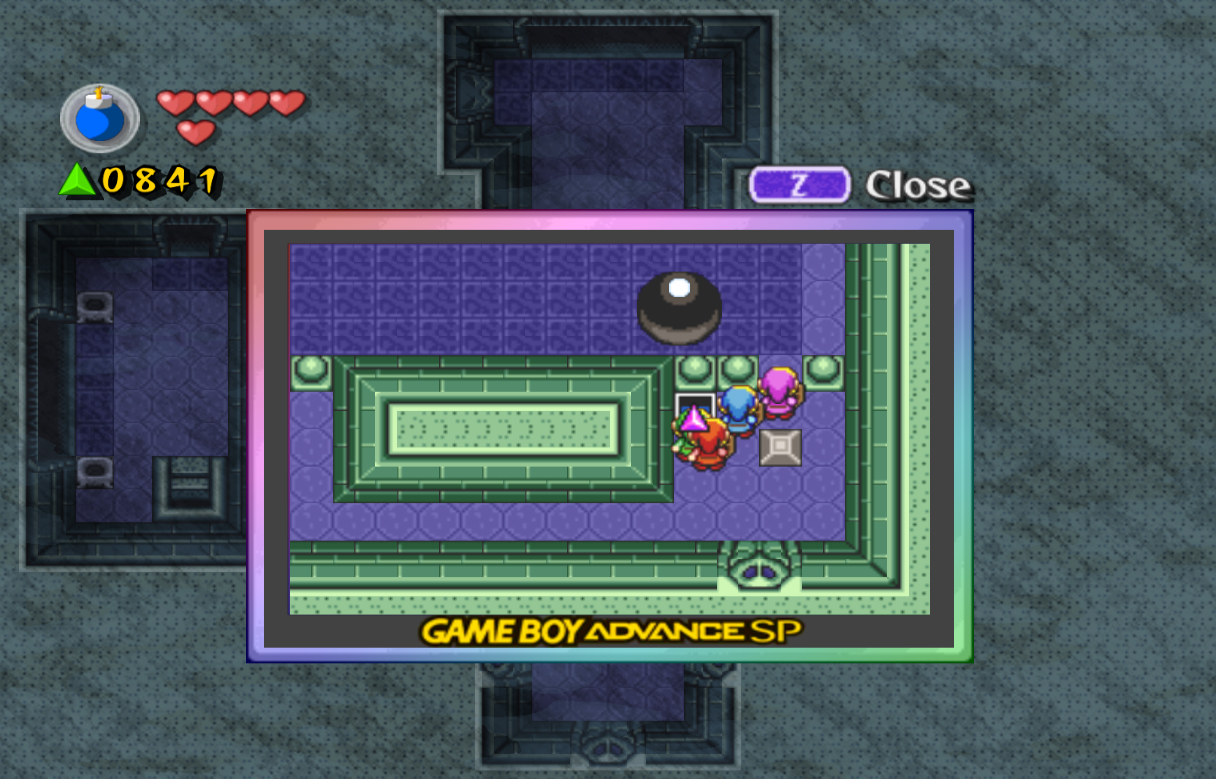
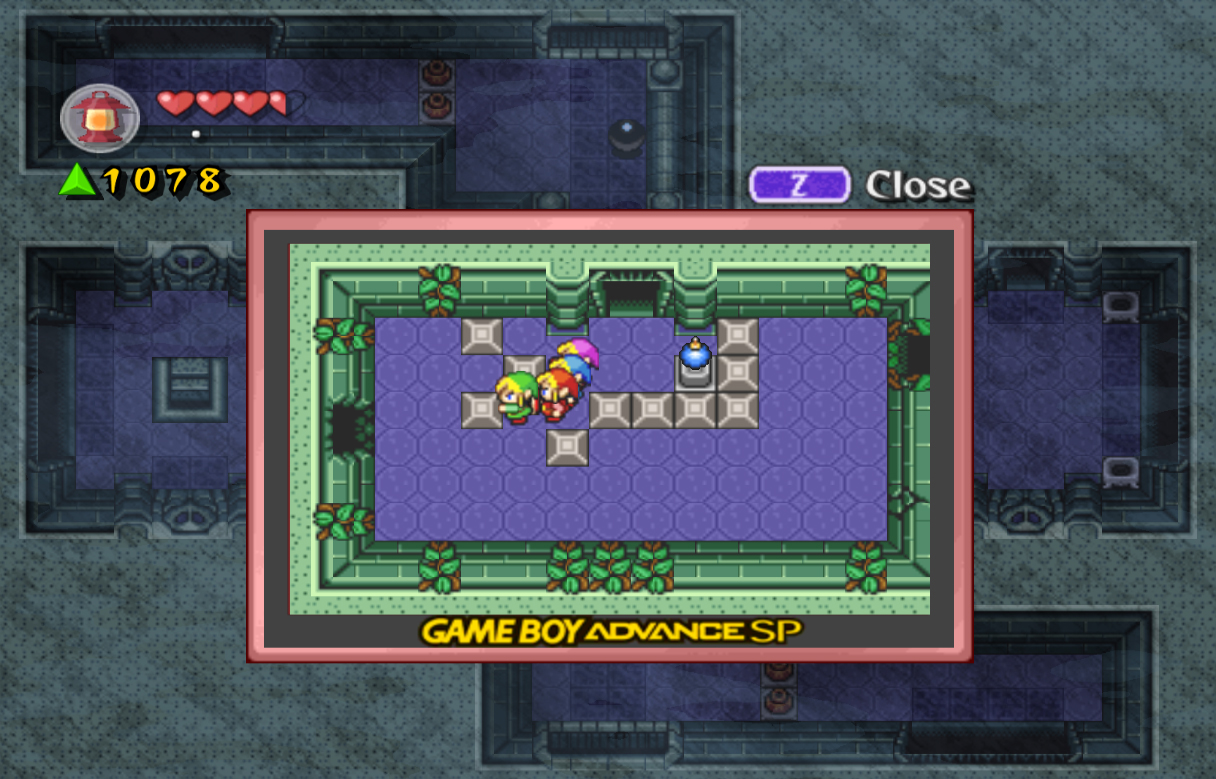
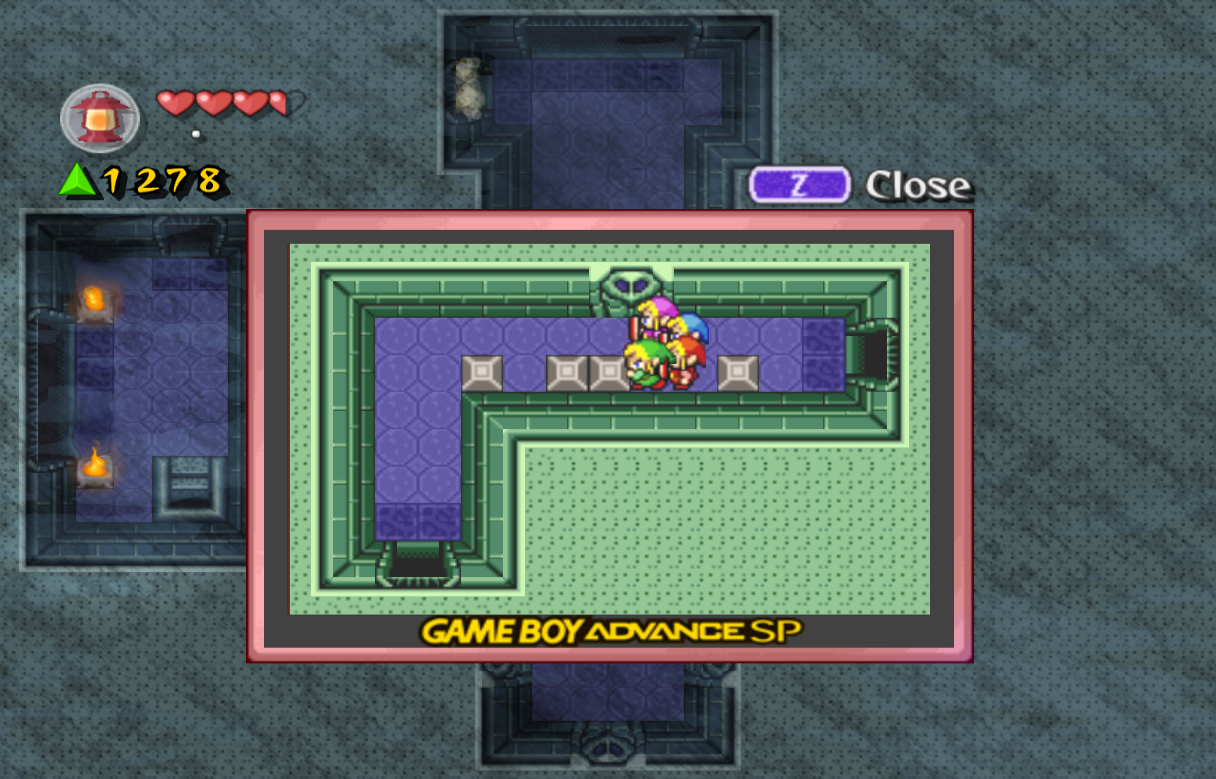
On this screen you'll see a cut scene showing Shadow Link appearing with a large, blue bomb. This is a Giant Bomb; the same one I talked about earlier in the chapter. This is one of the many screens in the game where Shadow Link will create a bomb, disappear, let the bomb explode, and then come back with another one. This process will continue until you leave the screen, or until you die. These Giant Bombs have a nasty effect, in which they kill you in one hit, so it's best to avoid them. To add to the problem, Shadow Link cannot be killed in this screen; you simply have to deal with him until you make it across. Start off by heading down the stairs next to the bomb. Collect the 15 force gems below and talk to the Mage. He will question what Shadow Link is doing, recklessly throwing bombs up there, but also mention that if you value your life to flee to the underground so you don't die. Head up the stairs to get back outside. You'll pop out of a hole into the next enclosed area. Slash the bushes to the left and work your way through to find another hole along the left wall; jump in before the next bomb goes off. Grab the bombs here, then climb back outside when it's safe.
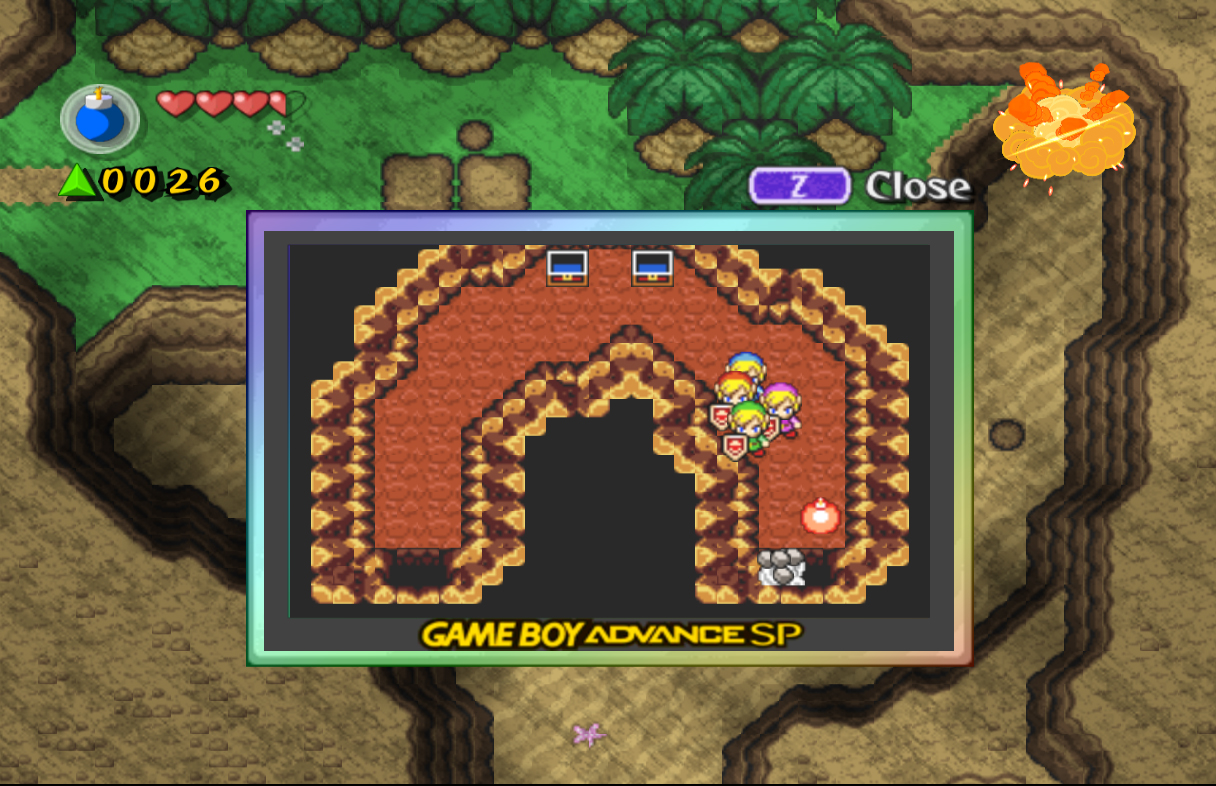
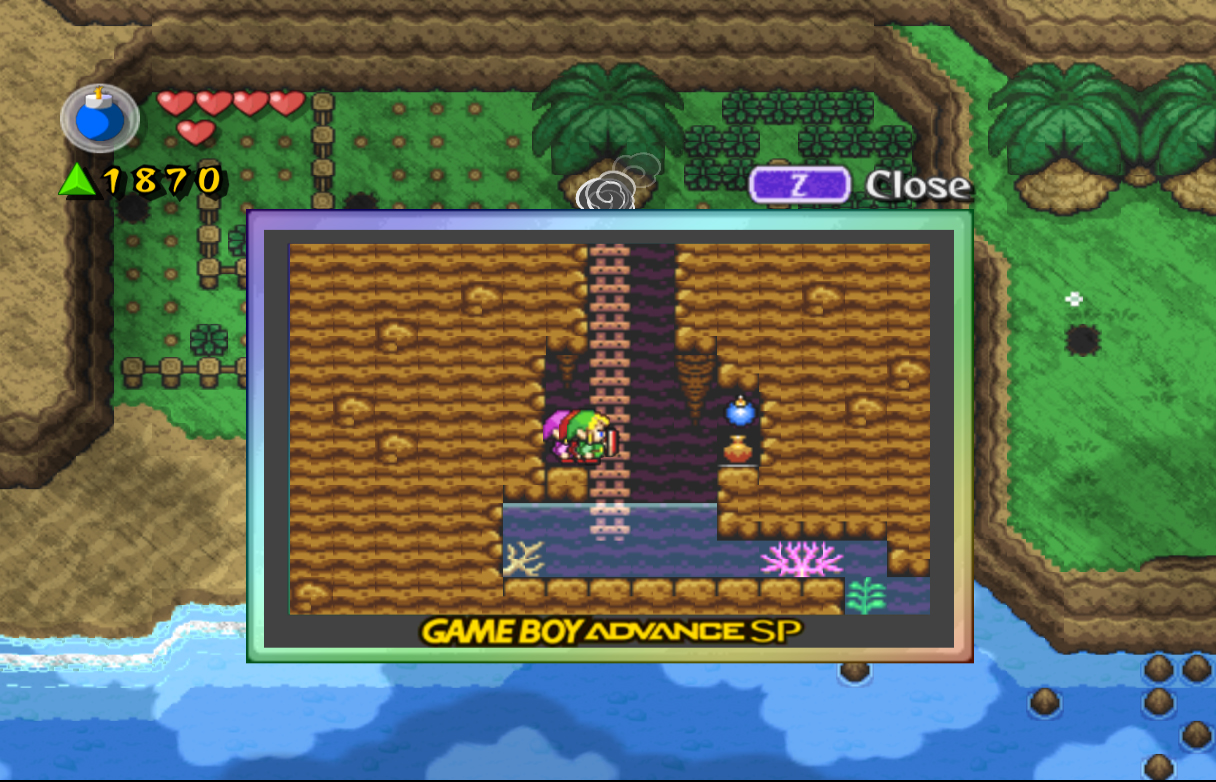
You can use the bombs at any point on this screen to set fire to the grass, creating more force gems. Otherwise, slash the grass in this area and you'll find another hole at the end. You'll find another simple cavern here; just swim through the water and climb up to the next exit. Slash your way through the next area, and along the south wall you'll find another hole containing a big green force gem. Climb back out when it's safe, then enter the next hole along the right wall. Here, you'll find a small pool and a pot in an alcove you can't quite hit. Pop out a bomb, then carefully aim and throw it across so that it lands on top of the pot. When it explodes, it will leave behind a Force Fairy. Now, separate the Links and throw one across the gap to collect it. Head back outside. Once outside, enter the last hole in this area on the far right, then bomb the wall inside the cavern. Grab another big green force gem, then head outside once more. Grab the large rock here to unearth another hole; jump inside for the last time. Fall down to the bottom, and enter the cannon beneath the water. Shoot upwards, making sure to collect the force gem floating across the screen. Enter the second cannon and shoot outside, then finally exit this screen. On the next screen you'll find many Octoroks, in both red and blue colors. Defeat them if you wish, but start working your way right regardless. Below the lone tree to the north you'll find a patch of grass by its lonesome self; slash it to reveal a hole. Jump inside, then swim to the left side. Open the chest to get the second Heart Container of this level. Swim back to the right, then climb the ladders and exit the cave.
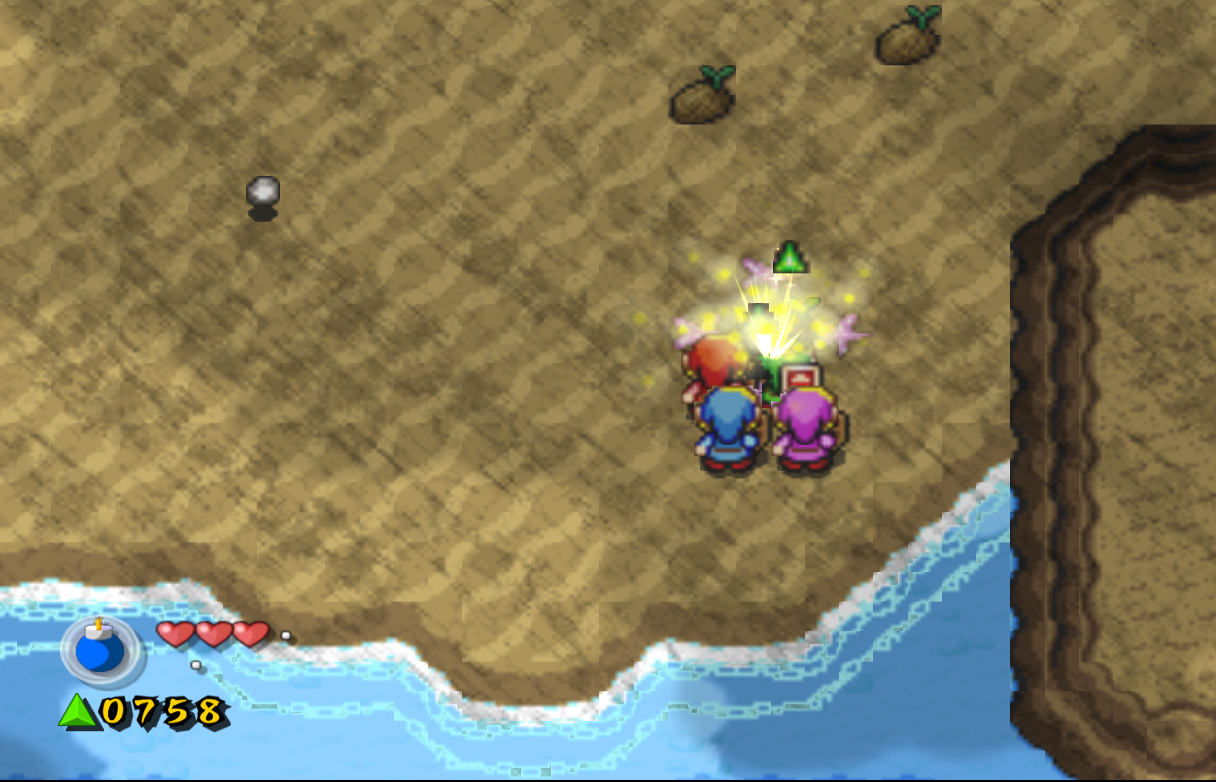
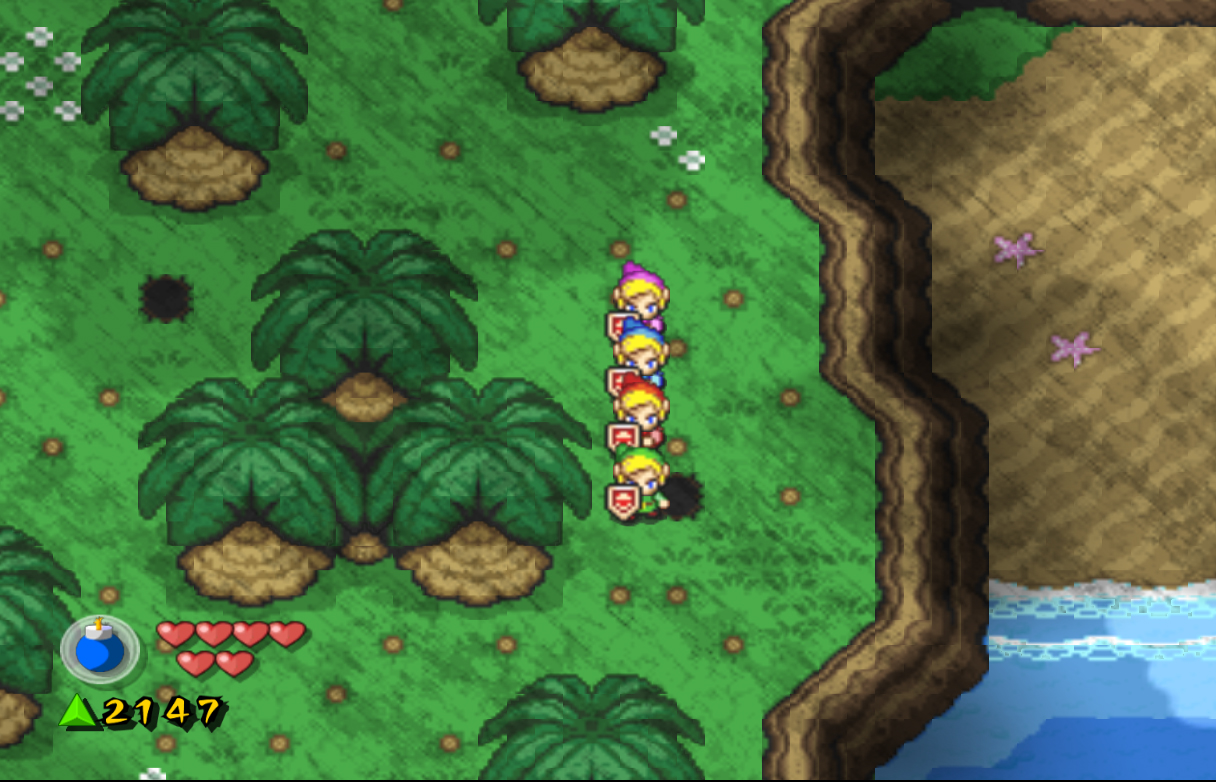
Head south, then right. On the right side of the group of 3 trees you can slash another piece of grass to find another hole. Head south, then use all four Links to push the large block to the left. Exit out the left side and you'll find three force gems sitting on the ground. Unfortunately, these are actually Force Gem Knights, warriors disguised as force gems. When you get near, they will start to attack you. If you don't defeat them quickly enough they will explode, leaving behind a single force gem. They are great swordsmen as well, you can't attack them from the front; you must do it from the sides or the back. If you land 3 hits quickly enough they will leave behind the big green force gem. Once they're done away with, work your way right, lifting the coconuts and slashing the grass to find the next cave.
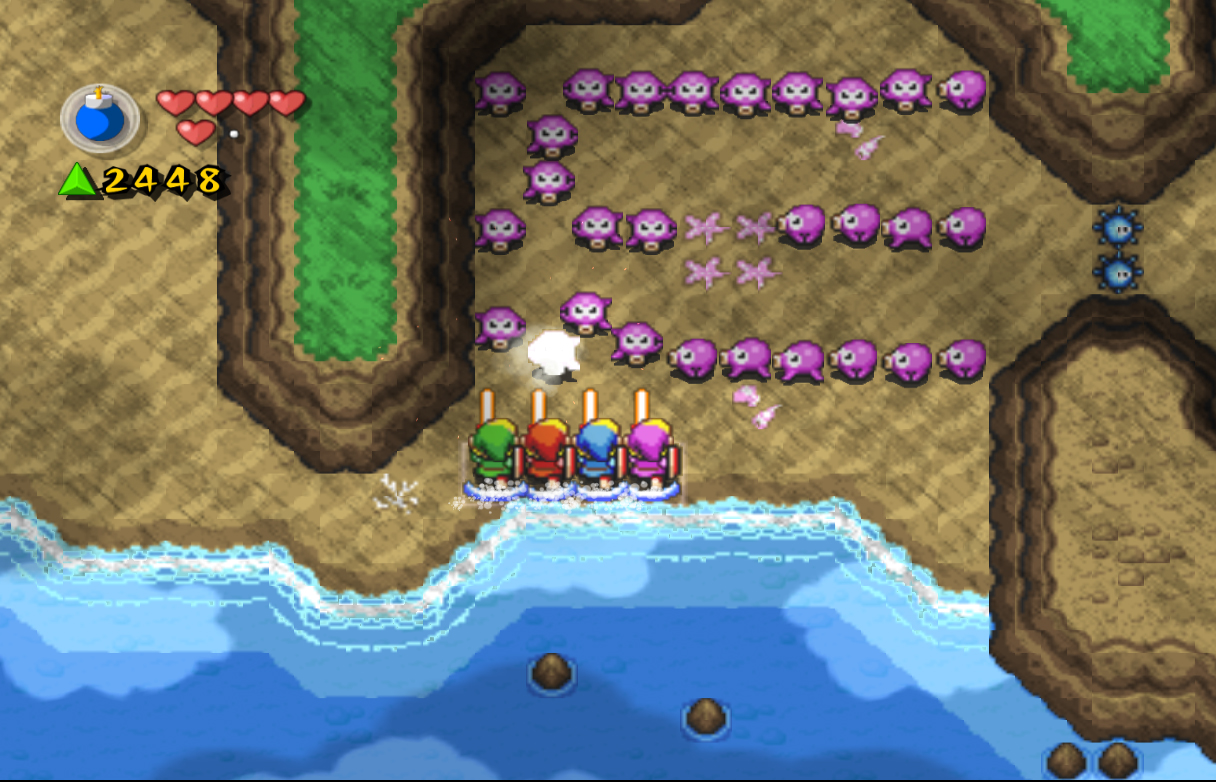
Here you'll find a seemingly empty cave, with walls that will appear whenever you get near them. This maze is incredibly easy to work through, so walk through it and collect the big green force gem at the end. Exit the cave and head right a screen. You'll find a large amount of pink Octoroks blocking the pathway, and you have a couple of options to defeat them. You can either take them all on single-handed, throw bombs at them with all four Links, create a line formation and defeat them. You can also, if you have enough force gems, use the Hurricane Spin to work your way through them. Simply charge up your sword and release to defeat all or most of them.
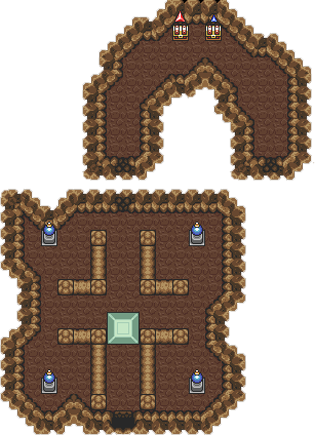
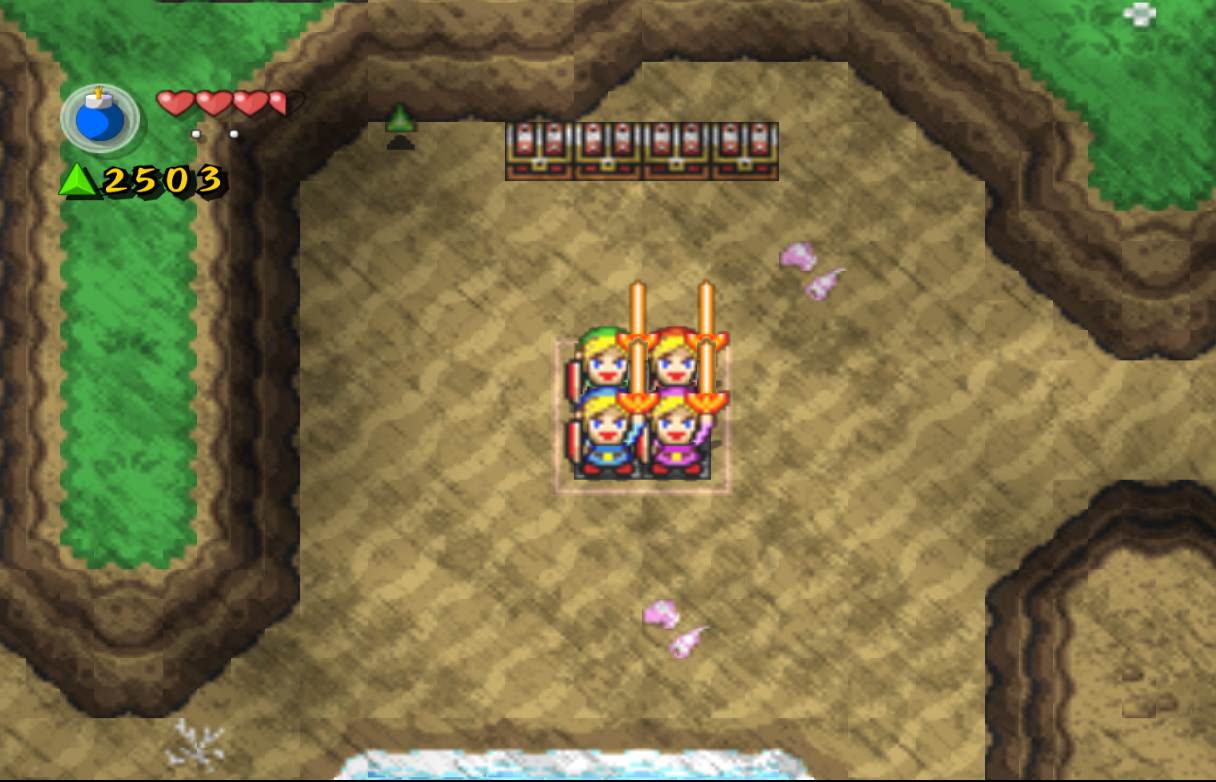
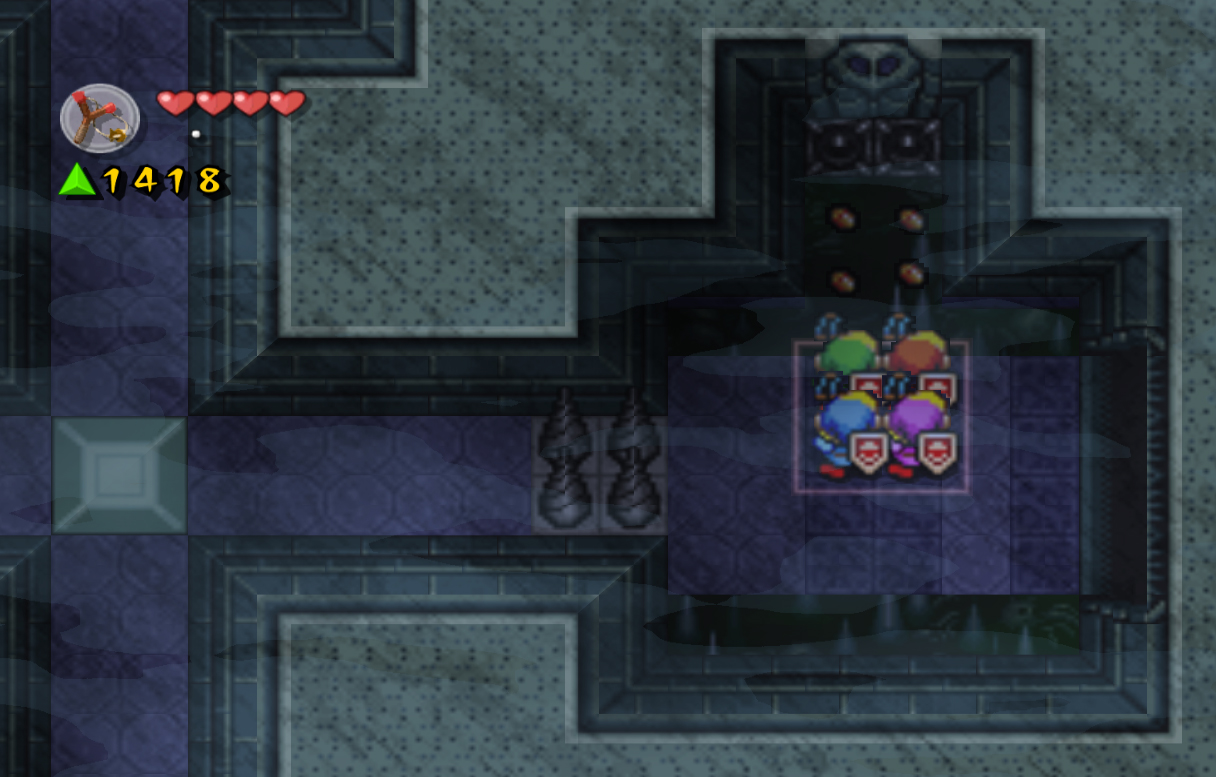
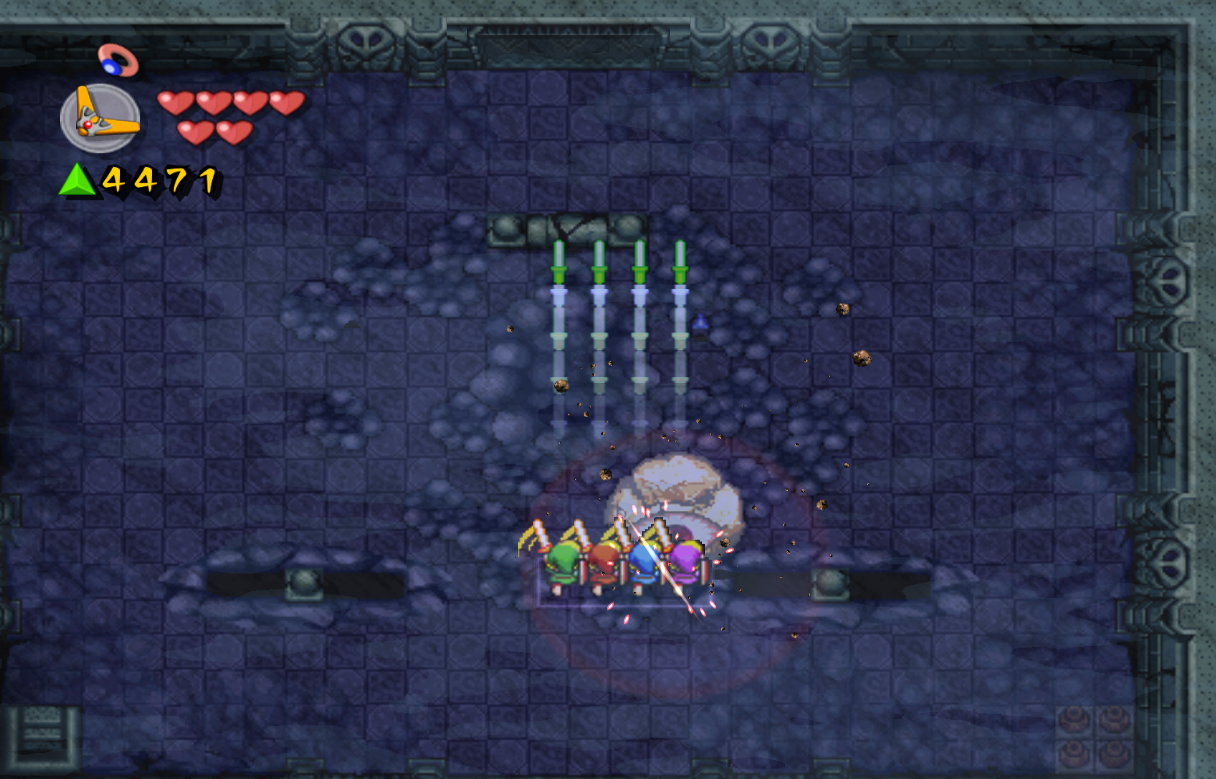
Once they are gone, collect the force gems they leave behind and have all four Links step on the orange switches. This will take away the barrier on the right and also cause four chests to appear. They contain, starting from the left: a green force gem, a blue force gem, the third and final Heart Container, and another green force gem. Collect them, then head right a couple of steps. To the south is an alcove with three coconuts. Lift them to find a force fairy; collect it, then leave the screen. Shadow Link is back again, although this time he is much easier to get past. The idea here is to dive underwater and collect the many force gems in the water, but to also be underwater when the bomb goes off. Remember though, you only have five seconds to breath underwater, so dive when the counter on the bomb gets below five seconds. Collect all the force gems, then step on the orange switch on the right-bottom side, revealing a chest containing another 100 force gems. Head up to the next screen to take on the level boss: Manhandla.
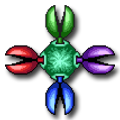
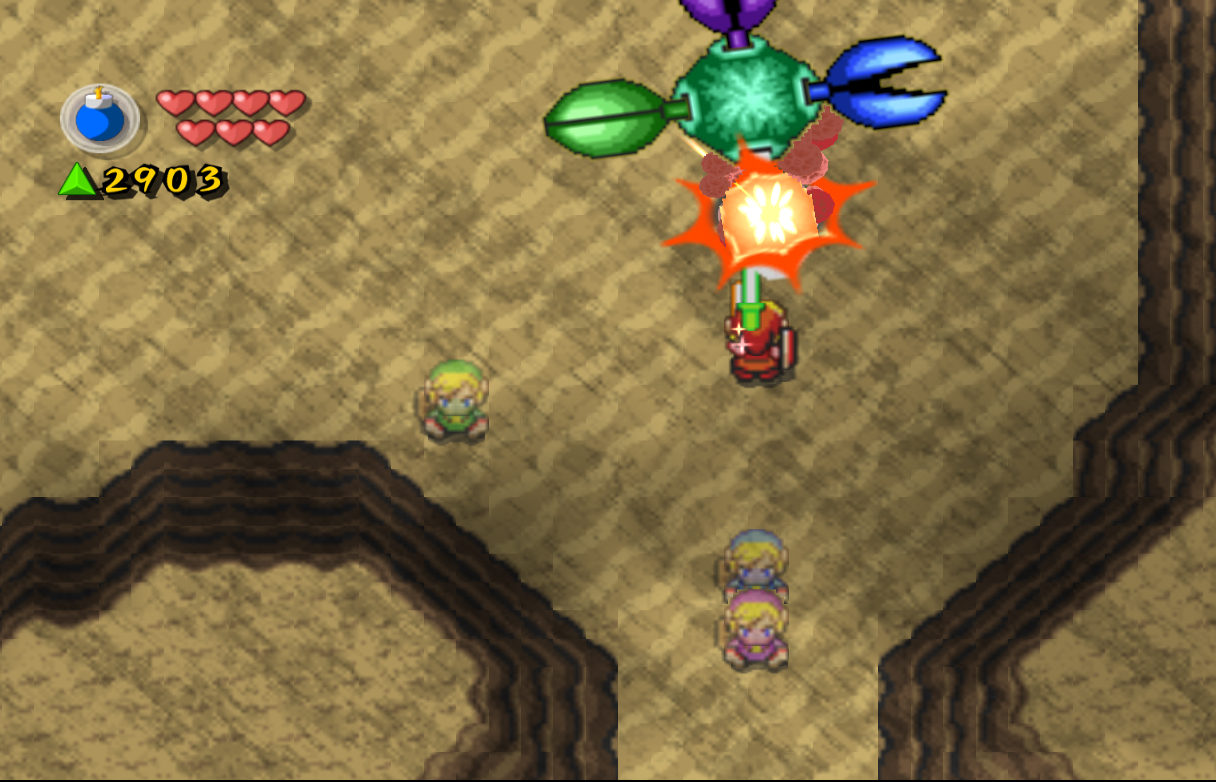
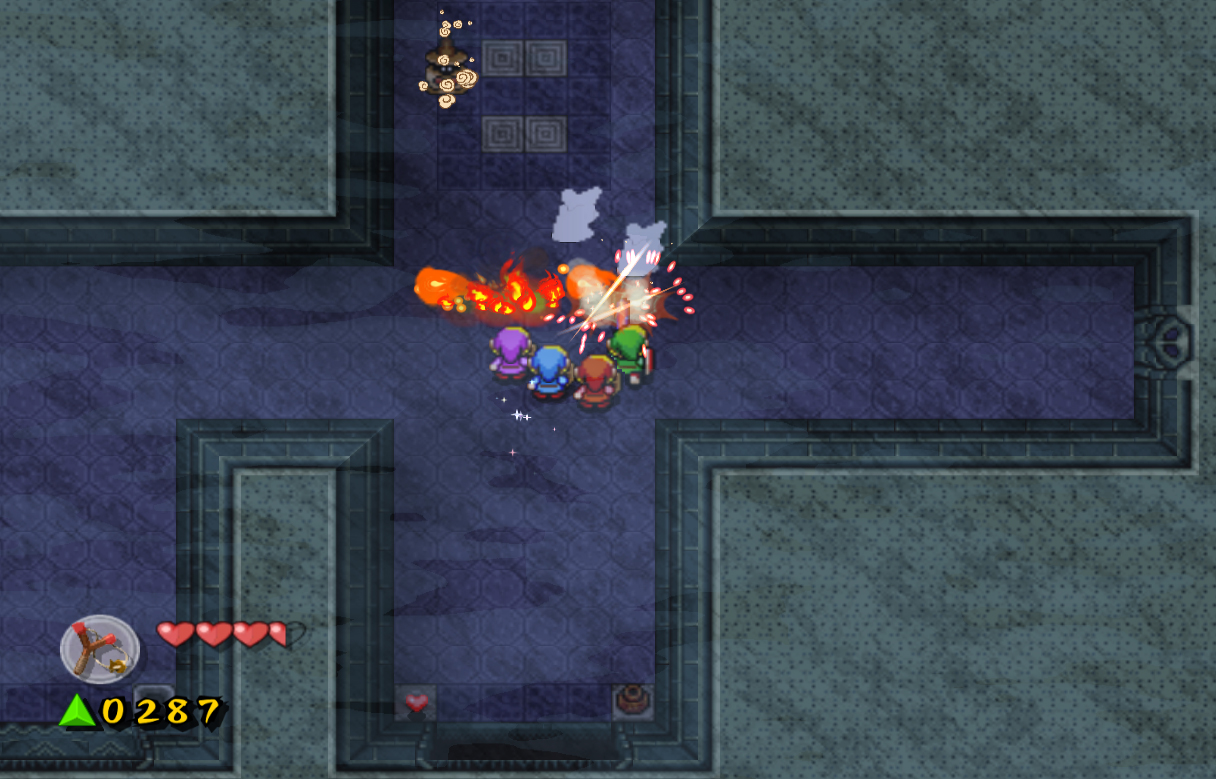
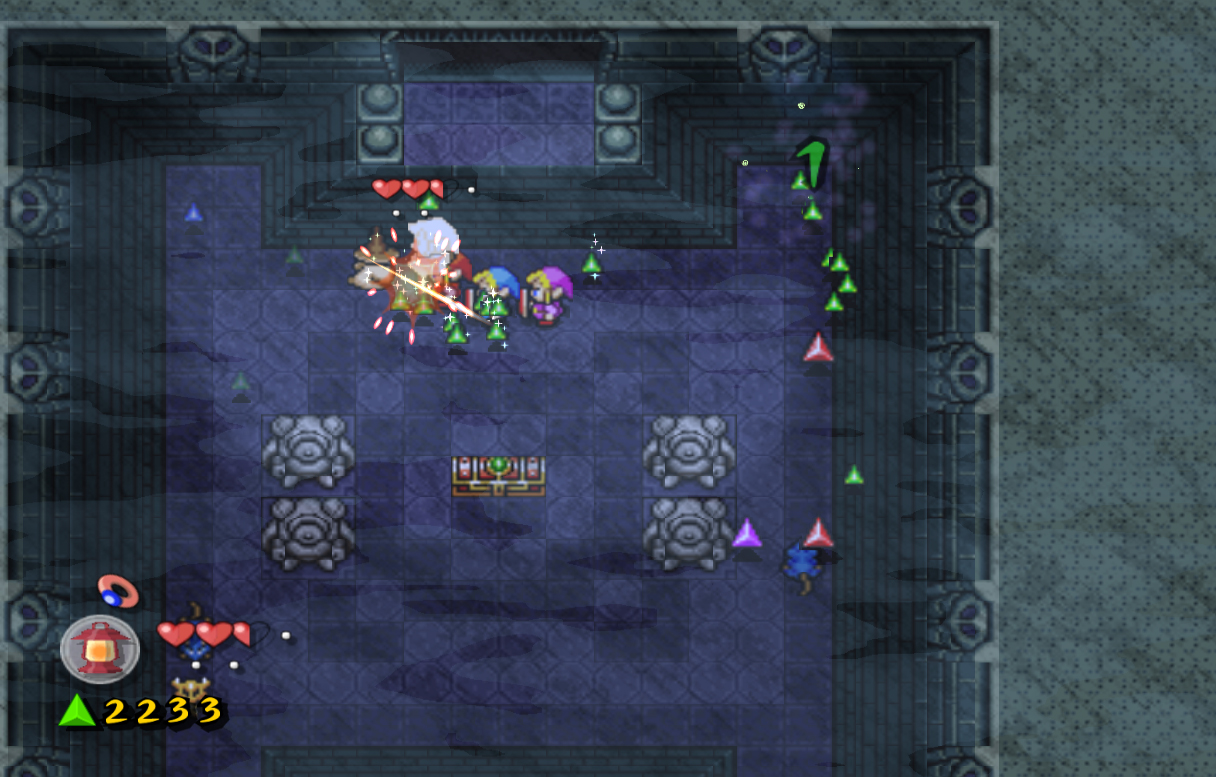
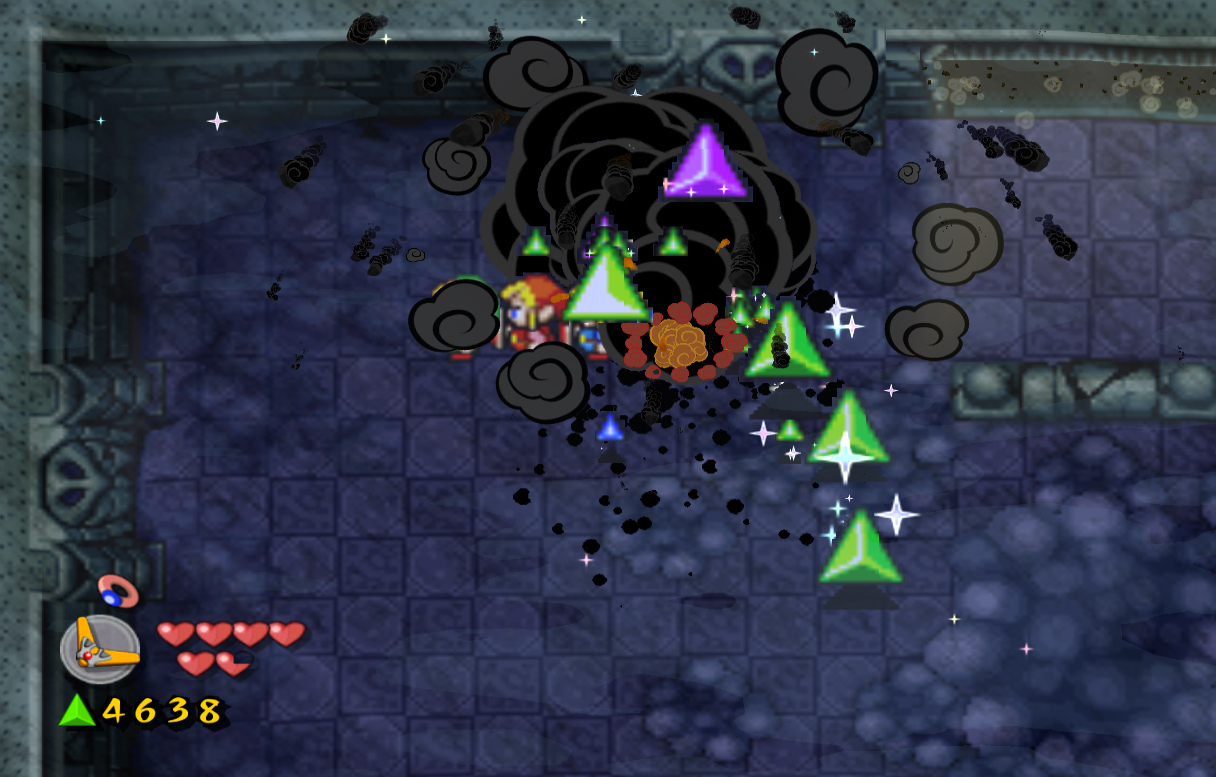
Manhandla has been in the Zelda series since the very beginning, and this time he's a little different. Each side of him is color-coded, and each side needs to be hit by that same color Link. Once a side is hit correctly by the same color Link, the side will become smaller, and Manhandla will start moving faster. Once each side is hit by the correct color, Manhandla will be defeated. If a side is hit by a different color Link than needed, each side that has been correctly hit will revert back to its large form, and you will need to hit it again. Once Manhandla has been defeated, collect the 500 force gems it leaves behind, and head up to the next screen. Defeat the eye barriers, then collect your fairies and head to the next stage. |

 Giant Bomb Giant Bomb
These massive bombs can be found in chests, but are most often used by Shadow Link during certain mini-boss battles. [more] 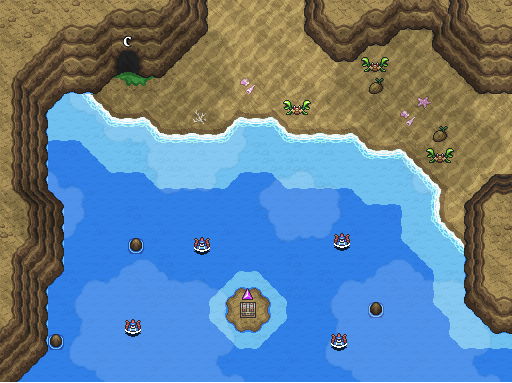
 Slingshot Slingshot
The Four Sword is a legendary blade that resides in the Four Sword Sanctuary. Like the Master Sword, it has the power to repel evil, and can also house evil inside of it, like the Wind Sorceror Vaati. It has the power to split Link into four copies of himself with differing colored tunics: green, red, blue and purple. [more] 
 Heart Container #1 Heart Container #1
The first Heart Container can be found in Lake Hylia at the top of the waterfall. Enter the right side cave and use the Links to step on the switches, creating a bridge. Exit back outside and enter the middle cave. Follow the path to a chest containing the Heart Container. [more] 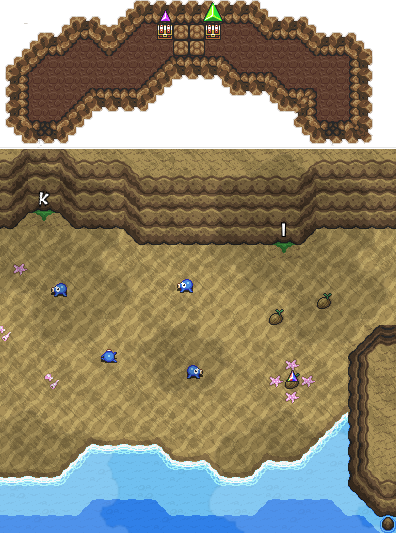
 Octorok (Blue) Octorok (Blue)
River Zora are evil Zora that can be found in many rivers and lakes throughout the game. They will pop their heads out of the water and shoot fireballs that can be dodged or blocked with a shield. While most Zoras attack, some found in the Swamp level will sit below lilypads and help shoot Link into the sky. [more] 
 Great Fairy Great Fairy
Link is the main protagonist in Hyrule. After taking the Four Sword out of its pedestal, he splits into four different colored Links and is given the task of defeating Vaati and saving Princess Zelda, the Maidens, and Hyrule. [more] Sea Urchin
River Zora are evil Zora that can be found in many rivers and lakes throughout the game. They will pop their heads out of the water and shoot fireballs that can be dodged or blocked with a shield. While most Zoras attack, some found in the Swamp level will sit below lilypads and help shoot Link into the sky. [more] 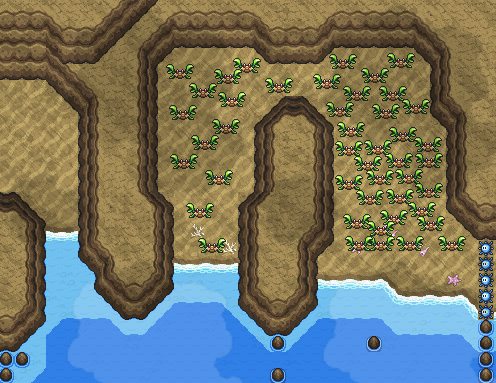 Crab
Crab
River Zora are evil Zora that can be found in many rivers and lakes throughout the game. They will pop their heads out of the water and shoot fireballs that can be dodged or blocked with a shield. While most Zoras attack, some found in the Swamp level will sit below lilypads and help shoot Link into the sky. [more] 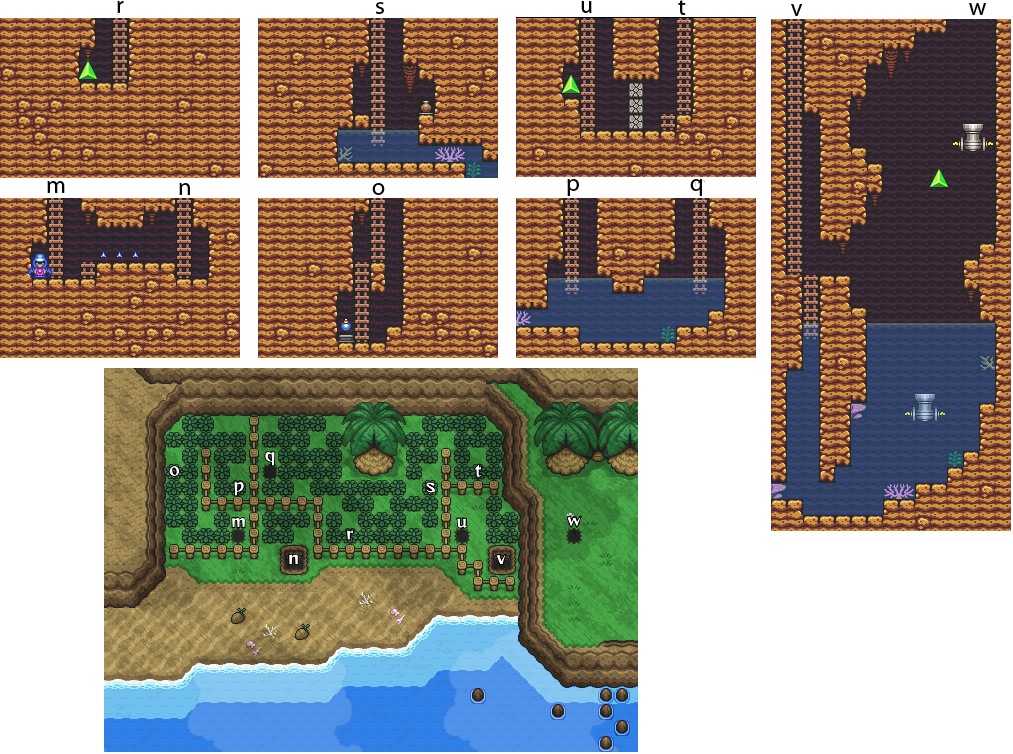 Heart Container #2
The first Heart Container can be found in Lake Hylia at the top of the waterfall. Enter the right side cave and use the Links to step on the switches, creating a bridge. Exit back outside and enter the middle cave. Follow the path to a chest containing the Heart Container. [more]  Force Gem Knight Force Gem Knight
River Zora are evil Zora that can be found in many rivers and lakes throughout the game. They will pop their heads out of the water and shoot fireballs that can be dodged or blocked with a shield. While most Zoras attack, some found in the Swamp level will sit below lilypads and help shoot Link into the sky. [more] 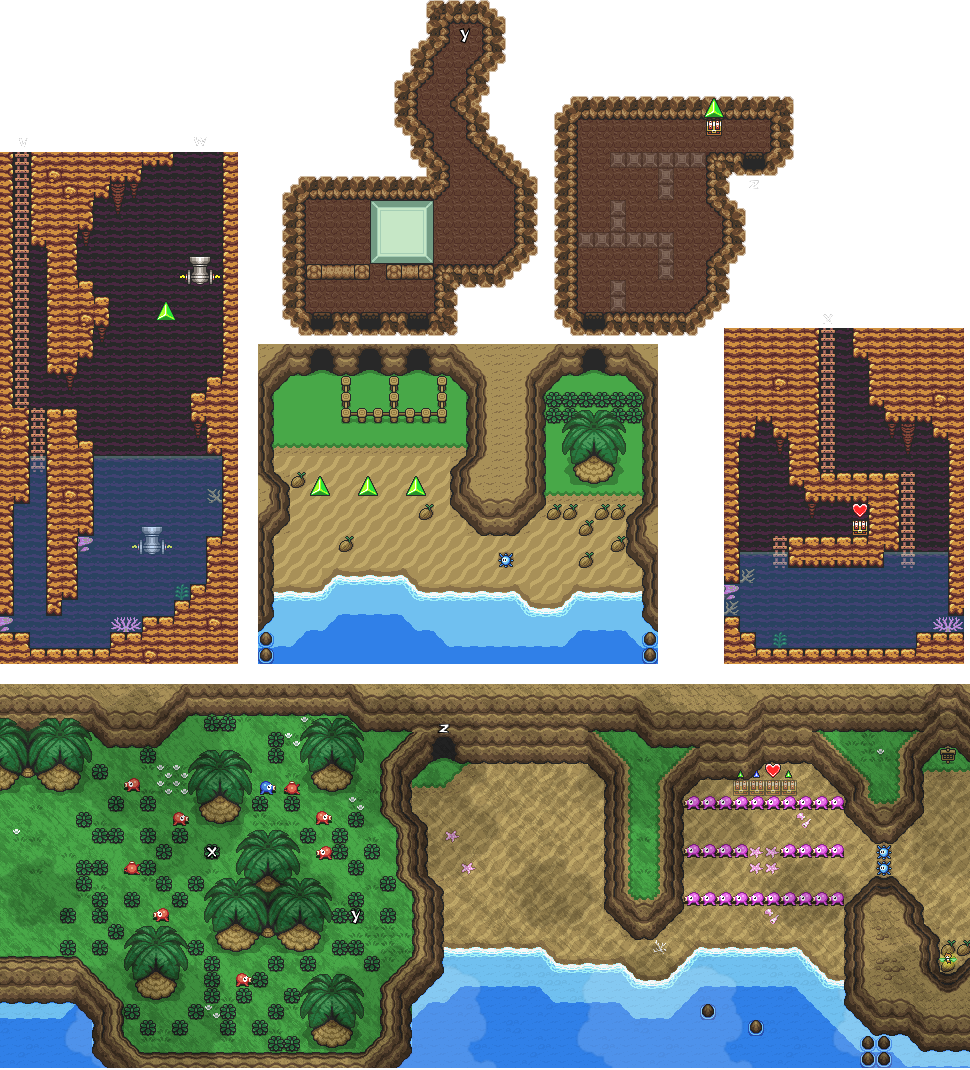
 Octorok (Pink) Octorok (Pink)
River Zora are evil Zora that can be found in many rivers and lakes throughout the game. They will pop their heads out of the water and shoot fireballs that can be dodged or blocked with a shield. While most Zoras attack, some found in the Swamp level will sit below lilypads and help shoot Link into the sky. [more] Heart Container #3
The first Heart Container can be found in Lake Hylia at the top of the waterfall. Enter the right side cave and use the Links to step on the switches, creating a bridge. Exit back outside and enter the middle cave. Follow the path to a chest containing the Heart Container. [more] 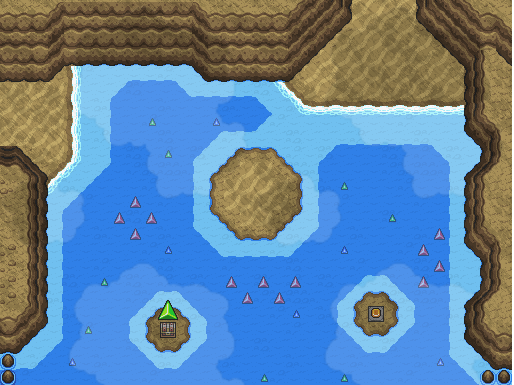
 Manhandla Manhandla
River Zora are evil Zora that can be found in many rivers and lakes throughout the game. They will pop their heads out of the water and shoot fireballs that can be dodged or blocked with a shield. While most Zoras attack, some found in the Swamp level will sit below lilypads and help shoot Link into the sky. [more] 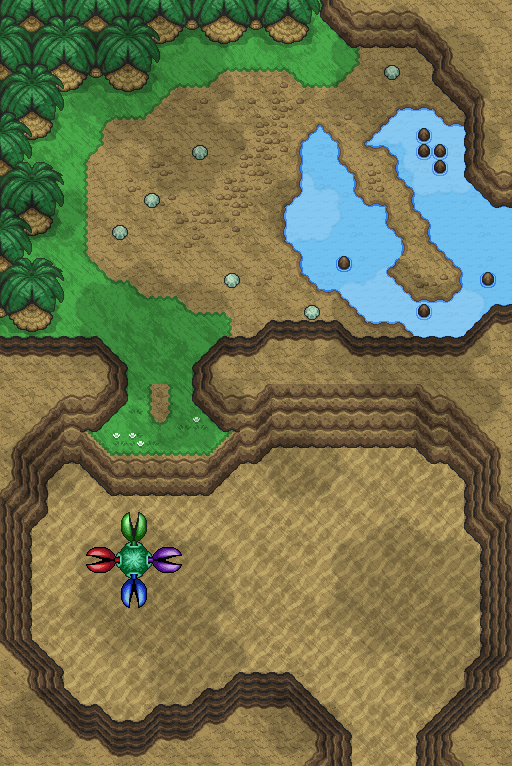
|


2.2 Village of the Blue Maiden
|
|
|
|
|
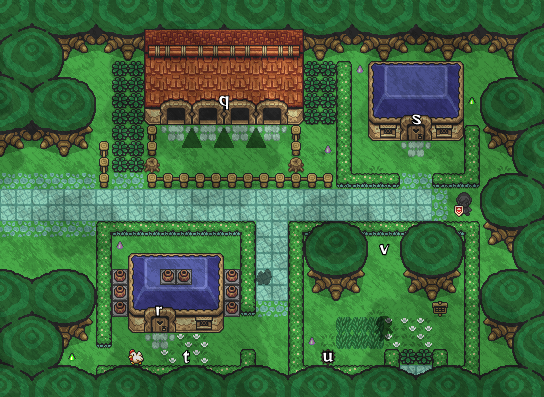
Welcome to the Village of the Blue Maiden, one of the most difficult and confusing stages in the game. This level introduces many new features, such as the Dark World, Moon Pearls, and Moon Gates. This stage also contains no typical enemies (excluding Shadow Link), and merely consists of completing various tasks for the residents, who seem to be disappearing every day.
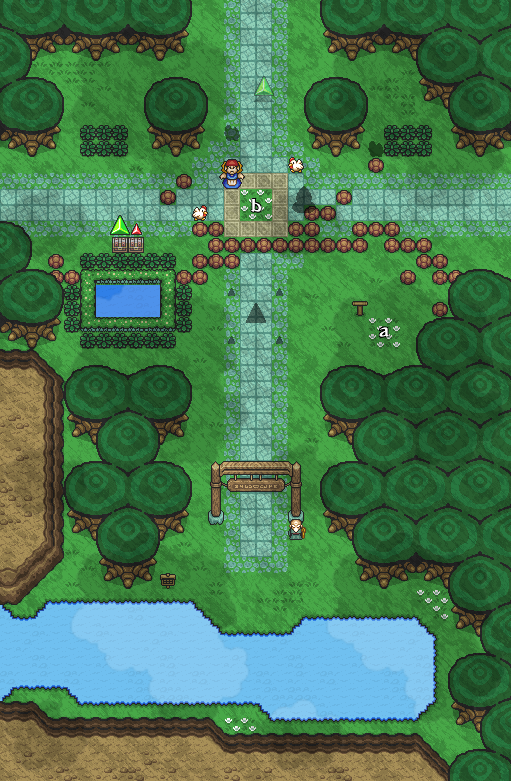
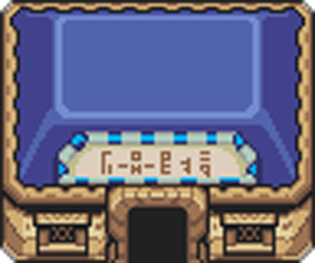
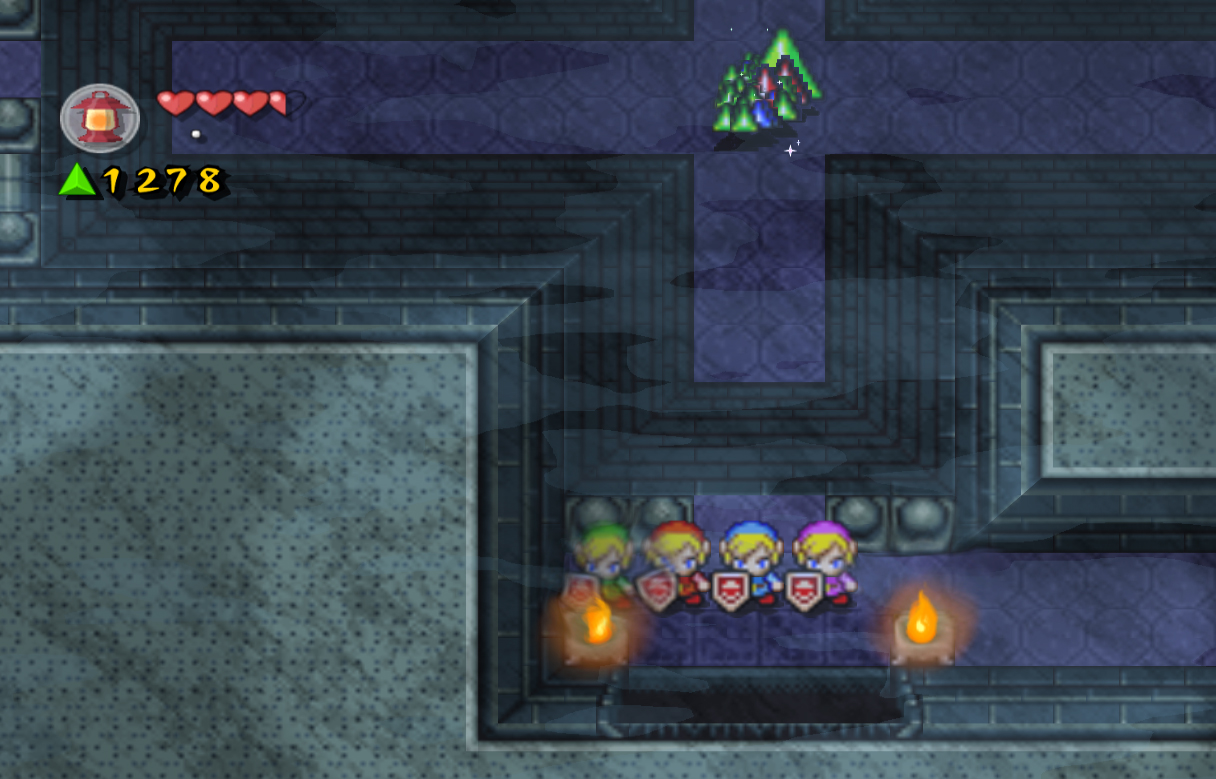
Head to the right and up, where you'll find another Tingle Times sign. This sign will be the first to inform you that the residents of this village, mainly the children, are disappearing at an alarming rate. Tingle doesn't know what happened to them, but he's sad because he can't play with them. He asks that if we do find them that we'll play with them for him. Continue right and speak to the Old Man, who will say that whirlwinds and Mages have been appearing all over town, and until we find someone who can sense the Moon Gates the children can't be saved. Continue up a screen and right away you'll see dark outlines of force gems on the ground. These are actually hidden in the Dark World, but we can't quite get to them yet. Walk to the left and slash at the bushes surrounding the garden. Separate the Links and use them to step on the four switches, causing two chests to appear in the next area. Now to the right to find Kaepora Gaebora again. He'll speak of how the Four Sword not only allows you to smite darkness, but it also allows you to see the Dark World. To save the villagers, we must constantly enter the Dark World to get to new places and trigger new events. Head right a little bit and the ground will start to sparkle, signifying the presence of a Moon Gate.
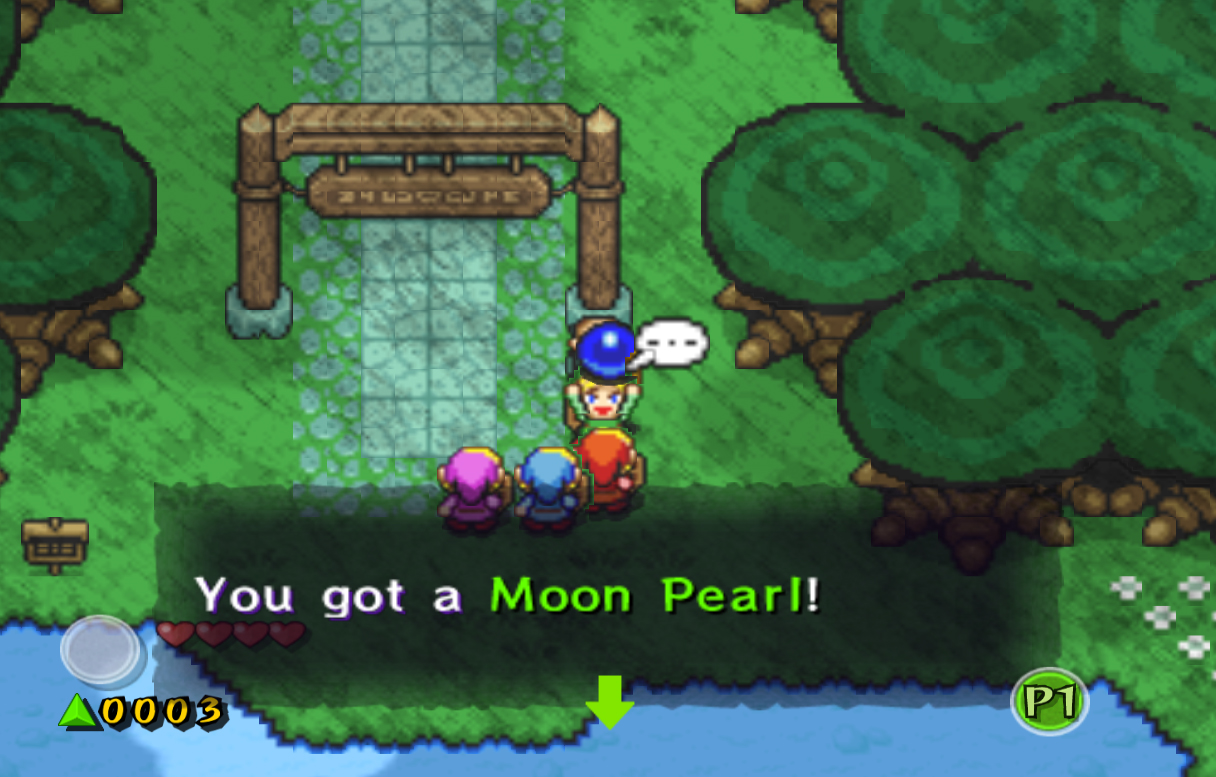
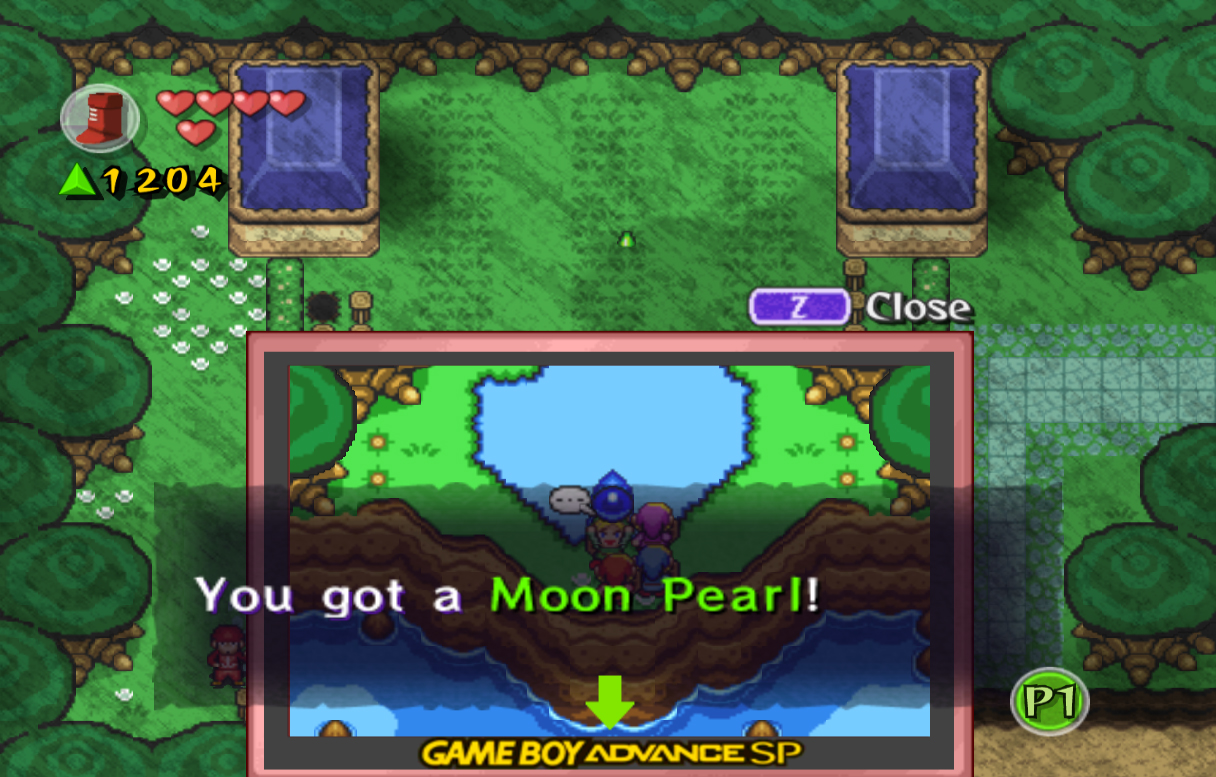
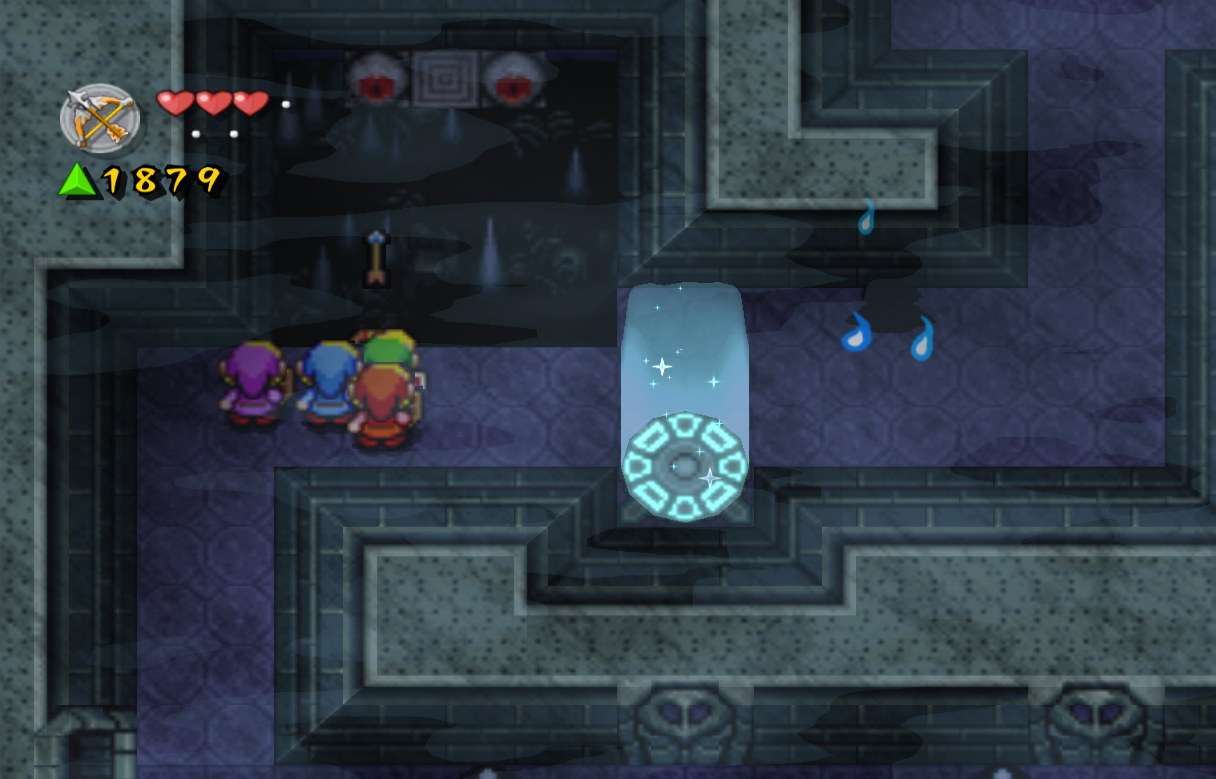
Head back down a screen and speak with the Old Man once again. This time, he will give you the Moon Pearl since you can sense the Moon Gates. These Moon Pearls serve a different purpose than in A Link to the Past: rather than causing you to keep your form in the Dark World, they transport you into the Dark World. Whenever you find a Moon Pearl, you can walk to a specific point on the ground and it will automatically create a Moon Gate to get into the Dark World for that specific screen. Head back up again, and walk next to Kaepora Gaebora's post. The Moon Pearl will activate and a Moon Gate will appear on the ground. Enter it to transport to the Dark World.
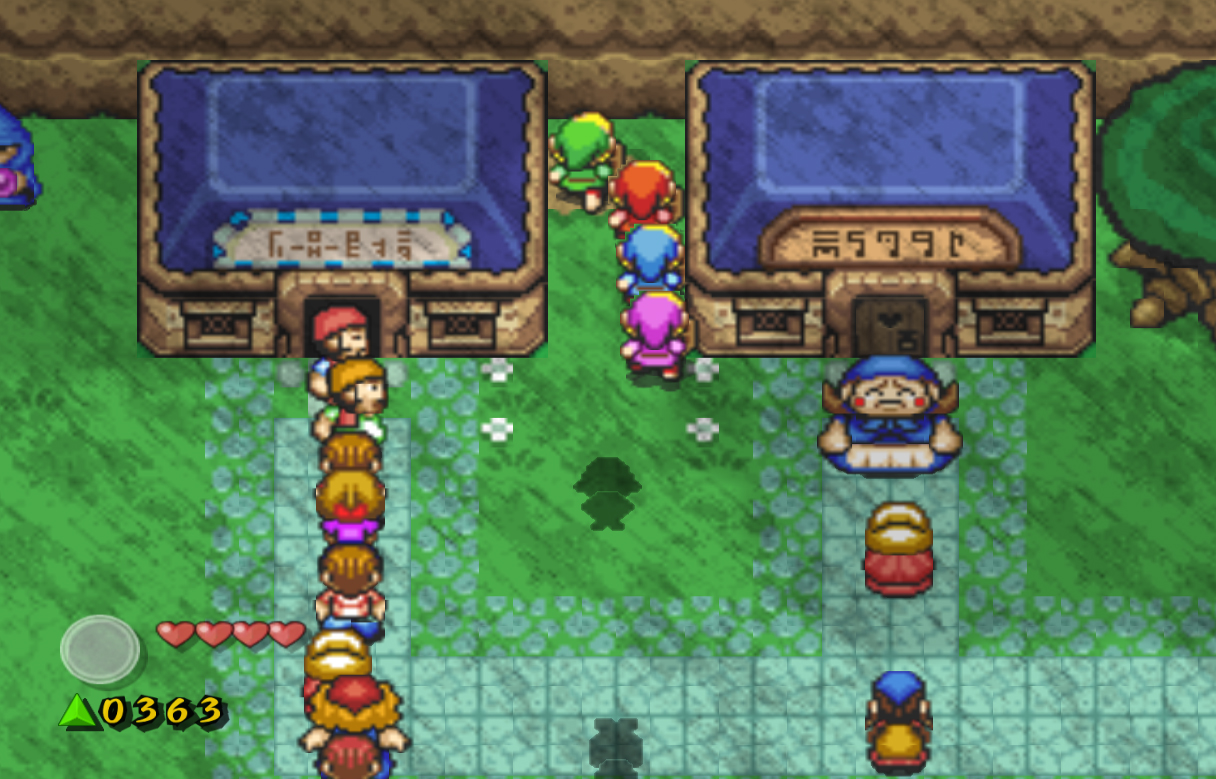
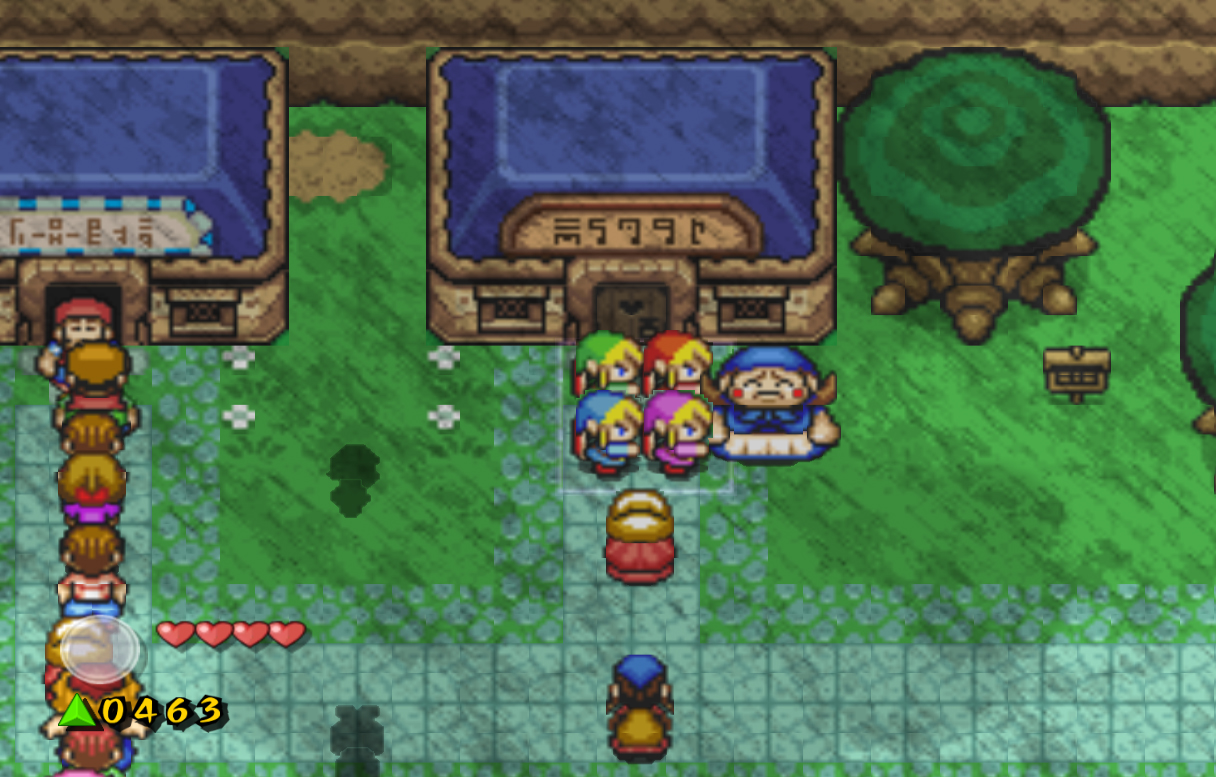
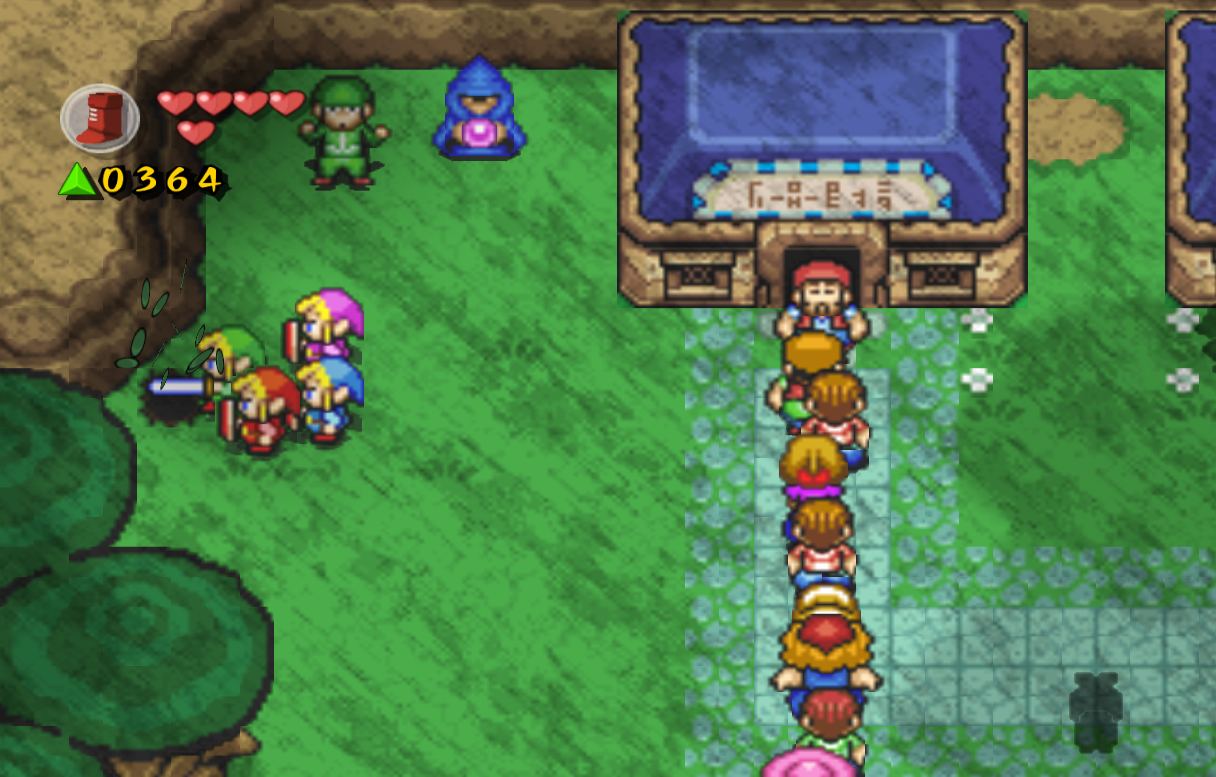
The Dark World is very similar to the Light World, except for a few minor differences each time you enter it. There may be Mages scattered around, cuccos where there wouldn't be in the normal world, or certain places or items you'd only find here. Think of the Dark World like the flipside or the underground of the Light World. Head left, and collect the force gems you saw before. Head up and speak with the Mage here, who will simply reiterate that this world is much like the normal one, except with a few minor changes. There isn't much else to do here for now, so hop in the Moon Gate in the center to get back to the normal world. You can speak to the large woman to the left if you want to, but she'll just reiterate the same old lost children speech. Instead, head up a screen. Shadow Link will immediately rush at you, so move to the either the left or right to dodge him. Once he stops at the bottom of the screen, smack him with your sword to defeat him and collect 100 force gems. Head left to the next screen. You'll find two buildings here; one of them with a very long line. The one with the very long line is the Seeker's Guild's building, which belongs to a group of individuals given the task of finding out what has been happening with the town. Unfortunately, the line not only blocks the main entrance, but also prevents us from getting to the left side. Fortunately, there's another entrance on the right side of the building. Walk towards the big green force gem up top and it will move inside the secret entrance, so head inside along with it.
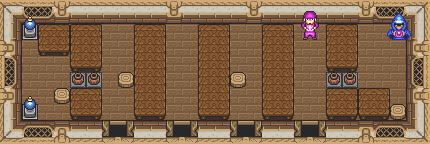
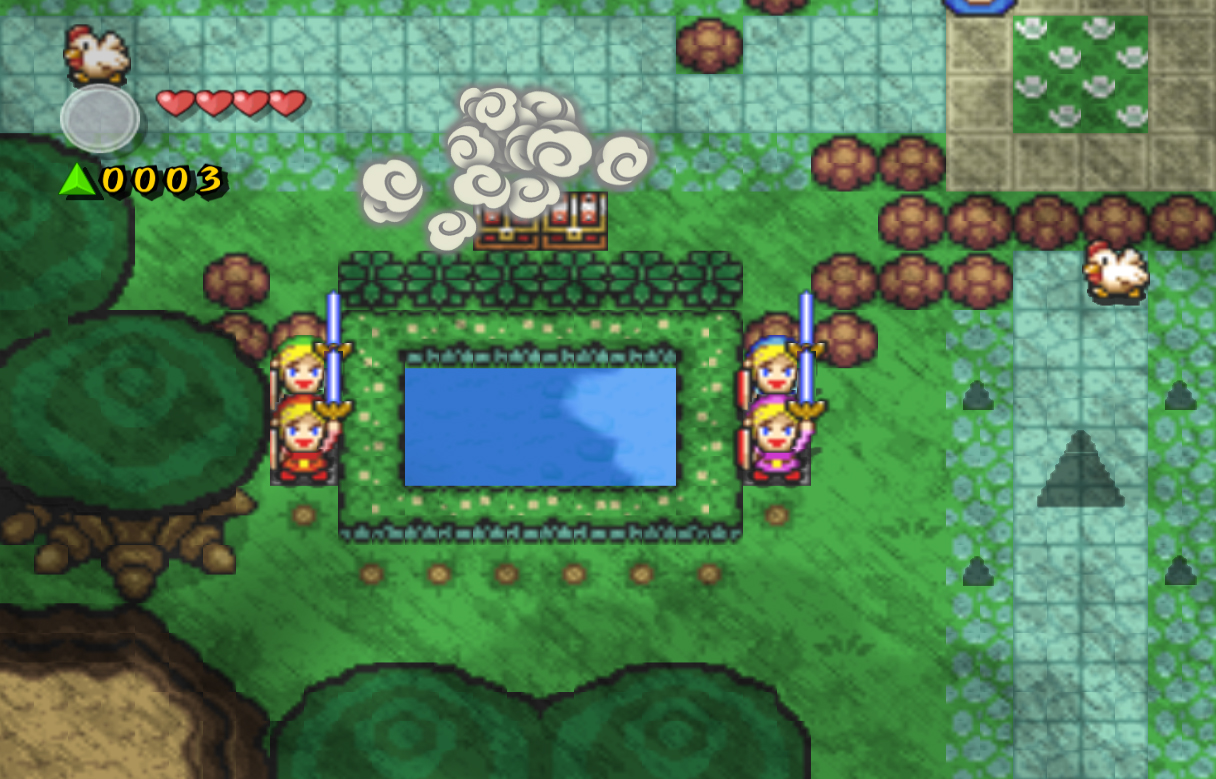
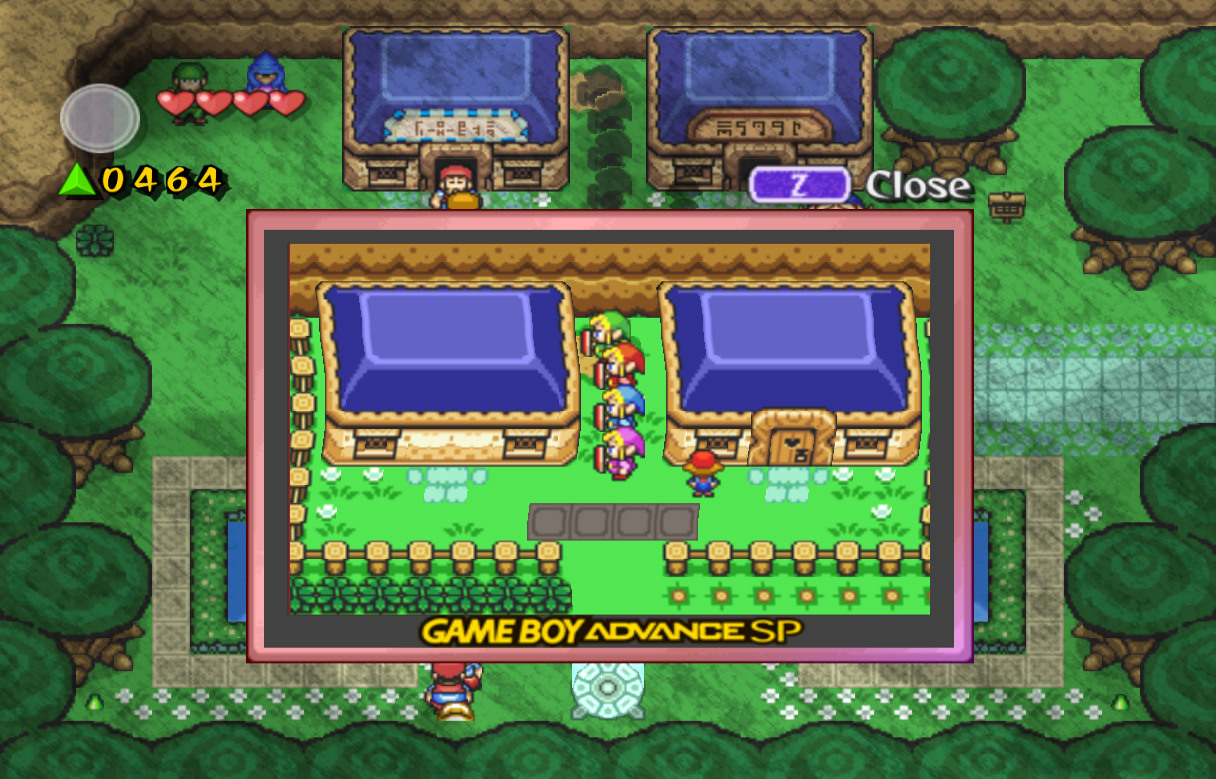
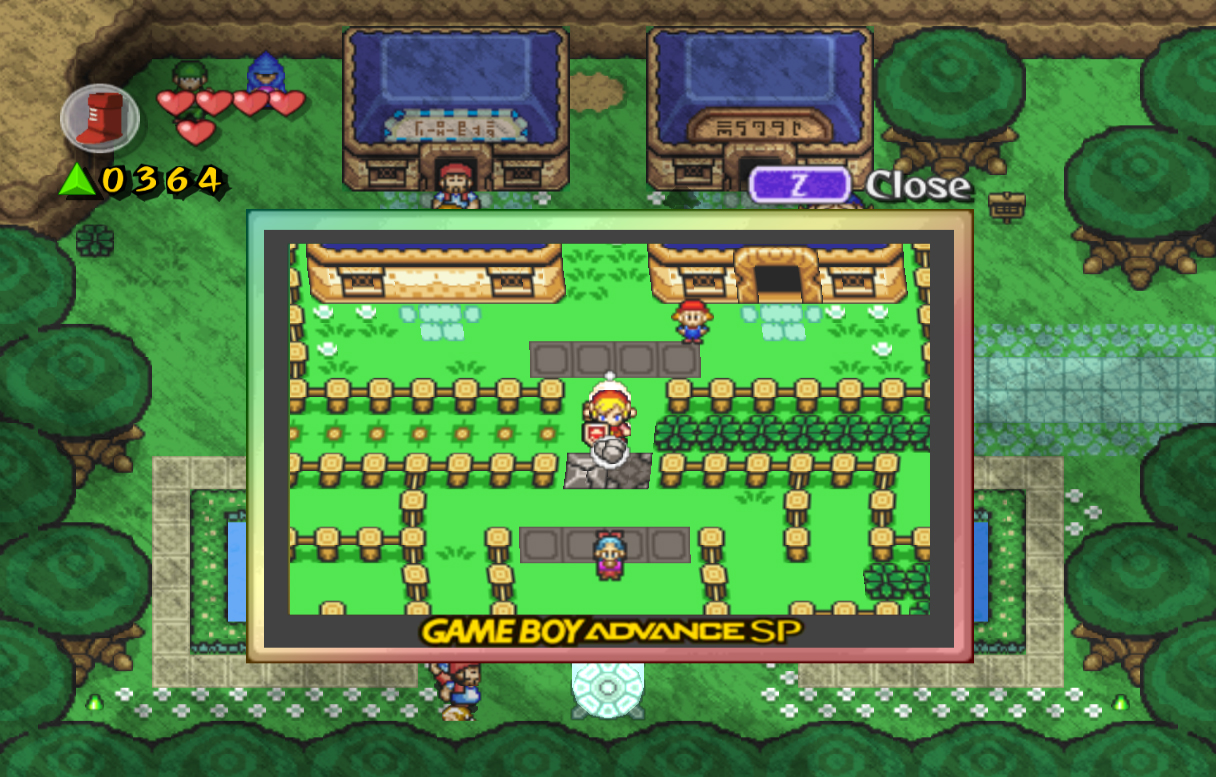
Grab the force gem, then speak with the Guild Leader. He gives you a basic idea about the Guild, and that so far they believe the Mages have something to do with the children's disappearance. Accept his invitation into the Guild, and he will give you your first task, finding the other Guild members and learning the clues they've found. There are four more Guild members in total, one in the northwest, north, west, and east screens of the town. Walk back outside and speak with the large woman in front of the other building. She says she won't move until people start coming into her shop, but sadly that won't happen until she moves out of the way. Create a box formation and use the Links to push her out of the way. Walk inside the "shop" and open the chest to get the first Moon Pearl. Walk back outside, and walk straight down to the bottom of the screen and a little to the left to create a Moon Gate. Before you warp, use the shovel above the Moon Gate to find another hidden force gem. After you find it, warp into the Dark World.
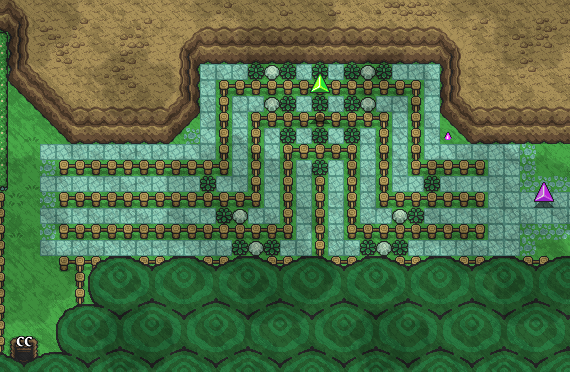
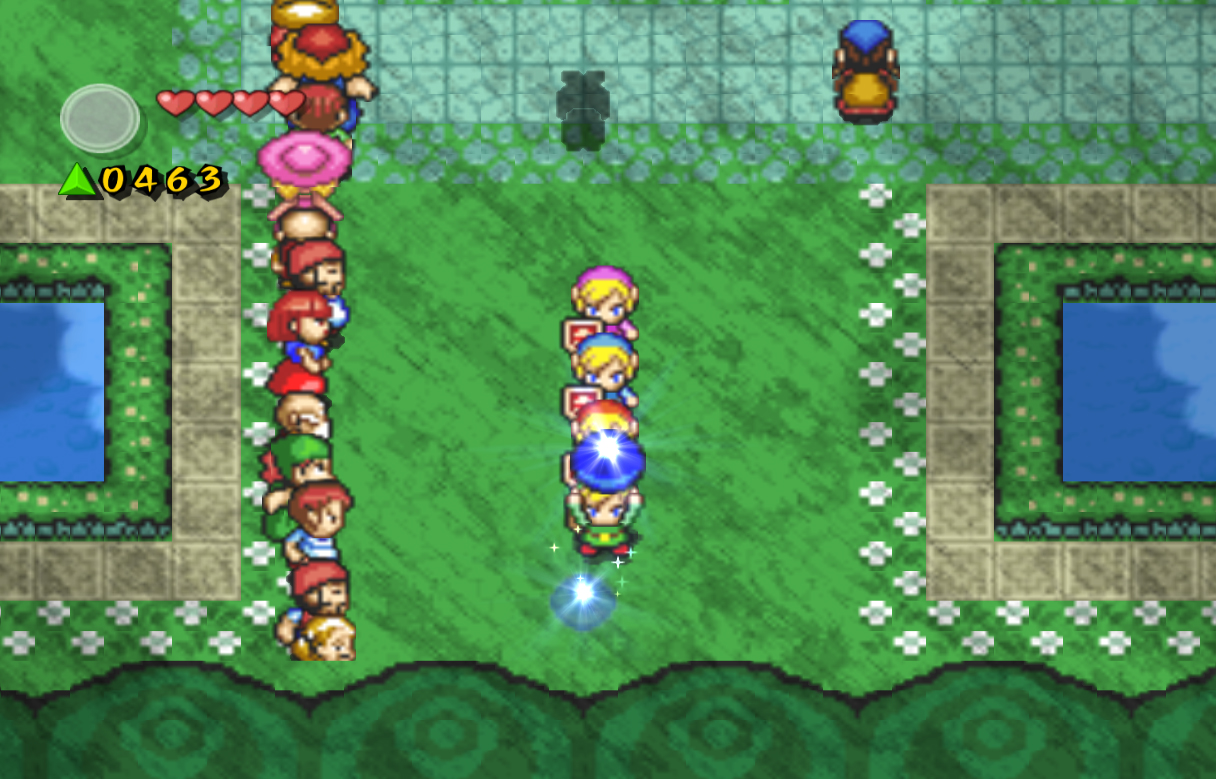
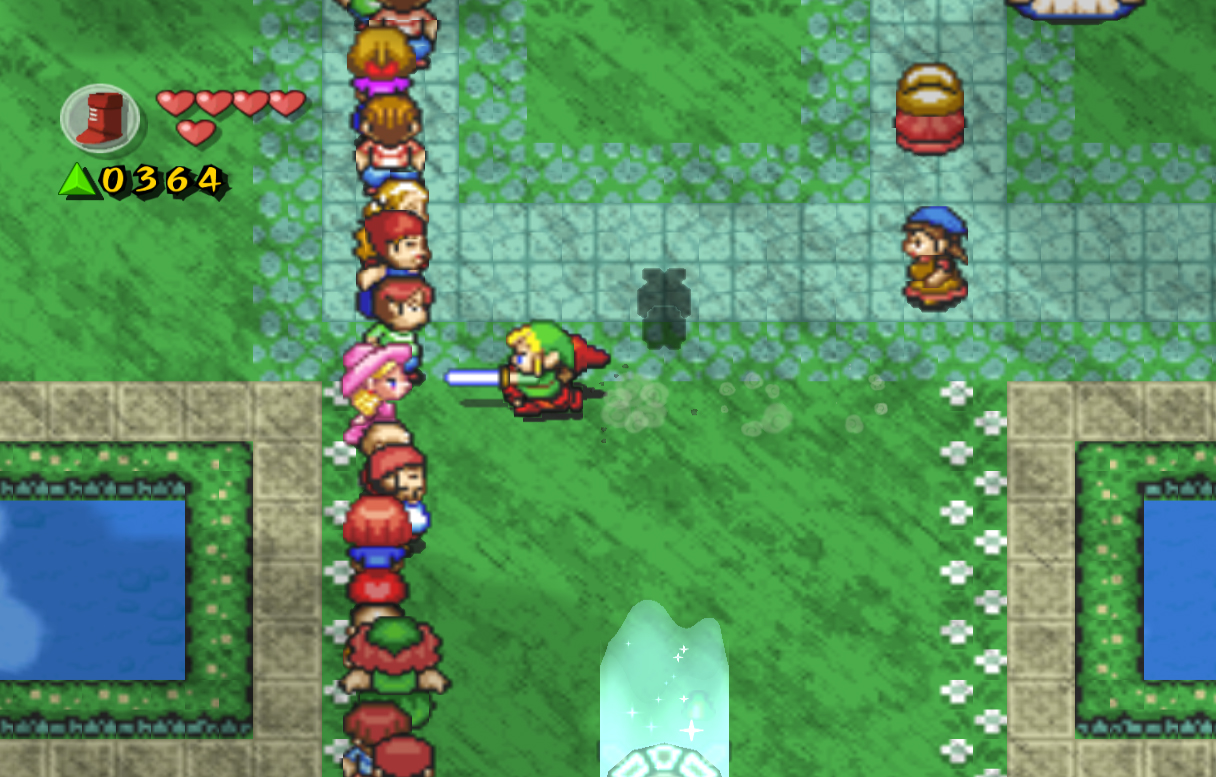
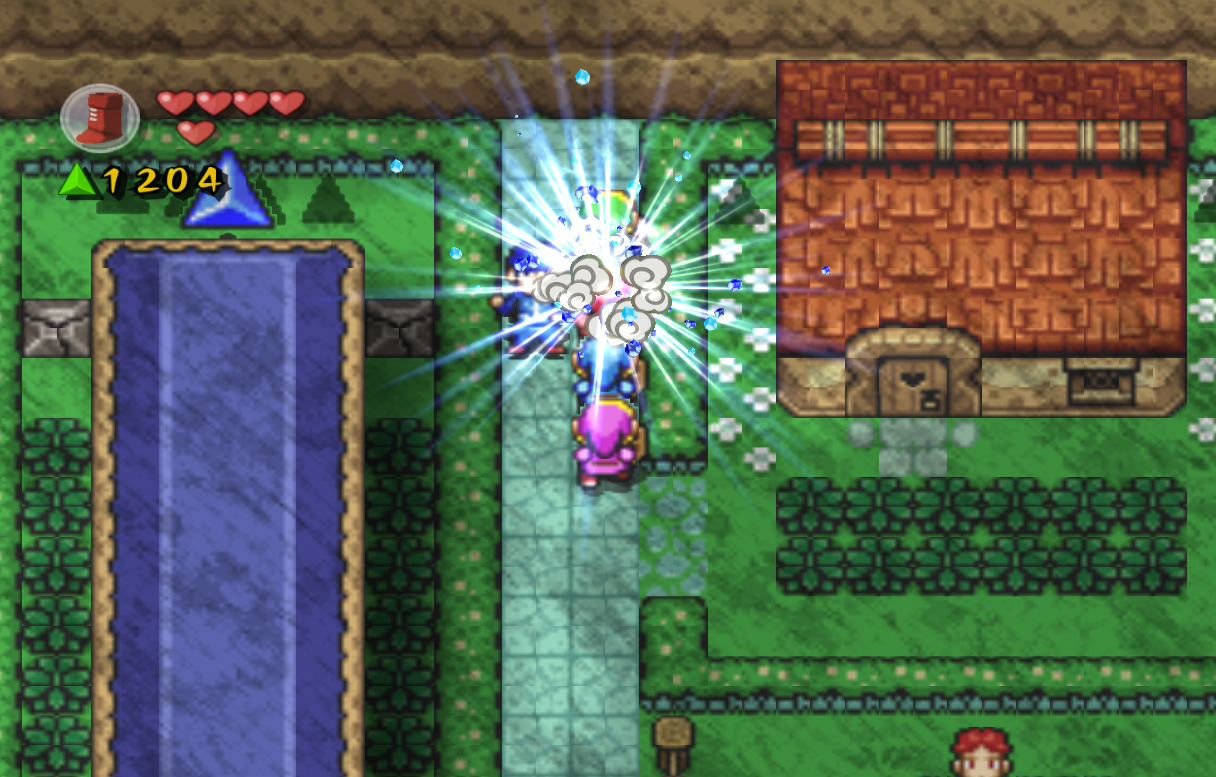
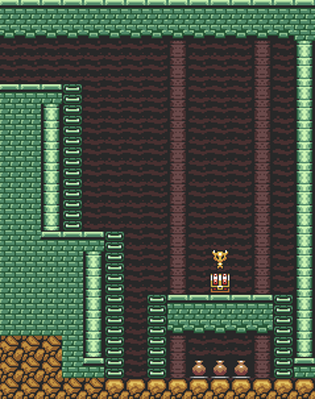
Create a box formation right away and step on the switch nearby. This will cause the blocks ahead to disappear, but also reappear behind you, preventing you from leaving. Continue walking upwards and speak with child here. He will explain that all the children are hiding in the Dark World, where all they do all day is play. This child is in charge of a maze game, and invites you to play. Accept the challenge and he will tell you the rules. All you have to do is make it to the end of the maze in under 20 seconds. You can take either the left or right path; both will lead to the exit in the same amount of time. There are no shortcuts, only a few dead ends that might trick you. Otherwise, this is an incredibly easy game, and you should make it in under 20 seconds on your first try. Once you do make it to the end, speak with the next child here and he will allow you to get the boots the first child spoke of. Before we do that, head into the left building via the entrance on the right side. Open the chest inside to get the first Heart Container of this level. Walk back outside, then enter the building on the right. Open this chest to get the Pegasus Boots! These boots have appeared in many 2D Zelda Games, and they allow you to dash for a short amount of time, usually until you hit something. You can use these boots to attack enemies, break blocks, or to break up lines of people. Walk back outside, and back towards the exit. You'll soon be confronted by broken blocks; use the Pegasus Boots to dash into one of them. This will destroy it, allowing you to get back to the portal where you can exit back to the Light World.
Walk up to the gray, stone pathway ahead and face the line of people. Dash into them, and quickly run between them to make it to the left side of the screen. Speak with the man dressed in green and he will tell you the clue he found. The Mage next to him whispered "the six", and he believes it's somehow connected to the disappearances in the town. This is the first of the four Guild members we need to find. You can also speak with the Mage if you'd like to, and he will simply complain about the guy next to him and how nosy he is. That's all we have to do here, so head along the left side and slash the bush near the top. This will reveal a cave which can be used as a quick shortcut back to the other side of the screen. Make your way through and when you exit, dash into the tree to the left. 80 force gems will pop out, collect them and head right a screen.
Head down a screen and then left a screen. Follow the pathway and you'll soon reach a building that contains a Shooting Gallery. In previous Zelda games you would normally shoot enemies, but in this one you shoot Force Gems. Also different from most other Zelda games, no bow is required upon entry as one will be given to you. You get 10 shots to try and hit as many force gems as you can; if you hit any Octoroks you will only lose a shot. Once you've used up all your arrows, you will win the worth of however many force gems you hit. This is a really great way to win force gems and ensure your win of the level, all for no fee.
Once you've collected all the force gems you want, continue heading left on this screen. Speak with the man in red here, who is another Seeker's Guild member. He will tell you our next clue, "Deeply connected to the village." Head south through the trees and speak with the mage who said these words. She will thank you for freeing Vaati and making this world a much better place, and give you a Moon Pearl for doing so. Head back up a screen, right a screen, and up another screen. Walk all the way up to the top of the screen and the Moon Pearl will activate, creating another Moon Gate.
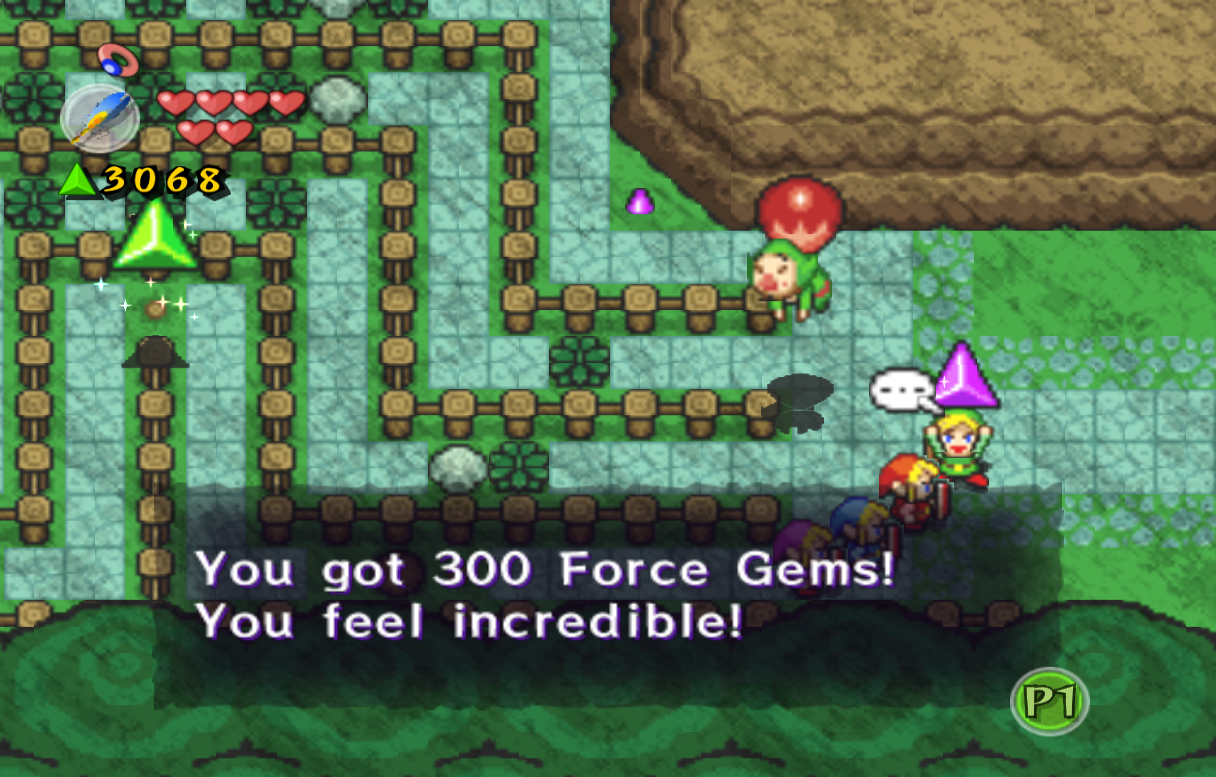
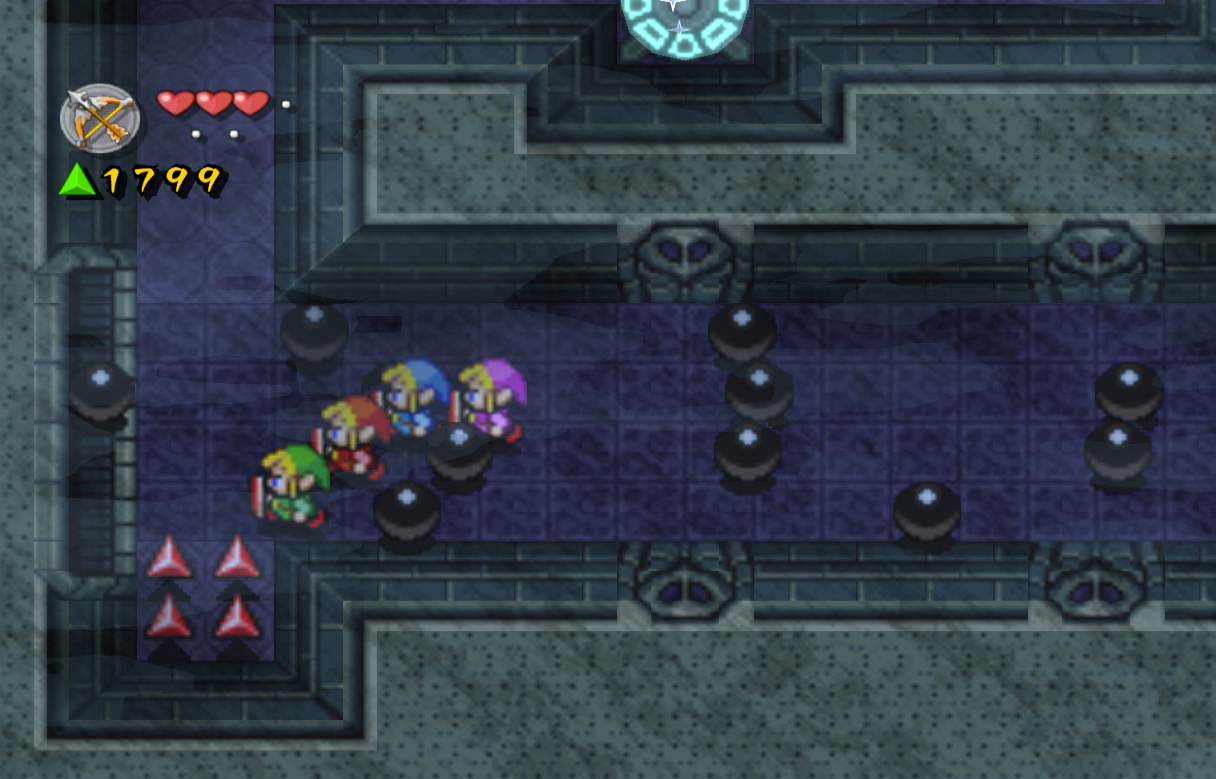
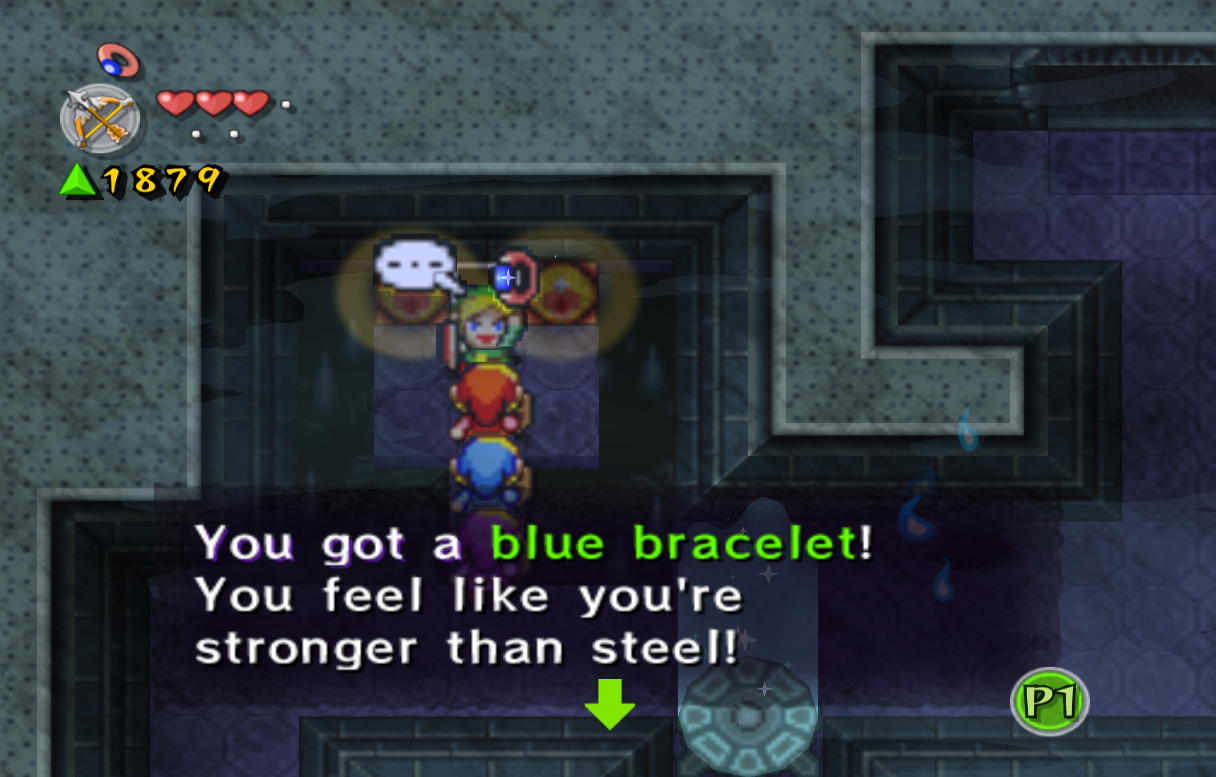
Enter into the Dark World, and walk into the square area with the house on the top-right. Collect the red force gems on both sides of the house, then enter. You can speak with the man here, who will ask you if you want to gamble 100 force gems with the chance of winning more. There are three chests in this house, one will contain a large purple force gem (worth 300), another with a large blue force gem (worth 150), and another with a single force gem. You have a 33% chance of winning more force gems, and a 66% chance of winning as much as you paid, or more. You have a great chance of winning, so I'd encourage you to play, but it isn't necessary. When you're finished, head down to the lower-right side of the screen and speak to the Mage named Iris here. Iris will say she lost her magic book, and used a spell from memory that made this house appear. She doesn't know it, but this is actually one from this same spot in the Light World, and it won't be put back until we find her spell book. Head back out and left on this screen and enter the long, middle building. Walk all the way to the top on the right side, then work your way around the table at the top. Break the four pots on the left side and step on the switch underneath to remove the blocks surrounding the chests on the opposite side, and also near the table's bottom side. Keep working your way down on the left side, then walk around the table again and open the chests on the right side. They contain the Blue Bracelet, which will cut the damage you receive in half for the rest of the level, and a big green force gem. Walk back outside the building.
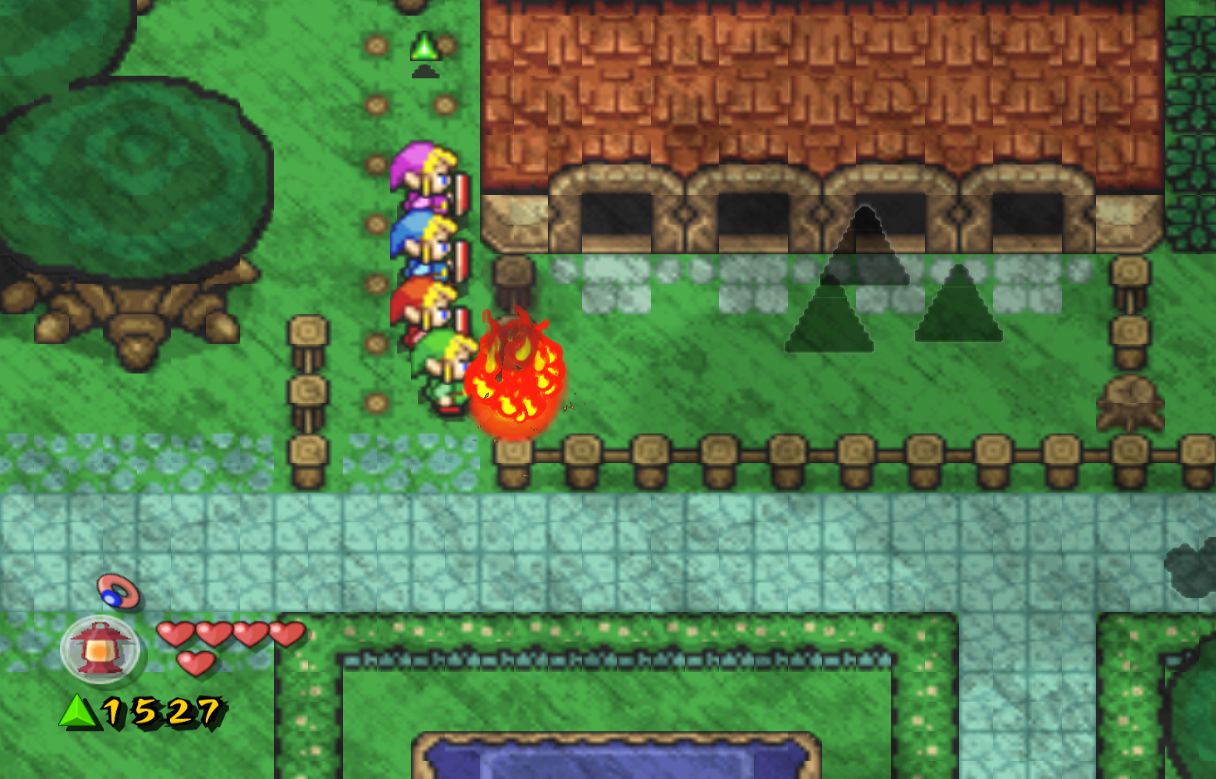
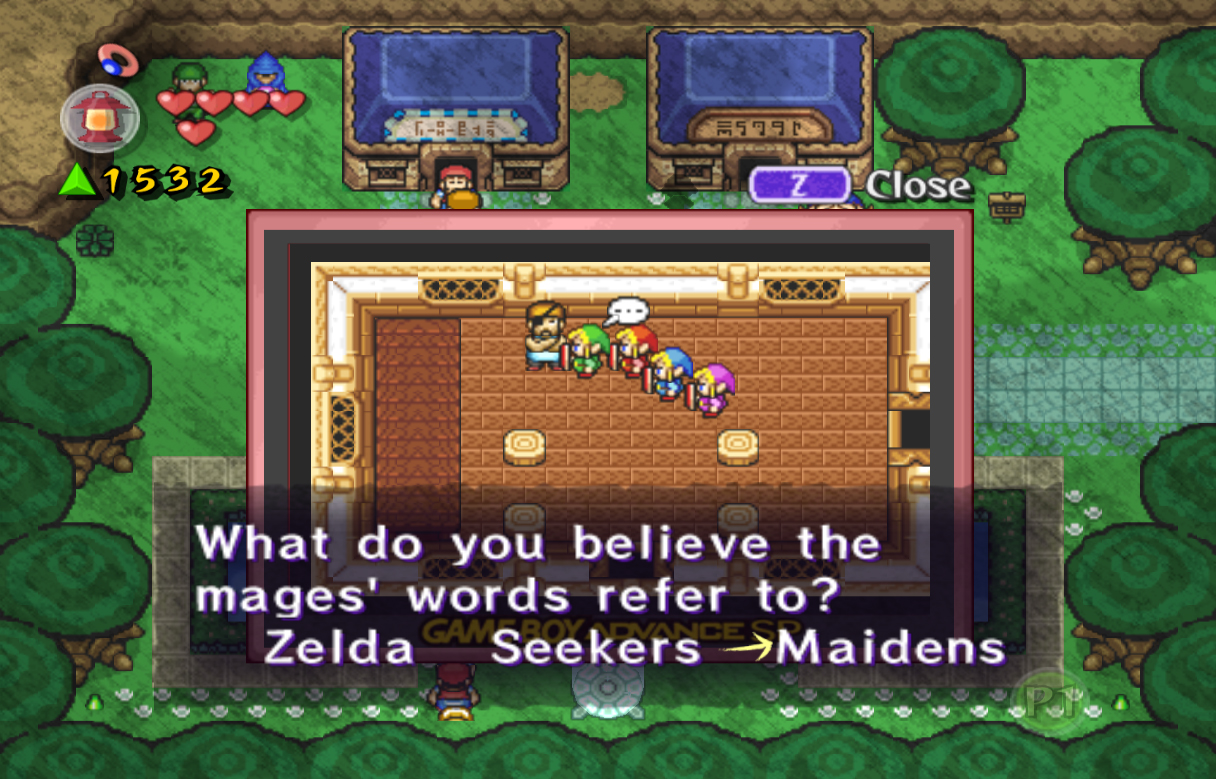
Walk to the either the left or right side of the building and use the Pegasus Boots to dash upwards. This will cut the grass but also break the cracked block ahead, allowing us access to another 80 force gems. Collect them, then head back out through the Moon Gate. Speak with the man in dressed in blue, who is another Seeker's Guild member. This one will say that right when a Mage disappeared she said "Protect." This is our second to last clue, but much like the others, it means nothing at this point. At this point, you can walk around the long middle building in the Light World and dash into one of the blocks to find another 150 force gems. Afterward, head down a screen, and then right a screen to the eastern portion of this Village. Right away Shadow Link will charge at you like before. Dodge out of the way once again, then attack him when he stops moving. Head into the building at the top right of the screen and grab the Lamp. Walk back outside, then slash the long column of grass at the top left of the screen. Burn the stump in front of this building, then enter the door on the far right and speak with the last Guild member. He will give the you final hint of "Beautiful." You can speak with the Mage here if you'd like, but she says nothing important. Head back outside, and back left a screen, up a screen and left a screen. Enter the Seeker's Guild through the secret entrance again, and speak to the man in charge. After asking all four Guild members we've collected the hints of "Protect", "the six", "beautiful", and "connected to the Village." These hints actually refer to the Maidens who were captured, if you hadn't figured it out yet. Tell the Guild Leader this very fact and he will give you the Shovel for helping out in the investigation. The Shovel, like any other, will allow you to dig up patches of ground to find secret entrances, hidden force gems, and many other things. With this item, head outside and back right a screen.
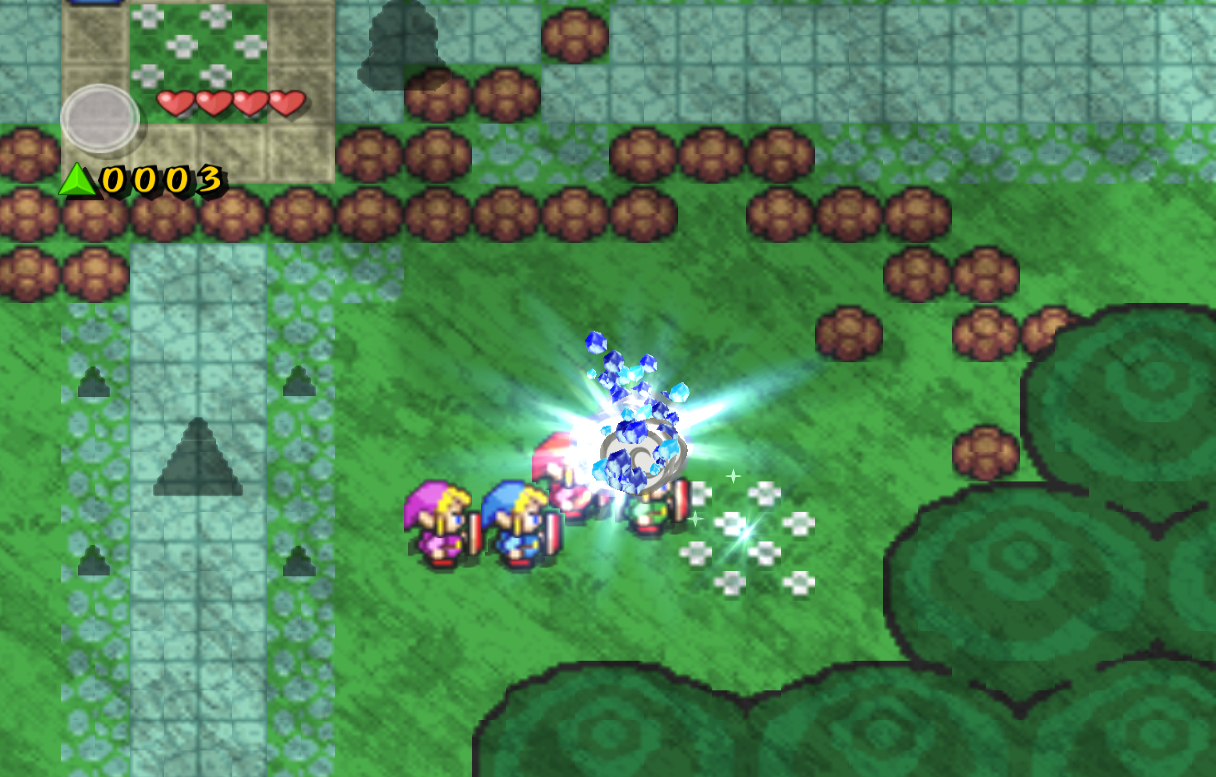
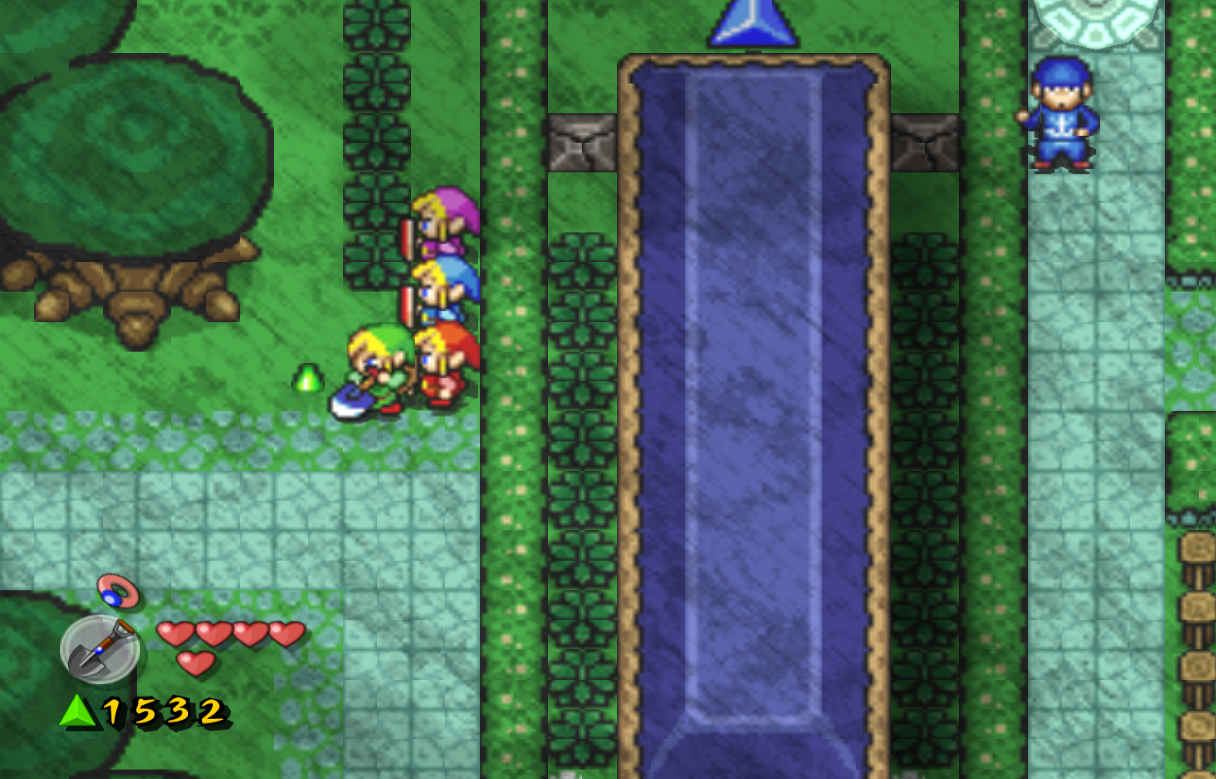
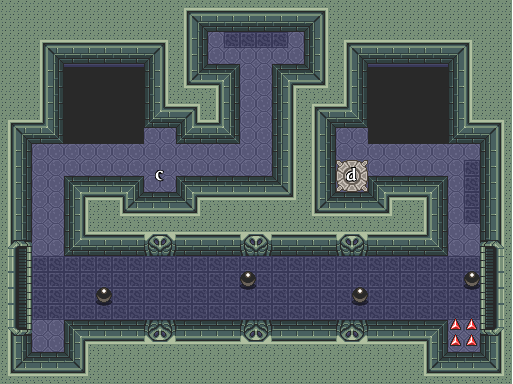
As you've been making your way through the village, you may have noticed small force gems sticking out of the ground. These are actually big green force gems that are hiding beneath the ground. Now that we have the shovel, we can dig them up and collect them. Collect the one here, then walk to the far lower-right part of this screen. On the top-right of this fenced-in area you can dig up the ground and collect another 100 rupees. Now work your way back down a screen and left a screen. Walk around the game area here and at the top left of the screen you'll find a patch of flowers. Dig in the middle square with the shovel to find a cave. Walk through the small cave to end up inside the game area. Dig up the force gem in the center, then work your way to the far right screen in the village.
Walk down to the lone building below, and walk along the southern edge of the screen. To the right of the door along the bottom you can dig with the Shovel to find a secret entrance to progress further in the game. There is actually someone who will hint at you to do this, but it saves much more time just to dig it up now. While you're here, also dig up the big green force gem to the left. Once you have it, walk back up and to the building at the top right. Walk around the building's left and top side to find another force gem in the ground. Dig it up, then enter the brown building, but this time through the left side door. Pick up the bombs here, then hop into the secret hole we just dug up.
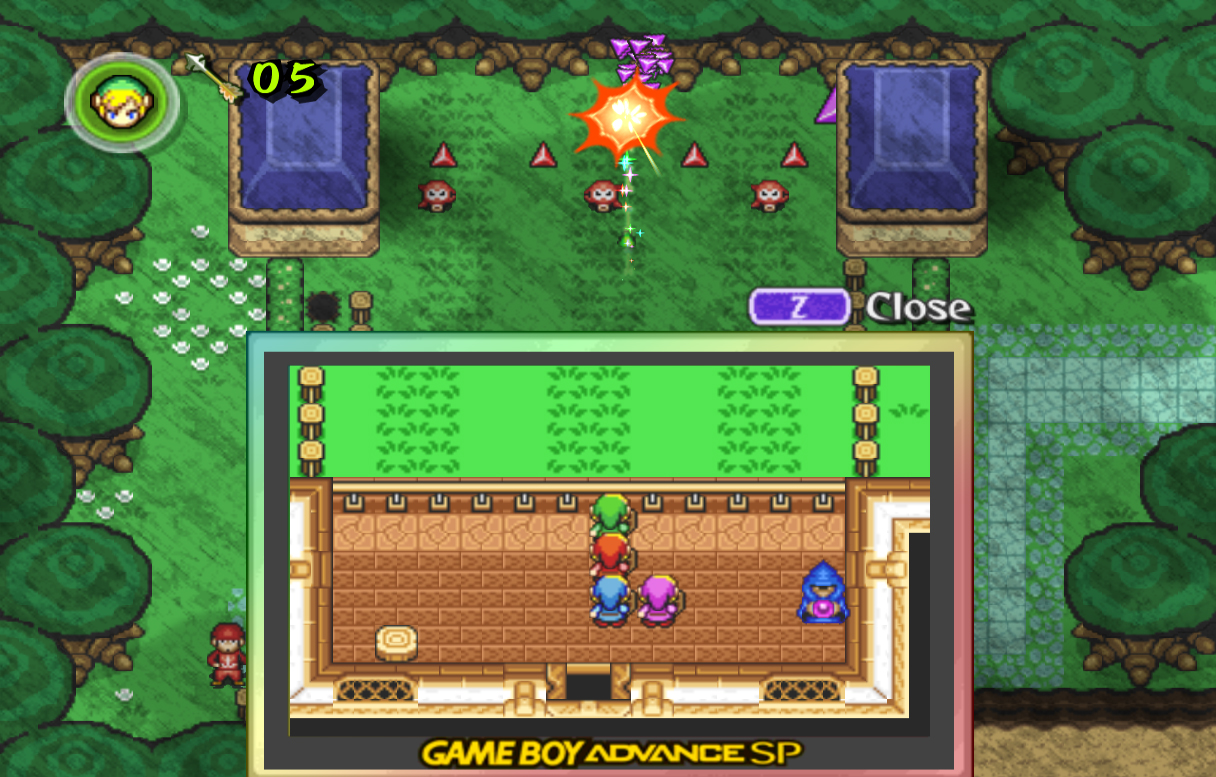
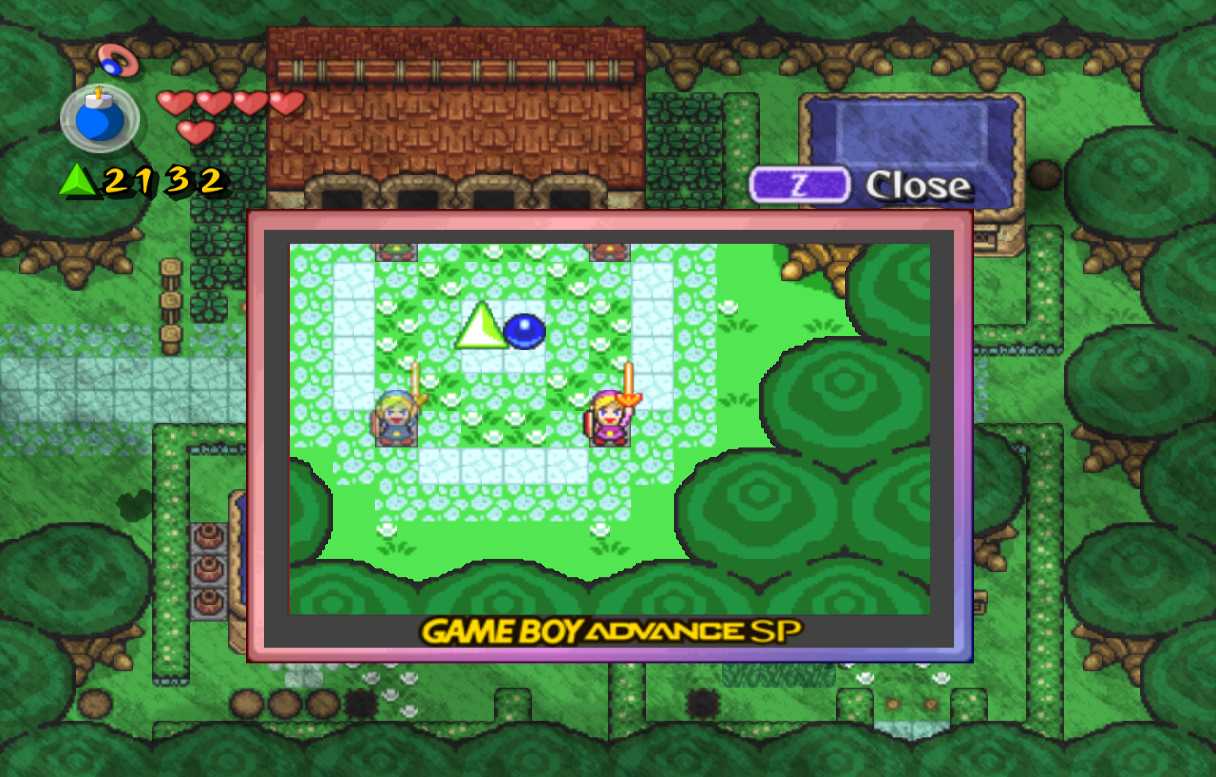
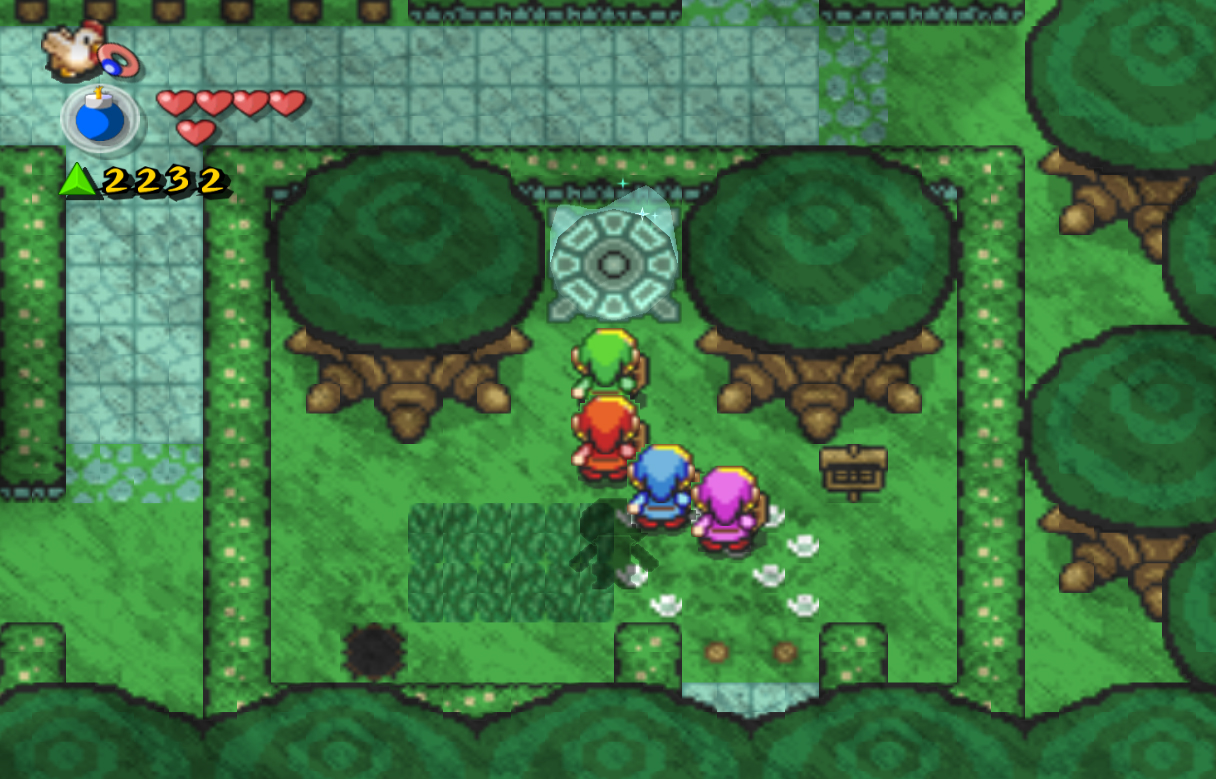
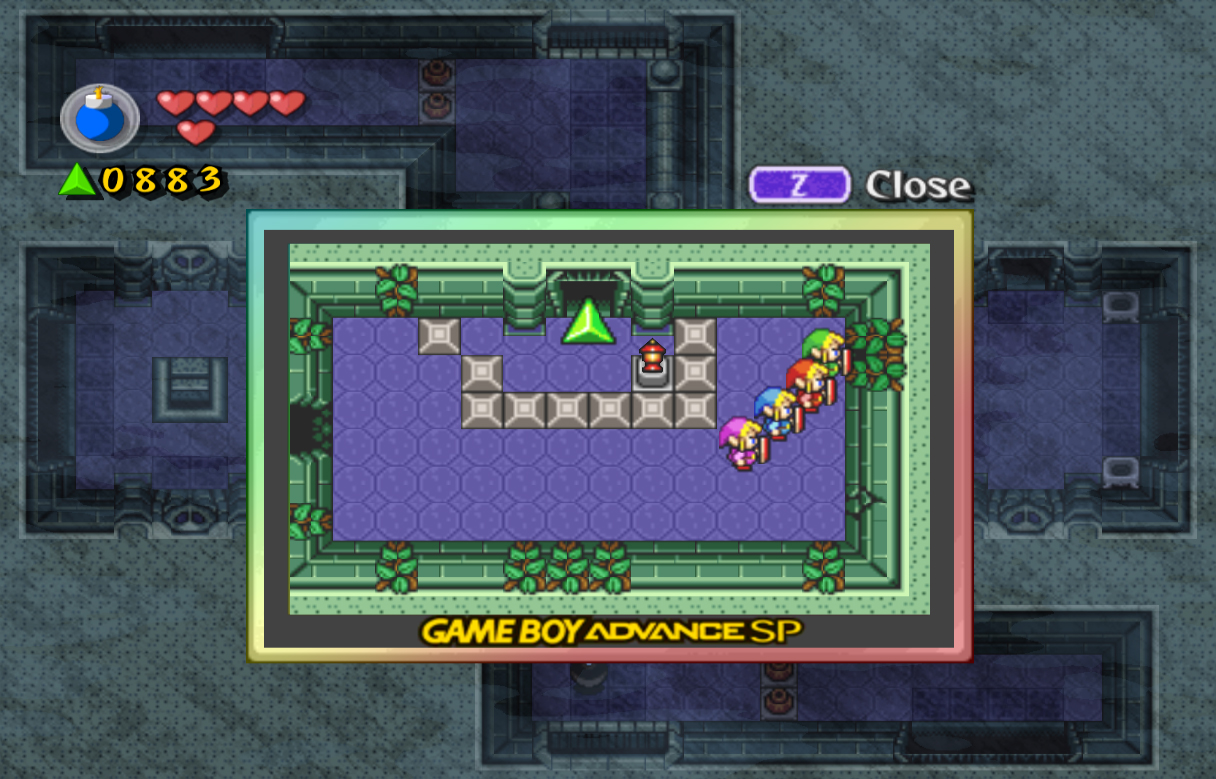
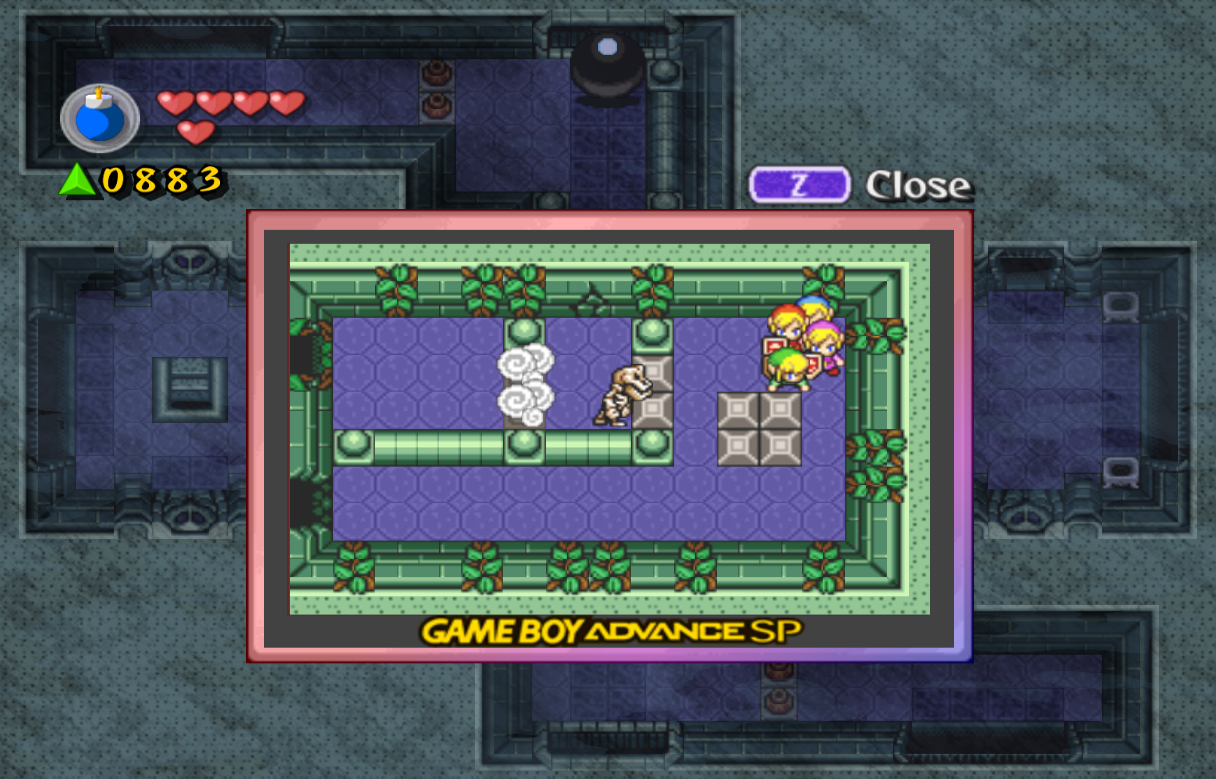
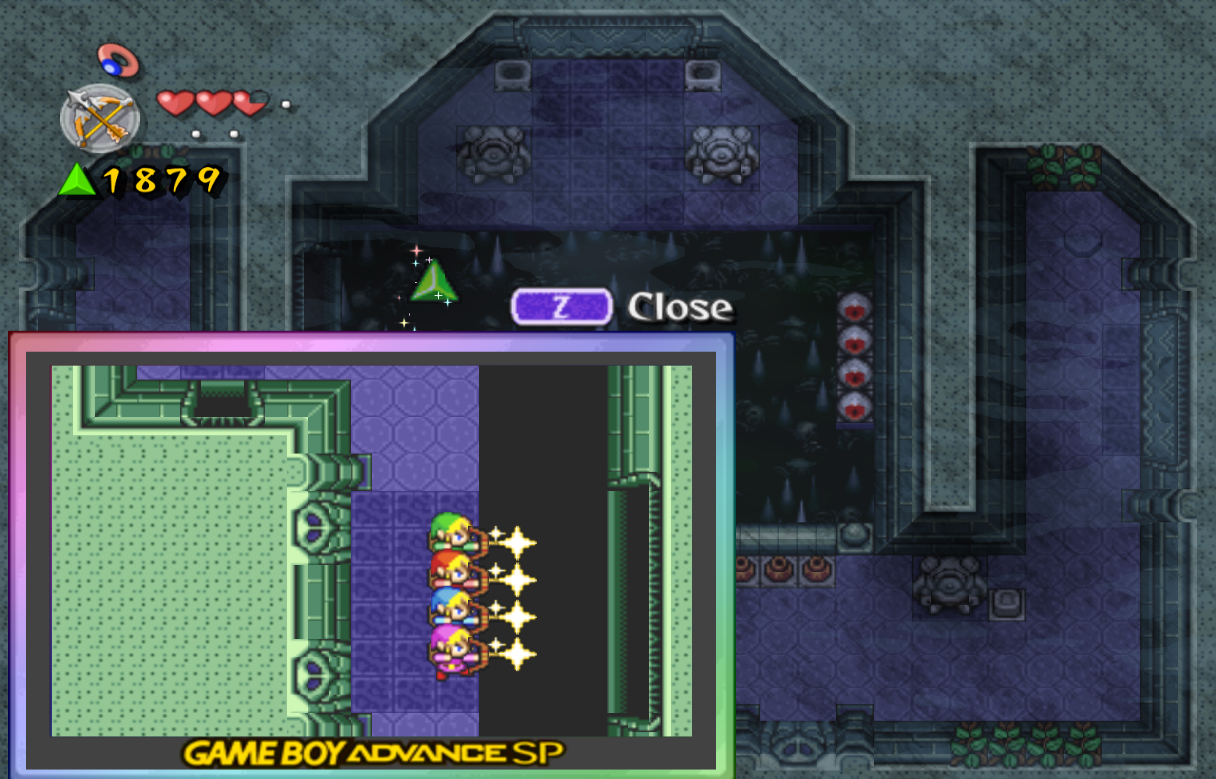
Run through this short cave, then head up the ladder to emerge on the other side of the previous screen. Walk through the tress to the south to enter a Game Boy Advance screen. Cut up all four bushes here to reveal four switches; step on each of them with a Link to bring down a big green force gem and another Moon Pearl. Collect all four Links, then walk back up a screen. Walk to the top of this square area and the Moon Pearl will activate, creating another Moon Gate. Enter once again into the Dark World.
You can speak with the girl here, who will once again say that there are only children here and they all love playing all day long. This story has a twist though; there is one girl who cries all day because she doesn't want to be there. We'll get more info on her later, for now walk out of this square and into the building at the top-right corner. Ignore the two women here for now and instead bomb the right wall. This will lead back outside to a chest containing a big green force gem. Back inside the house there are two women, one dressed in red, another in blue. Each of these women carry with them a special item; unfortunately we can only take one with us. The woman in blue carries a Heart Container; the woman in red carries a Fire Rod. I'd personally recommend taking the Heart Container as you can always use the Lamp to burn down objects (although taking the Fire Rod will save a lot of time in the next paragraph), but it's up to you which one you'd like to pick. Walk back outside through the front door and walk back to the Moon Gate if you didn't choose the Fire Rod from the woman in red before. (If you did, skip to the next paragraph) Enter the normal world again and head through the secret hole nearby. Make your way over to the brown building once again at the top-right of the screen. Grab the Lamp here and head all the way back to the Dark World.
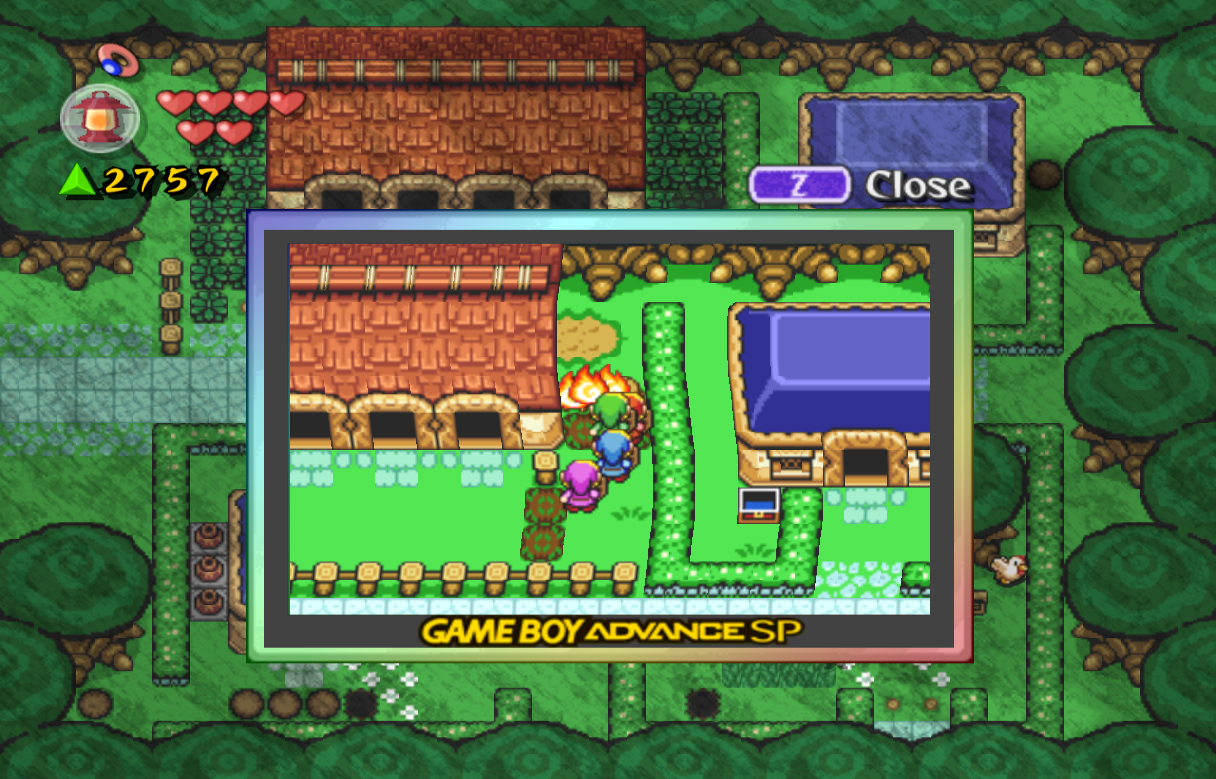
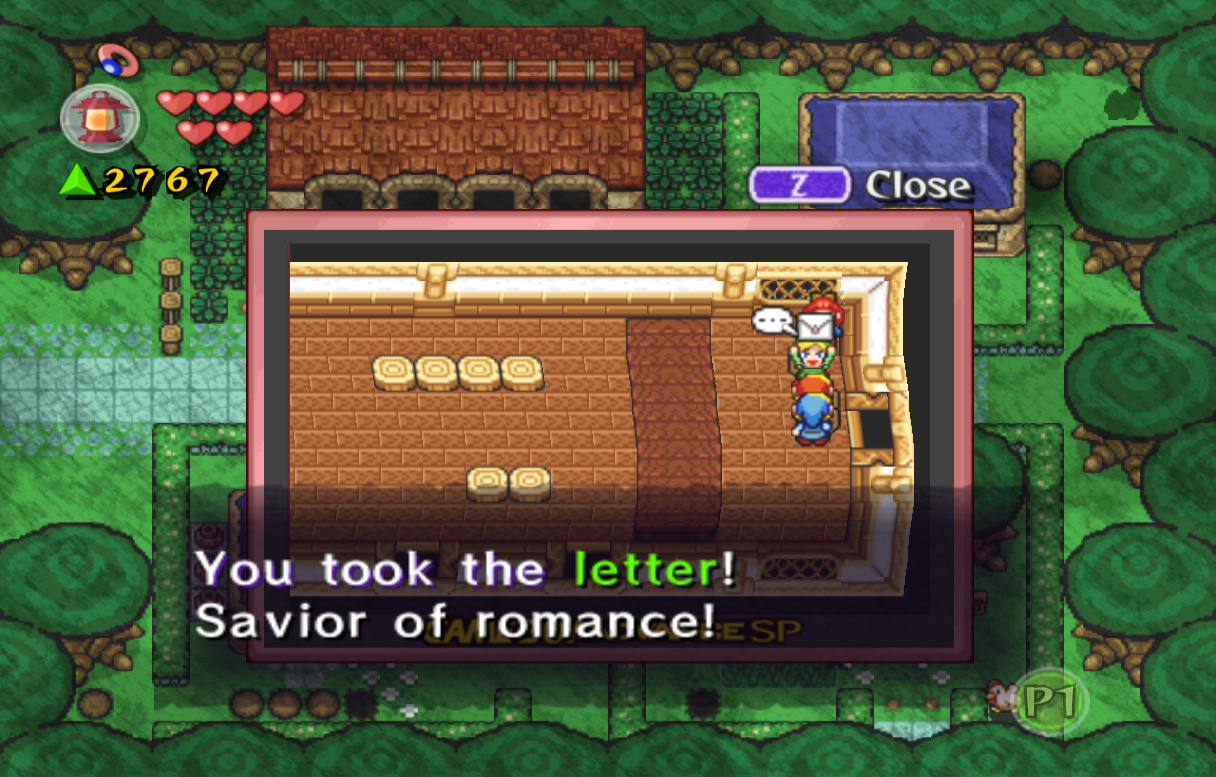
Walk to the left side of the screen and step on the gray switch above to gain access to another building. Before we enter though, burn the tree stumps above and enter through the side door, where another 80 force gems are held. Head back out, then enter through the second door from the left. You will find three big green force gems here, and they will attempt to run away from you, but they are fairly easy to trap and collect. Do so, then exit the building. Walk to the right, and burn the three rows of tree stumps here. Enter the door on the right side of the building and you will find the girl we heard about before who won't stop crying. She says before she came here, her boyfriend and her had a fight and they can't make up for it. She says that as long as you're going back to the normal world you should take her letter with. Congrats, you now have a letter, Mr. Savior of Romance! :)
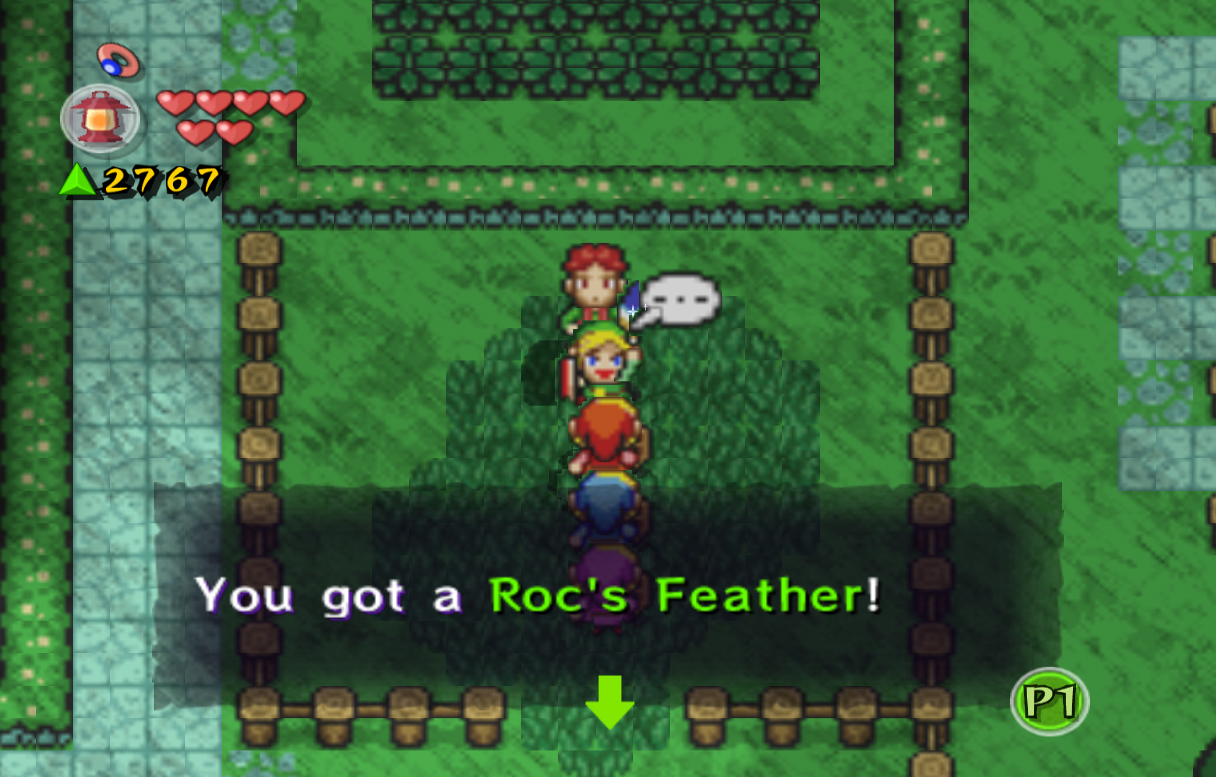
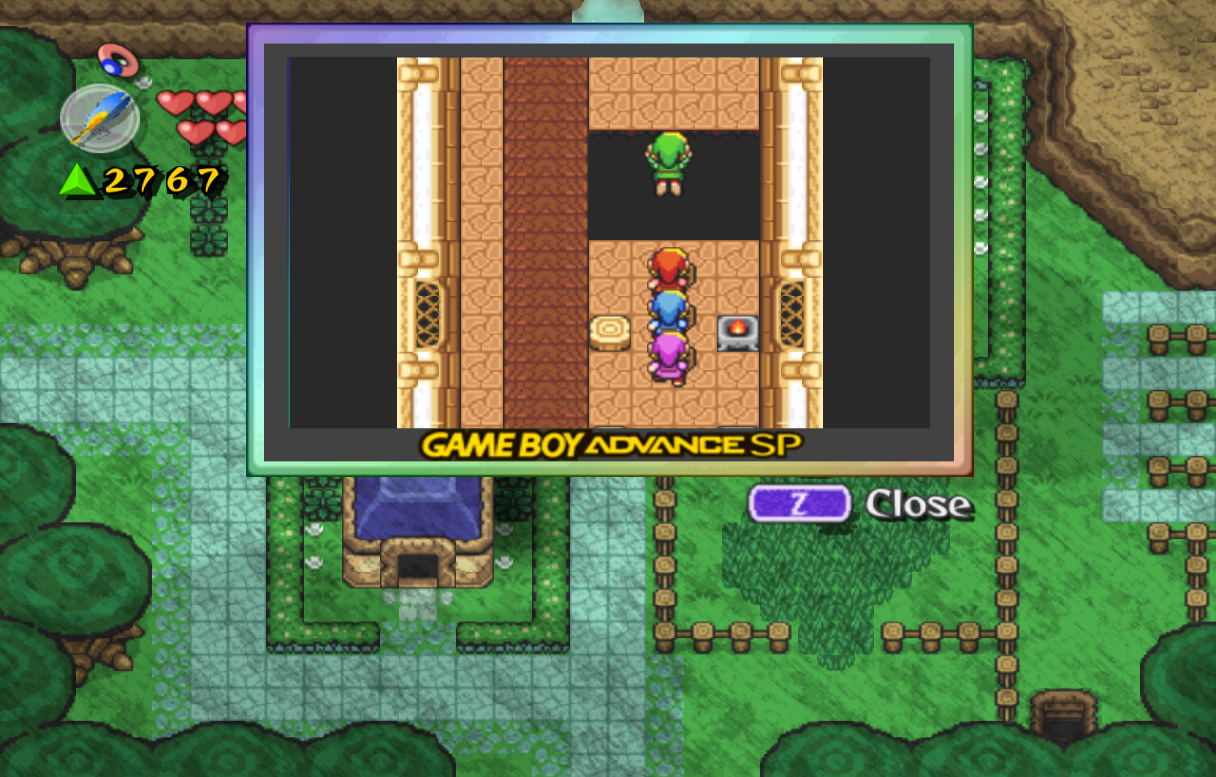
Since there's not much else we can do here, and since we're holding a gigantic letter out in the open, we should probably take the letter where it needs to go. To do this, head all the way back to the Moon Gate, through the cave, and left a screen, then up a screen. Speak to the man to the right and he'll take the letter, giving you the Roc's Feather in return! This Feather will allow you to jump in the air, whether just for fun or over enemies or large gaps. Head left and into the large middle building. Walk forward and use the Feather to jump over this gap, then use all four links to push the barrels up. Speak with the Mage here, and she will give you Iris's Magic Book! Head back outside, jumping over the large gap again, and use the Moon Gate to the north to get into the Dark World.
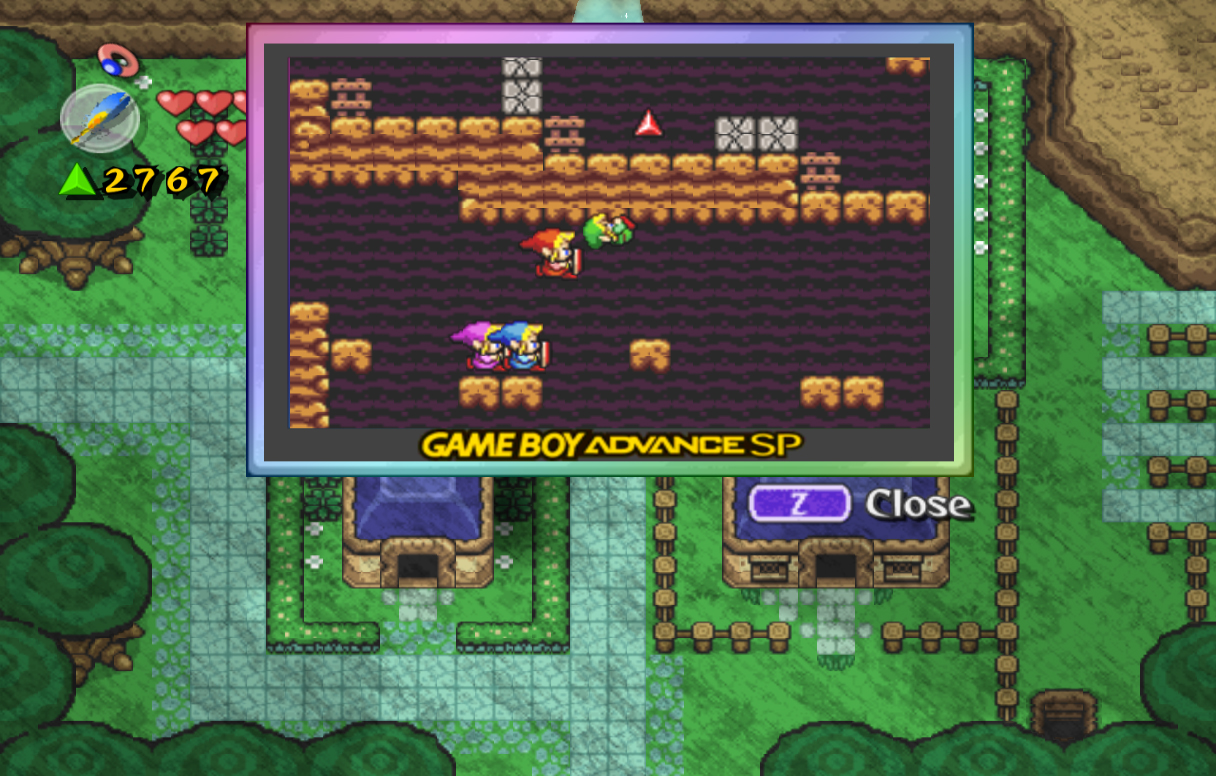
Walk south, then give the Magic Book to Iris in the bottom-right corner. Now that she has her book she will return the house to its rightful place, so head back into the normal world. Enter the house, then use the staircase to find another cave. The top level of this cave is pretty much worthless; there aren't many force gems there and it's a pain to retrieve the bombs just for that small amount. It's much easier to use the Roc's Feather to jump across the blocks on the lower level. It may be a pain, but you'll make it across eventually.
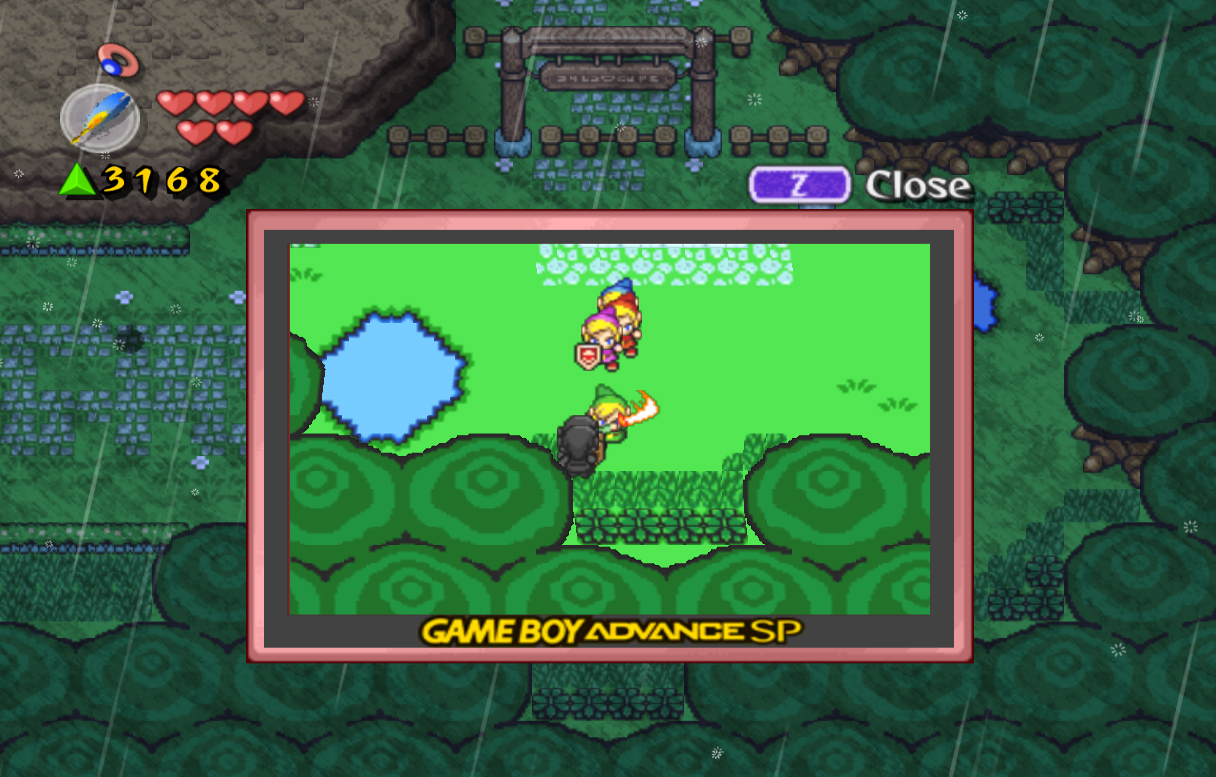
Once you pop out on the other side of the fence, head to the next screen to find a maze. Tingle will soon appear on this screen, noticing the large purple force gem on the other side. This force gem is the only one that Tingle cares about, so if you'd like to feel safe, run over and grab that one first. If you do, don't forget to head back to the middle of the maze and jump to collect the large green force gem floating across. If you'd like to, you can grab the shovel and dig up the purple force gem in the top row, but it's incredibly inconvenient to do so. Once you have all the force gems you can get, head right two screens to face the level boss: Two Shadow Links.
These Shadow Links operate like most others, with one key difference: they can enter the Dark World. Soon after the fight begins they will hop down in the Dark World, preventing you from attacking them. Fortunately, you can follow them by using the Moon Gate in the center to head there as well. Use your sword to slash away at them and as with the other Shadow Links, they will start to change colors to a specific Link. Use that specific color to finish them off and complete the level.
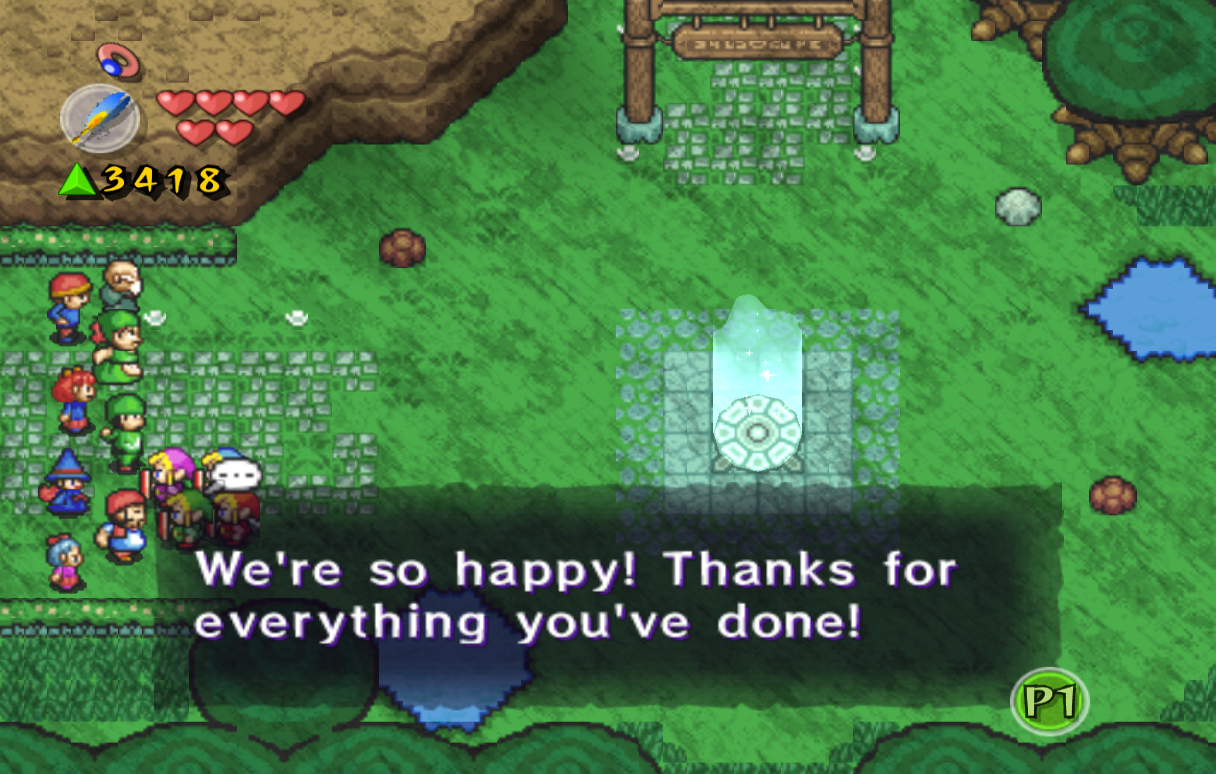
Once they are gone, light will return to the area and the townsfolk will come to the screen to congratulate you. You can speak with them if you'd like, but it doesn't really do much help. When you're ready, head up a screen, defeat the eye barriers and collect your fairies. Once you're ready again, head into the temple to start the next stage: Eastern Temple. |
 Moon Pearl Moon Pearl
A Moon Pearl has the ability to create Moon Gates. When a Moon Pearl is brought near a spot on the ground that sparkles, the Pearl will activate and create a Gate. This Gate can then be used to access the Dark World. [more] Moon Gate
A Moon Gate is created in certain spots when possessing a Moon Pearl. If the Links walk near a spot that starts to sparkle, the Moon Pearl will activate and create a Gate. This Gate can then be used to access the Dark World. [more] 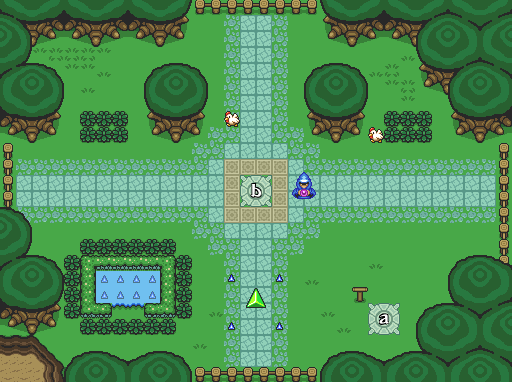

 Guild Leader Guild Leader
The Guild Leader is the leader of the Seeker's Guild, found exclusively in the Village of the Blue Maiden. After children started to disappear from the Village, the Guild was established to help find them. He can be found in the left building on the top-left screen. [more]  Guild Members Guild Members
Guild Members are four individuals that can be found in the Village of the Blue Maiden. They are a part of the Seeker's Guild, a group tasked with finding the missing children in the Village. They are found throughout the Village, in Green, Red, Blue, and Purple clothing. [more] 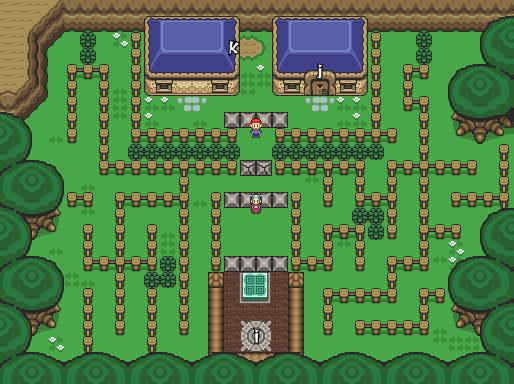 Heart Container #1
The first Heart Container in this stage can be found in the Dark World of the top-left screen. Complete the game the kids challenge you to and you will be led to two buildings. Enter the building on the left via the door along the right wall and inside you'll find a chest containing the Heart Container. [more]  Pegasus Boots Pegasus Boots
Pegasus Boots are magical items that will allow Link to dash short distances. He can use this ability to dash into cracked blocks, effectively breaking them. He can also dash over small gaps and break apart large groups of people. [more] 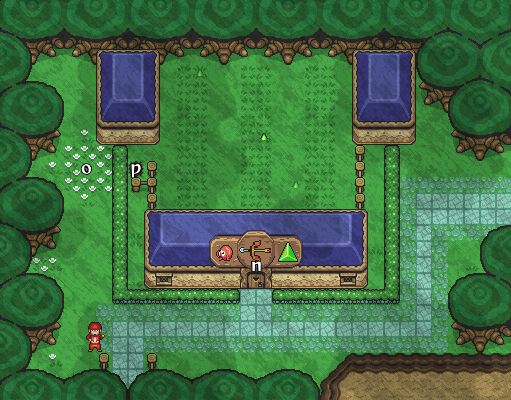
 Iris Iris
Iris is a Magician found in the Village of the Blue Maiden. She is a novice Magician who accidently teleported herself into the Dark World. While attempting to teleport herself back, she accidently teleported a house from the Light World into the Dark World as well, causing one of the predicaments faced during the stage. [more]  Blue Bracelet Blue Bracelet
The Blue Bracelet in this stage can be found in the Dark World of the top-middle screen. Enter the long, middle building on this screen and walk all the way to the top on the right side, then work your way around the table at the top.
Break the four pots on the left side and step on the switch underneath to remove the blocks surrounding the chests on the opposite side, and also near the table's bottom side. Keep working your way down on the left side, then walk around the table again and open the chests on the right side. One of them will contain the Blue Bracelet. [more] 
 Shovel Shovel
The Shovel is an item that acts much like a shovel in real life, allowing Link to dig out Force Gems and reveal caves hidden in the ground. The Shovel is given to Link by the Guild Leader after collecting the message from the four Seeker's Guild members. [more] 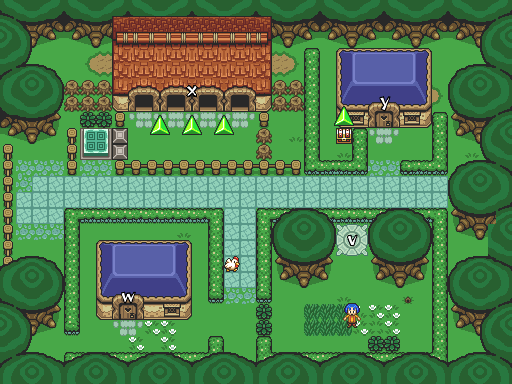 Heart Container #2
The second Heart Container in this stage can be found in the in the bottom-right screen of the stage. Enter the Dark World, then enter the blue house at the top-right of the screen. Speak with the woman dressed in blue and she will give you the Heart Container. [more] 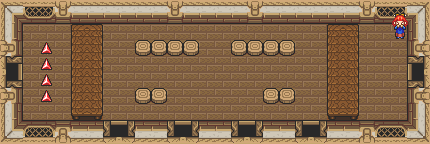
 Roc's Feather Roc's Feather
The Roc's Feather will give Link the ability to jump into the air much like a bird. This will allow him to jump across small gaps. The Roc's Feather will be given to Link after he delivers the girl's letter to her boyfriend in the Light World. [more] 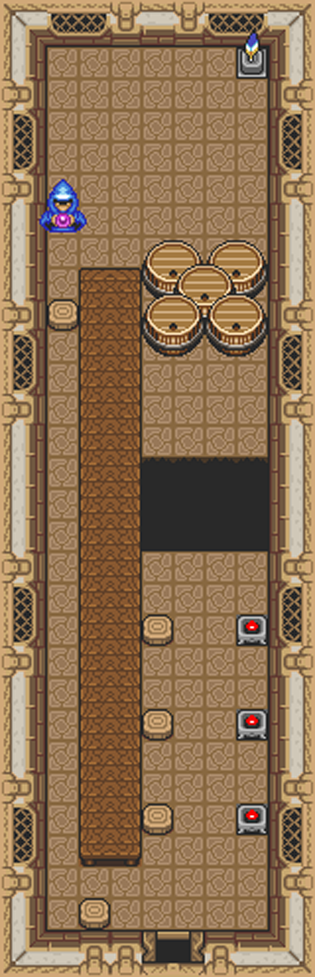
 Iris's Magic Book Iris's Magic Book
Iris's Magic Book is an item that can be found in the top-middle screen of the Light World. After giving the man the letter from his girlfriend he will give you the Roc's Feather, allowing you to jump across the gap inside the long middle building on this screen. Speak to the Mage here to obtain the Book, which you can then give to Iris in the Dark World. [more] 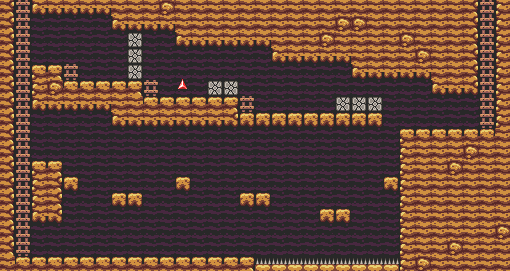
 Shadow Links Shadow Links
Two Shadow Links are faced at the end of this stage, and they are slightly different than last time. They possess the ability to teleport into the Dark World, forcing you to chase after them. Use the Moon Gate to chase after them and attack like with the sword. As usual, once they change colors attack them with that specific colored Link and finish them off. [more] 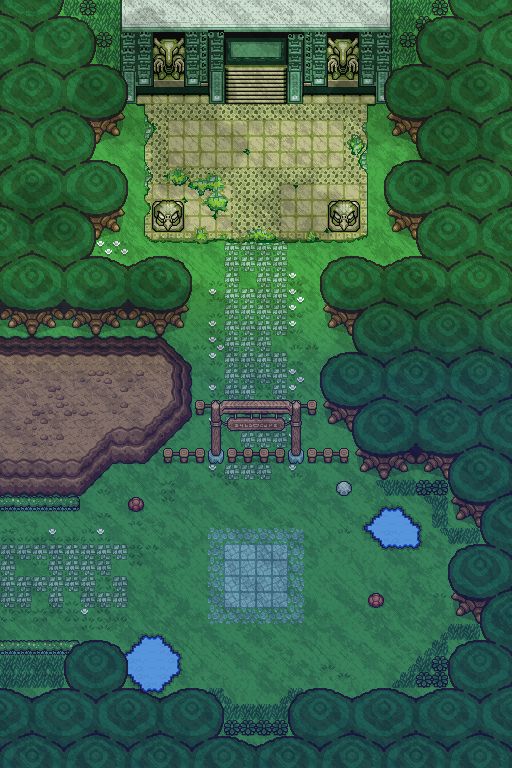

|


2.3 Eastern Temple
|
|
|
|
|
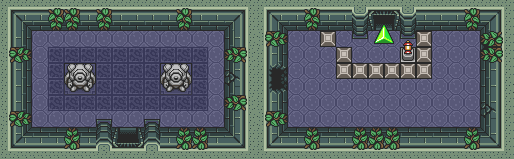
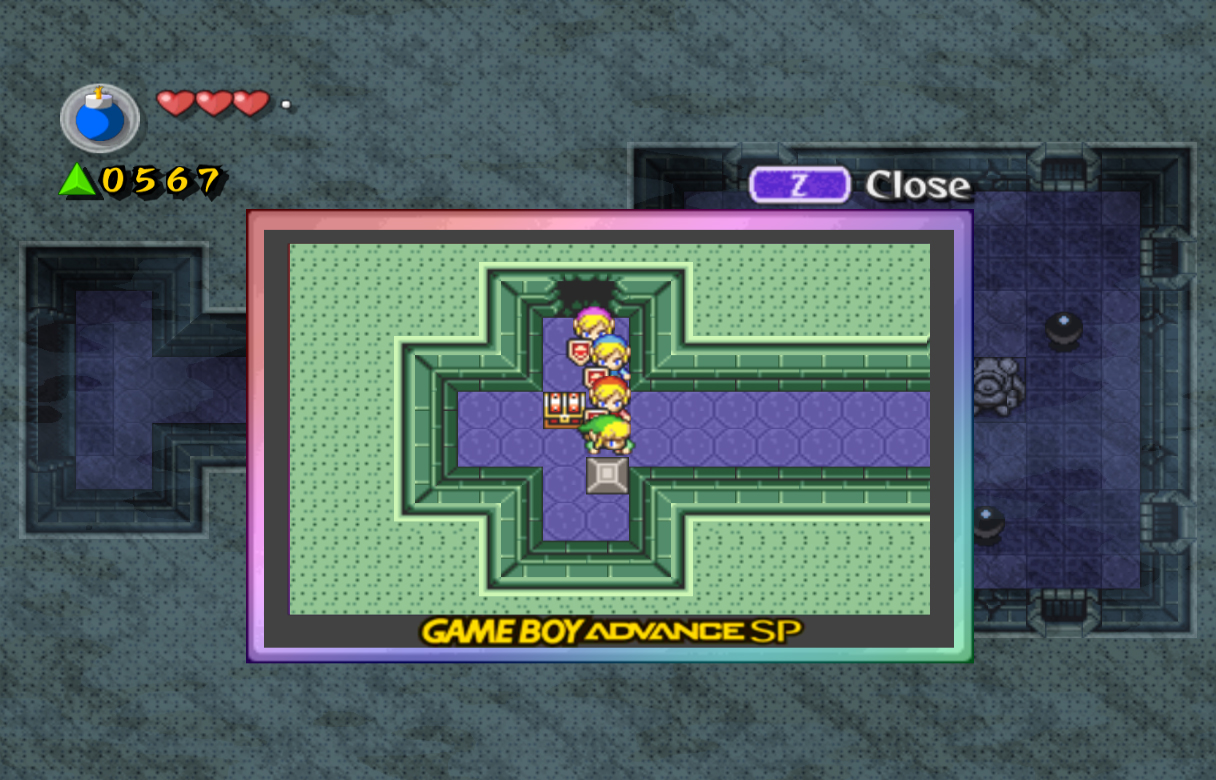
Start off by simply walking forward and into the Temple. Walk to the right side of this room and use a Cross formation to step on the four switches. This will cause two chests to appear; one with 20 force gems, and another with a small key. Obtain these, ignoring the pots below. Walk to the left side of the room and use the key to open the door at the top.
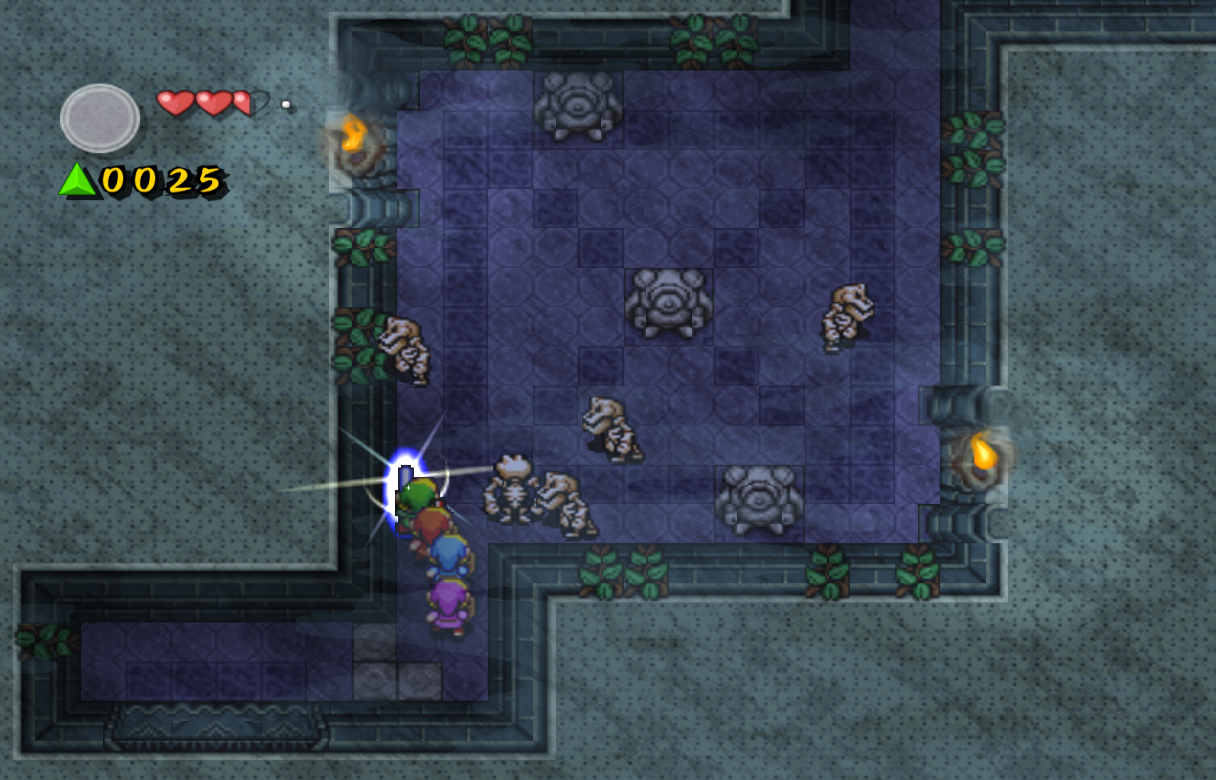
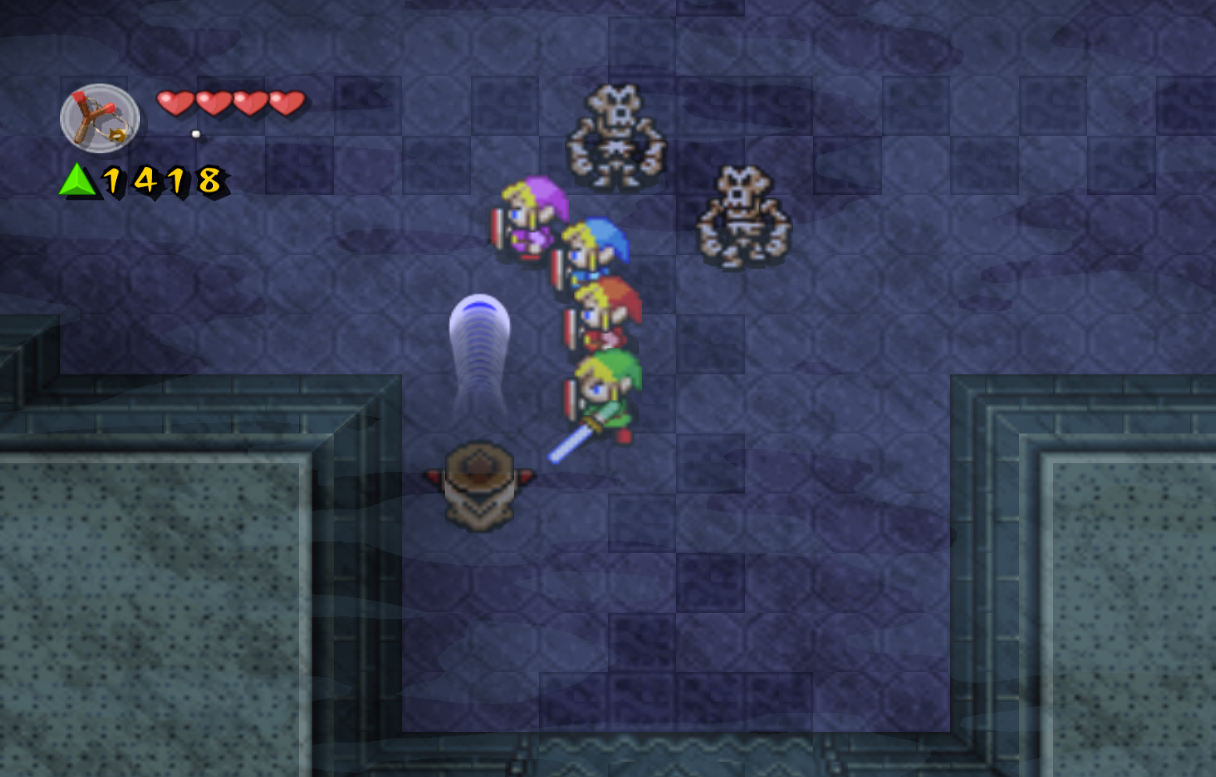
Walk to the right and destroy the pots here. You'll find a new enemy, Stalfos. These skeletal enemies will jump back whenever you attempt to hit them. The best way to kill them is to either charge up your sword and use a spin attack, or walk forward with your charged sword and stab them. Once they're defeated, 80 force gems will drop down. Collect them and walk north to leave the room.
To the left you'll find a long hallway with large cannonballs rolling down every couple of seconds. To make it through, walk upwards slowly and move left or right to dodge the small cannonballs. Every now and then a large cannonball will roll down; dodge it by moving into the side alcoves. Once you make it to the top, defeat the enemy Ropes, then exit through the open door. When you enter this next room, stop and don't move. Wait for Shadow Link to pound his hammer, then quickly run over and kill him. Defeat the two Stalfos as well, then grab the Slingshot to the right. This weapon will allow you to fire Deku Nuts at enemies or switches. You can press A to shoot, or hold A to shoot even farther. Ignore the middle area for now and head right. Step on the switch at the top and enter the door it opens.
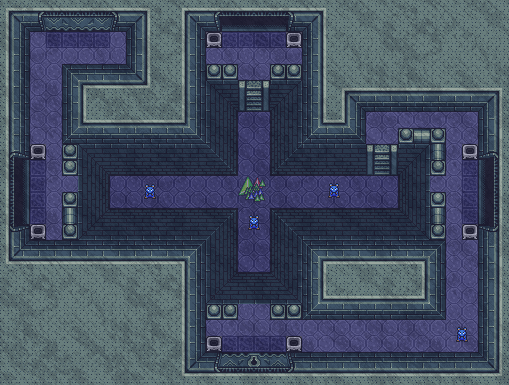
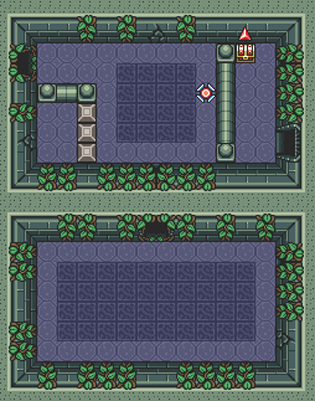
Hop down to the lower level and kill the rats there. Head through the north door to face a new enemy, Wizzrobes. Wizzrobes are magicians of sorts, and to attack they'll either shoot fire at you, shoot blue magic at you, or suck away your force gems. This one simply shoots fire, and only in a straight line, so you can easily dodge it. When they appear quickly dodge their attack and hit them. These enemies can be difficult enemies to defeat, but stick to it and once they're dead a Moon Pearl will appear. Pick it up and use it in the center of the room to enter the Dark World.
Head up and to the right and use a Wide formation to pull the levers here. This will create four bomb pedastals in the normal world along with 320 force gems. These gems will disappear quickly, so run back up and collect them. Grab the Bombs, then exit through the south door. Head down the stairs, walk to the right, and head through the open door. In this room you'll find more small cannonballs, but this time they will be shooting out from many directions. If you have trouble avoiding them you can stand in the light colored square in the center to avoid them entirely. Along the south, east, and north walls you'll find bombable cracks, each will open a path filled with goodies. Starting from the bottom-left, push the block down to find 20 force gems. In the bottom-right you'll find 55 force gems.
In the right-bottom one you'll find a couple of Keese, 200 force gems, and a small key. If at any time you need to put down the key to bomb a wall or kill an enemy you can press the A button. In the right-top one you'll find a few pots and a force fairy. In the top-right you'll find two pots with hearts, and in the top-left you'll find two pots, a blue force gem, and a Heart Container. Once you have everything, exit back left a screen. Walk south along the upper platform and use the key on the locked door here. Break all the pots here with a Wide formation and step on the four switches at the end. This will open the path forward, but also drop down a large ball that will follow you until you trap it and leave it behind. Run forward and drop down to the floor below.
As I mentioned before, this ball will follow you until you strand it, so quickly run south and push the block down to enter this area and block the ball. Open the chest here to get 50 force gems. Quickly back up through the hole and push one of the blocks up top out of the way to find safety again. Use the stairs at the top-left to get out of this screen. Head left a screen and north a screen, then bomb the right wall to open a path. Walk to the top-right in the next room and cut the vines to reveal another pathway.
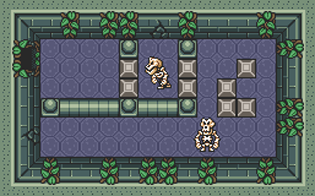
In this room you'll encounter another Blade Trap. Dodge it like you did with the one in Hyrule Castle, then head south and cut the vines for another entrance. Bomb the right-bottom side wall to find another entrance. Defeat the lone Stalfos for now, then push the lone block south to make two blocks disappear.
Walk back left a screen, then cut the vines at the right-top wall and enter back right a screen. Kill the Stalfos here, then bomb the upper wall to continue through the maze. Cut the vines at the left-bottom wall, then open the chest in the next room for 20 force gems. Cut the vines along the right wall for yet another hole.
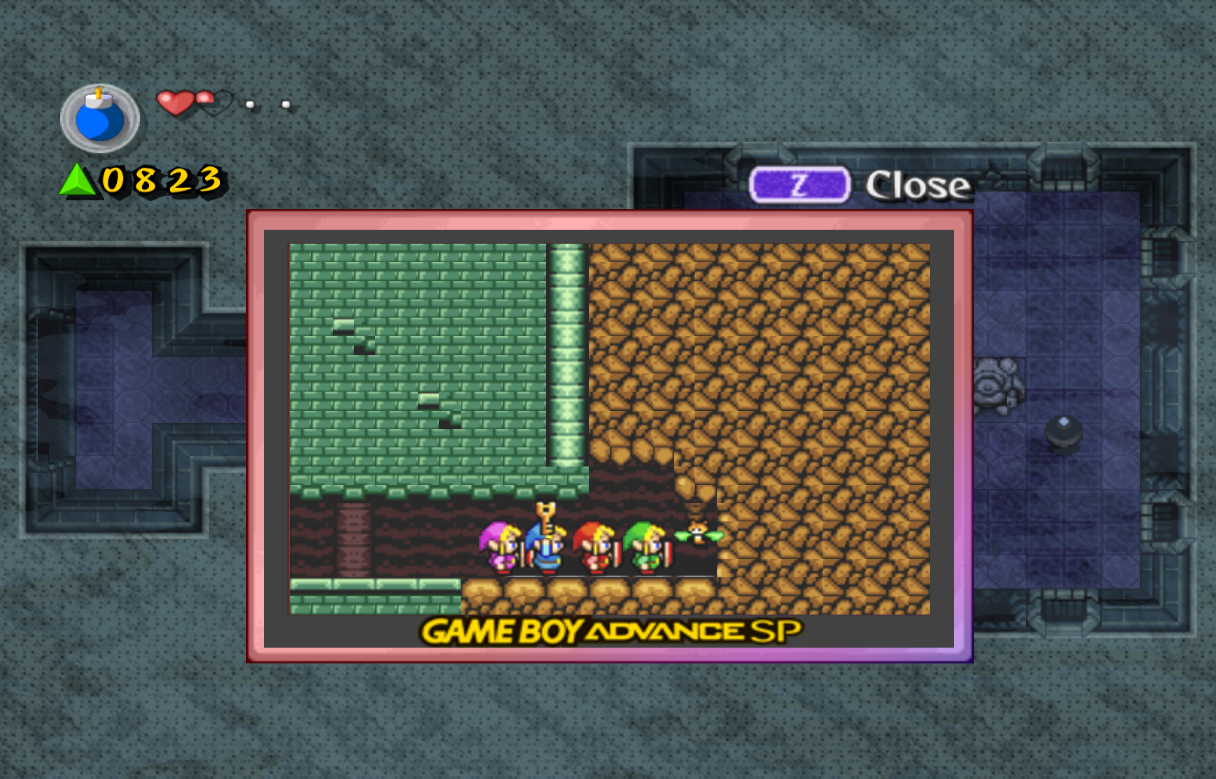
Cut the vines along the top and you'll find three entrances; take the left one. Push the left block upwards with two Links in the next room, then cut the vines along the left wall to find another room. In the next room you'll find an Anti-Fairy. Ignore it and open the chest for 50 rupees. Then slash the vines on the left wall for another entrance.
Use all four Links to push the large block to the left, then enter another secret entrance to the south. Collect the big green force gem here, then pick up our long awaited prize, the Lamp, which we can now use to light the many torches we passed. To make it out of this maze, push the first block from the bottom-left to the south, then push the bottom-left block to the left. Now head left and down to exit the GBA screen.
Use the Lamp to light the four torches here, which will drop down 200 force gems. Head right and up a screen, then push the second block from the right to the left, opening the door. Head right, then back up a screen. Drop down below and enter the north door, then head left and light the torches to open the door. Walk out the door, and light the two torches here. Drop back down into the pit and light the torches to the east, south, and north, as this will drop down even more force gems. Head back through the north door, but grab the Slingshot this time, and make your way back to the center room.
Head to the left and through the door on the left wall, after stepping on the switches with the Links. Use the Slingshot to shoot the two black switches, which will lower the spikes. Push the center block to the left, then head through the north door. Here you'll find another Wizzrobe, but this one will create Stalfos and shoot blue magic at you. Ignore the Stalfos and focus your attention on killing the Wizzrobe as the Stalfos will die when he does. When he's defeated, a Moon Pearl will drop from the ceiling. Grab it with a Link other than the green one, as we don't need it for a while and one of the others can carry it without a problem.
Walk back through the south door, then push the block to the south. Walk through the next door to the left. Open only the chest on the right side, which contains 100 force gems, as the chest on the left contains a Giant Bomb. If you do happen to open it, simply hop down into one of the holes to avoid it. Even if you didn't open the chest, hop in all the holes, as they contain goodies, including: a Heart Container, three purple force gems, a force fairy, a big green force gem, and a small key. Once you have all the collectibles, head back right a screen and push the block right. Use the small key on the southern door, then head through the newly opened door.
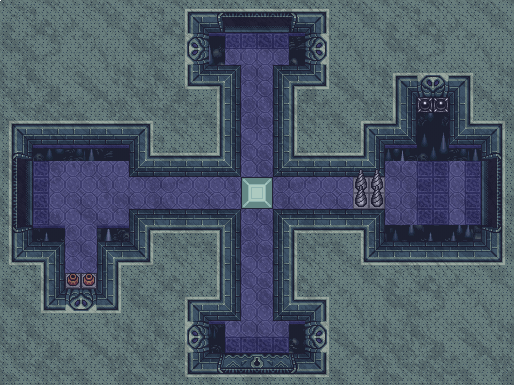
Head down and left, and use the Moon Pearl when it activates. Up ahead, our path is blocked by many cannonballs moving across the path. Use the Moon Gate to hop into the Dark World, and you'll find only a few cannonballs on the path. Avoid them and move right, then collect the 200 force gems at the end. Head up, then use the Moon Gate to get back to the normal world. Walk up and have all four Links step on the switches here to open the door. Inside, walk down the stairs here and defeat all the Keese in the cave, grab the Bow as well when you're finished. Head out of the cave and work your way back to the center room with the large gap. In the room with the many cannonballs, you must weave into them to make it back across. If you are feeling skilled, you can grab the 80 force gems at the bottom-end, but they aren't necessary. Also, before you leave this room, shoot the two red eyes above and the left of the Moon Gate. This will cause a path and chest to appear containing the Blue Bracelet for this level.
Once you are back in the center room, head up and slash the vines at the top for another entrance. Walk inside and create a long formation. This will allow you to shoot the red eyes with the Bow. Do so, and a path will appear across the gap. Before you cross, head through the right side door once more. Drop down into the pit, then walk through the north door and grab the Lamp once more. Walk back to the center room, collect the floating force gems, light the torches, and enter the north door.
In this room, tiles will immediately start spinning toward you. Quickly run to north side of the room and open the chests if you want some extra force gems. Dodge the flying tiles and soon everything will start flying at you, including the chests, the pots, and even the statues. To make this easier, you can hide behind the statues to dodge most of the attack. Once the room is calm, collect the 200 force gems, then exit through the north door to face four Shadow Links.
Right away from a Wide formation and prepare to slash your sword as the Shadow Links dash at you. Hit them, and collect any of the force gems they leave behind. Once they're gone, walk up to the two bombs in the center of the room and pick one up. Throw it at the left side of bombs to cause them to explode. Quickly grab another bomb and walk over to the left wall, you'll find another crack here at the bottom that you can explode. Do so, and enter the cave. Swim through the water and break the pots to find another 50 force gems. Head back out of the cave and pick up one of the bombs here. Move to the other side of the line of bombs, then drop the bomb so it explodes all of them once again. Quickly pick up one of the bombs from the middle, then run over to the right side wall and blow open another crack.
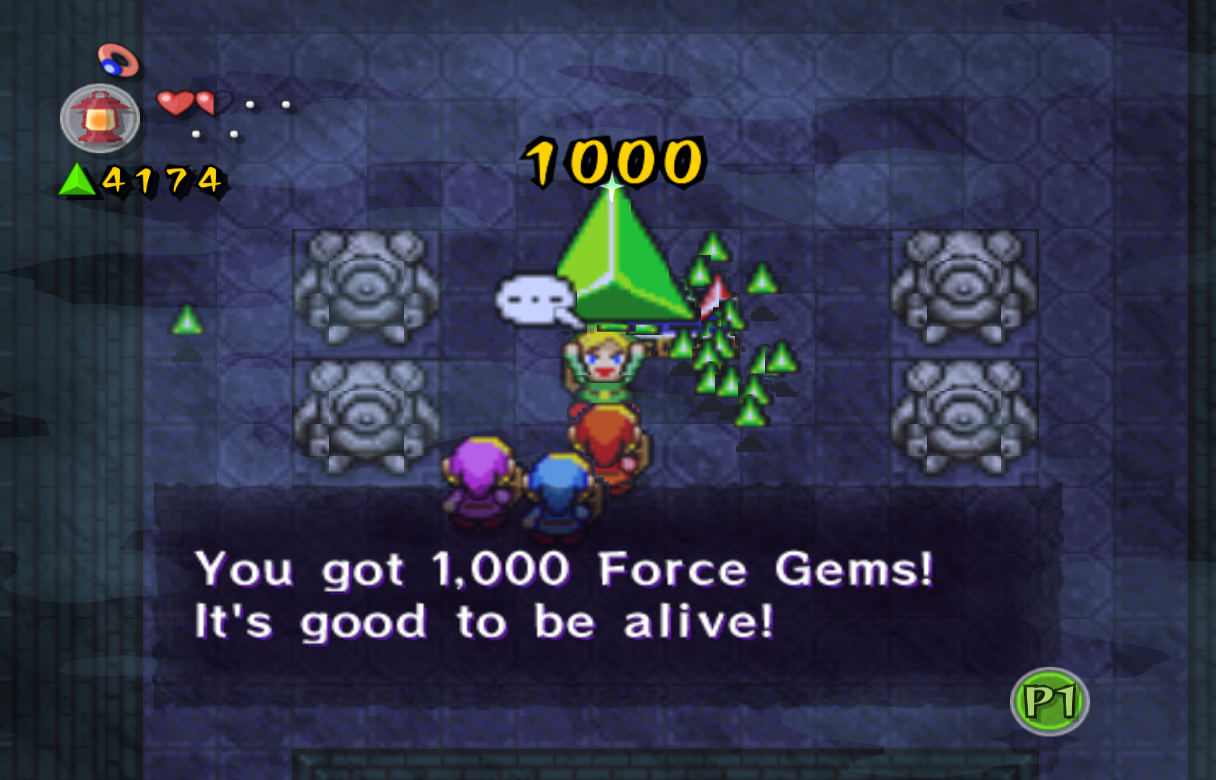
Enter into the next cave and open the chest at the bottom to receive a Big Key. This Key serves a different purpose than it has in most other Zelda games; it doesn't open the Boss's door, rather, it unlocks two chests in the next room. Head back out a screen, then explode the lines of bombs once more. Quickly run up to the top of the room and enter to the next screen. Head down into this pit, drop the Big Key, and ignore the Rats as two more Wizzrobes will pop up. These ones are especially problematic, as they will steal your force gems until you defeat them. Quickly kill them, and the Rats in the room, and this will drop down hundreds of force gems. Collect them, then grab the Big Key again and use it to open the two chests in the center. This will give 1000 force gems! When you've collected all the force gems in the room, enter the door at the top to face the dungeon boss: Stone Arrghus.
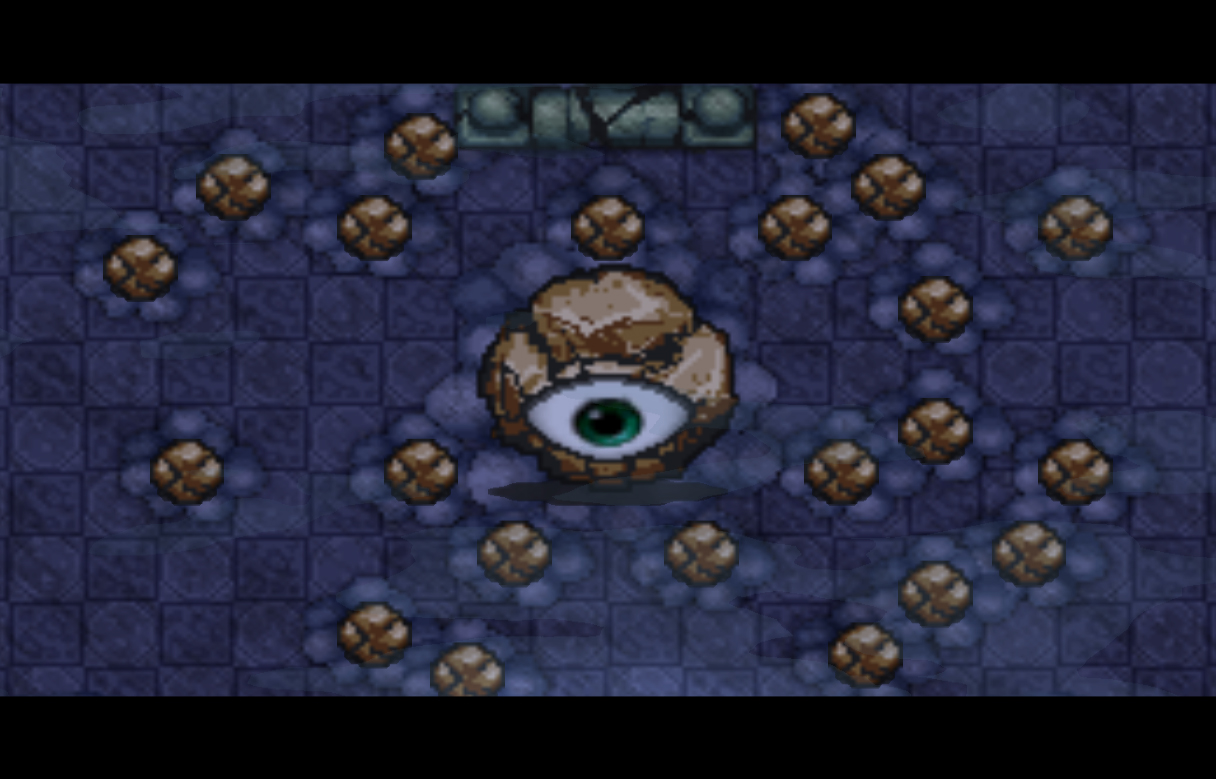
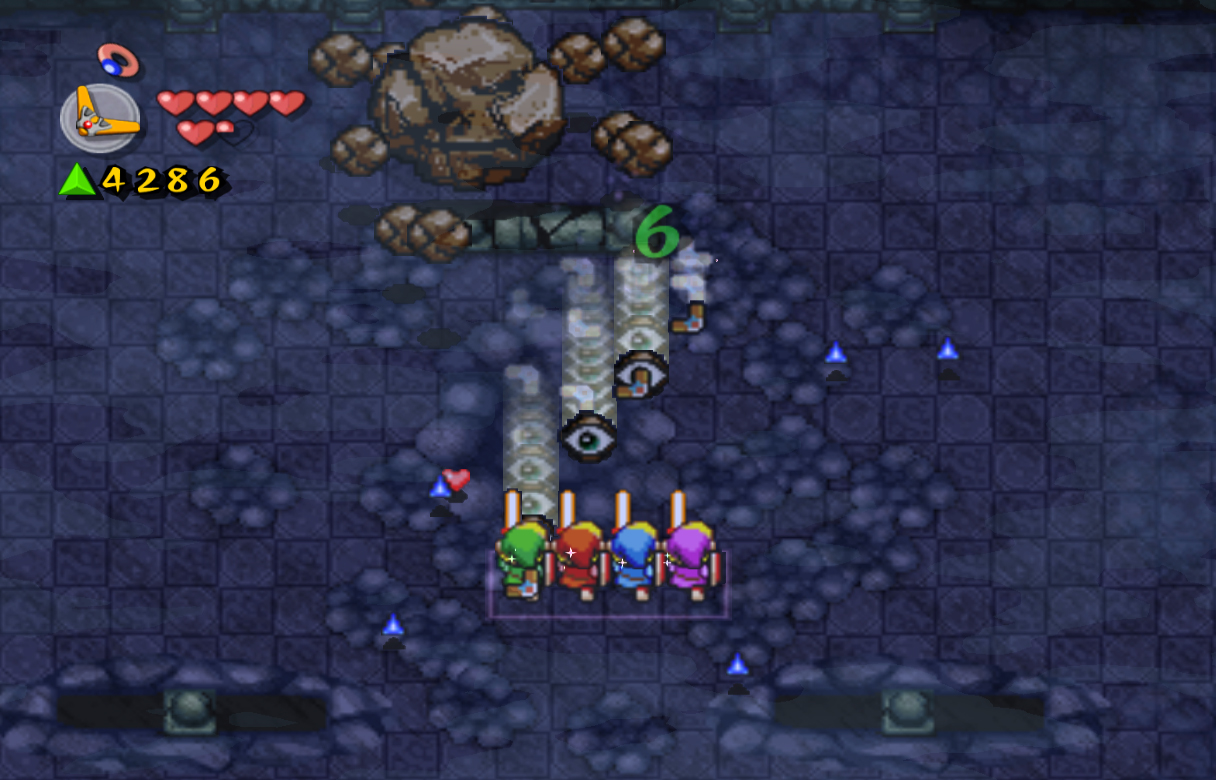
The battle with Stone Arrghus will be almost exactly the same as the battle with Arrghus, a boss from A Link to the Past. He is one big rock surrounded by much smaller rocks. These smaller rocks will block us from attacking him until we can kill them, so drop down into one of the holes close to the south wall. Grab the Boomerang here, as this will allow us to steal away one small rock at a time to kill them. Hop down, break the pots if you want to, then head up the ladder.
The easiest way I've found to do this is to create a Long or Wide formation. This way, when you shoot the Boomerang at him, you will bring back four small rocks instead of one (unless you miss with a boomerang). This speeds up the entire process incredibly, making this battle much easier. When you do bring the rocks to you, hit them with your sword to kill them. One of the main differences between Stone Arrghus and Arrghus, is that the creatures surrounding its body will drop hearts and force gems when killed. These aren't small force gem amounts either, some will drop purple ones, and some will even drop big green ones. This makes this battle and level much easier, constantly replenishing your health and force gem count.
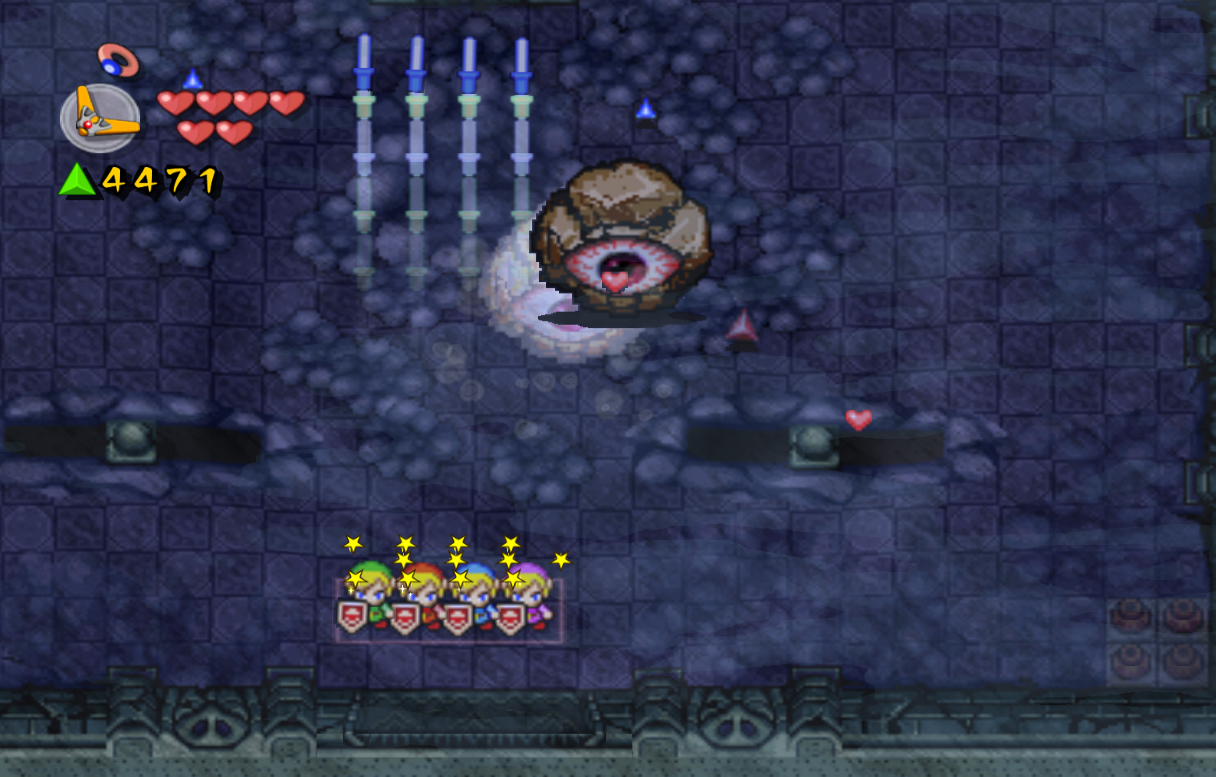
Once you've killed all the smaller rocks, Stone Arrghus will become infuriated and he will jump into the air to try and crush you. Run away and keep running so the shock waves from the impact don't make you dizzy. At this point he will start gliding across the room, bouncing off the walls until he hits you. When he comes near, keep your Wide or Long formation and slash anywhere on his body to harm him, and keep doing so until he jumps into the air again. Repeat this process a couple of times until he's been defeated.
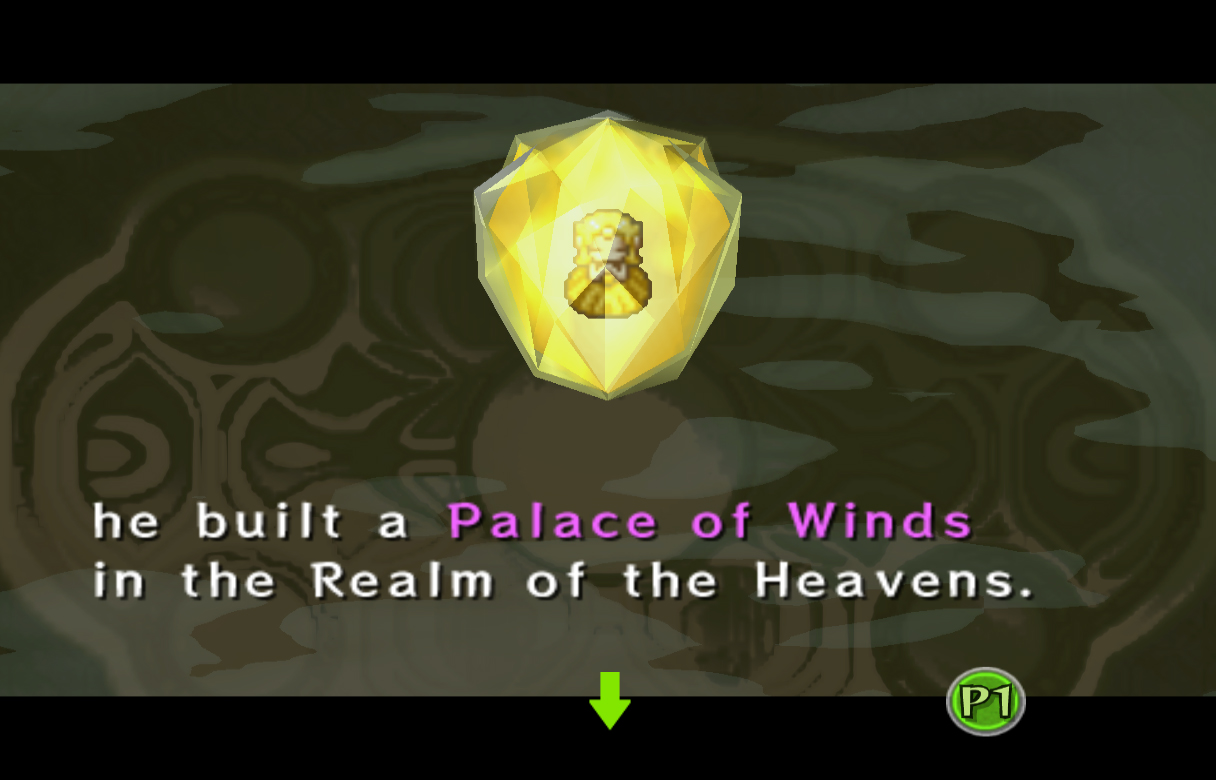
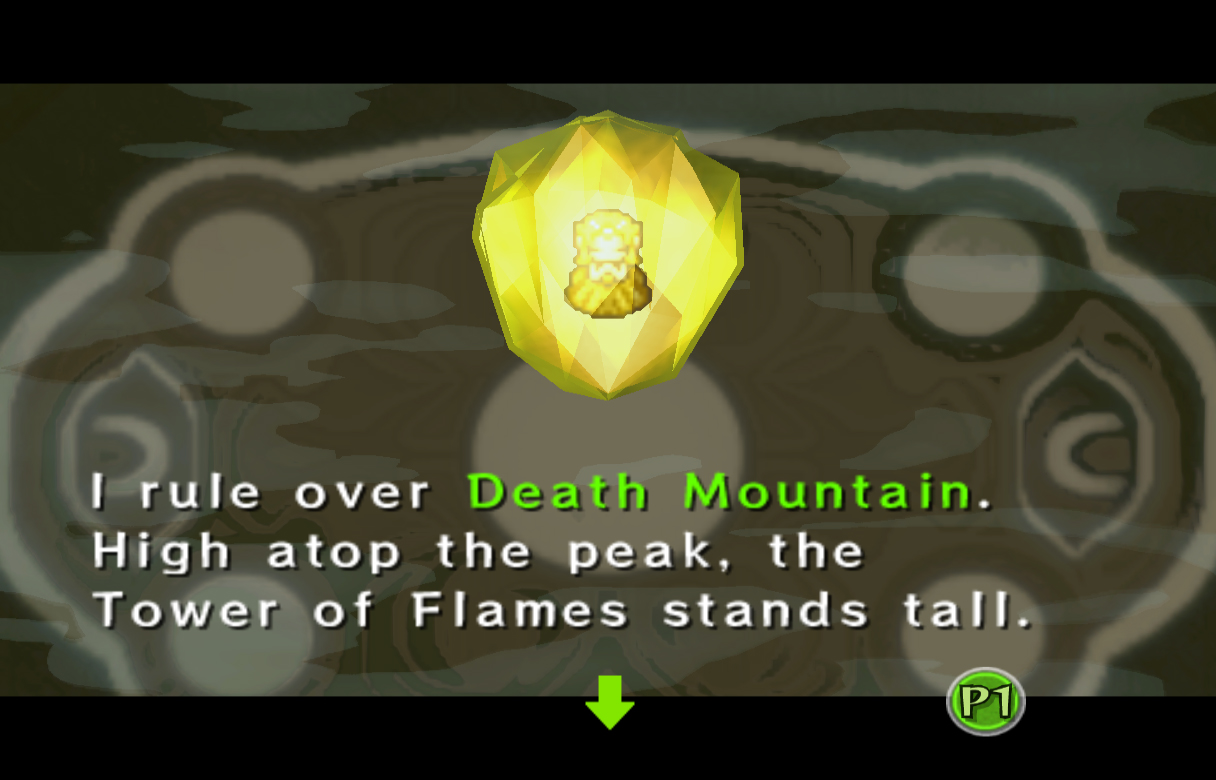
When he's defeated he will die in a great explosion, dropping hundreds of force gems and leaving the room all sparkly. Collect the gems, then head up a screen. Break the eye barriers as usual and you will free the Yellow Maiden. She will tell you of how Vaati regained his power, and when he first did, he built a Palace of Winds in the Realm of the Heavens. She then stops mid sentence and tells you to first rescue Princess Zelda. She then explains she rules over Death Mountain, where the Tower of Flames stands. She then asks to rescue the Maiden trapped there. That's it for this level, so collect your fairies and enter the next level, Death Mountain.
|
 Stalfos Stalfos
Stalfos are skeletal warriors found in the Dark World and in most dungeons. They use swords, shields and sometimes bones from their body to attack. They are always weak to sword attacks, and can also be killed with bombs and arrows. [more]  Rope Rope
Rope are snake-like enemies that can only be found in dungeons. They slowly move across the ground until Link crosses their path, at which point they will speed up to attack him. They can be defeated with almost any weapon. [more] 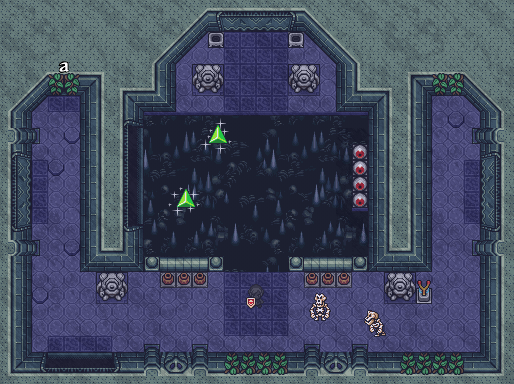

 Wizzrobe Wizzrobe
Wizzrobe are magical creatures that are found in many dungeons. They have a variety of different attacks, including shooting fire, ice and magical balls of energy. Some Wizzrobe can also steal your force gems until you defeat them. They can be defeated with sword attacks. [more]  Heart Container #1
The first Heart Container in this stage can be found in the square room with the many cannonballs shooting out of the walls from every direction. Bomb the top-left cracked wall and you will find the Heart Container. [more] 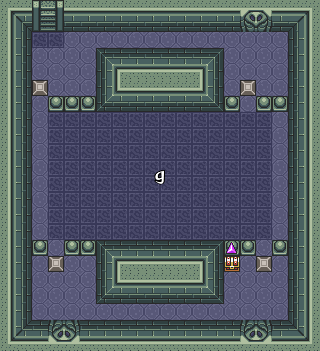


 Heart Container #2
The second Heart Container in this stage can be found in the room to the far left of the temple that has four holes lining the left and right sides. Drop into the second from the top hole along the left side to find the chest containing the Heart Container. [more] 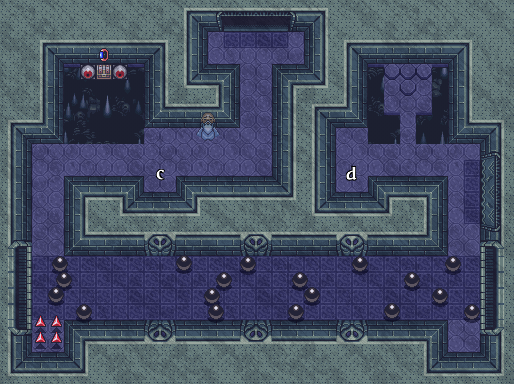
 Blue Bracelet
After grabbing the Bow in the Eastern Temple, use it to shoot the two red eyes in the wide room with the cannonballs rolling across the pathway near where you got the Bow. This will create a pathway and a chest containing the Bracelet. [more] 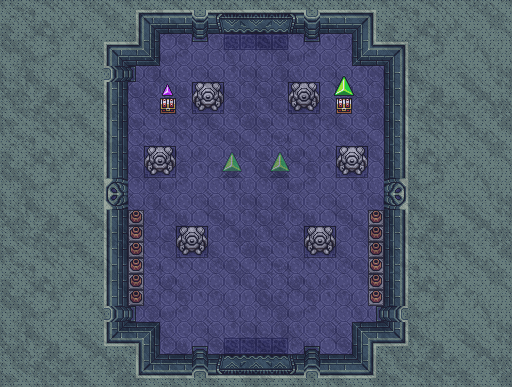

 Big Key Big Key
The Big Key in Four Swords Adventures has a much different use than in other games. It is used to open two combined chests near the end of the level, usually with a big force gem reward inside. The Big Key for this dungeon can be found in the room with the bombs lining the left, top and right walls. Walk to the right side and pick up one of the bombs, then throw it at the cracked wall nearby. Enter the side cave and open the chest for the Key. [more] 
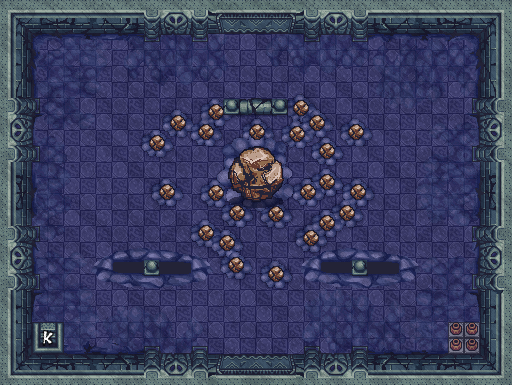
 Stone Arrghus Stone Arrghus
The Stone Arrghus is a large stone monolith, surrounded by many smaller rocks that circle rapidly around his body. He is the boss of the Eastern Temple and of the Eastern Hyrule level.
To defeat him, you must hop into one of the holes at the south end and grab a Boomerang. Take the stairs back up and use the Boomerang to grab the rocks that surround him. Use the sword to kill them, and keep doing so until they are all defeated. At this point, the monster will jump into the air and attempt to slam down on Link, then slide across the room. Hit him with the sword when he slides near, and continue to do so until he is defeated. [more] 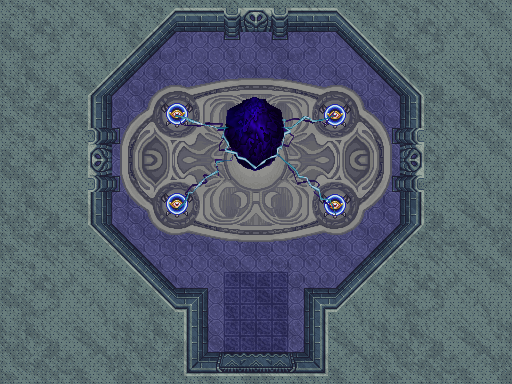
 Yellow Maiden Yellow Maiden
The Yellow Maiden is the second Maiden rescued in Four Swords Adventures. She presides over the Death Mountain area of Hyrule. [more] 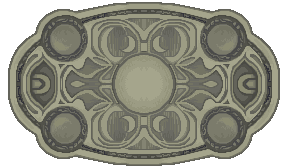
|


| Four Swords Adventures Site Walkthrough | |
Chapter 1 - Whereabouts of the Wind
Chapter 4 - Near the Fields Chapter 5 - The Dark World Chapter 6 - The Desert of Doubt Chapter 7 - Frozen Hyrule Chapter 8 - Realm of the Heavens | |
| � Previous | Next � |