Network Sites: Hyrule Warriors Walkthrough | Pokemon X and Y Walkthrough | Darksiders Dungeon | GenGAME
-
- Walkthrough
- Video Walkthrough
- Bosses
- Characters
- Enemies
- Guides
- Info
- Media
-
- Walkthrough
- Video Walkthrough
- Enemies
- Quest
- Guides
- Info
- Media
-
- Walkthrough
- Bosses
- Characters
- Enemies
- Items
- Guides
- Media
-
- Walkthrough
- Video Walkthrough
- Enemies
- Quest
- Guides
- Info
- Media
-
- Walkthrough
- MQ Dungeons
- Video Walkthrough
- Dungeons
- Enemies
- Quest
- Guides
- Info
- Media
-
- Walkthrough
- Video Walkthrough
- Text Guide
- Enemies
- Quest
- Guides
- Info
- Media
-
- Walkthrough
- Bosses
- Enemies
- Rings
- Guides
- Media
-
- Walkthrough
- Enemies
- Characters
- Rings
- Quest
- Guides
- Media
-
- Walkthrough
- Enemies
- Quest
- Guides
- Info
- Media
-
- Walkthrough
- Coming Soon
- Enemies
- Walkthrough
-
- Walkthrough
- Enemies
- Quest
- Guides
- Info
- Media
-
- Walkthrough
- Ordon Village
- The Twilight
- Faron Woods: Twilight
- Forest Temple
- Kariko Village: Twilight
- Death Mountain
- Goron Mines
- Lanayru Province: Twilight
- Lake Hylia: Side Quest
- Lakebed Temple
- The Master Sword
- Gerudo Desert
- Arbiter's Grounds
- Scaling Snowpeak
- Snowpeak Ruins
- Sacred Grove
- Temple of Time
- In Search of Sky
- City In The Sky
- Palace of Twilight
- Cave of Ordeals
- Hyrule Castle
- Video Walkthrough
- Ordon Village
- The Twilight
- Faron Woods: Twilight
- Forest Temple
- Eldin In Twilight
- Death Mountain
- Goron Mines
- Lanayru In Twilight
- Lake Hylia: Side Quest
- Lakebed Temple
- The Master Sword
- Gerudo Desert
- Arbiter's Grounds
- Scaling Snowpeak
- Snowpeak Ruins
- Sacred Grove
- Temple of Time
- In Search of Sky
- City In The Sky
- Palace of Twilight
- Cave of Ordeals
- Hyrule Castle
- Enemies
- Quest
- Guides
- Info
- Media
- Walkthrough
-
- Walkthrough
- Enemies
- Quest
- Guides
- Info
- Media
-
- Walkthrough
- Video Walkthrough
- Enemies
- Quest
- Guides
- Media
- Characters
- Story
-
- Walkthrough
- Video Walkthrough
- Bosses
- Characters
- Enemies
- Equipment
- Items
- Story
- Side Quests
- Upgrades
- Media
This chapter covers the first three levels in the game, Death Mountain Foothills, The Mountain Path, and the Tower of Flames.
3.1 Death Mountain Foothills
|
|
|
|
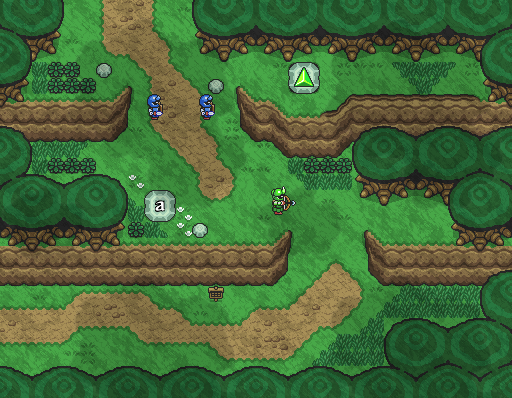
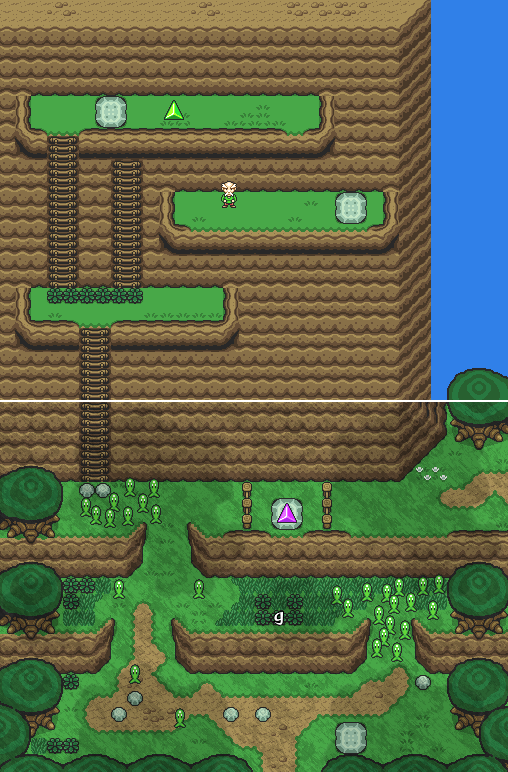
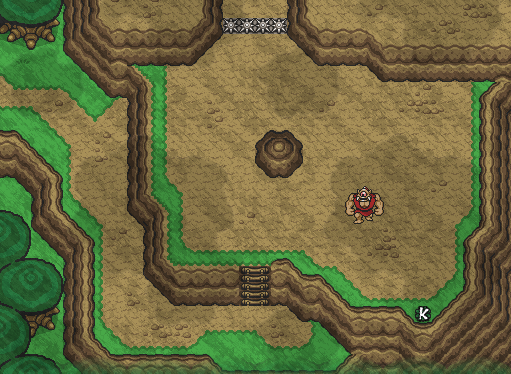
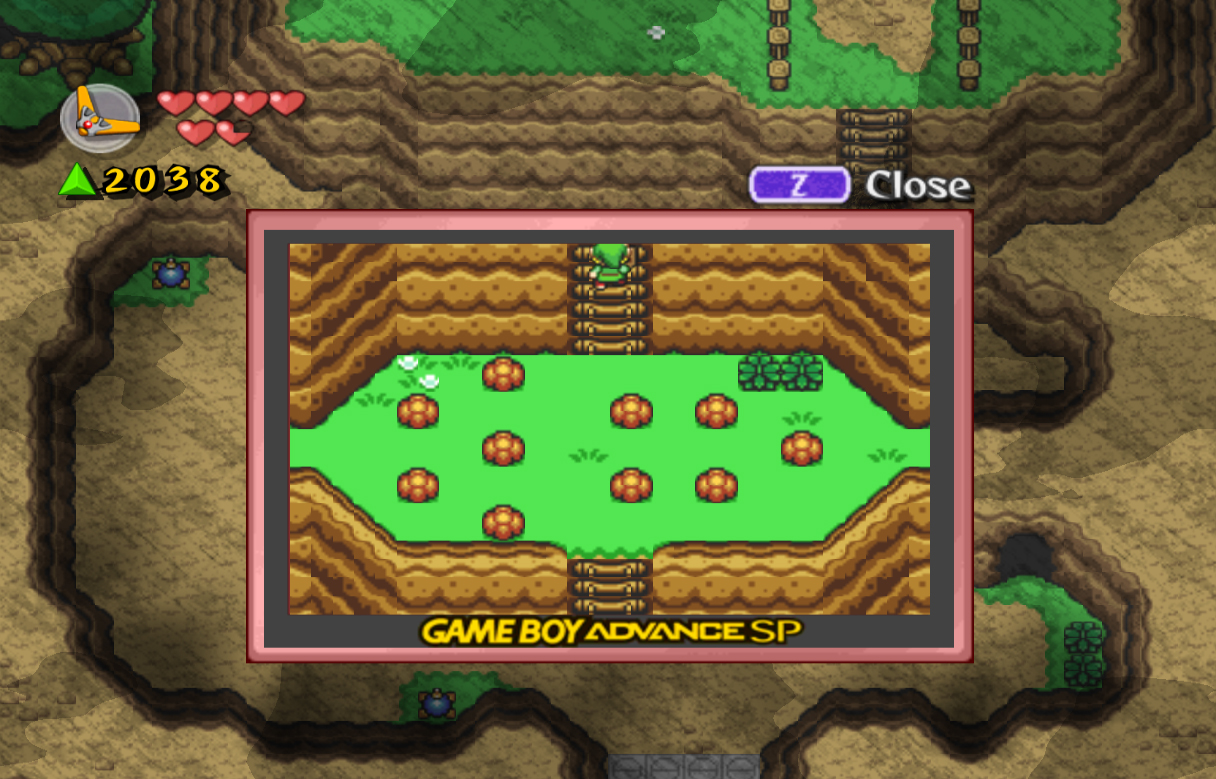
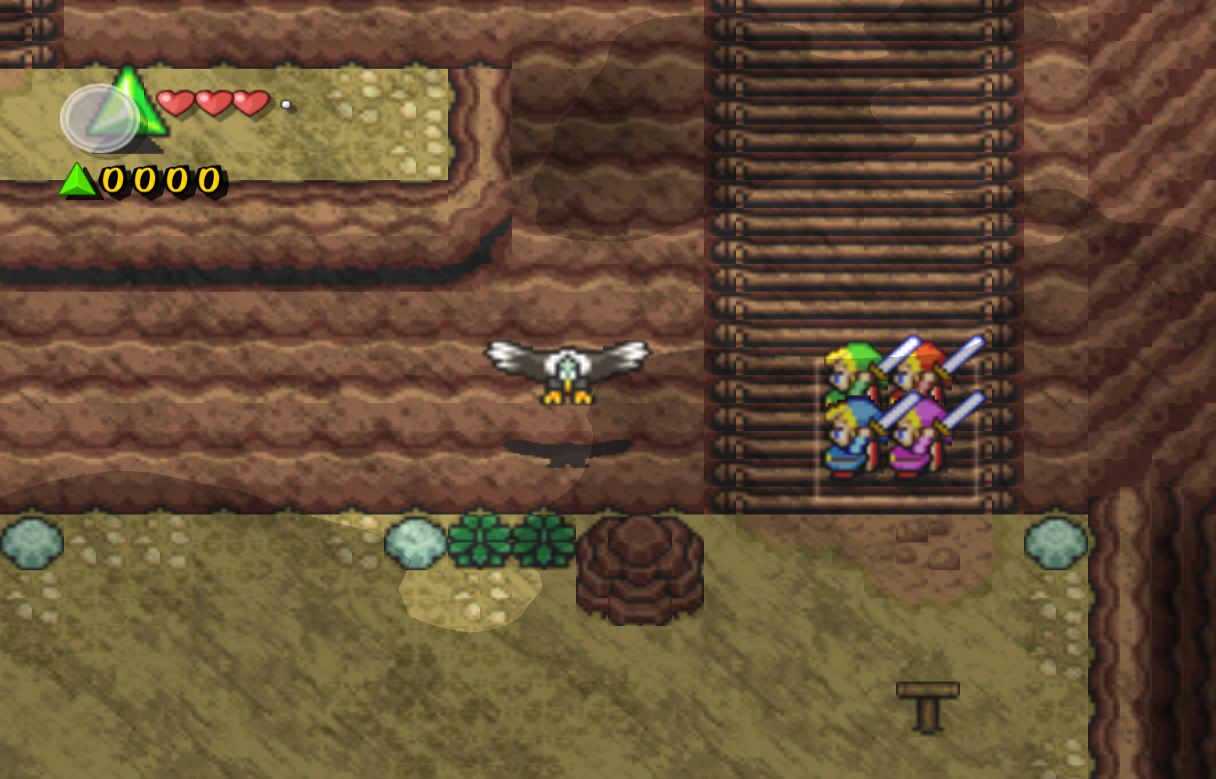
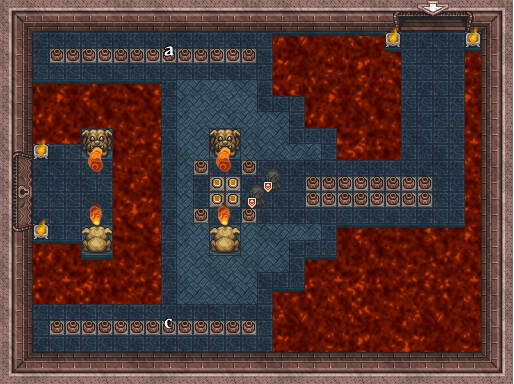
Welcome to the third level in the game, Death Mountain, and the first stage of it, Death Mountain Foothills. This level takes place in northern Hyrule, and is filled with friendly Gorons, fire, lava, and a gigantic bird that wants to kill you.
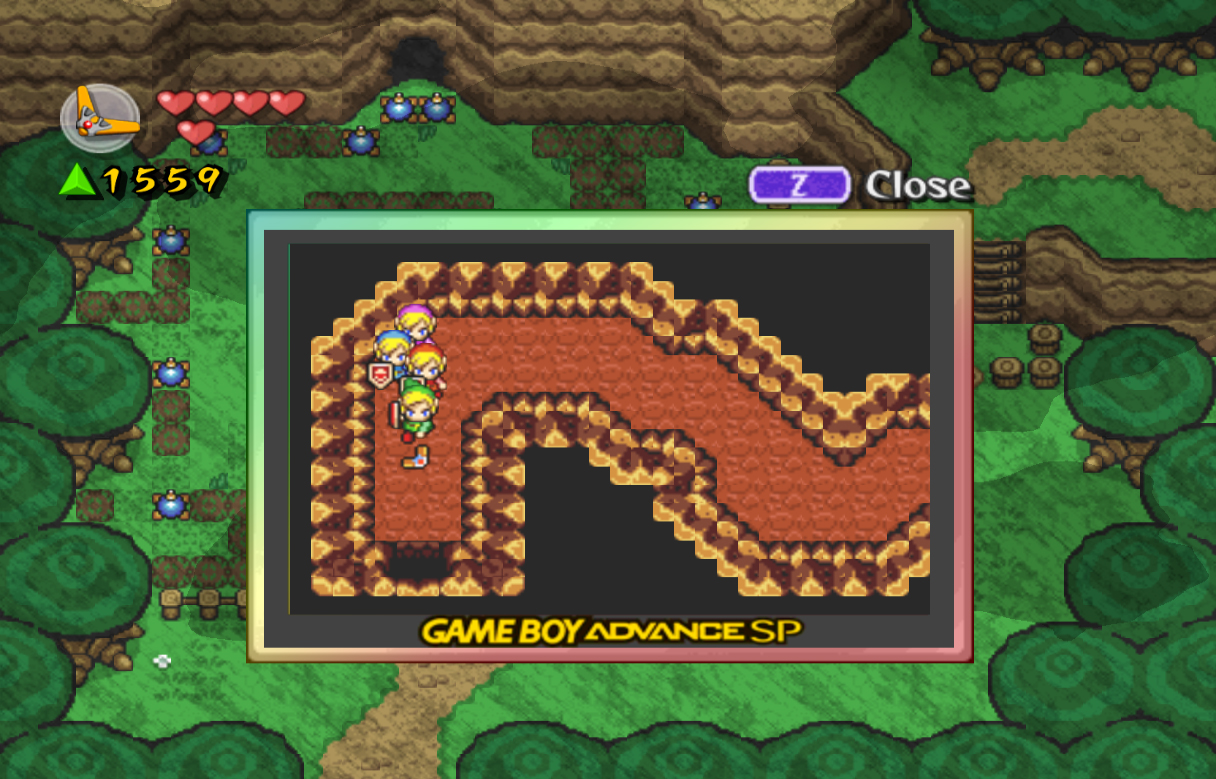
Start off by heading right and reading the sign. It says to report back if you see any of the Links, as we are now obviously wanted men. There are also Hylian Soliders littered all over this stage, but most are still easy to defeat. Kill the three nearby, then lift the large rock to the left on the middle level of this screen. This will lead to a cave where you can jump off of ledges to collect varies force gems below. The easiest way to do this is to separate the Links, and use one to jump down into each area. When you've collected all the force gems, bring them all back together and exit the cave. Head up the next hill, then walk right and lift another rock to find a big green fore gem. Collect it, then head up to the next screen.
There are many Hylian Soldiers on this next screen, each equipped with a Bow. Defeat these Archers, including the ones hiding in the grass. To make this easier, you can enter the house at the top-left to find a Bow that you can use to shoot them with ease. Once they're all defeated, 300 force gems will drop down. Collect it, then enter the house to the right. Defeat another Soldier, then grab the Boomerang. Walk back outside and head up a screen.
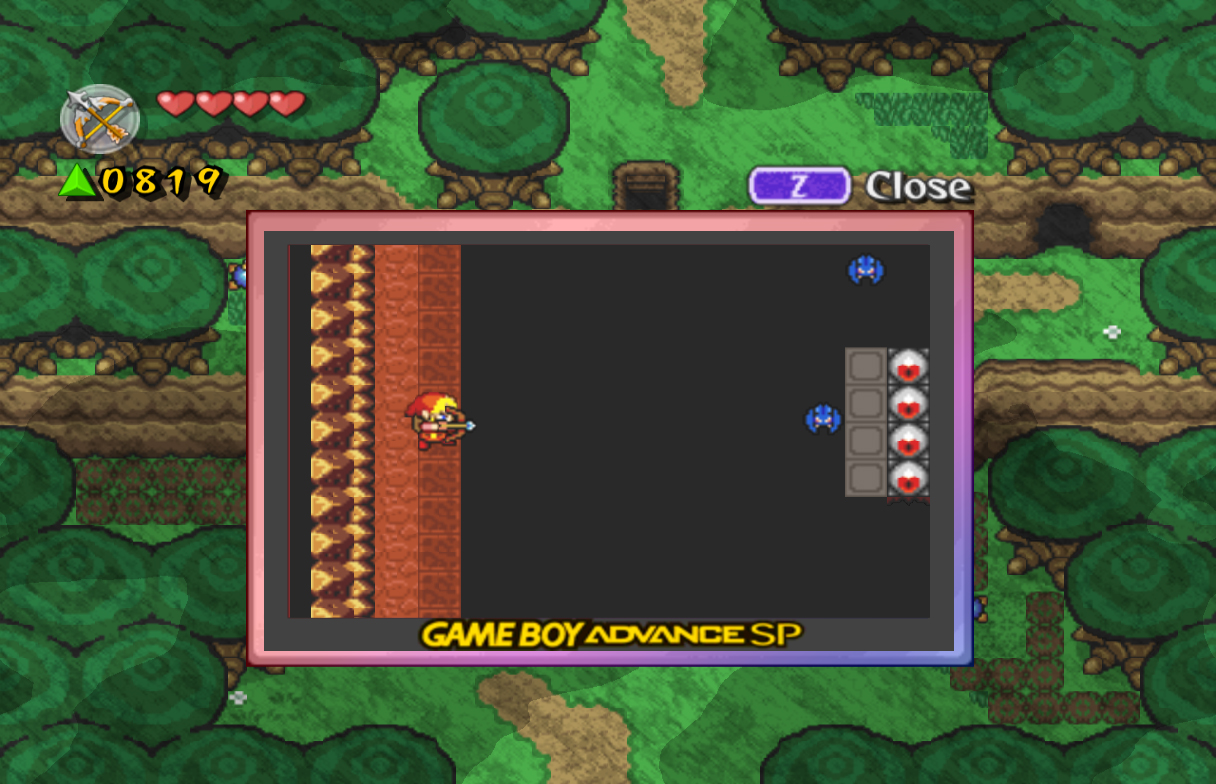
On this screen you'll find a bridge and many force gems floating across the river. You can use both sides of the river and the bridge itself to collect them. With the Boomerang, you can also hold A to hold the Boomerang in one spot, allowing the force gems to be collected much easier. You can also throw the Boomerang diagonally if needed. When you have all the force gems, head up to the next screen. The Shadow Links on this next screen are equipped with flamethrowers, so make sure to dodge their extra attack range. Defeat both of them, then use the Boomerang to stun the Buzz Blobs on this screen. Use a Sword Slash on them when stunned to defeat them, then grab one of the bombs nearby. Quickly run up to the right side of the second ledge. Use the bomb on the upper wall where the path ends, revealing a cave. Enter it, then break the two pots along the left to reveal a single switch. Separate the Links, then have one step on the switch to make the blocks nearby disappear. Switch to another Link, and walk to the north. Grab the Bow here, then head back outside through the south exit.
Walk to the left side of this upper ledge and grab another bomb. Quickly walk a little bit to the right and bomb the upper wall, below the tree that's next to the stairs above. This will open another hole; enter this one as well. Walk forward a little bit, then turn right and use the Bow to shoot the four red eyes. This will create a path bridging the two sides and another ledge nearby. Bring the Links together, then walk up onto the new path. Take the path down to find two chests containing 100 force gems and a Heart Container. Walk back up, then up the stairs at the top. Once outside, head up a screen.
There are masses of Buzz Blobs here, all ready to be killed. Before you kill them though, head to the second cliff of the screen. Look on the 3rd cliff and you'll see a large rock; walk below it, then cut the bushes here to find a secret hole. Enter it, then break the pots and step on the switches. This will form a bridge leading to a Bombos Medallion and 100 force gems. Head back outside, then throw the Medallion to kill all the enemies on the screen. Cool, huh? Lift the stone at the top-left and head up another screen.
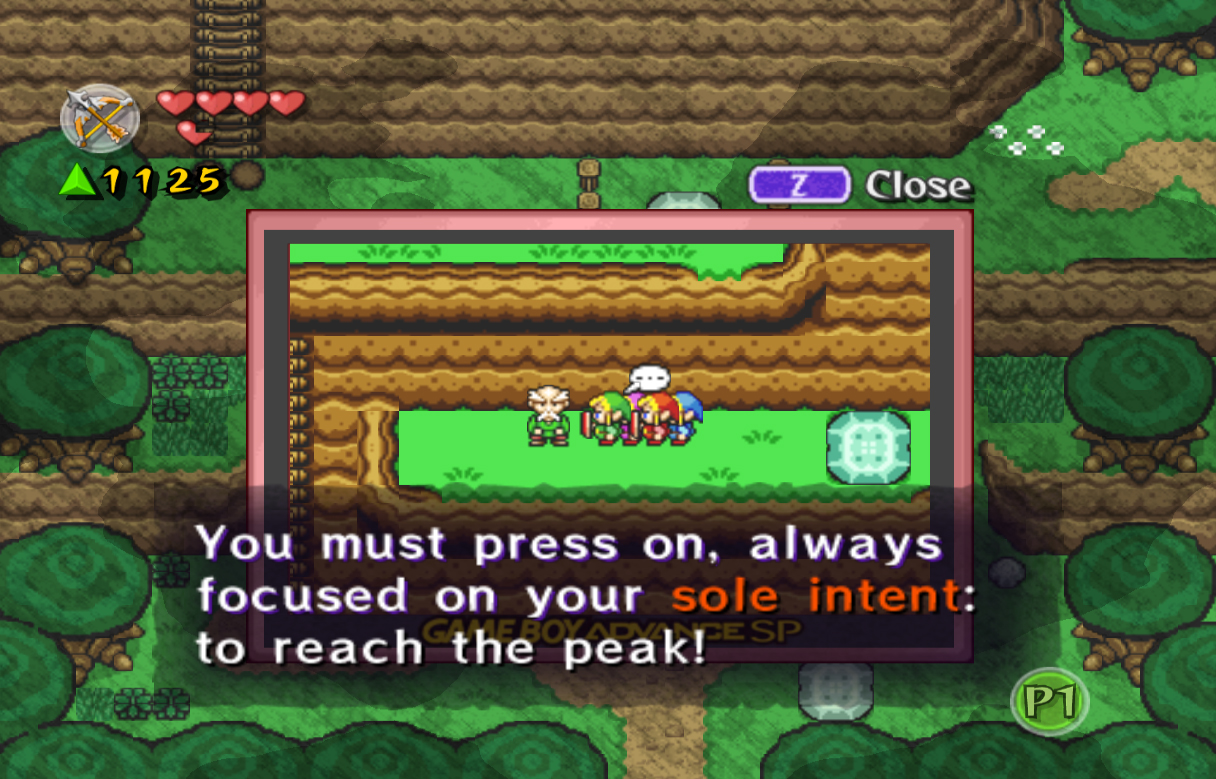
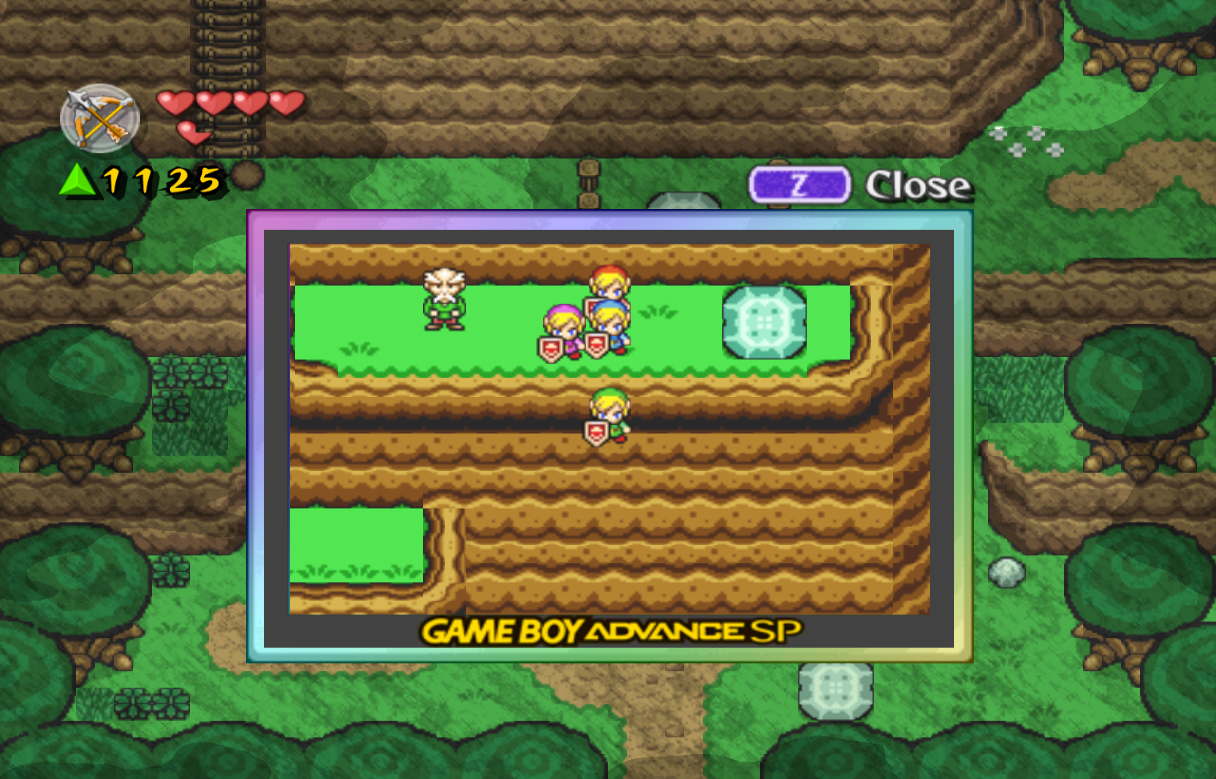
Take the ladder on the left side, then lift the large rock at the top. Defeat the Force Gem Knight here and collect it, then hop down off the ledge. Speak with the man here and he'll talk about an area up ahead, where if you don't keep moving forward you'll become lost. Walk back to the right and under the ladder, then jump off the ledge below. If you jumped correctly, you should have landed next to the large rock we saw before. Lift it to find 300 force gems, then head back up the ladder to the old man.
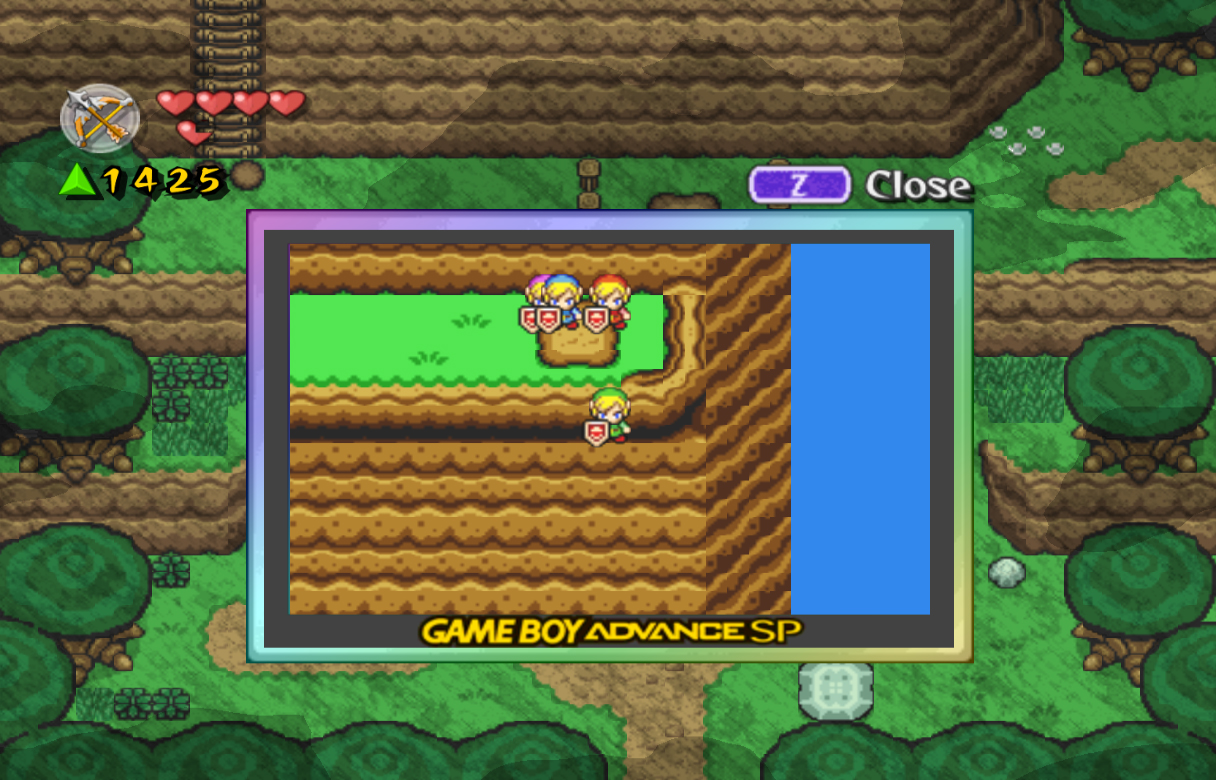
Lift the large rock close to the old man, then jump down in front of where the rock was. Once you make it down, head right a screen. You'll find a new enemy here, Deadrocks. These rather annoying enemies will turn to stone when you hit them, then start moving again soon after. We can't kill them yet, so make your way through the maze as best you can, then head right a screen.
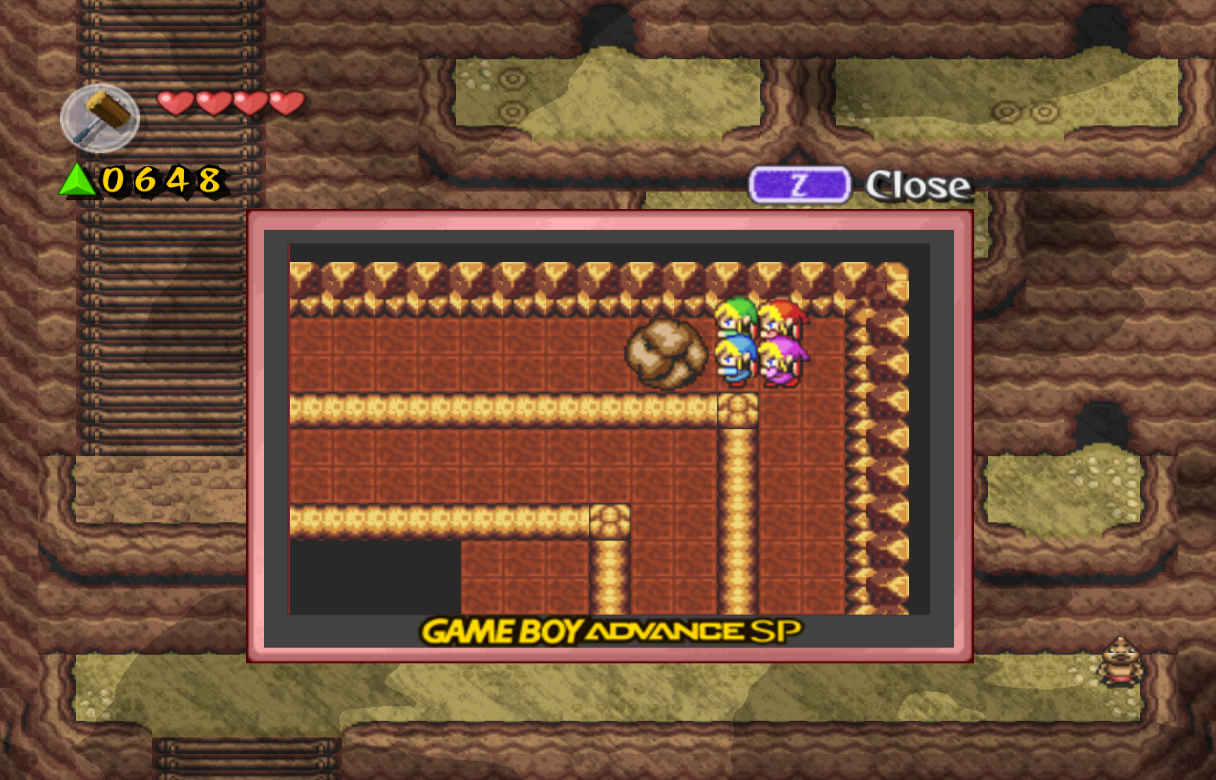
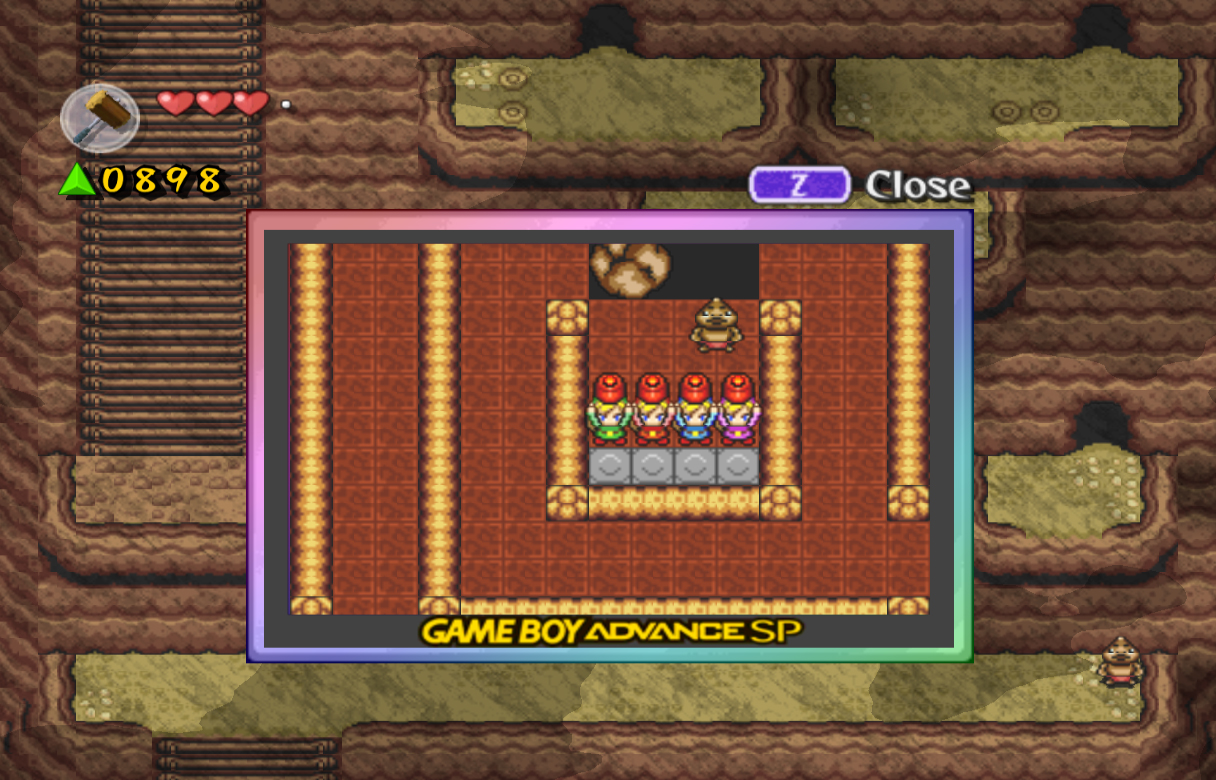
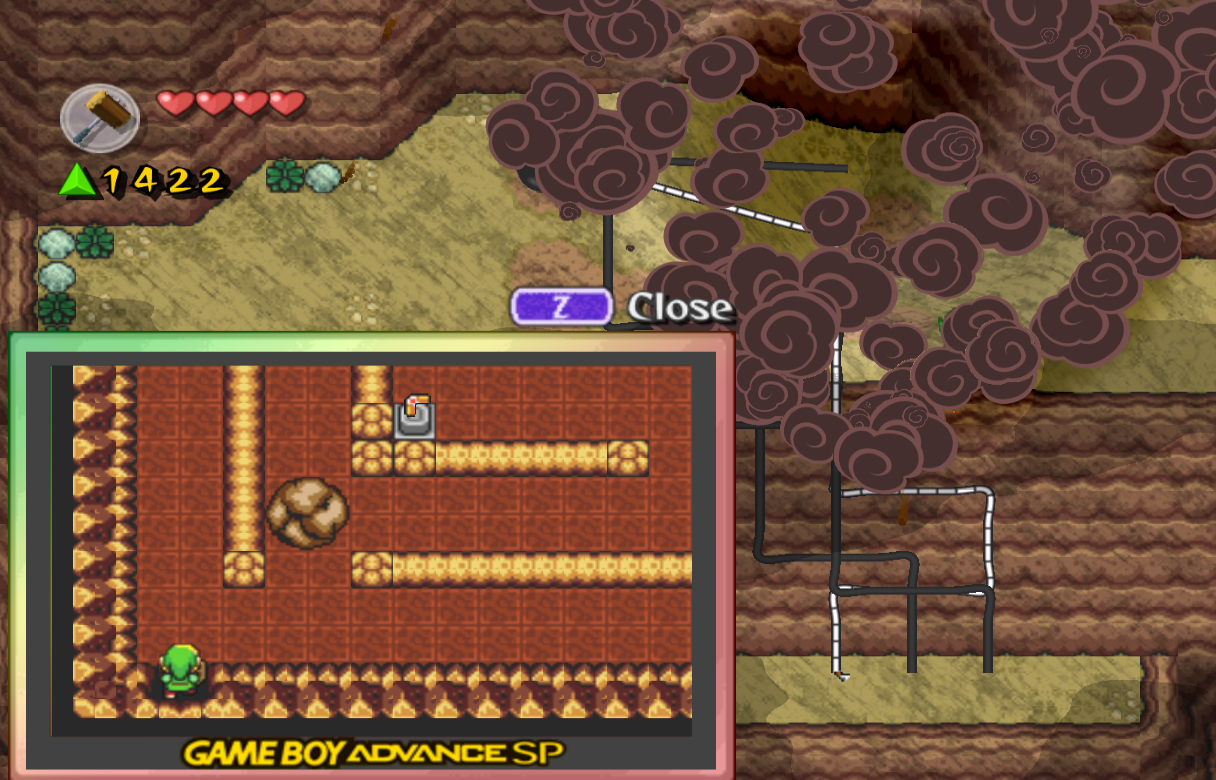
On this next screen you'll find even more Deadrocks, and a house with flames shooting off the top. There's nothing else productive we can do on this screen, so enter the house at the south entrance. Speak with the old man inside and he will tell you that if you push or pull his house it will move. While this may sound absurd, he is not lying, and moving the house is the only way to accomplish our task; killing all the Deadrocks on this screen. Head back outside and use Wide and Long formations to push the house and kill all the Deadrocks. When you push the house, the flame in that direction will shoot out, helping to kill the enemies. Once they're all dead, four Hammers will appear on the left side of the screen. Grab one, then head back left a screen. Walk through the maze again, and this time you can use the Hammer to kill the Deadrocks that get in your way. Head into the cave at the bottom-left corner and smash the pegs here for 50 force gems and a force fairy. Walk back out of the cave, then head to the north. Pound more pegs at the top then head up a screen.
Here you'll find Shadow Link once again, but once you get near him he'll jump inside the fenced in area. To defeat this brilliant move, walk up to the middle of the right side fence and create a long formation. Hold A, then release to create a huge shockwave and blow up all of the bombs. This will also ignite the tree hidden in the south part of the fence, allowing us inside. Before you walk inside, hit the pegs to the right, allowing us to use the stairs later when we don't have the Hammer.
Now, walk inside the fenced area and try your best to kill Shadow Link. To make this easier, you can separate the Links, and have one sit outside the fenced area where Shadow Link will jump to. Have another Link then run at Shadow Link so he jumps, then quickly switch back to the other Link and attack him. Whether or not you do, head into the cave at the top for another purple force gem and the Boomerang. Head back out of the cave, then right a screen. (To make it out of the cave safely, throw the Boomerang at the bombs while still inside to blow them up)
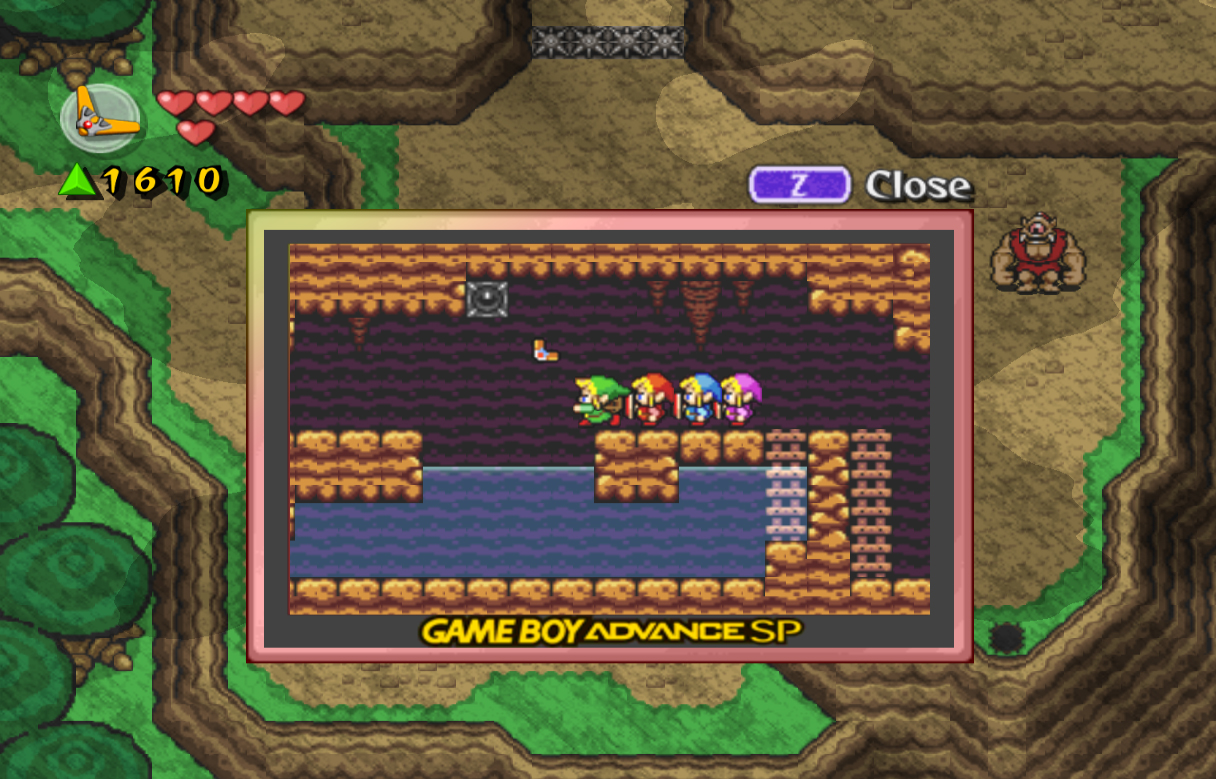
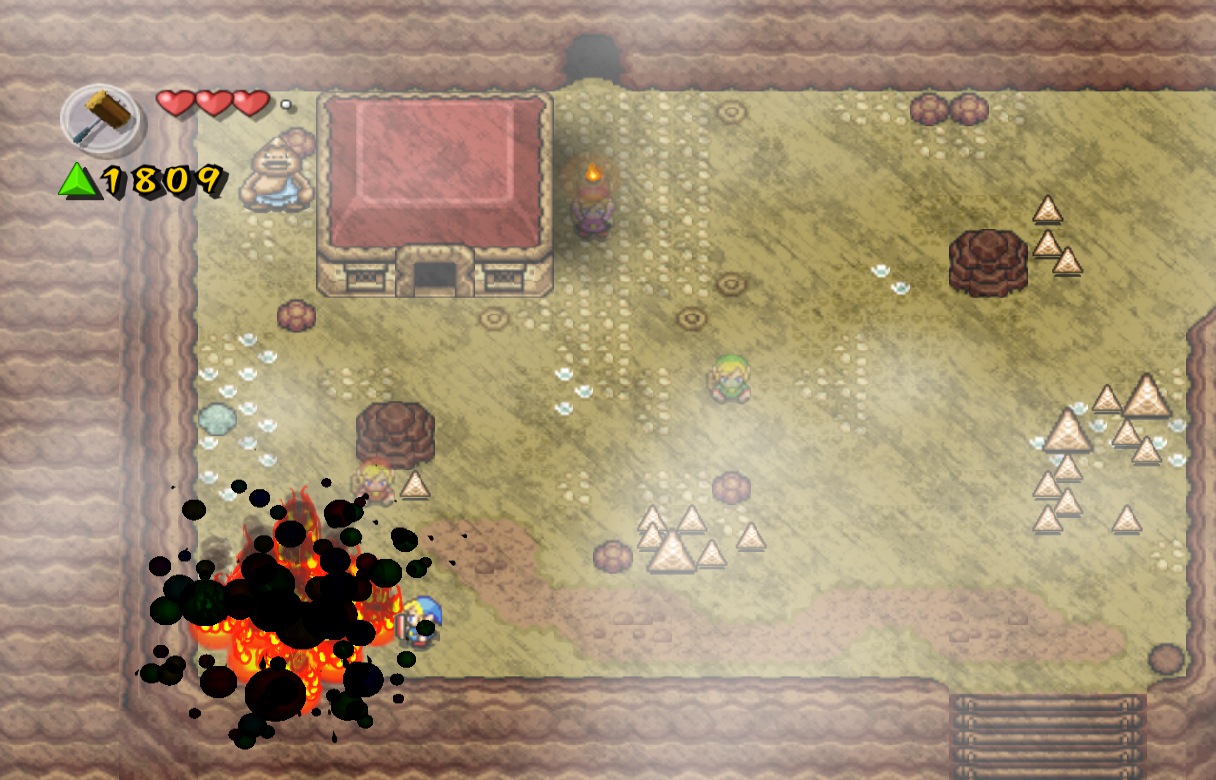
On the next screen you'll find a new enemy, Hinox. These enemies are very difficult to defeat. They will either try to ram into you, throw rocks at you, or even pick you up and shake you so you lose large amounts of force gems. Ignore him for now and slash the bush to the south for a secret cave. Inside, walk left and hit the switch above with the Boomerang. Open the now accessible chest for a Heart Container. Use the Boomerang again, but this time shoot it at the purple force gem in the water. Somehow, you will be able to grab it through the rock below. Head back right, up the ladder, and outside.
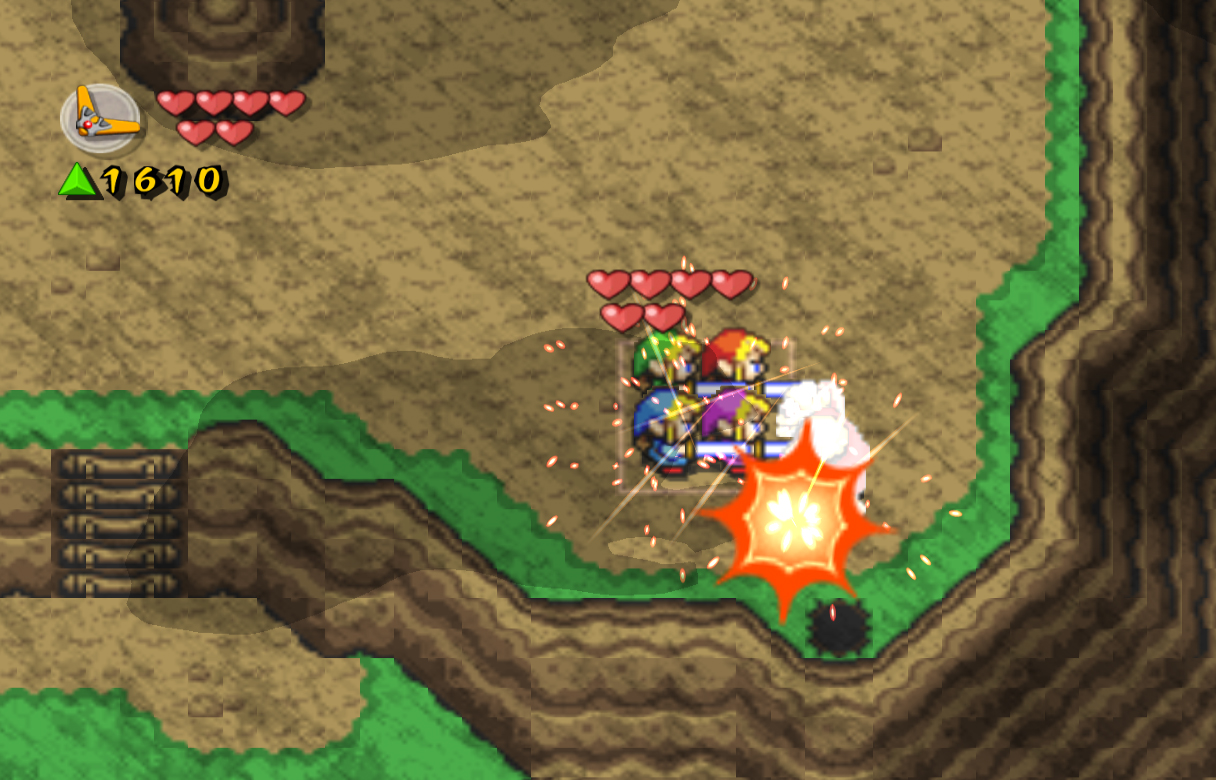
Now we have to deal with Hinox. The only good way to attack him is to quickly run in and attack with a sword slash, then quickly run away while he tries to attack. If possible, create a formation and hit him with multiple Links to speed things up. Once he's defeated, grab the force gem he leaves behind and head up a screen. Step on the switch here with a Box formation and three Hinox will appear. Use your skills to defeat all of them. If you already have 2000 force gems, you can charge up your sword and use a large spin attack to greatly damage them. When they're defeated, collect the force gems they leave behind. Once you're ready, head up to the next screen.
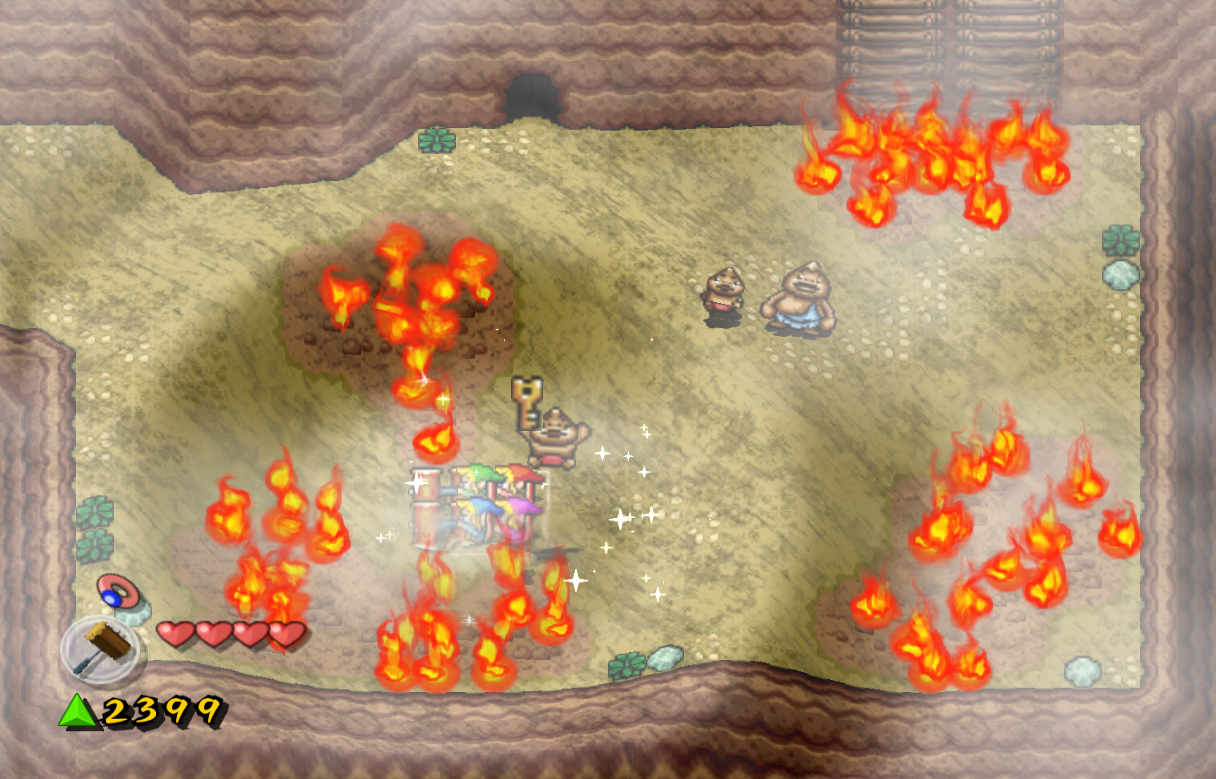
Here you'll find extreme amounts of Hinox, too many to take on with just your sword. Luckily, there is a much easier way to defeat them. Head into the cave on the right side and speak with the Mage. She will tell you that she created and powered a Medallion to kill large amounts of enemies, and that we can use it if we'd like. Head up and open the chests to receive 1 force gem and the Quake Medallion! This Medallion will cause an Earthquake once you throw it, turning every enemy on the screen into Zols. Head back outside, use it, and enjoy the show. As mentioned before, rather than just completely killing the Hinox, it turned them into Zol. Still, these enemies are nothing in terms of difficulty, and are much easier to defeat than Hinox. Kill them, then head up another screen. This will lead you into Hebra's Hill, the same one the old man mentioned before. Simply keep walking up to make it through this area.
On the next screen you'll find Chief Soldier yet again. The process is the same as before, except this time enemies will pop out when you start attacking. Simply defeat this Hylian Soldiers, then start attacking the Chief. Defeat them all, collect the many force gems they leave behind, then head right a screen. Lift the large stone here to find another 750 force gems. Collect them, then break the eye barriers as usual. Collect your fairies, then join me for the next stage, The Mountain Path. |
 Archer Archer
Archers are groups of soldiers that carry bows. Besides this point they aren't much different than regular soliders, and can be defeated in the same ways. [more] 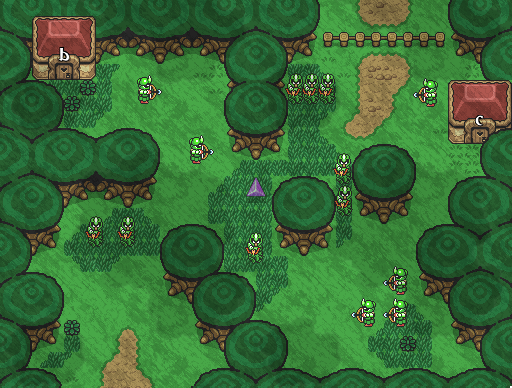
 Buzz Blob Buzz Blob
Buzz Blobs are very strange blobs found on some stages in the game. They move very slowly, and any contact with them will damage Link and stun him for some time as well. To defeat them, you attack from a distance with items like the Boomerang, Bow, or a Medallion. [more]  Heart Container #1 Heart Container #1
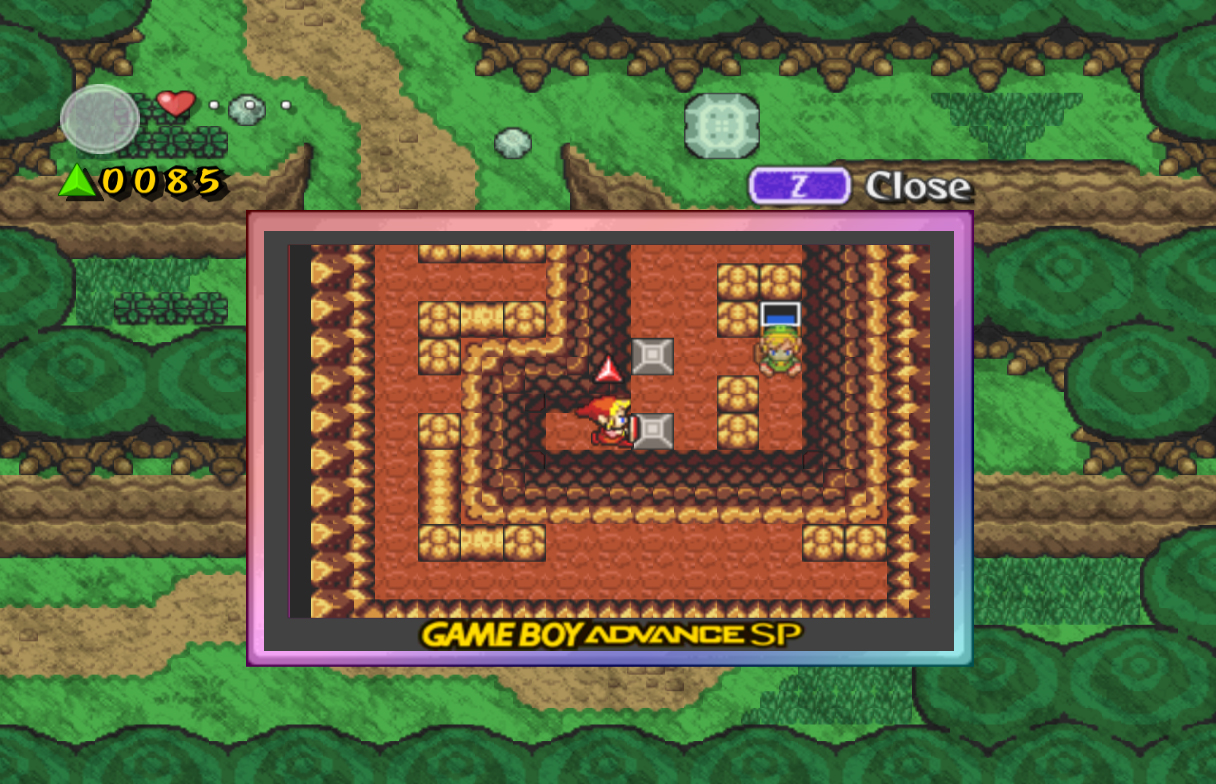
The first Heart Container in this stage can be found early in the stage, where two Shadow Links are using flamethrowers to torch the grass. Use bombs to bomb the upper wall revealing two entrances; use a Link to stand on the star shaped switch inside the right one. Then use the other Links to enter the left cave and shoot the red eyes with the Bow across the gap. This will create a platform on the gap that will lead to a chest containing a Heart Container. [more] 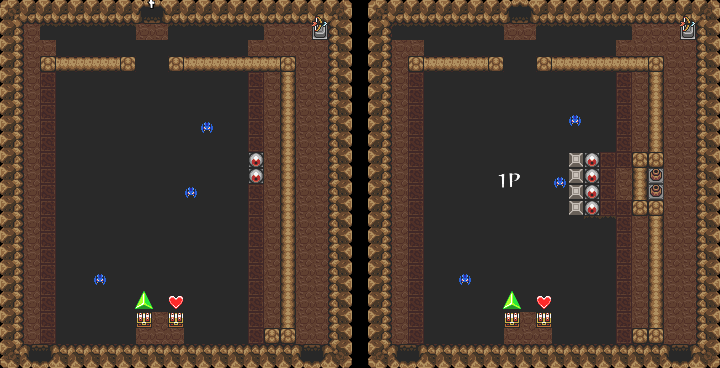
 Bombos Medallion Bombos Medallion
This item is a magical Medallion first found in this stage. Enchanted by a Mage, this item has the ability to completely destroy any enemy on the screen. It is more powerful than the Quake Medallion later received in the stage. It is particularily useful on screens where masses of hard to defeat enemies are found, like Buzz Blobs and Hinox. [more] 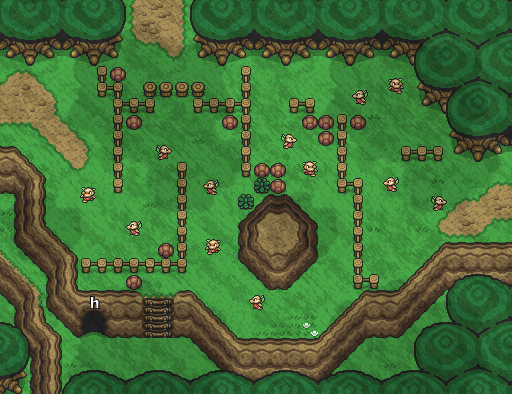
 Deadrock Deadrock
Deadrock are pesky enemies that are difficult to defeat. When hit with a sword they will turn to stone, possibly blocking paths or becoming an annoyance. They must defeated with a pound from a Hammer, or in a particular screen, by being crushed by a moving house. [more] 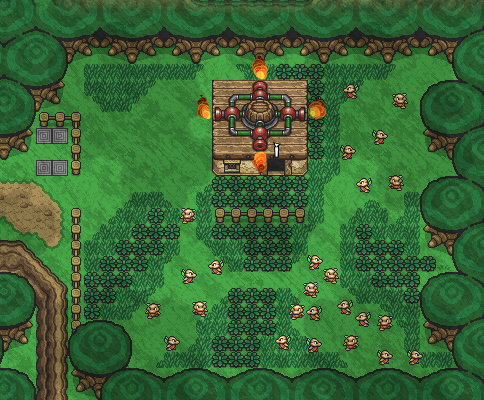
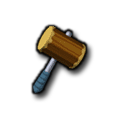 Hammer Hammer
This Magical Hammer will allow Link to pound the ground and certain enemies, killing them in one strike. If charged up it will create a giant shockwave, possibly stunning nearby enemies or exploding nearby bombs. It can be upgraded to the Level 2 Hammer, which will create a large shockwave. [more] 
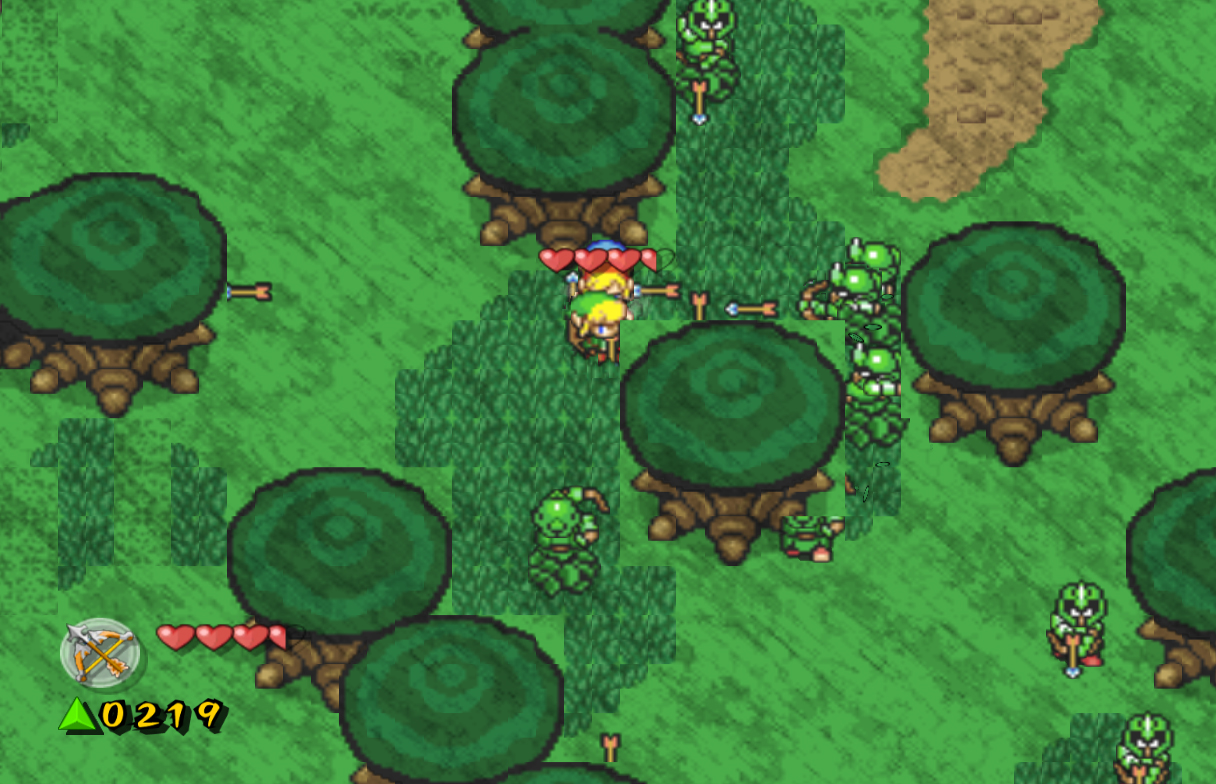
 Hinox Hinox
Hinox are nasty enemies that are very powerful and dangerous. They can attack by either throwing a large stone, shaking Link and causing him to lose large amounts of force gems, or by running rampedly across the screen and dealing large amounts of damage. They are difficult as they take many hits with dying, and are angered easily. A formation works best to defeat them, along with Medallions when avaliable. [more] 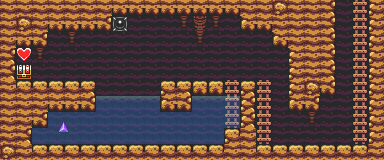 Heart Container #2
The second Heart Container in this stage can be found on the first screen with a Hinox. Slash the grass at the bottom-right corner and fall down the hole. Climb the ladder and use a Boomerang to diagonally hit the switch above. Walk across the path and open the chest for the Heart Container. [more] 
 Quake Medallion Quake Medallion
This item is a magical Medallion first found in this stage. Enchanted by a Mage, this item has the ability to turn any enemy on the screen into a Zol. It is less powerful than the Bombos Medallion received earlier in the stage. It is particularily useful on screens where masses of hard to defeat enemies are found, like Buzz Blobs and Hinox. [more] 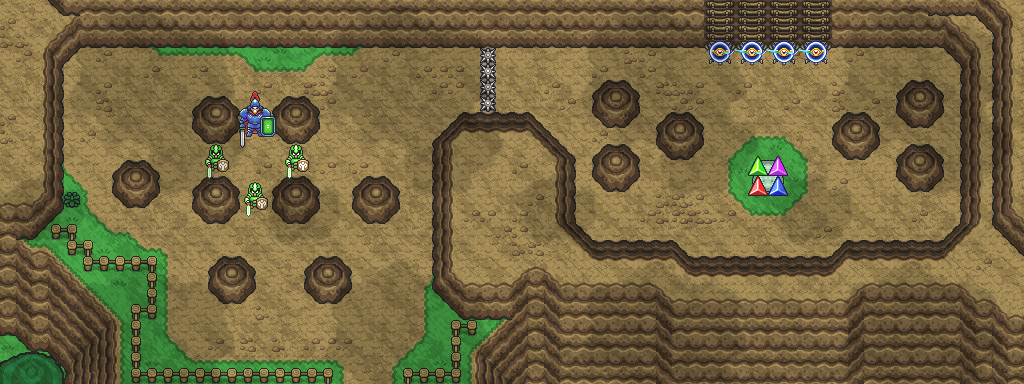
|


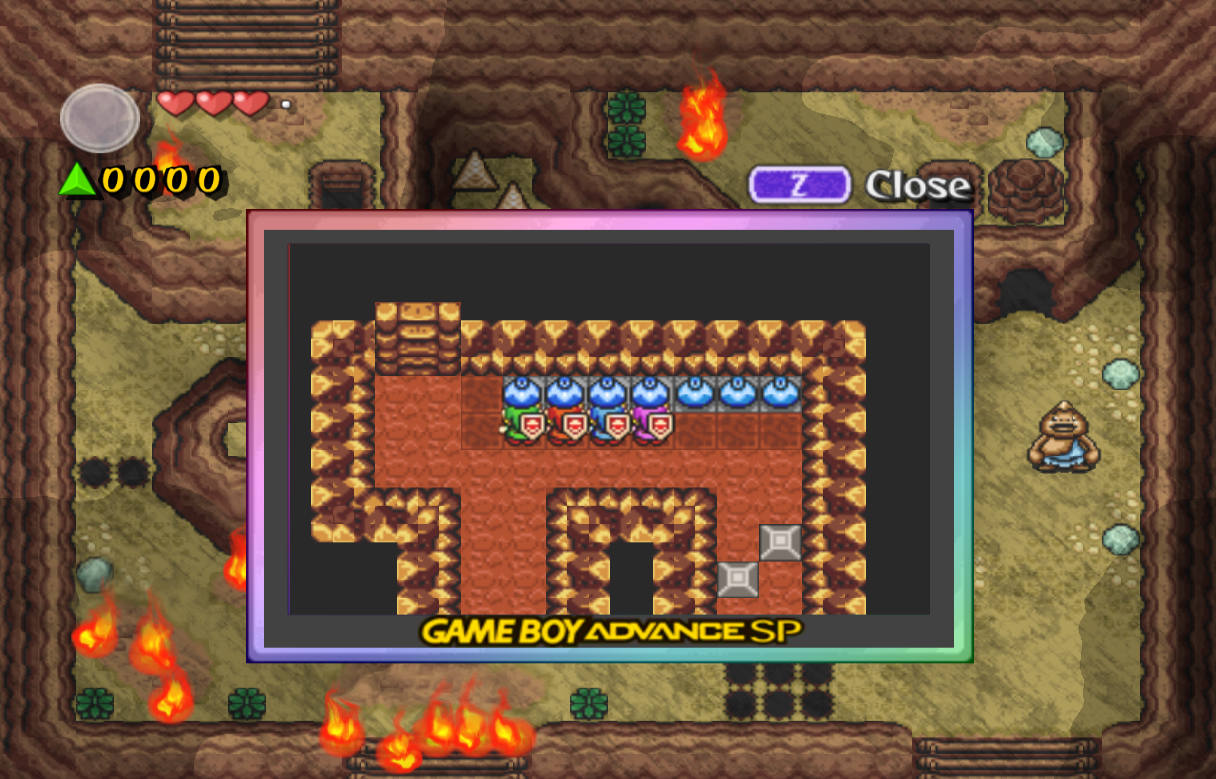
3.2 The Mountain Path
|
|
|
|
|
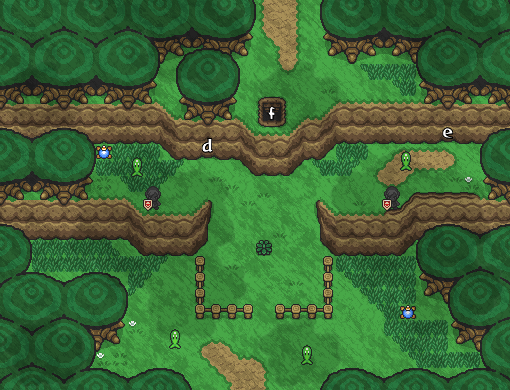
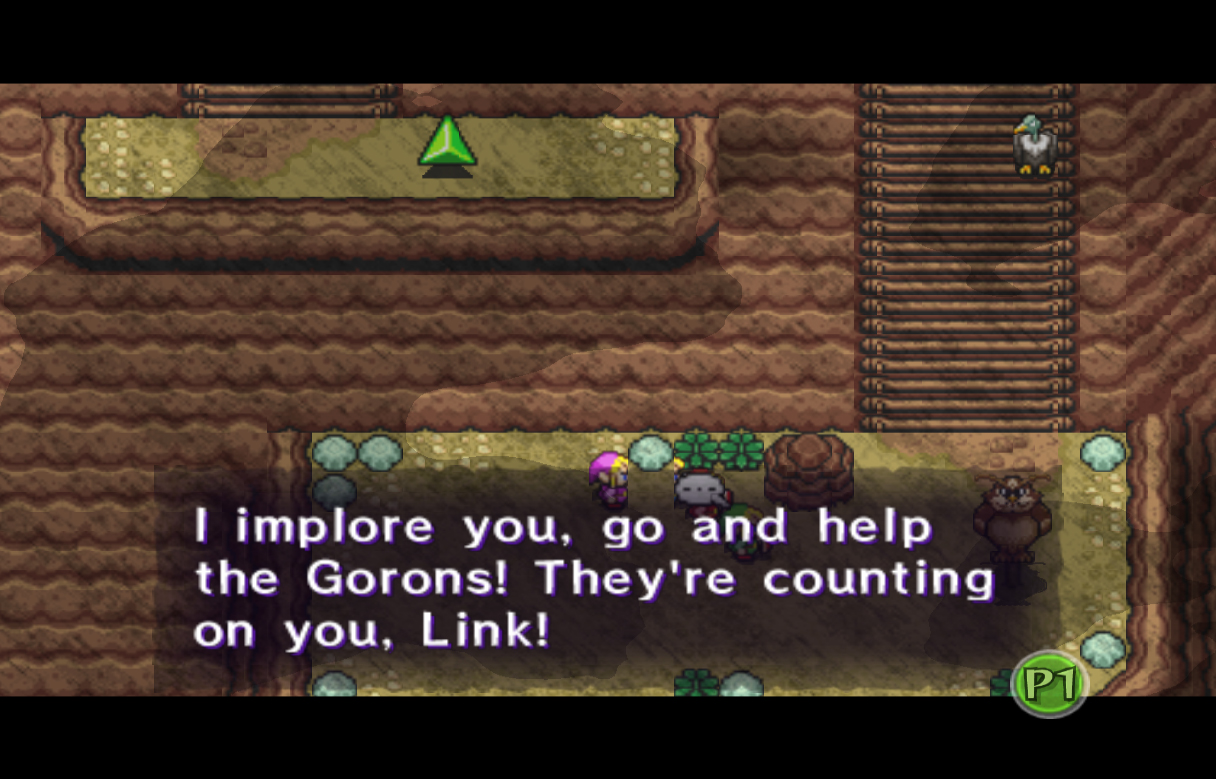
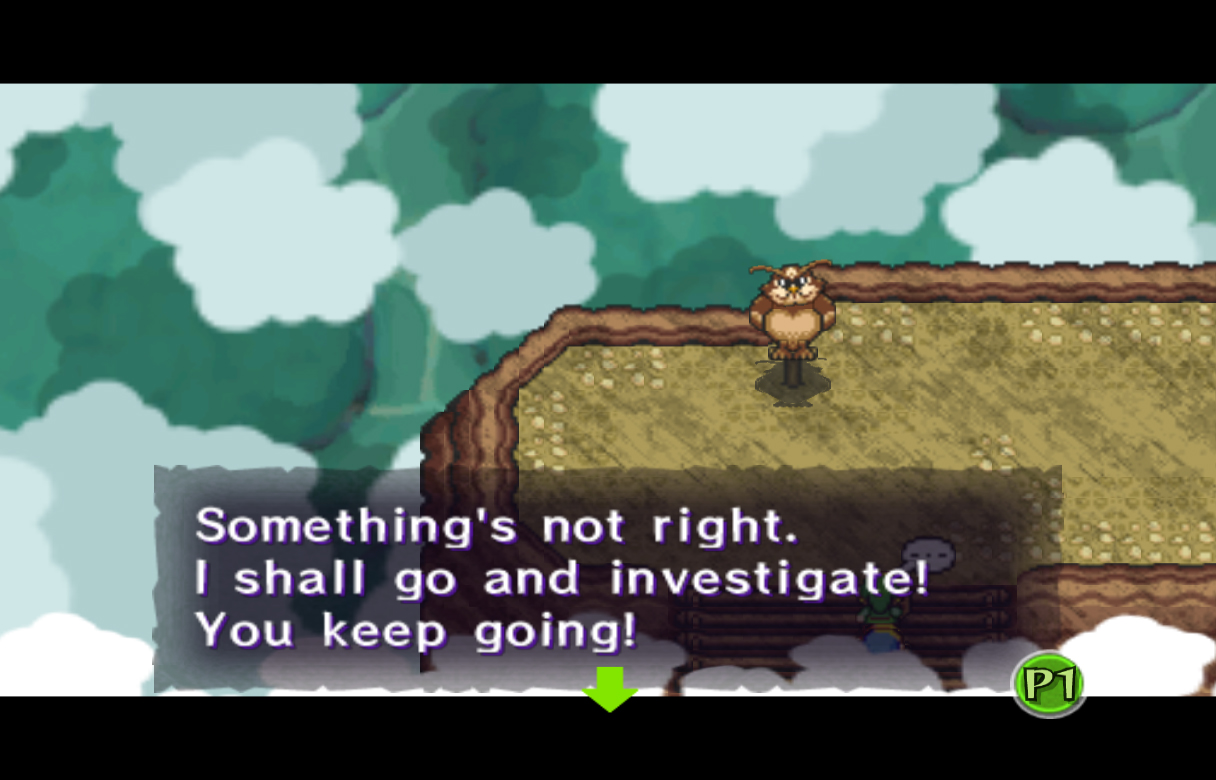
Welcome to the second stage in Death Mountain, The Mountain Path. This level consists of making it higher and higher up to the top of Death Mountain, helping the Gorons along the way with their fire problems. Head right and Kaepora Gaebora will fly in, telling you that a colossal bird with a large mask came and now causes trouble up at Death Mountain's summit. He also asks you to help the Gorons, who have been having some trouble lately.
Head up the ladder and you'll meet a new enemy, a Vulture. This enemy will act just like a Vulture in real life; it will fly around you and attack at random times. To defeat it, you can either use a spin attack, or wait till it dives in to attack and slash it. If you don't want to fight it, you can simply head up to the next screen and it won't follow you.
On the next screen you can walk up and speak with the Goron, but he won't tell you anything of importance. Continue walking up and into the cave and you'll find a few water jugs here. Create a Wide formation and use each Link to grab a jug, then head out through the north exit. You'll see the ground is on fire here in various spots; it is like this all throughout the level. Separate the Links, and throw the water jugs at each fire spot to put out the fire.
Once you put out the first few fires, jump down off this area while carrying four more water jugs. Put out the remaining fires here with the jugs you are carrying. Then, walk down a screen to find a big green force gem. Head back up a screen and enter the cave nearby. Grab the Roc's Feather, then walk back out. Head right, then jump over this gap. Head up and back into the cave with the water jugs. Grab four more, then head out of the cave through the south entrance. Jump back over the gap to the left, then continue up and put out the fire blocking the cave here.
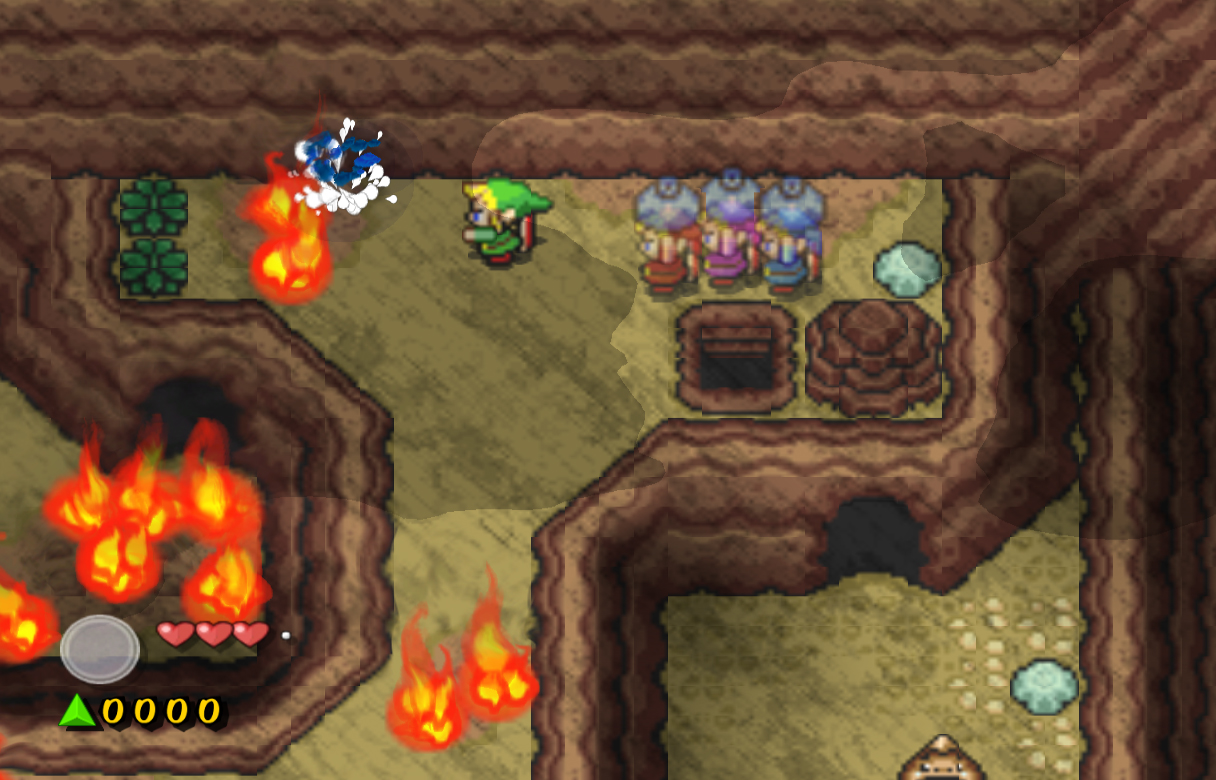
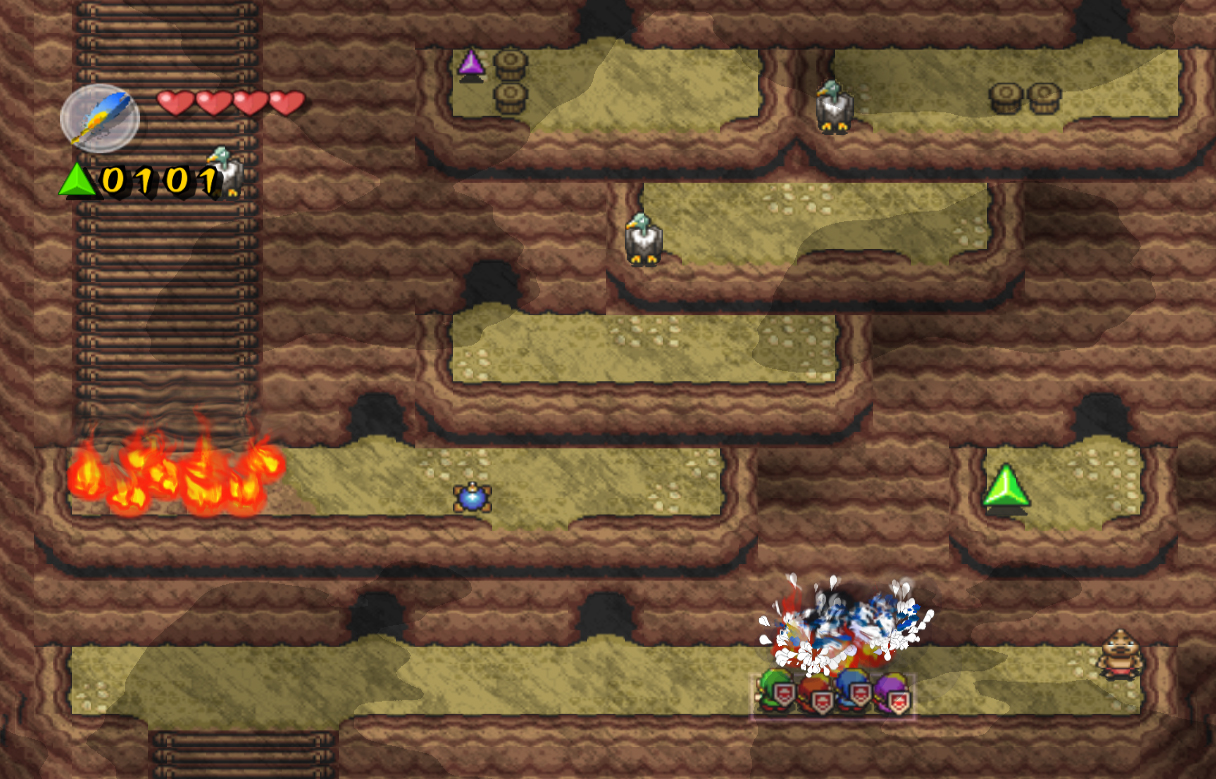
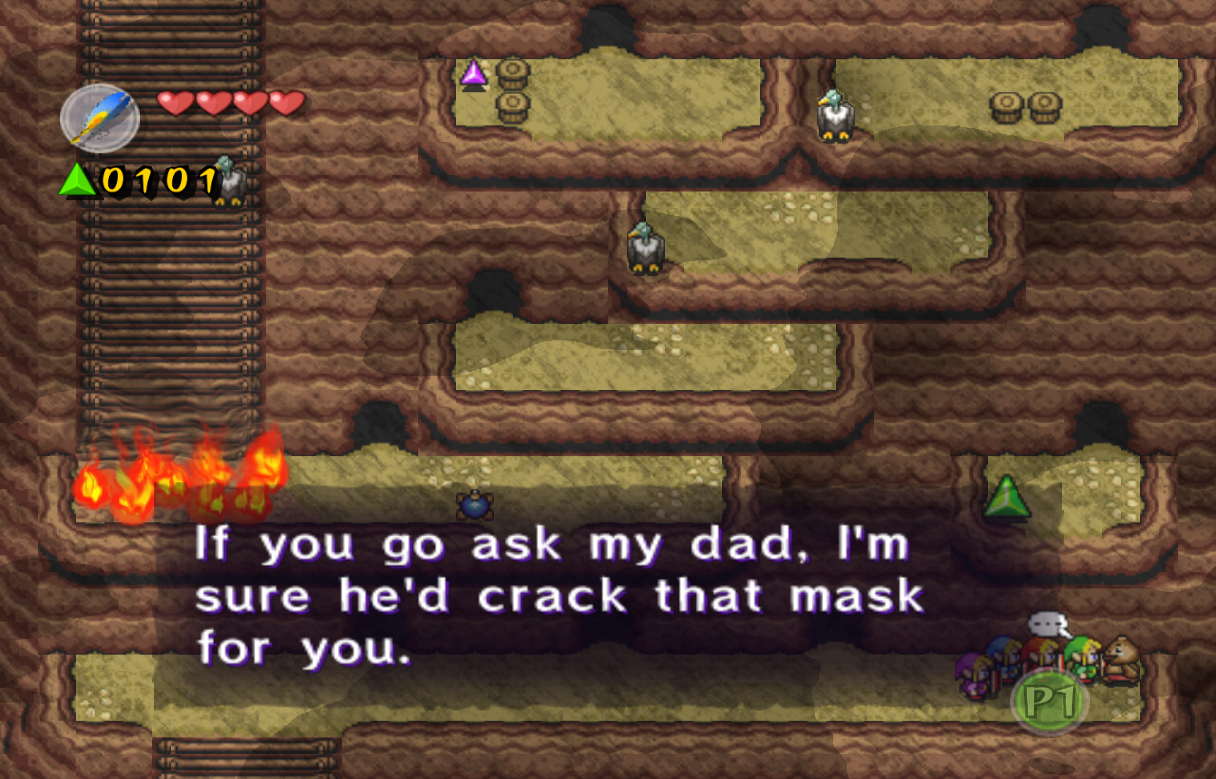
Break the pots inside the cave for more health if you'd like, then head up the stairs. Head up another screen and Shadow Link will appear yet again. We can't attack him, so ignore him and enter the cave on the left. Grab a couple more water jugs in here, then walk back out. Walk to the right and douse the flames blocking the right side cave. Once the fire is out, you can talk with the Goron here if you'd like to. He tells you more about the gigantic bird, and that he's never seen a mask like the one it wears. He says if you ask his dad he might be able to help you crack the mask. With that, head inside the middle cave.
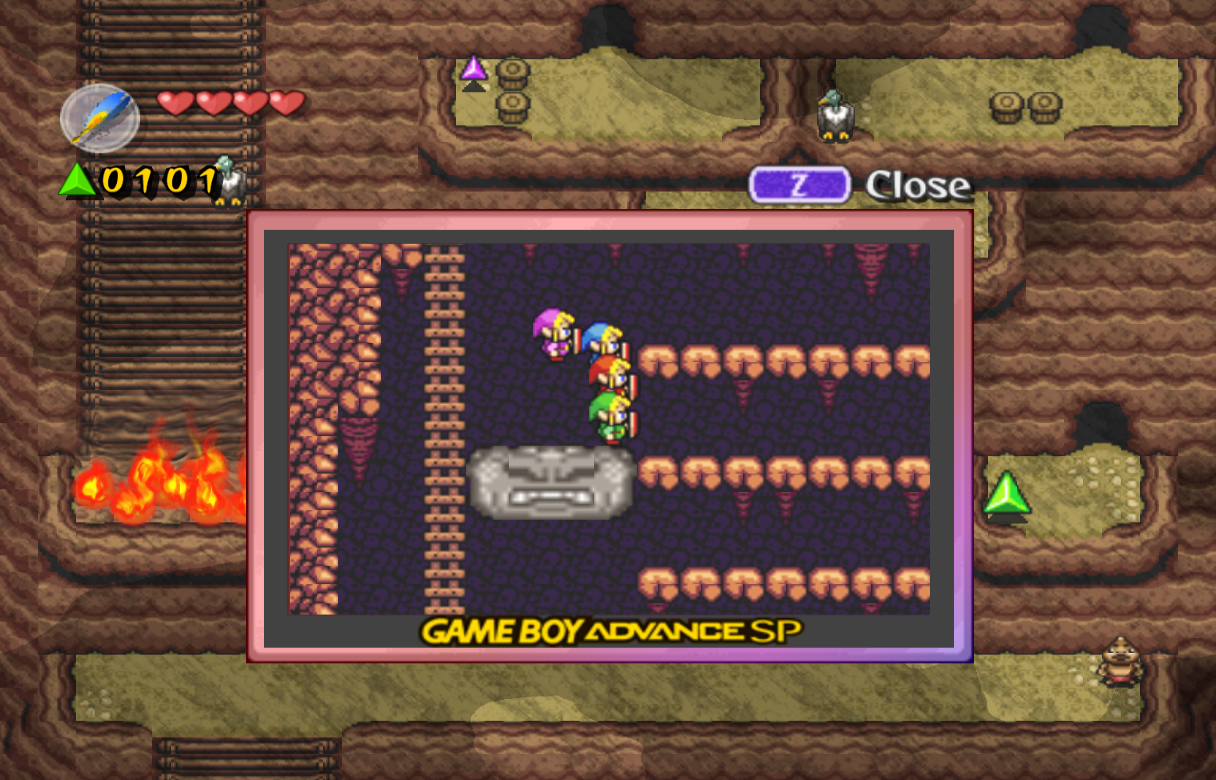
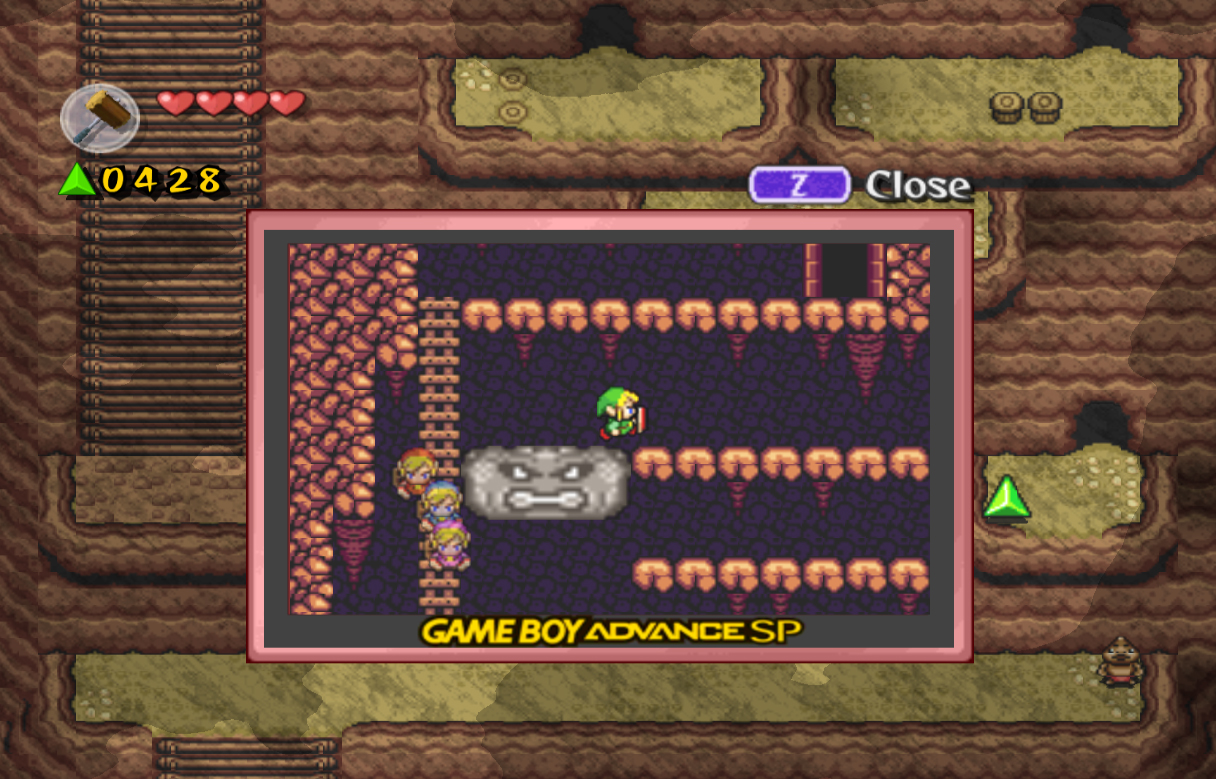
There are multiple levels here along the right side. The bottom contains 100 force gems, the middle two levels contain Hammers, and the top one contains bombs. To reach them, you must climb up the ladder, then jump onto the gray Thwomp here, who will slowly lower down to each level. Grab one of the Hammers for now, then climb all the way up the ladder and head through the door. Smash the pegs to the left and collect the purple force gem, then kill the Vulture circling you. Drop down to the next ledge, then drop down again on the left side.
Enter the cave, then walk to the top-left and pound all the pegs. This will give you hundreds of force gems and a force fairy. Once you have those, walk down and enter the stairs at the bottom. Ignore this room for a second, and walk down and back outside. Grab the bomb the out here and quickly run back into the cave. Throw the bomb at the top-right to blow open a hole. Walk inside to find more water jugs. Grab a couple more, then walk back outside and use them to put out the flames to the left. Before you head up them, jump back down to the lower level and enter the right side cave.
If you don't want to find another 120 rupees you can skip to the next paragraph, as this is rather out of the way. If you do, you can separate the Links, then use one to enter the middle cave. Walk up the ladder and walk across the row with the Thwomp to find the Bombs. Walk back outside and enter the right side cave. Use the bombs at the top-left wall to find two chests containing another 120 force gems. Walk back into the middle cave and grab another Hammer. Enter the right cave and walk through it to get back outside.
Pound the pegs here, then jump off the right side down to to the force gem below. Enter the cave here, then walk to the left and use a sword slash to grab the force gem here. Walk back right, then take the path up. Create a Box formation and use it to push the large rock to the left. Follow its path and it will stop in the hole we were by before. Walk on the rock, then push the next rock up. Walk to the right, up, then left. Push this rock up as well, then walk on it to find another Goron.
Speak with him, and he'll say you can use these fire pots to burn stuff. Grab them, then head back outside. Jump down off the ledge, then enter the cave in the middle once again. Exit through the top, jump down to left and enter this cave again. Head down the stairs, then out the south exit. Finally walk up the stairs here to the next screen.
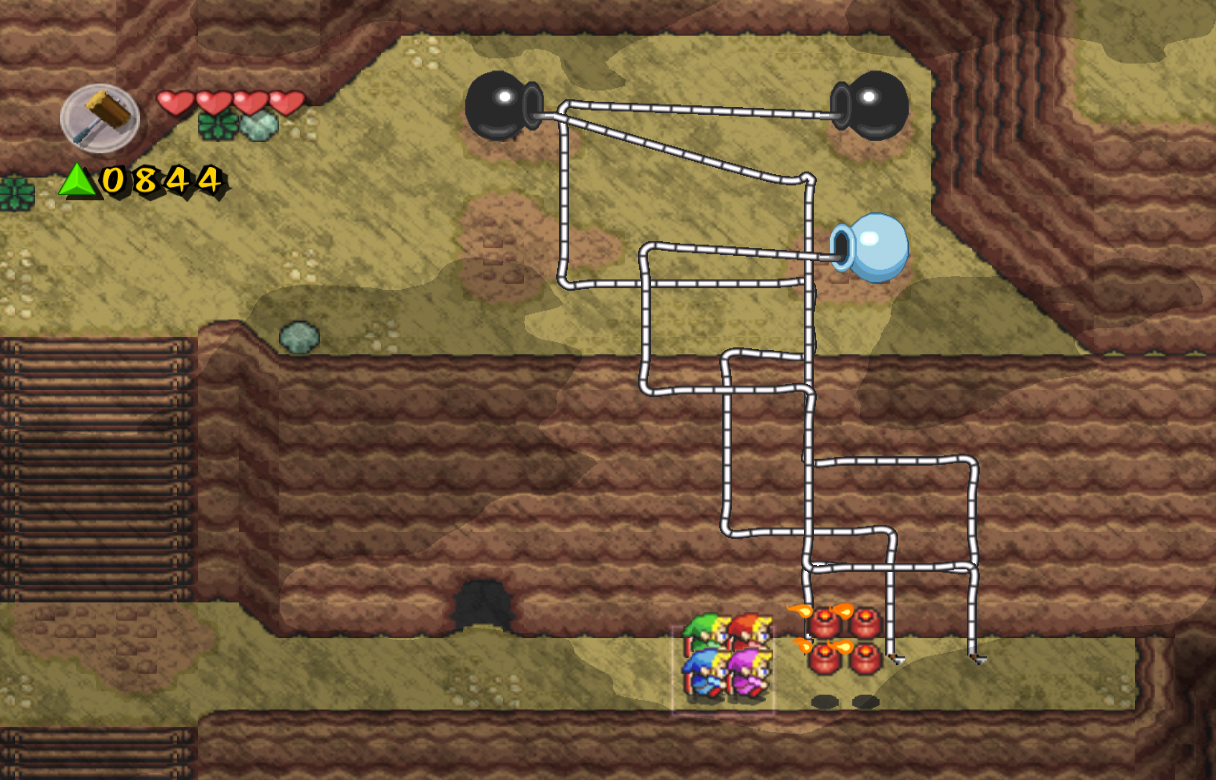
To the right, there are many ropes here that will lead to bombs up above. What you want to do, is light only the three far right ropes with the fire pot. Separate the links, then throw it from a distance to make sure it hits only those two. It can be very tricky to do, but it's still possible. When you hit both, quickly run up the stairs to the left and wait for the white colored one to explode. It will produce large amounts of force gems; collect them, then choose a different Link and bring them back together down below. Quickly run inside the cave here for cover from the exploding bomb.
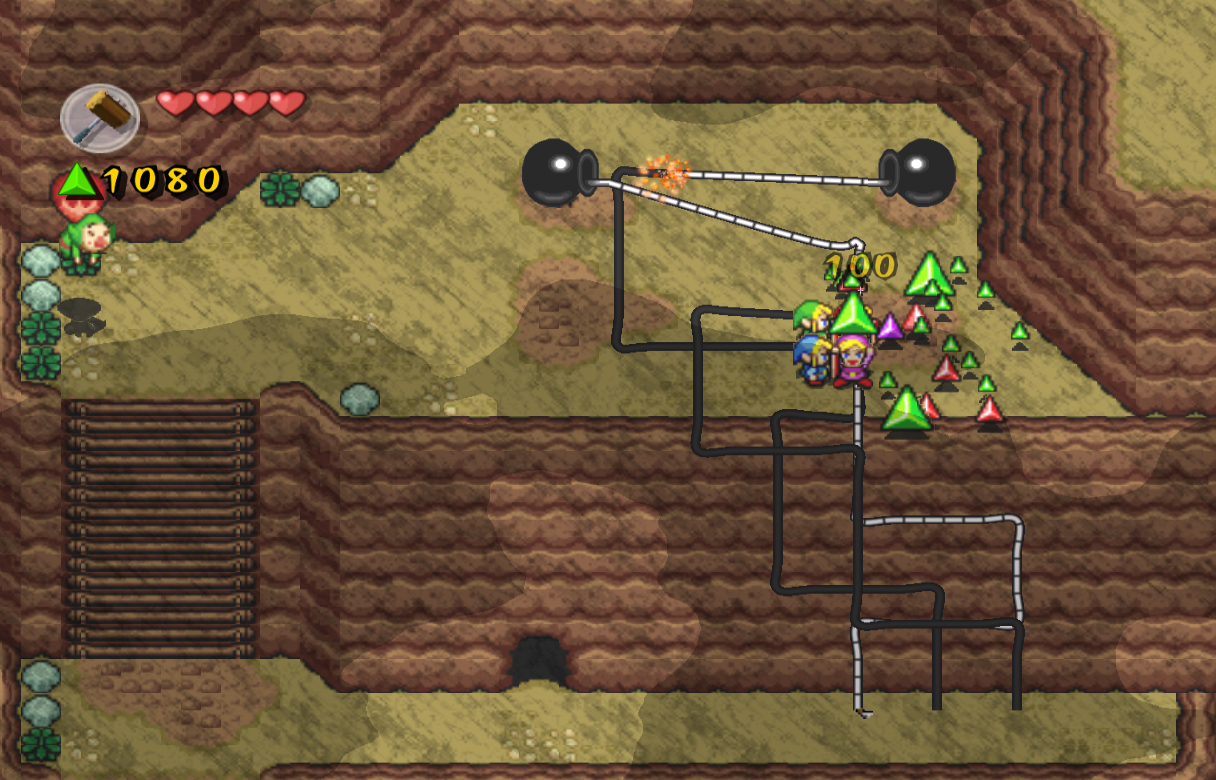
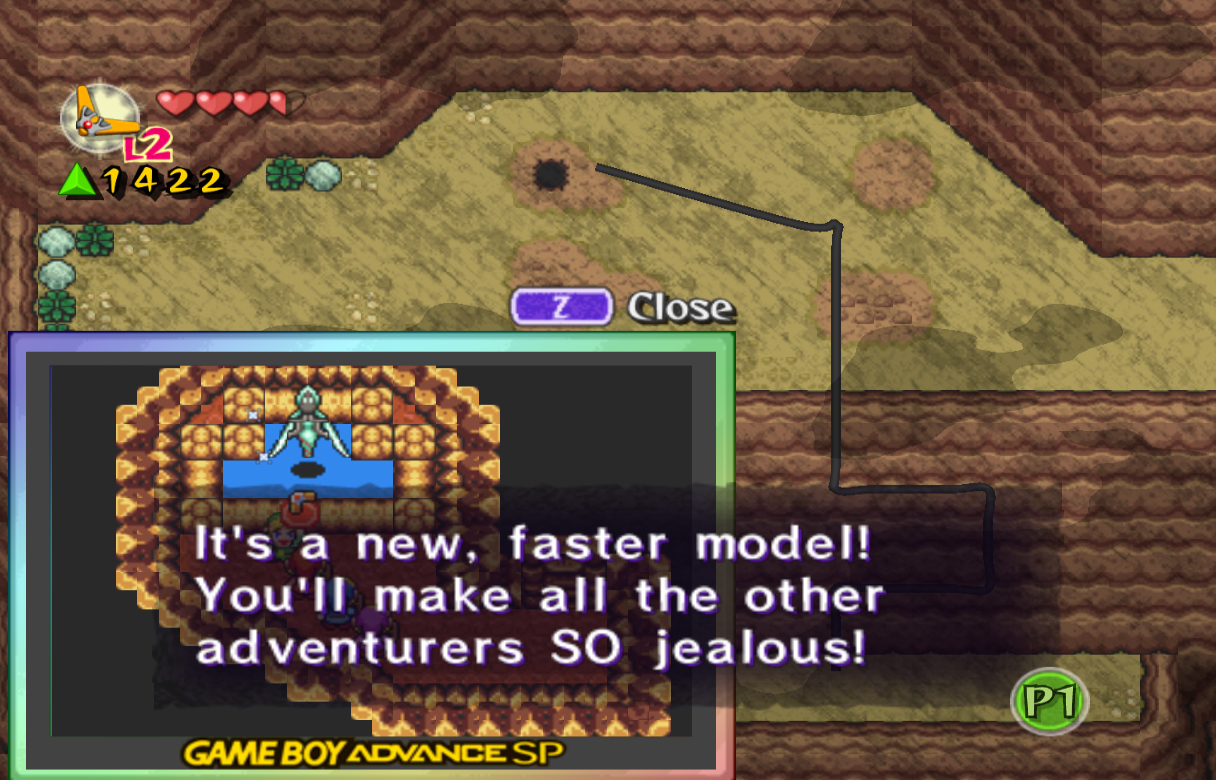
Once the bomb explodes, it will tear open the pathway to the right. Now, you can use the remaining pots to light the rest of the ropes. Once you do, head back inside the cave. Inside, simply push the rock here up, then walk into the middle area and collect the Boomerang. That's all we have to do here, so head back outside. Head up the stairs, then enter the hole the top bomb was covering. Inside, you'll find a fairy who will upgrade your Boomerang to a Level 2 Boomerang. These upgrades exist in many places in Four Swords Adventures, and are used to make your weapons and items better than they were before. For example, this Boomerang now has longer distance and is faster than the previous one. With that, head back outside and right a screen.
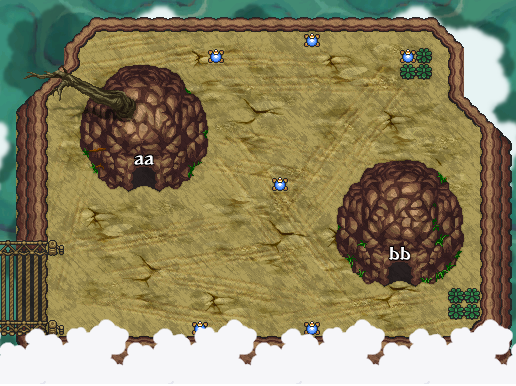
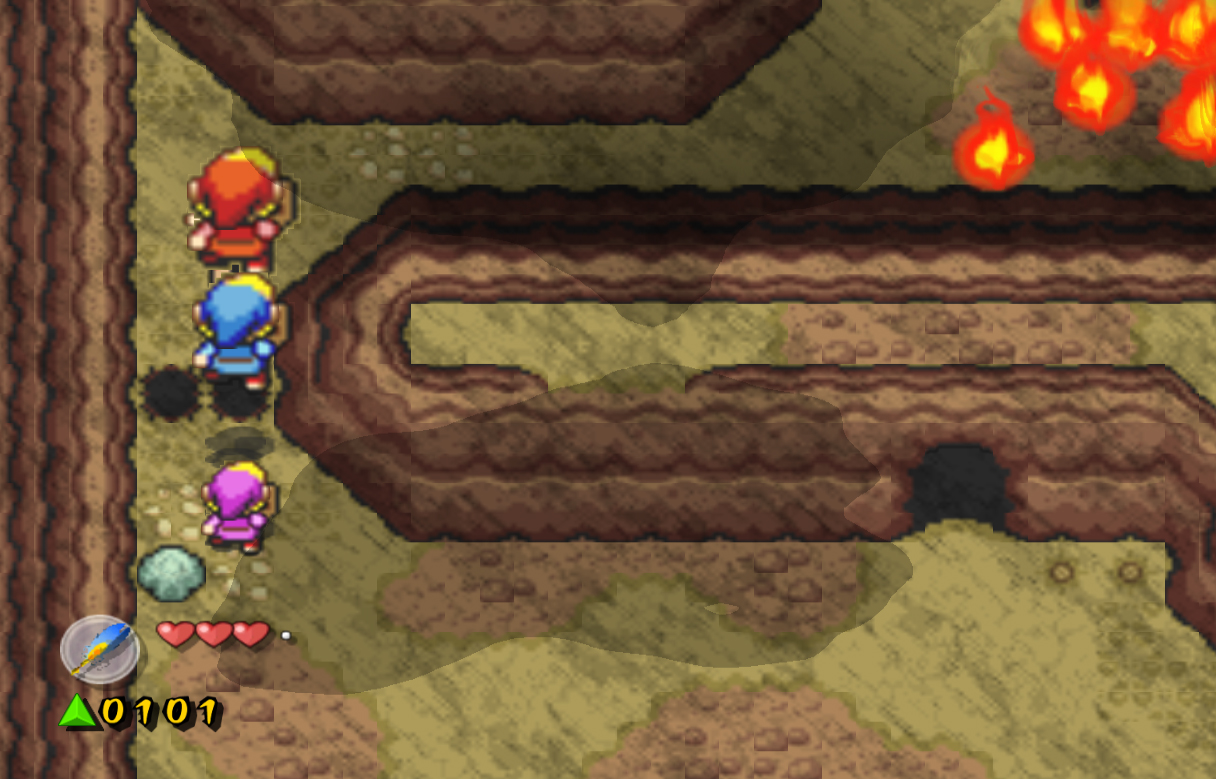
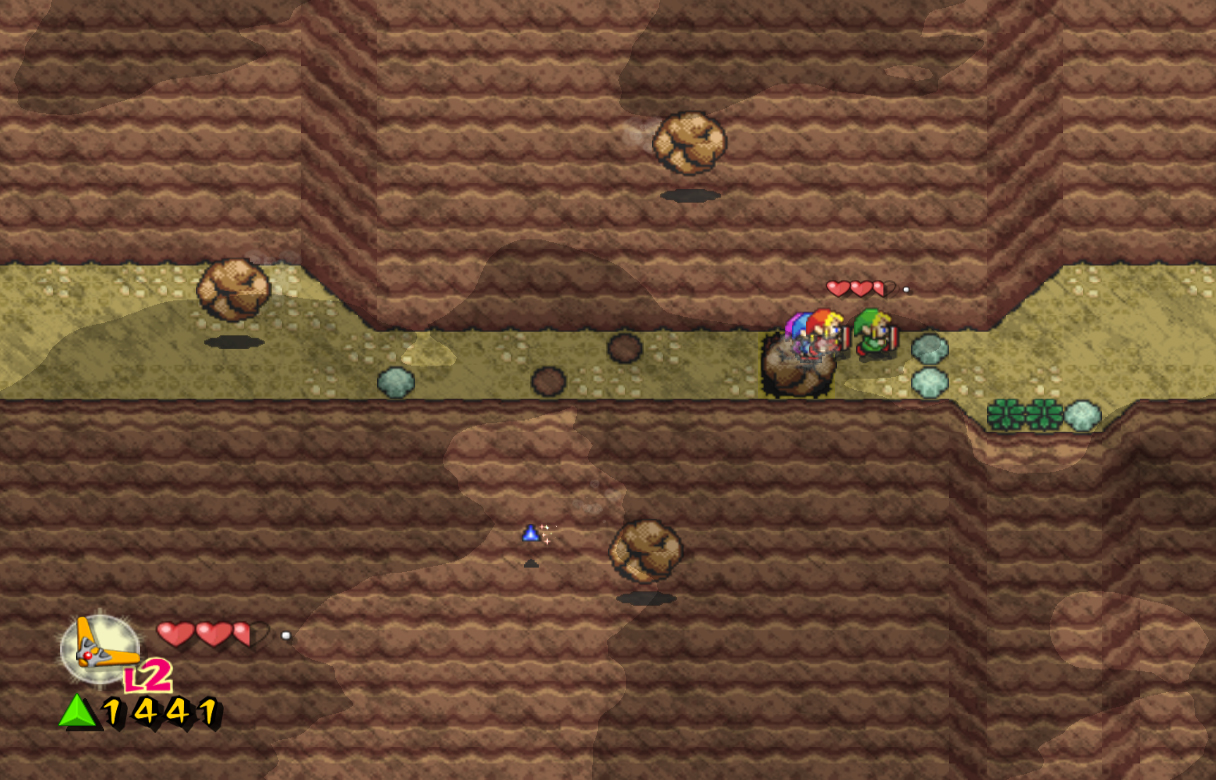
Here, you'll find mountain boulders that continuously fall down the side of the mountain. These are a real pain, and one of them must fall in the hole to the right to make it to the next screen. You can collect the force gems here with the Boomerang if you'd like, but they don't really amount to much, and they're a pain to get with the continuous boulders, so it's not really worth it. Once a boulder does fall in the hole, quickly run across and to the next screen. This next screen is similar, except it has many more boulders and two holes instead of one. This screen is an incredible pain; the boulders rarely fall in the holes, the force gems are hard to get, and you don't have much room to dodge any damage. Try your best to make it across, then head to the next screen. Up here, you'll find many dried out force gems scattered all over the ground. We can't do anything about them at this second, so talk to the Goron to the left. He says this house was built in his absence, blocking the cave with his treasure. Walk inside the house, and grab one of the Hammers here. Walk back outside, and pound each peg surrounding the house. This will allow us to move it to the right, unblocking the cave. Do exactly that, then enter the cave to find more fire pots. Grab them, then toss one on the dried up force gems to bring them back to color. Do this for all the force gems on this screen. At the bottom left, instead of finding a large force gem, you'll find a hole. This hole will contain a big green force gem along with the Blue Bracelet. When you're finished, head right a screen.
On this screen you'll find two more Shadow Link setting the ground on fire. Quickly defeat them, then speak with the Gorons here. They will say one of them hid underground, and has the key they need. Charge up the Hammer by holding A, then pound the ground a little to the bottom and left. Keep doing so until a key pops out. Grab it and then enter the cave at the top. Grab the water jugs here and put out all the fire on the right side of the outside screen. Once you do, grab the Boomerang inside the cave and lift up the stone at the bottom-right of the outside screen to find another hole. Enter it, then power up the Boomerang to Level 2 again. Head back outside, then up to the next screen.
On this screen, simply use the Boomerang to grab all the force gems. The nearest large force gem to the left will turn purple, so make to grab it when it changes colors. Once they're all collected, head up to the next screen. Four Shadow Links will appear here, and your goal is to defeat them all. These Shadow Links don't differ much from the other mini-boss Shadow Links, only that they drop bombs when they run around. You can also use the Boomerang to stun them if necessary. Once they're defeated head up to the next screen. This screen is the same as before, simply collect the force gems floating around. Head up another screen and you'll meet Kaepora Gaebora once again. He'll say the gigantic bird is nearby, so be careful. He also notices that Hyrule Castle is dark once again, even though we already purged it of evil. Once he's finished, continue right to face the stage boss: Helmaroc King.
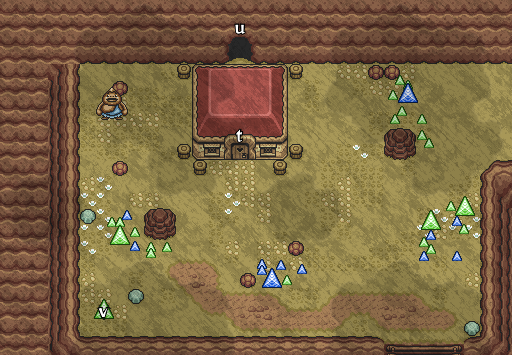
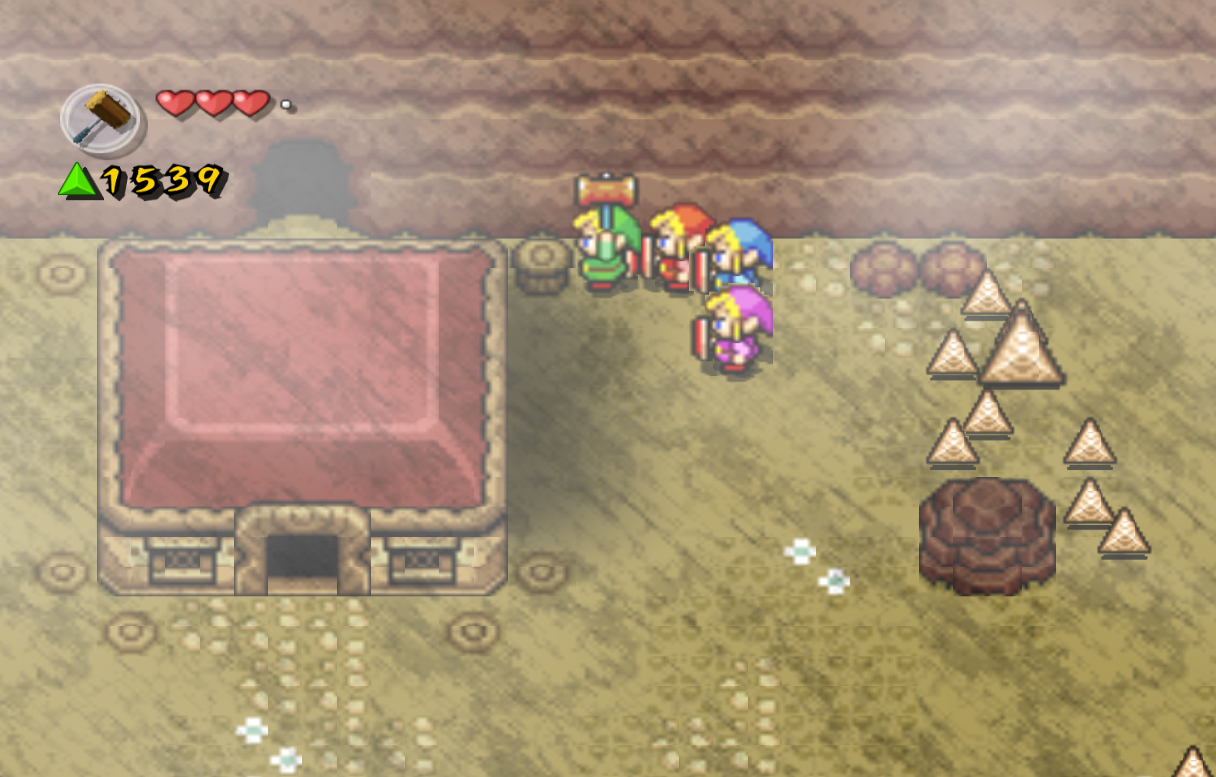
Before doing anything else, you can head inside this first building. Read the sign to the left and it will give you short instructions on how to beat him, simply stating to throw bombs at him to knock him out of the sky. Grab the Hammer here as well, then exit back outside. Walk to the right a little and you'll see the bird, who will then fly back into the sky. Grab a bomb to the right, then walk up and wait for him to dive at you. Throw the bomb at him, and if it hits him, he'll nosedive into the building nearby. Quickly run back into the building and hit his mask with the Hammer. Repeat this process, and after a few hits his mask will fall off.
From this point on, continue the process, and now you can either use the Hammer or the sword to kill him. To make this process faster, you can use a formation to hit him with multiple Links instead of just one. Once this bird has exploded (what?), collect the force gems he leaves behind before Tingle does. Head right a screen, then break the eye barriers again, collect your fairies, and end the stage. Join me for the next and final stage of this level, the Tower of Flames. |
 Vulture Vulture
The Vulture is a flying enemy that acts much like one in real life. It will fly in circles around the Links, and will soon dive towards the Links to injure them. At this moment it can be attacked with relative ease and defeated. [more] 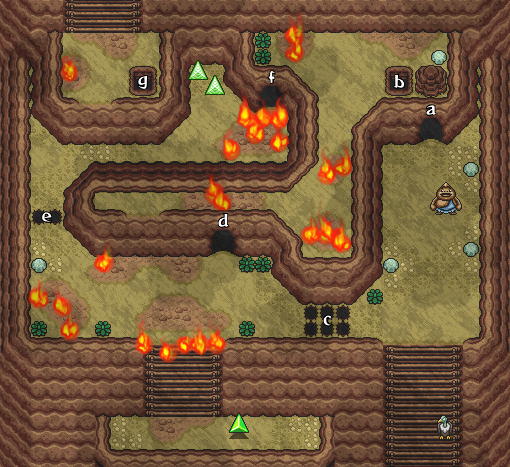
 Goron Goron
Gorons are a race of creatures found exclusively in Death Mountain. They look much like rocks, and can be found sparsely throughout the level. [more] 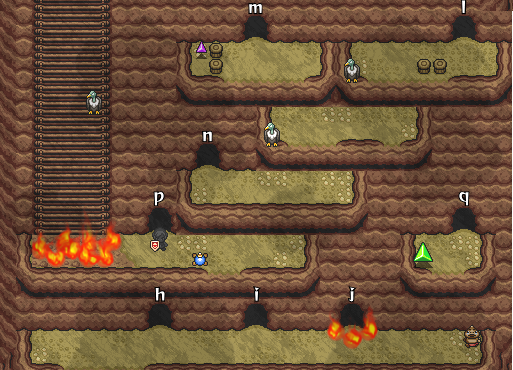
 Blue Bracelet Blue Bracelet
The Blue Bracelet in this stage can be found in the stage with the lone house surrounded by pegs. Pound the pegs with the Hammer and push the house to the side to enter the cave behind it. Grab a couple of fire pots then walk outside to the bottom left corner of the screen. Throw the pots on the force gem here to reveal a hole; enter it and open the chest for the Bracelet. [more] 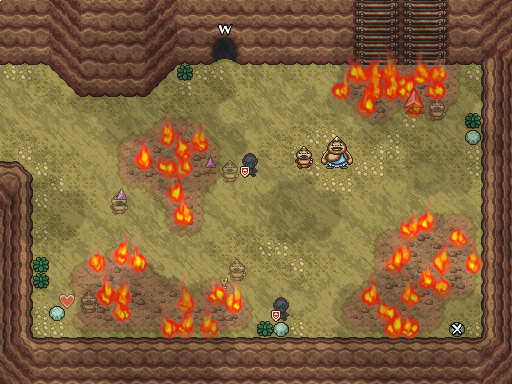 Heart Container #1
The first Heart Container in this stage can be found in the screen with two Shadow Links, two Gorons and fire. Pound the area to the bottom-left corner with a charged up pound and you will eventually find the Heart Container. [more] 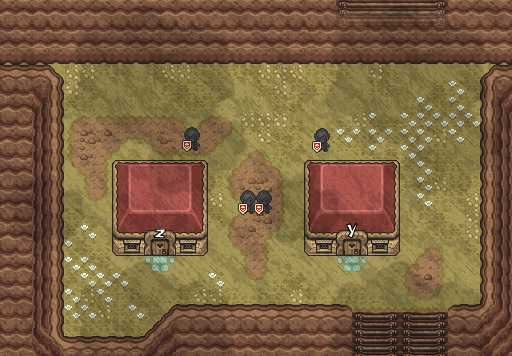
 Helmaroc King Helmaroc King
The Helmaroc King is a gigantic bird that terrorizes Death Mountain. This bird can be annoying, but it is actually fairly easy to defeat. To start, pick up a bomb on either the top or bottom areas of the screen. If you are on the bottom, face towards the left and if you are on the top face towards the right. When the bird dives toward you throw the bomb, which will hit him and cause him to fly into one of the buildings. Enter the building and grab the Hammer, then use it to smack the mask of the bird. Repeat this process until the mask breaks.
After, repeat the process, but then use the sword and a formation to defeat the bird completely. [more] 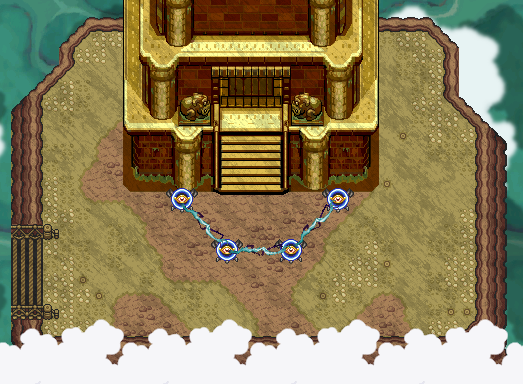
|


3.3 Tower of Flames
|
|
|
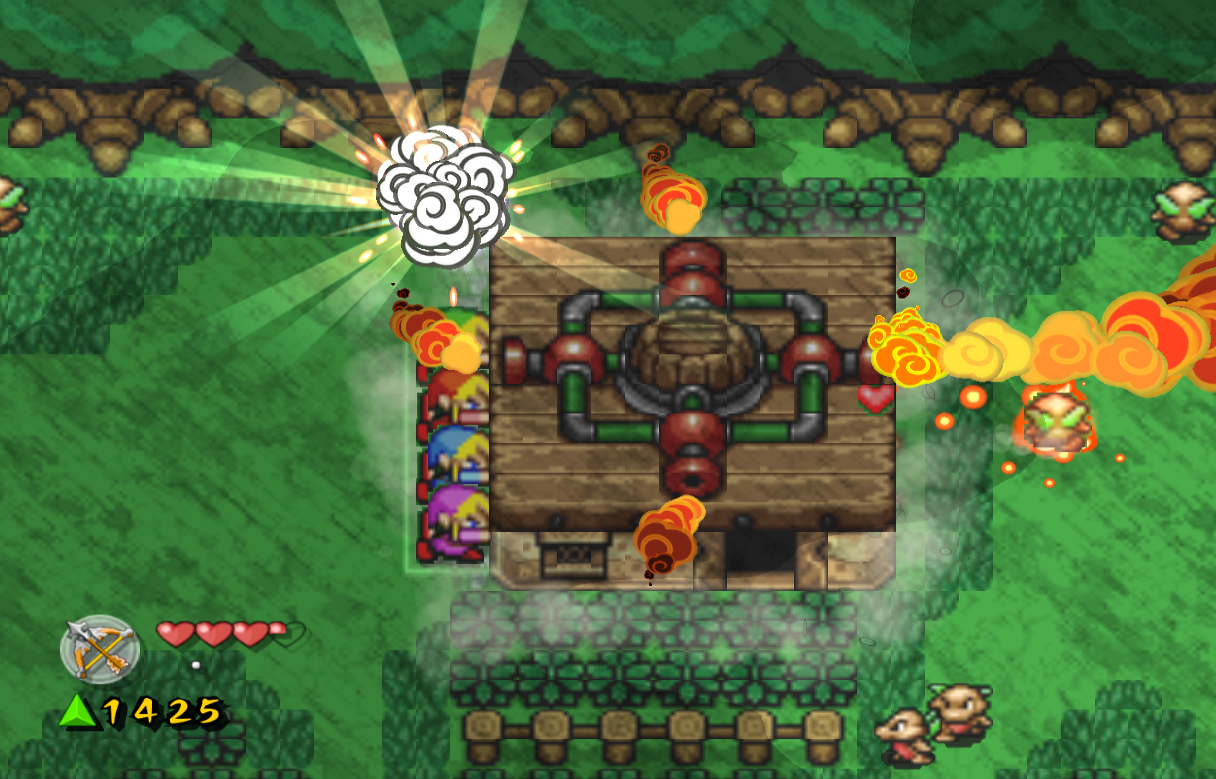
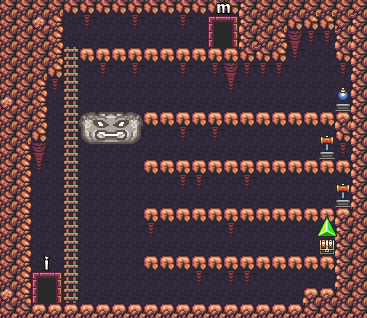
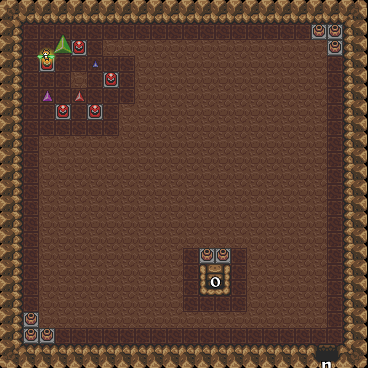
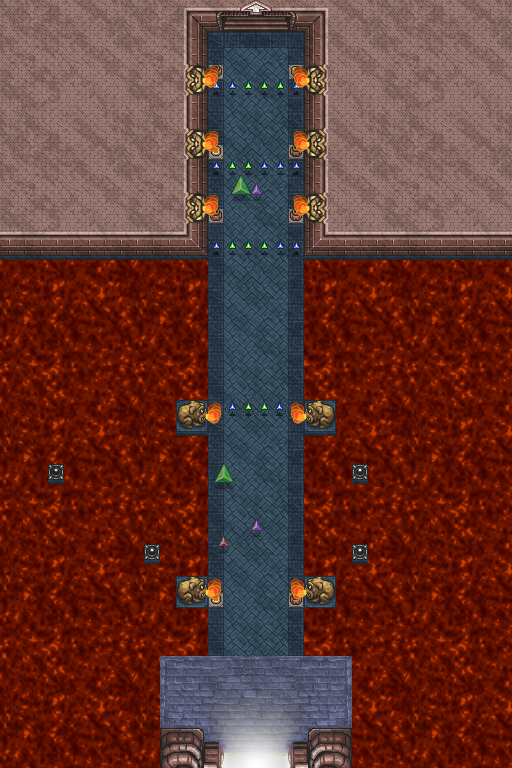
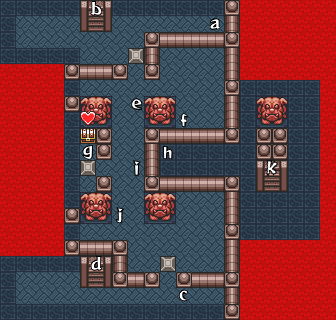
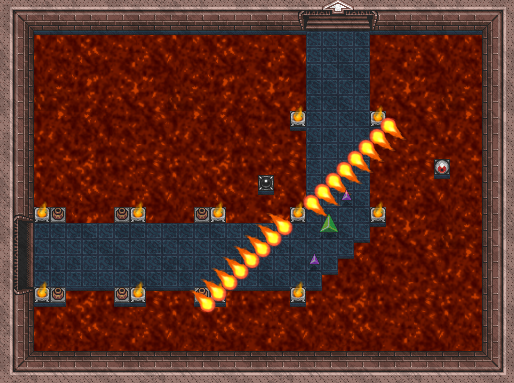
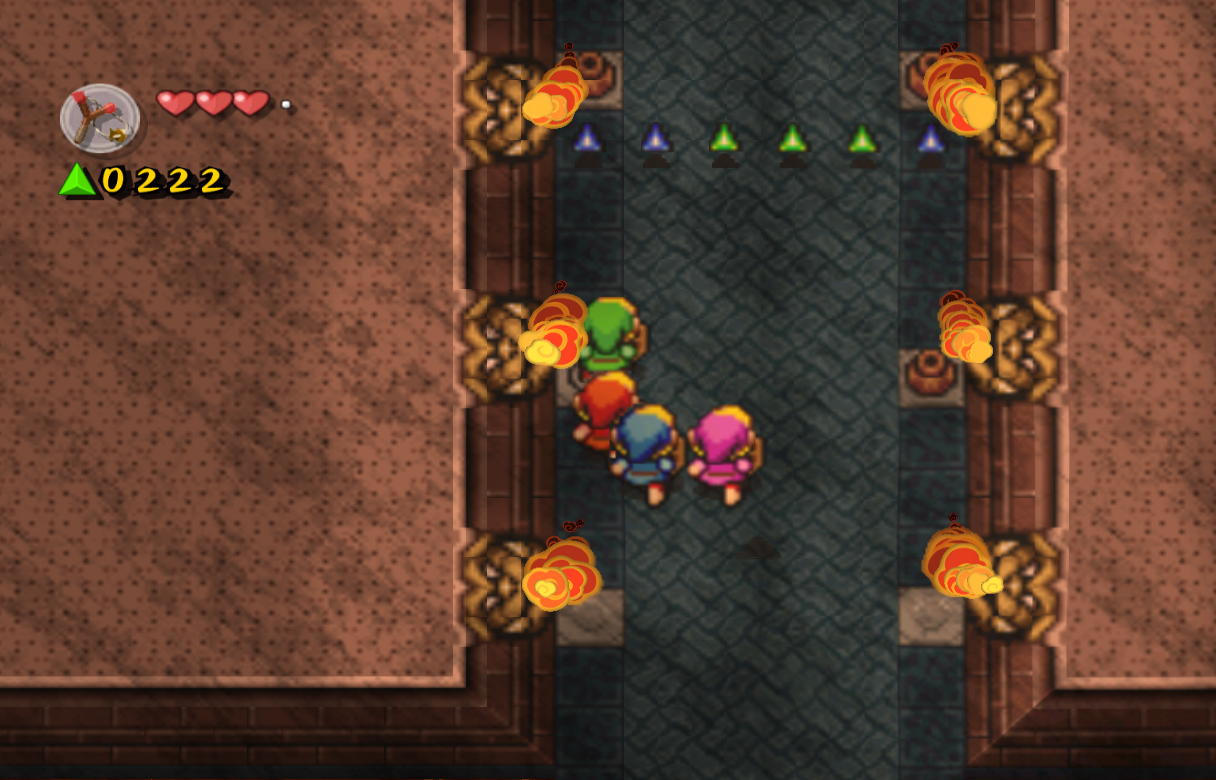
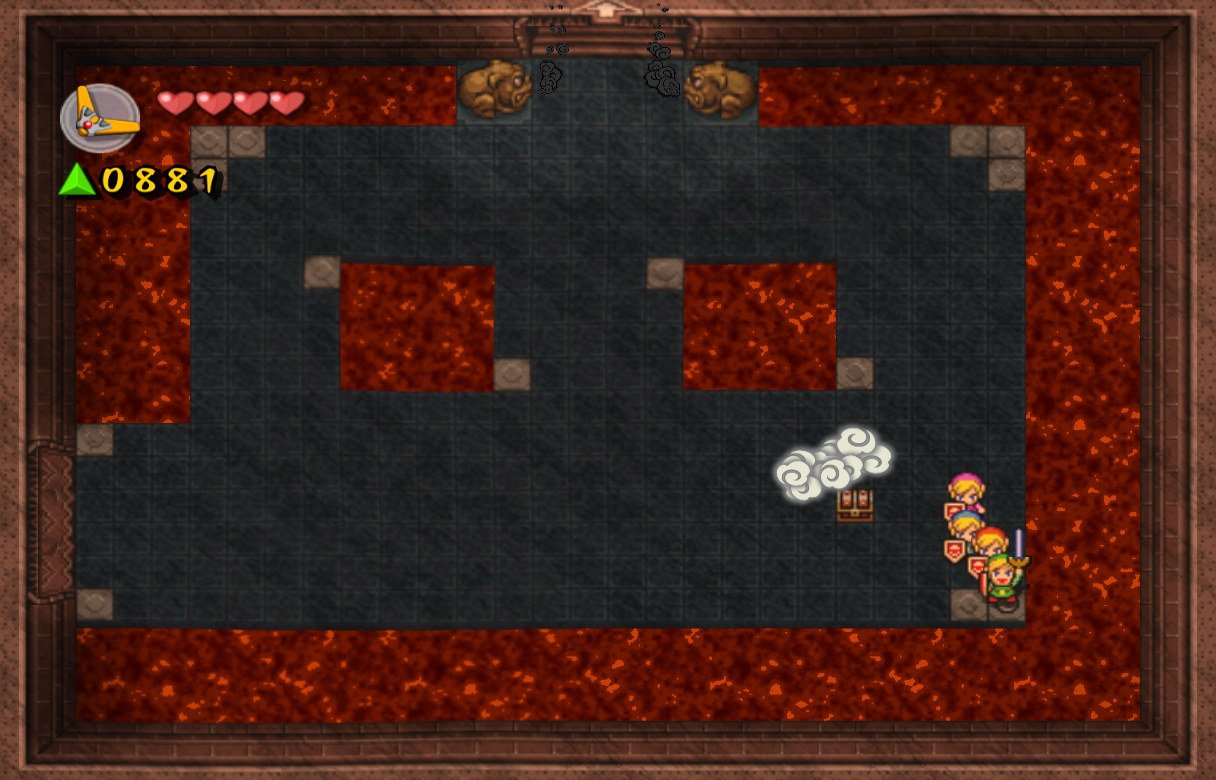
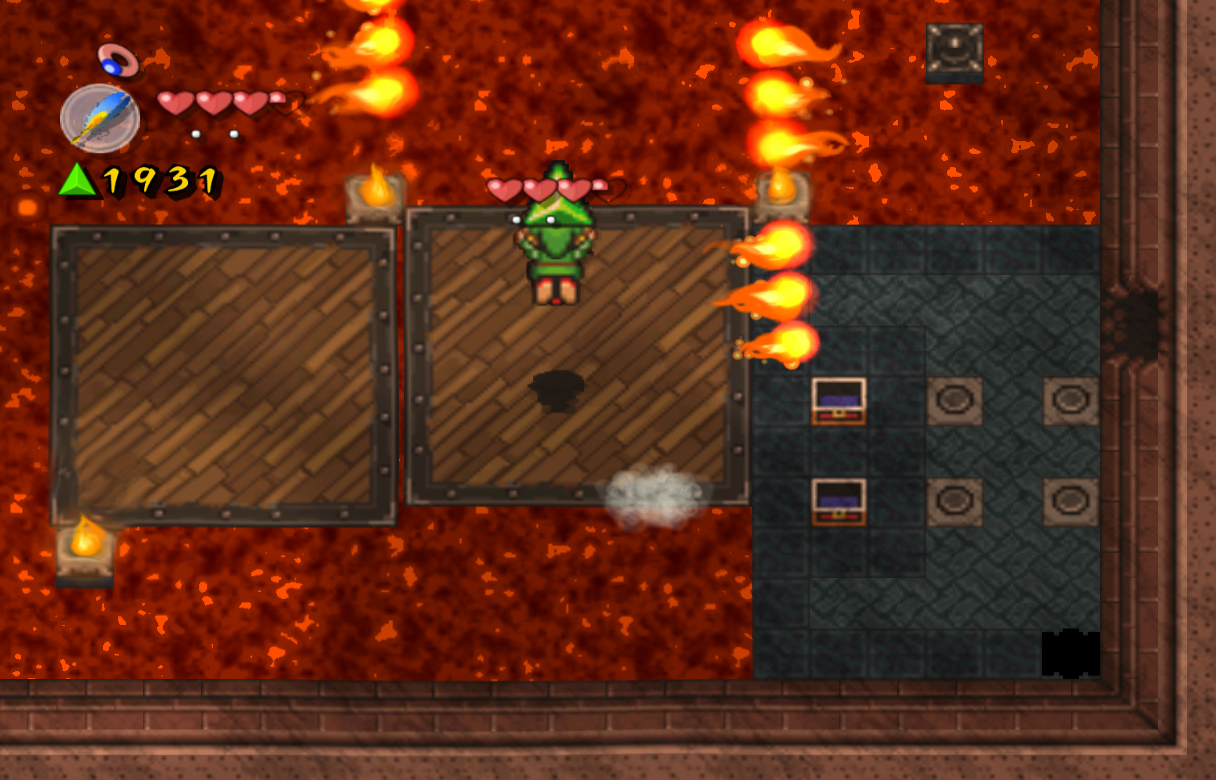
Welcome to the third and final stage of this level, the Tower of Flames. As the name implies, this Tower consists of lava, fire, and flames that shoot out at you. To begin, simply walk up and into the Tower.
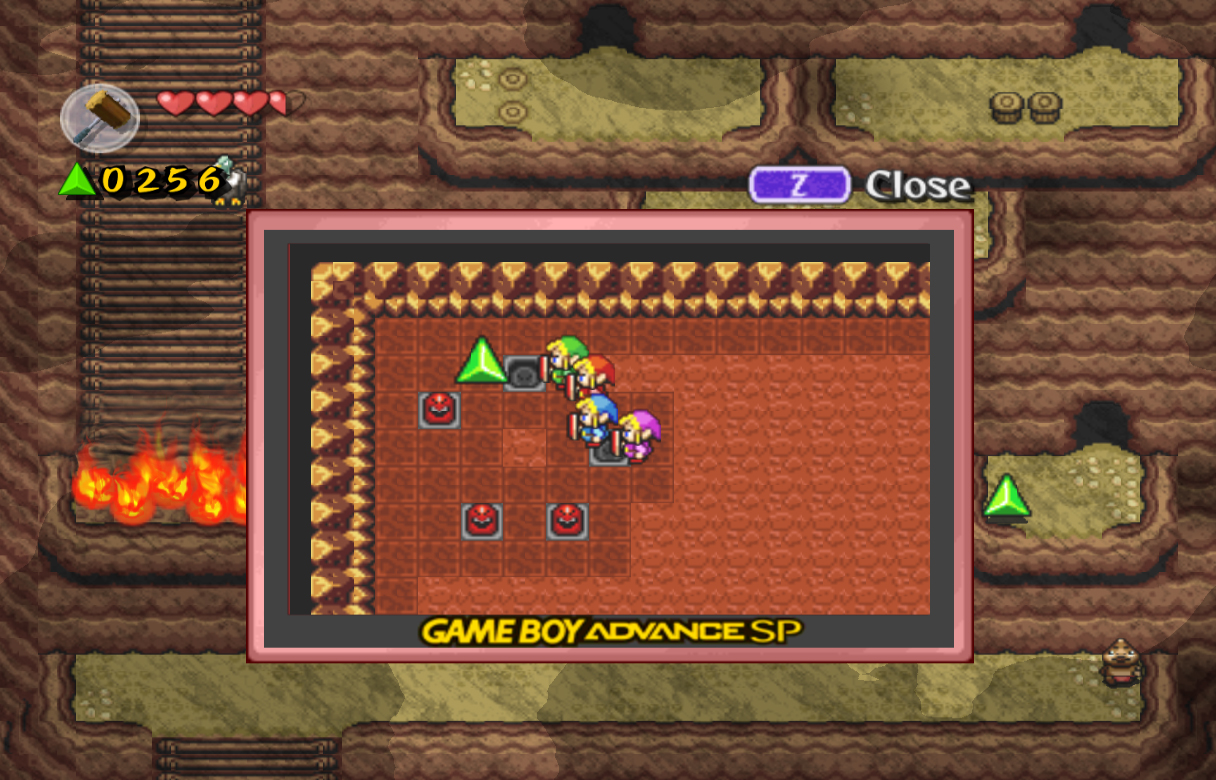
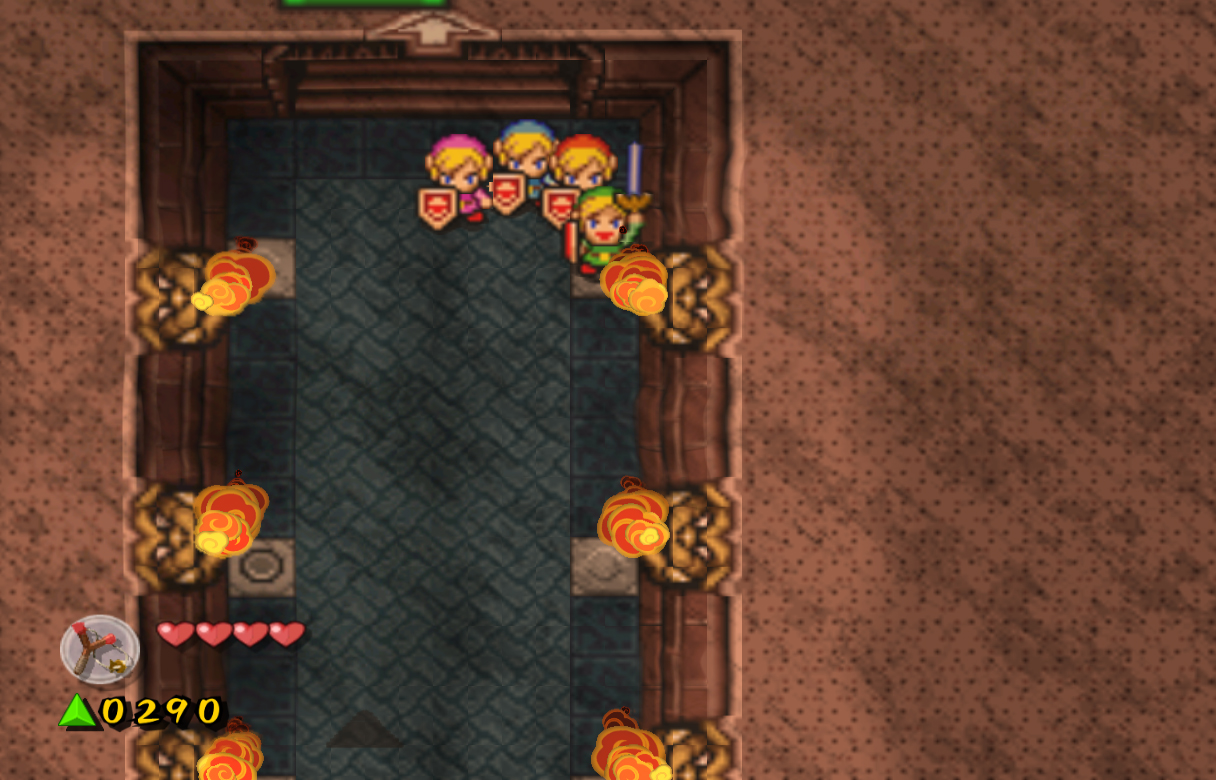
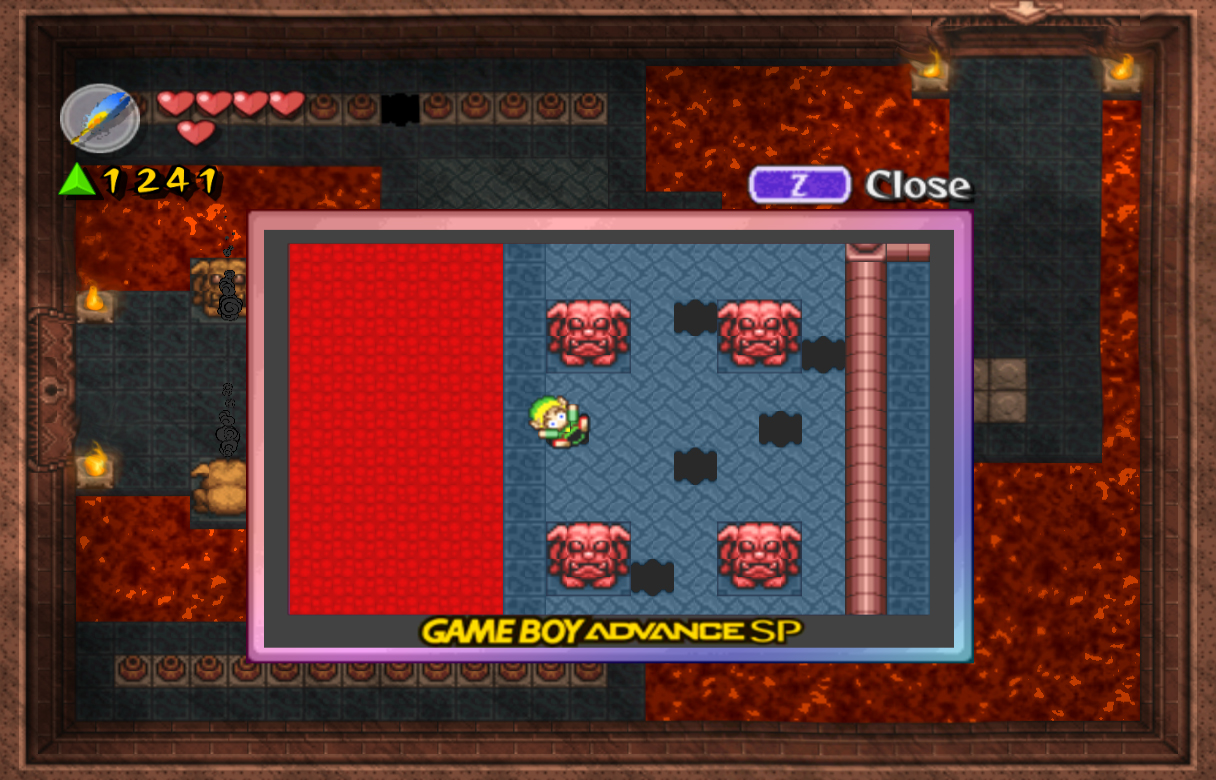
Right away, you'll be greeted by four statues that shoot flames, one group blocking your way on and off, another later on permanently. You may not notice, but there actually pots right next to the statues, under where they shoot their flames. Break these pots, then quickly step on the switch to reveal the Slingshot. Grab it, then hop over to the other side of the flames.
In this middle area, we are blocked from moving forward by flames that won't die down. On the left and right, there are four switches that you can hit with the Slingshot. It may look like only three, but there is a fourth one on the far upper-left side. Hold A and use a powered up shot to hit it, then head up to the next screen. This next screen consists of another three groups of statues, each with on and off flames. There are only two spots of importance; the middle left statue has a pot with a switch that will drop down a force gem, and the top-right statue has another switch that will drop down another force gem. Collect them, then head up another screen.
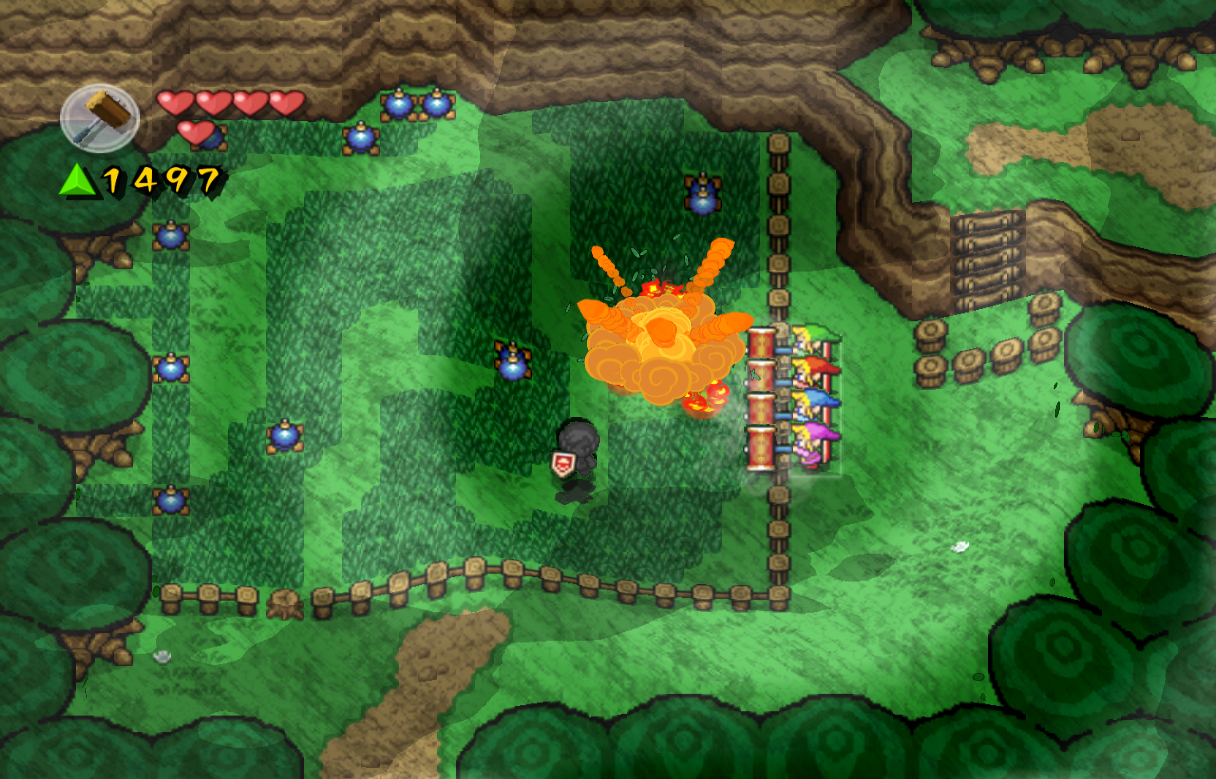
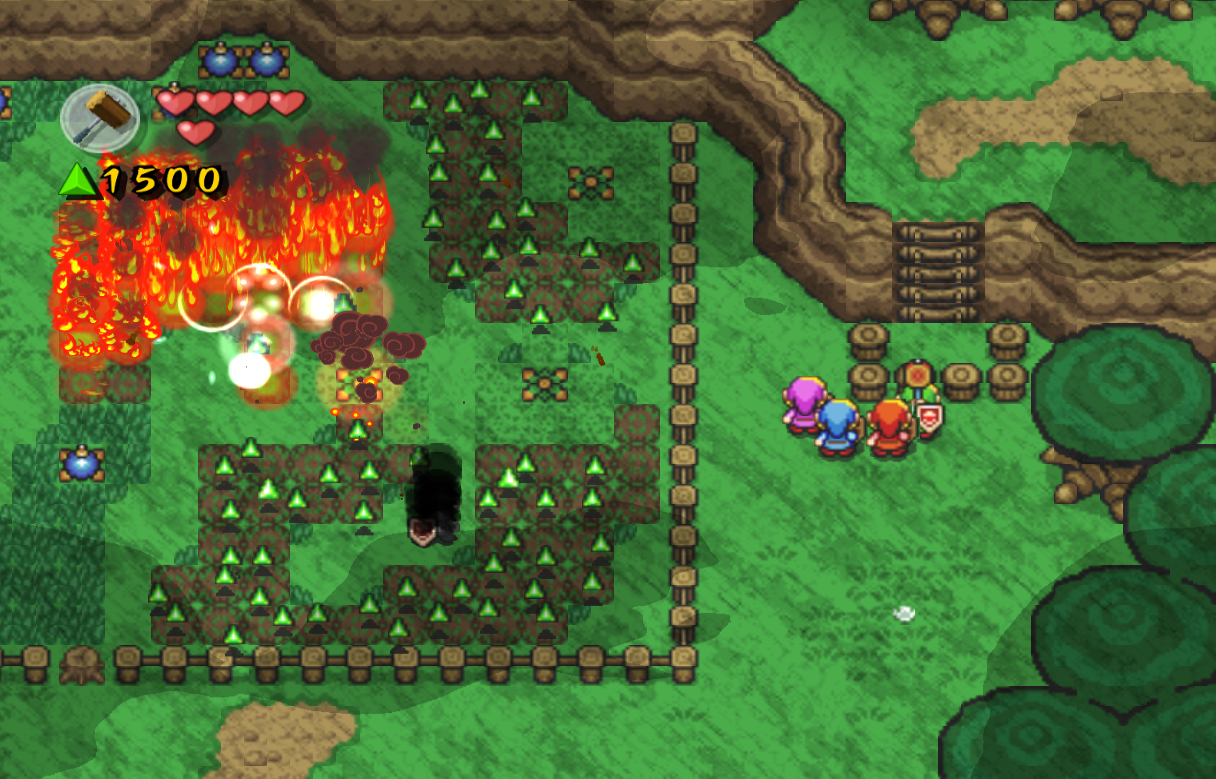
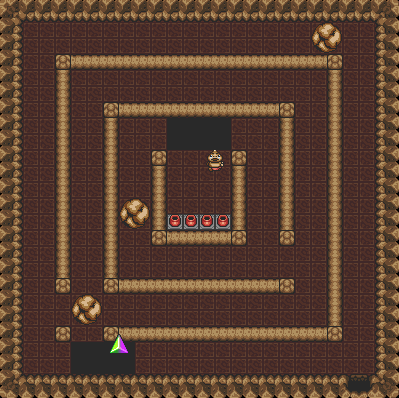
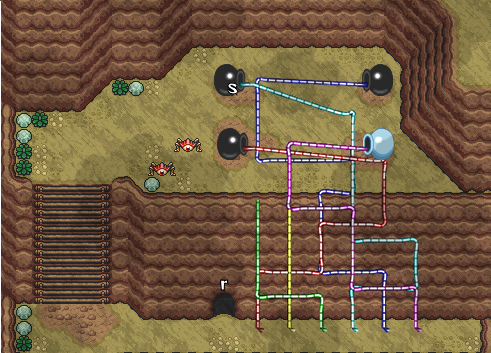
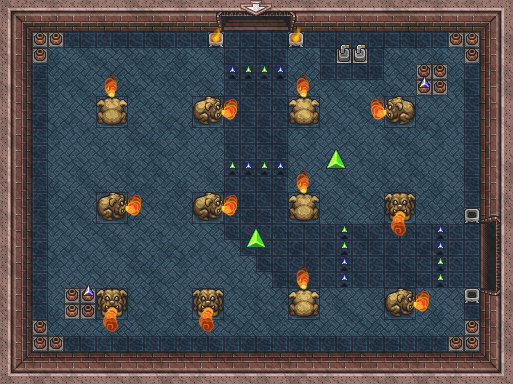
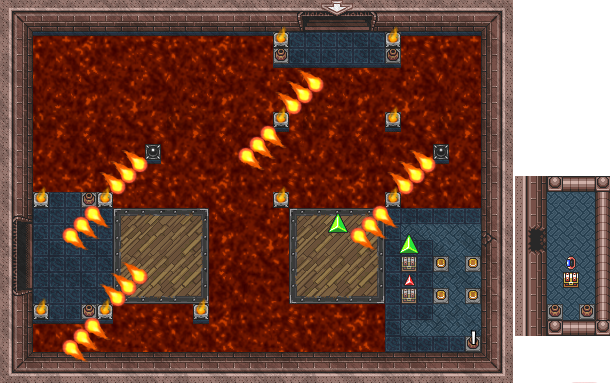
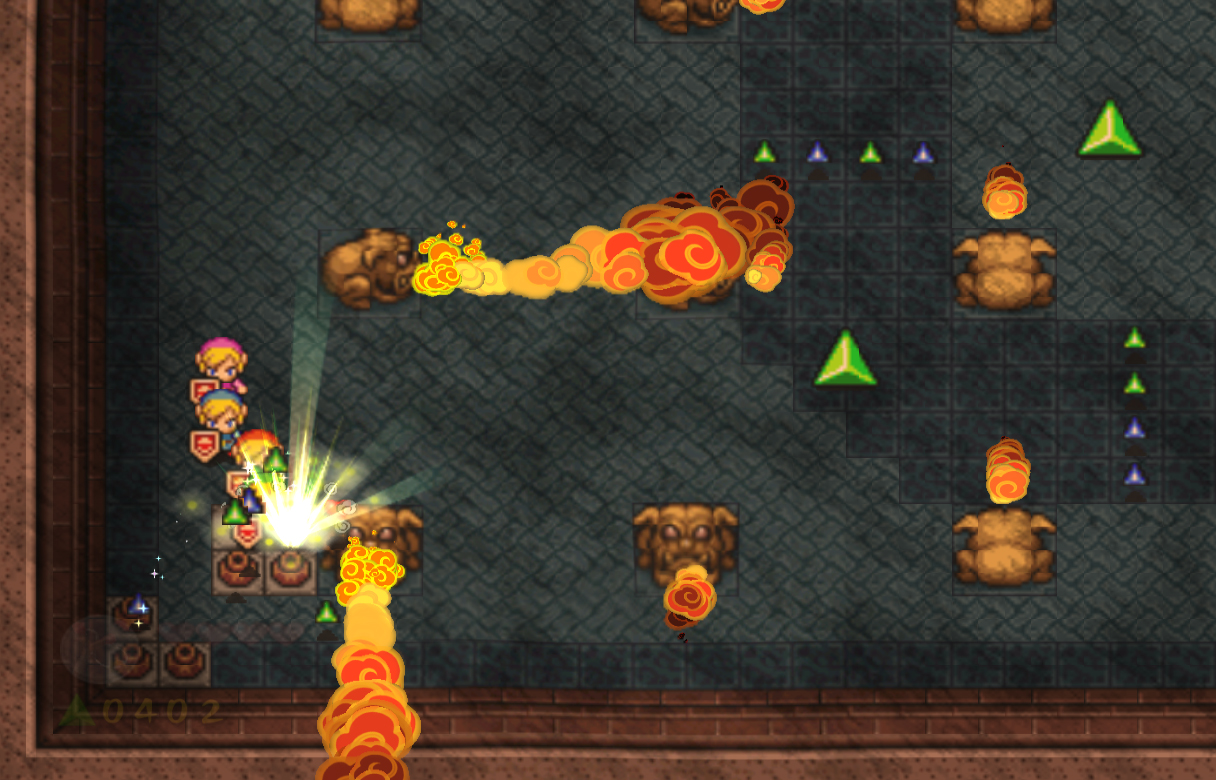
In this large room, you'll find many more statues, each that will shoot flames when you get near it. This creates almost an invisible maze, and you need to slowly work your way through to make it. The maze itself is fairly simply, except for a couple of areas. The bottom-left and top-right corners contain fountains of force gems, make sure you break the pots here to collect them. Also, when you get to the middle, big green force gems will start to run away from you. Don't chase after them, rather, wait until you get the Boomerang at the top-right corner. Then, you can use the Boomerang to grab them, and not have to run into the flames in an attempt to grab them. Once you've collected everything, head to the next screen at the bottom-right corner.
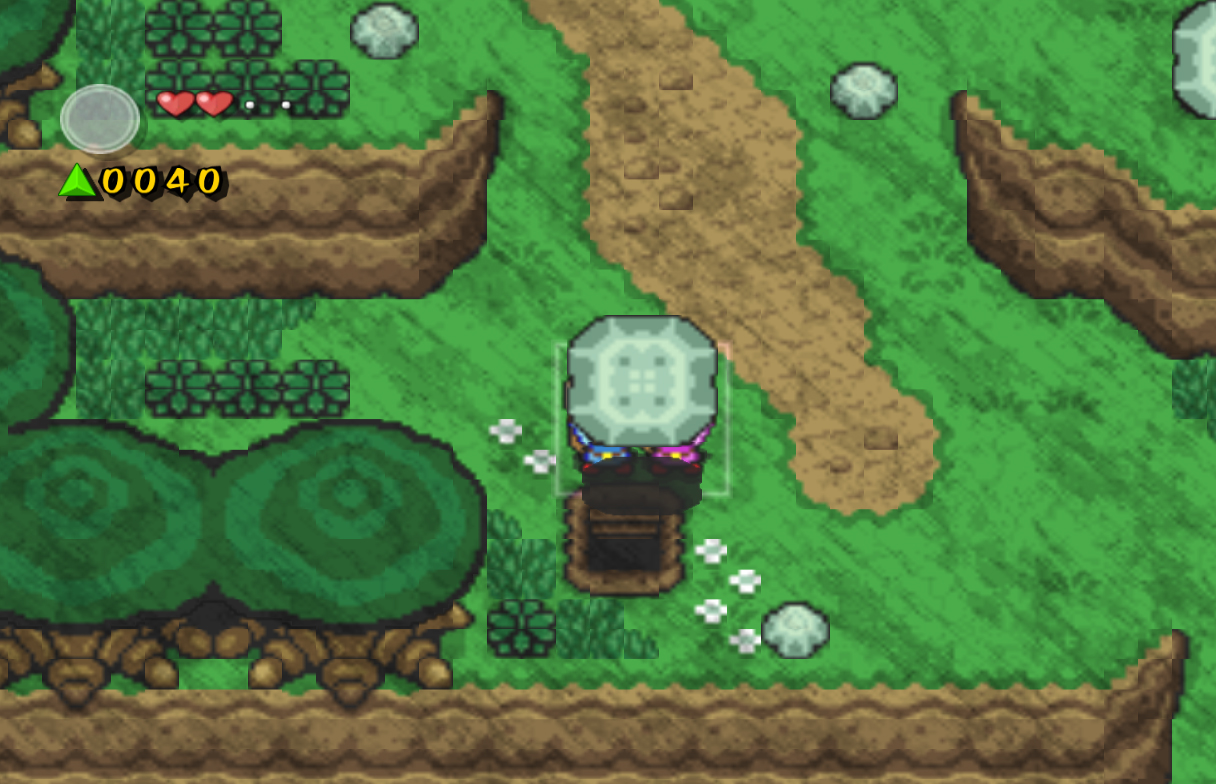
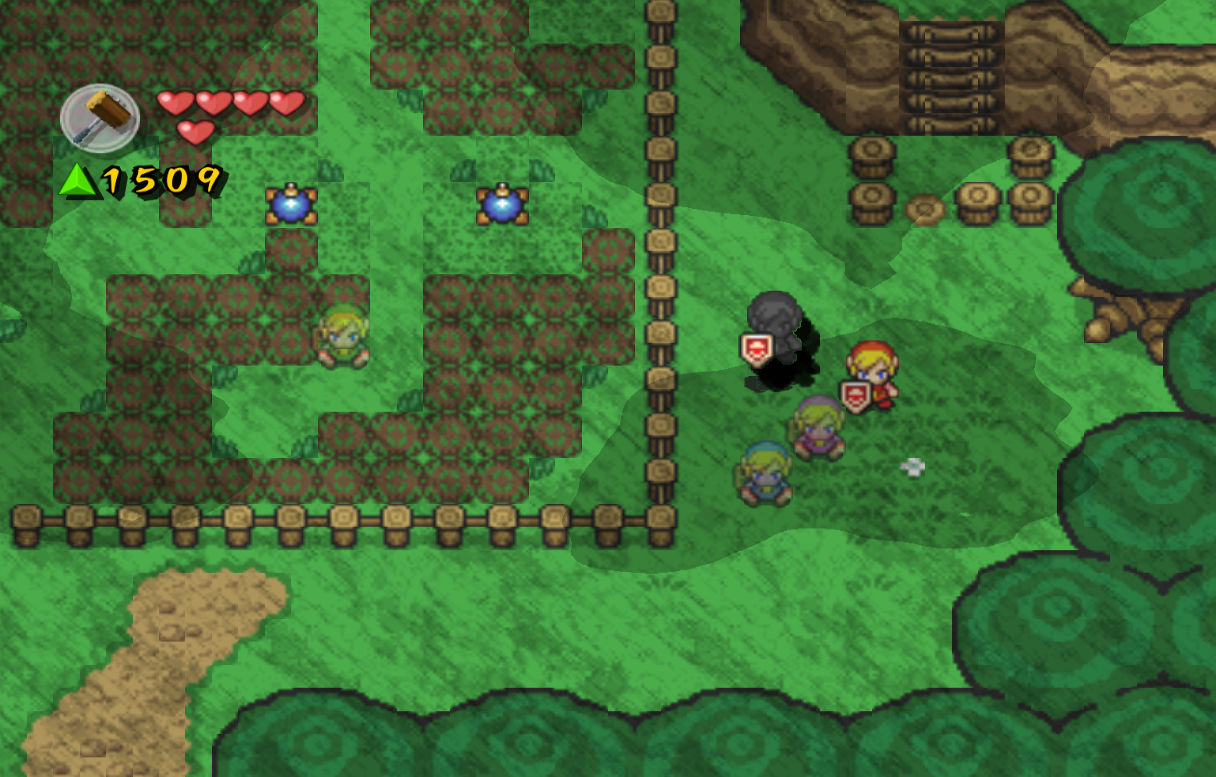
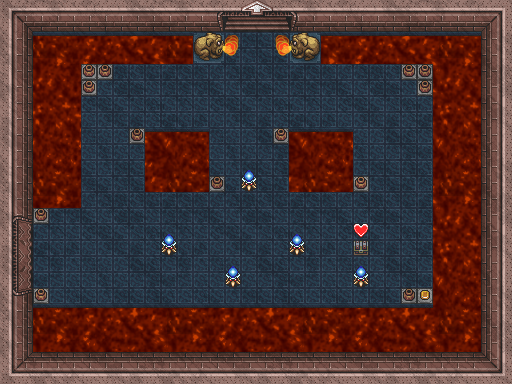
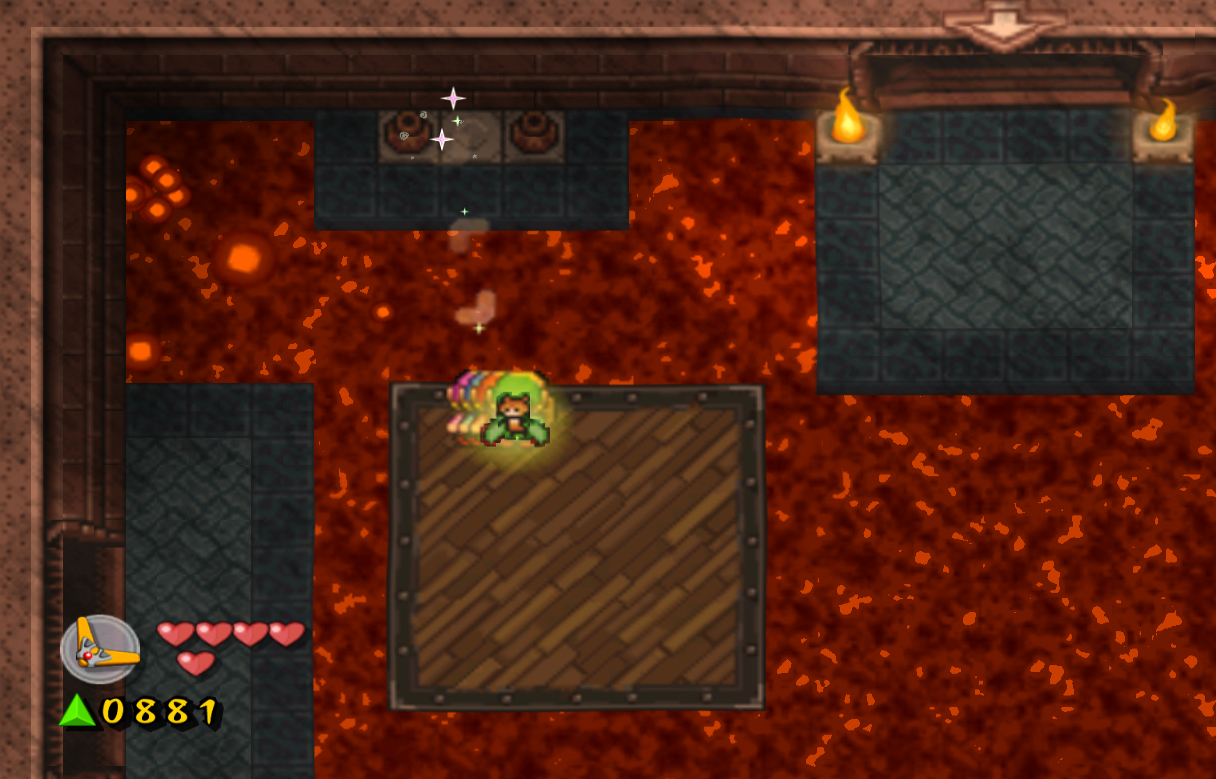
Here you'll find a new enemy, Hardhat Beetles. You can't kill these enemies with your sword regularly, rather, you have to hit them with your Boomerang to stun them, allowing you to hit them. You can use either this method, or you can hit them with your sword off the edge of the platform. Once they're defeated, walk over to the bottom-right corner and lift the pot here. Step on the switch to make a chest appear with a Heart Container inside. Head up and to the next screen.
There is a large, moving platform in this next room that simply takes you from one side of the room to another. What you may not notice though, is that there are pots along the upper wall. So, when you make it to the other side on the platform, stay on and use the Boomerang to hit the pots. The middle one is the only one that contains anything, but it does contain a Force Fairy. Once you have it, head left into the next room.
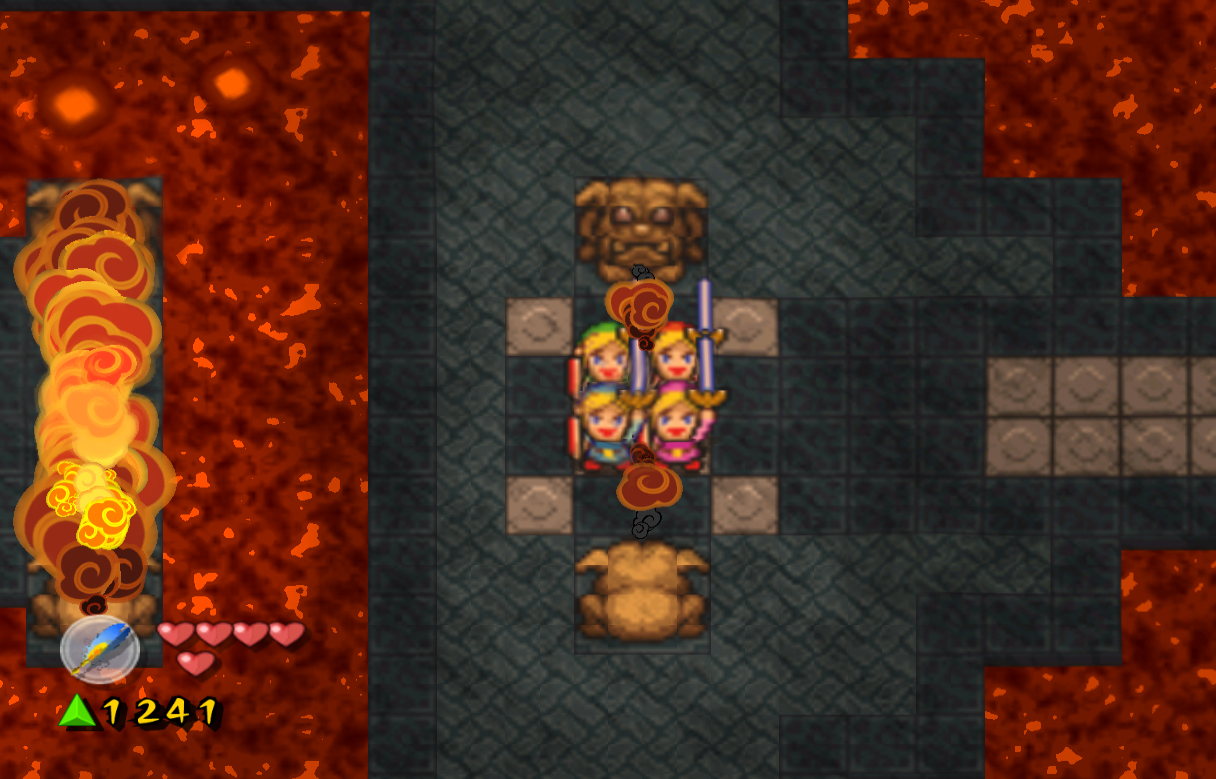
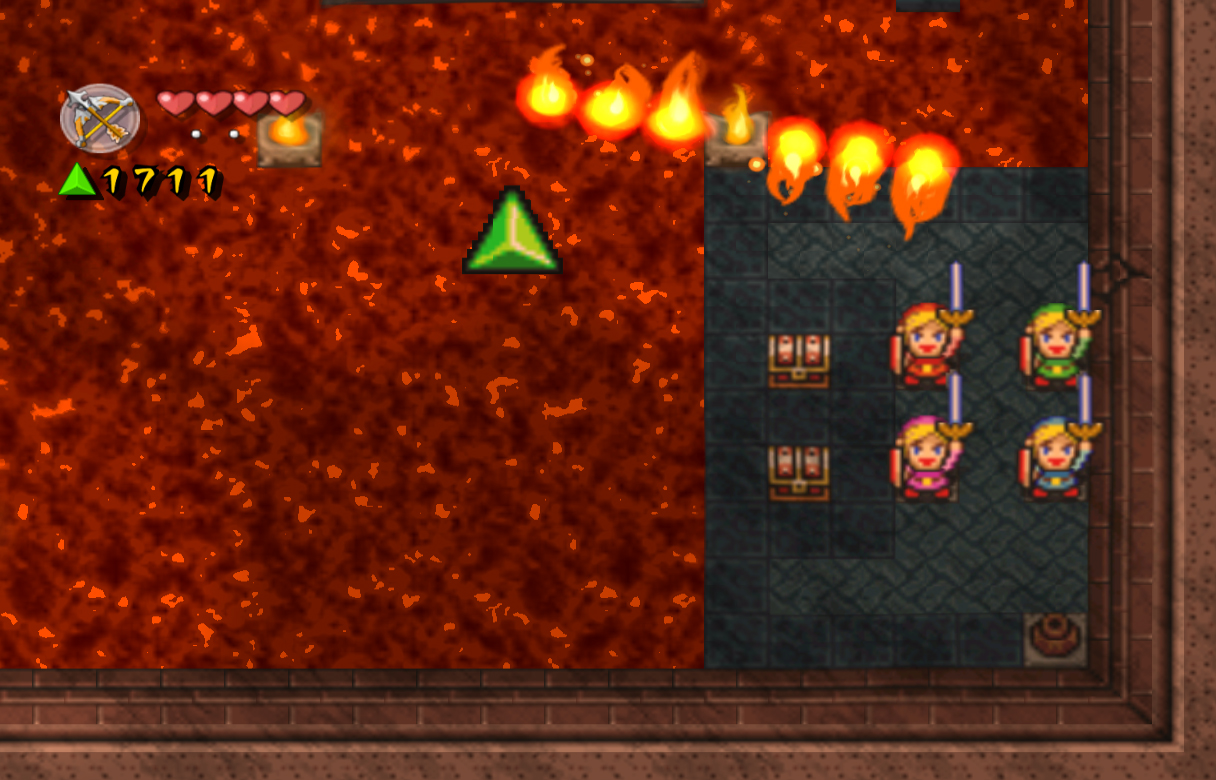
Right away, separate the Links and use one to lift up another. Throw him across the gap, then bring the Links together on the middle platform. Defeat the lone Hardhat Beetle here, then lift up the pots in the center. Before you step on the switches, I recommend pushing the two left side statues together to form a barrier. When you step on the switches, everything will start flying at you like in previous rooms in the game. By doing this, you can hide on the left side if you want to, dodging most of the attack. When you're ready, step on the switches and survive the assault as best you can. Once it's over with, pick up one of the Roc's Feathers that appears, and head back right a room. Walk along the bottom of the room and use the Feather to jump across these platforms. Open the chests at the end for 150 force gems. Continue along the path to the top of the room, then head up a floor. Before you do anything in this room, stop and wait for the Shadow Links to dash to the right side of the room. Then, quickly kill them and collect the force gems they leave behind. Walk left a little bit and you'll see another group of statues. There are four pots that they shoot flames over, you need to break all of these and step on the switches below them to stop the flames. Do so as best you can, then head up. Break the pots in this line and you'll eventually find a hole. Enter it to start a very annoying underground area.
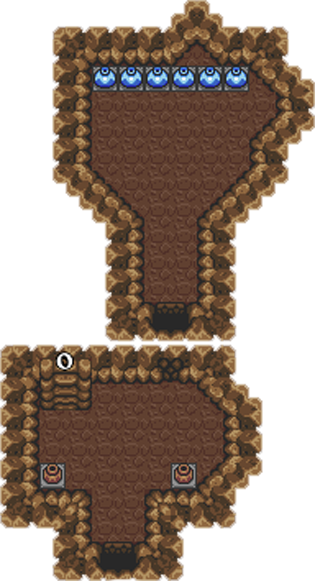
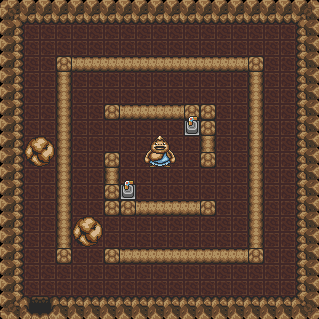
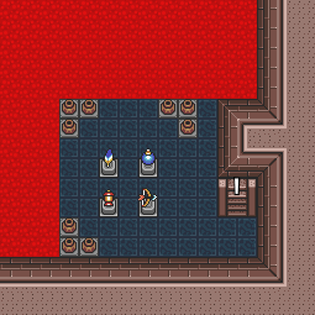
You'll immediately fall down another two floors. Simply walk up the stairs here to get back to the upper level. There are two holes that you need to fall through here to progress; the first is the farthest one to the left, which will give you a Heart Container. Push the block here out of the way, then walk to the south and push this block out of the way. Head up the stairs here, then walk back to the hole you just fell through. Walk exactly in a straight line to the right, and fall through this hole as well. Head up another flight of stairs, then open the two chests here for 20 force gems and a small key. Head south, then up the next flight of stairs to get back out. Walk up, then jump over the gap and use the small key on the door. Enter to face the miniboss of this dungeon: Ball and Chain Trooper.
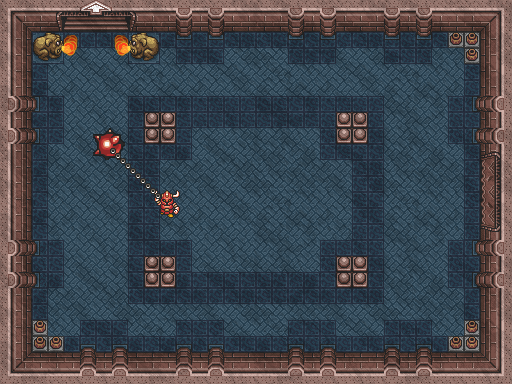
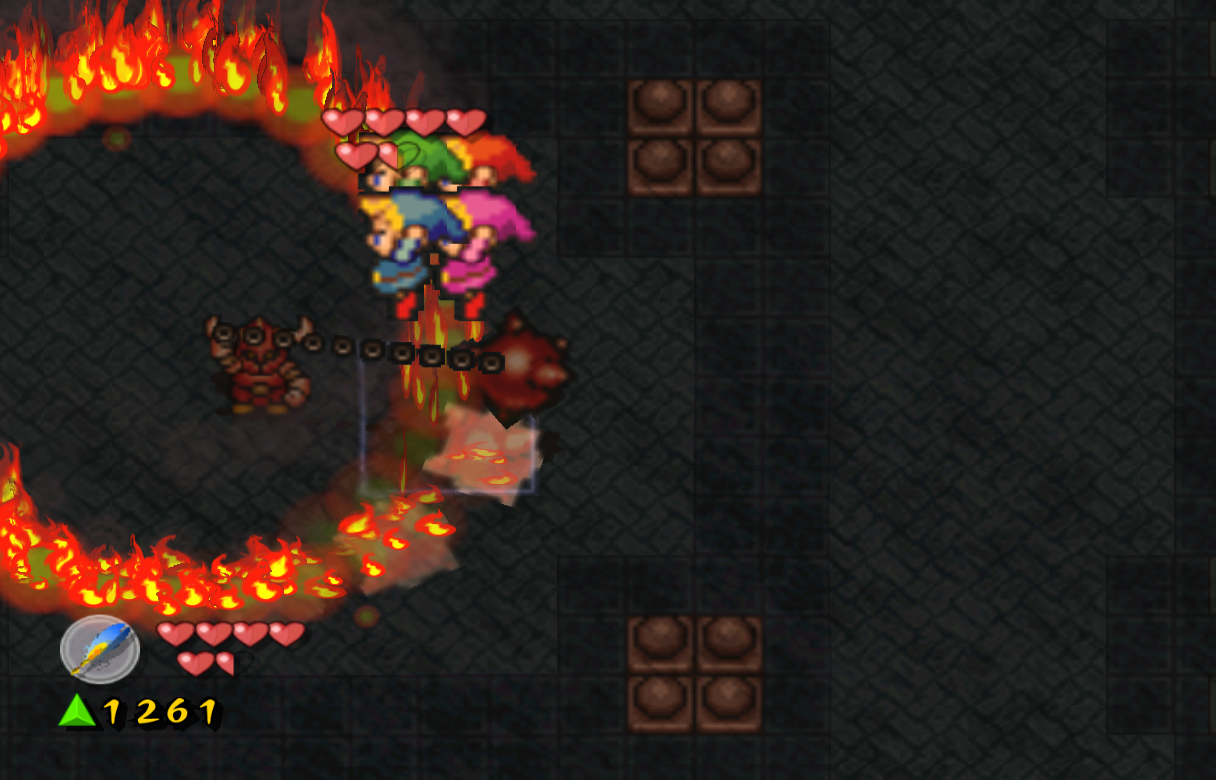
This Ball and Chain Trooper is different than before, as its ball is actually on fire. This causes it to create a circle of flame as it spins around, preventing you from just walking in and attacking him. The trick is to use the Roc's Feather to jump over the flames and make a quick attack, then jump back out. This could take a very long time though, so if possible when jumping, hold down the control stick to do a sort of ground pound, which will damage him greatly. Once he's defeated, head up into the next room.
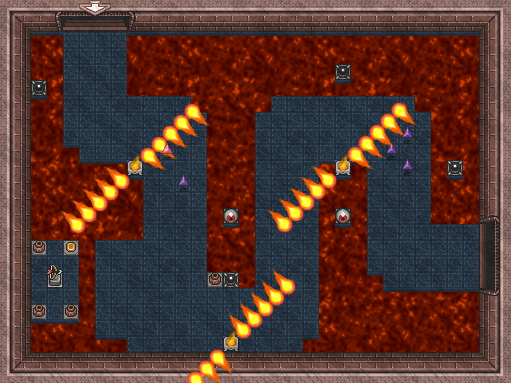
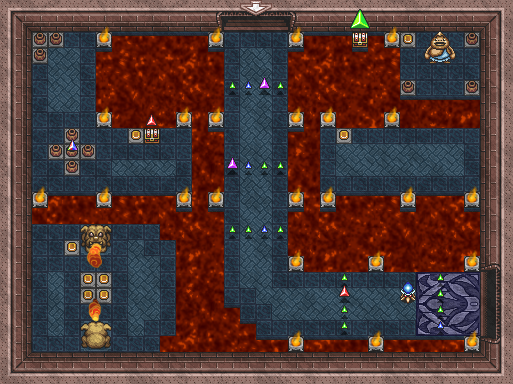
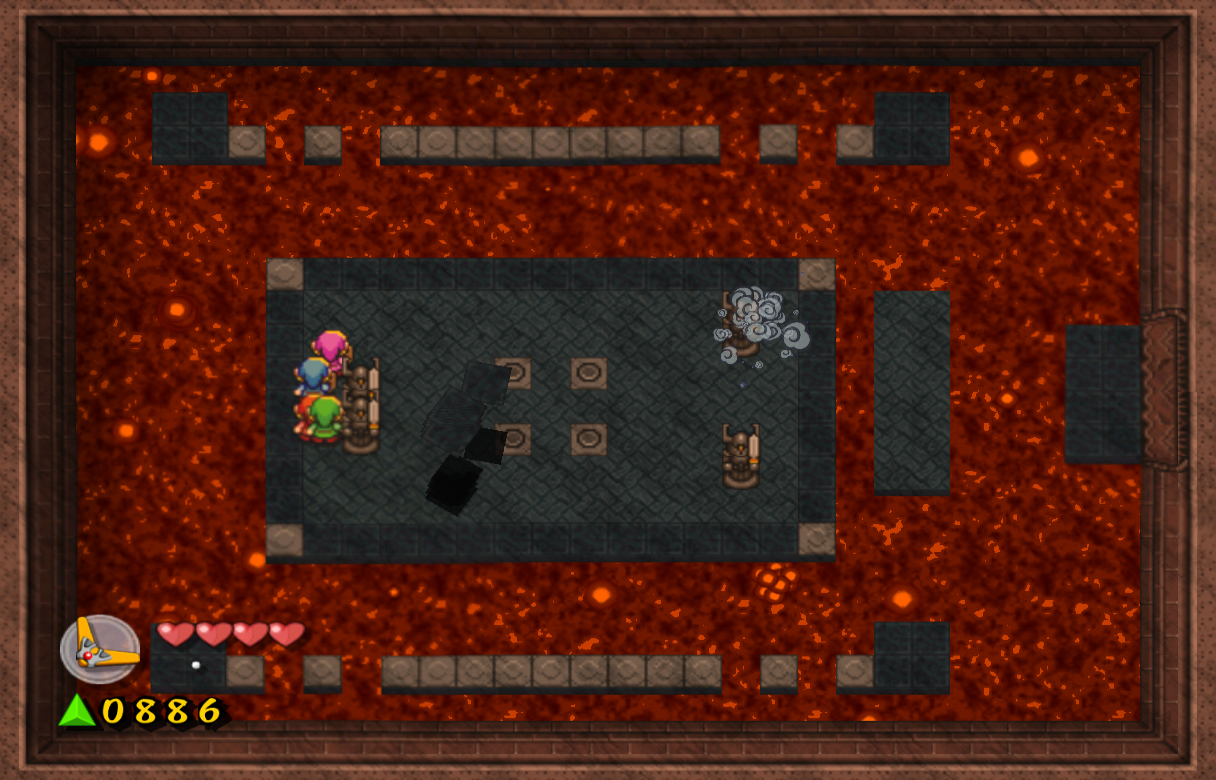
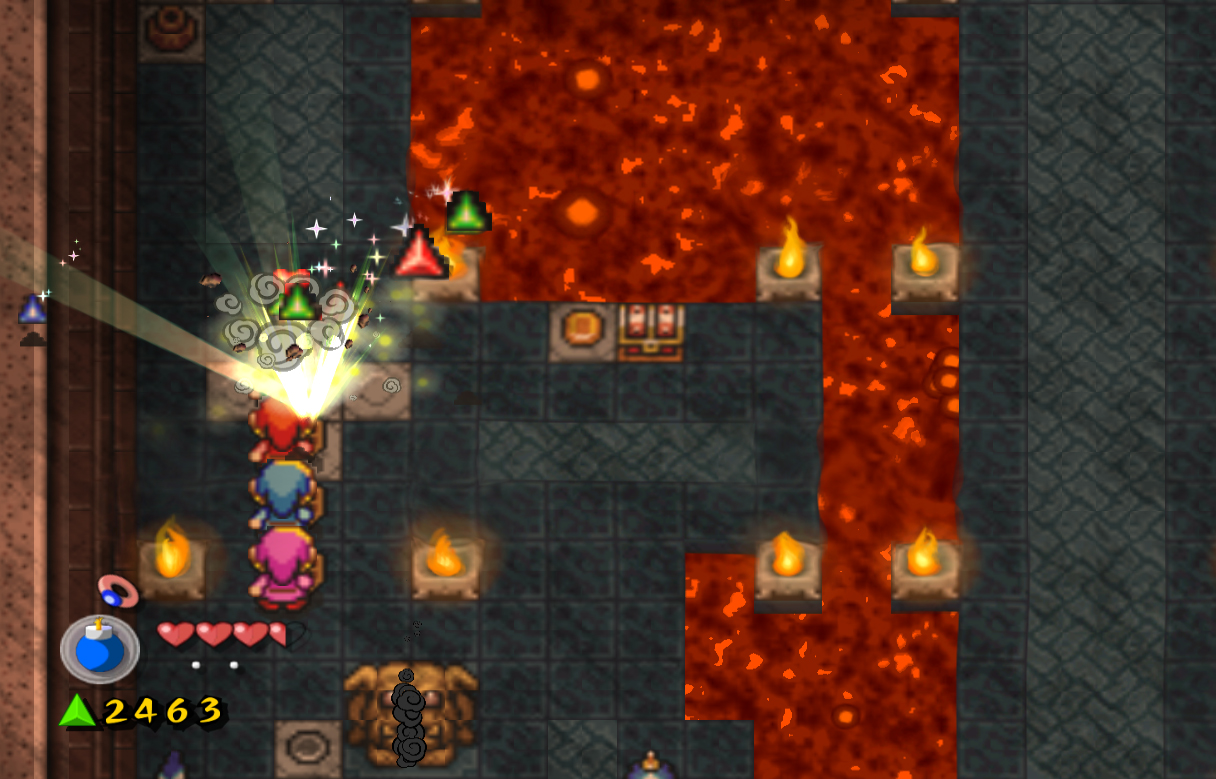
There are a couple of flame spinners in this room, which will constantly rotate around in a circle. There are also various black switches, which when hit, will change the rotation of the nearby spinner so it rotates in the opposite way. Along with these, there are also red eye switches that you can hit with the Bow (once you grab it) that will bring down force gems. Start off by hitting the switch to the left, causing the spinners to turn clockwise, allowing you to continue. Walk down, then use the Roc's Feather to jump on the platform at the bottom-left. Break the pot at the top-right and step on the switch to connect the two platforms. Grab the Bow as well, which will now allow us to shoot the red eyes. Walk to the right a little bit, then up along the path we were on before. Quickly shoot the red eye switch, which will drop down two purple force gems. Collect them when possible, then walk back down and to the right. Hit another black switch to change the rotation of this spinner, then continue right. Walk upwards, then shoot the next red eye switch to the right. This will drop down another 3 purple force gems. Unfortunately, the spinner is rotating in the wrong direction for us to get them. Walk back down, then hit the black switch to the left. Walk back up, then through the spinner's path, and collect the force gems. Head out through the doorway to the right. Walk to the right, then hit the switch above when you get to the spinner. Walk to the right and up, then hit the red eye switch to the right, which will drop down force gems where we just walked past. To collect them, hit the black switch to the left, then walk back down and quickly grab them. Hit the switch again to change the rotation, then continue up to the next screen.
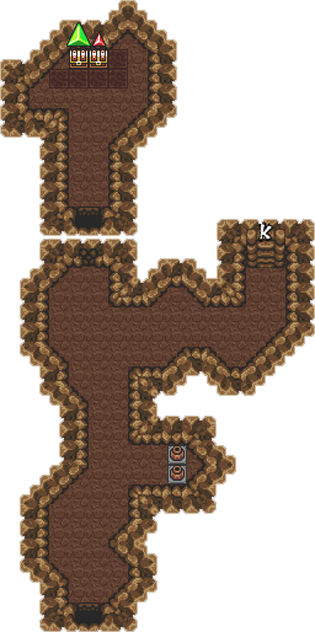
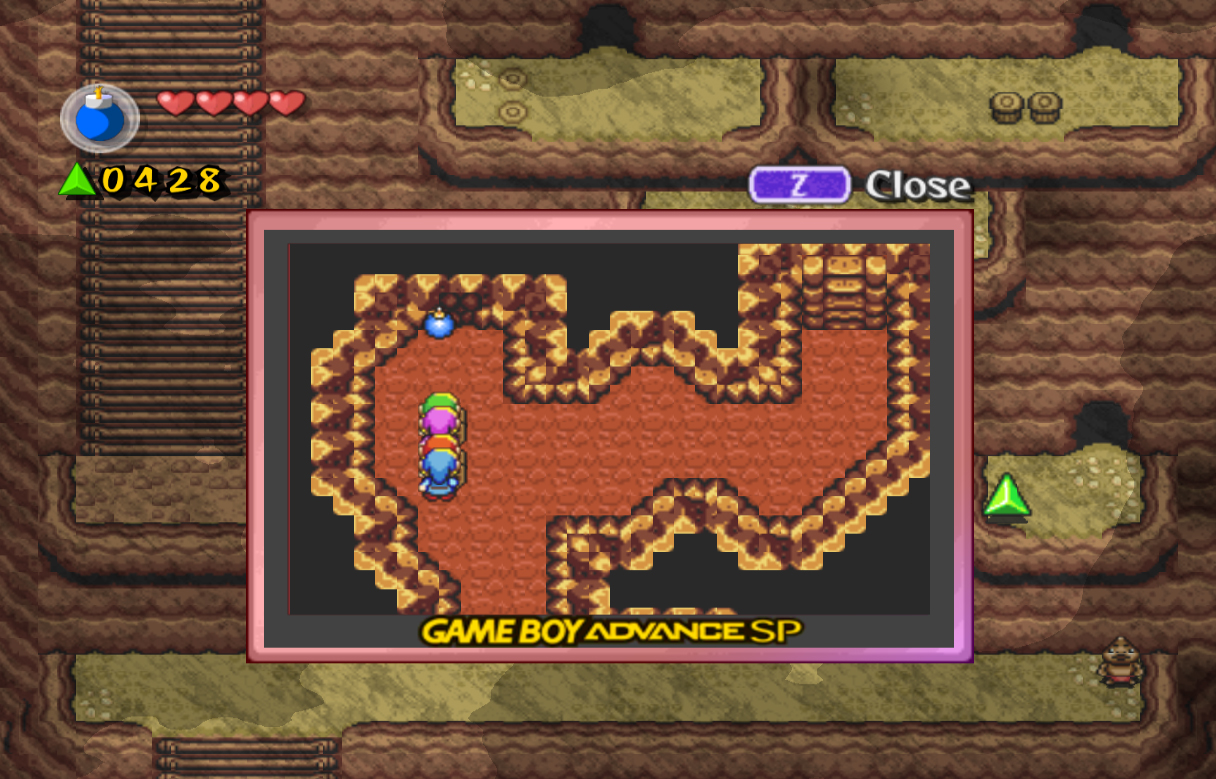
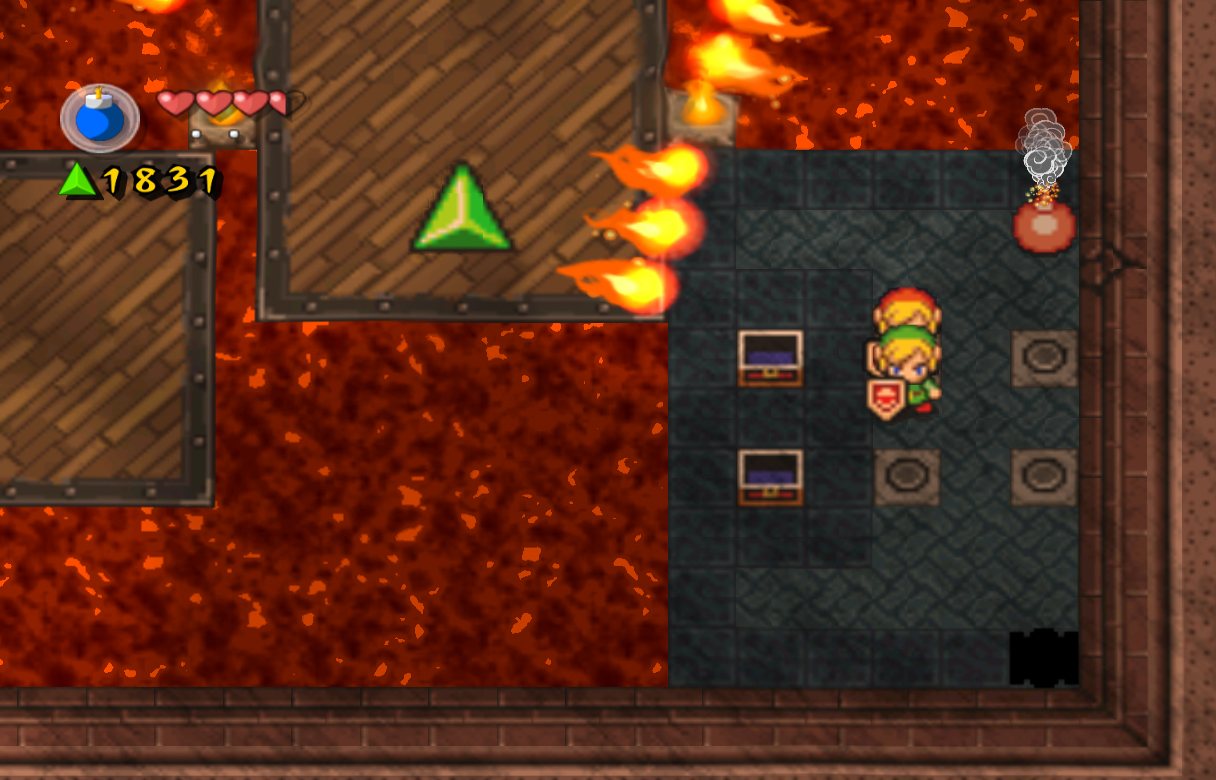
There are two spinners in this area, and a platform that moves north and south. There is a switch to the right that you can hit, making the path easier to pass. You can hit it if you want, but it's much easier just to manuever around the flames and continue south. Once the platform stops moving, walk right and break the four pots here. Step on the switches, causing two chests to appear containing 120 force gems. Break the pot at the bottom-right corner, then enter the hole below. Grab the Bombs here, then head up the stairs. Bomb the cracked part of the wall on the right side, then open the chest inside for the Blue Bracelet. Walk back out, then jump into the hole again. Grab the Roc's Feather, then head back up the stairs once again. Walk back onto the moving platform when you can, then use the Roc's Feather to jump up and collect the force gem above. Head left when the platform comes near, then continue left through the door.
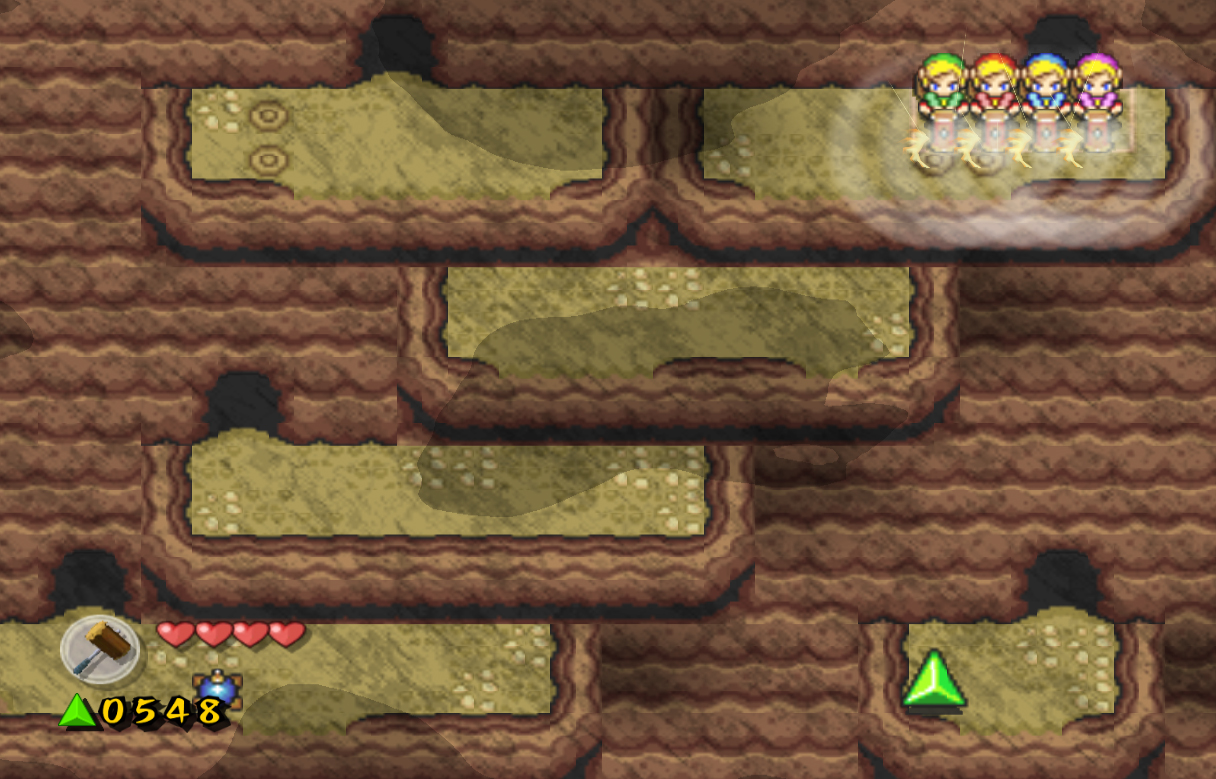
Four Shadow Links will appear here, and they are easily defeated just like last time. The only difference is there are flames shooting out of the walls, so you mainly have to use the center area to defeat them. If you defeat the leader of this group of Shadow Link, you won't be able to kill the others, as they will all disappear. The leader is the one they usually show in the clip, and the only one who changes colors. Defeat him last to get the most amount of force gems from them. Once they're defeated, head up to the next floor. Collect the few amounts of force gems along the middle path, and defeat the Hardhat Beetle at the bottom. Walk back along the path, then jump over onto the path to the left. Open the chest for 20 force gems, then step on the switch to bridge the gap. Continue left and slash the pots here to open another force gem fountain. Collect the gems, then head to the right. Jump over this gap as well. Step on the switch to bridge this gap, then continue right.
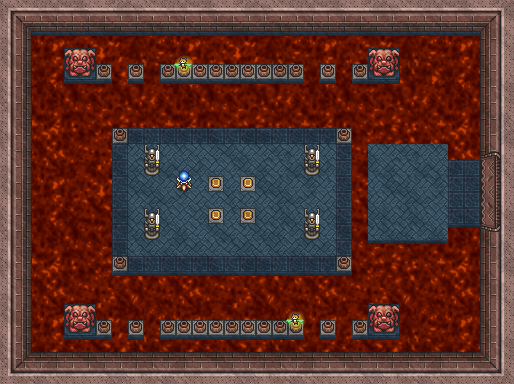
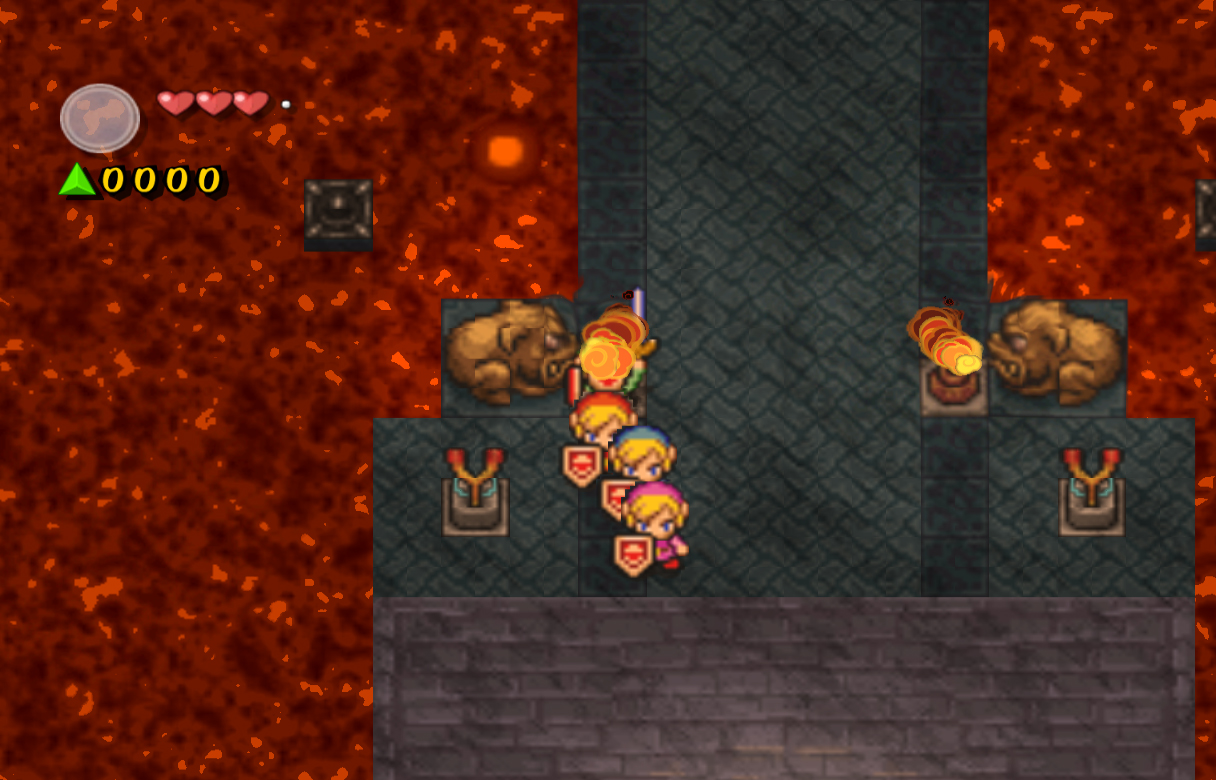
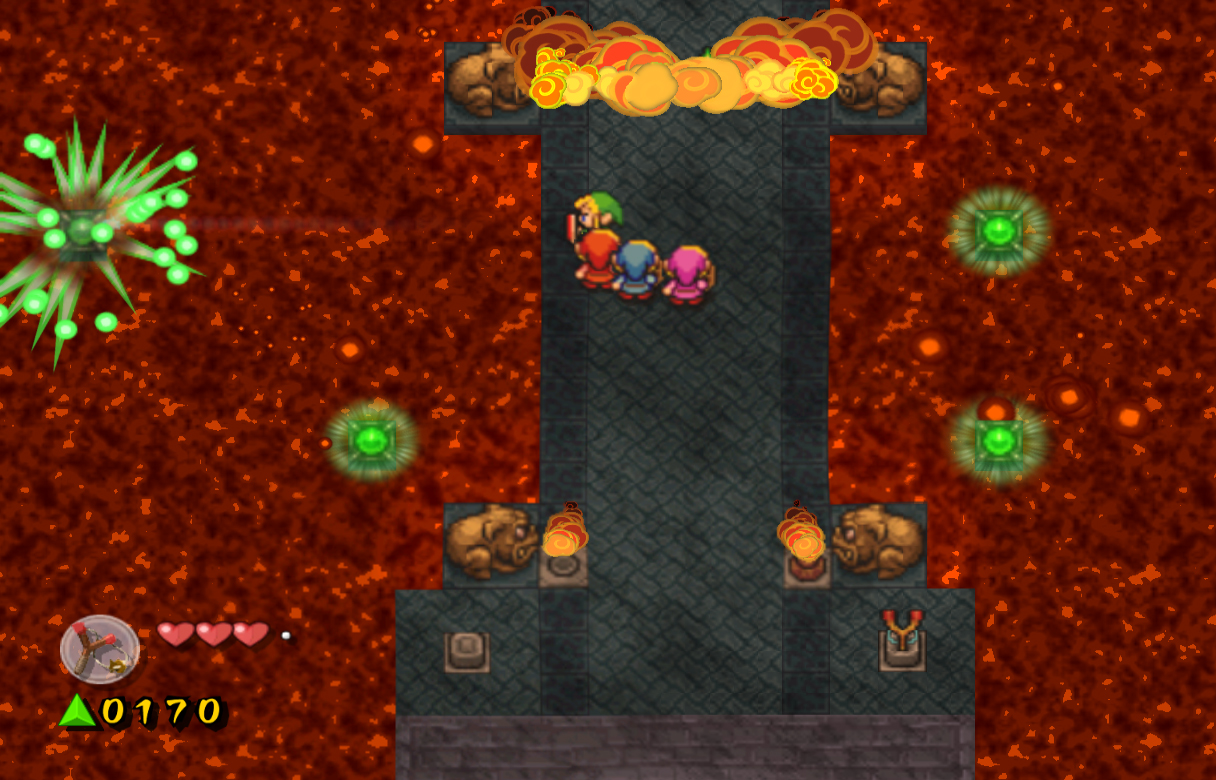
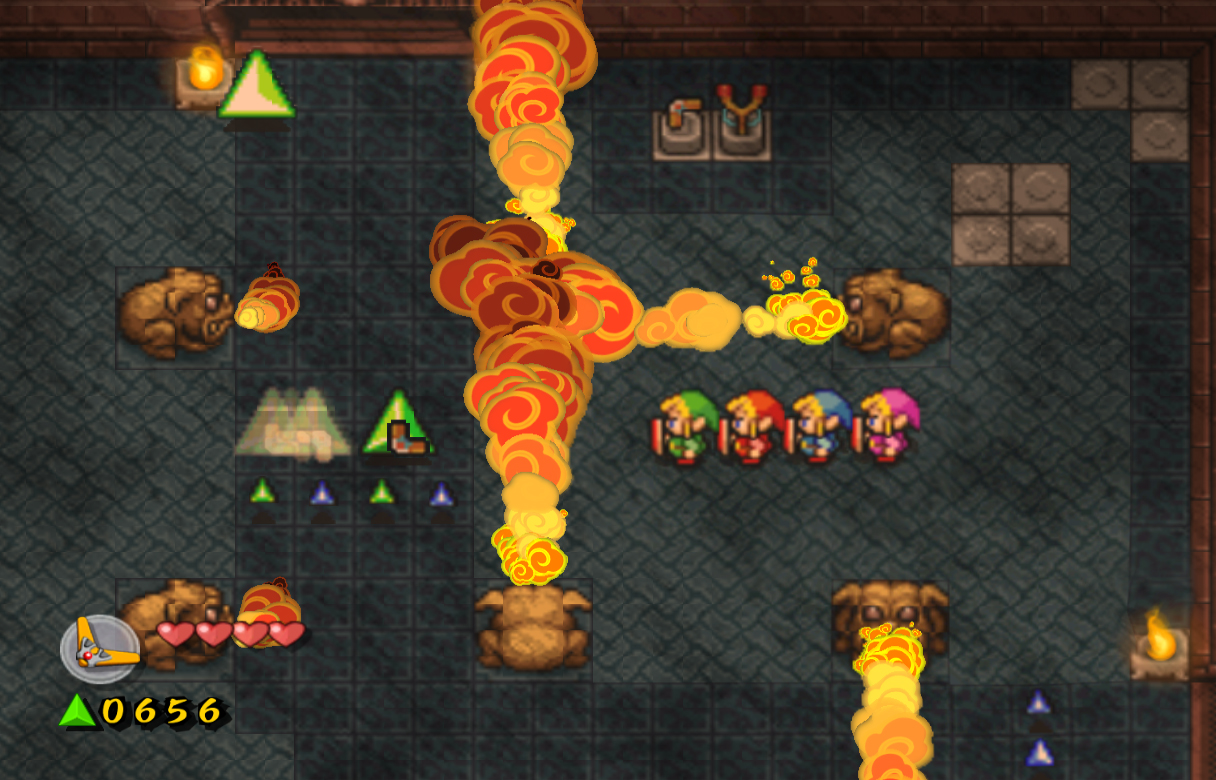
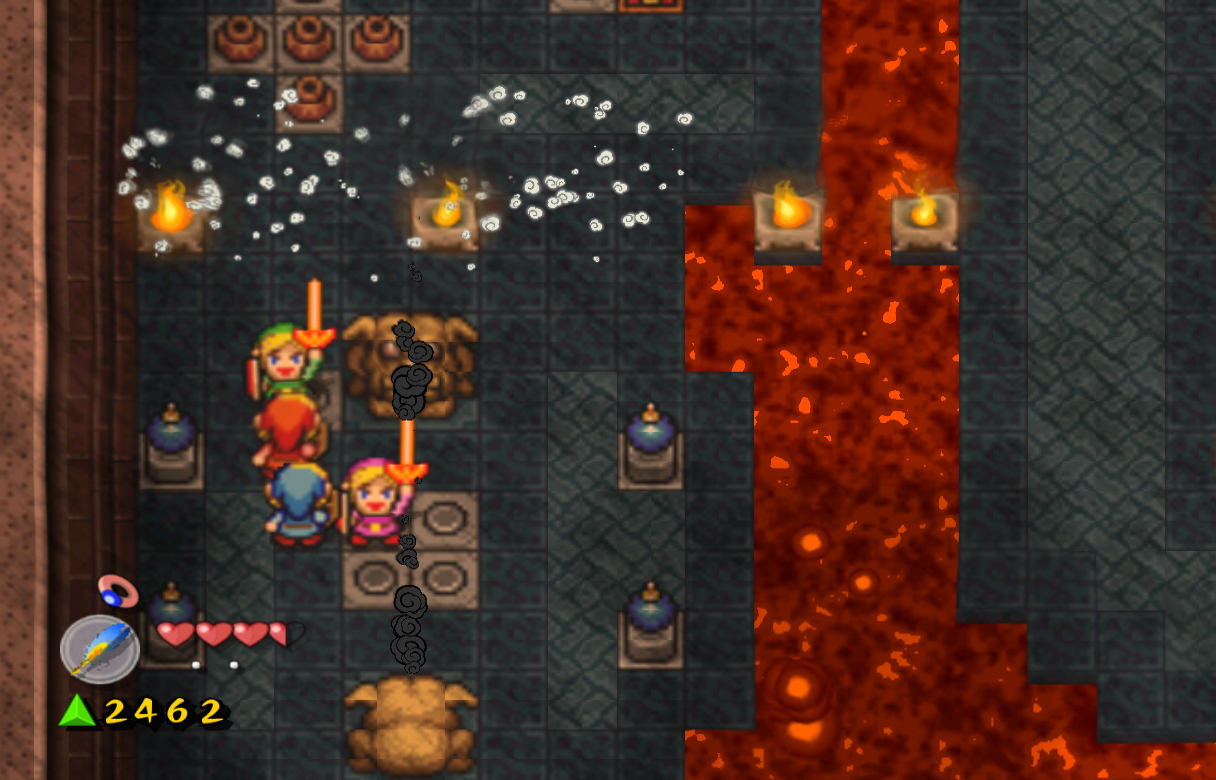
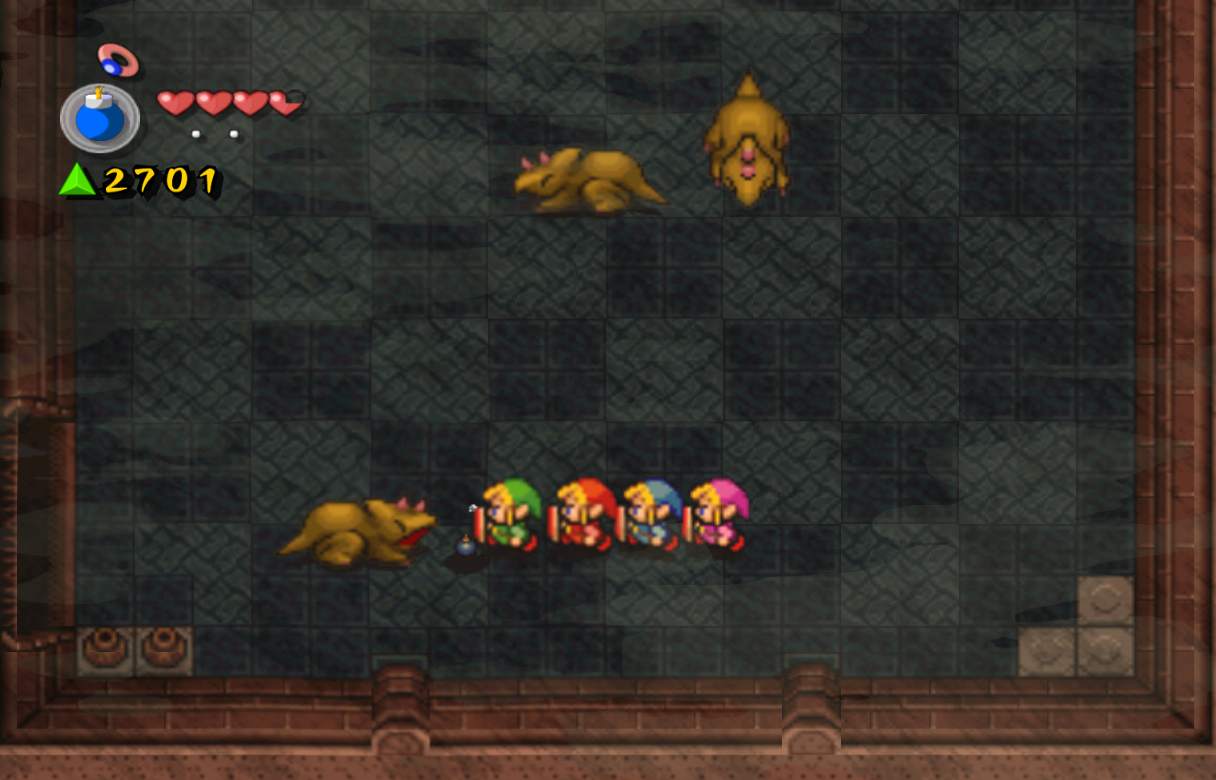
Speak with the Goron here, and he'll say he had a great idea to kill the Dodongos in the next room. He says their outsides are so hard you can't damage them, but if you attack their insides you can kill them. He planned to feed the Dodongo bombs when they sucked in air to shoot flames, destroying their insides when the bombs exploded. Unfortunately, he dropped his bombs in the lava below, and can no longer accomplish this. Break the pot at the top-left and step on this switch to cause a chest to appear containing another 100 force gems. Walk back to the middle path, then continue down. Jump over to the platform at the bottom-left, then break the pots between the statues. Step on the switches when you can; this will cause some bombs to appear. Grab one, then step on the switch at the top-left to bridge another gap. Now that we have the bombs, we can take on the dungeon boss: Dodongos. Walk all the way to the right and enter the next room to face them. This is one of the easiest, if not the easiest, boss in the game. It is actually three Dodongos, and each will slowly walk around the room, shooting out flames when it sees you. To defeat them, walk in front of one and wait for it to open its mouth. Quickly drop a bomb in front of it, and it will suck the bomb into its body. The bomb will explode, slowly killing the Dodongo. You need to feed each Dodongo three bombs to kill it, totaling nine bombs for the entire boss. Once they're defeated, head up to the next room.
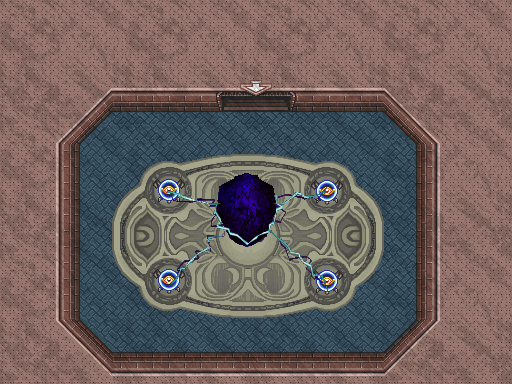
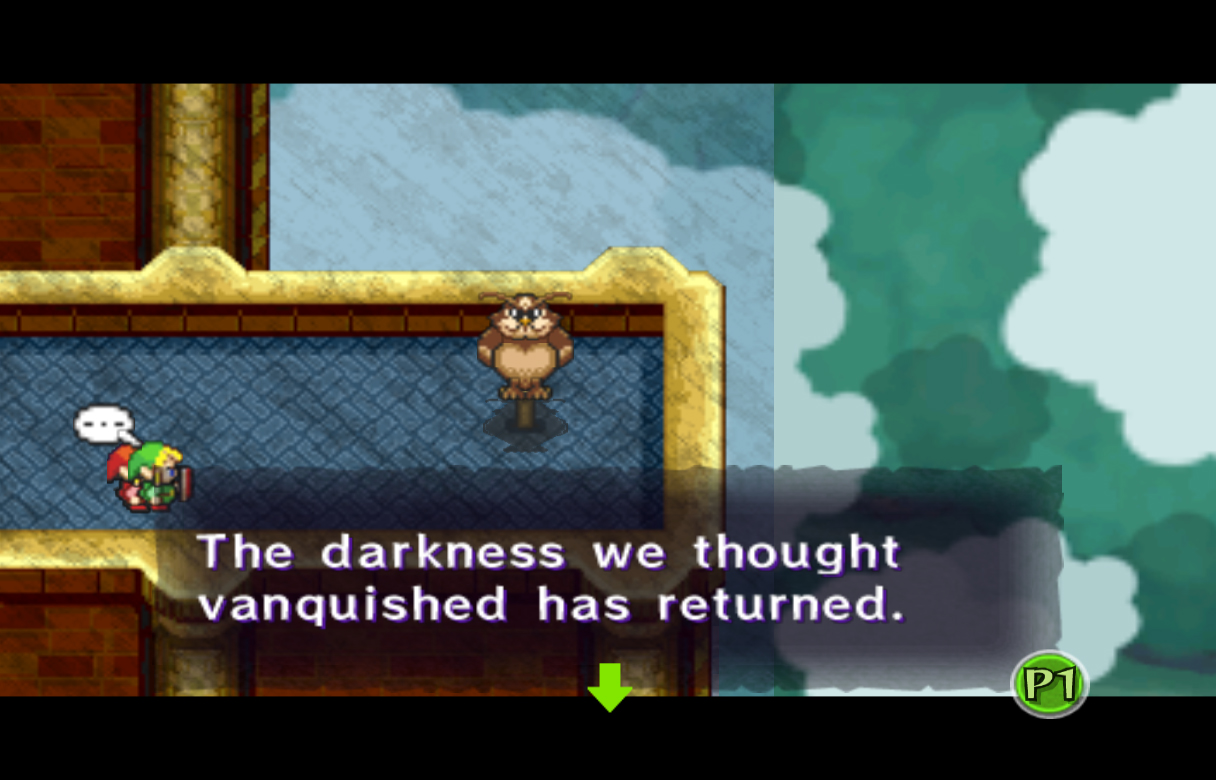
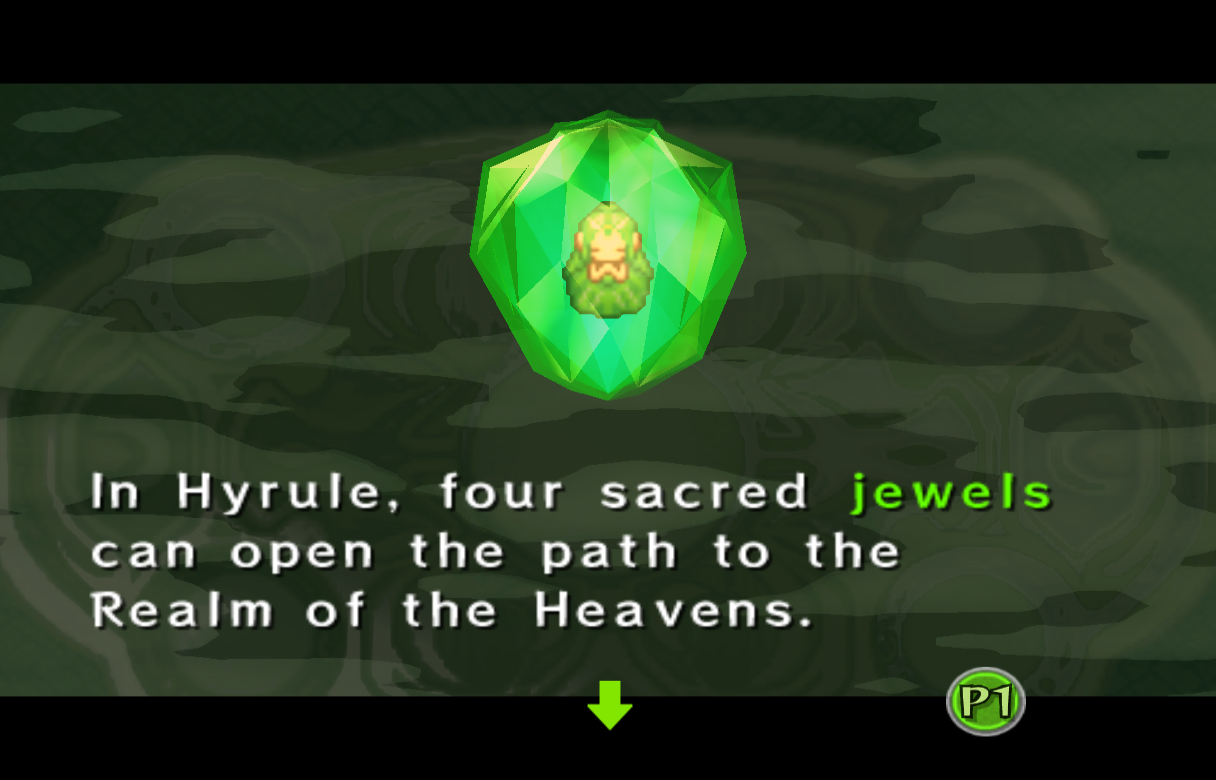
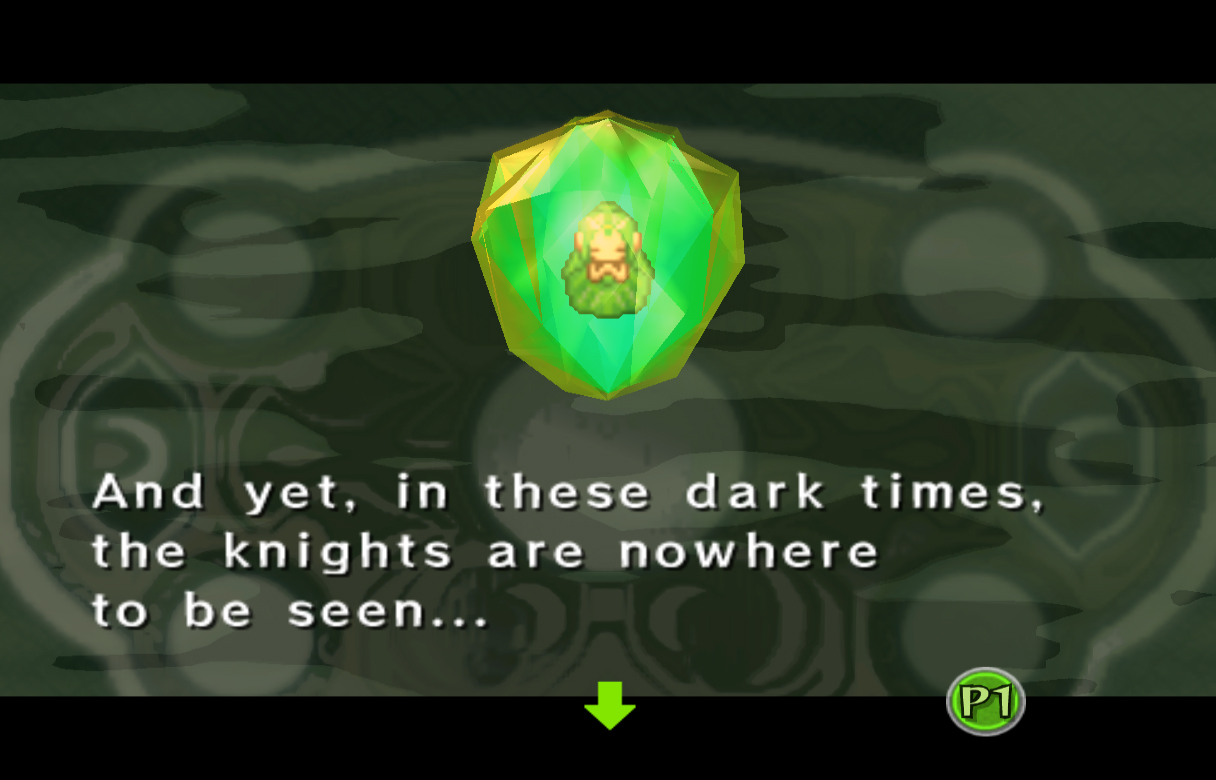
Head to the right and outside, where you'll meet back up with Kaepora Gaebora. He will inform you there is indeed something wrong with Hyrule Castle, and the evil we killed before has returned. Head back left, then up to the next level. Defeat the eye barriers as usual, releasing the Green Maiden. She will inform you of the Knights of Hyrule, four brave soldiers who guard four pearls that will lead to the Realm of Heavens, where Vaati is hiding. Though they would do anything for Hyrule, they are nowhere to be found in these troubling times. The subject will quickly change to Hyrule Castle, and she agrees this must be our next destination.
Once she has finished her speech, collect your fairies and end the level and stage. Head over to Chapter 4 to continue the quest, with the fourth level in the game: Near the Fields. |
 Hardhat Beetle Hardhat Beetle
Hardhat Beetles are annoying enemies found mostly in screens with holes in the floor. To defeat them you must either use a weapon like a Hammer, or use the sword to hit them off the platform. Be careful, as you will bounce back when you attack them, giving potential for you to fly off the platform as well. [more] 


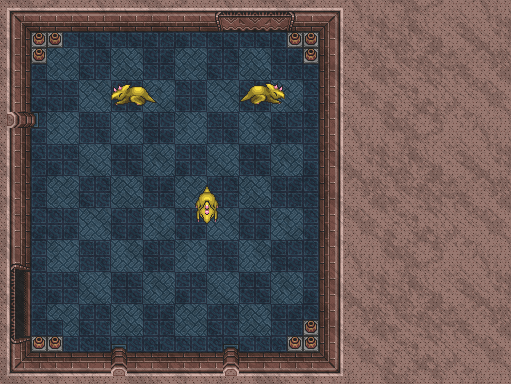
 Dodongo Dodongo
The Dodongo is by far the easiest level boss in the game. To attack it, you must simply place a bomb in front of it when its mouth opens. It will then inhale it and the exploding bomb will hurt the Dodongo. After three hits it will die. Do this for all three Dodongos and the battle will be won. [more] 
 Green Maiden Green Maiden
The Green Maiden is the third Maiden rescued, and she presides over the Near the Fields area of Hyrule.z [more] |


| Four Swords Adventures Site Walkthrough | |
|
Chapter 1 - Whereabouts of the Wind Chapter 2 - Eastern Hyrule
Chapter 5 - The Dark World Chapter 6 - The Desert of Doubt Chapter 7 - Frozen Hyrule Chapter 8 - Realm of the Heavens | |
| � Previous | Next � |