Network Sites: Hyrule Warriors Walkthrough | Pokemon X and Y Walkthrough | Darksiders Dungeon | GenGAME
-
- Walkthrough
- Video Walkthrough
- Bosses
- Characters
- Enemies
- Guides
- Info
- Media
-
- Walkthrough
- Video Walkthrough
- Enemies
- Quest
- Guides
- Info
- Media
-
- Walkthrough
- Bosses
- Characters
- Enemies
- Items
- Guides
- Media
-
- Walkthrough
- Video Walkthrough
- Enemies
- Quest
- Guides
- Info
- Media
-
- Walkthrough
- MQ Dungeons
- Video Walkthrough
- Dungeons
- Enemies
- Quest
- Guides
- Info
- Media
-
- Walkthrough
- Video Walkthrough
- Text Guide
- Enemies
- Quest
- Guides
- Info
- Media
-
- Walkthrough
- Bosses
- Enemies
- Rings
- Guides
- Media
-
- Walkthrough
- Enemies
- Characters
- Rings
- Quest
- Guides
- Media
-
- Walkthrough
- Enemies
- Quest
- Guides
- Info
- Media
-
- Walkthrough
- Coming Soon
- Enemies
- Walkthrough
-
- Walkthrough
- Enemies
- Quest
- Guides
- Info
- Media
-
- Walkthrough
- Ordon Village
- The Twilight
- Faron Woods: Twilight
- Forest Temple
- Kariko Village: Twilight
- Death Mountain
- Goron Mines
- Lanayru Province: Twilight
- Lake Hylia: Side Quest
- Lakebed Temple
- The Master Sword
- Gerudo Desert
- Arbiter's Grounds
- Scaling Snowpeak
- Snowpeak Ruins
- Sacred Grove
- Temple of Time
- In Search of Sky
- City In The Sky
- Palace of Twilight
- Cave of Ordeals
- Hyrule Castle
- Video Walkthrough
- Ordon Village
- The Twilight
- Faron Woods: Twilight
- Forest Temple
- Eldin In Twilight
- Death Mountain
- Goron Mines
- Lanayru In Twilight
- Lake Hylia: Side Quest
- Lakebed Temple
- The Master Sword
- Gerudo Desert
- Arbiter's Grounds
- Scaling Snowpeak
- Snowpeak Ruins
- Sacred Grove
- Temple of Time
- In Search of Sky
- City In The Sky
- Palace of Twilight
- Cave of Ordeals
- Hyrule Castle
- Enemies
- Quest
- Guides
- Info
- Media
- Walkthrough
-
- Walkthrough
- Enemies
- Quest
- Guides
- Info
- Media
-
- Walkthrough
- Video Walkthrough
- Enemies
- Quest
- Guides
- Media
- Characters
- Story
-
- Walkthrough
- Video Walkthrough
- Bosses
- Characters
- Enemies
- Equipment
- Items
- Story
- Side Quests
- Upgrades
- Media
This chapter covers the three levels in level 4, The Field, The Swamp, and the Infiltration of Hyrule Castle.
4.1 The Field
|
|
|
|
|
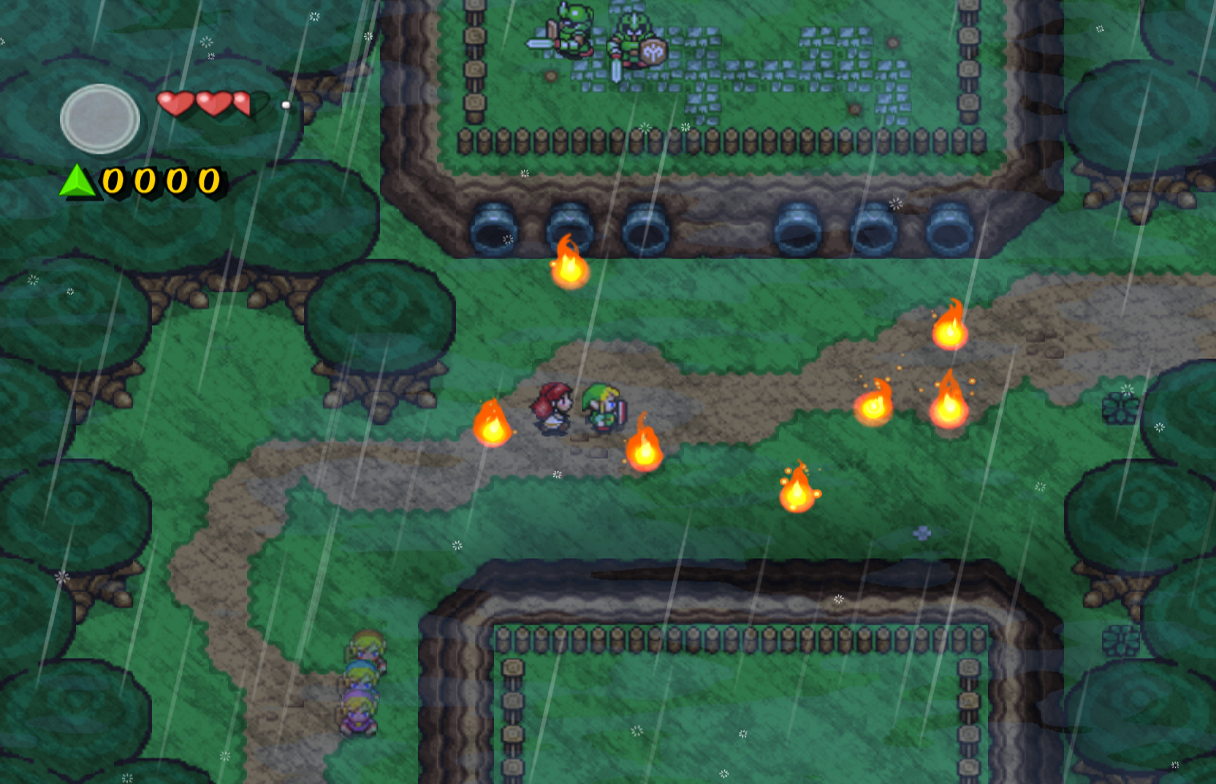
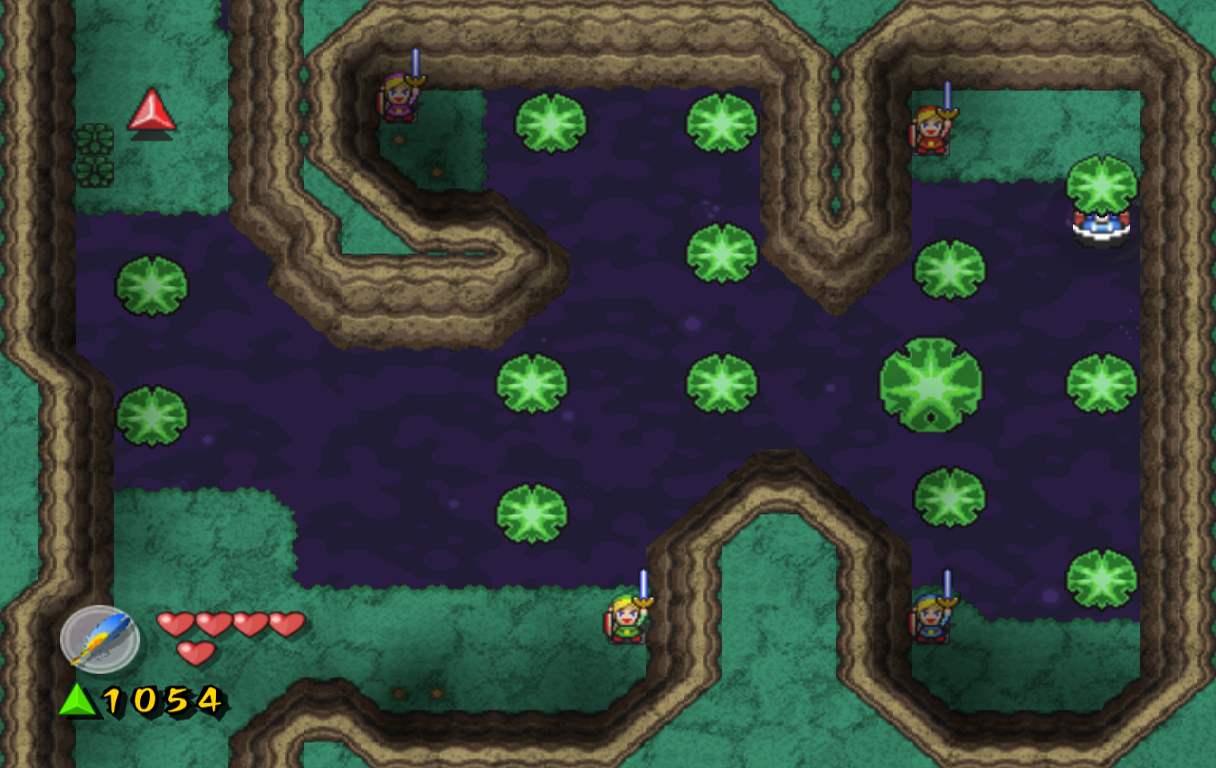
Welcome to the fourth level of this game, Near the Fields. This level consists of three stages as usual: one adventuring through the grasslands, another traveling through a swampy area and a graveyard, and the final stage, where we revisit Hyrule Castle. Once you appear on the first stage, The Field, you will immediately notice things taking a turn for the worse. It's dark out, it's pouring rain, and things don't look quite as happy as they did in the last level. Head up a screen to find out more details.
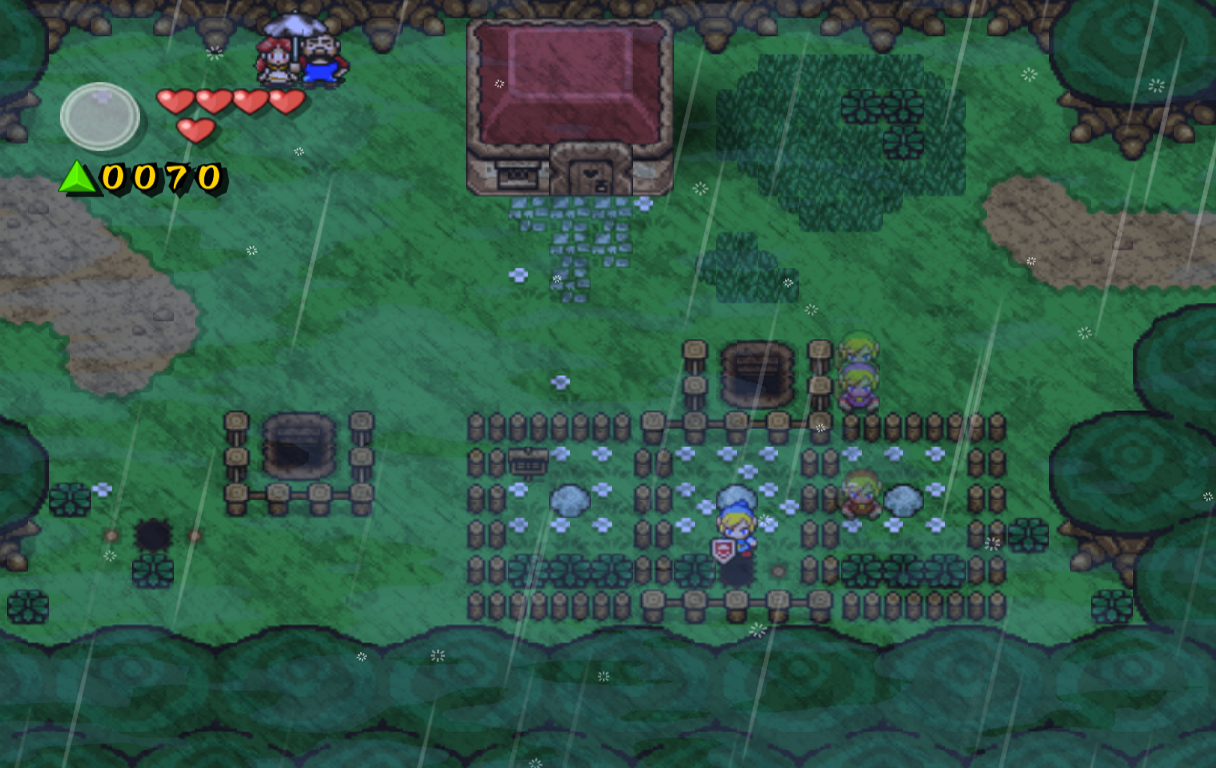
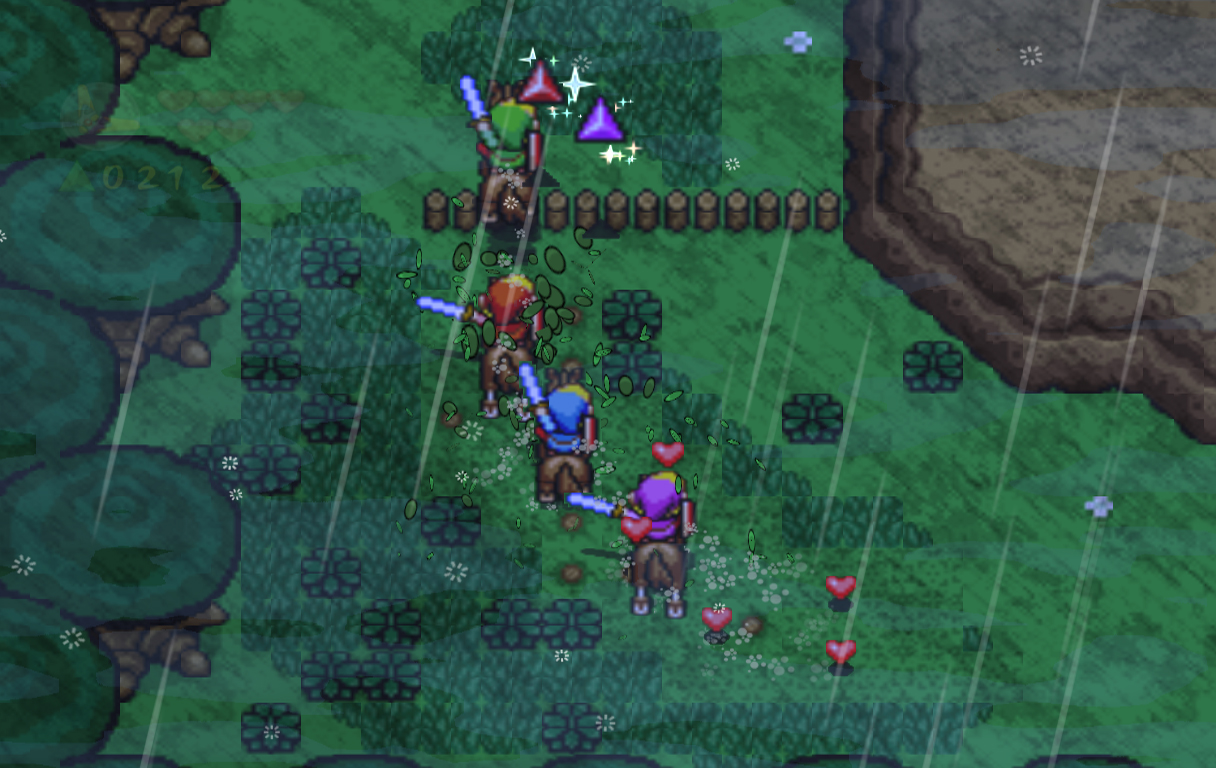
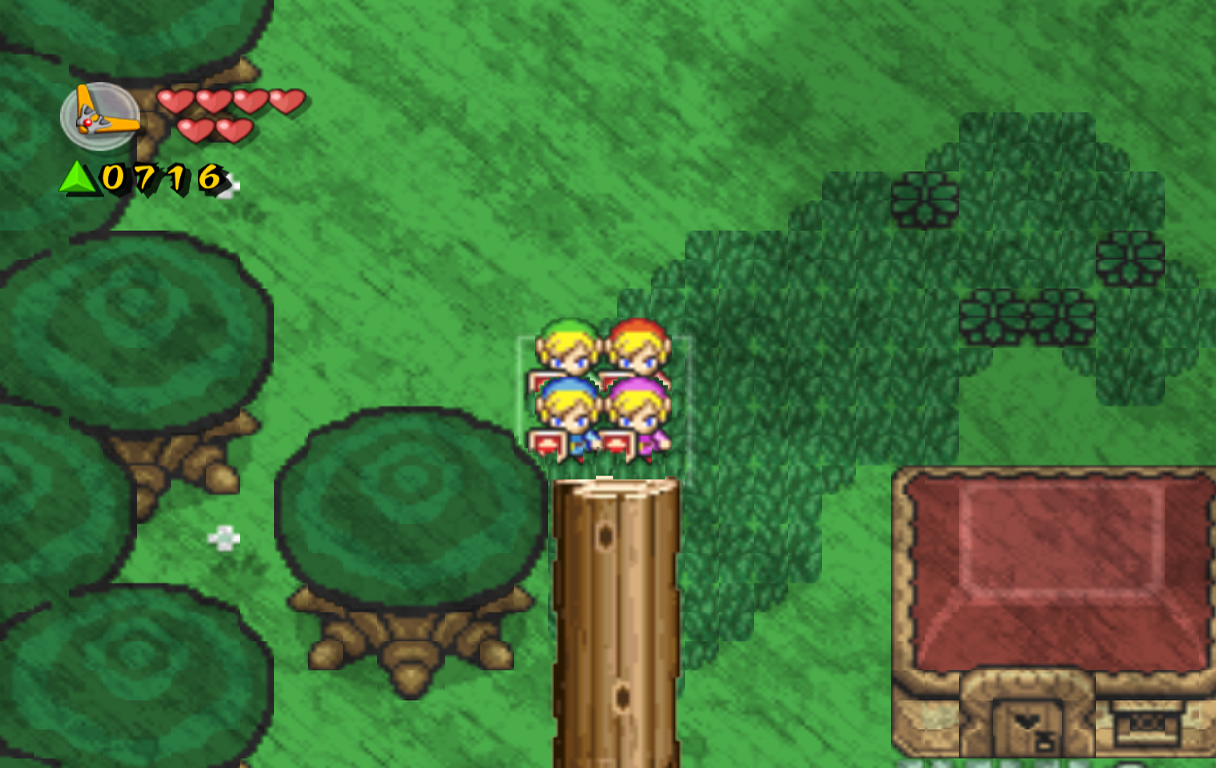
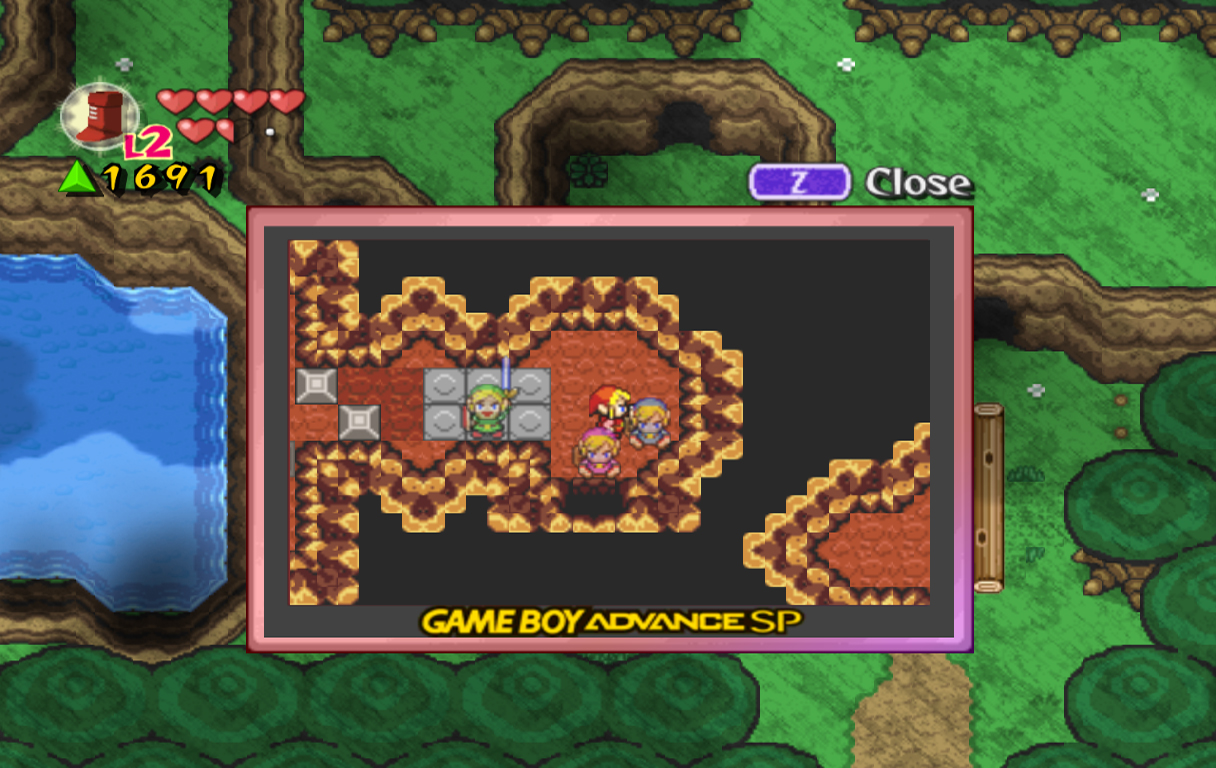
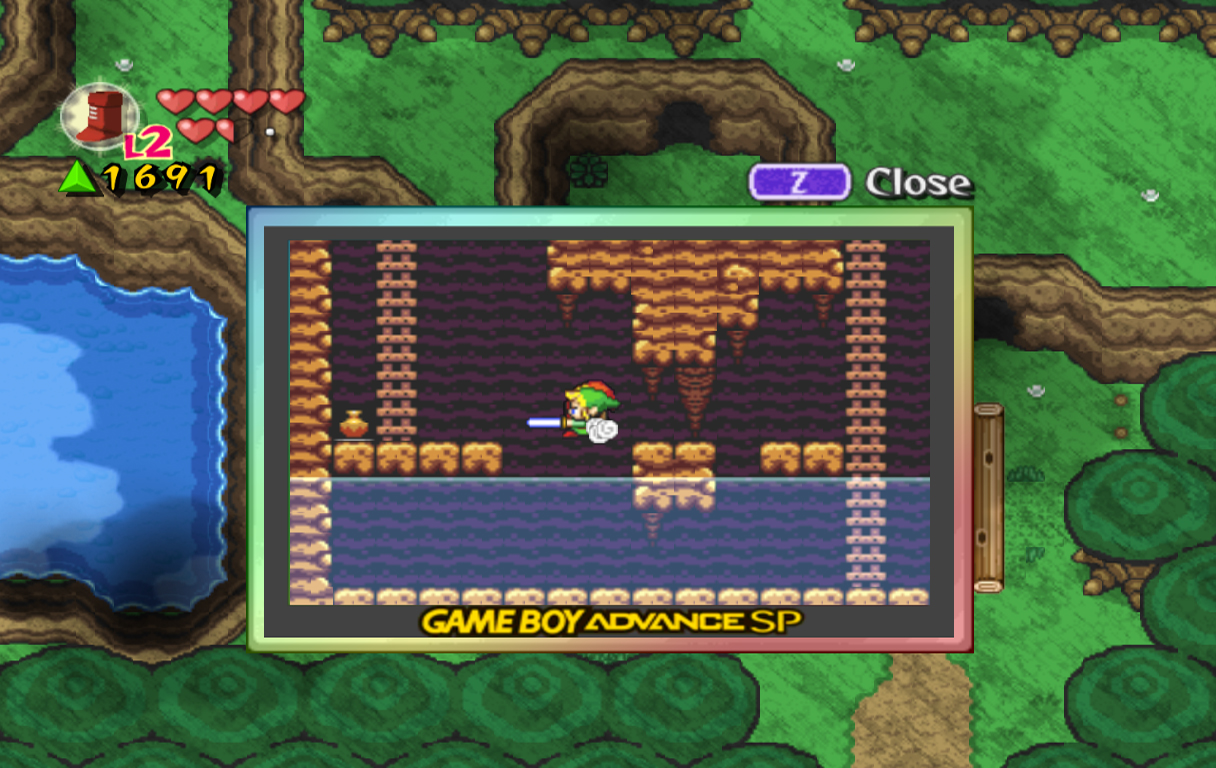
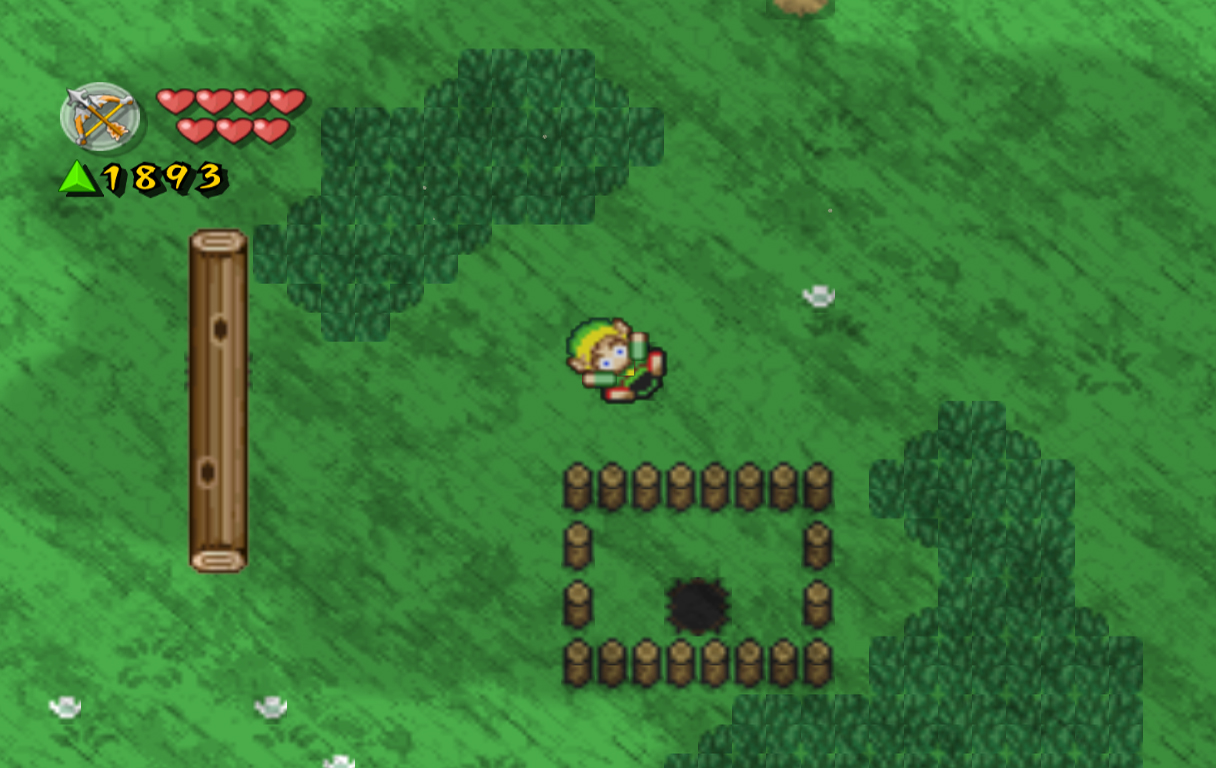
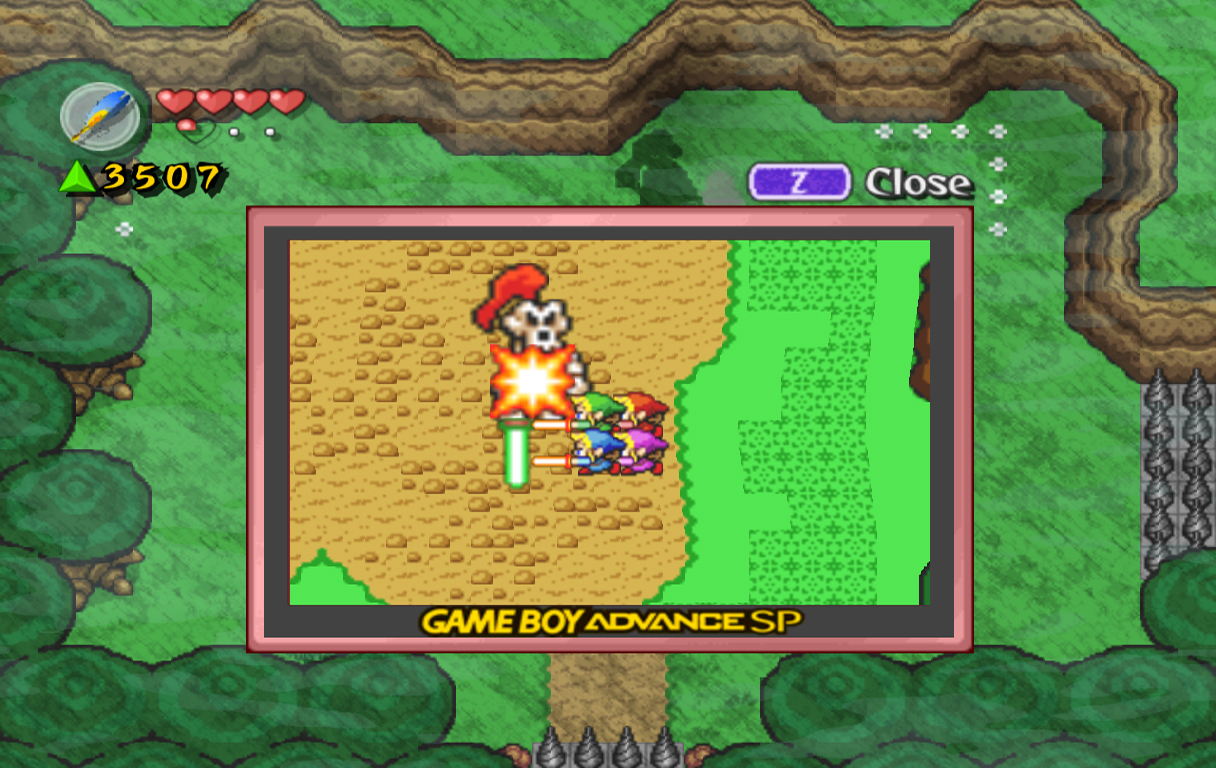
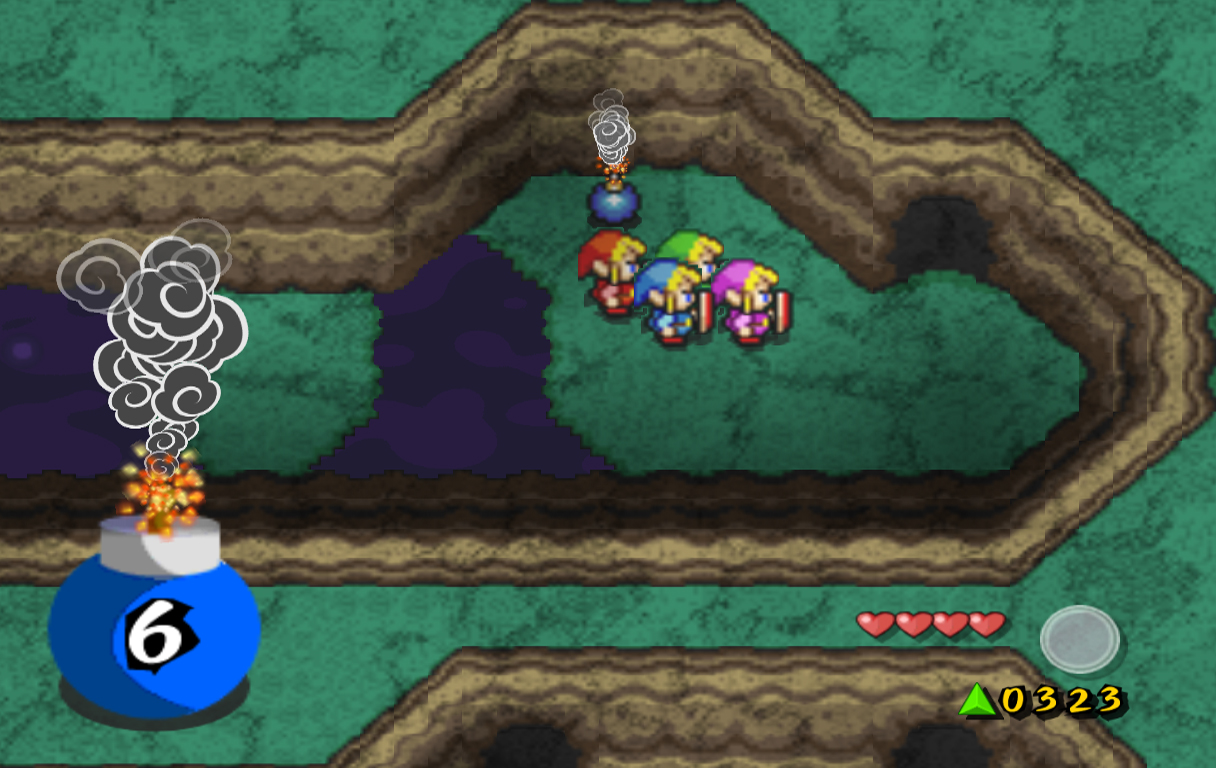
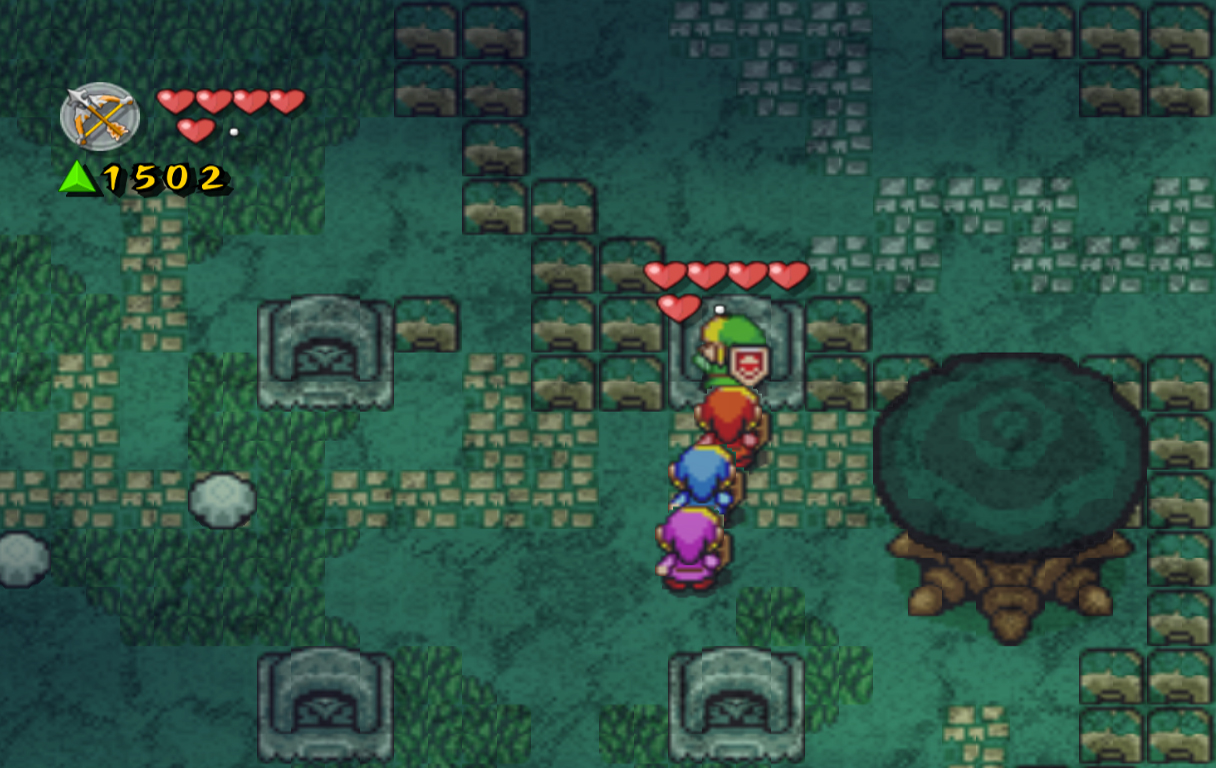
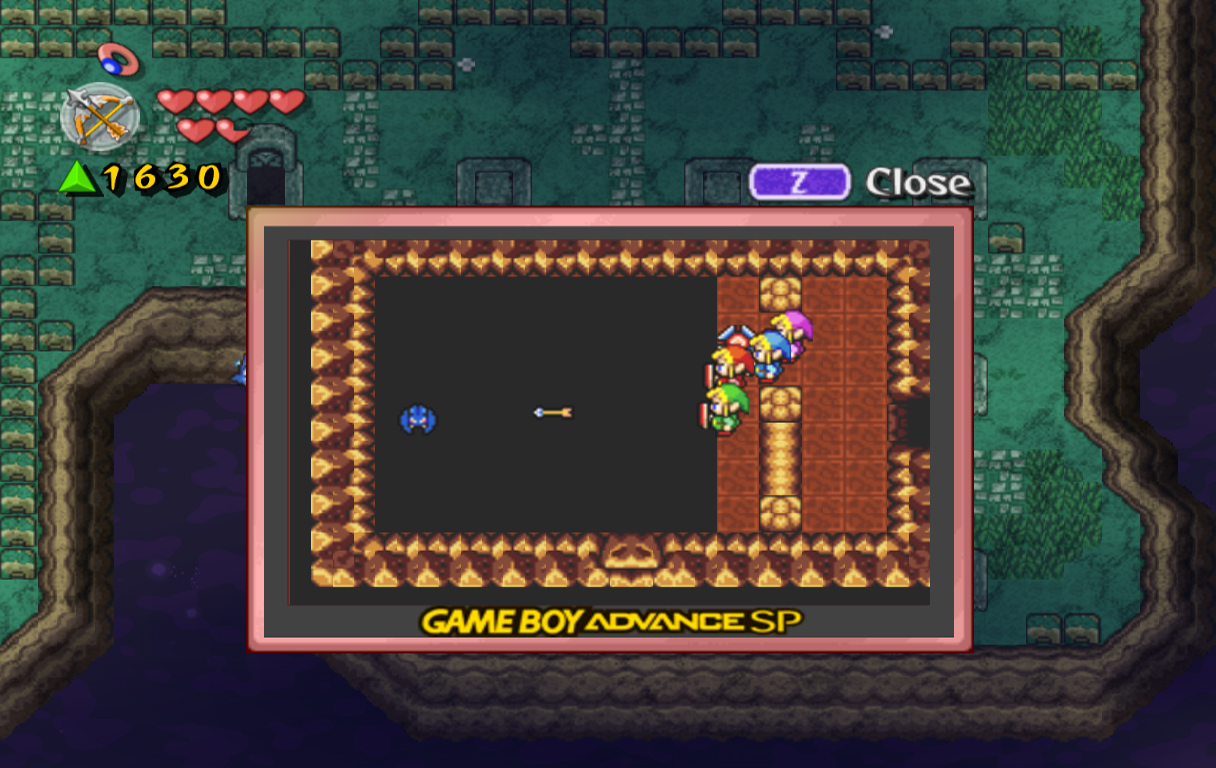
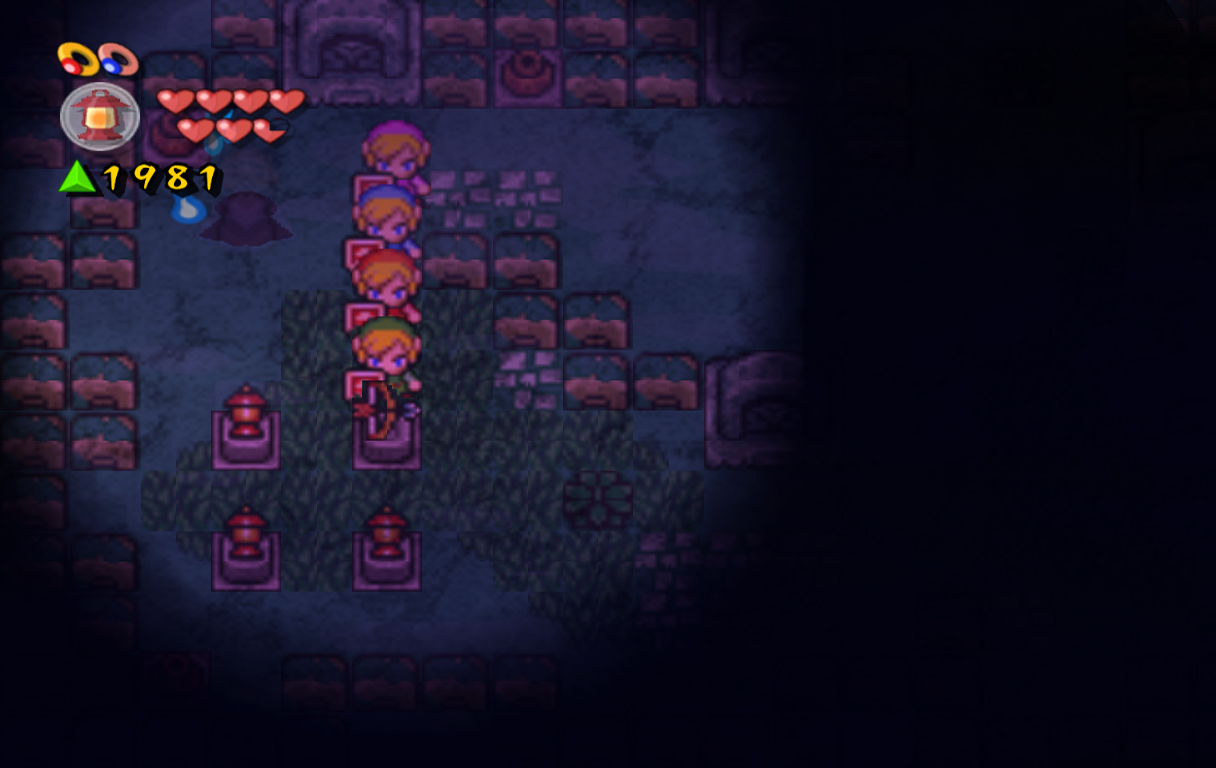
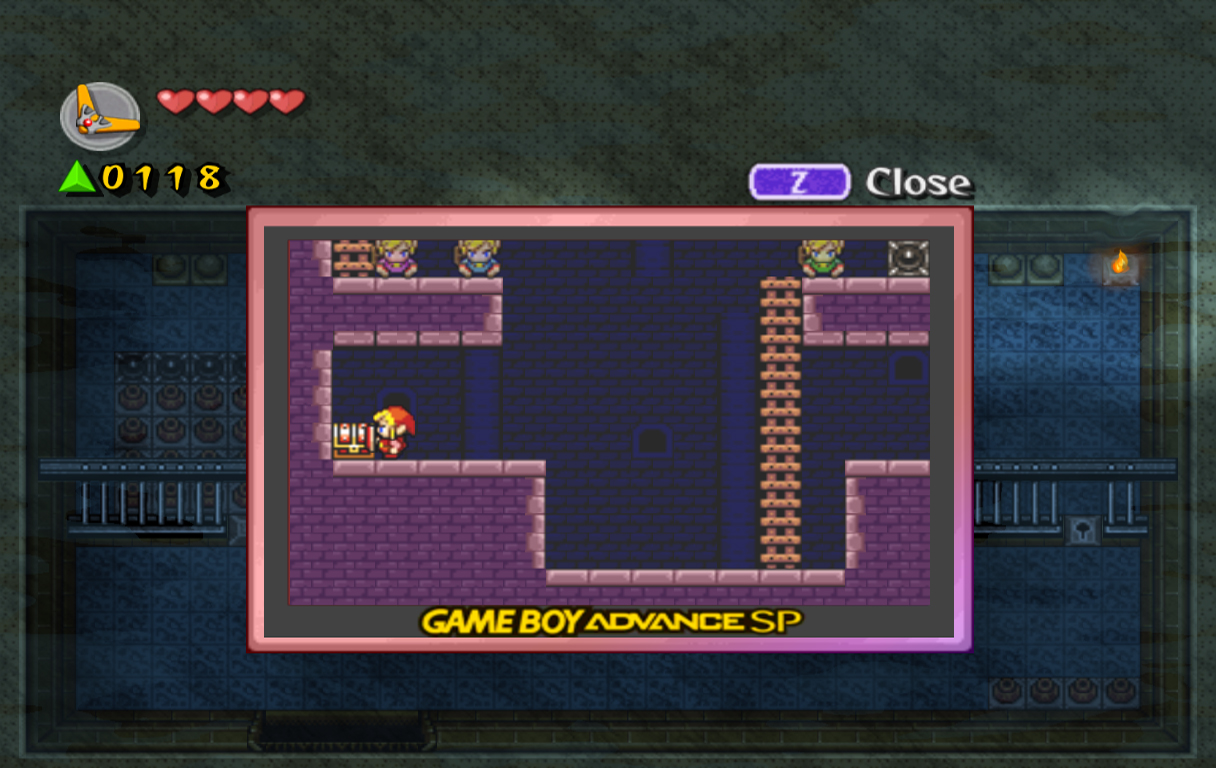
Speak with the young girl here, who will refer to herself as Malon. Malon will tell you that she was out finishing errands when a storm started and she couldn't make it back to her ranch. To make matters worse, the soldiers are acting very odd and are using the old cannons, blocking the way forward. She trusts you and your fairy to help her get back to the ranch, which is now our task. To the right you'll see six cannons constantly shooting out fireballs, making progress difficult. Separate the Links, then use one to navigate through the fireballs when there is a gap. Stop after the third cannon if necessary, then continue through. Bring the Links together at the end, then head right to the next screen.
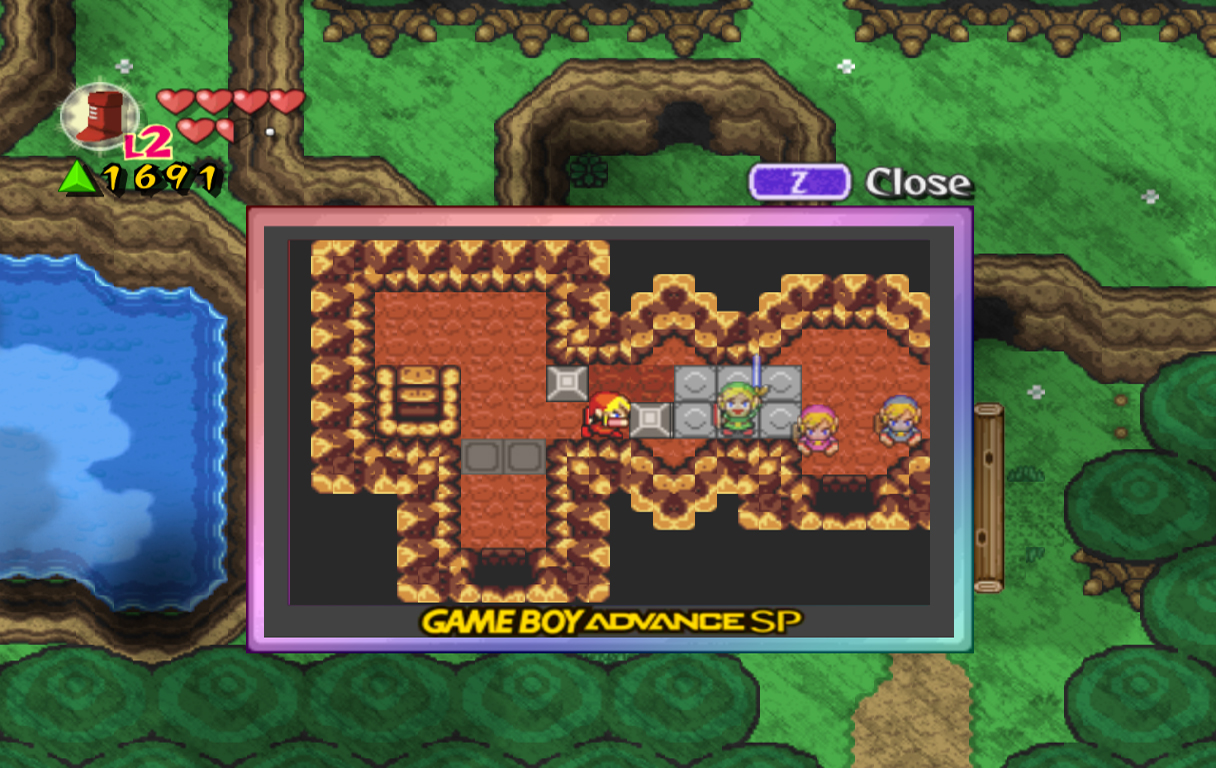
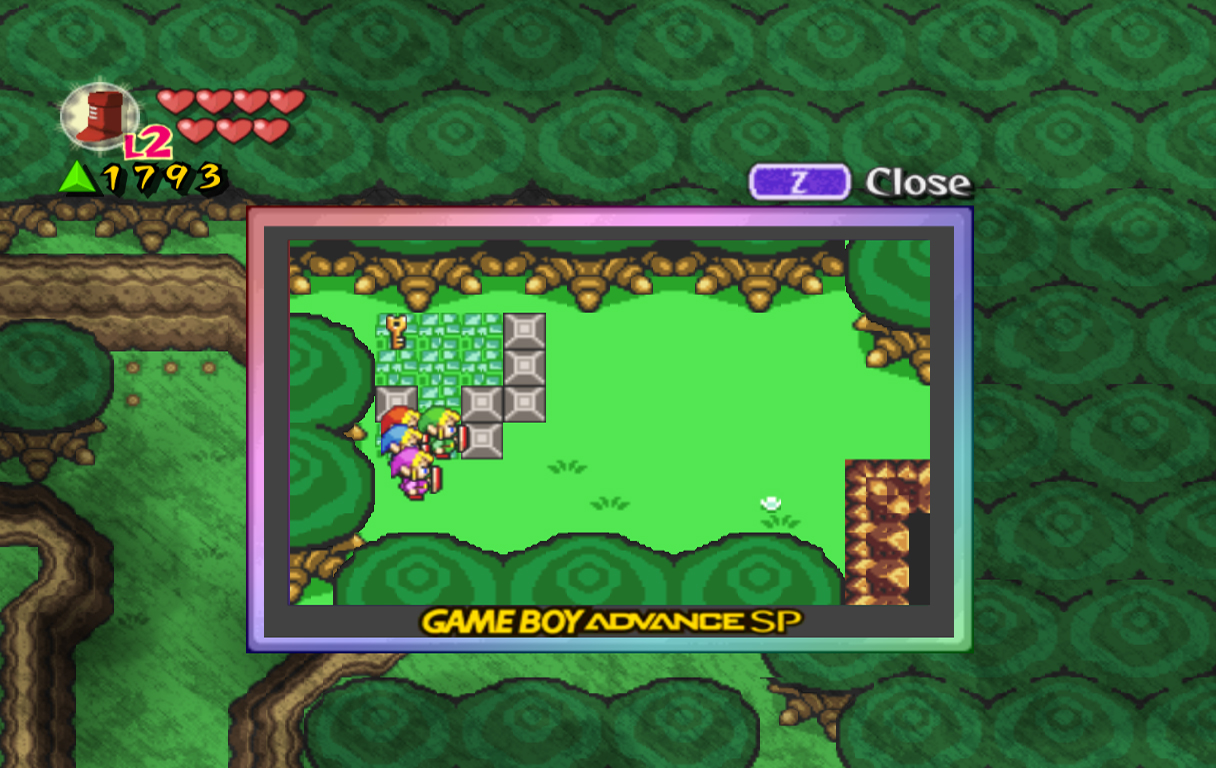
There are a few Castle Guards hidden in the grass on this screen, and they will only pop out when you get near. The best way I've found to make it through is to form a Wide or Long formation, and make a sort of barrier. Malon will always follow behind you and stay behind you; this way she will always be protected against the arrows from the Castle Guards. If Malon takes too much damage at any time before you make it to the ranch, you will also die and have to restart from the beginning. On the next screen you'll find the ranch and Malon's father, Talon. She'll quickly run through the chain of events leading up to this moment, and her father will give you his thanks by allowing you to use the horses he owns. We won't use the horses for another screen though, and there is quite a bit more to do on this screen anyway. Walk to the right side of the house, then cut up the grass here to find a force fairy. Walk down and you'll find three fenced in areas. The problem here is the middle area is the only one of importance, but we can't easily gain access. Walk to the right fenced in area, then separate the Links. Pick up one of them, then throw him inside the right area. Do the same for another Link. Now, use one of the two Links you just threw to pick up the other Link you threw. Throw him into the middle area, then cut the grass at the bottom and fall into the hole.
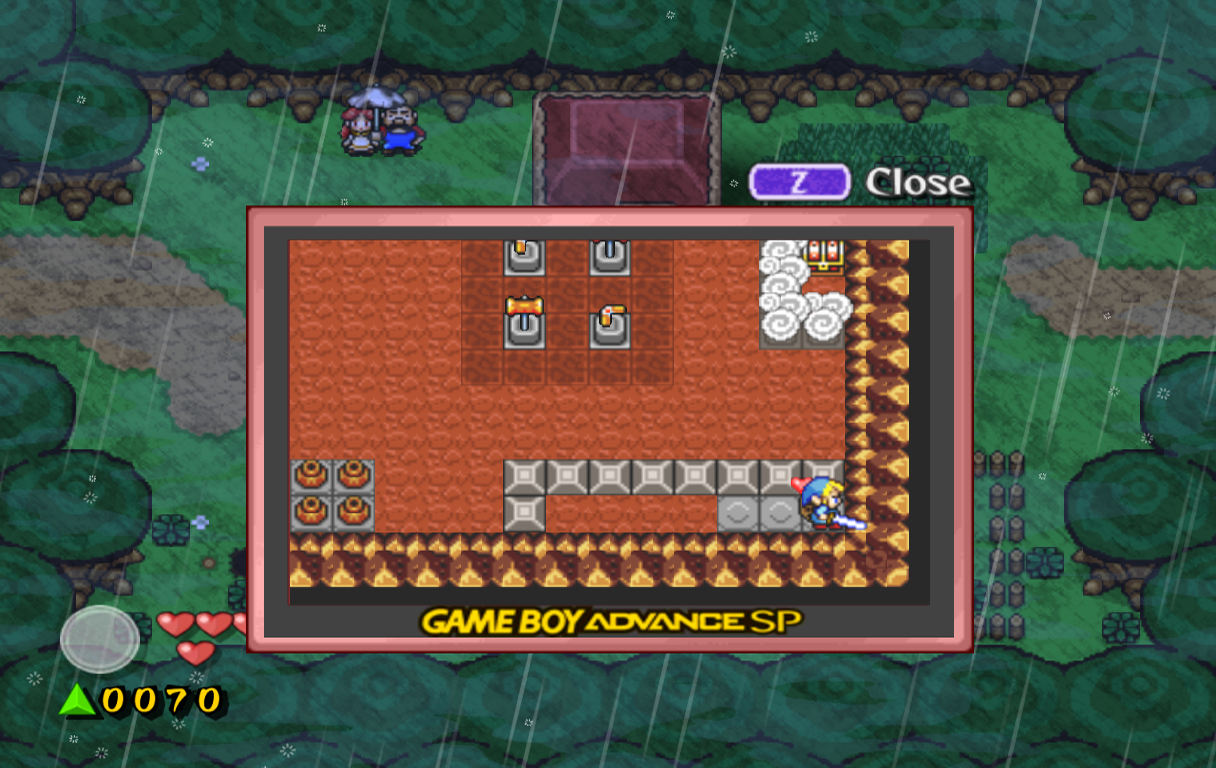
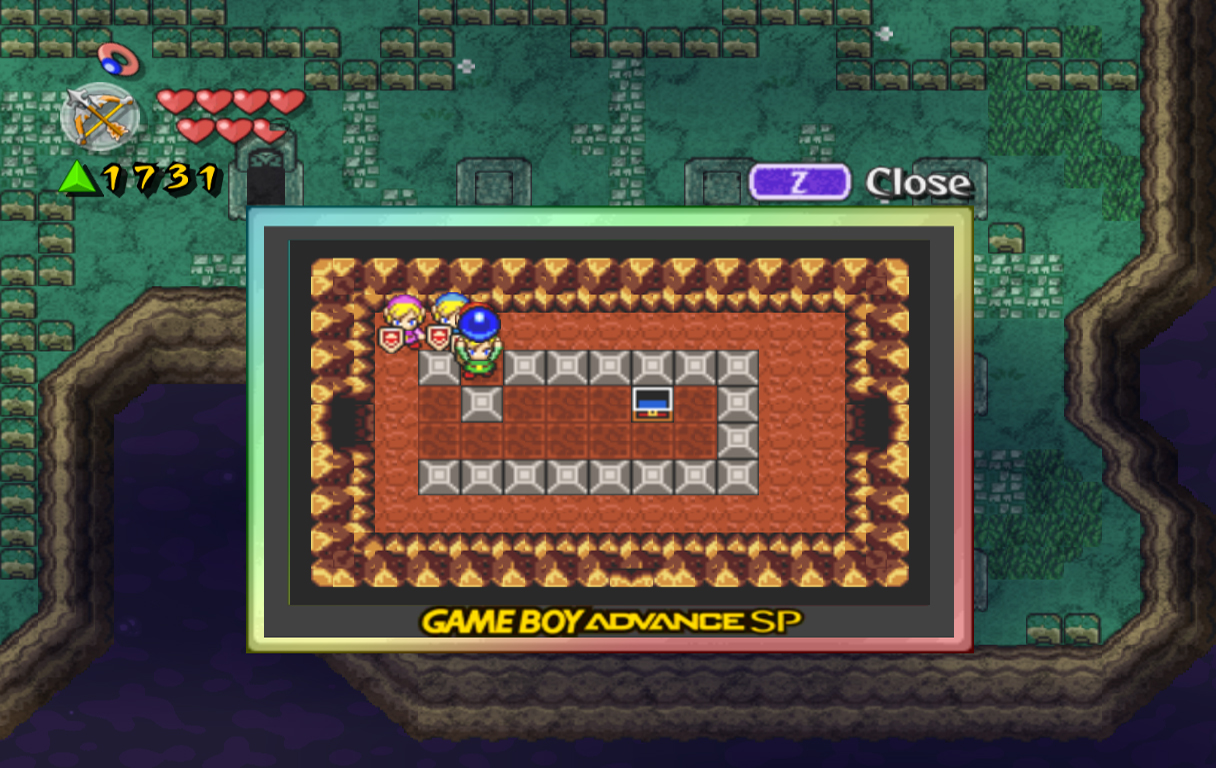
Bring the Links together if necessary, then slash the pots to the right and step on the switch to remove the barrier above. Walk back left, then push the blocks at the top-left corner to get free. Grab the Boomerang in the middle, then open the chests to the left to get 20 force gems and a Heart Container. Walk up the stairs above, then head right a screen.
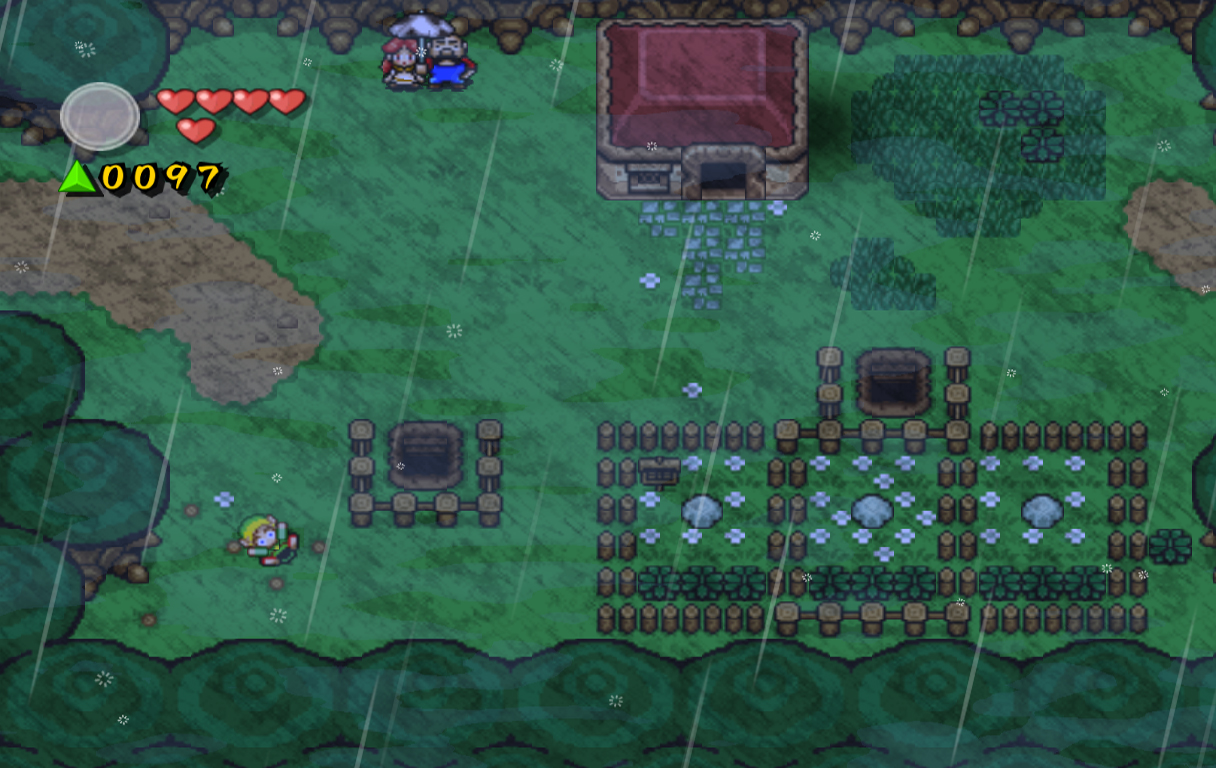
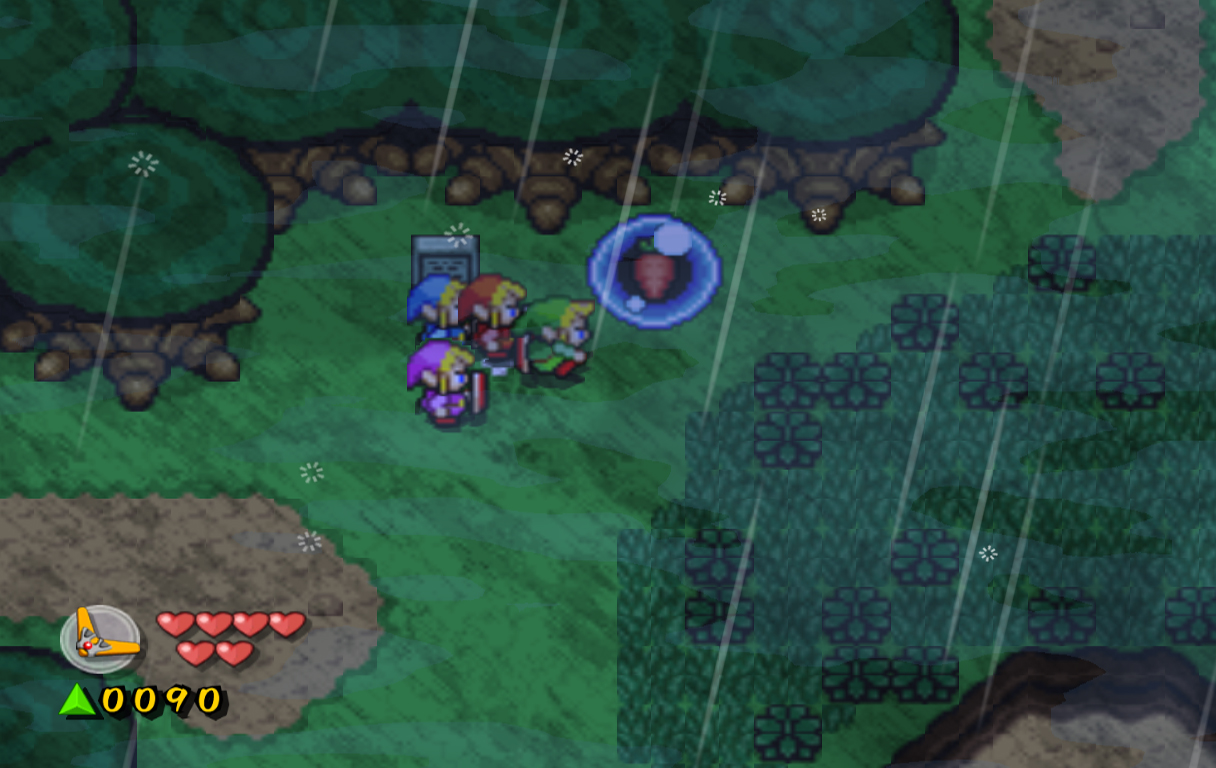
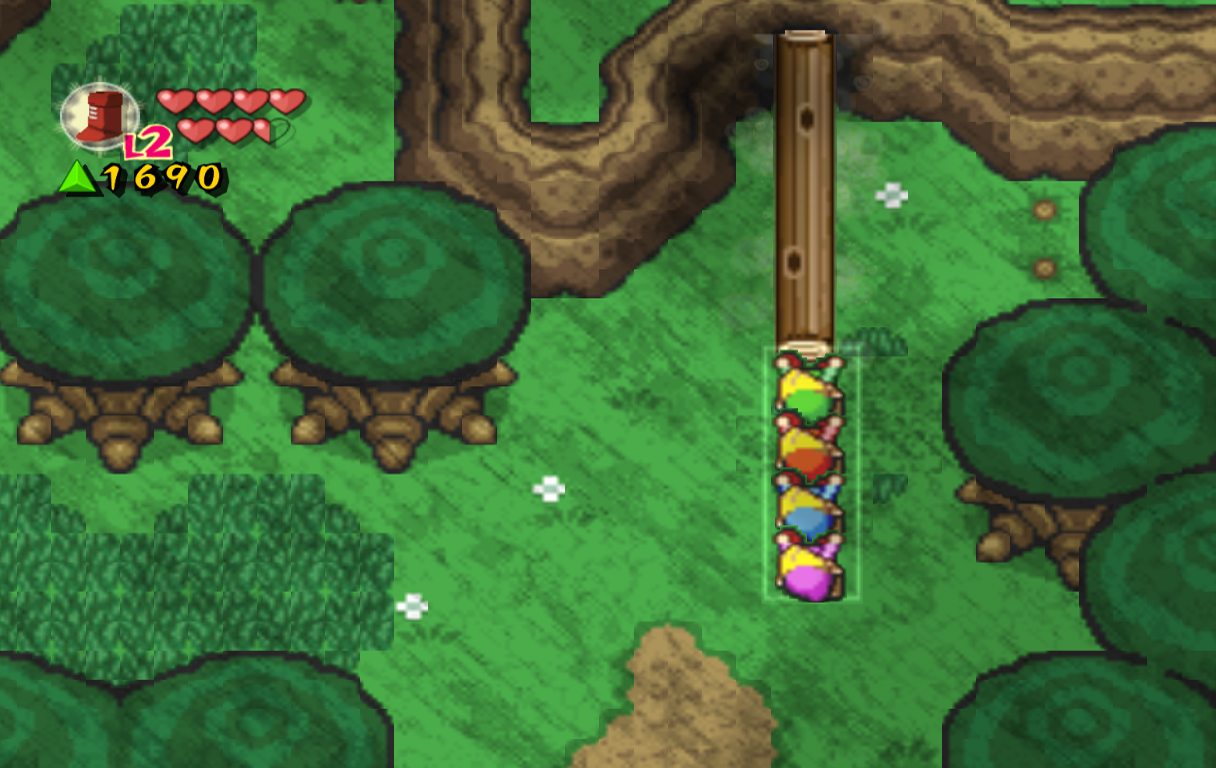
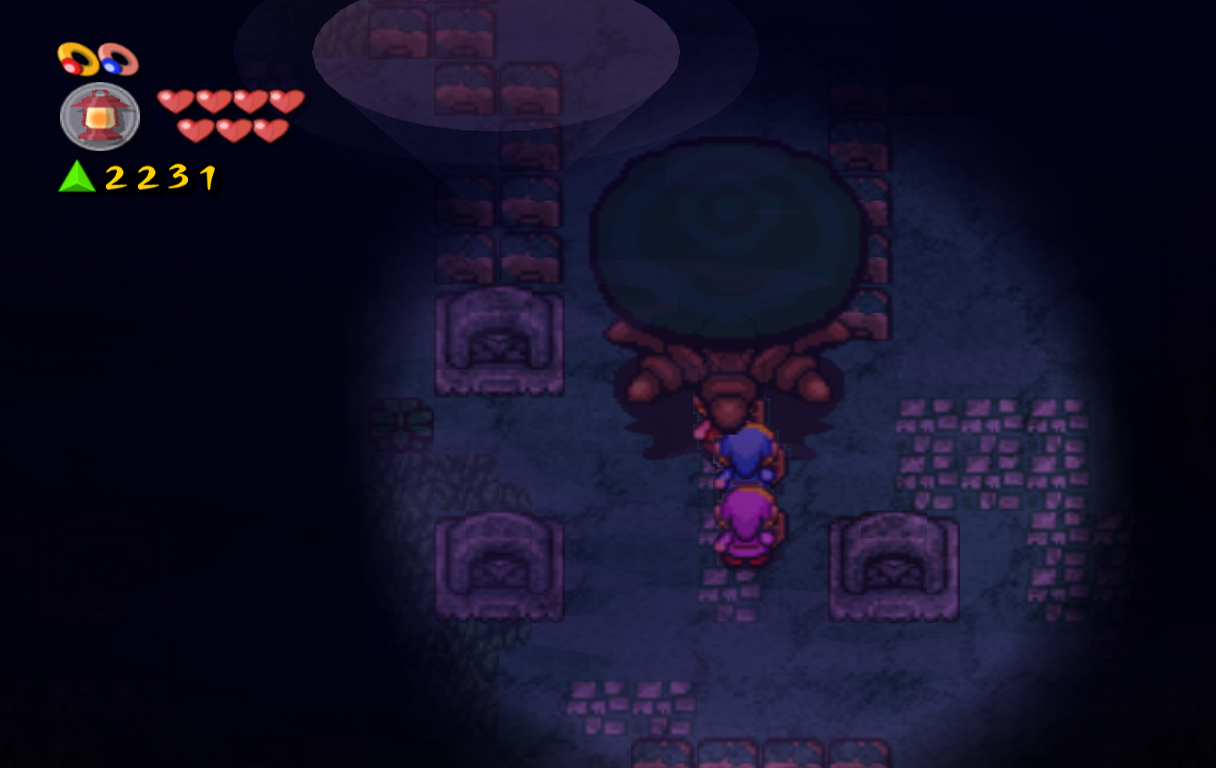
This the screen Talon was speaking of before; the one where his horses are. Walk up to the small headstone and read it. It will give you a carrot, which is used to summon the horses. It is currently inside of a glass sphere which can thrown to break it open and use the carrot. Do so, and all four links will instantly appear on four different horses.
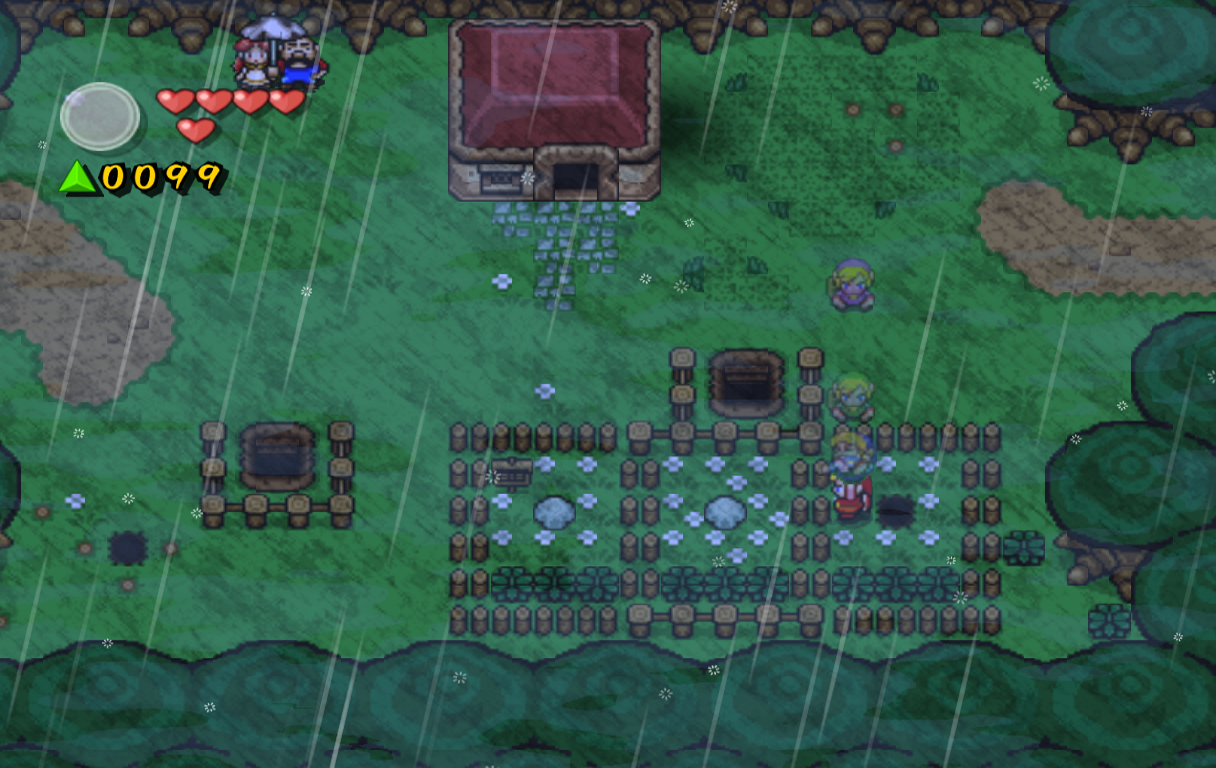
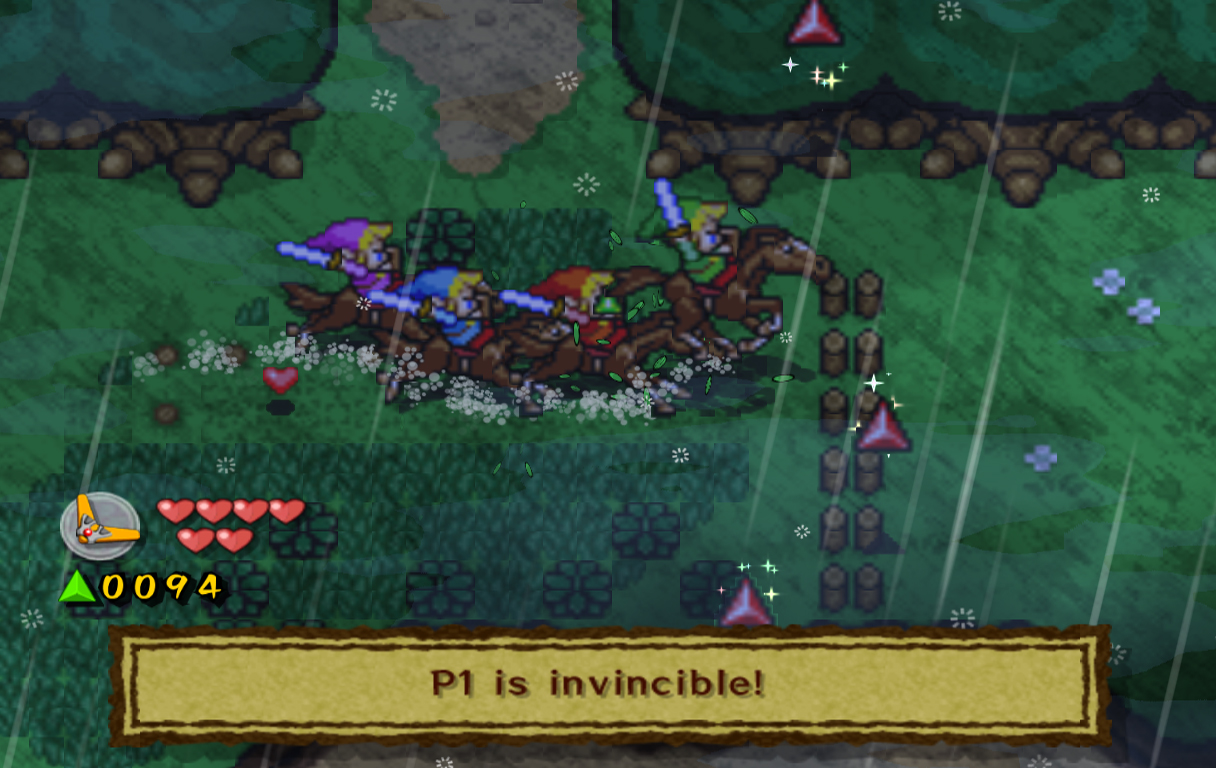
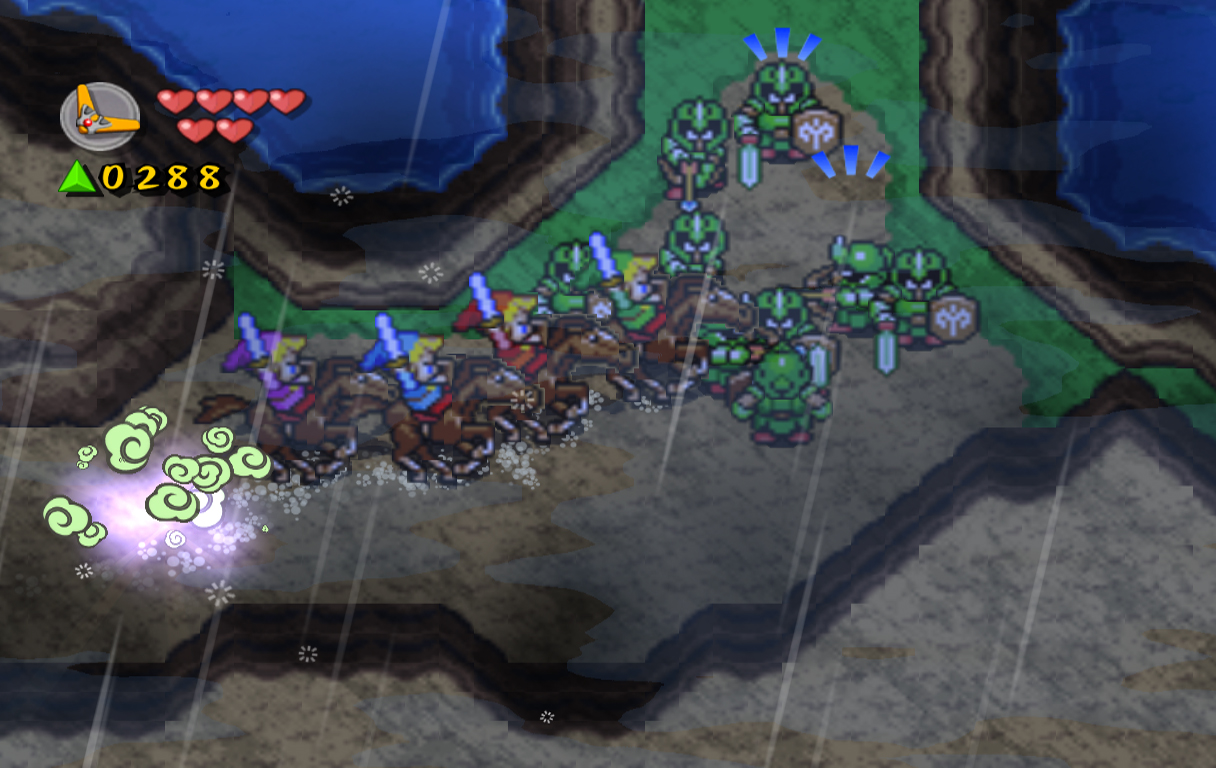
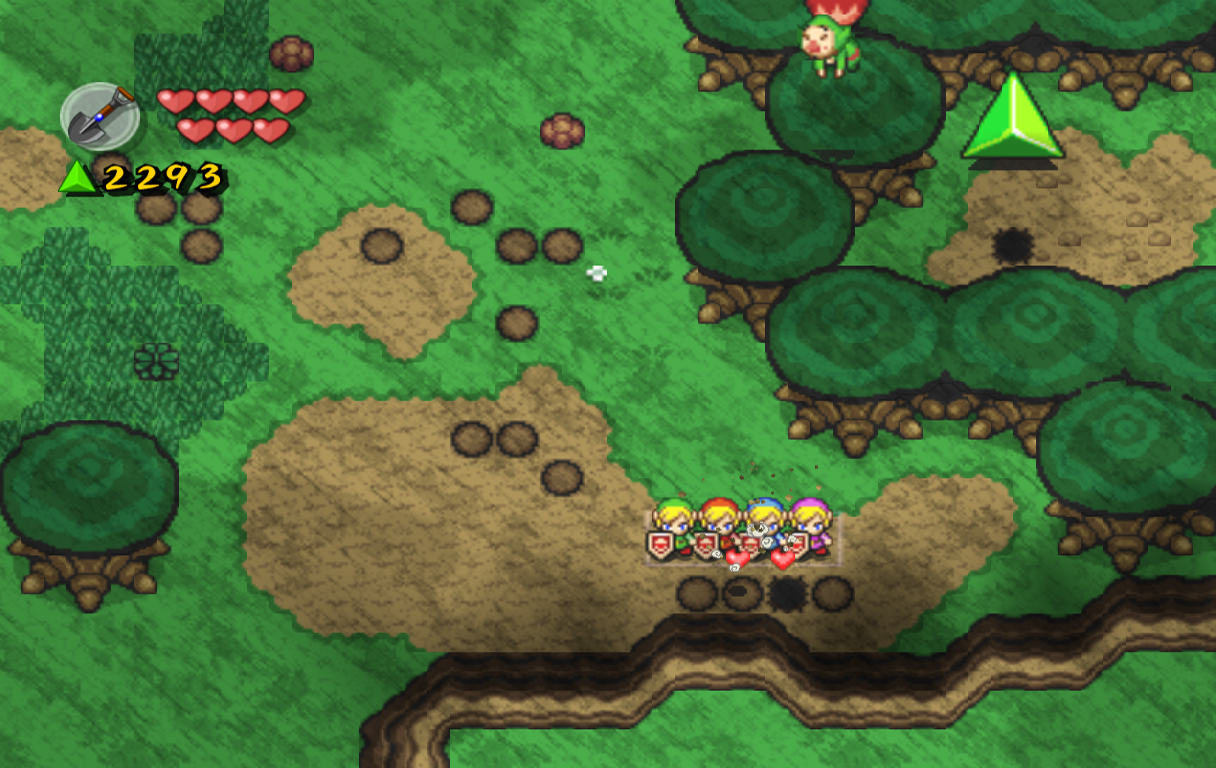
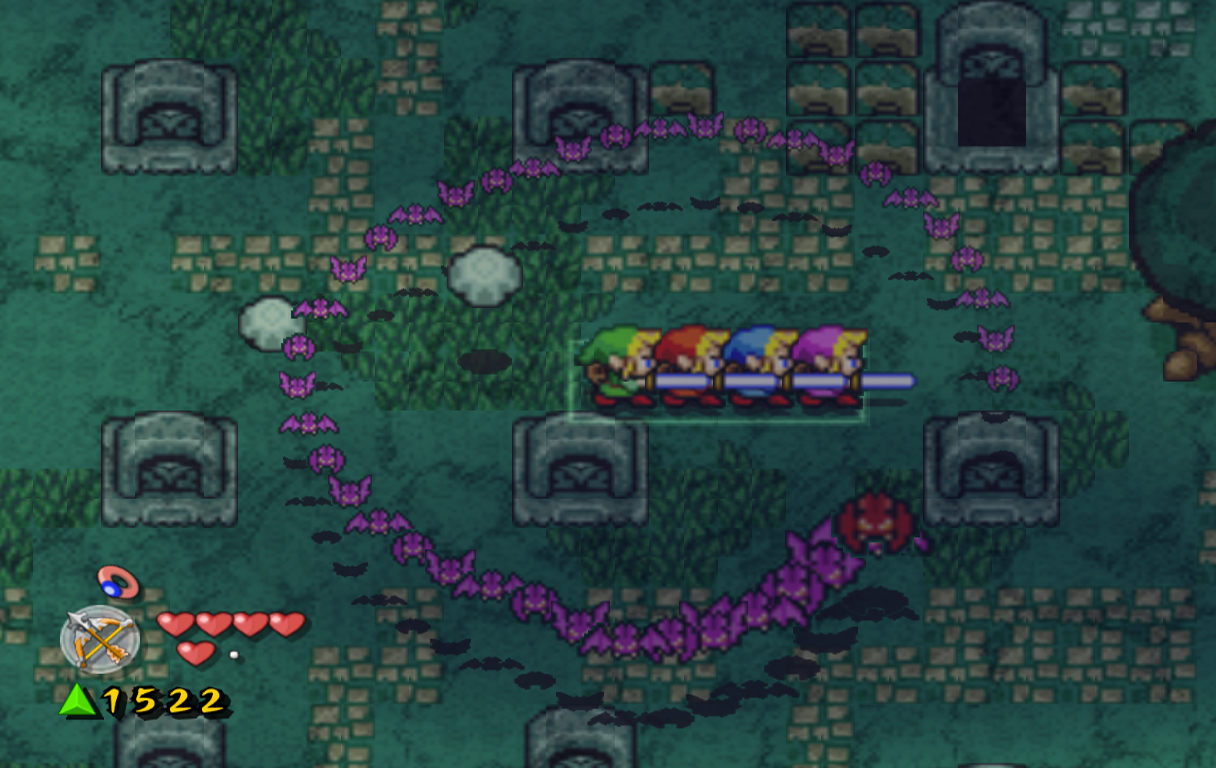
These horses move very fast and the only way to slow them down is to hold back on the control stick or jump with A. You can take either the path down or to right; they both lead back to this same spot. The goal when riding these horses is to jump over the fences, collecting the force gems floating across. If you don't happen to collect all of them on a fence, you can turn around and jump back over the fence. Continue along the path and collect the gems and soon you'll be back to the starting point. The horse riding will only last for 40 seconds, but if you need to ride again, you can always get another carrot from the headstone. Once you've collected all the force gems, grab another carrot and head up a screen through the nearby path. Break the glass and use the carrot, and this will initiate a long set of screens full of Castle Guards. The goal on these screens is simply to make it from one end to the other, but if you want, you can kill the Castle Guards and collect the few force gems around. You don't need to kill them if you don't want to; it won't give you any prize if you do. Remember to collect the sparse carrots along the ground as you're riding so you don't lose your horses along the way.
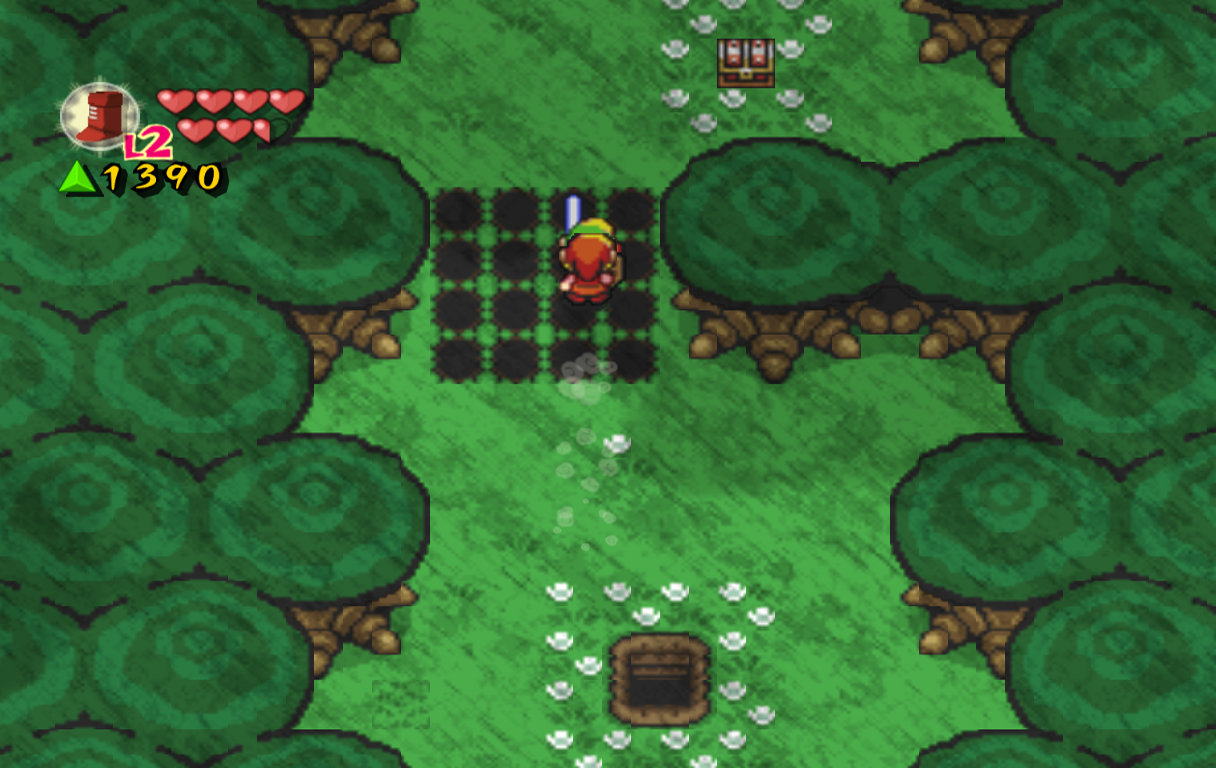
When you reach the end of the path, your horses will disappear and your way back will be blocked off. Read the sign to the right for another Tingle Times; this one says that if boys and girls are good then they will get to met a Great Fairy. Tingle does his good deed by putting up directions to random places nearby in hoping that he'll meet her. Keep this Fairy in mind as we'll be meeting her later on. To the northwest you'll see a field of grass. Hidden underneath are four switches that each Link needs to step on. The only way to find them is to cut down the grass and look for them. You can make this easier by formatting a Wide or Long formation and cutting 4x the amount of grass at once. There is one switch to left, another a little bit south and to the east, another to the northeast, and another again to the northeast along the right side. Once all switches are stepped on a big green force gem will drop down. Collect it, then head up a screen.
On this screen you'll find a small, locked shed, and a new enemy, Gohma. You can ignore both of these for now, as one we can't enter, and Gohma don't really attempt to hurt you. Walk to the middle of the screen and you'll find a log. Create a long formation and use all four Links to lift up the log. It doesn't really matter where you throw it or put it, so long as it's out of the way. Step on the switch that was underneath the log and collect the purple force gem that drops down. Head left a screen, then lift up both logs and step on another switch for another purple force gem. Separate the Links, then use one Link to pick up another. Walk down to the fenced in area, then throw the Link inside. Open the chest here for 100 force gems, then bring the Links together back outside the fence.
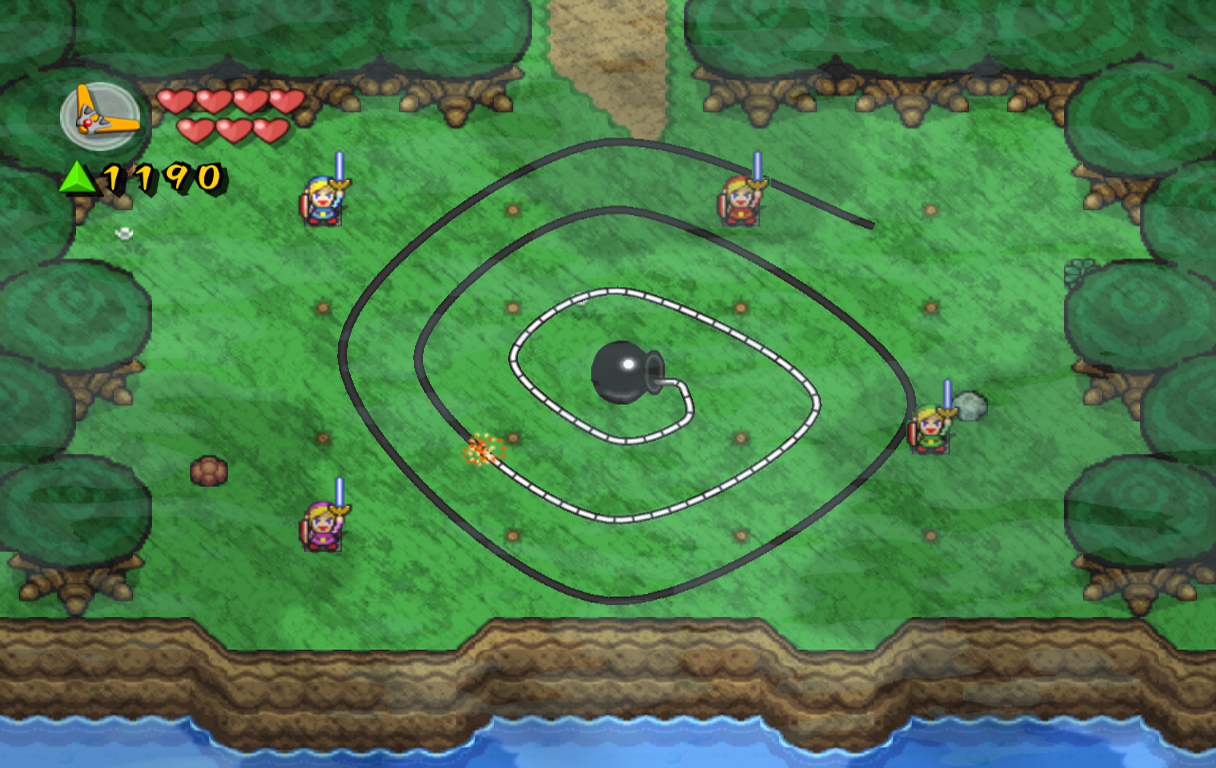
Walk to the bottom-left of this screen and created a Box formation. Walk to the top part of the large log here and use the Links to pull it back, unblocking the hole in the ground. Jump inside and open the chest for another Heart Container. Walk up the stairs to get back outside, then head down a screen. This screen contains a large bomb with a very long cable, giving it quite a while before it explodes. The entrance we came in from is now blocked, so we must find a way to get back off the screen. All across the screen you'll find bushes lined up in rows and columns. Under four of these bushes are switches to open the pathway back out. What's more important are the many other bushes with force gem portals hidden underneath. These portals will explode with force gems for a few seconds, allowing you to collect large amounts of them. If you feel daring, you can slash all the bushes on the screen to find all the force gem portals. If you don't feel like testing the limits, the four switches are located as follows: one at the top-left, one at the bottom-left, one on the right side (one up from the bottom), and another on the top row (one left from the top-right corner). Once you're finished collecting, head back up a screen and enter the house.
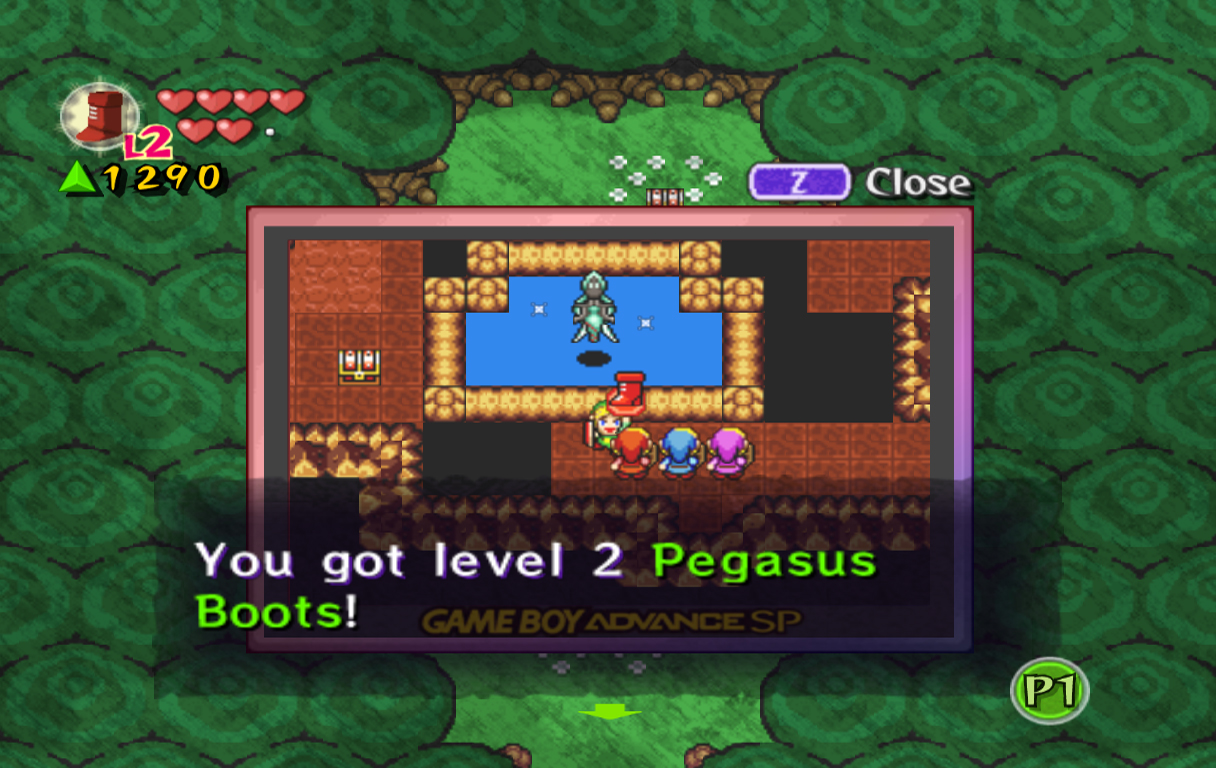
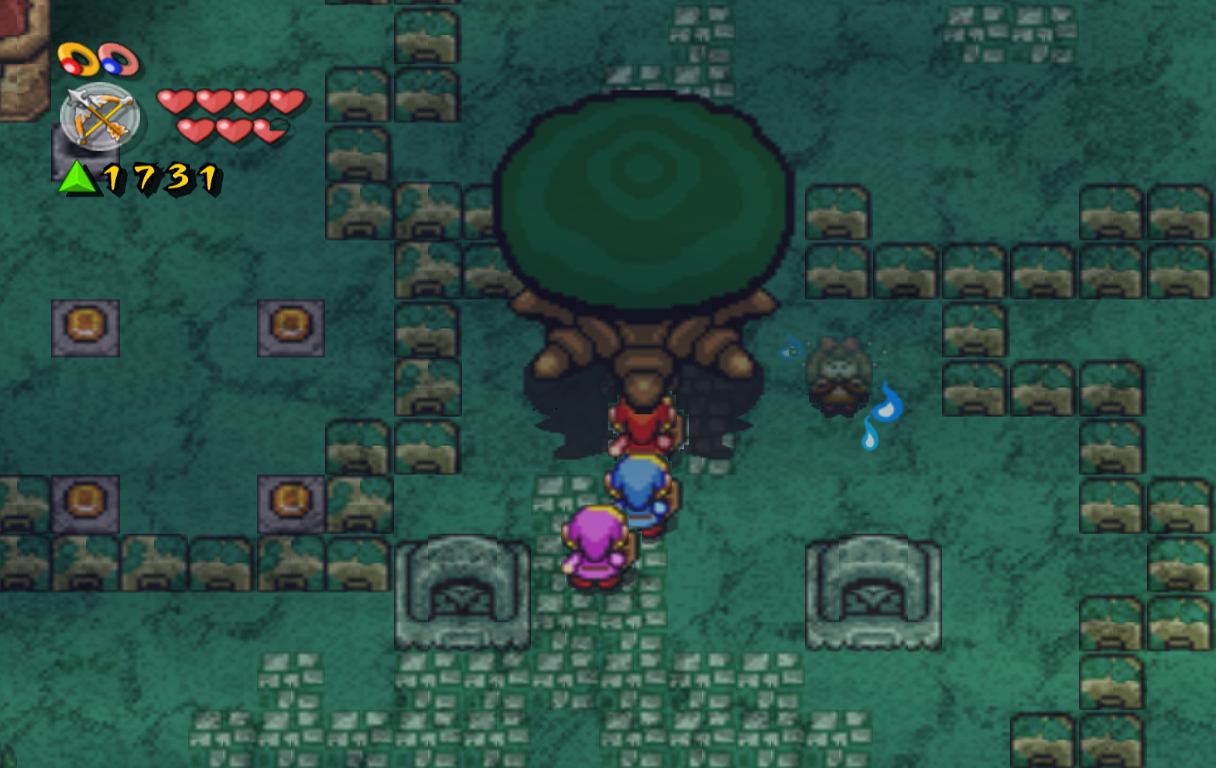
Speak the man on the left first, and he will begin to speak of the problem with the Gohmas. He offers to give you a key to open the shed on one of the previous screens if it will help to get rid of them. Speak with the man on the right next, and he'll say that there isn't actually anything in the shed that could defeat the Gohma. He gives out hope though, and says there is a much more powerful weapon in a cave where his ancestors are. Walk out of the house, then head right a screen. Walk over to the far right side of the right screen and use the key to open the shed. Grab the Pegasus Boots inside, then walk back outside and head up a screen. Try to defeat the two Shadow Links here as best as you can, and if needed, use the Pegasus Boots to dash into them. You'll see during this time that Tingle is floating across the screen trying to grab the very large force gem to the east. Unfortunately, we can't reach that force gem right now, nor can we stop Tingle from getting there. Fortunately, the force gem is so large that Tingle himself can't lift it, and he'll soon give up and float away. Head to the top of the screen, lift up the large log with all four links, then head up a screen.
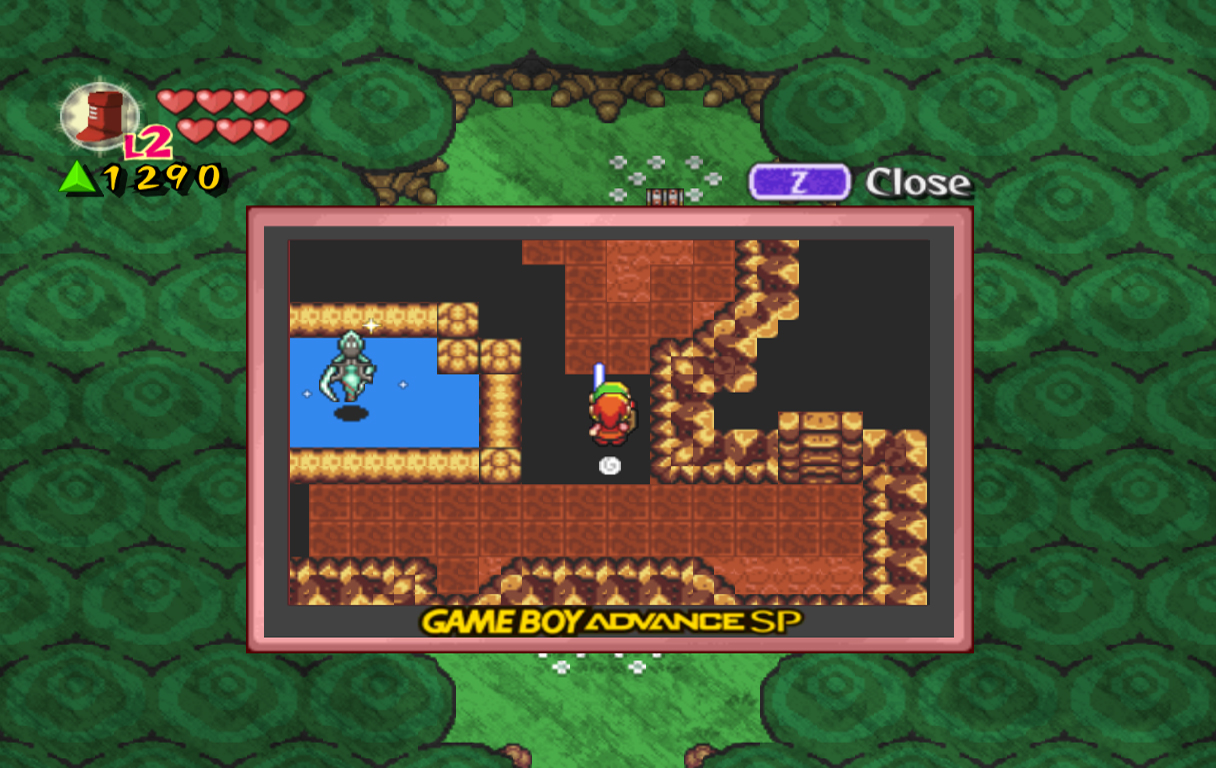
Lift the rock here, then enter inside to find a Fairy. This is the Great Fairy Tingle spoke of before, and she will upgrade your items for you to level 2. Give her the Pegasus Boots and she will upgrade them, allowing you to dash across holes. Walk back right, then dash across the gap next to the fountain. Follow the path and open the chest at the end to get a big green force gem. Dash back across the gap, then head up the stairs. Use the Boots to dash across the line of holes to the north. Open the chest here to get another big green force gem.
Dash back across the gap and head south a screen. Head left, then up a screen. Defeat the two Shadow Links here, then use the Links to pull out the log blocking the cave above. Enter the cave, then walk down the stairs. Defeat the lone Keese here, then head up the next set of stairs nearby. Use the Links to pull the log, unblocking the pathway of gaps. Enter the cave to the north, then step on the yellow switch inside to unblock another path.
Separate the Links, then have one head back outside the cave. Fall into the hole nearby, then jump down to the left at the bottom of the ladder. Head to the right, then use the cannon above to fly out of the cave and back outside. Head to the left side of the screen, then use the Level 2 Pegasus Boots to dash across the holes. Enter the cave, then push the lower block to the right to open the path to the other Links. Bring them back together again, then head down the stairs to the left.
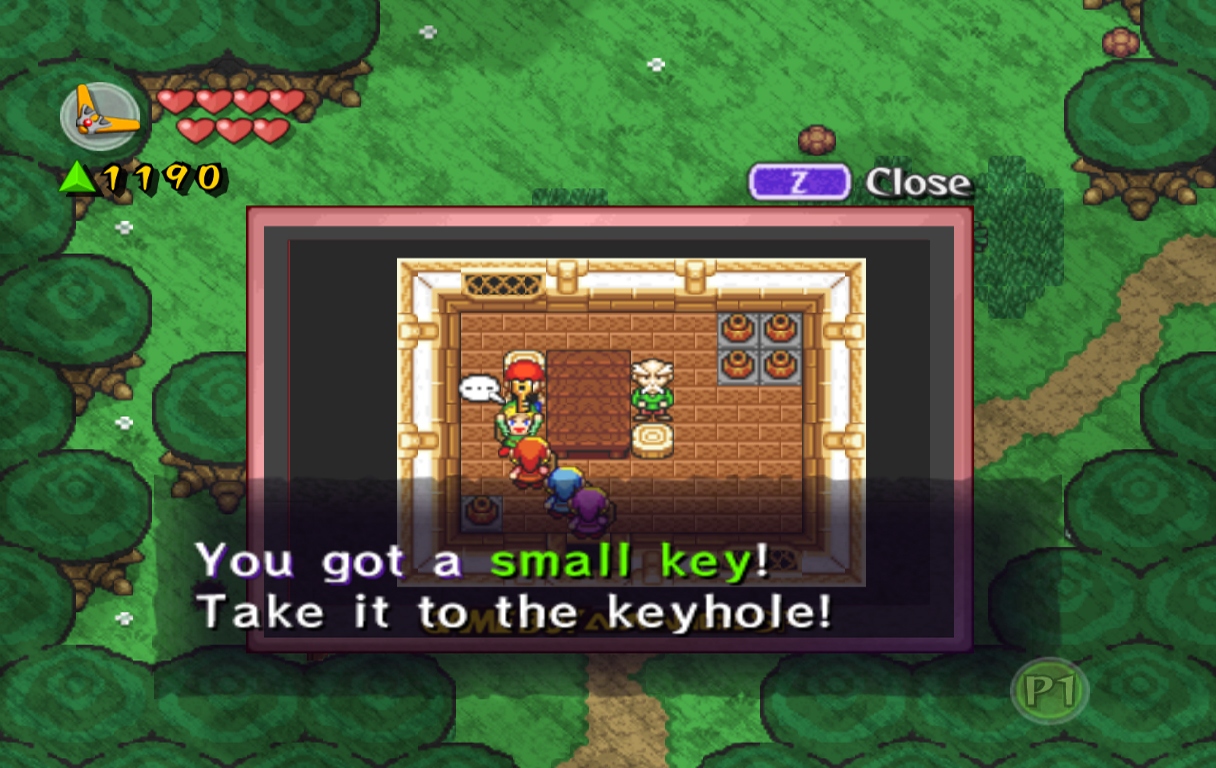
Head down the ladder, then stand on the small platform to the left. Use the Pegasus Boots to dash all the way to the left, and step on the switch to connect the platforms. Head up the stairs and back outside. Walk up the next screen and immediately enter the cave at the top. Walk right a screen and collect the moving force gem here. Head back left a screen, and then left another screen. Push the far left block up, then the second right block to the right. Grab the key, then head back right a screen and use it on the door above.
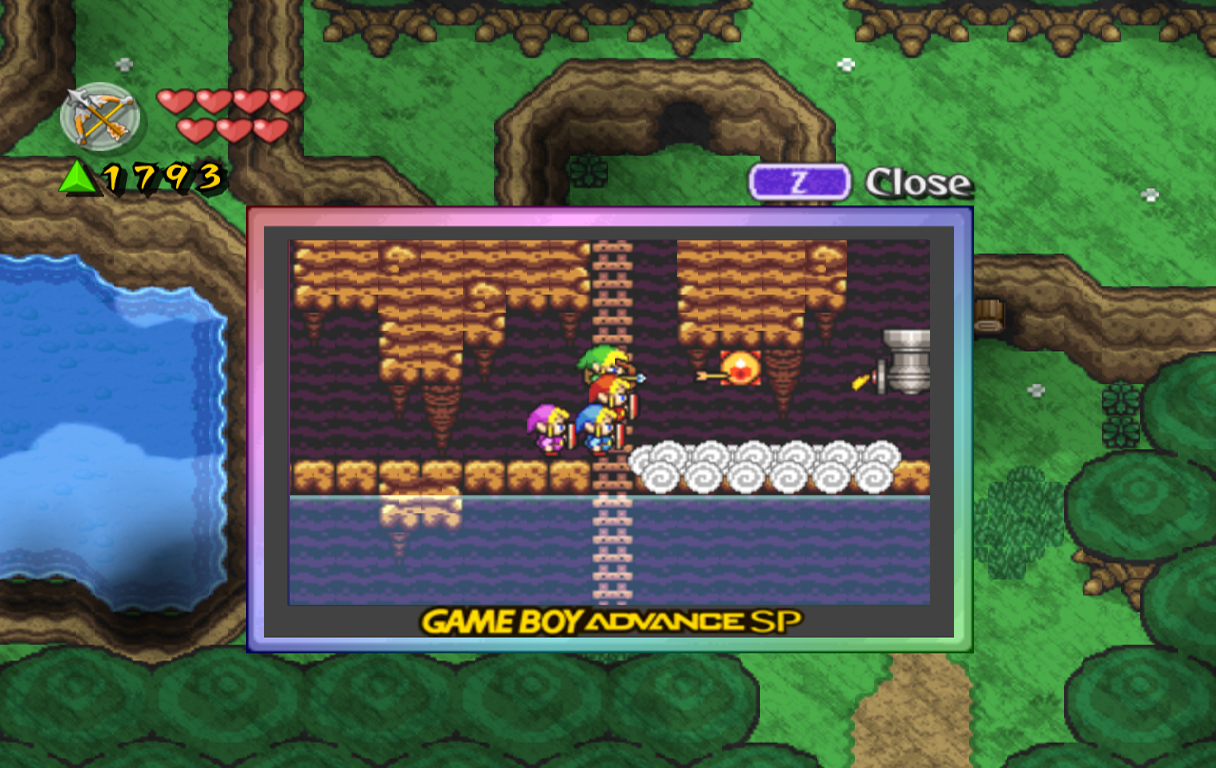
Walk up through the next room and grab our most wanted item, the Bow and Arrow. Head back down four screens and fall into the cave in the ground. Walk right a little ways, then shoot the eye to the right to form another connecting path. Use the cannon, then head back down another screen.
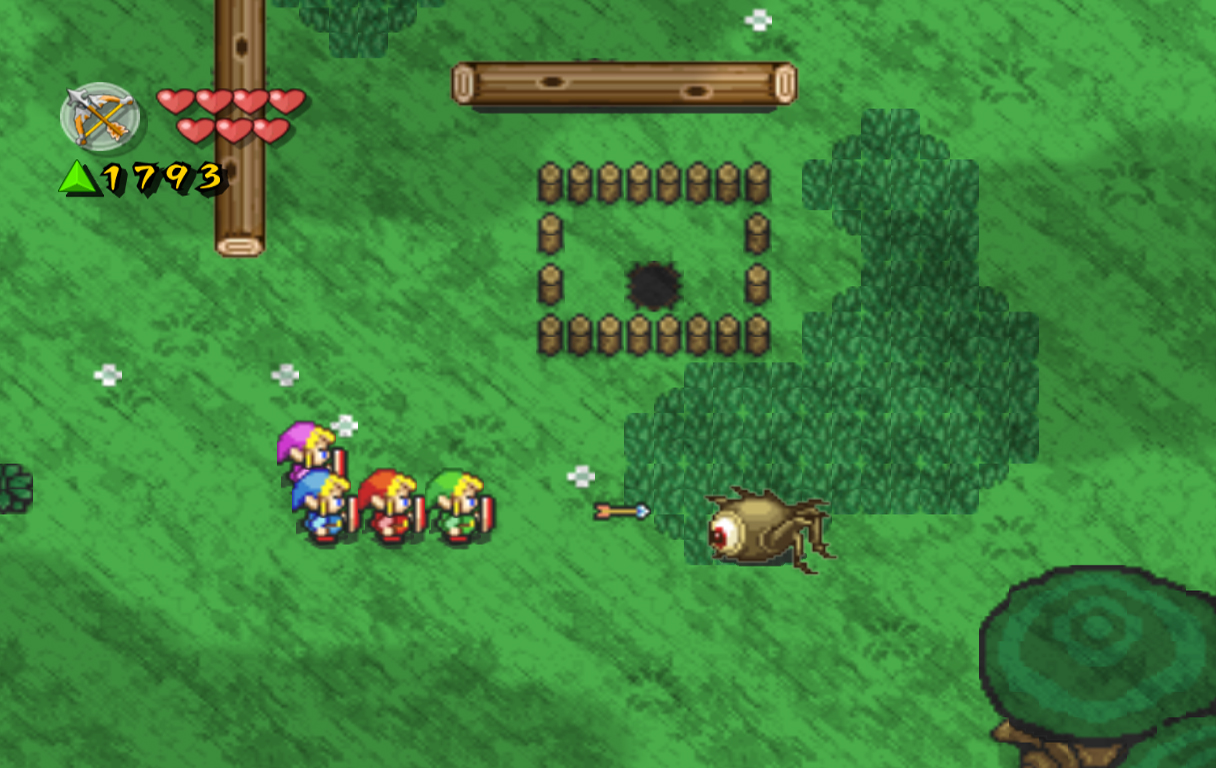
Use the Bow and Arrow and shoot two arrows into the eye of the Gohma here, giving you a big green force gem. Lift up the two logs here, then fall down into both of the holes and grab the treasures below. Head up the stairs, and then down another screen, and right a screen to the screen with the shed.
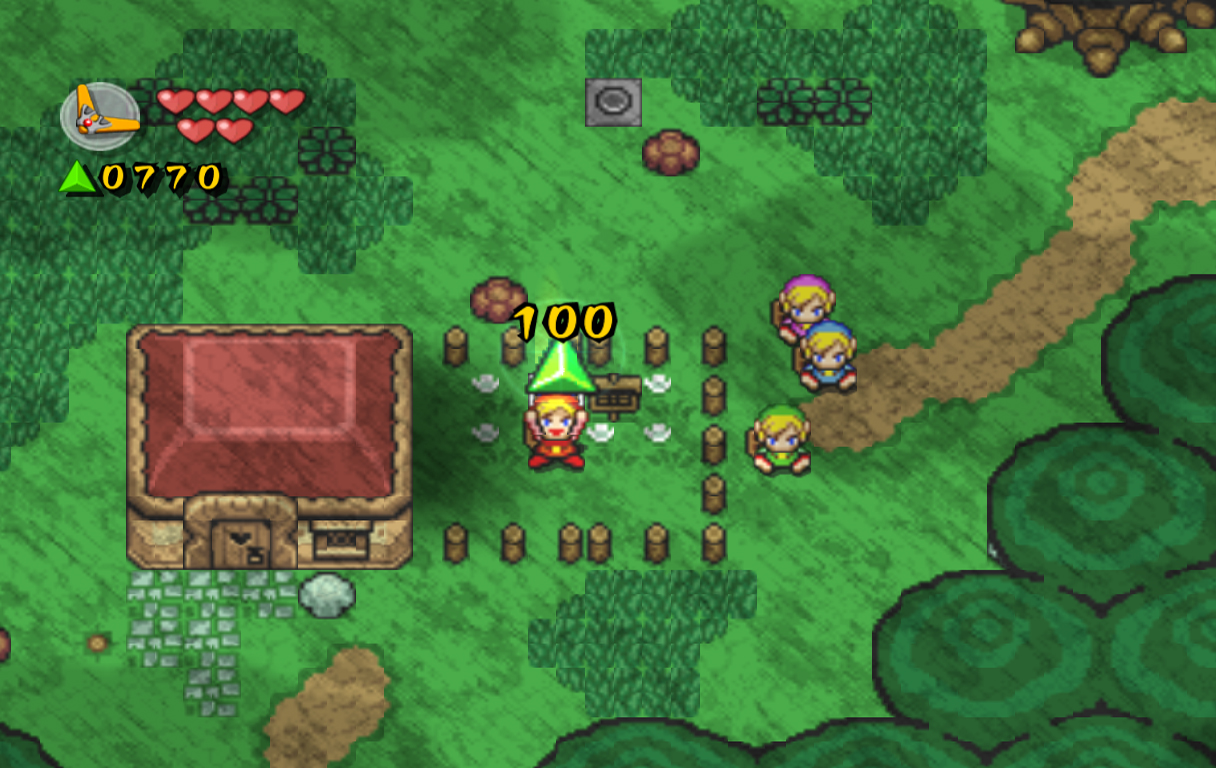
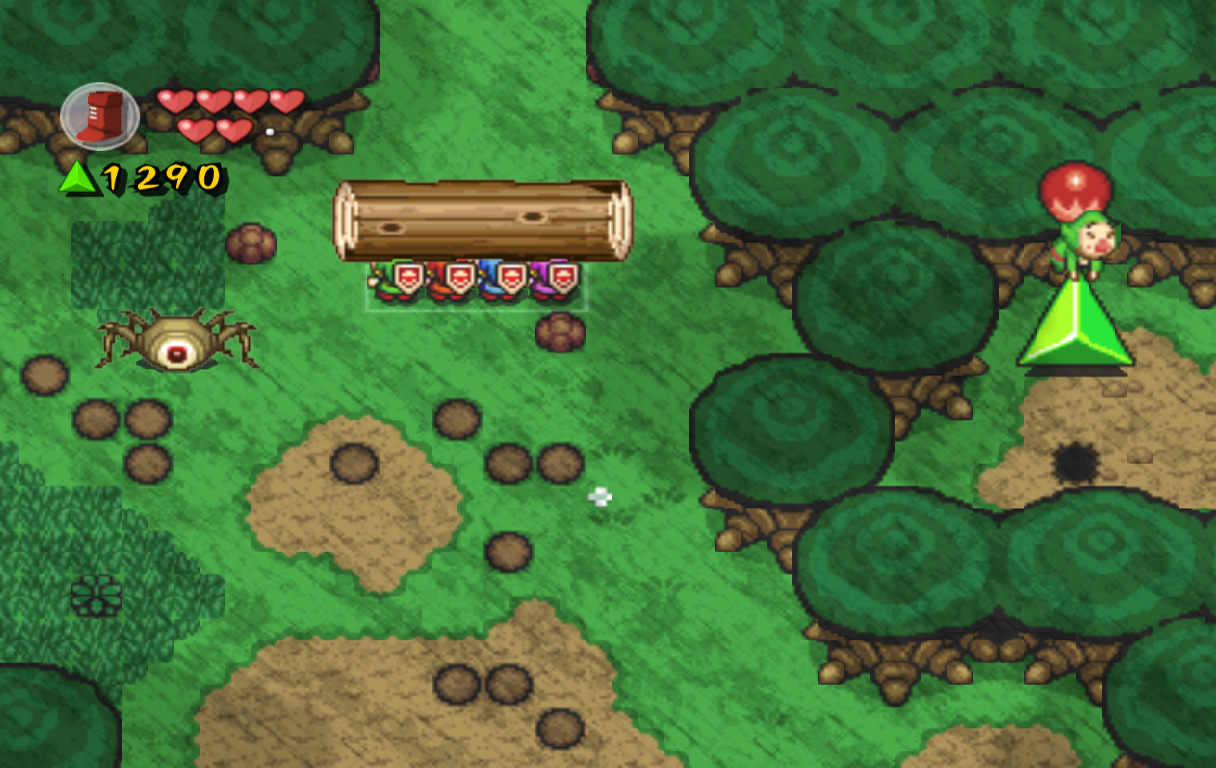
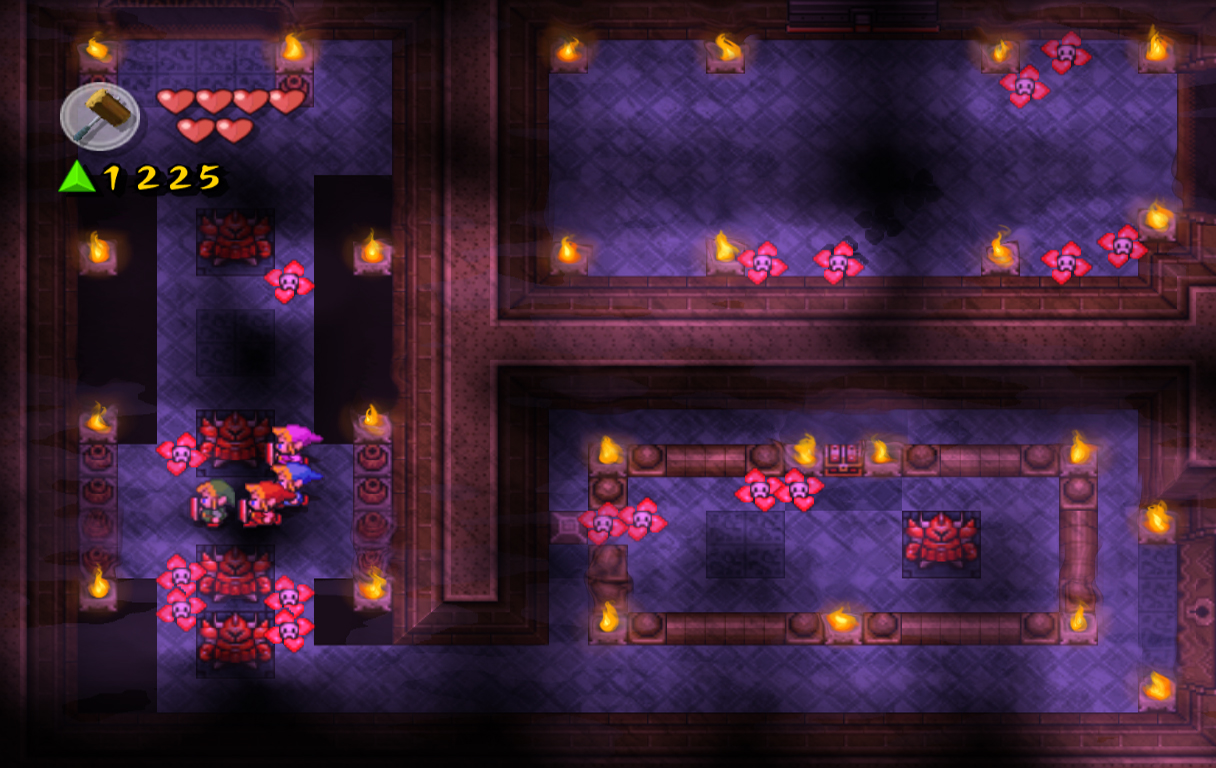
Defeat the Gohma here as well, then head up a screen and defeat the last Gohma. Head left a screen, then down a screen. Enter the house, and speak with the man on the left. He will thank you for defeating the monsters, then give you the shovel to help you get to Hyrule Castle. Walk back outside, then head right a screen and up a screen. Walk along the edge of the wall to the right, then use all four links and dig near the middle of the wall. You should find a hole two circles up from the wall, leading to another cave. Head right and walk up the ladder. Hit the black switch, then open the chest below for 150 force gems. Use the cannon to get back outside, then grab the force gem for a very large prize.
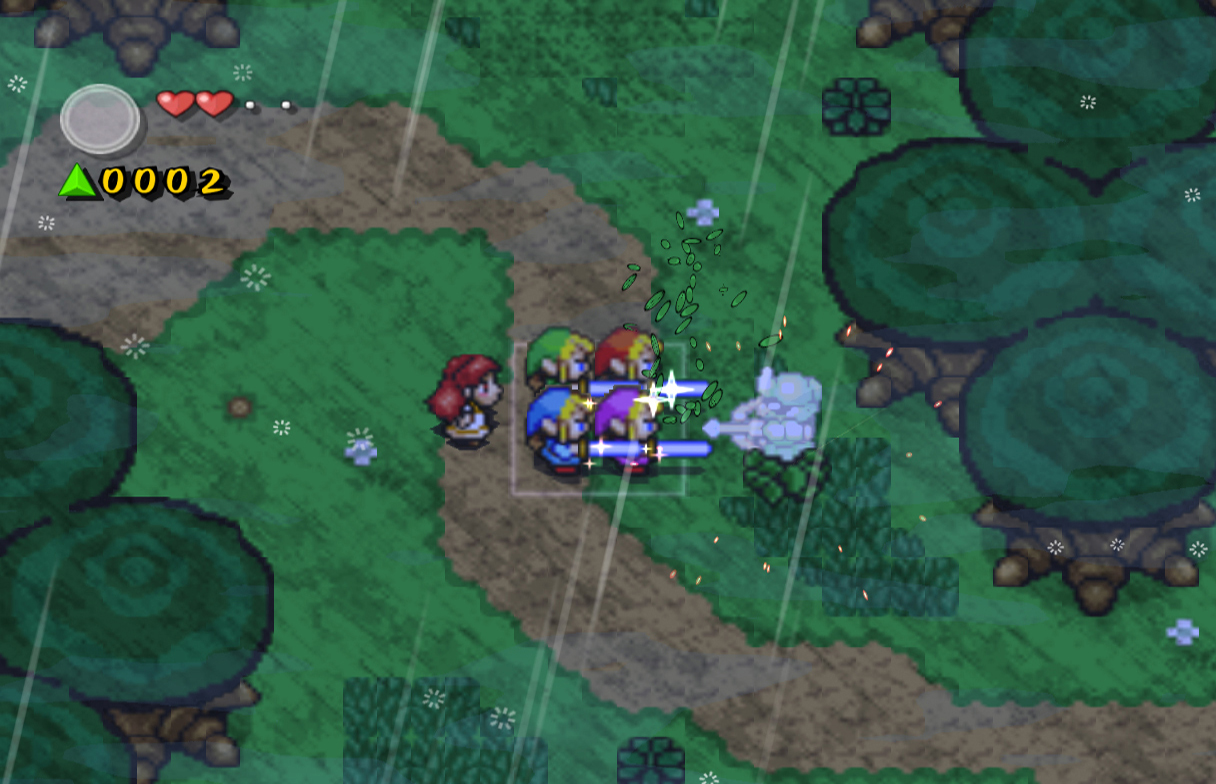
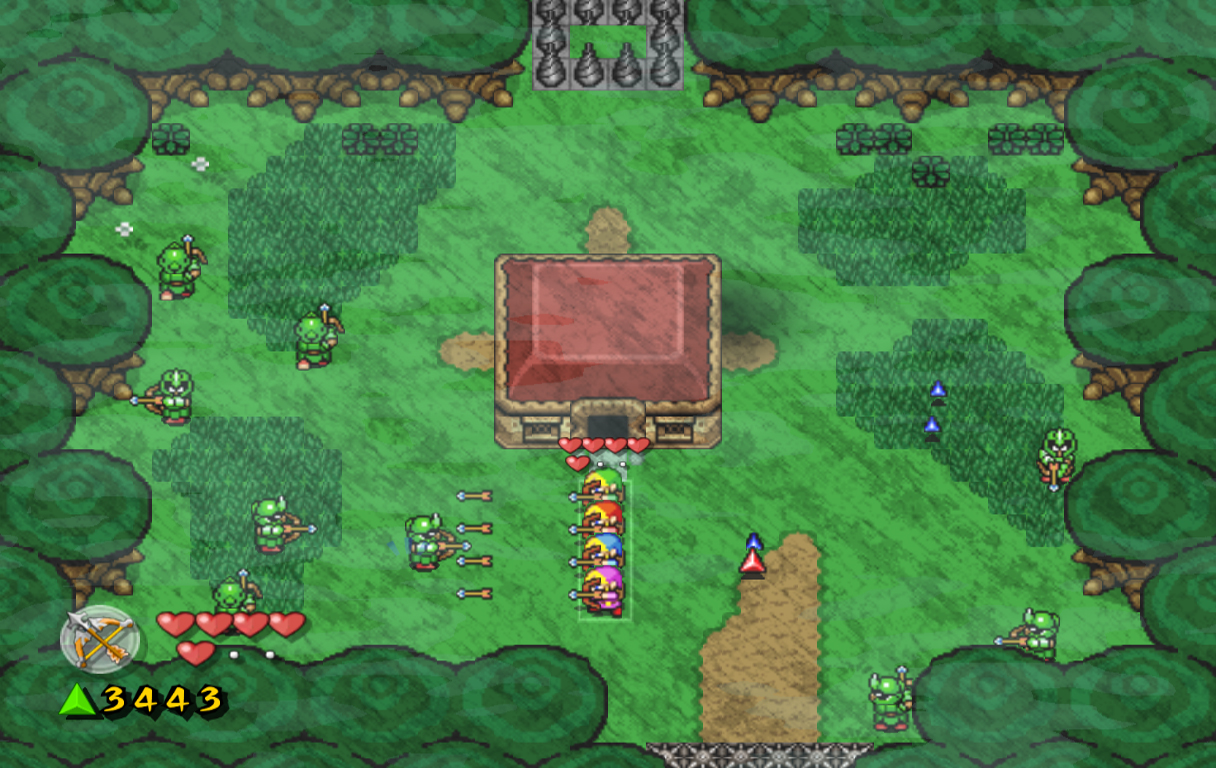
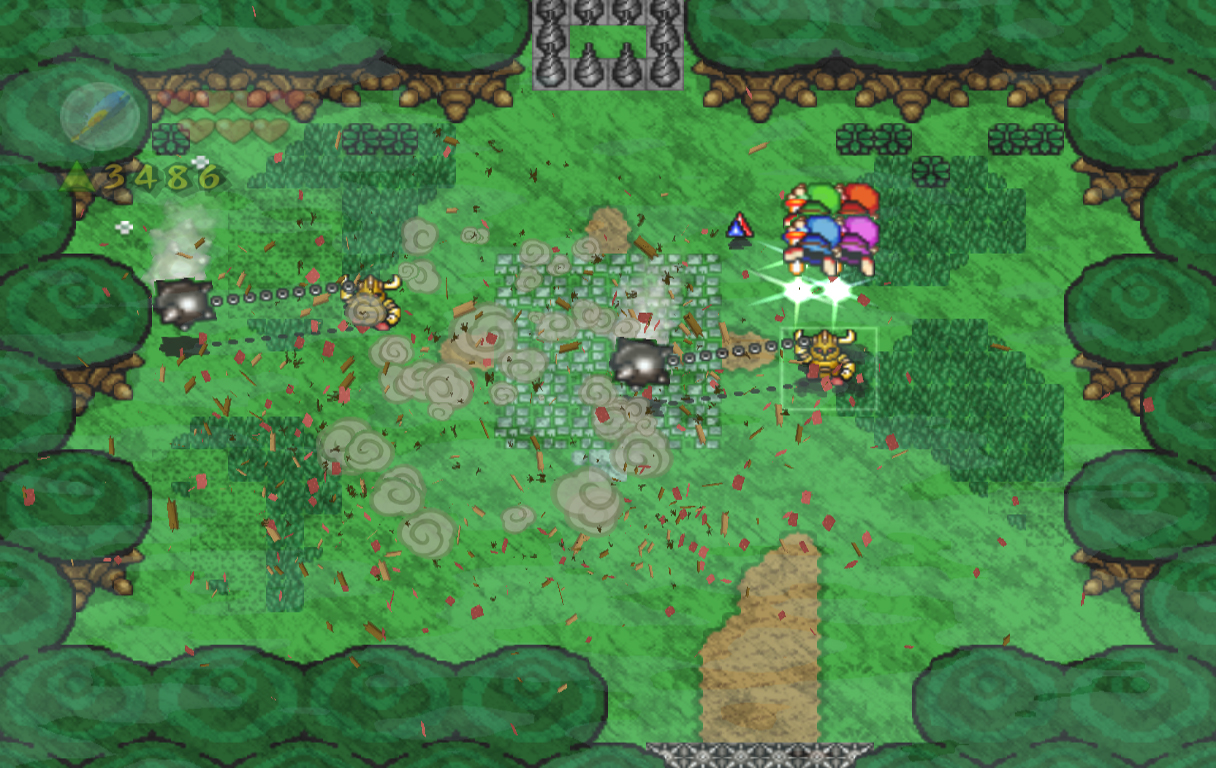
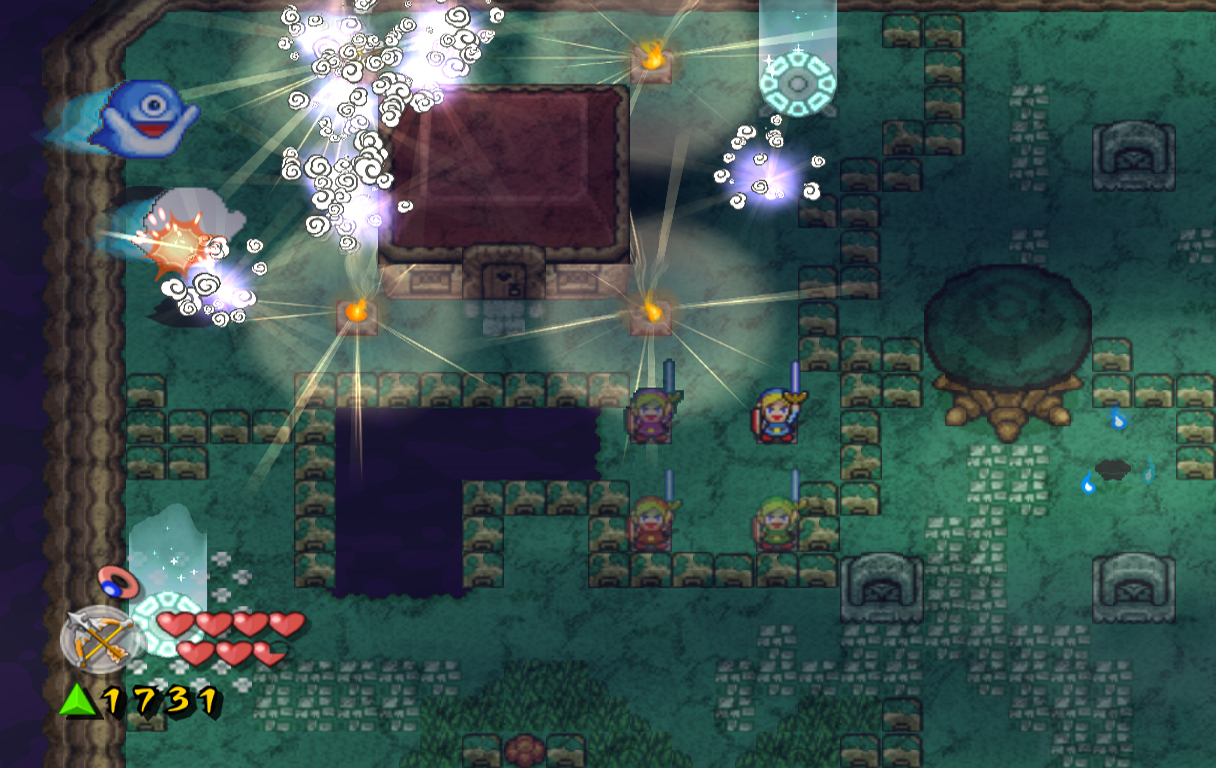
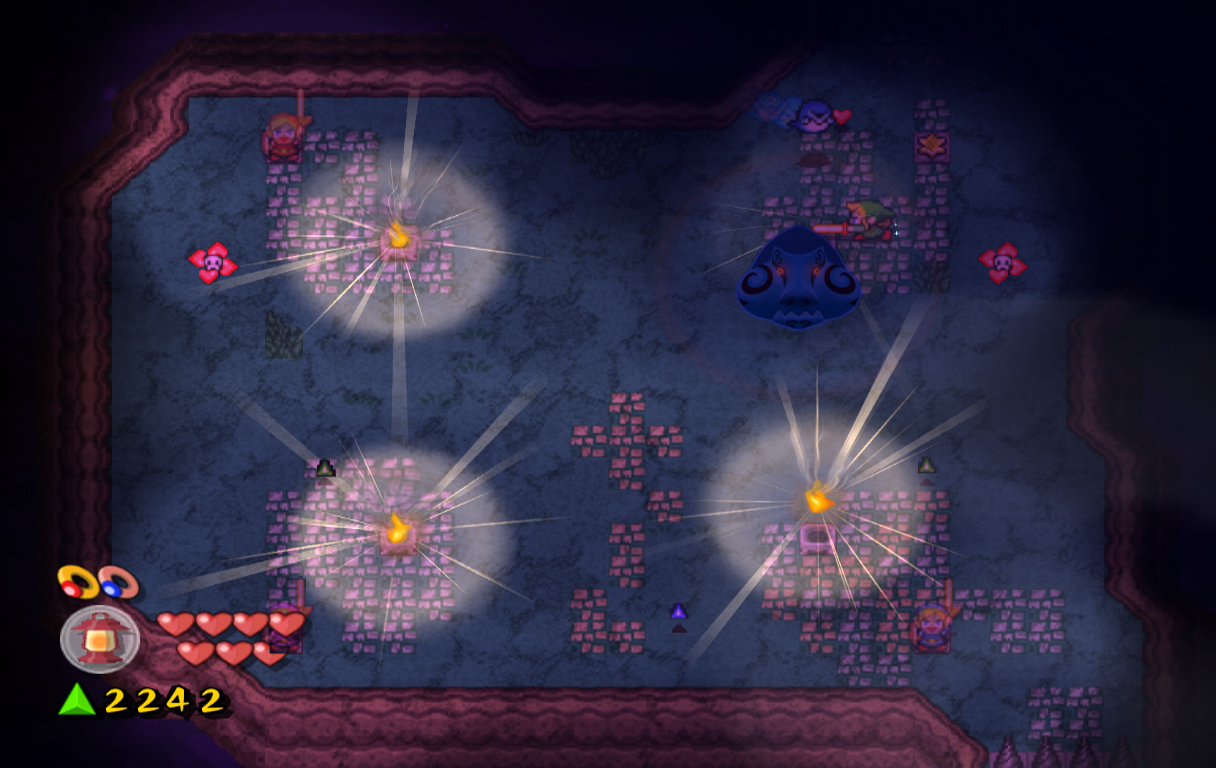
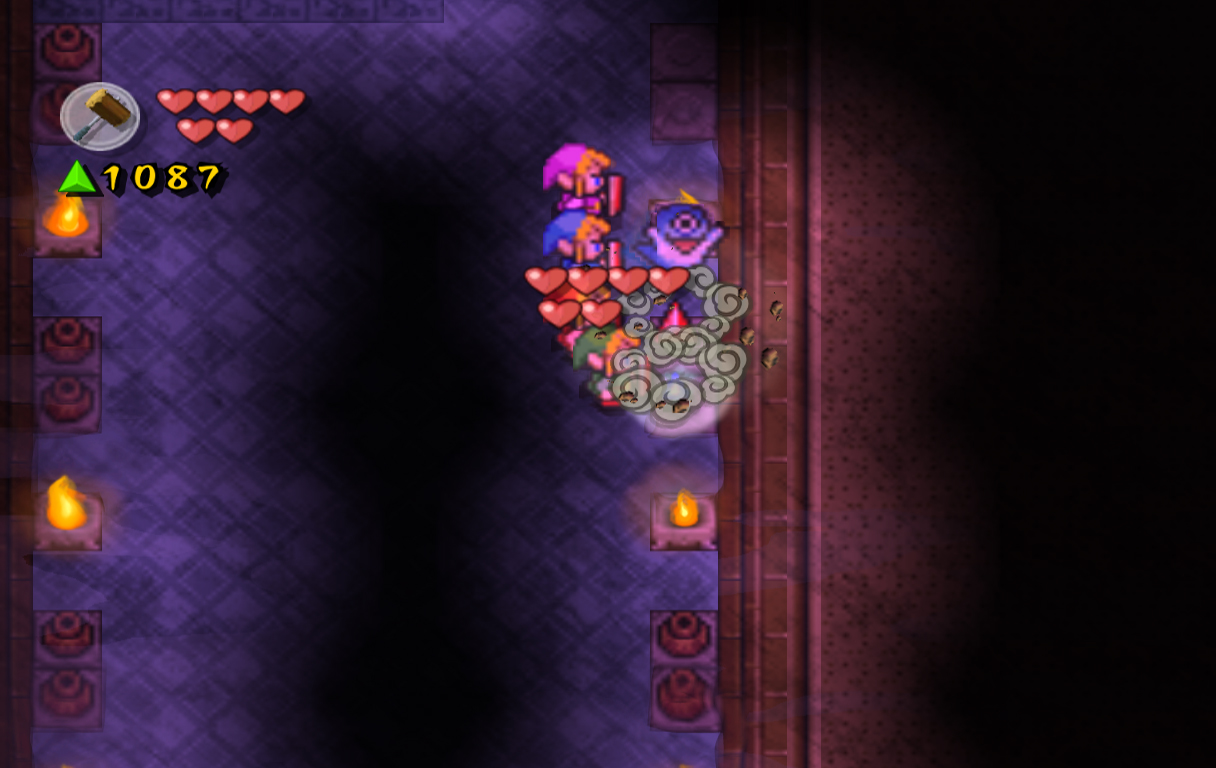
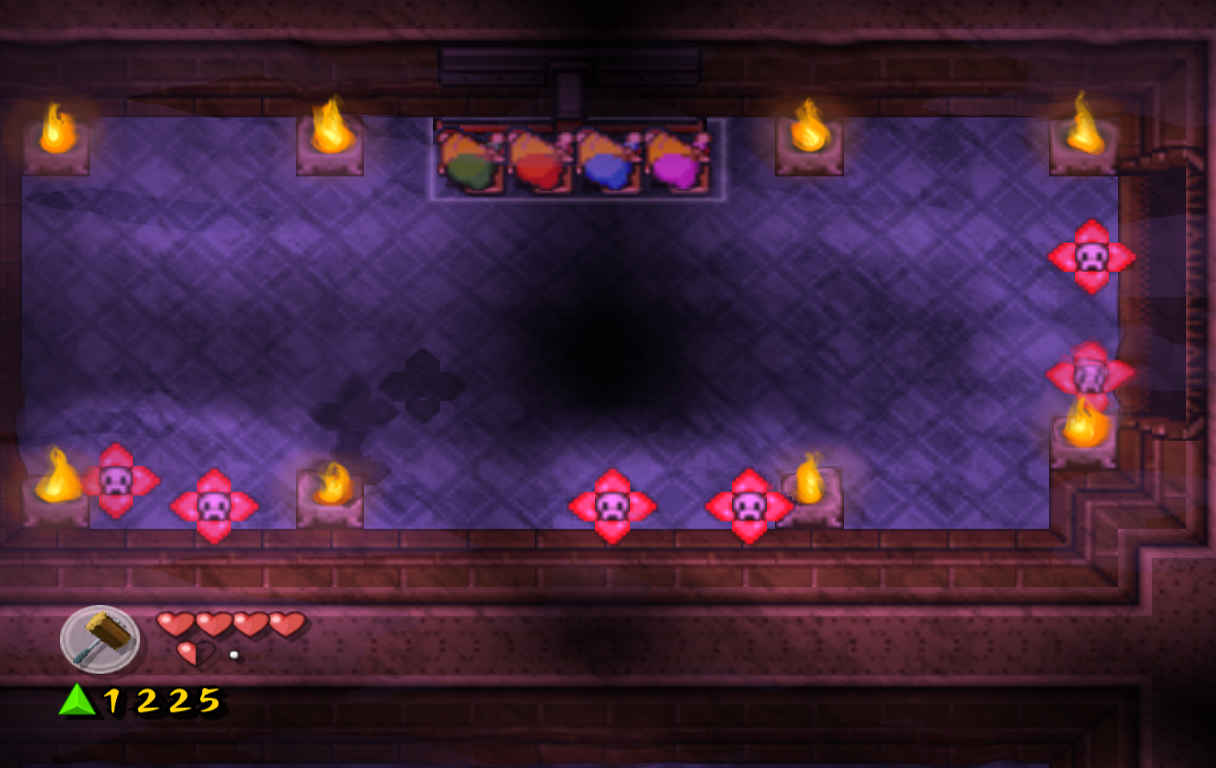
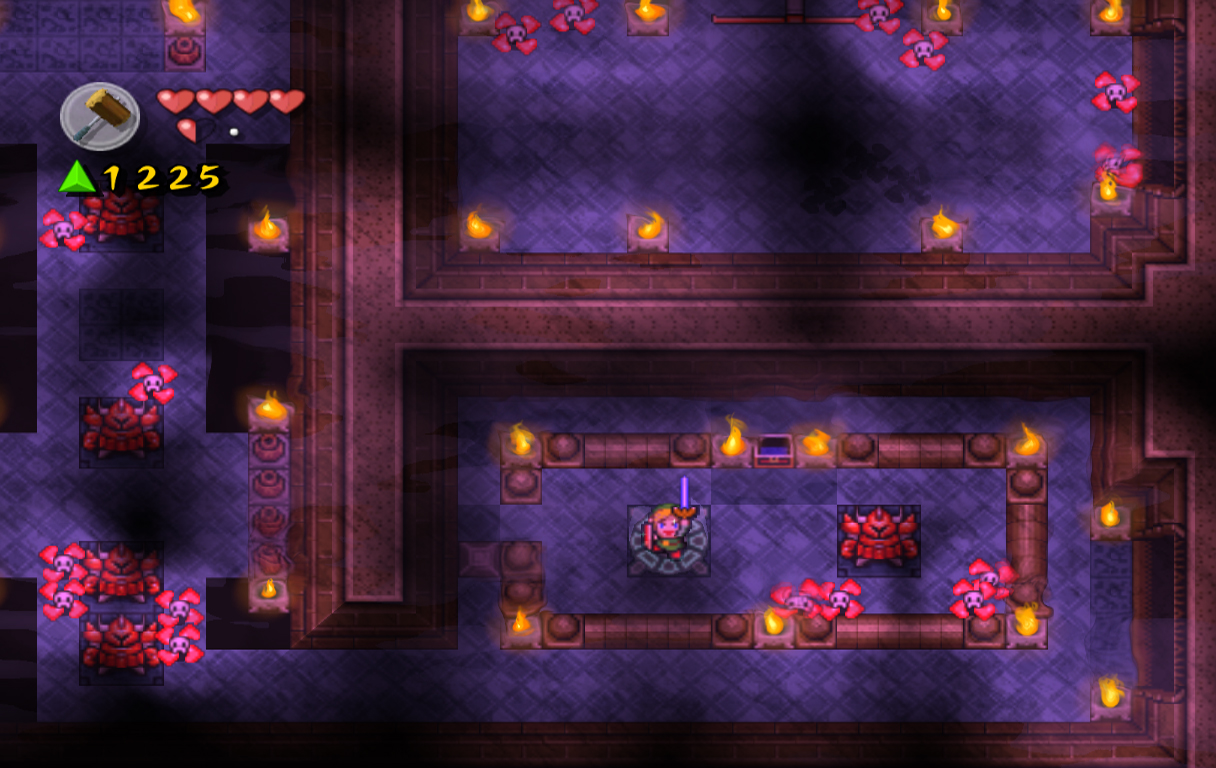
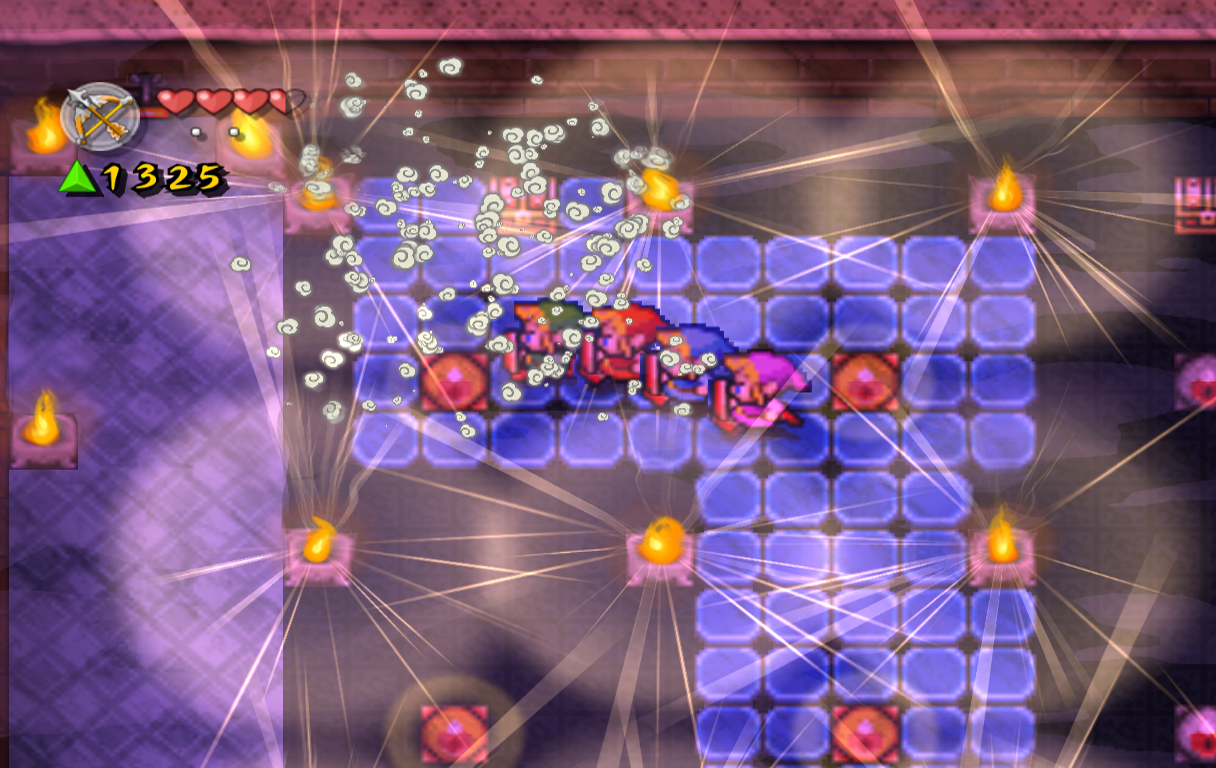
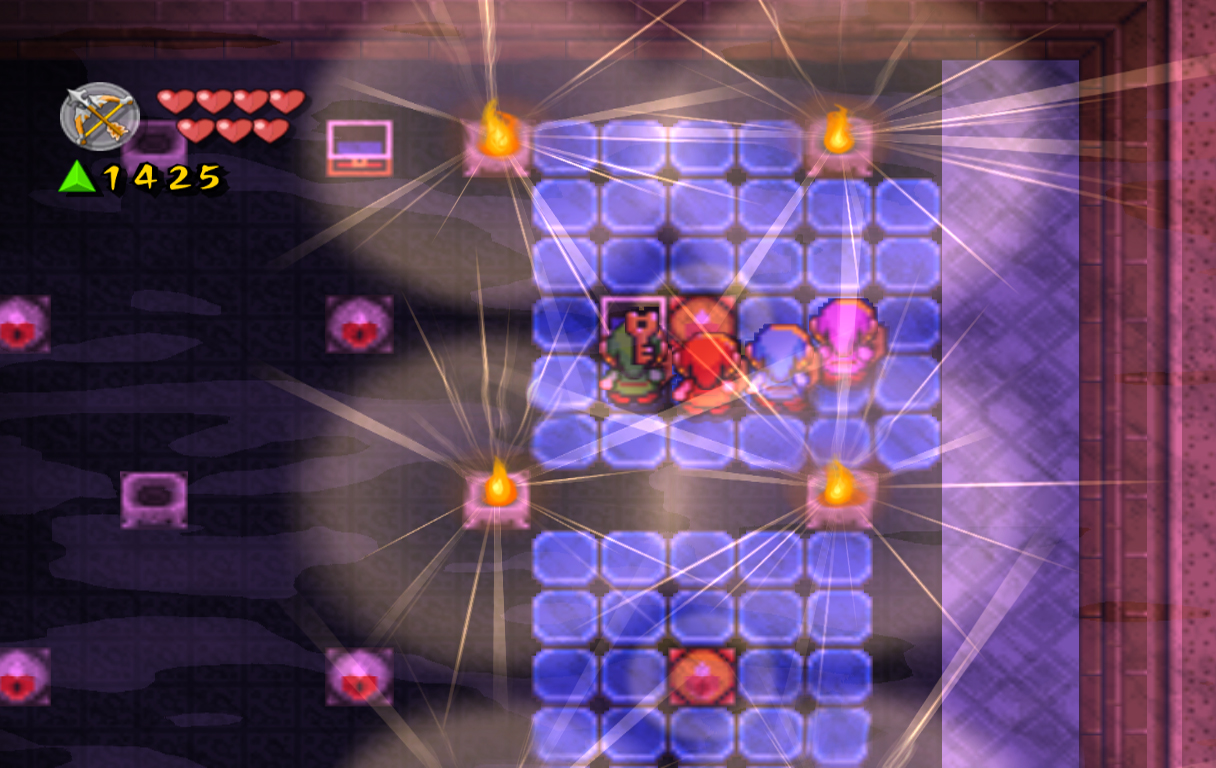
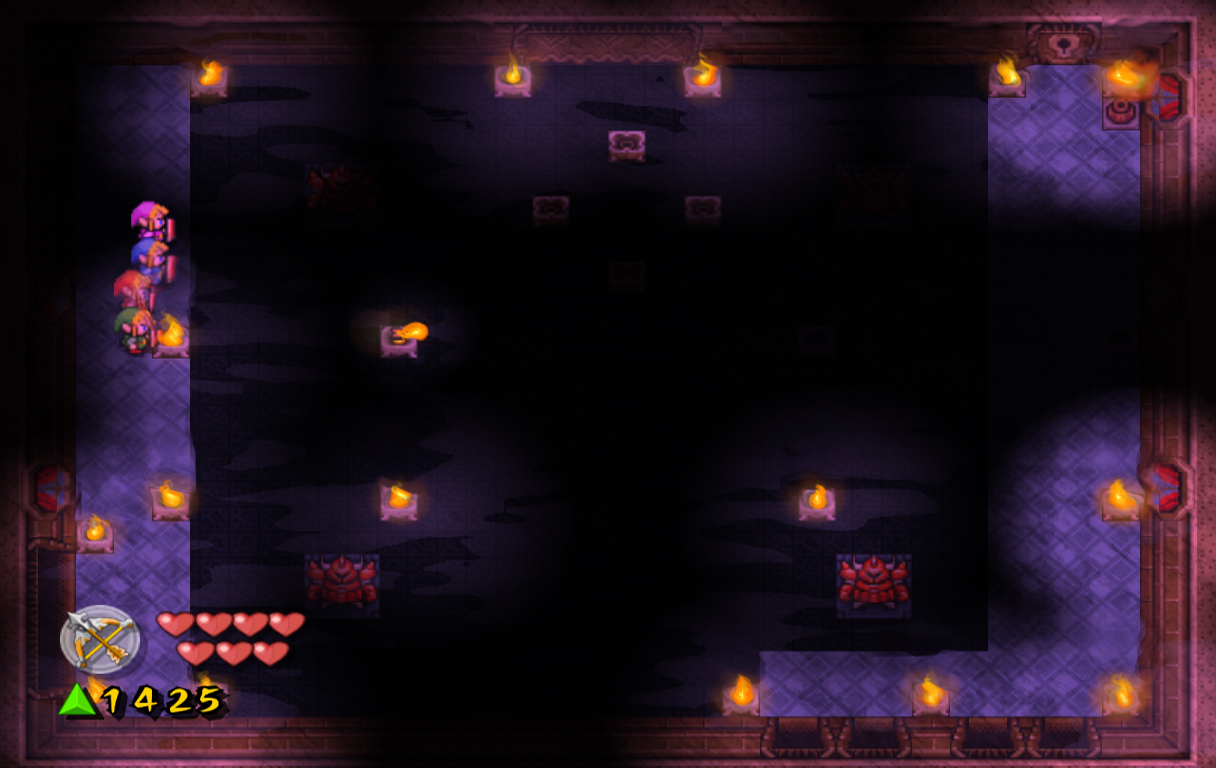
Head right a screen, then defeat the four gels here. Walk up to the next screen and you'll be locked in with a few Castle Soldiers. To make defeating them easier, you can walk into the house and grab a Bow and Arrow, then form a line and shoot them down. Once they're defeated, two Ball and Chain Troopers will appear from the sides. The easiest way to defeat them is to form a line, then walk up to them. Jump into the air and use a pound attack to stab them from the air, killing them in one shot. Once these guys are defeat, more Castle Soldiers will come out, along with a Chief Soldier. If you want, you can slash one of the bushes near the top-right to find a hole. One of the two chests below will contain a Bombos Medallion, which you can throw onto the ground outside to kill all the enemies. Once they're defeated, head up a screen.
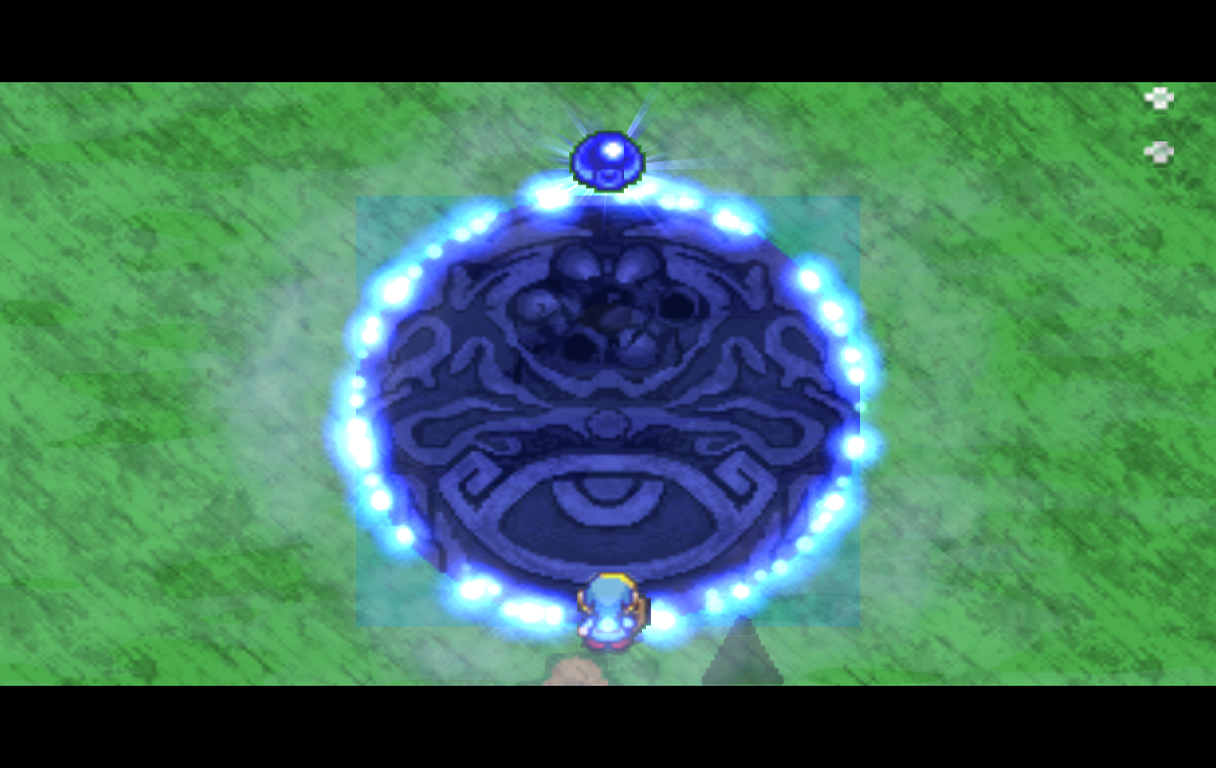
On this screen you'll find a large purple circle, two Stalfos, and a large shadow enemy who is hidden in the underworld. Defeat the Stalfos and walk up to the orb in the center and press A to activate it. It will suck you into the underworld where the Big Dark Stalfos is. Use the same pound method as you did on the previous screen to defeat this Big Dark Stalfos with ease, or any method you prefer.
You will soon appear back in the normal world, and a knight appear above you. This is the Blue Knight of Hyrule, one of the Knights given the task of guarding the royal jewels. He fell under the spell of dark magic and was turned into the Big Dark Stalfos we just fought. He says the blue jewel he guards was also cursed, and it was helping to torment the area around this land. He fears that the other three guardians of the jewels have fallen under the same spell, and he wants you to free them from it. He mentions that to find the Palace of the Winds where Vaati and Princess Zelda are we must recover all four jewels. He will then disappear and leave you to pick up the first jewel. With this jewel collect, head right a screen. Break the eye barriers, collect your fairies, and join me for the next stage, The Swamp. |
 Heart Container #1 Heart Container #1
On the screen with Talon, walk down and you'll find three fenced in areas. Walk to the right fenced in area, then separate the Links. Pick up one of them, then throw him inside the right area. Do the same for another Link. Now, use one of the two Links you just threw to pick up the other Link you threw. Throw him into the middle area, then cut the grass at the bottom and fall into the hole.
Bring the Links together if necessary, then slash the pots to the right and step on the switch to remove the barrier above. Walk back left, then push the blocks at the top-left corner to get free. Open the chests to the left to get a Heart Container. [more]  Gohma Gohma
Gohma are one-eyed spider-like enemies that quickly move across the ground. In some games they are mini-bosses or bosses, but in most of Four Swords Adventures they are simple enemies. They can only be defeated with a Bow, and the arrow must be shot through their large eye. [more]  Big Dark Stalfos Big Dark Stalfos
Big Dark Stalfos are super-charged versions of Stalfos only found at the end of certain stages. They exist entirely in the Dark World, except for their sword which can damage Link in the Light World. They can be defeated with normal sword attacks. Once defeated, they will revert back to a certain Knight of Hyrule. [more]  Blue Jewel Blue Jewel
The Blue Jewel is the first of a series of Jewels received in the game. Originally kept safe by the Blue Knight of Hyrule, it is given to the Links after they transform the Knight back to his normal form. When combined with the other three Jewels they will reveal a path to the Realm of the Heavens. [more] |


4.2 The Swamp
|
|
|
|
|
Welcome to the second stage in Near the Fields, The Swamp. This poisonous swamp is full of enemies, ghosts and graveyards that will help us continue to Hyrule Castle.
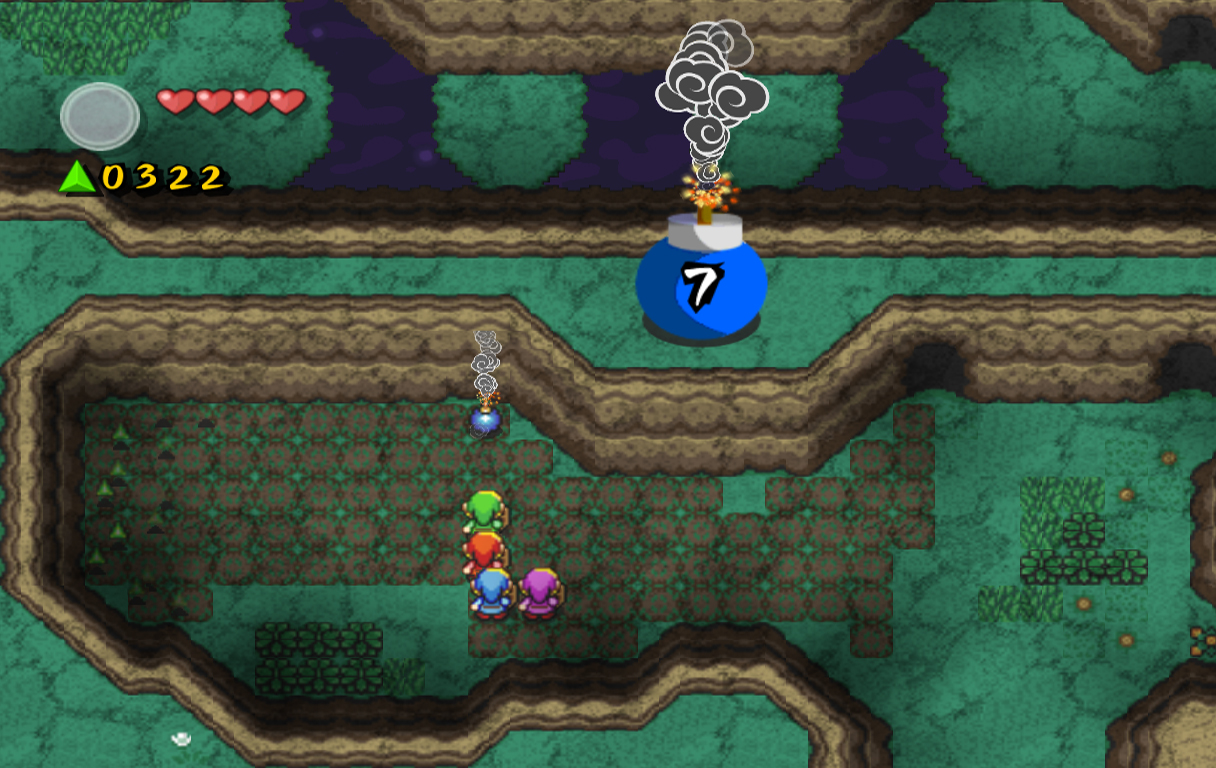
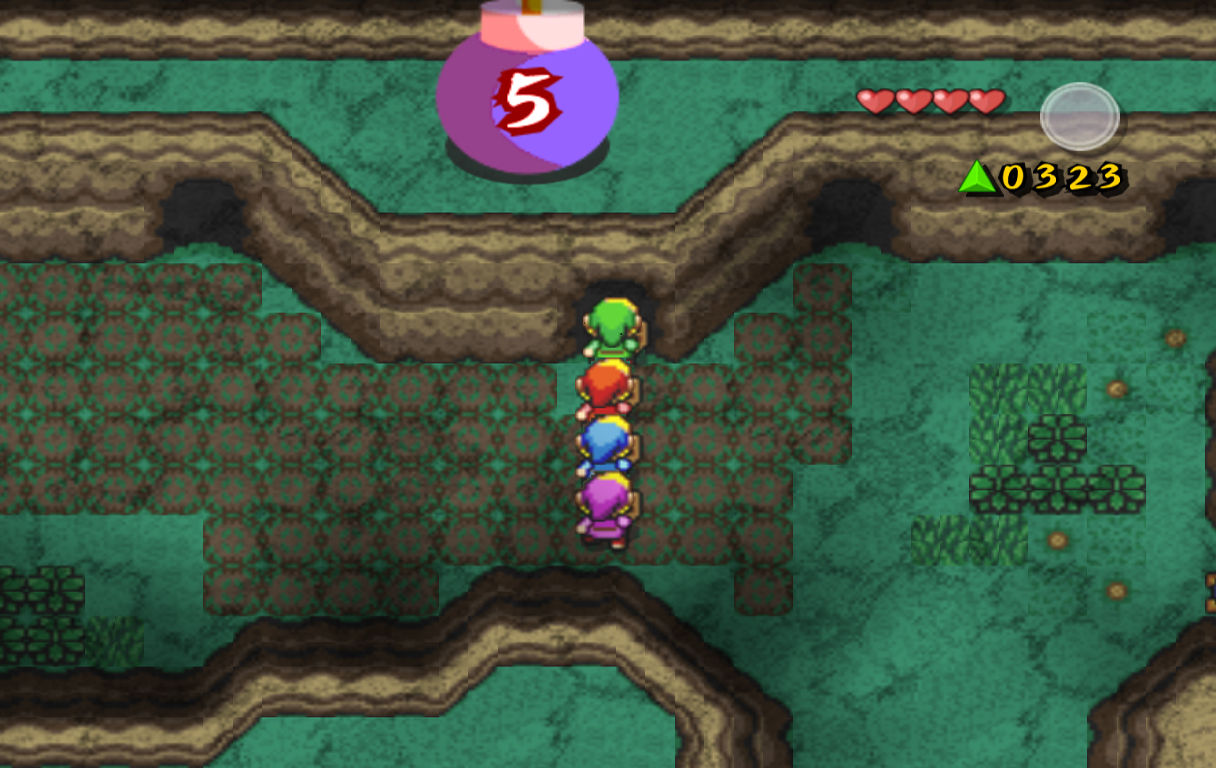
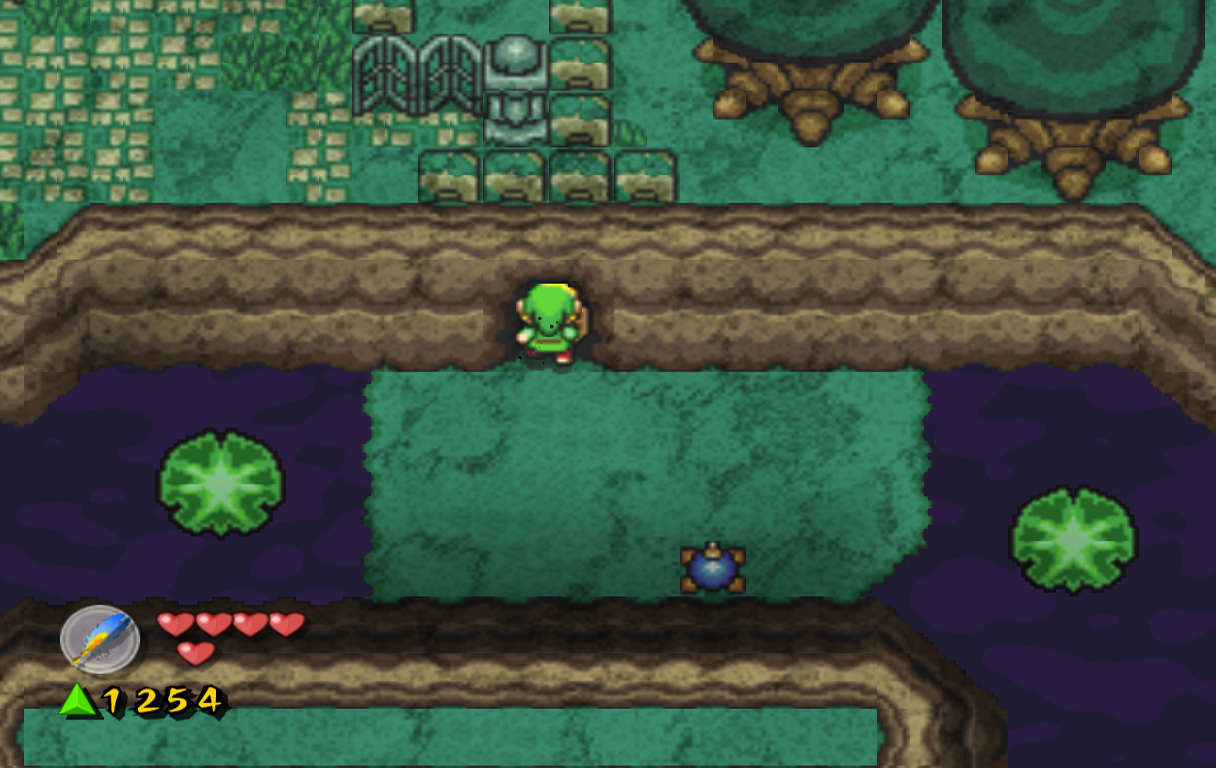
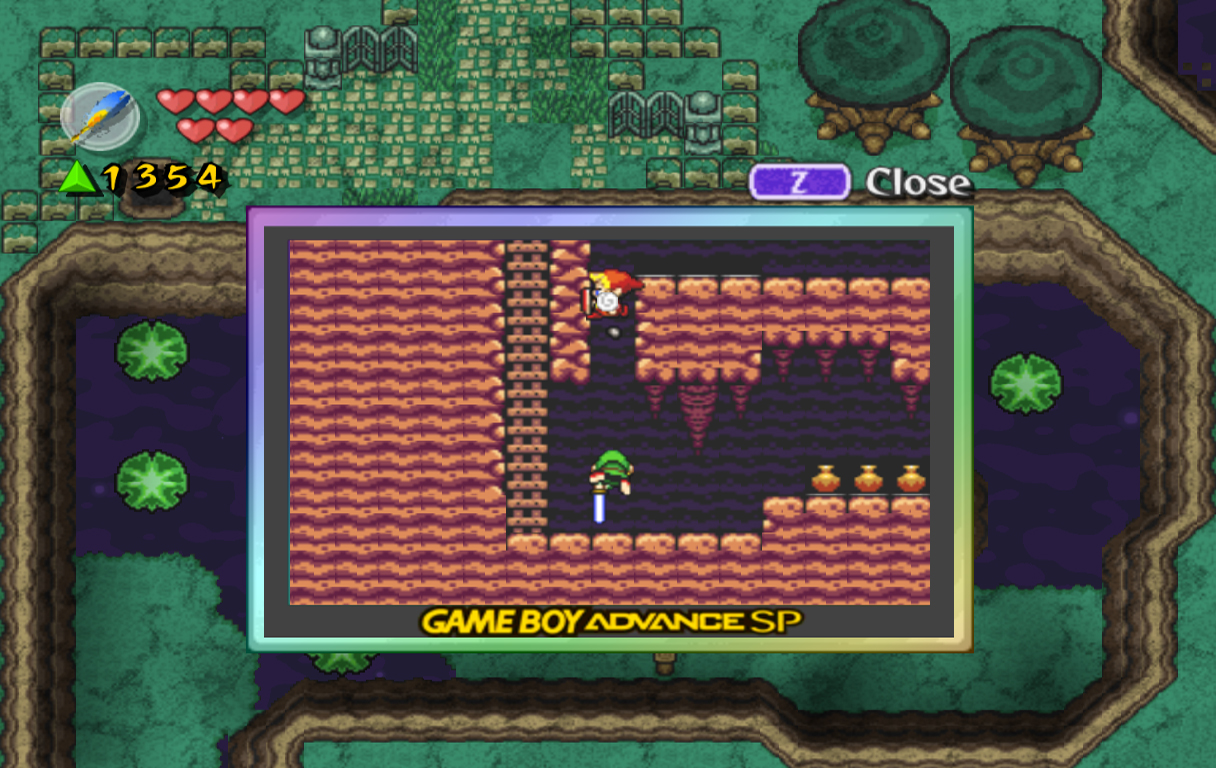
Start off by walking to the right and Kaepora Gaebora will soon fly towards you. He says that Vaati poisoned this land, and left it roaming with enemies and weeds. He doesn't say much information that's useful, so continue walk up the screen. Collect the force gem to the left, then walk up to the next screen. Shadow Link will soon appear on screen, bringing back his Giant Bombs. Like before, we need to find safety in either a Game Boy Advance screen, or by leaving the screen. Quickly grab a bomb to the right, and walk up to the already open cave. Don't enter, but bomb a little left of the entrance to find another entrance. Quickly enter and open the chest for a big red force gem.
Walk back outside when it's safe, then grab another bomb. Walk to the left and you'll see a mirrored image of the wall we just bombed. Bomb on the mirrored side of the wall that we just bombed; meaning, bomb to the the left of the center area on the left half of the screen. Grab the bomb inside and head back outside when it's safe. Bomb the top-left area of the screen for another hole; head inside and grab the force fairy at the end. Walk back outside and grab another bomb from inside the cave to the right. Walk back outside and bomb the center of the top wall, below where the Giant Bomb is. Enter this cave, defeat the Keese inside, then wait for it to be safe.
Grab the bomb inside and walk outside, then bomb the wall at the top of this grassy area. Enter, then head down the stairs. Grab one of the Roc's Feather any of the holes below, then jump stab the block below to get out. Walk back up the ladder, then make you way back outside. Use the Roc's Feather to jump across the water and head left to the next screen.
Defeat the two Octoroks here, then lift the large stone at the bottom-left. Walk down the stairs and progress through the first screen, defeating the Keese along the way. On the second screen, walk up the ladder and back outside. Use the Roc's Feather to jump across the lily pads to the left, then across the next set. Defeat the Vulture if you want to, then continue across the lily pads to the right. Lift the large stone at the end and head down the next set of stairs. Walk down the ladder, then jump stab the blocks, going all the way to the bottom of the cave. Walk left, then head up the next ladder. Jump stab the next two columns of blocks, then jump across the gap and open the chest for a big green force gem. Continue down the gap, but stay along the right side and you'll land on another platform. Jump stab the next two blocks to the right, then open the chest for a Heart Container. Jump stab the last two blocks, then climb the ladder to the left again, and use the cannon to get back outside.
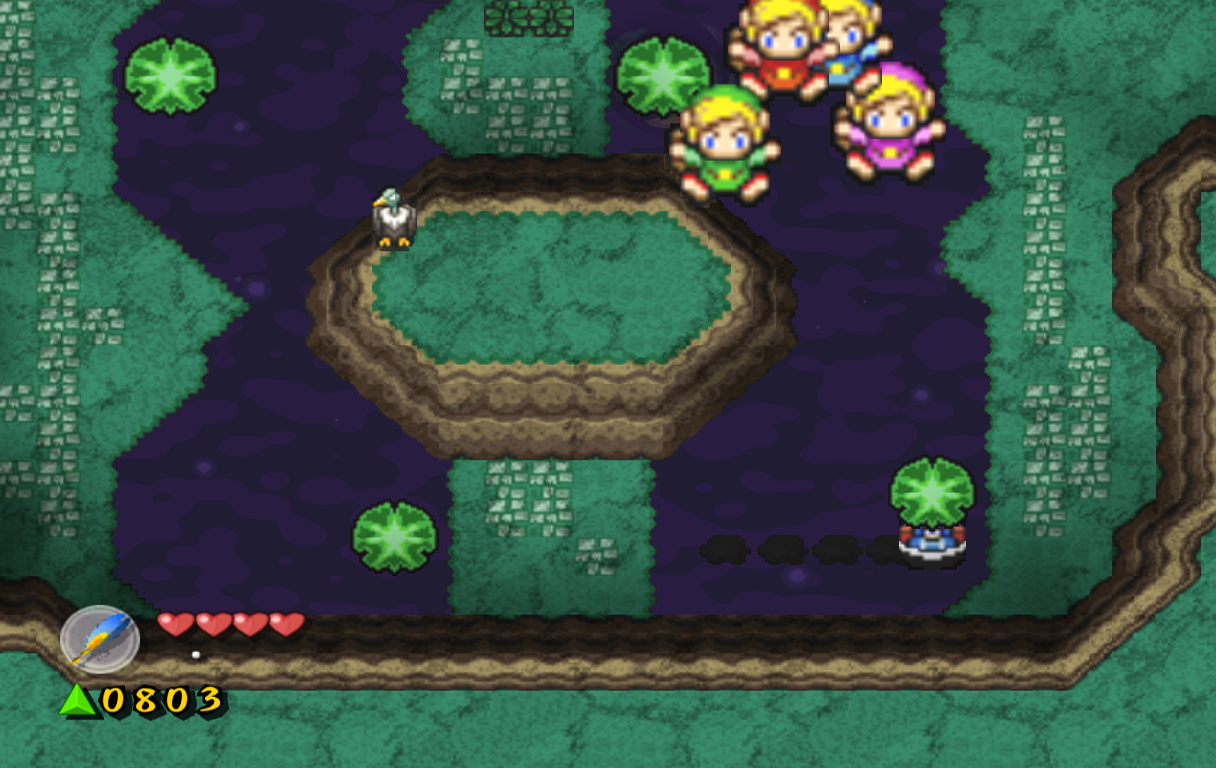
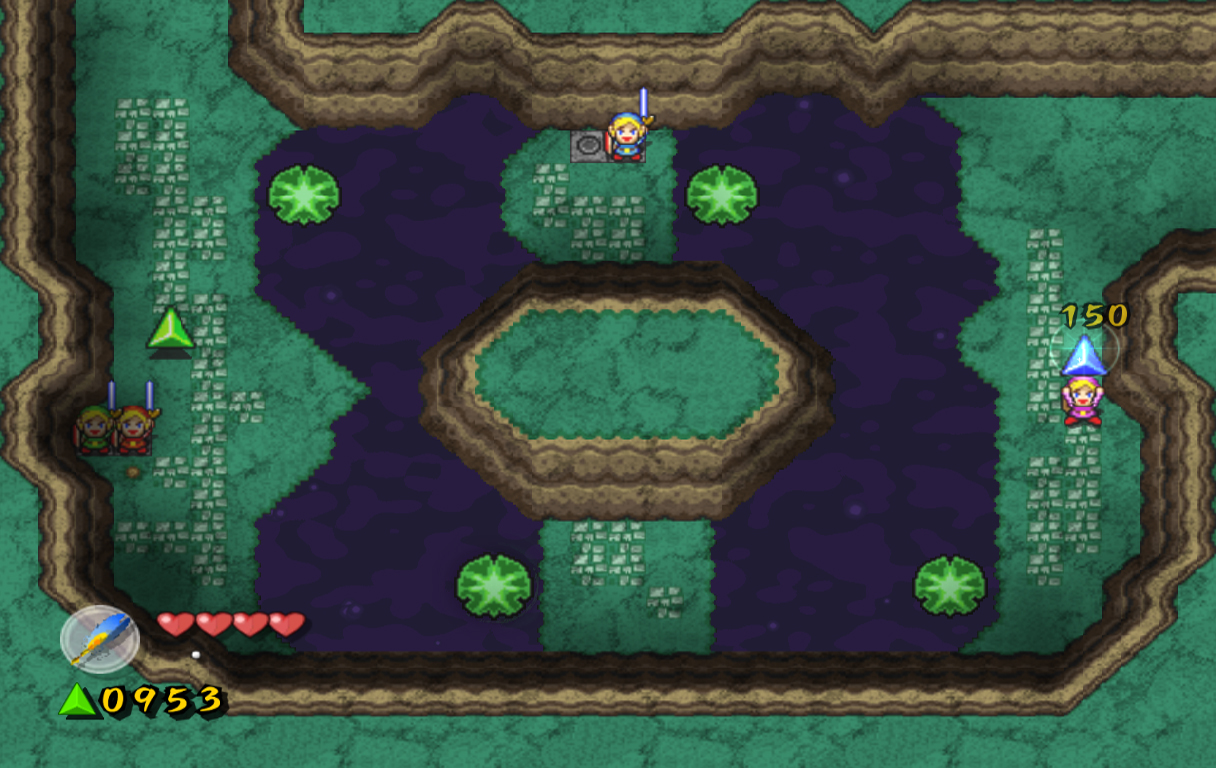
Head to the left and use the Roc's Feather again to jump across the lily pads above. You can read the sign for another Tingle Times. This one simply talks about Tingle getting stuck in the sludge and jumping across the lily pads. Continue to jump across the pads to the left, and use the Roc's Feather to get the force gem floating above if you're daring. Walk along the left wall to more lily pads, jump across and head left another screen. There are Castle Guards and a Chief Soldier on this screen, but both should be rather easy to defeat at this point. Kill them in any way you choose and head left another screen. The lily pads are covering Zoras that will throw you into the sky when you walk on them. Once you're in sky, push the control stick to the left to make it over to the piece of land. There are two switches along the left, so separate the Links and put one each switch.
Use another Link to float to the next piece of land to the top-right, and do the same for another. Slash the grass along the wall and step on the last two switches, causing a big green force gem and a big blue force gem to drop down. Use the lily pad to the right to get to the right side, then use a Link on the left side to bring them back together. Grab the second force gem, then head up to the next screen. The goal on this next screen is to use the lilypads to jump to each corner of the screen. To do this, separate the Links and use one to step on the switch under the grass to the right. Then, use another Link to jump to the bottom-right corner. Slash the grass at the end and step on the switch to reveal another lilypad. Use another Link to jump to the top-right corner and slash more grass to reveal more lilypads. Finally, use another Link to jump over to the now connected piece of land. Slash the last piece of grass and step on the last switch underneath to connect to the path out of the screen. Jump over to it and collect the big red force gem, then exit the screen.
On this screen jump across the lilypads on the upper row. Once you make it to land, use the bomb below to bomb the wall beneath the blocks above. Before you enter the cave, continue along the path and jump across another lilypad. Enter the cave here and open the chests for another Heart Container and a big green force gem. Now, push the top block to the left and the middle block down. Head out the exit, then switch to another Link. Bring all the Links together in front of the hole we bombed. Before you enter, grab a bomb and then walk inside. Throw the bomb at the cracked wall above to open another entrance.
Walk up the stairs in the next room and enter a more open cave. Use the Roc's Feather to jump onto the platform above, then onto the rock platform to the left. Break the pots to the left and jump stab the rock barrier to get below. Break the pots to the right and open the chest for a big blue force gem. Walk back to the left and head up the ladder to get back outside. Walk up to the next screen to enter a Graveyard. This Graveyard is littered with ghosts that will try and float at you to attack you. They are fairly easily avoided though, so they shouldn't be a worry. Start off by walk to the first tombstone to the right and pushing it upwards, revealing a hole. Inside this cave everything is seemingly blocked off except for the bottom-left pot. To break it, hop over to the left platform and jump stab the platform at the bottom near where the pot is. The force from this should break the pot, allowing you to jump over with another Link and step on it, revealing the Bow and Arrow.
Use the Bow to shoot the eye on the right side of the cave, revealing a platform. Shoot the eye at the top as well to connect the path to the portal. Use it to get back outside. Walk over to the top-right tombstone and push it open to reveal another hole. Open the two chests to find 20 more force gems and a Blue Bracelet. As soon as you walk back outside a Ring Keese will start to circle around you. To defeat this enemy, you must create a Wide or Long formation and strike it when it gets near the edge of your line. When defeated it will leave behind a circle of green force gems and a red force gem. If you don't want to or can't defeat it, simply walk north to the next screen.
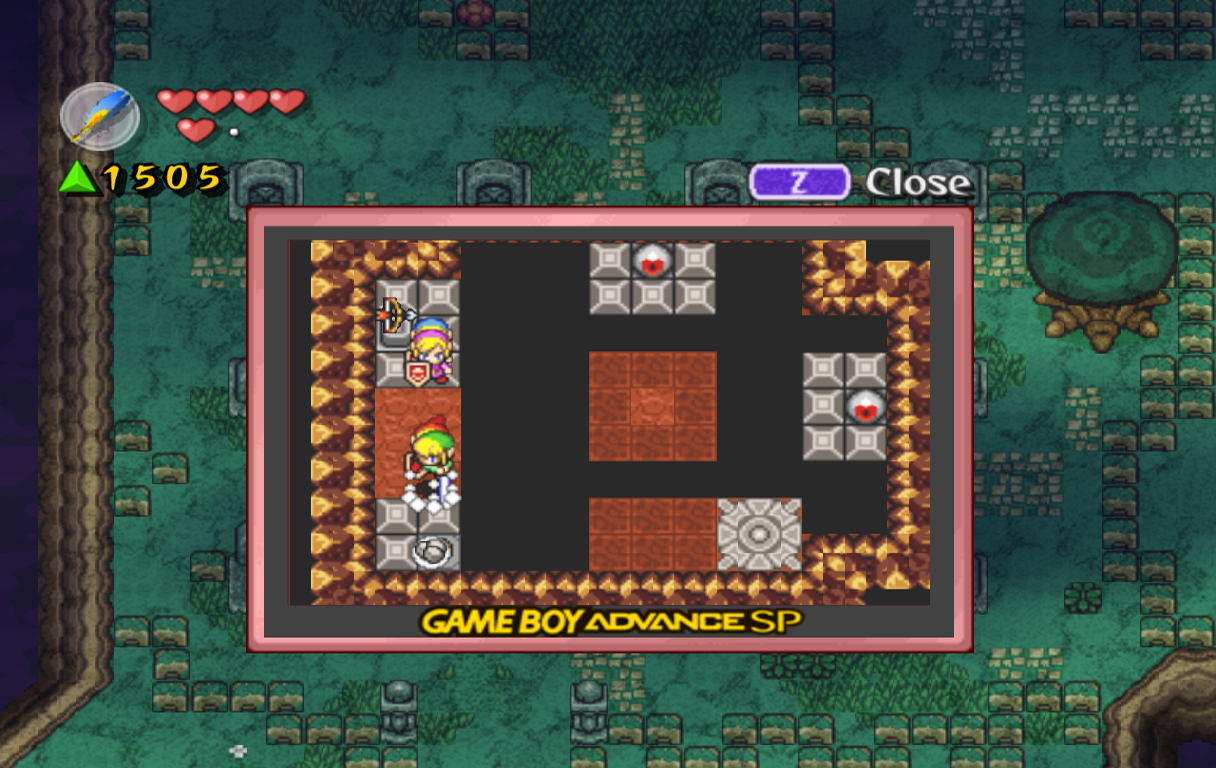
Walk over to the northeast part of the screen and you'll find the ghost of a little child. She'll speak of the ghosts here that were being mean to her, but nothing else important. Head south a screen, then head east a screen. Here you'll find Shadow Link once again. You can try to defeat him, but soon the tombstones will start flying at you, making this difficult. Once they stop attacking, you can push open the tombstone in the top-left corner to find a Great Fairy that will heal you. You can also push open the middle tombstone to find a lengthier cave. Push the two northern blocks upwards to be able to shoot the two orbs in the room. After you do so, head up to the next room. Push the next two north blocks upwards, and head left to the next room. Create a Box formation and shoot the two orbs on the other side of the room. After, head right two screens. Maneuver through the Blade Traps in this room and open the chest at the end to get a small key. Head back left a screen, then open the door at the top and head into the next room.
Trick the Blade Trap at the top-right to move to the left, then step on the switch in the corner. Head left to the next room and try your best to shoot the Keese to the left while avoiding the Blade Trap. Once you do, use the new pathway to head south to a previous room. Shoot the next two orbs to create a pathway connecting the rooms together and dropping a small key. Grab the key and head up a room, right a room and open the locked door to the right.
Break the pots surrounding the Blade Traps and the ones to the south. Trick the Blade Traps to move south and open the two chests to find another 100 force gems and a Heart Container. Head right to the next room and open the chest for a Moon Pearl. This room may look like a dead end, but if you walk to the top row of blocks and push the second one from the left to the south, it will open the door to the right.
Use the portal in this next room to get back outside, then head left a screen and up a screen. Walk all the way to the left on this screen and use the Moon Pearl to open a Moon Gate in the patch of flowers along the left wall. Transport into the Dark World, then head north and find another Moon Gate to transport you back to the normal world. Slash the patches of grass at the bottom of this square area and use each Link to step on the switches. This will light the torches around the house, destroying the Giant Ghinis on the screen and removing the border.
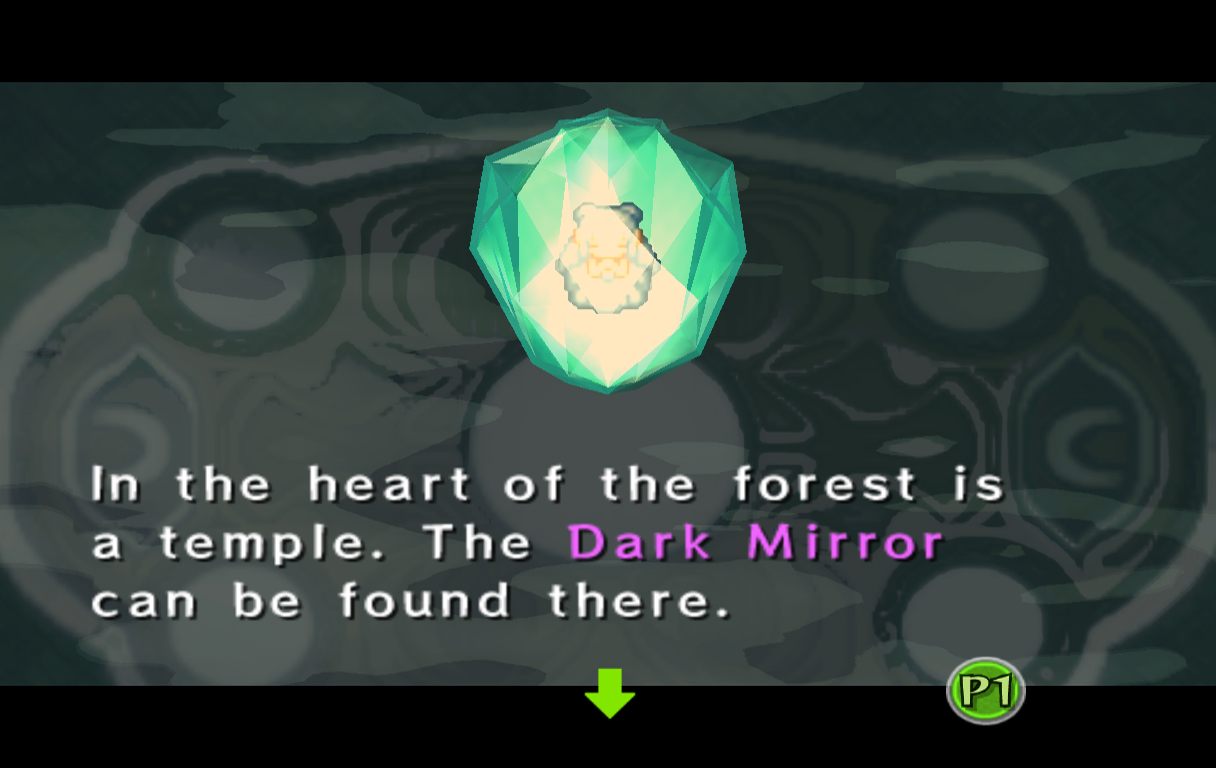
Enter the house and speak with Dampe, the caretaker of this graveyard. Dampe will speak of a dark mirror found in the Forest of Light, which is really now the Forest of Dark since it is incredibly dark. After he finishes speaking, open the chest in the corner to find a Power Bracelet. This will allow you to lift large objects and progress further in the stage. Head back outside and south a little bit, then to the right. Lift the large tree near the middle of the screen and head through the path at the top-right of the screen.
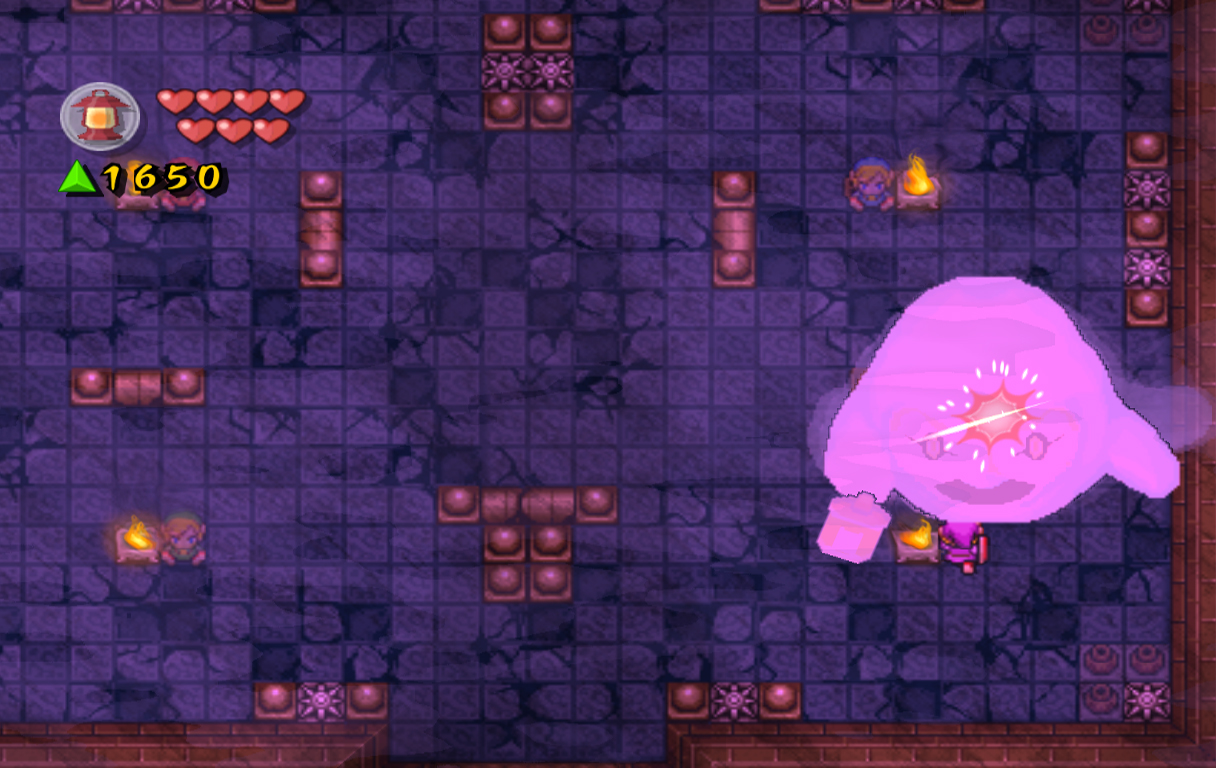
This screen is almost completely dark, except for a few circular lights. Try to maneuver your way through the screen to the bottom-left corner where you can grab a Lamp. Try your best to not be spotted by the searchlights, as this will summon a ring of Ghinis around you. After doing so, head to the right and lift the two trees here. Head up to the next screen and you'll find more darkness. Use the switches on this screen to light the torches and destroy the Giant Ghinis. Doing so will reveal the boss for this stage: Jalhalla. This boss is only a face, and a ghost face at that. The idea here is to place each Link on one of the star-shaped switches, lighting all the torches on the screen. This will stun Jalhalla and allow you to get a sword slash in. After doing this, Jalhalla will release a circle of Ghinis. You can attack them with the sword if you wish, but keep lighting his face and attacking with the sword. After doing this a few times, Jalhalla will also release Anti-Fairies, along with spinning around in circle releasing fire. Continue to attack his face and he will soon be defeated.
Head up to the next screen and slash the eye barriers, collect the fairies and join for the next stage, Infiltration of Hyrule Castle. |
Heart Container #1
Two screens after you obtain the Roc's Feather, enter the second cave on the screen. Walk down the ladder, then jump stab the blocks, going all the way to the bottom of the cave. Walk left, then head up the next ladder.
Jump stab the next two columns of blocks, then jump across the gap and open the chest for a big green force gem. Continue down the gap, but stay along the right side and you'll land on another platform. Jump stab the next two blocks to the right, then open the chest for a Heart Container. [more] Heart Container #2
The second heart container can be found three screens after Chief Soldier. On this screen jump across the lilypads on the upper row. Continue along the path and jump across another lilypad. Enter the cave here and open the chests for another Heart Container. [more]  Ghini Ghini
Ghinis are ghost-like enemies that appear several times throughout this stage and the next. They appear most frequently in the Graveyard section along with their Giant Ghini sibilings. These smaller Ghini can be defeated with the sword or light from a torch. [more]  Blue Bracelet Blue Bracelet
The Blue Bracelet in this stage can be found in the first screen of the Graveyard. Push the top-right tombstone upwards to reveal a hole that leads to a chest containing the Bracelet. [more]  Ring Keese Ring Keese
A Ring Keese consists of a large red Keese followed by smaller purple Keese. These Keese will form a circle around Link, preventing him from escaping. Link will need to create a Wide or Long formation to defeat the red Keese, at which point the smaller ones will die off as well. [more] Heart Container #3
The final Heart Container in this stage can be found a few screens into the Graveyard. Underneath the tombstone in the center of the southeast screen, follow the cave path until you obtain a small key. Use it to progress further until you arrive at a room with two Blade Traps and two treasure chests. Open the chest on the right side for the Heart Container. [more]  Giant Ghini Giant Ghini
A Giant Ghini is a large, more difficult version of Ghini. These Ghini can only be defeated with the light from torches, specifically the ones surrounding Dampe's house. These Ghini only appear on this screen. [more]  Power Bracelet Power Bracelet
After Link reaches Dampe's house, he will need to use the torches to defeat the Giant Ghini surrounding the house. Once this is completed, Link will be able to enter the house and open the chest inside for the Bracelet. [more]  Jalhalla Jalhalla
Jahalla appears as the boss of this stage, as nothing more than a mask. To defeat it, place each Link on a star-shaped switch to light all the torches on the screen. Once the boss flies inside the light, it will be stunned. At this point Link can attack it with the sword. Repeat this process until it is defeated. [more] |


4.3 Infiltration of Hyrule Castle
|
|
|
|
Welcome to the third stage, where we sneak into Hyrule Castle. Start off by jumping into the water above, then climbing up the ladder to get back on land. Slash the grass to the left to get some force gems, then head right. Head south along the castle wall and slash more grass to find another 50 force gems and a force fairy. Walk back north and head up a screen.
On this screen there is actually two different ways to progress. One is to get caught by the searchlight, get thrown in jail and find the Magic Hammer which will allow you to swim past many of the searchlights. The other is to simply head left and try to maneuver your way past the searchlights, as it is possible. The first option gives you many more force gems, although the second option will give you a Heart Container. If you want, you can always head left and grab the Heart Container, then get caught by the searchlight if you want more force gems. If you want to get caught by the searchlight, start reading at the next paragraph. If you simply want to collect the Heart Container and jump off the ledge at the end into the water, continue down 4 paragraphs.
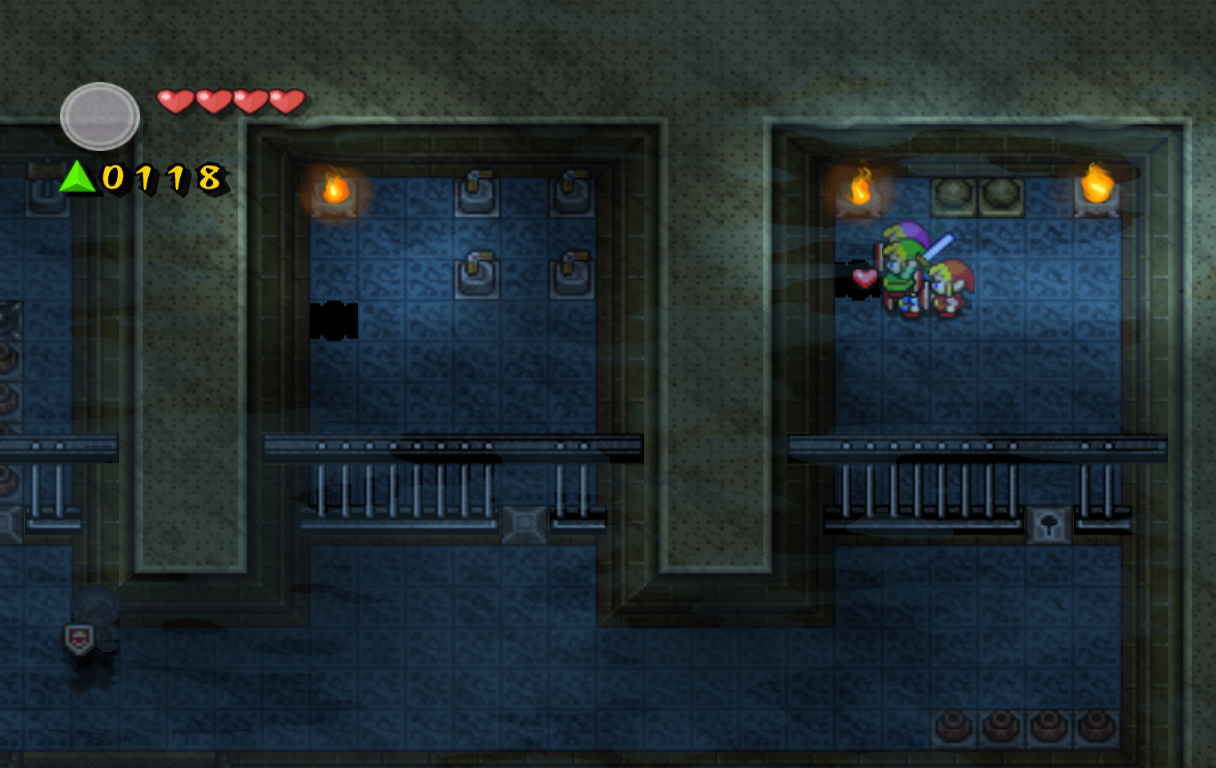
Once in jail, break the pot to the left and hop into the hole. Climb up the ladder to the left and hit the black switch to create a bridge. Walk across and climb the ladder to exit into the next cell. Grab one of the Boomerangs here, then hop back into the hole. Before you walk to the other side, hit the black switch with the Boomerang. Drop down along the left side to reach the chest containing a purple force gem. Now, walk to the right side, climb the ladder and back into the first cell. Walk to key block below and form a wide formation, then use the Boomerang to hit the pots below. One of them contains the key to opening this block.
Use it, then head to the far left cell. Create a wide formation, then use the Boomerang to break the rows of pots and hit the four black switches. Walk inside the cell and grab the Magic Hammer. Walk out of the cell and head through the south door to the next screen. Hop off the castle then use the Magic Hammer to pound the stakes to the south. Hop into the water and swim left a screen. On this screen, you'll need to swim while avoiding the searchlight. Grab the big green (or purple) force gem if you can, then head to the next screen. (Start here if you grabbed the Heart Container and jumped off the ledge) Ignore the ladder and continue left another screen, then grab the force gems that are hidden underwater. Swim back right a screen, then climb up the ladder to get back on land. Defeat the Keese here if you wish, then head left a screen. Ignore Shadow Link on this screen, as you won't have a good opportunity to kill him and you greatly risk being thrown back in jail. Head to the left, then south. Ignore the pots here, since the searchlights will spot you if you break them. Continue right a screen and open the two chests to find 100 force gems and a Heart Container. Head back left a screen, then walk to the north. Walk into the castle through the right side hole when you have the opportunity to.
Defeat all the visible Ghinis in this room, then break all the pots to find more Ghinis hiding. Kill them all and grab the force gem that drops down, then head north. There are obviously a great many Anti-Fairies in this room, and we can also obviously not kill them. That means we must dodge all of them to continue, although this is not as challenging as it may look.
The trick is to jump into the line of Anti-Fairy in the direction it is moving. So, walk around the first chair to the right, then left around the second chair. Walk left again around the third chair and you should make it through. On the right side, walk all the way around the rectangle and push the block south to open the path. Open the chest along the top of the rectangle to find a small key. Walk back out of the rectangle and use the key on the door to the right. Walk to the top of this screen and use a Long formation to pull down the level at the top, opening the door nearby. Enter through, then use a Wide formation to grab the next lever at the top when possible. The best way to do this is to wait until all the Anti-Fairies move past the lever to the left, which will give you the most time to pull the lever. Once you do a Moon Pearl will drop down.
Grab the Pearl, then head back right, down, and left to the room with the rectangle. Walk inside again, then use the pearl to create a Moon Gate. Hop inside, then push the block to the north upwards to get out of this rectangle. Now, push the far right block up, and the middle block to the left. Grab the Bow and Arrow, as well as the 100 force gems, then head back into the normal world. Walk right a screen and you'll find a rather perplexing puzzle. If you shoot one of the eye orbs with the Bow it will light a square part of the room that you can walk on. This path will only stay lit for a short period of time, though, if the light does, you can still walk across the dark path. This means that you don't necessarily have to shoot the eye orbs to walk across the path, so if you don't want to, you don't have to.
Start off by shooting the first orb at the bottom left of the screen. Shoot the next one to the right, then the first one north. Shoot the next one to the north, then shoot the one to the left with the chest on it. Open the chest to receive the last Heart Container in the stage. Head back right a square, then shoot the eye to the right. Open the chest here for another 100 force gems. With this square still lit, separate the Links. Grab one, then throw him across the small gap to the next square to the right. Open the chest for a small key, then walk right onto actually ground, and all the way down to a locked door. Open it and head right a room. Use the Bow and Arrow to shoot 4 arrows through each of the torches to the right. This will light most of the room, allowing you to walk to the other side. Walk out through the south exit to get back outside.
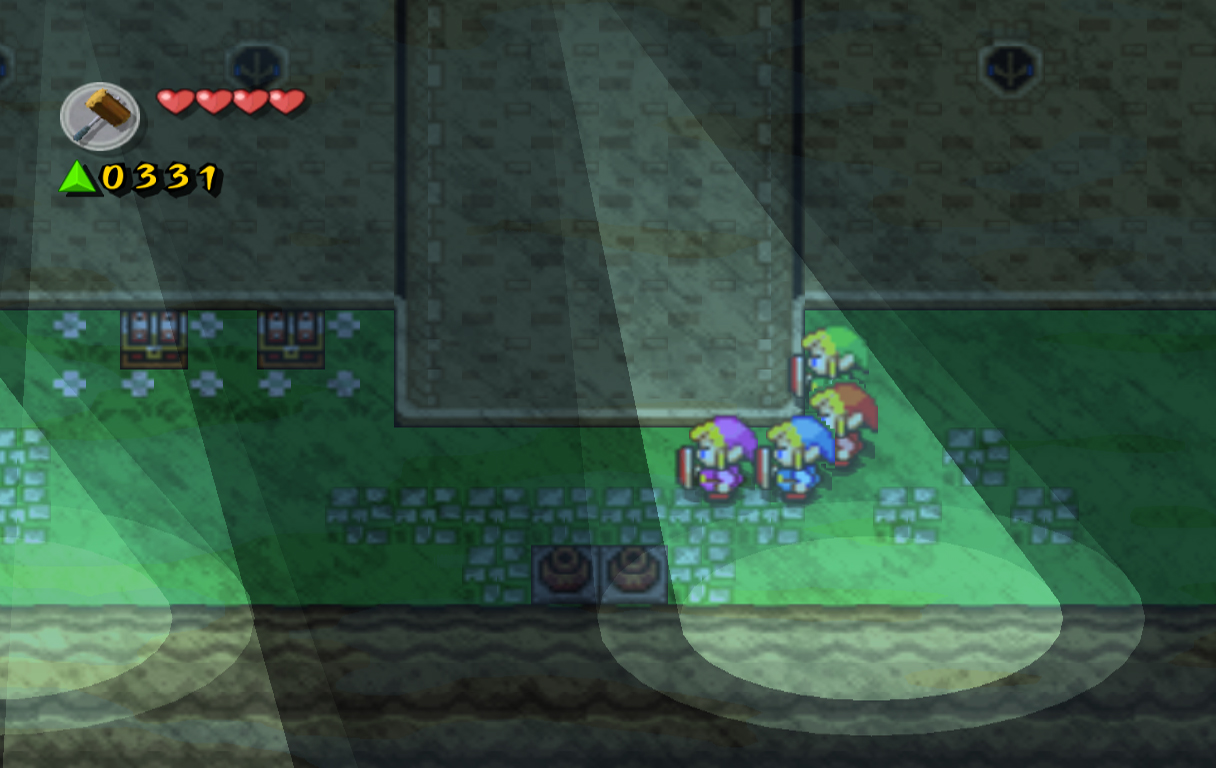
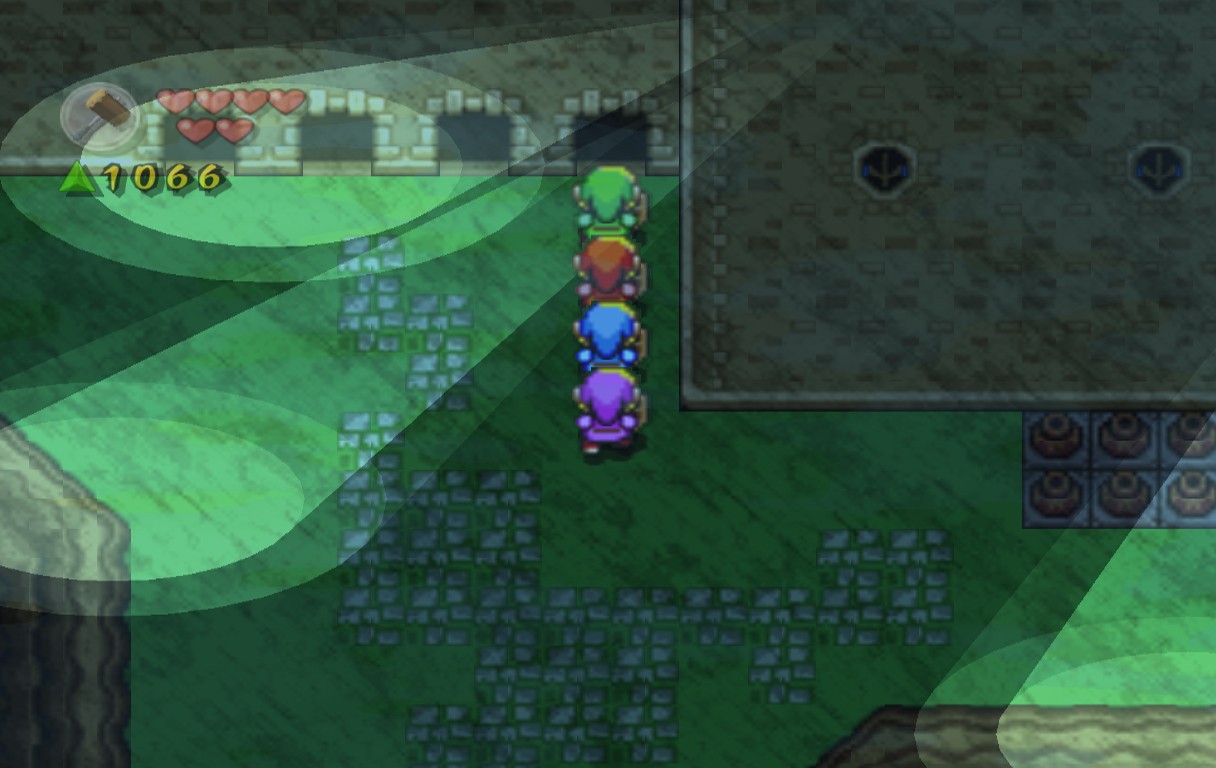
Here you'll find more searchlights and another opportunity to get caught. Getting caught isn't nearly as much of a reward this time though, as the small key we want is to the left past these two searchlights. If you want to just grab the key and progress, head left and grab it, then skip the next two paragraphs. Otherwise, keep reading the next paragraph if you get thrown in jail. Once inside the jail, drop down into the hole to the left. Walk left and shoot the switch on the ground with the Bow, which will lead to a chest containing more force gems. Walk back down the ladder, then hit the same switch again. Walk up the ladder and hit the switch to the right to reach another ladder into the next cell. Head out of this cell, then through the door at the bottom to get back outside. Jump off the ledge here and head left a screen. Drop into the hole here, then continue left. Push the second block from the right upwards and climb up the ladder to get outside again. Drop down off the ledge here and grab the key and big green force gem inside the chests. After, head inside through the doors to the north.
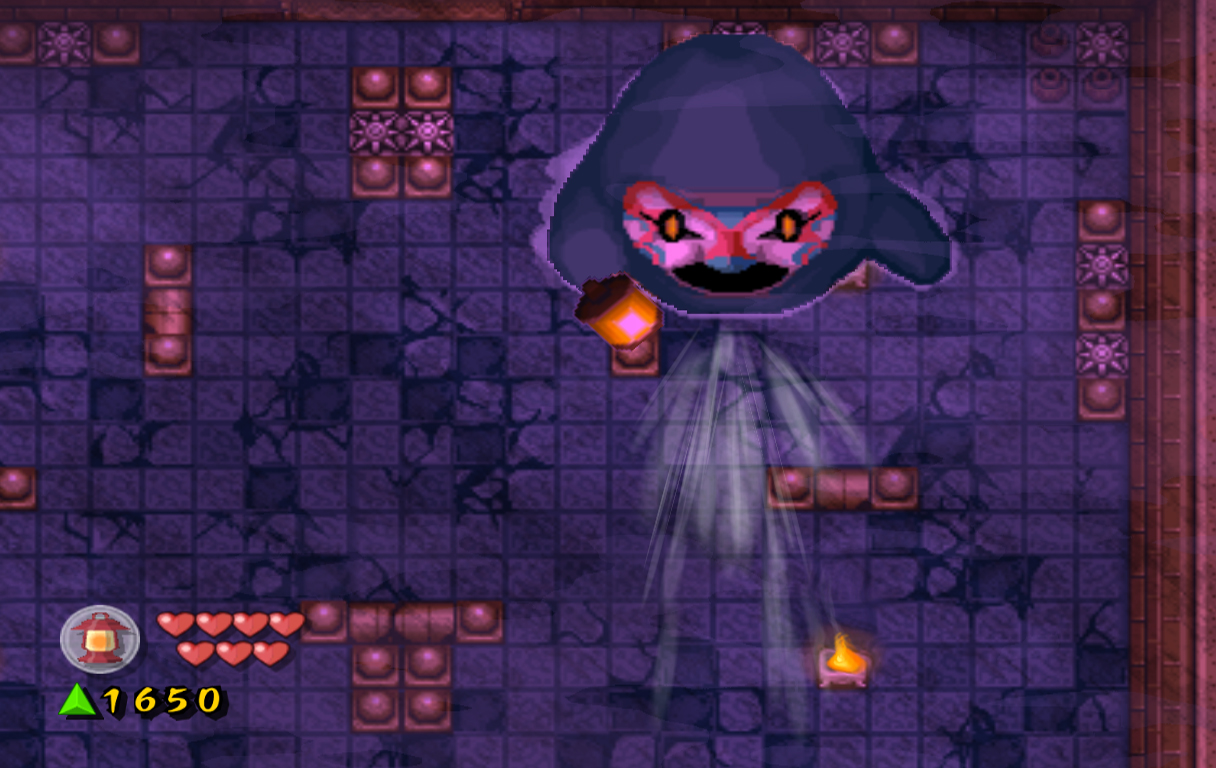
Back inside the room we lit, head up with the small key and open the locked door. Grab the Lamp inside of this small room, then head back down a screen. Walk to the center of the room and use a Cross formation to light the four torches at the top at the same time. Grab the big green force gem that drops down, then head up through the door. This room contains only pots and torches in preparation for the boss battle. Grab what you need, then light the two torches at the top to open the door. When you're ready, continue north to face the dungeon boss. Light the four torches in each corner of this room to face off with....Jalhalla? That's right, he's back. And this time, he's defeated in almost the same way as before. Jalhalla will immediately extinguish all four torches in the room. To stun him, you must relight these torches without walking in his lamp. If you do walk through his light, then he will extinguish the lights again, forcing you to start over.
Once you light all the lamps, you can slash at Jalhalla's face. This will cause him to suck you into his body, and don't worry, this is unavoidable. Inside you'll find a small green monster, which is really what you need to kill. Slash away as many times as you can and soon Jalhalla will spit you back out.
During the battle, Jalhalla will also summon Ghinis to attack you. Defeat these in the same way as before and you can continue your focus on Jalhalla. Also, watch out for the spikes littered around the room; he can knock you into these when he tries to extinguish the torches. Keep attacking the green monster inside him and soon he'll be defeated. Collect the many force gems he leaves behind, then head up a room. Destroy the eye barriers as usual and collect your fairies. After listening to the White Maiden's speech, join me in the next level, The Dark World.
|
Heart Container #1
The first Heart Container can be found on the second screen with searchlights. Avoid the lights by hugging the northern wall and open the chests to obtain the Heart Container. [more] Heart Container #2
Deep in Hyrule Castle you will find a room where you need to shoot orbs to light up the pathway. Start off by shooting the first orb at the bottom left of the screen. Shoot the next one to the right, then the first one north. Shoot the next one to the north, then shoot the one to the left with the chest on it. Open the chest to receive the last Heart Container in the stage. [more]  Jalhalla Jalhalla
Jahalla reappears as the boss of this stage and level, this time as a full bodied ghost. To defeat him, all four torches in the room must be lit with the Lamp. This will stun the boss, much like in the previous stage. At this point he can be hit with the sword, causing the monster to suck the Link's into his body.
Inside of Jalhalla is the real enemy; a small green figure. This enemy can be attacked with the sword as well. The Boss will soon be ejected from Jalhalla, at which point the process can be repeated until Jalhalla is defeated. [more]  White Maiden White Maiden
The White Maiden is the fourth Maiden rescued in Four Swords Adventures. She presides over The Dark World area, including the Lost Woods, Kakariko Village, and the Temple of Darkness. [more] |


| Four Swords Adventures Site Walkthrough | |
|
Chapter 1 - Whereabouts of the Wind Chapter 2 - Eastern Hyrule Chapter 3 - Death Mountain
Chapter 6 - The Desert of Doubt Chapter 7 - Frozen Hyrule Chapter 8 - Realm of the Heavens | |
| � Previous | Next � |