This chapter covers the normal mode of the HD version of Twilight Princess for the Nintendo Wii U. If you are playing on the Nintendo Wii, check out the Forest Temple – Wii Version.
- Chapter 1 – Ordon Village
- Chapter 2 – The Twilight
- Chapter 3 – Faron Woods: Twilight
- Chapter 4 – Forest Temple
- Chapter 5 – Kakariko Village: Twilight
- Chapter 6 – Death Mountain
- Chapter 7 – Goron Mines
- Chapter 8 – Lanayru Province: Twilight
- Chapter 9 – Lake Hylia: Sidequests
- Chapter 10 – Lakebed Temple
- Chapter 11 – The Master Sword
- Chapter 12 – Gerudo Desert
- Chapter 13 – Arbiter’s Grounds
- Chapter 14 – Scaling Snowpeak
- Chapter 15 – Snowpeak Ruins
- Chapter 16 – Sacred Grove: Round Two
- Chapter 17 – Temple of Time
- Chapter 18 – In Search of the Sky
- Chapter 19 – City in the Sky
- Chapter 20 – Palace of Twilight
- Chapter 21 – Cave of Ordeals
- Chapter 22 – Hyrule Castle
4.1 Dungeon Map
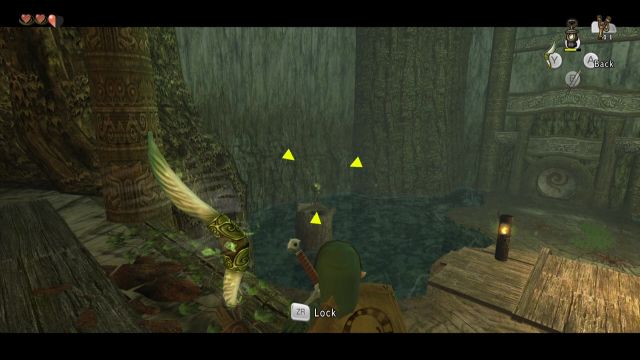
Once you enter the Forest Temple, defeat the nearby enemies and run straight ahead where you will be greeted by a cinematic look at the dungeon as a whole. Right from the start there is an optional treasure chest to find here. If you turn to the right to the right you’ll find some vines, along with two Walltulas on them. Take them out with the slingshot and then climb on up to find a treasure chest that contains a yellow rupee.
In this room you’ll find that same monkey, once again captured in a cage. Defeat all the enemies that surround the monkey and then slash away at the cage to break her free. After killing the walltulas, climb the vines and head through the door with the monkey following right behind.

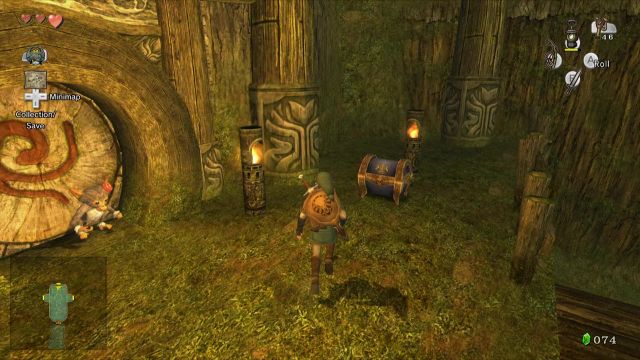
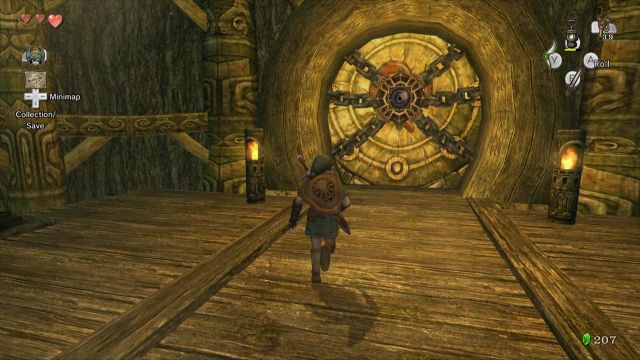
Here you will find a large central chamber which we will be revisiting regularly throughout the dungeon. Run ahead and you’ll find an enemy Skulltula. Defeat it with a number of sword slashes, followed by an ending blow. Pull out the lantern and light up the four torches that can be found in the room, which will cause a staircase to appear. Cross the staircase and open the treasure chest found here to get the Dungeon Map. With the map in hand, walk through the nearby door.
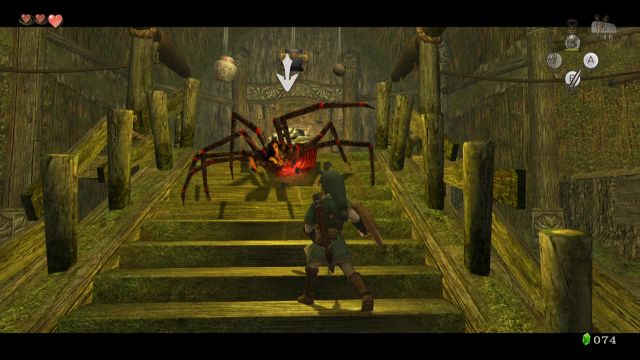
Your monkey friend will try to walk across the bridge, but will be met by a larger baboon character known as Ook. The baboon will use his massive boomerang to cut down the bridge, forcing the monkey to retreat. Since we’ve reached a dead end for now, retreat back to the previous room.


4.2 The Second Monkey
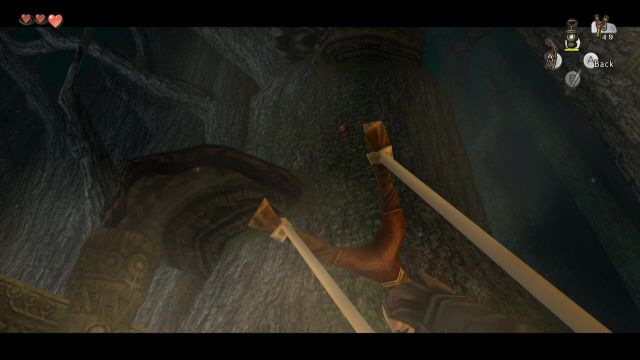
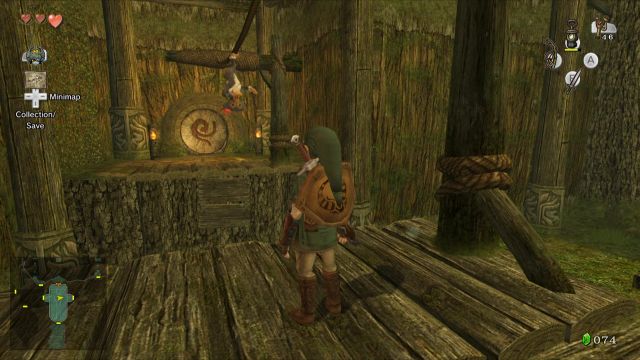
Back in the central room, run to the center platform and you’ll see that the monkey will jump and hang upside down from the nearby rope. Jump over and grab hold of the monkey’s hands, which you can use to swing across the gap. Press A to let go once you are on the other side and then head through the door.

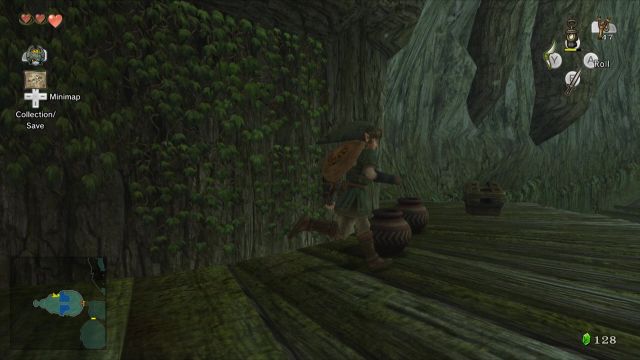
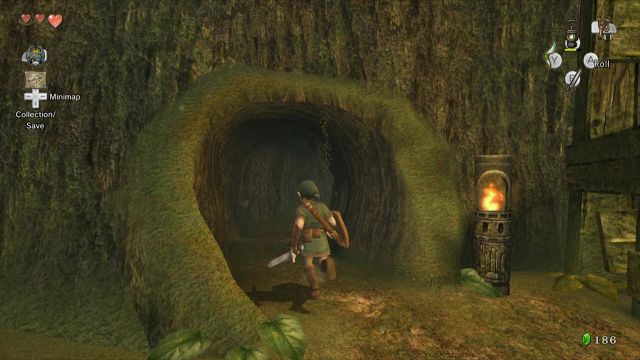
Turn to the left and you’ll find an enemy Bombling. These bomb-enemies will pop up from underground and will attack if you draw near. Hit the bombling and it will turn into a bomb and you can use that to blow up the nearby boulder. Inside one of pots you will find a strange creature. Break the pot to meetup with Ooccoo. This character will be found in every dungeon, and can be used to create a warp point, quickly allowing Link to reach from that particular room to just outside the dungeon, and then back once he returns.


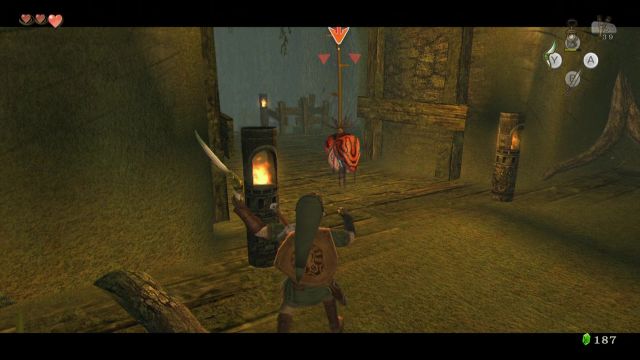
Continue down the corridor to reach an open room. Defeat the deku baba and you’ll find that the monkey wants to cross a gap, but an enemy skulltula is in the way. Nail with a slingshot to knock it down and it will soon fall into the water, allowing you to pass. Unfortunately the monkey leads you to a locked door and after realizing this, will turn around. Run over to the other door found at the north end of the room and head through.
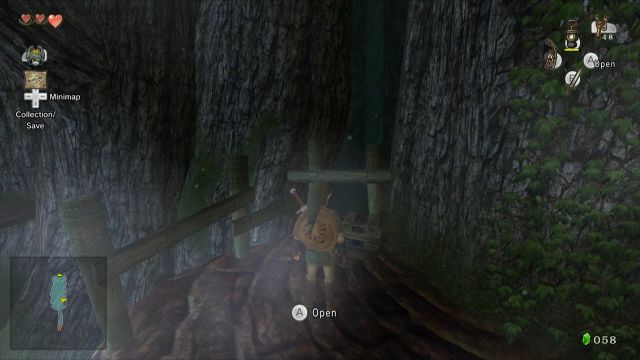
You will be outside and the wind will occasionally turn the nearby bridge. Once it is in the right orientation run across and head through the door. Open the treasure chest here to get a small key. There is nothing else we can do right here for now, so turn back around and head outside. Once again cross the bridge and head through the door.


Now that we have the small key, use it on the locked door. In this room you will find a second monkey! Once you try crossing the bridge, it will collapse, preventing you from leaving the room. At the bottom of the room, explore the area to find a treasure chest that contains a yellow rupee.


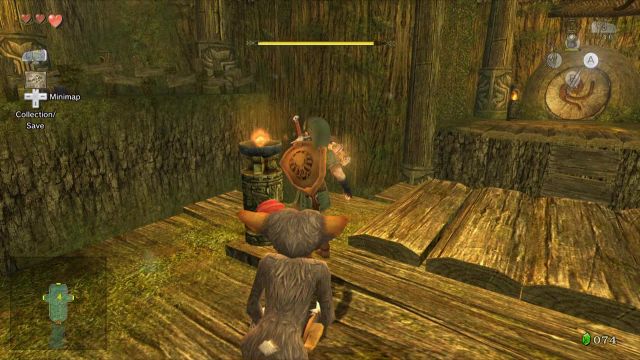
In order to free the caged monkey roll into the pillar several times and it will shake, and doing so consecutively will cause the cage to come crashing down, freeing the monkey along the way. This will trigger a pair of bokoblins to appear and you can defeat them rather easily with some sword slashes.


After defeating the enemies, climb back up and the pair of monkeys will both hang upside down. Use the monkeys to swing from one to the other to get across the gap. With the monkeys following behind, return back to the large central room near the start of the dungeon.
4.3 The Third Monkey
This time use the monkeys to swing to the west side of the room. Pull out the lantern and use it to light the spiderweb that is blocking the way. Continue onward to the next room.


Here you will find a new type of Deku Baba known as a Baba Serpent. They appear as regular Deku Baba, but once you cut them from their stems, they will still be alive, crawling around the room try to attack Link. Additionally, there is a new enemy known as a Deku Like just to the side, preventing you from entering a small corridor. Ignore it for now.
Climb the staircase and you’ll see another Deku Like ahead. If you climb further up, and u-turn left at the bombling, you will find a jumpable gap, right above where that second Deku Like is (if you’re at the correct Deku Like, the closest wall of the room is on your right side, and not your left). If you try to jump across, the Deku Like will gobble you up. You will need to defeat the Deku Like and you can do so using the bombling you just passed. Slash at the bombling to activate its bomb-like nature, and then pick it up and toss it over the Deku Like. The enemy will gobble up the bombling instead of you, and be defeated by explosive indigestion, allowing you to continue.


Next you will see a large boulder blocking the way. Once again defeat the bombling that we just used, this time carrying the bomb and jumping across the gap where the Deku Like was. Toss the bomb towards the boulder and it will blow up. Jump up and go through the door that is revealed.


In this next room you will find the third caged monkey. Right from the start jump down and you’ll notice two pillars. One of them has a larger treasure chest on top of it. Roll into the pillar, causing the treasure chest to fall down. Open it up to get a small key.

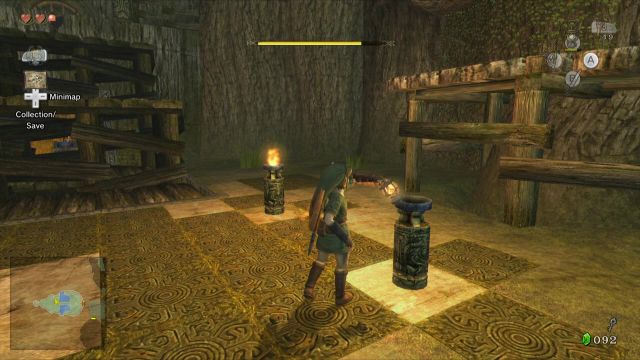
Be careful when crossing the bridge here as enemies known as Tile Worms can be found. If you walk over a tile worm, it will jump out from underground, sending Link flying away and doing some damage. On the other side of the room there are four torches and only two of them are lit. Use the lantern to light the two torches and this will cause a staircase to fully appear. Climb the staircase and defeat the big skulltula found here. Use the small key we just got to free the monkey.

There is another treasure chest for us to collect here in this room. Along the north side of the room you’ll see some vines that you can climb up and this will lead to a treasure chest containing a red rupee. There is actually one more treasure chest to collect in this room, but we cannot quite get it just yet and we will return here shortly. Climb the steps on the other end of the room and return back to the previous room.
4.4 The Fourth Monkey
Back in this larger vertical room, turn to the right and use your slingshot to defeat the walltulas. Jump over to the vines and climb them. Go through the door to find the fourth monkey caged up. Here you will find an enemy Big Baba. This giant Deku Baba has a much larger stem than the previous iterations that we battled with. Keep your distance and the Big Baba will extend its massive head towards you. As long as you are out of range, it won’t be able to harm you. Hit it with your sword and repeat this process until the first phase of the battle is done.


What is left behind is a Deku Like. Hit the nearby bombling and grab a bomb. Toss the bomb into the Deku Like to defeat it, and grab the small key that is left behind. Use the key to free the fourth monkey and then return back to the previous room.


Once again back in this vertical room, turn to the right and you’ll find another bombling. Continuing in this direction there is gap that you can leap across. There is actually a Deku Like all the way at the bottom of the room. Hit the bombling and grab a bomb. Carefully walk to the ledge and drop the bomb all the way to the ground level and the Deku Like will gobble it up. Drop down to the ground level and enter this small room to find a treasure chest. Open it up get the 2nd Piece of Heart found in the game. Now return to the large central room near the dungeon entrance.


4.5 The Gale Boomerang
Now that four monkeys have been saved, return back outside to the area where we first met up with Ook the baboon. The four monkeys will attach themselves to the rope, which will allow Link to cross the large gap. Swing from monkey to monkey to get across the gap and then enter the door to take on the dungeon mini-boss.


Right away Ook will toss his boomerang unleash baba serpents. I recommended defeating these enemies as soon as possible so that they don’t get in your way. Throughout the battle Ook will jump from pillar to pillar, eventually tossing his boomerang towards Link. Keep your eyes on Ook until he throws the boomerang towards you. As soon as he does so, quickly roll into the pillar that Ook is standing on. This will temporarily stun Ook and when the boomerang comes, it will nail the baboon, causing him to tumble to the ground. Run on over and deliver a number of sword slashes.


Repeat this process several times and keep defeating the baba serpents as they appear. Later in the battle, Ook doesn’t quite throw his boomerang as far, so you will have to be quick in rolling into the pillars.


After defeating Ook, you will see a quick scene where the parasite that was attached to Ook has been defeated and the baboon has returned to normal. Left on the ground is the dungeon item, the Gale Boomerang.


Run back to the entrance of the room and you’ll see the gate is closed. Just above the door there is fan spinner and if you target it with the gale boomerang, it will spin, causing the gate to slightly open. Hit the fan spinner three times and the gate will open up, so head back to the previous room.
4.6 The Compass
The monkeys are no longer here so you’ll have to change course. If you turn to the side you’ll notice some moving platforms that will rotate with the wind. You can use the gale boomerang to spin these platforms yourself. Use the boomerang to spin the platforms and get across. Here you will find the fifth monkey, trapped in a cage. Target the string above the cage and the boomerang will cut right through, freeing the monkey.


Again spin the next platforms to make your way back southward to get back inside. You will appear back in the familiar vertical room with the staircases.
OPTIONAL: There is a piece of heart you can collect right now if you’d like. Return to the room to the west, the room that had the tile worms. Inside the room there are four torches that we had lit earlier. Use the gale boomerang on the four torches to cause the flames to go out. This will lower the staircase, allowing Link to reach the treasure chest that is hidden behind. Open it up to find Piece of Heart #3.


Return back all the way to the large central room near the entrance of the dungeon. You may have noticed earlier, but there is a treasure chest hanging from the ceiling. Use the boomerang to cut the string and open the treasure chest here to get the Compass. This will compass will show the locations of all the treasure chests, as well as the remaining monkeys.


There is one more treasure chest to get right here in this room. Use the gale boomerang to cause one of the torches to go out, which will lower the nearby staircase. If you look in this direction, there is a crack in the wall. Use the boomerang and target the bombling that is nearby, and then target the wall. The boomerang will snatch a bomb and then blow up the wall, revealing the treasure chest. Open the treasure chest to get a red rupee.
4.7 The Big Key
Now go through the door to the east to return to the room that is filled with water. Make your way to the southeast corner of the room and you’ll see a larger treasure chest behind the gate. You’ll also notice there are four fan spinners on the four pillars. If you look carefully at the floor, you will see a pattern that looks like a Z. You need to hit the four fan spinners in the proper order. Use the gale boomerang and target the four fan spinners, all in the proper order and then release. Hit all the spinners will open the gate. Run over and open the large treasure chest to get the Big Key.


If you glance at your map, you’ll see there is one more treasure chest to collect. Drop into the water below and swim over to the southeast corner of the room. Open the treasure chest here to get a Miiverse Stamp for the Hylian letter A. This is a new collectible only in the Wii U version of the game. NOTE: If you are playing the Wii or GameCube version of the game, any time this walkthrough mentions finding a stamp in a chest, the chest will still be there in the older versions, but it will contain something else instead, usually rupees.


With the big key in hand, navigate through the door to the north to get back outside. Continue across the bridge and head through the door.
4.8 The Remaining Monkeys
We previously were in this room, but we couldn’t do too much. With the boomerang, you can rotate the bridge ahead. There are doors on both sides of the room, but we will come back here in just a bit. Rotate the bridge and run straight ahead to the next room.


Here you will find all the monkeys that you have saved thus far, but there are three more left to find. Turn to the left and use the boomerang a number of times on the spinning platforms to reach the side of the room. Use the slingshot to knock down the three walltulas that can be seen on the vines. Carefully climb up the two sets of vines and then head through the door.


Right away you’ll see a Deku Like on one side of the room and a bombling on the other side. Use the boomerang to grab the bombling and then toss the bomb into the Deku Like. Jump on over and open the treasure chest to get a small key.


On the other side of the room you’ll see a large boulder that is blocking the path just above the vines. Once again target the bombling and this time target the left side of the boulder, near the opening. The boomerang will grab a bomb and it will blow up the boulder.


Climb the vines and defeat the enemies found here. You can knock the baba serpents down if you’d like by using the gale boomerang. There is a boulder here as well that needs to be blown up. Once again target the bombling from the previous area and use the boomerang. Grab the bomb and toss it towards the boulder. Break open the boulder to save the sixth monkey. Return back to the previous room.

Drop down below and once again use the gale boomerang to turn the spinning platforms. Go back through the door at the south end of the room. Step onto the center platform and spin it so that it is facing east-west. Let’s first go through the locked door, using the small key we just got.


In this room, use the boomerang to defeat all the tile worms that can be found on the ground. Sneak by the corner of the room and find a small passage. Drop down and fight off the skulltula here and also use the slingshot to get rid of the walltulas.

Climb the vines and then use the boomerang to hit the two fan spinners. Hitting them both with one boomerang throw will open the gate, freeing the seventh monkey. Turn around and defeat the hanging deku baba with the boomerang. Walk through passage and jump over to the treasure chest seen on the right side. Open it up to get a Miiverse Stamp for the Hylian letter N.

Run across the bridge and head through the other door in the room. There is an open hole in the ground here, along with another two holes that are covered with spiderwebs. There are also some big skulltulas that appear. The correct hole you want to drop down is the one at the north end of the room, or just to the right when you enter the room. Use the lantern to burn away the spider web and then drop down. Slash at the cage to free the eighth and final monkey.


Climb back up the vines and return back to the previous room. Spin the platform and then head north to return to the room with all the monkeys.
4.9 Twilit Parasite: Diababa
Finally with all eight monkeys saved, a scene will take place, where the 8 monkeys will all join together and create a massive swing. Jump over and grab the hand of the lowest monkey and have it swing you across. Press A to release. On the side of the room, break open the pots to get some health, storing the fairy that appears in a bottle if you’d like. Once you are ready, head through the door to the north to take on the dungeon boss, the Twilit Parasite: Diababa.

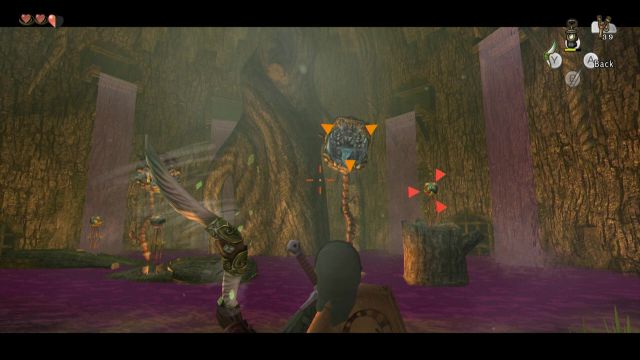
The battle will begin with the two tentacle heads of Diababa appearing. They will occasionally launch out towards Link so be careful. Pull out the boomerang and target a bombling, and then target one of the tentacle heads. The boomerang will carry the bomb and it will get gobbled up, sending the tentacle back down into the purple swampy water. Repeat the same process using another bombling to destroy the second tentacle.

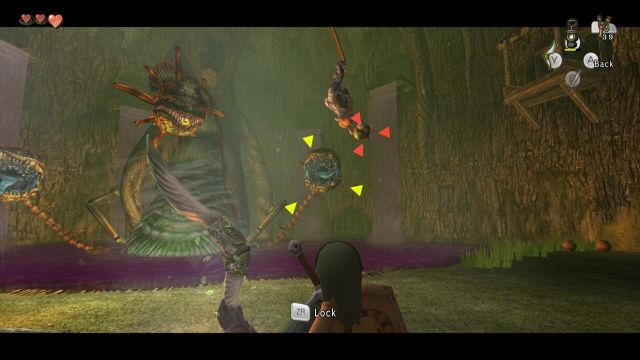
With both tentacles hurt, this will cause Diababa to fully appear out from underneath the water. The two tentacles will also reappear. Furthermore, the bomblings that were previously helping out have disappeared. Run around the room for a short while, avoiding the attacks of the tentacle heads, as well as the purple smog attack that Diababa will occasionally unleash.


After a short while, Ook will appear, the old miniboss we battled earlier. Now that the parasite has been removed from his head, he has turned into a friendly character and is aiding you in your battle against Diababa. He will swing back and forth across the room, with a bombling just in reach. Target the bombling and then target one of the tentacles of Diababa. The boomerang will once again bring the bomb over and destroy the tentacle. Repeat this same process to get rid of the second tentacle.

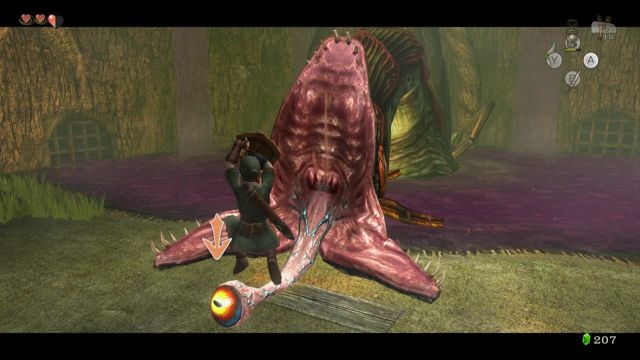
With both tentacles gone, this time target the bombling followed by the main head of Diababa. It will explode at Diababa’s head, causing the boss to come crashing down to the floor. Quickly run on over and deliver a number of sword slashes to the eye at the end of Diababa’s tongue.


After Diababa recovers, both of the tentacles will be revived and the battle begins once again. Repeat the same process as before, first hitting the two tentacles with bomblings from Ook. Then hit the main head of Diababa with a bomb. Once again slash away at its eye and deliver a finishing blow to defeat the boss.

Diababa will wither and its body will burst into pieces, creating part of the Fused Shadow that Midna was looking for. After some quick chit-chat, walk over and grab the heart container that Diababa left behind. Speak with Midna to exit the boss lair and warp back over to the Faron Spring.


- Chapter 1 – Ordon Village
- Chapter 2 – The Twilight
- Chapter 3 – Faron Woods: Twilight
- Chapter 4 – Forest Temple
- Chapter 5 – Kakariko Village: Twilight
- Chapter 6 – Death Mountain
- Chapter 7 – Goron Mines
- Chapter 8 – Lanayru Province: Twilight
- Chapter 9 – Lake Hylia: Sidequests
- Chapter 10 – Lakebed Temple
- Chapter 11 – The Master Sword
- Chapter 12 – Gerudo Desert
- Chapter 13 – Arbiter’s Grounds
- Chapter 14 – Scaling Snowpeak
- Chapter 15 – Snowpeak Ruins
- Chapter 16 – Sacred Grove: Round Two
- Chapter 17 – Temple of Time
- Chapter 18 – In Search of the Sky
- Chapter 19 – City in the Sky
- Chapter 20 – Palace of Twilight
- Chapter 21 – Cave of Ordeals
- Chapter 22 – Hyrule Castle
