- Chapter 1 – Skyloft
- Chapter 2 – Faron Woods
- Chapter 3 – Skyview Temple
- Chapter 4 – Eldin Volcano
- Chapter 5 – Earth Temple
- Chapter 6 – Lanayru Desert
- Chapter 7 – Lanayru Mining Facility
- Chapter 8 – Isle of Songs
- Chapter 9 – Lake Floria
- Chapter 10 – Ancient Cistern
- Chapter 11 – Lanayru Sand Sea
- Chapter 12 – Sandship
- Chapter 13 – Volcano Summit
- Chapter 14 – Fire Sanctuary
- Chapter 15 – Thunderhead
- Chapter 16 – Song of the Hero
- Chapter 17 – Sky Keep
- Chapter 18 – Final Showdown
17.1 Rooms 1-3
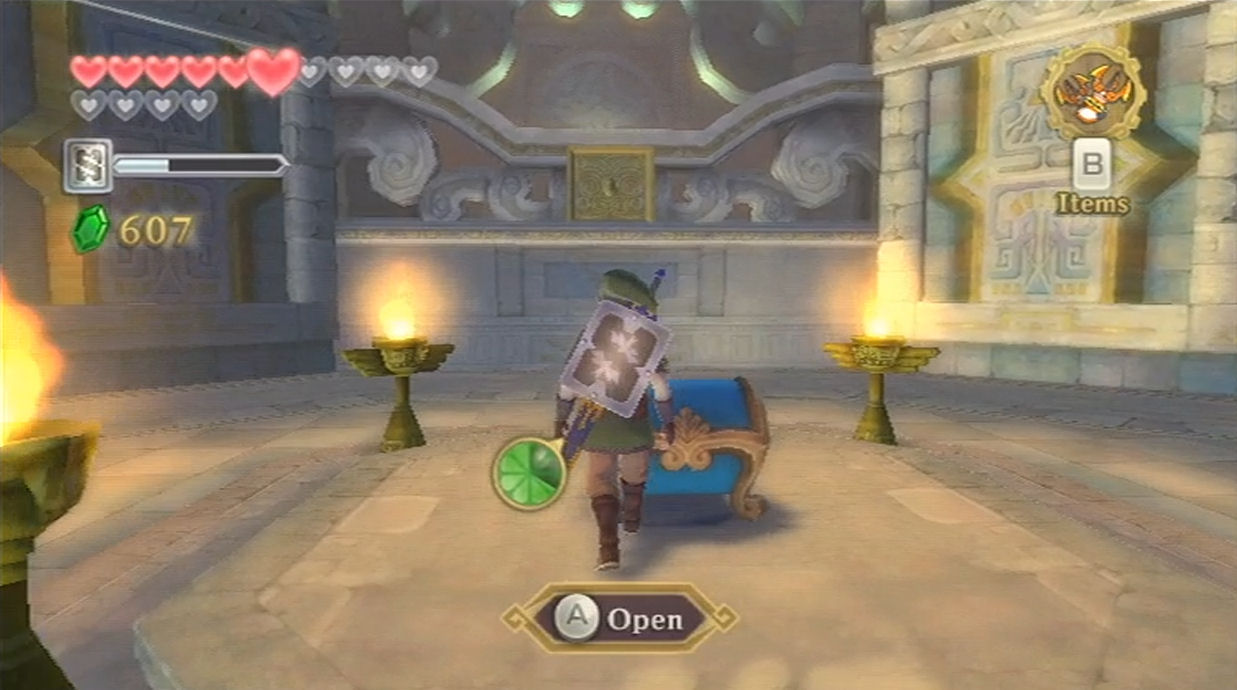
Once you enter the dungeon run on over and open the treasure chest to get the Dungeon Map. Right away you’ll notice something strange about the map. There is a door to the right but it leads to no room at all. Look at the stand here and you will find the entire dungeon is a slide puzzle. The pieces on this puzzle correspond to the rooms in the dungeon. How you move the pieces will affect how the rooms in the dungeon appear. There are four locations within the dungeon that have tablets where you can adjust the rooms. You are going to need to travel to all seven of the rooms anyway, so the order isn’t too important. For now slide the right piece to the bottom-right corner and then slide the middle piece to the right.

With the rooms now moved, head through the door to the east. Turn to the right and cut down the trees to find a couple of deku baba. Defeat them using your sword or a single bomb and progress down the hall. You will find a bar that you can latch onto with the whip. Further along you’ll see a rope. Send out the beetle and cut the rope from the point where it is attached to the ground. Now use your whip on the bar and then swing over to the rope. From the rope, swing over to the ledge at the other side.
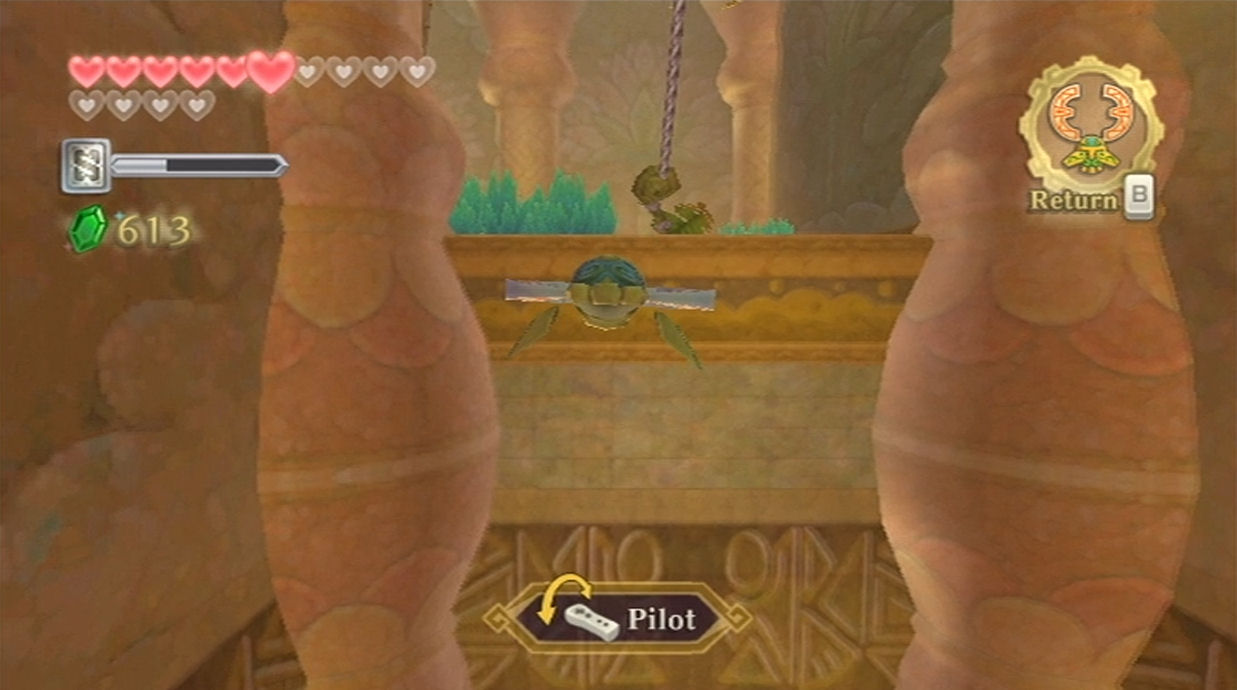

You’ll find a skulltula here, so use your sword to spin it around and defeat it. Use your clawshots to grapple over to the nearby vines. From there, use your clawshots again to grapple over to the vines on the other rotating pillar. From here you should able to reach the target on the nearby platform. There is a Furnix enemy flying around, but it shouldn’t give you too much problem. If it comes close enough, use your whip to pull it over and defeat it.
Turn to the east and you’ll find some Pyrups here and that will prevent you from swinging across. Take a few steps back so that they don’t spit fire. Pull out your beetle and use it to grab one of the bomb flowers on the nearby rotating pillar. Use these bomb flowers to defeat all three of the pyrups. The key is to use the bomb flower on the middle hole as it will defeat all three of them at once.


Jump on over and latch onto the hanging rope. Swing over to the platform here. Use the gust bellows to move this platform and swing over to the other hanging platform. Run on over to the bird statue and save your status if you’d like. At the end of the room you can pull the lever. Each of the rooms in this dungeon, after you have solved the puzzles the first time, allow you to open a gate as a shortcut, in case you need to retrace your steps back and forth through previously solved rooms. Afterwards go through the door to the north to reach the next room.
Run to the left and pickup the timeshift orb that is found here. Carry it eastwards and around the corner, avoiding or defeating the technoblins and sentrobe along the way. Place the timeshift orb right next to the closed gate, then climb the ladder and pull the nearby lever to lift the gate.
Jump back down and pick up the timeshift orb. Carry it over and stand on the floor switch. Toss the orb through the hole and onto the conveyor belt. Climb up the ladder again and run to the end of this hall. Step on the floor switch and pick up the timeshift orb.

Carry the timeshift orb to the next room and drop it on the platform with the magnets. Without getting on the platform yourself, use the gust bellows on the magnets to move the platform along the rail. As it is moving along, step on the floor switch to raise the gate and continue blowing the platform. Keep blowing it to the end of the rail. When it gets far enough along it will reveal a blue target on the opposite wall. Use your bow to hit it with an arrow and lift the nearby gate.


Grab the orb and carry it to the next room. Pull the lever on the left, unlocking the shortcut for this room. Step on the floor switch and toss the orb onto the conveyor belt.
Go through the gate and defeat the two beamos in this room that activate due to the timeshift orb. Afterwards, look up above where the orb is and you’ll find more blue targets on the wall. Hit the last one in the row as it’s the only one that is activated, then use the whip to pull the lever in this room to the left, causing the conveyor belt to reverse and move the timeshift orb back the other way. While it is moving, it will activate the targets in this room, so use your bow and arrow to hit the remaining four as the orb passes.


When all five targets have been hit, the nearby gate will lift and you’ll find another control panel to rearrange the rooms in the dungeon. Follow the instructions shown below.
- Move the Top-Middle Room to the Middle.
- Move the Top-Left Room to the Top.
- Move the Left Room to the Top-Left.
- Move the Bottom-Left Room to the Left.
- Move the Bottom Room to the Bottom-Left.
- Move the Middle Room to the Bottom.
- Move the Left Room to the Middle.
You’ll now be able to access two brand new rooms in the dungeon. With the new rooms in place, we have some backtracking to do. Luckily because of the shortcuts created at the end of each room, we don’t have to backtrack through any puzzles. Go south a room and then west a room to reach a brand new area.
17.2 Rooms 4-5
Once you reach the new area turn to the left and you’ll find some red chuchu. Defeat them and crawl through the small hole. The path to the right is blocked off by a boulder so head to the left. You’ll find a bomb flower here so load up on bombs. What you want to do is roll a bomb through the hole and blow up the boulder on the other side. Crawl on through, defeat the red chuchu here, and then use the Mogma Mitts to burrow underground.


Crawl underground and hit the red switch here, causing the gate to move. Resurface at the light we entered from and then crawl back through the small tunnel. Since we moved the gate, we’ll now be able to access the next portion of this room.
Defeat the dark lizalfos that is found here and then walk to the west end of the room. Use a bomb on the nearby bomb statue to cause it to fall in the lava, revealing a diamond switch. We’ll be using this in a bit, but just ignore it for now.


Turn around and stand on the small rock here, facing northward. You’ll see a windy pathway here and in the distance there is another bomb statue. What you need to do is roll a bomb, but angle it so that it follows the curves of the ramp and lands in the bomb statue. Once the door opens, follow the path of the bomb you just rolled down to the diamond switch. Once again ignore this for now and climb the nearby vines.
Straight ahead you’ll see a bunch of trees and if you peer closely through, there is a bomb flower on the other side. Walk to the end of this ledge and toss a bomb over, causing some of the trees to break. Now use the beetle to grab the bomb and break the remaining trees.
If you turn to the east end of the room, you’ll find some trees protecting another bomb statue. What you need to do is grab the bomb using the beetle and drop it to break the trees. Grab another bomb and drop it into the bomb statue, revealing a third diamond switch.


The key to solving this puzzle is that you have to hit the diamond switches in a proper order. If the order we unlocked them in is 1, 2, 3, then the order to hit them in is 2, 1, and then 3. (The one at the bottom of the ramp you rolled a bomb down, the one at the top, and then the one behind the trees.) Hitting them in the proper order will cause a nearby gate to open up. Jump on down and head through.
You’ll find another location here where you can burrow underground. Do so and you’ll find a bomb flower here. There are two boulders nearby and this could be a bit tricky. You need to first hit the bomb towards the exterior wall and then quickly run around past the entrance so that you can hit it a second time, causing it to blow up the boulder. (You can hold A to crawl faster, just like sprinting.) Do this and then crawl around to the other end of the room. Hit the blue switch here, causing the gate to move back. Return to the hole and resurface.
Run past the gate and you’ll find yet another area where you can burrow underground. Do so and you’ll take on a pair of moldorms. You’ll have to defeat these pesky follows so work your way around this area and attack each of their tails three times. Once both moldorms have been defeated, crawl to the other end of the room and resurface.
You’ll find another control panel here, but let’s just ignore it for now. Instead just jump and pull the nearby lever, unlocking the shortcut for this room. Run on through and head north to the next room.


Once you arrive you’ll be met by Dreadfuse, a replica of the boss from the Sandship. The battle is on a narrow platform once again and it is practically identical to the battle from the Sandship. Deliver several sword slashes to hit him back, attacking the locations where he is not defending. Dreadfuse will pull the wooden spikes behind you closer, limiting the battle space. Continue the battle with Dreadfuse until he has been defeated.
Use the clawshots to get across the gap and open the treasure chest here to get a small key. Open the nearby door and you’ll find another control panel here. There are three more rooms to go and they all have a piece of the Triforce. The first one that we want to get is the Green Triforce. That room should be located just above. Rotate all the rooms counterclockwise until the Green Triforce room is just to your left. Run through and enter the next room.
17.3 Rooms 6-8: The Triforce
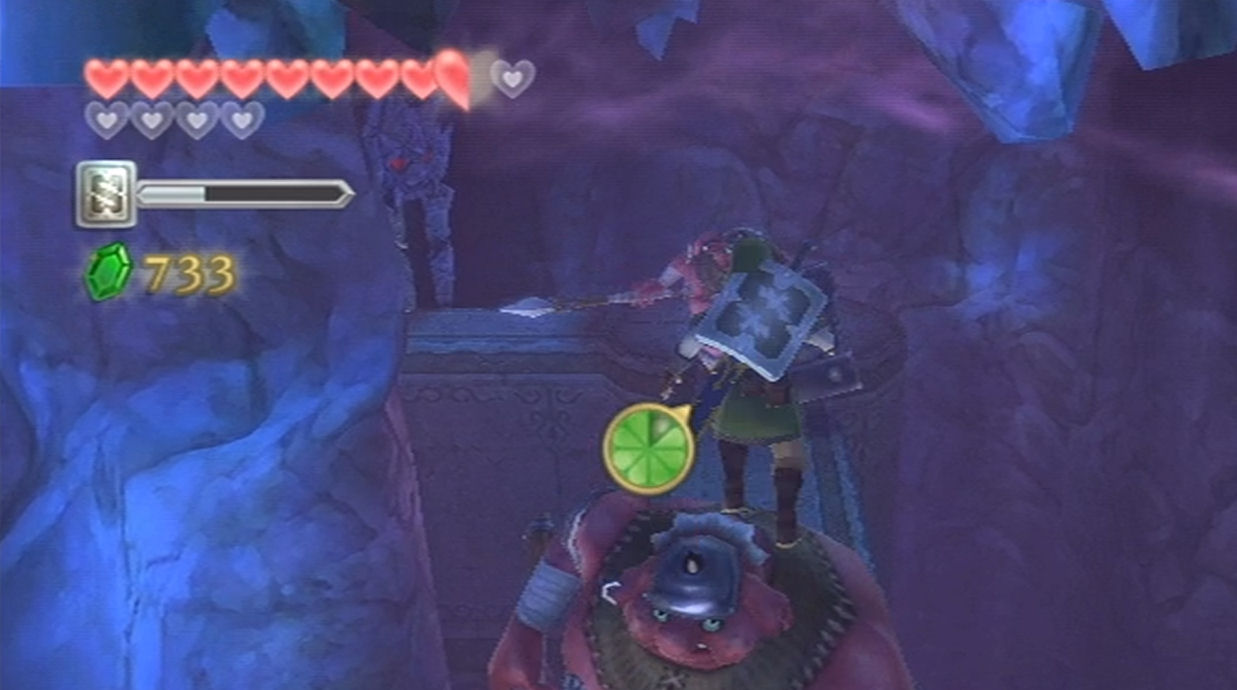
Run on over along the pathway here and you’ll find a locked door. Use the small key we just got and head into the room. There are two metal shield moblins in this area. Your best bet is to run towards them and jump over them. Slash away at their backside a number of times. If you are quick enough, you can get enough hits with the master sword so that they don’t even fully turn around to battle you. Defeat both moblins and head through the next door.

This room is filled with bokoblin archers in the higher areas. Use the bow to knock them down when you get a chance. They can be quite annoying so try to stay along the perimeter whenever possible, constantly looking out for them. Defeat the blue bokoblin that are walking around this area. There are also two stalfos here, but with the Master Sword, these enemies can be defeated quite easily. Hit the stalfos once and then move away so you aren’t harmed by the other one. Once you’ve defeated all the enemies, you can use the beetle through the eyes of the skull at the top of the room to find a few recovery hearts. Continue on to the next room.
This room will have a number of cursed bokoblin as well as a stalmaster. I’d suggest defeat all of the cursed bokoblin first. You’ll either have to knock each of them down several times, or just knock each down once and deliver a final blow. With all the cursed bokoblin out of the way, fight off the stalmaster and then head through to the next room.


Thrust your sword into the ground here and then run on over to collect the Triforce of Courage. Jump up and pull the nearby lever to open the gate. Go back east a room and run over to the control panel once again.
Move the rooms counterclockwise so that the room with the Red Triforce is located just to the west. Exit this area and head to the next room with the Triforce.
Walk to the left and you’ll see a plant with a water bulb just above. Before hitting that, use your beetle and send it out to the area ahead. In the distance on the right you’ll see a diamond switch, so hit it with the beetle, causing lava to come pouring out of the statue. This will be of use in just a moment.


Now hit the water bulb to create a platform on the lava and then jump on top of it. Ride it forward, defeating the fire keese along the way. At the end of the pathway, look to the right and you’ll see another plant. Hit it with a projectile, causing a platform to appear. Jump over to the right and land on this platform.
You will be riding right into a waterfall of lava, but if you look above you’ll find another diamond switch. Use an item to hit this switch, causing the lava to stop pouring. Ride on forward and you can use the beetle to grab some recovery hearts on the right. Afterwards jump off to the ledge and you can pull the lever to open the nearby gate. This creates a shortcut to skip the puzzles we’ve done so far.
Before you hit the plant here, send out the beetle once again and just around the corner near the top of this area, you will find another diamond switch. Hit it to change the lava flow. Now hit the plant to release a water bulb into the lava here. Jump and ride it forward, defeating the dark keese that are found here.


Turn to the right and you’ll see another plant. Hit it with a projectile and then jump over to this platform. Ride along the lava and you’ll see another platform in the distance, this one occasionally shooting up in the area due to a lava geyser. Jump on over and land on this platform. Turn around and send the beetle back, hitting that same diamond switch once again, changing the flow of the lava.
Now hit the nearby plant to release a water bulb. When the platform you are on is higher up, jump over to the new platform that was formed and ride it along. Defeat the cursed spume along the way and at the end of this pathway, use the clawshots on the nearby target.


Pull out your sword and thrust it into the emblem on the ground. Run on over and collect the Triforce of Power! Only one more piece to go! Pull the lever to open the nearby gate. Climb the vines and run back to the other side of the room. Pull the lever here and then drop down to the floor below. Go back through the door and run over to the control panel.
There is only one more piece of Triforce to collect, but you have to be to the left of the room to enter it. The room that is presently just to the right of your location has doors above and to the right. It also has a control panel of its own. Rotate the rooms using the control panel so that this room is just to the west. Run down the hall and enter this room.
Use the control panel here and rotate the rooms around until the final Triforce is located just to the right. Enter the room.
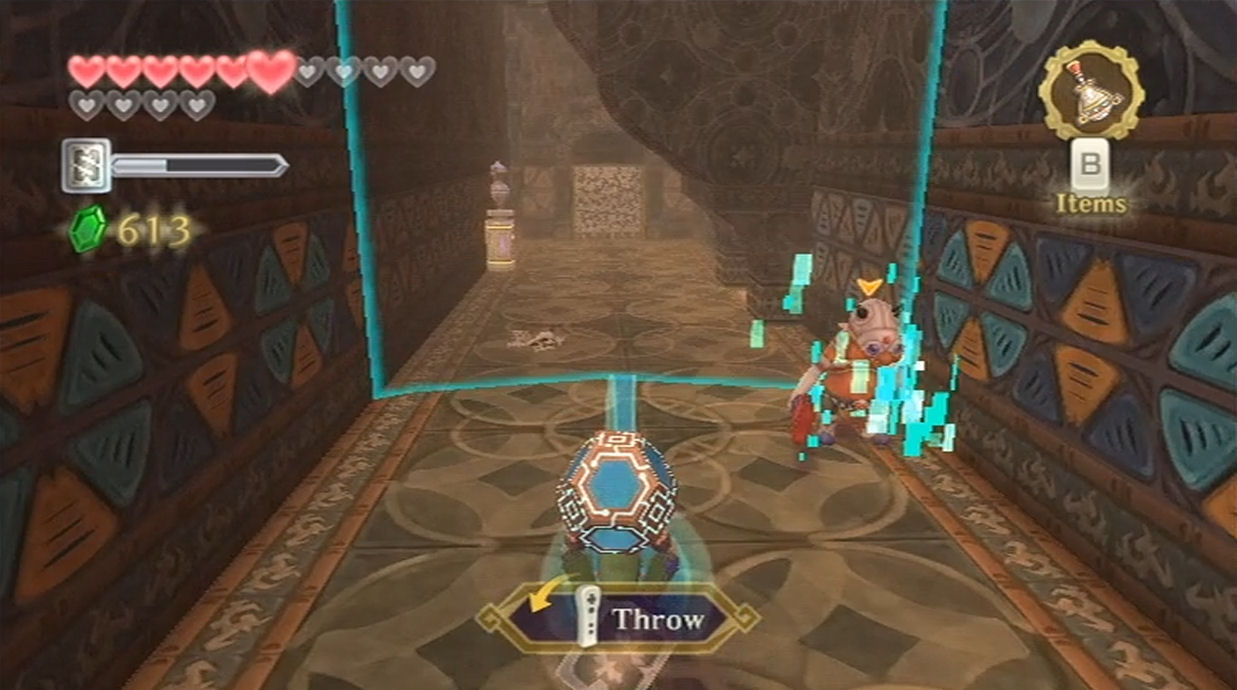
This room is almost completely empty but it has a few difficult puzzles to solve. Break the barrels to the right to get some extra arrows if you need them. Use one to defeat the electro spume located nearby. Run on over to the right side and lift the timeshift orb that is found here. You can carry it around the room to defeat the two technoblins and the sentrobe.


Carry the timeshift orb to the north end of the room and drop it against the wall. A set of pillars will arise here, but because of the timeshift, the gate above will be open. Leave the timeshift stone here and run across the stand to the other end of the room. Pull out your bow and shoot an arrow at the blue target that you can see across the room through the small gate. This will cause the nearby gate to open.


Jump back down and grab the timeshift orb. Carry it through this gate and fight off the various babas found here. As you move ahead with the orb, a pillar will rise from the ground, almost blocking the passageway. Back the orb up a bit until the pillar goes away, then continue forward without the orb. You’ll see a floor switch on the ground here. Stand on the floor switch tile and a blue target will be revealed at the other end of the room. Aim through the fan and shoot at this blue tile, causing a gate to rise.


Carry the timeshift orb to the east end of the room, just underneath where the Triforce piece is shown on your map. Two nearby pillars should rise up, as you’ll need these as well. Leave the timeshift orb here and run across the sand. Make your way over to where the timeshift orb originally was in this room. Jump over to the pillars and then use the clawshots on the nearby target. Since the orb is directly underneath, you should be able to pass by the gate here. Stab your sword into the ground and then run on over and collect the Triforce of Wisdom, the final piece of the Triforce.
A cut-scene will ensue in which the Triforce will be placed into the Goddess Statue, causing the entire statue to fall down to the land below, landing within the Sealed Grounds.


Run on over to the Sealed Grounds and another cutscene will take place. After a lengthy scene, Link will have to travel through the Gate of Time. You could go through the Gate right now, but this leads to the final stages of the game including the final two boss fights. If you want to stock up on potions or make any last upgrades, I’d suggest doing it now. Once you are ready, head through the Gate of Time.
Join me in the final chapter for the Final Showdown.
- Chapter 1 – Skyloft
- Chapter 2 – Faron Woods
- Chapter 3 – Skyview Temple
- Chapter 4 – Eldin Volcano
- Chapter 5 – Earth Temple
- Chapter 6 – Lanayru Desert
- Chapter 7 – Lanayru Mining Facility
- Chapter 8 – Isle of Songs
- Chapter 9 – Lake Floria
- Chapter 10 – Ancient Cistern
- Chapter 11 – Lanayru Sand Sea
- Chapter 12 – Sandship
- Chapter 13 – Volcano Summit
- Chapter 14 – Fire Sanctuary
- Chapter 15 – Thunderhead
- Chapter 16 – Song of the Hero
- Chapter 17 – Sky Keep
- Chapter 18 – Final Showdown
