- Chapter 1 – Eastern Palace
- Chapter 2 – House of Gales
- Chapter 3 – Tower of Hera
- Chapter 4 – Hyrule Castle
- Chapter 5 – Thieves’ Hideout
- Chapter 6 – Desert Palace
- Chapter 7 – Dark Palace
- Chapter 8 – Swamp Palace
- Chapter 9 – Skull Woods
- Chapter 10 – Turtle Rock
- Chapter 11 – Ice Ruins
- Chapter 12 – Lorule Castle
2.1 Flippers
NOTE: At this point Link can acquire the Power Glove, Zora’s Flippers, and the Pegasus Boots. Once Link gains access to Ravio’s Shop, he will also be able to rent almost all the items. With all these items, Link can get an additional 14 pieces of heart. Consult our Heart Piece Guide for detailed information. Additionally, Link can acquire two bottles and detailed descriptions can be found in our Bottle Guide.Optional: Extra Heart Pieces
NOTE: You can play through the second or the third dungeon in either order. This Chapter covers Link’s journey through the House of Gales. Alternatively, you can visit the Tower of Hera by jumping to the corresponding chapter.
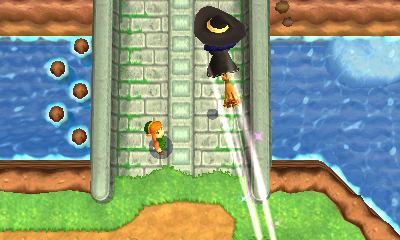
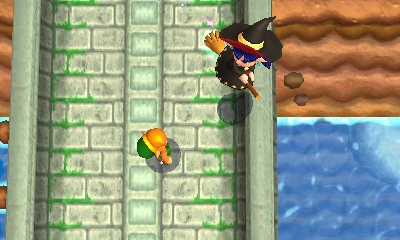
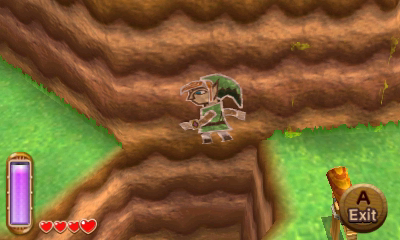
The House of Gales is marked on your map at the southeast corner of the Overworld. Travel over to Link’s House and then walk to the bridge that is located just to the east. Here you will encounter Irene, the flying witch who we’ve seen before. She will give Link the Bell, which will act as a form of transportation. Link can swing the bell, causing Irene to appear and she’ll fly Link over to any of the weather vane locations that he has uncovered.
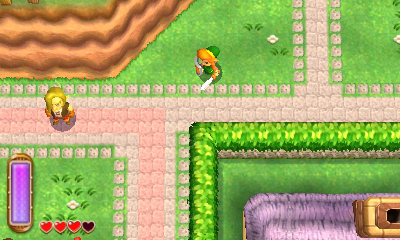
Walk south of the bridge towards the X on the map. Just west of the location, you will find a man staring off in that direction. He mentions that the only way to reach the island is to find a way to swim here. He suggests visiting the Zoras at the northeast corner of the Overworld.
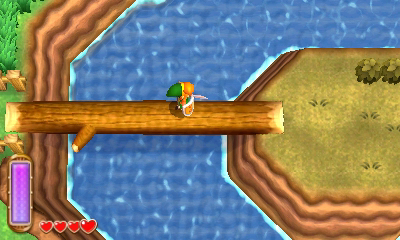

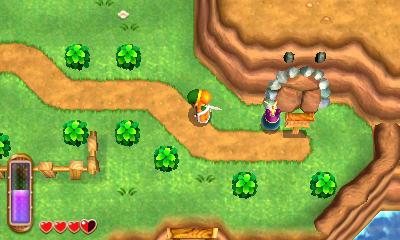
We now need to travel to Zora’s Domain, located to the northeast. Walk northward across the bridge and continue walking in the proper direction. Just north of the Eastern Palace there is a small Witches Hut where Link can purchase potions. Only the Red Potion is available at first. Just to the east of the witches hut, Link will find a Zora complaining that the nearby bridge is broken, preventing access to Zora’s Domain.
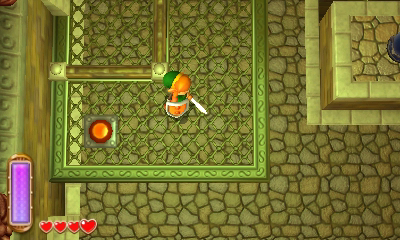
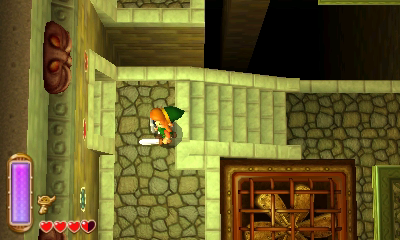
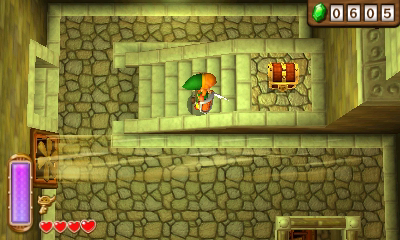
Link can easily get by this gap by turning into a painting and walking along the wall. Continue onward to the next screen where you’ll find a treasure chest on the higher ledge to the left. Walk all the way to the right side and then merge into the wall. Walk the long way southward along the wall until you reach the higher platform. Open the treasure chest to get a red rupee. Continue onward by heading up at the northeast corner of the screen.
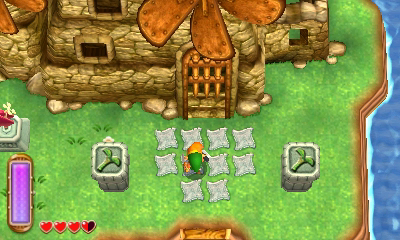
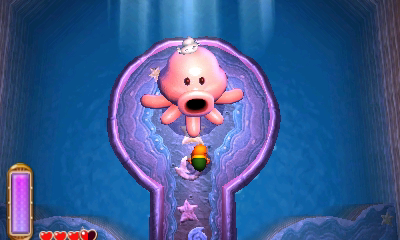
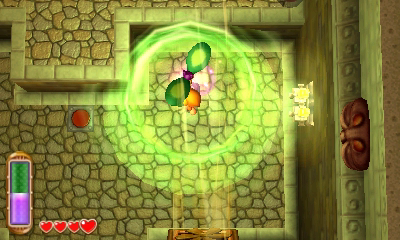
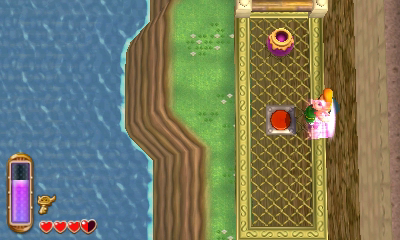
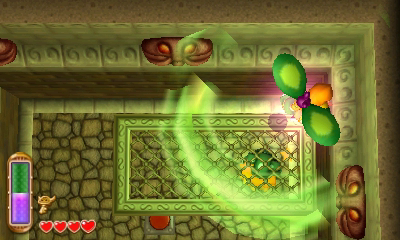
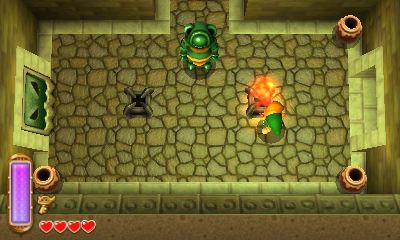
At Zora’s Domain, go ahead and walk towards the waterfall at the northwest corner of the screen. You’ll see a Shady Guy run out of the waterfall and bump into you. After a brief chat, walk into the Waterfall to meet with the Zora Queen. You’ll find that the Smooth Gem has been stolen.

You can either make the long trip back to Kakariko Village by foot, or just use the Bell to fly on over there. Just south of Sahasrahla’s house, you will find the Shady Guy standing around. Walk over to him and he’ll run to the Street Merchant. When you walk over to the merchant, suddenly that Smooth Gem is now for sale for 200 rupees. Based on all the rupees we acquired in the Eastern Palace, you should be able to afford the item.
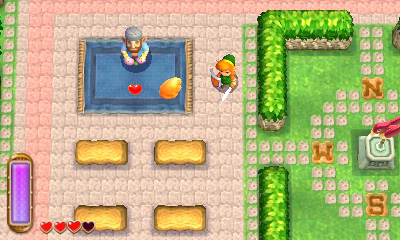
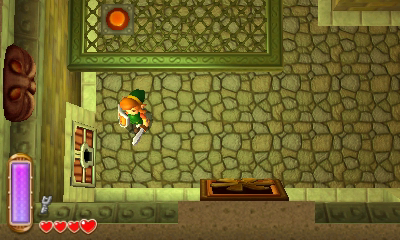
The Shady Guy in Kakariko Village also holds the Pegasus Boots. In order to collect them, simply merge into the wall to the northeast of where he is standing. Then sneak up to him and pop out of the wall, scaring him. He will say that he sold the Smooth Gem to the nearby merchant and has already spent his rupees. He will then give you the Pegasus Boots.Pegasus Boots
We can now make the trip back to Zora’s Domain. You can warp over to the weather vane by the Witch’s House if you previously saved there. Return to the Zora Queen and place the Smooth Gem into the water. The Queen will return to normal and will thank Link by giving him the Flippers.
2.2 Tornado Rod
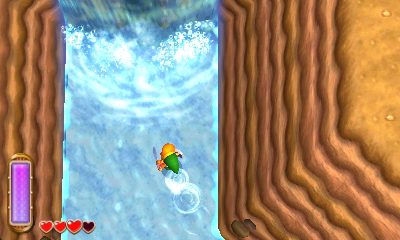
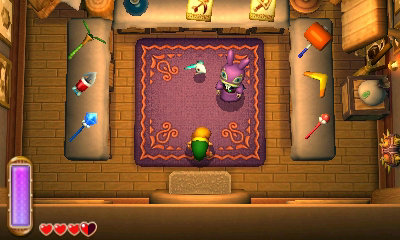
With the Flippers now in hand, you can jump into the water that surrounds the House of Gales. Upon arriving though, you’ll see a symbol of the Tornado Rod on the pillars just outside the dungeon. This is the item needed to both enter and traverse through the dungeon. Warp on over to your house and enter to speak with Ravio. He now has a bunch of items available for rental. Be sure to rent the Tornado Rod, but I’d also suggest renting the Bombs.
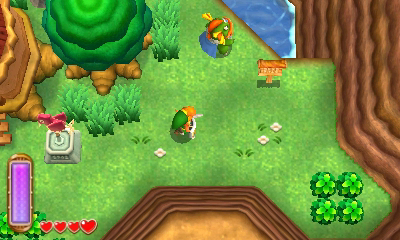
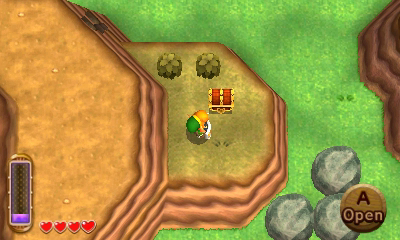
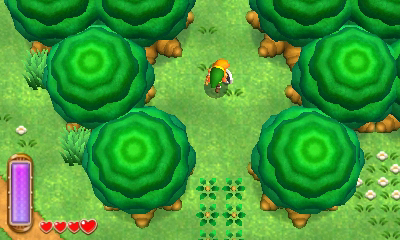
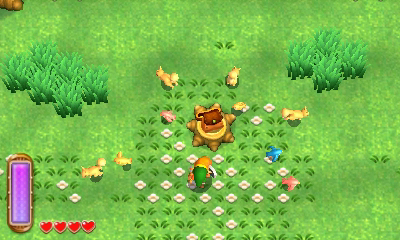
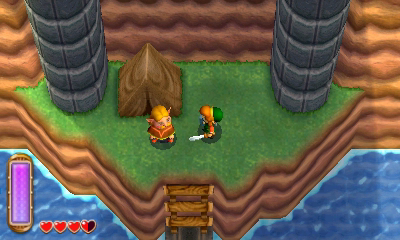
Once you leave Ravio’s shop, you’ll find the Blacksmith’s Wife outside, looking for her son Gulley. She suggests that perhaps he is lost in the woods to the south. Make your way on over to the large wooded area located south of the Blacksmith’s house and west of Link’s house. In the center of the woods, there is a tree stump. Walk on over and pick up the item. Gulley’s mother will appear, saying that the Pouch is Gulley’s. She will allow Link to keep it, which gives Link the ability to equip two items at once.Optional: Pouch
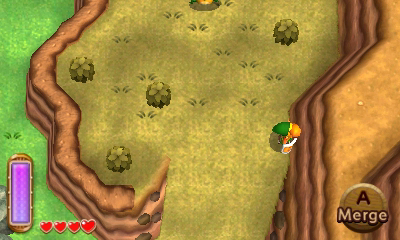
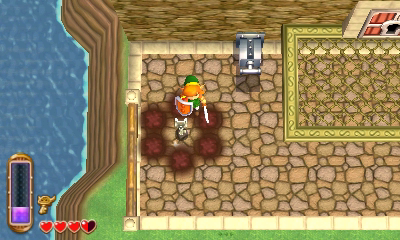
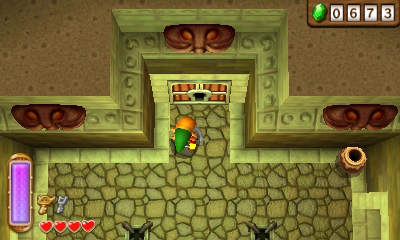
There are a few minor things we want to do before entering the House of Gales. From Ravio’s shop, walk to the right and continue down a screen. You will find a blocked off cave on the right. Place a bomb against the wall to blast it open and then head inside. Here you will meet up with Mother Maiamai. She mentions that all 100 of her little Maiamais have gone missing and tasks Link with bringing them back to her. These tiny creatures are found all throughout the Overworld. Each time Link finds 10 of them, he will be able to upgrade items that he has purchased. At this point in the quest, Link cannot purchase items, but at least now he can start collecting these Maiamais as he sees them.Optional: Mother Maiamai
NOTE: With the Power Glove, Zora’s Flippers, the Pegasus Boots, and all the items that you currently can rent from Ravio’s Shop, Link has the ability to find 41 of the 50 Maimai’s that are located in Hyrule. The only Maimais that Link cannot collect are the ones in the Desert, located at the southwest part of the map, as well as ones that require Link to lift heavier rocks, or obtain the Sand Rod, which is currently out of stock at Ravio’s Shop. For all the other locations, be sure to check out our Maiamai Locations Guide.Optional: Maimai Collection
Now that you have the Flippers, you are able to acquire Bottle #2. Jump into the water that surrounds the House of Gales, located at the southeast part of the world. From here swim up the river to the northeast. This will eventually lead to a bridge that you can swim underneath. Here you will find the Bird Lover and if you tell him you like birds, he will reward you by giving you an Empty Bottle.Optional: Bottle #2

We’re now ready to tackle the House of Gales. Swim over to the island and stand right in front of the entrance. Use the Tornado Rod to reveal a floor switch hidden in the ground. Step on it and then go ahead and enter the dungeon.

2.3 House of Gales
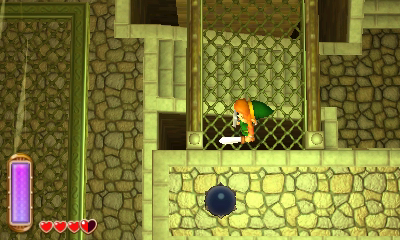
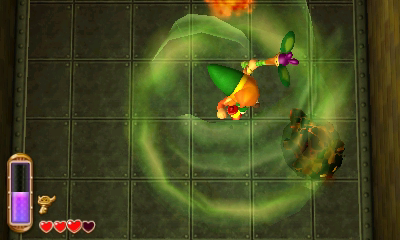
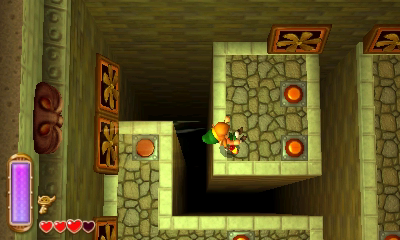
Slash at the six pots in the center of the room and step on the switch to cause the propellers to blow wind. Use the Tornado Rod while near one of them and it will blow Link to the higher platform. Continue onward to the next room.

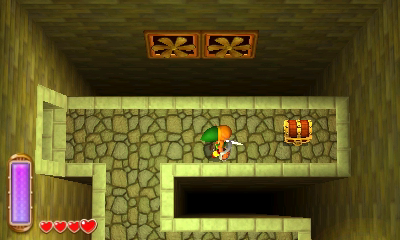
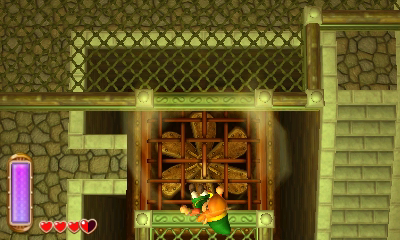
Walk to the north end of the room and light the two torches causing a treasure chest to appear. Open it up to get a red rupee. Drop off the ledge at the northeast corner of the room and head onward to the next room. Slash at the crystal switch, causing the propellers to stop blowing. Run over to the treasure chest and open it to get some monster guts.

Back in the large room, walk along the wall on the ride side of the room to reach the next platform. Make your way to the southeast corner of the room and hit the crystal switch, causing the nearby wall to move. Run back to the higher platform and then walk along the wall to reach the door at the southeast corner of the room.

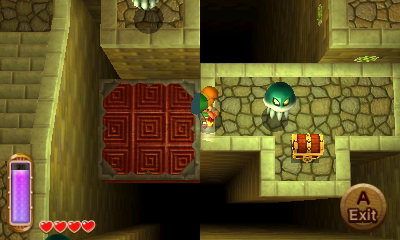
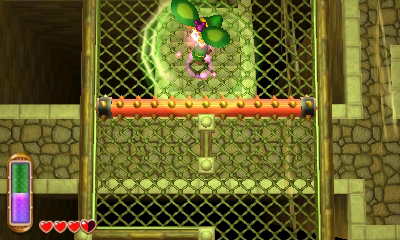
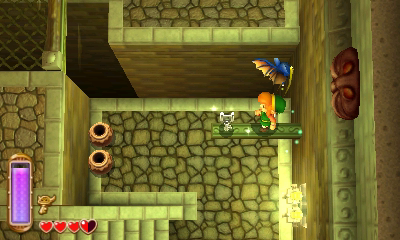
In this room you will find a trio of Fire Bubbles. When they are nearby, use the Tornado Rod, causing their flames to disappear for a short while. Deliver a few sword slashes to defeat them. After they have been defeated, grab the small key from the treasure chest and then head back to the previous room.

Make your way to the southwest corner of the room and head through the locked door. Merge onto the moving platform and ride it to the next platform. Open the treasure chest here to get the Compass. Next merge along the walls on the right side to get to another moving platform near the top of the room. While still a painting, walk onto this platform and make your way to the northwest part of the room.
Get out of painting form and climb the nearby steps. Walk on top of the two moving platforms to reach the northeast corner of the room. You can step on the switch to cause the propeller in the room to start blowing, making it easier to reach the higher area. Walk through the door to the right to get back to the main room.
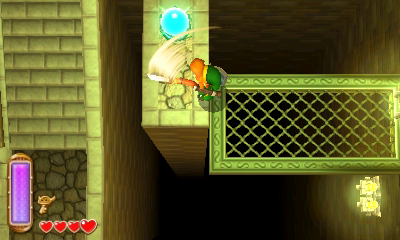
Step on the nearby floor switch, causing the nearby propeller to start blowing. Walk to the right and use the Tornado Rod to get blown to the north end of the room. Stand on the left side of the room and merge into the wall. Walk to the northwest corner of the room and head through the door to the west.
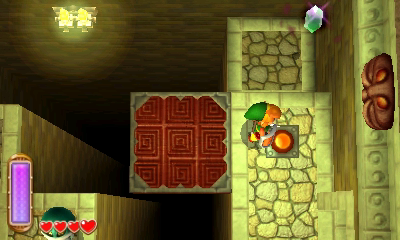
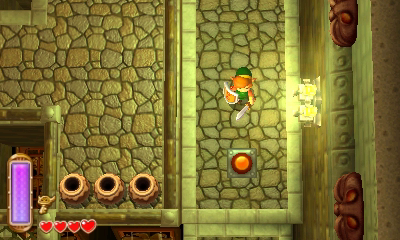
Run through this room and head south through the door at the bottom-left corner. Walk along the wall to the southwest corner and open the treasure chest to get a Silver Rupee! Walk along the south wall and then use the Tornado Rod to blow Link into the moving propeller. Head back right to the main room once again.
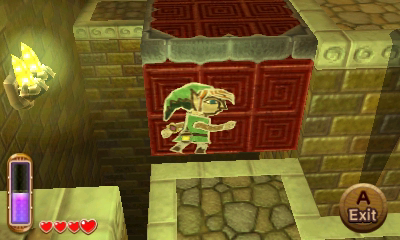
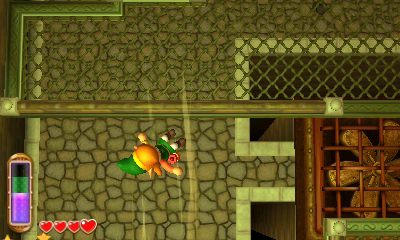
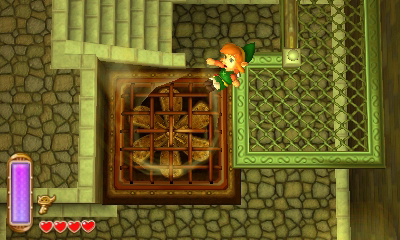
Once again use the Tornado Rod to reach the northern end of the room. Walk to the east end and then turn into the painting to walk along the eastern wall. Land on the platform and hit the crystal orb nearby, causing a large propeller in the center of the room to blow wind upwards. Drop into the propeller to have it shoot you up to the second floor.
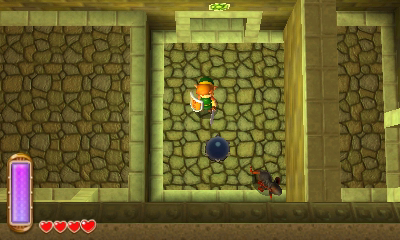
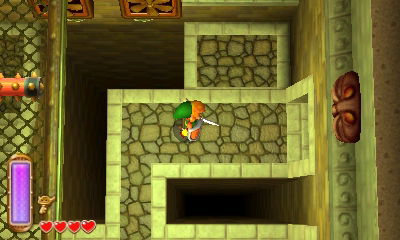
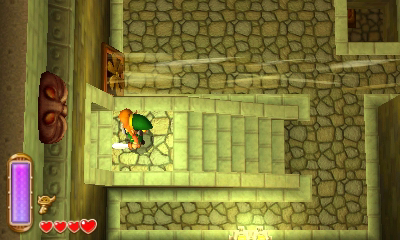
Walk southward where you’ll find a rolling spike. Use the Tornado Rod to launch yourself up, allowing the rolling spike to pass by and then continue southward. Break the pots at the southwest part of the room and step on the switch, causing a small key to drop down in the room. Walk to the right and head through the door at the corner of the room.

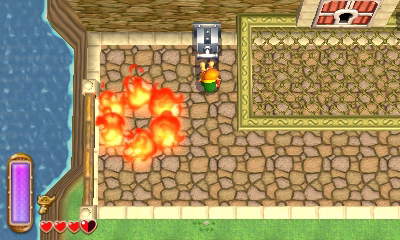
There is a door along the south portion of the wall, so run on through. Pull the switch on the far right, causing a large treasure chest to appear. Run over and open it to get the Big Key. A circle of flames will appear around you, but they can be blown out by using the Tornado Rod. Run back to the previous room.

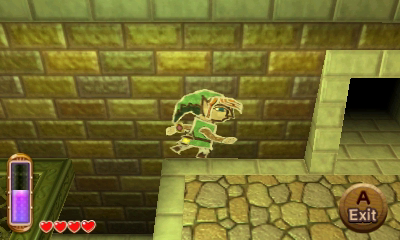
Climb the steps in this room and head back left to the large central room. Walk along the wall on the right side to reach the narrow ledge with a small key. Grab the key and drop down. Use the small key on the locked door at the south end of the room.
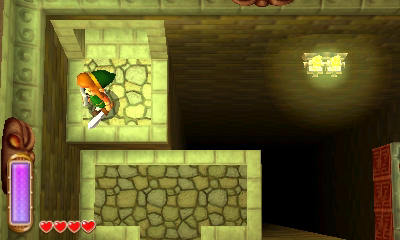
Fall off the ledge to the left. Walk to the far left and pull the lever, causing a small platform to move. Stand to the side of the moving platform and use the Tornado Rod to spring yourself upward. Time it so that you land on the moving platform. Walk to the left side of the locked door and merge into the wall. Walk around the corner to the left and step on the red switch.

Walk back around the corner and drop down to the lower level. Use the Tornado Rod to remove the flames and then grab the small key. Use the Tornado Rod to get back up to the higher floor and then head through the locked door.

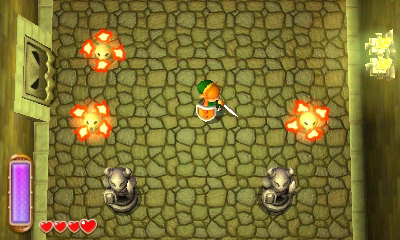
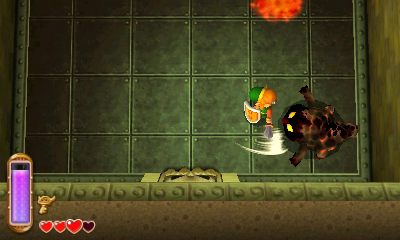
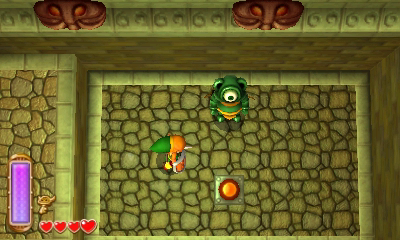
Here you will take on the dungeon mini-boss, Heedle, in the form of a pair of flaming enemies that walk around on the ground. You need to be near them and use the Tornado Rod, causing their flames to temporarily dim. Slash them a number of times before their flames return. Repeat this process until they have both been defeated. A green portal will appear, but run by it and head through the door that opens up to the right.
Climb down the steps and head through the door on the left side of the room. Step on the switch near the southwest part of the room and then step on the switch along the western wall. Next step on the top switch and then head back right a screen through the other door.

Climb the steps and walk over to the east side of the room. Step on the floor switch, causing the propellers to stop blowing wind. Walk back around to the northwest part of the room and climb the nearby steps. Leap off the ledge and climb the next set of stairs. With the wind out of the way, you can walk to the upper door against the eastern wall.
Climb the steps and drop off the ledge to the top of the room. Defeat the enemy Eyegore and step on the floor switch. Use the Tornado Rod to land on top of the moving platform and strike the orb with your sword. Ride to the south end of the room and then fall down onto the blowing propeller, shooting you up to the third floor.
Merge on the wall to the right and make your way to the south end of the room. Walk left a screen and defeat the eyegore. Light the two torches and then head through the door that opens to the left.
Use the Tornado Rod to defeat all six of the fire bubbles in the room. When all six have been defeated, head right through the door that opens. Walk along the wall and head back to the room to the right. Open the treasure chest here to get a small key.

Walk along the wall to the right to get some rupees and then head through the door at the southwest part of the room once again. You can quickly head left a screen to reach the final treasure chest in the dungeon, containing a purple rupee. Return to the previous room and head through the locked door.

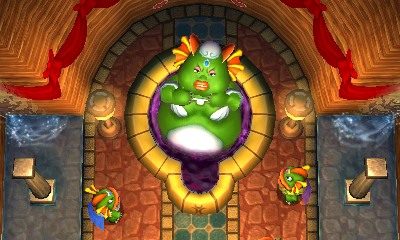
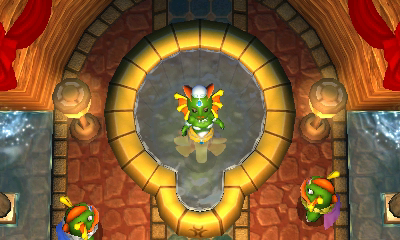
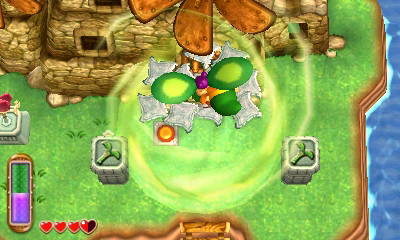
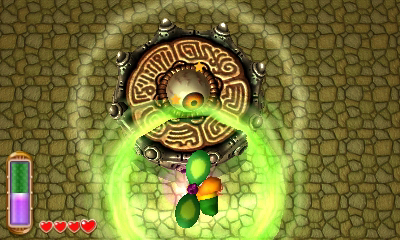
Step onto the first moving platform and ride it up a bit. Use the Tornado Rod to float in the air and land on the second moving platform when it moves under you. Use the big key and head through the large door to take on the dungeon boss, Margomill.
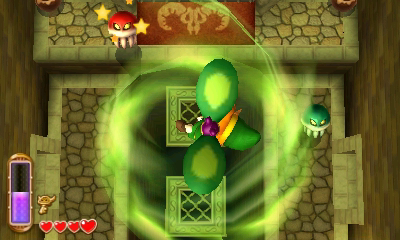

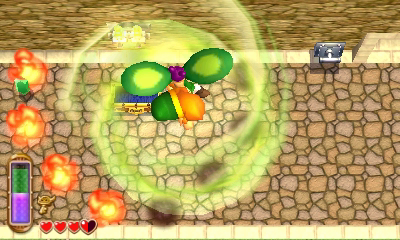
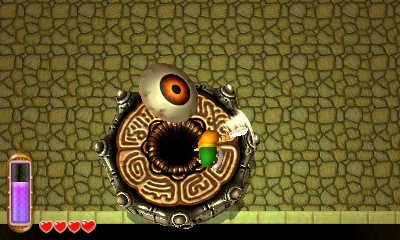
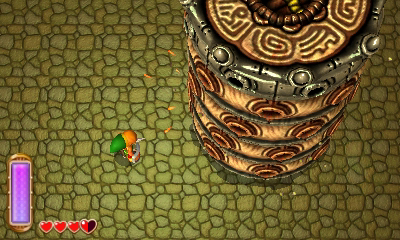
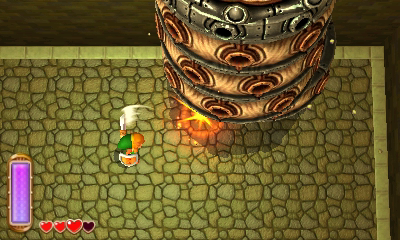
The boss’s weak spot is the large eye on top of its body. In order to get on top of the boss, you need to use the Tornado Rod to propel yourself up there. Slash at the eye several times. After harming the boss, he will grow a part of his body, making the eye higher up and out of reach. Slash at the layers of its body with your sword and then repeat the process with the Tornado Rod. Repeat this through three stages until the boss has been defeated.
Grab the Heart Container that is left behind and then grab the Pendant of Wisdom. Link will then be transported back outside the dungeon.

- Chapter 1 – Eastern Palace
- Chapter 2 – House of Gales
- Chapter 3 – Tower of Hera
- Chapter 4 – Hyrule Castle
- Chapter 5 – Thieves’ Hideout
- Chapter 6 – Desert Palace
- Chapter 7 – Dark Palace
- Chapter 8 – Swamp Palace
- Chapter 9 – Skull Woods
- Chapter 10 – Turtle Rock
- Chapter 11 – Ice Ruins
- Chapter 12 – Lorule Castle
