- Chapter 1 – Eastern Palace
- Chapter 2 – House of Gales
- Chapter 3 – Tower of Hera
- Chapter 4 – Hyrule Castle
- Chapter 5 – Thieves’ Hideout
- Chapter 6 – Desert Palace
- Chapter 7 – Dark Palace
- Chapter 8 – Swamp Palace
- Chapter 9 – Skull Woods
- Chapter 10 – Turtle Rock
- Chapter 11 – Ice Ruins
- Chapter 12 – Lorule Castle
10.1 Upgraded Master Sword
NOTE: This chapter covers Turtle Rock. However, almost any of the other Lorule Dungeons can be played at this time. This is just one of the many possible orders to complete the dungeons.
If you’d been following the guide, you have now acquired all four Master Ore pieces. One of these was located in the Lorule Graveyard, where as the other three were in three dungeons – Thieves’ Town, Dark Palace, and Skull Woods. If you missed any of these, be sure to consult our Master Ore Locations Guide. The Blacksmith in Hyrule will initially upgrade your Master Sword, but afterward, you can go to the Blacksmith in Lorule, who will upgrade it to the Master Sword Lv3.Optional: Master Sword Lv3


10.2 Save the Turtles
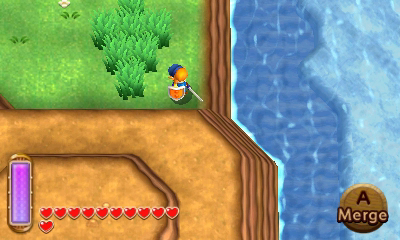
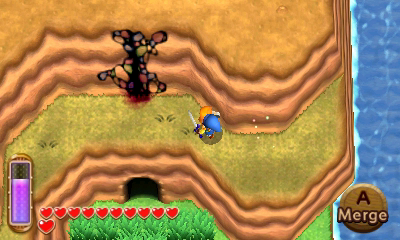
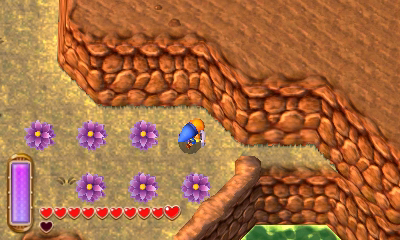
In order to enter Turtle Rock, you’ll need to have the Ice Rod, so be sure to pick that up from Ravio’s Shop. Walk southeast of Ravio’s Shop to find another merchant shop. From there, walk southward passed the log that leads to the House of Gales. Merge onto the southern wall and walk around to find a crack leading to Lorule.
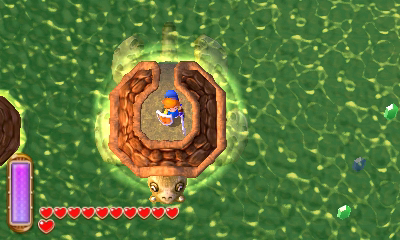
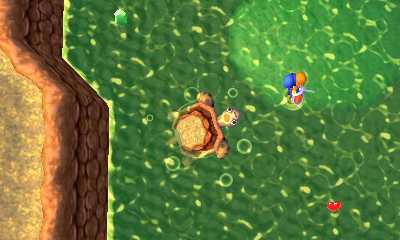
Jump in the water and swim to the southeast part of the lake to find a giant turtle. Hop onto its back and speak to the turtle. The large turtle has been separated from its three little turtles and asks you to help find them.
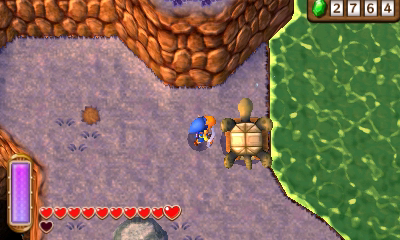
Swim directly to the west and step onto land to find the first turtle. Pick him up to toss him into the water, saving the first turtle. The second turtle can be found at the northwest part of the lake and it is being attacked by a bunch of enemies. Use your sword or a projectile item to defeat the enemies and save the turtle.

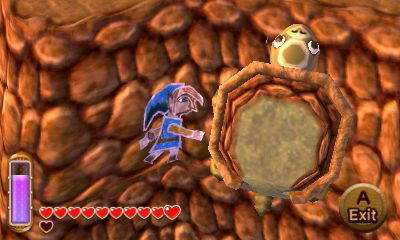
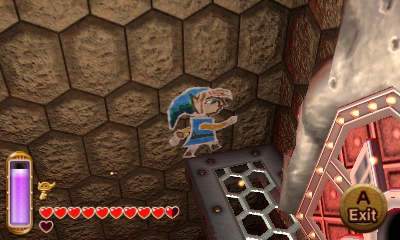
Swim to the northwest part of the lake and climb up the ladder. Walk to the right and merge against the wall. Walk along the wall to find the third turtle. Stand just behind him and exit the wall, causing the turtle to fall into the lake.
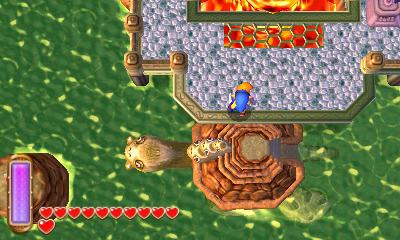
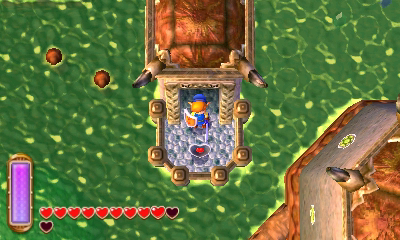
With all three turtles now saved, make your way back over to the large turtle at the south end of the lake. Climb onto its back and it will ride you over to the dungeon in the middle of the lake. Be sure to save using the nearby weather vane. Use the Ice Rod on the lava when it comes up to turn it into a solid block. Walk around the block and enter the dungeon.
10.3 Turtle Rock
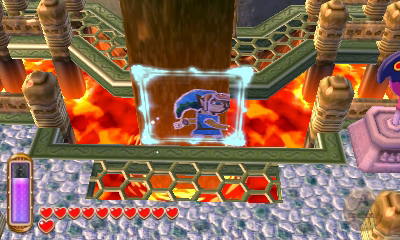
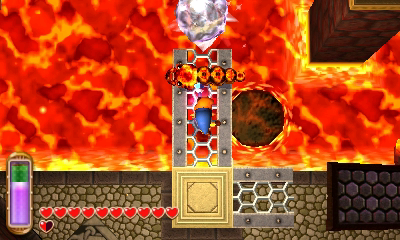
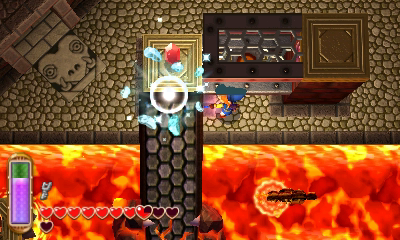
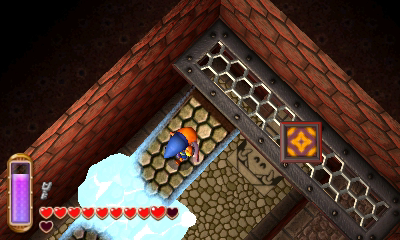
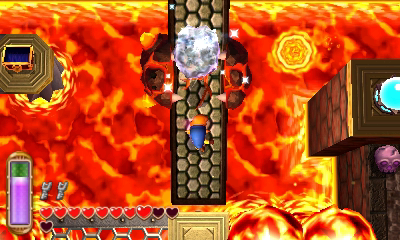
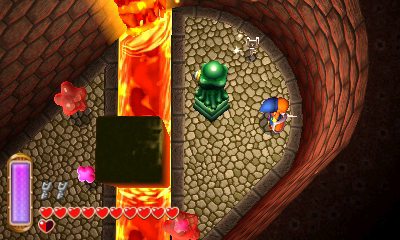
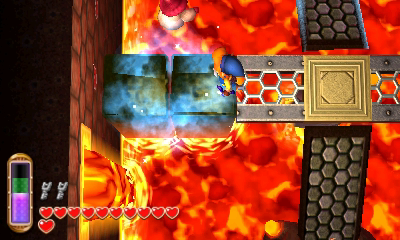
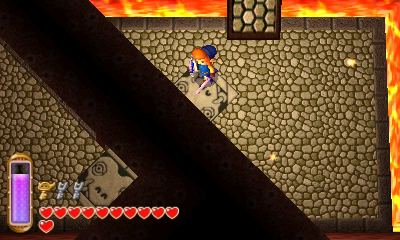
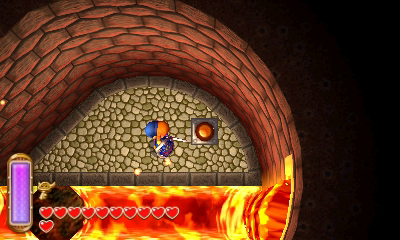
Place Ice Blocks on the lava to create a pathway and head up a screen. Straight, Link will see a see-saw platform. Step onto it from the left and then use the ice rod on the center of the platform, freezing it in place. This will allow you to climb up to the right side.
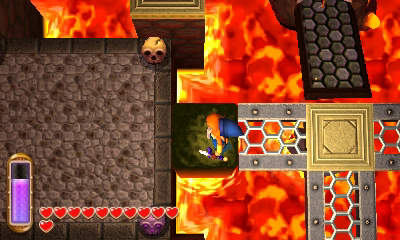
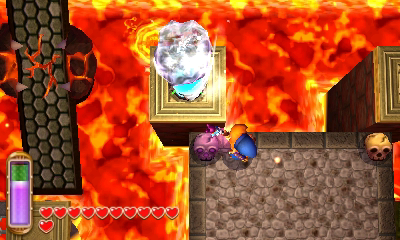
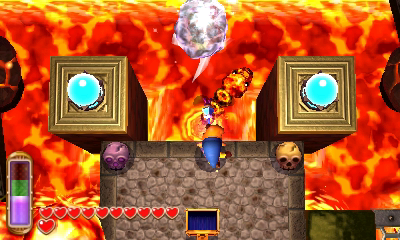
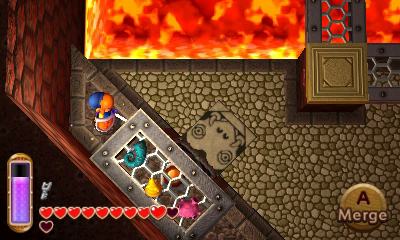
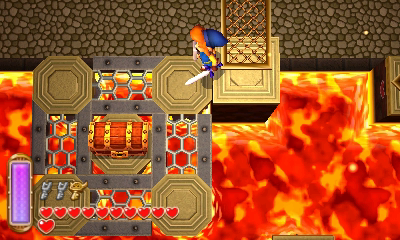
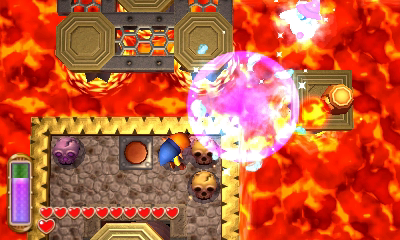
Freeze the lava that is nearby to reach the central platform of this room. There are crystal switches in the corners of this platform. Use the ice rod to hit all four switches, causing a treasure chest to appear. Open it up to get the Compass.
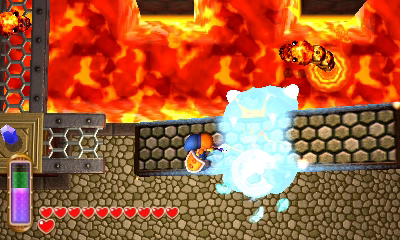
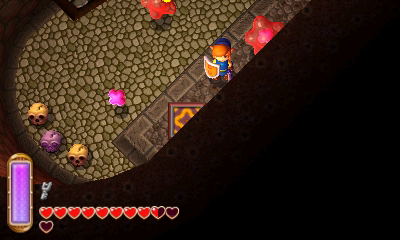
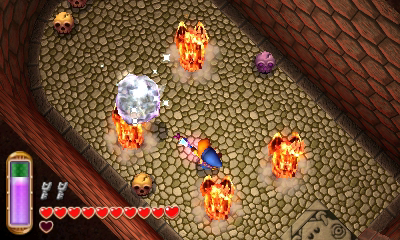
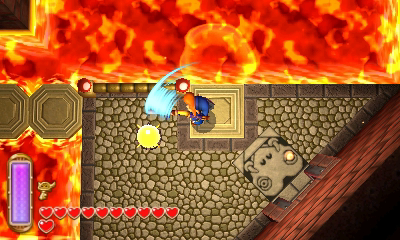
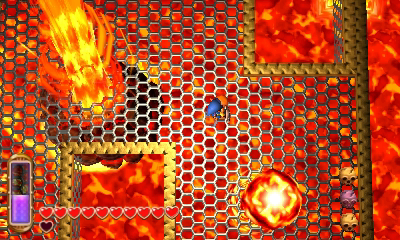
Throughout the room you will encounter these Fire Lanmolas that jump out of the lava and then back in. Each of these can be defeated with a single shot from the ice rod. Once all of them have been defeated, a treasure chest near the west end of the room will open up that contains a silver rupee. We will walk by this treasure chest later.Optional: Silver Rupee
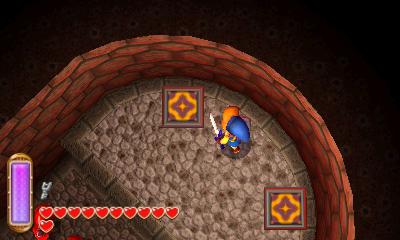
Avoid the enemies and make your way to the right side of the room. Merge into the wall and walk to the northeast corner of the room to get a small key. Merge back into the wall and head to the southeast corner of the room. Walk into the next room and step into the warp tile.

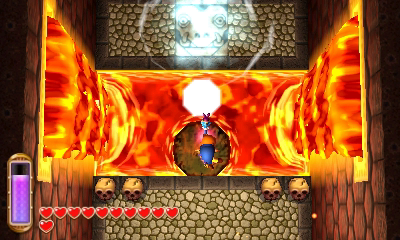
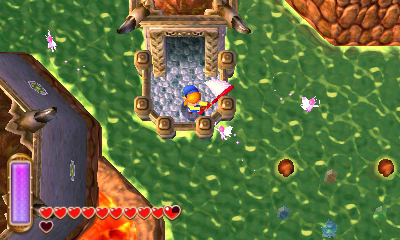
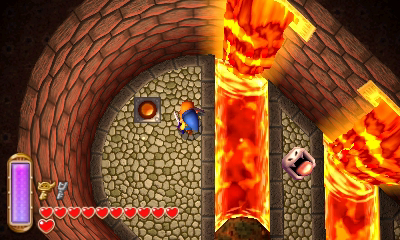
You can step into the adjacent warp tile on the highest level to reach another room. Use the ice rod on the lava to make it across to the door. Exit the dungeon to get back outside where there are a number of fairies you can capture with your net. Walk back inside the dungeon and head through the warp portal at the northwest corner of the room.
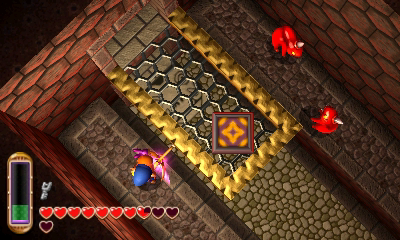
Drop down to the lower ledge and enter the warp tile found here. Use any projectiles you may to defeat the other enemies in the room. Alternatively, you can merge along the wall and walk around the room to reach that platform. Be careful though, as you don’t want to knock them down to a lower level. Once they are all defeated, a treasure chest will appear containing a purple rupee. Grab it, drop down to the lower floor and head back through the door to the northwest.

Back in the main chamber, once again freeze the see-saw and climb up the platform on the right. Walk to the north end of the room and you’ll see another see-saw on the left. Use the ice rod to lower the top half of it. Freeze the see-saw and drop to the platform to the south. Freeze the lava to the west to reach the western wall. Walk along the wall to the southwest corner of the room and step on the switch, unlocking the nearby door. Drop down below and head through this door.


Use the see-saw to reach the higher platform and step into the warp tile. You can step into the adjacent warp tile if you’d like and it takes you to another similar room that we were in earlier. Make your way to this dungeons exit to get back outside and find a Piece of Heart. Re-enter the dungeon and head through the warp tile at the top-right of the room.


Return through the next warp tile to get back southwestern part of the first floor. Drop down to the lower ledge to the east and step into the warp tile found here. Grab the small key and then exit this room to the southeast.
Return to the see-saw on the west side of the room. Get onto the see-saw and walk to the south end to tip it I the other direction. Use the ice rod to freeze it and then walk back northward onto the pillar. Step on the nearby floor switch here to open the northern door.
Drop off the ledge and use the see-saw on the right side of the room to reach the eastern wall. Merge into the wall and walk all the way to the northern room. Enter the room here to find a treasure chest containing a purple rupee.
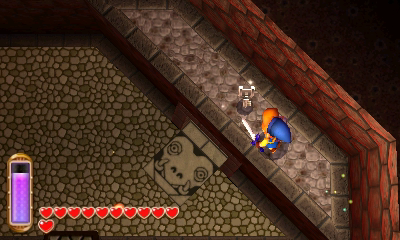
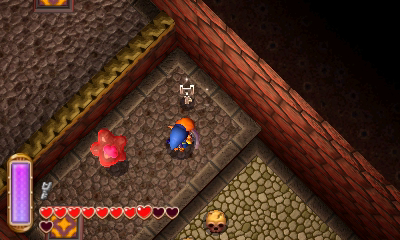
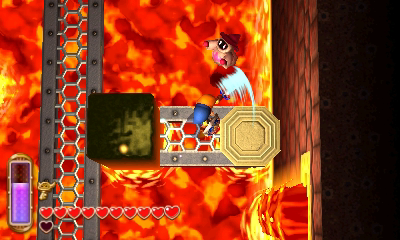
Drop off the ledge to the north and defeat the wizzrobe that appears on the lower floor by using your sword. Two more wizzrobes will appear, but on higher ledges. Hit each of them twice with the ice rod to defeat them, causing the platform to lower. Climb down the steps to reach the basement.

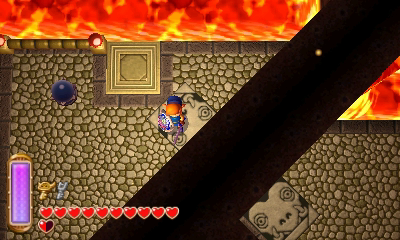
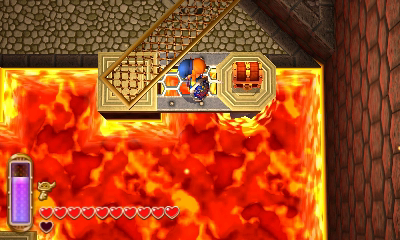
Walk down a screen and you can optionally head through the door at the northwest part of the room. You can defeat the four fire statues by using the ice rod to freeze them, and then delivering a sword slash. Defeat the enemies simply creates a warp portal back to the dungeon’s entrance.
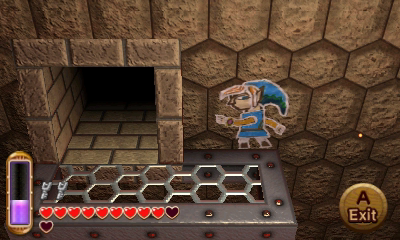
Walk to the northeast corner of the room and head through the door here. Use the ice rod to cross the gap and you can also use the ice rod to freeze the beamos. Grab the small key and return to the large central room.

As you walk through this large central room, will find a number of Wizzrobes. You will need to defeat four of them to solve one of the dungeon puzzles. Use the see-saw on the left to reach the higher ledge. Just to the left you’ll find the first wizzrobe, so be sure to defeat it.

Use the ice rod to freeze the lava on the west to reach the western wall. Walk along the wall to the northern end of the room and go through the mid-level door. Open the treasure chest here to get a purple rupee. Return through the door at the south and merge along the northern wall. There are wizzrobes at the northeast and northwest corners of this room, so be sure to slash and defeat both of them. There is also a gate lodged up against the wall at the northeast corner of the room. Link can merge into the wall and drop it down.


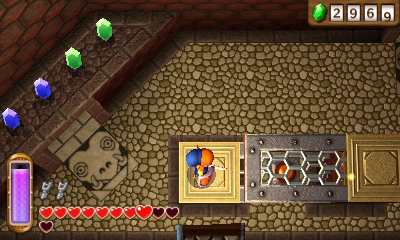
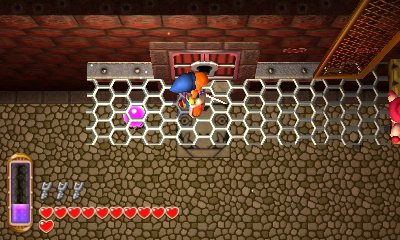
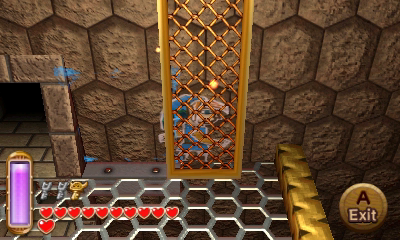
Drop down to the floor level, and walk near the door at the north end of the room. There is a crystal switch just to the left. Hit it once, causing the lever above to move upward. Repeat the same process we just to get back to the northern end of the room. Use a small key on the locked and head through. Open the treasure chest here to get the Big Key.

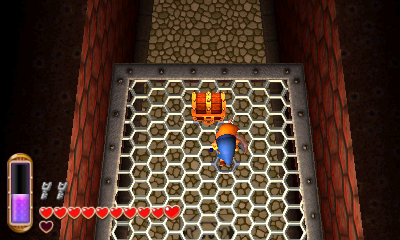
Return to the previous room and merge along the wall just to the right of the door, causing the ladder to drop down. Be sure to defeat the nearby wizzrobe as well, causing the final platform in the room to shift. With a square now formed, a treasure chest will rise up and appear in this room. Drop down and open it to get the Hylian Shield.
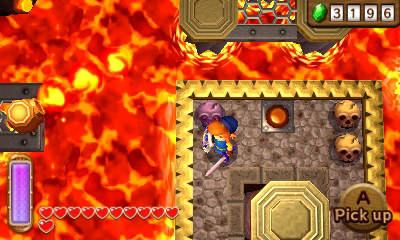
Drop down to the floor below and return to the see-saw on the left. Use the second see-saw to reach the locked door at the southwest corner of the room. Freeze the lava in this room to reach the western wall. Slash at the skulls and step on the floor switch that is revealed to cause platforms to appear in the previous room.
Return to the large room and use these new platforms to make your way to the southeast corner of the room. Go through this locked door and you’ll find another floor switch at the end of room. Step on it to cause more blocks to appear in the previous room.
Return to the large room and strike the crystal switch, while standing on the block to the right. Quickly run northward and you’ll see a wizzrobe on the higher ledge. Hit it with the ice rod and then quickly run back southward. Strike the switch again and hit the wizzrobe a second time to defeat it. This will cause a platform to appear. You can use the ice rod on the flames just to the left of that platform to successfully reach it.

Defeat a second wizzrobe nearby and a treasure chest will appear on a nearby platform. Merge onto the wall and walk to the northeast corner of the room. If you haven’t already, knock the bridge off of the wall and open the treasure chest to get a silver rupee.
Return to the southern end of the room and walk along the southern most blocks. Walk through the door to the south. Use the ice rod to create a platform leading to the crystal switch at the south end of the room. Hit it with the ice rod, causing the two platforms to move upward. Move over to one of the moving platforms and have it raise you up. Merge onto the wall and walk to the north end of the room. Use the big key and open the large door.

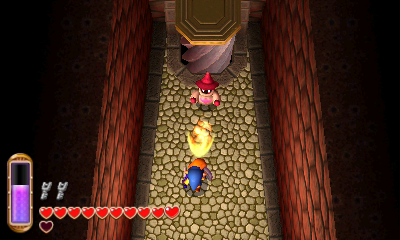
Walk northward passed the rolling spikes and slash at the skulls. Press the switch, causing a pair of wizzrobes to appear. Defeat them with the ice rod, and floor nearby will disappear. Drop down to take on the dungeon boss, Grinexx.
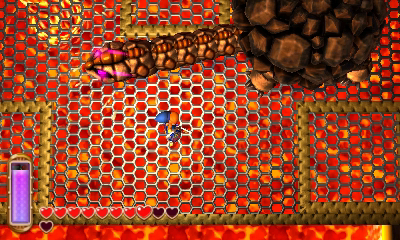
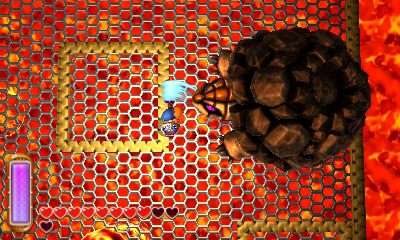
The boss will swim around in the lava below. Whenever it moves to an area where there is an opening. Use the ice rod to drop ice onto the boss. After hitting it twice, be careful as it will then shoot lava up towards you. Run away until the lava stops and then repeat the process again. After five total hits, the boss will jump up to the higher platform.

During this phase, continue to use the ice rod to harm the boss’ head or simply slash at it with your sword. Be careful as it will extend its neck in your direction. Repeat this process a number of times until the boss starts spinning around. Avoid the boss by moving quickly around the room. It’s usually safe to just stand at the one of corners of the grate. Once he stops spinning repeat the same process until the boss has been defeated.
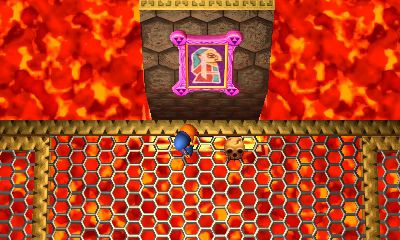
Be sure to grab the Heart Container that is left for you and then touch the painting to save the sage.

- Chapter 1 – Eastern Palace
- Chapter 2 – House of Gales
- Chapter 3 – Tower of Hera
- Chapter 4 – Hyrule Castle
- Chapter 5 – Thieves’ Hideout
- Chapter 6 – Desert Palace
- Chapter 7 – Dark Palace
- Chapter 8 – Swamp Palace
- Chapter 9 – Skull Woods
- Chapter 10 – Turtle Rock
- Chapter 11 – Ice Ruins
- Chapter 12 – Lorule Castle
