- Chapter 4 – Forest Temple
- Chapter 5 – Fire Temple
- Chapter 6 – Ice Cavern
- Chapter 7 – Water Temple
- Chapter 8 – Bottom of the Well
- Chapter 9 – Shadow Temple
- Chapter 10 – Spirit Temple
- Chapter 11 – Gerudo Training Grounds
- Chapter 12 – Ganon’s Castle
4.1 Forest Temple
Enter the Forest Temple to see some once-beautiful ruins falling to decay. The vines immediately to your left are overrun by Skullwalltula’s, so climbing isn’t an option there. Going around the tree on the left reveals a safe wall of vines, so climb the to the top of the tree. Kill the Skulltula hanging between the two trees and jump across. Hit the button switch on the east tree and jump back to the west one for the key. In the hallway, fight your way past the Skulltulas (watch out for shadows, they descend straight through the ceiling sometimes so you can’t get them in advance) and, just before the door, hookshot the Golden Skulltula on the wall above the door. Continue through the door to see the familiar scene with the four ghosts stealing the colored fires.
Run straight forward, through the door, and play the song of time to remove the time block. In the next room, defeat the two Wolfos to claim a small key. Back to the main room, head for the only open door, to the west, and deal with the Stalfos that ambushes you. Through the new door, immediately turn right and collect the Golden Skulltula. Climb the ladder straight ahead to find a puzzle involving pushing and pulling large blocks through narrow tunnels. Pull the blue block straight back until it’s out of the path. Run through, to the left, and push the other blue block straight until it clicks into place. Climb up the now immobile blue block, to the left, and push the brown block here until it clicks into place.
Ignore the other brown block in this area for now. Hitting the switch you now have access to will raise a hookshot target so you can take a shortcut back up here later. Take the left and deal with the two Blue Bubbles here, then use your key and go through the door, through the hallway and enter the next room. Navi will warn you to watch for shadows. Jump down (make sure not to fall in the hole) to claim your Boss Key!
You can fight off the Wallmaster in this room easily enough, but it is unnecessary. When you’ve got the boss key, drop through the hole in the floor into a new room, dominated by a Floormaster. Deal with this annoying guy, or simply avoid him, and continue through the only door. Stay on top, and take the first door on your left. Here, you can play the sun song (if you have it now) to make it easier, but a single Redead isn’t too bad. Take him out however you choose, and claim the key he guarded. Back outside, take the next door on your left and hit the switch. This not only twists hallway, but also moves the platforms in this room. Use the hookshot targets and the newly-relocated transparent blocks to climb up quickly, and make it through the door and hallway again as you already have.
The corridor is now twisted, and leads towards the first stairway with ghost pictures. Head down the stairs, and through the door to the bottom room. Defeat the Stalfos, making sure not to fall into the hole (which is back to the room with the Wolfos that earned you your first key). When the first is down, a platform lowers, filling the hole, and two more come out. Defeat these two quickly, as one will revive eventually if the other still lives. After a grueling victory, you are amply rewarded with a the Fairy Bow.
Break the pots for hearts if need be. Turn to the west and take the door to the blue room. As you well know, shoot the ghost pictures on the wall to instigate a ghost fight. Defeating Beth is easy, as she uses a very predictable attack pattern. Hold her in a corner or keep her spinning in circles, whichever you prefer, and claim the chest of a compass that she kindly leaves near the door for you.
Back to the Stalfos room and through the other side to the red room. Solve the same puzzle and fight the same enemy. This time it’s Joelle and red, but everything else is practically the same. Claim your Dungeon Map from the chest. Climb upstairs and go through the door, past the wallmasters and the twisted corridor; all the way to the main room.
Shoot the eye switches over the northeast and northwest corridors to unbar the gates to the courtyards. Head into the west courtyard. Easily defeat the Big Deku Babas here, and turn around to hookshot the Golden Skulltula above the door. Hookshot to the top of the door frame, and play the Song of Time to make a block appear to your left. Jump to it, and play again to make another, and another. On the final block, you need to shoot the Skullwalltula and jump to the vines. Climb up to the balcony on the north wall to claim a Small Key. Ignore the other balcony for now, and get down to the ground level.
Straight to the west end, stand on top of the well and locate the eye switch inside. Shoot it to drain the well, and descend to open a chest and claim another Small Key. Run to the other end and claim another Golden Skulltula. Climb the vines at the east wall. Continue climbing past the top of the well until you’ve emerged on top of a small platform to claim yet another Golden Skulltula.
Head through the east door, all the way back to Beth’s room, and climb the stairs to the locked door at the top. Use your key. Jump across to the left (falling down will must mean you may have to deal with a wallmaster as you try to climb up), through the next, un-twisted hallway, and past the two Green Bubbles. Use another key at the end of this corridor. You find yourself in a room with rotating platforms and spikes, a torch and a blue switch, and a frozen eye on the wall. Jump over to the platform just under the eye, grab the box and take it over to set it on the switch. On a rotating platform, shoot through the fire to the eye to twist the corridor that had the Green Bubbles. Remove the box from the switch and exit this room.
Again, pass the Green Bubbles, through the now-twisted hallway. The stairs in the reoriented room will lead back to Beth’s room, so ignore those. Instead, drop through the hole in the floor. The two switches you can see on the checkerboard in this room will make a chest (with arrows) drop, and unbar the door near where you dropped in. Step forward just far enough so the ceiling will fall and take a step back. Quickly shoot as many of the Skulltulas as you can, watching where those you missed remain. As you know, when the floor drops, you need to be standing on a safe spot to avoid being crushed. Most are/were occupied by Skulltulas, but should be accessible now. If you’re crushed, you have to start over and the Skulltulas respawn. Hit the right switch (the chest is optional, after all) and run back to the side corridor near where you entered this room. Outside, drop down one level and carefully kill the Deku Baba and claim the Small Key. Use the Song of Time to climb back up, fight through the falling ceiling again, and open the door to the south side.
In this room, make sure you are not standing on a shadow and look at the picture on the wall. Shoot it, and you are given the well known puzzle to solve in one minute. The blue block just gets in your way, and your object is to make the picture on the wall. All pieces are oriented correctly (meaning no turning) so just worry about pushing and pulling them to make the picture. If you fail, the whole thing resets and you are given a little more time, until you succeed or leave the room. Success means the picture burns up, and you are faced with fighting Amy, who’s battle is exactly the same as Joelle and Beth’s fight.
Once she is defeated and the door opened, proceed through it, through the corridor, to find yourself back to the main room. If you look down, you’ll see the final, purple ghost sitting in the middle of the room. Jump down to face…
This fight starts out with Meg splitting into four images of herself, and they float around you, confusing you. If you move, they’ll move with you so you can’t get them with your sword. You can target them and shoot them with your Fairy Bow, or you can manually aim and shoot them with your Hookshot. When you’ve hit the correct one, they will all disappear, reappearing surrounding you again.
If you hit all three fake ones, the real one will attack you before summoning the fake ones again to confuse you. If you do nothing for a while, the real one will reveal herself by attacking you, before resetting the charade.
You can defeat her using process of elimination. Eenee… meenee… minee… MO! Shoot them until you hit the right one enough times. The easier method is to ignore targeting. Stand still and let the camera pan out. When they appear, the real one will do an extra little flourish-type spin, and if you can see the whole battlefield, you’ll never miss. Either way, hit her enough times, and she’ll go down, lighting the final torch and raising the elevator.
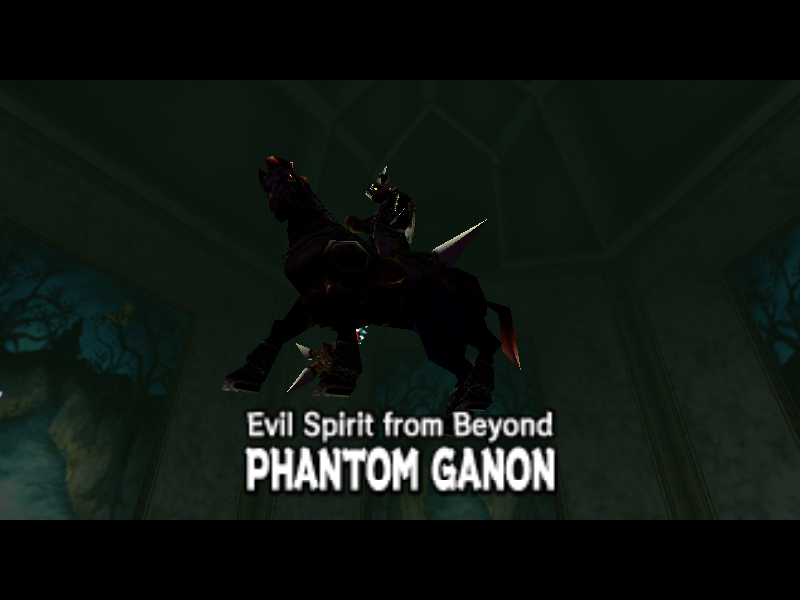
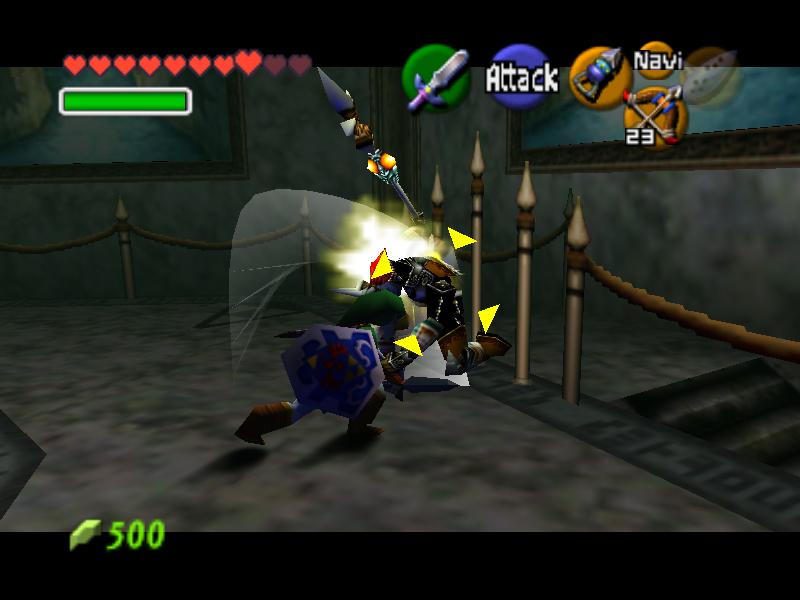
Your first temple boss can be difficult if only because he does a lot of damage and his attacks are hard to avoid if you mess up. The first half of the battle is similar to your recent battle with Meg, the fourth Poe Sister. The boss will come out of one of the six pictures along the wall along with an illusion. At the last second, the illusion will turn around and run back up the path, while the real one will come out and zap the middle of the arena. If you’re not fast enough, this will do a whole two hearts of damage.
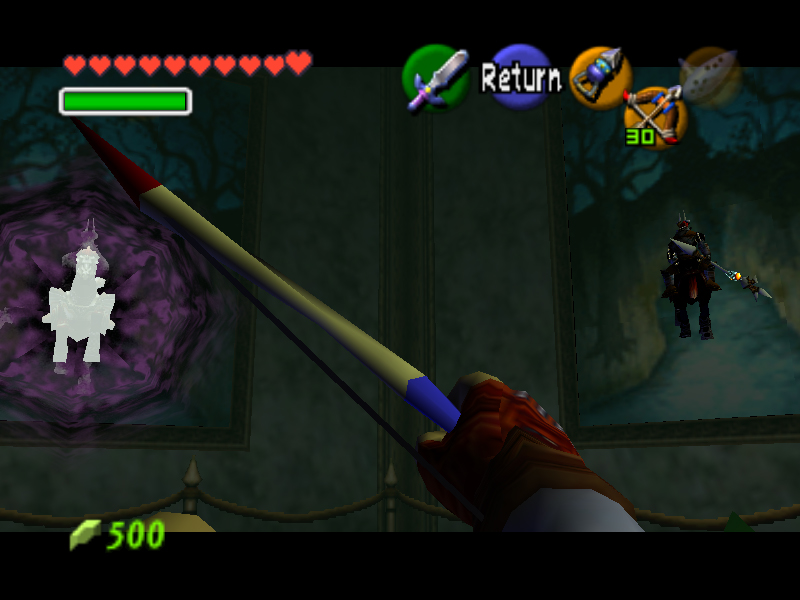
A good method is to stay on one side of the room rather than standing in the middle. Also, his lightning attack NEVER hits any of the corners…after three successful shots with your bow, his horse will abandon him and he’ll fight you alone.
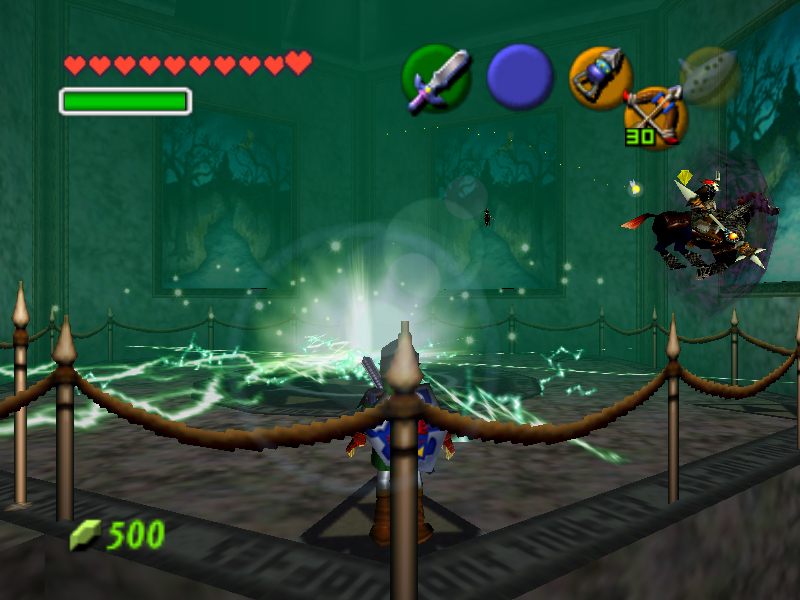
For the second half, he’ll float around by himself and shoot less powerful orbs at you. While they’re easily avoided or dispersed with any other attack or merely holding up your shield, in order to stun him, you’ll have to play ping pong with him until one of you isn’t fast enough. Use your sword to smack his attack back at him multiple times until you hit him. Try to time your swings so that the tip of your sword will hit the orb. It is possible to just get very close to him and hope the first bounce you get hits him, but it’s hard to time it right and the stun doesn’t last as long.
Very rarely, he’ll make some pretty fireworks, then charge at you very quickly. Simply hold up your shield or move out of the way to avoid it. If he does hit you though, he’ll do three full hearts of damage! Yikes!
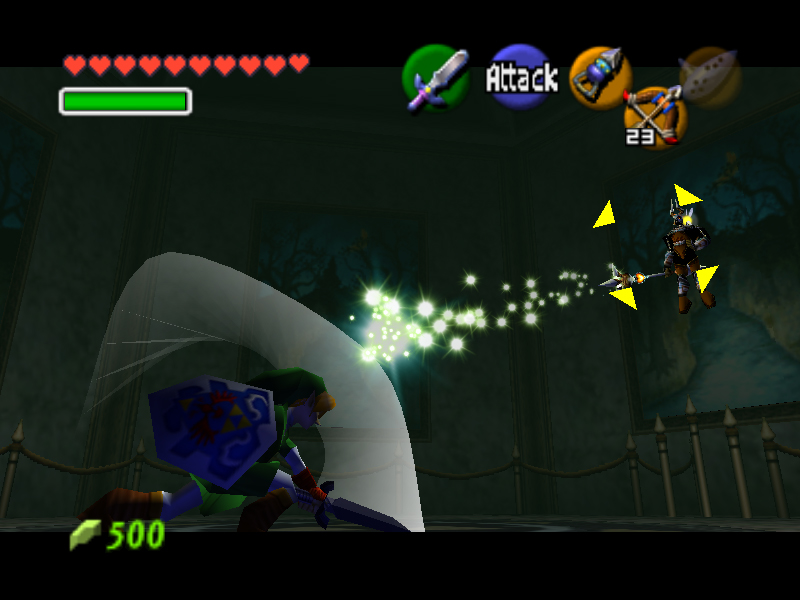
Once he’s been stunned, run up and slash away. Rather simple really, but can get quite frustrating. After a good thirteen hits, he’ll finally die.

He’ll rise up in a blue burning husk, and a portal will appear in the center of the room to suck it away. After some words echoed by your real nemesis, warning you that fighting the REAL Ganondorf will be tougher, he breaks away, and the portal of darkness becomes a portal of light. Collect the Heart Container, and step into it. Have a chat with your old pal Saria and earn yourself the Forest Medallion.
