Network Sites: Hyrule Warriors Walkthrough | Pokemon X and Y Walkthrough | Darksiders Dungeon | GenGAME
-
- Walkthrough
- Video Walkthrough
- Bosses
- Characters
- Enemies
- Guides
- Info
- Media
-
- Walkthrough
- Video Walkthrough
- Enemies
- Quest
- Guides
- Info
- Media
-
- Walkthrough
- Bosses
- Characters
- Enemies
- Items
- Guides
- Media
-
- Walkthrough
- Video Walkthrough
- Enemies
- Quest
- Guides
- Info
- Media
-
- Walkthrough
- MQ Dungeons
- Video Walkthrough
- Dungeons
- Enemies
- Quest
- Guides
- Info
- Media
-
- Walkthrough
- Video Walkthrough
- Text Guide
- Enemies
- Quest
- Guides
- Info
- Media
-
- Walkthrough
- Bosses
- Enemies
- Rings
- Guides
- Media
-
- Walkthrough
- Enemies
- Characters
- Rings
- Quest
- Guides
- Media
-
- Walkthrough
- Enemies
- Quest
- Guides
- Info
- Media
-
- Walkthrough
- Coming Soon
- Enemies
- Walkthrough
-
- Walkthrough
- Enemies
- Quest
- Guides
- Info
- Media
-
- Walkthrough
- Ordon Village
- The Twilight
- Faron Woods: Twilight
- Forest Temple
- Kariko Village: Twilight
- Death Mountain
- Goron Mines
- Lanayru Province: Twilight
- Lake Hylia: Side Quest
- Lakebed Temple
- The Master Sword
- Gerudo Desert
- Arbiter's Grounds
- Scaling Snowpeak
- Snowpeak Ruins
- Sacred Grove
- Temple of Time
- In Search of Sky
- City In The Sky
- Palace of Twilight
- Cave of Ordeals
- Hyrule Castle
- Video Walkthrough
- Ordon Village
- The Twilight
- Faron Woods: Twilight
- Forest Temple
- Eldin In Twilight
- Death Mountain
- Goron Mines
- Lanayru In Twilight
- Lake Hylia: Side Quest
- Lakebed Temple
- The Master Sword
- Gerudo Desert
- Arbiter's Grounds
- Scaling Snowpeak
- Snowpeak Ruins
- Sacred Grove
- Temple of Time
- In Search of Sky
- City In The Sky
- Palace of Twilight
- Cave of Ordeals
- Hyrule Castle
- Enemies
- Quest
- Guides
- Info
- Media
- Walkthrough
-
- Walkthrough
- Enemies
- Quest
- Guides
- Info
- Media
-
- Walkthrough
- Video Walkthrough
- Enemies
- Quest
- Guides
- Media
- Characters
- Story
-
- Walkthrough
- Video Walkthrough
- Bosses
- Characters
- Enemies
- Equipment
- Items
- Story
- Side Quests
- Upgrades
- Media
This chapter covers the three levels in level 5, the Lost Woods, Kakariko Village, and the Temple of Darkness.
5.1 Lost Woods
|
|
|
|
|
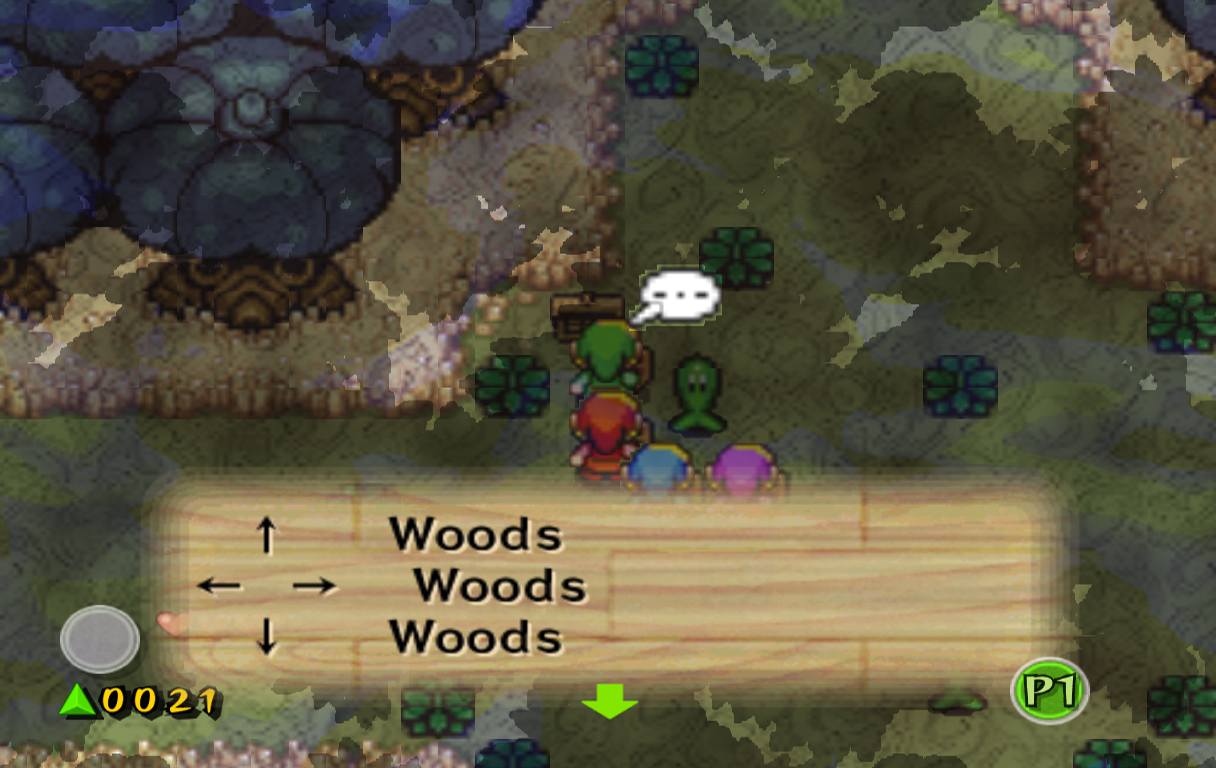
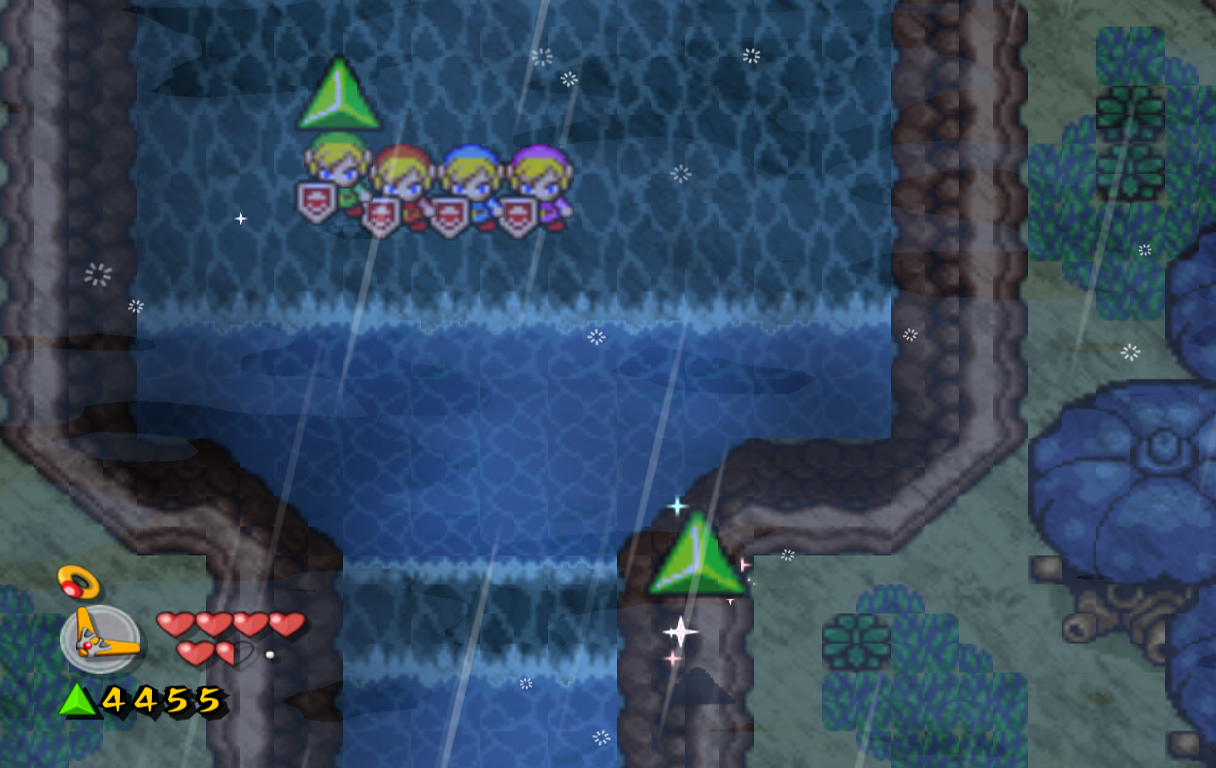
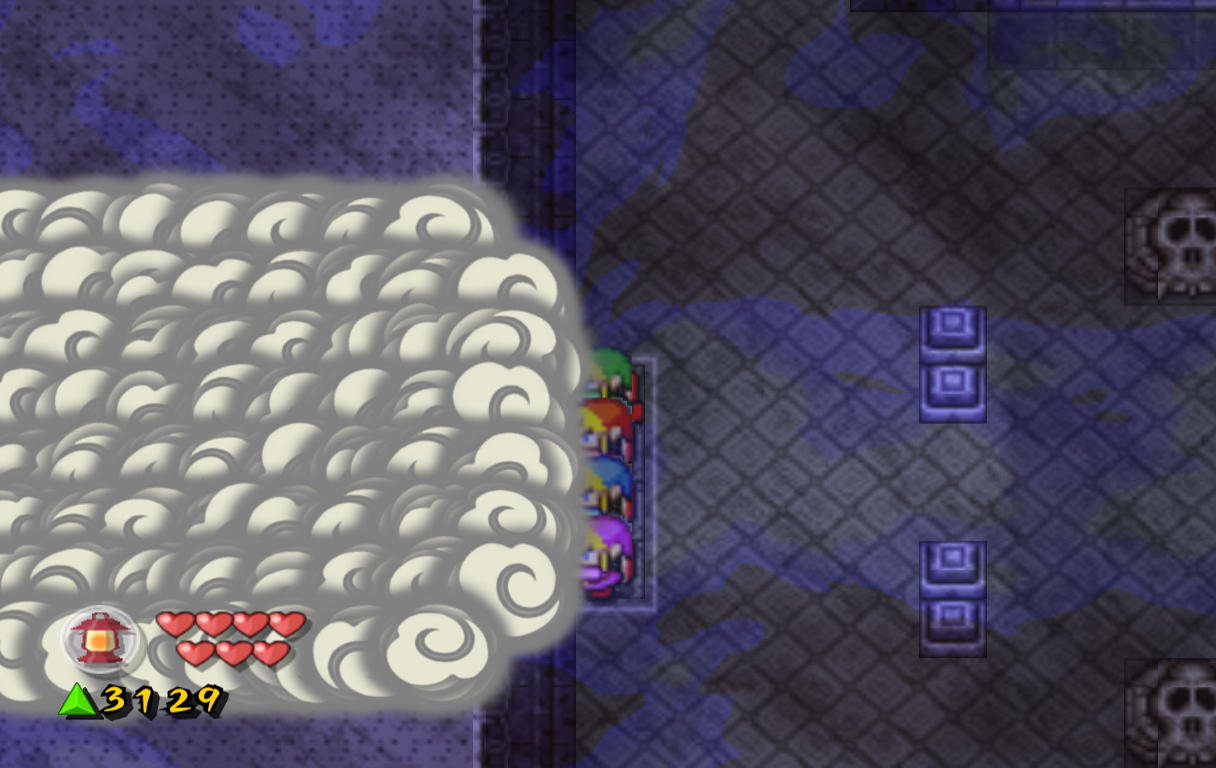
Welcome to the 5th level in the game, The Dark World. As you can tell by the name, this place is full of dark, depressing creatures that will try and kill you many times over. It is full of dead ends, confusing paths and tricks.
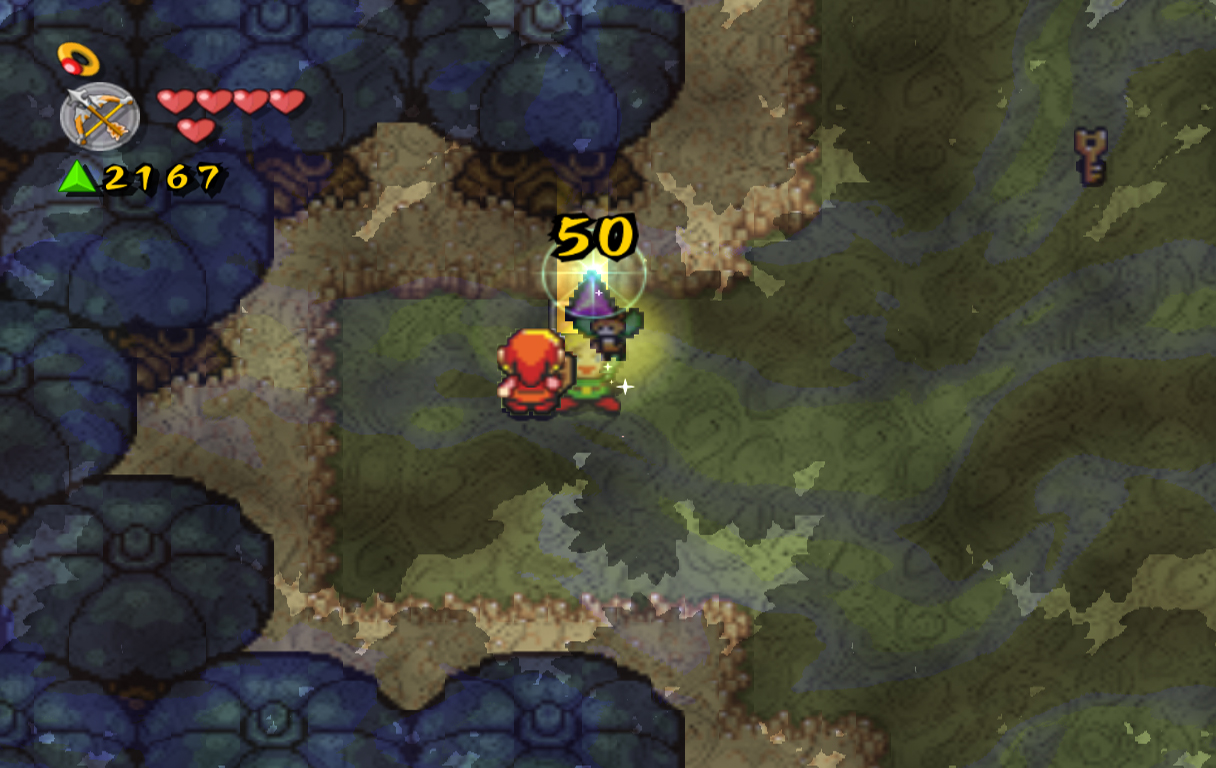
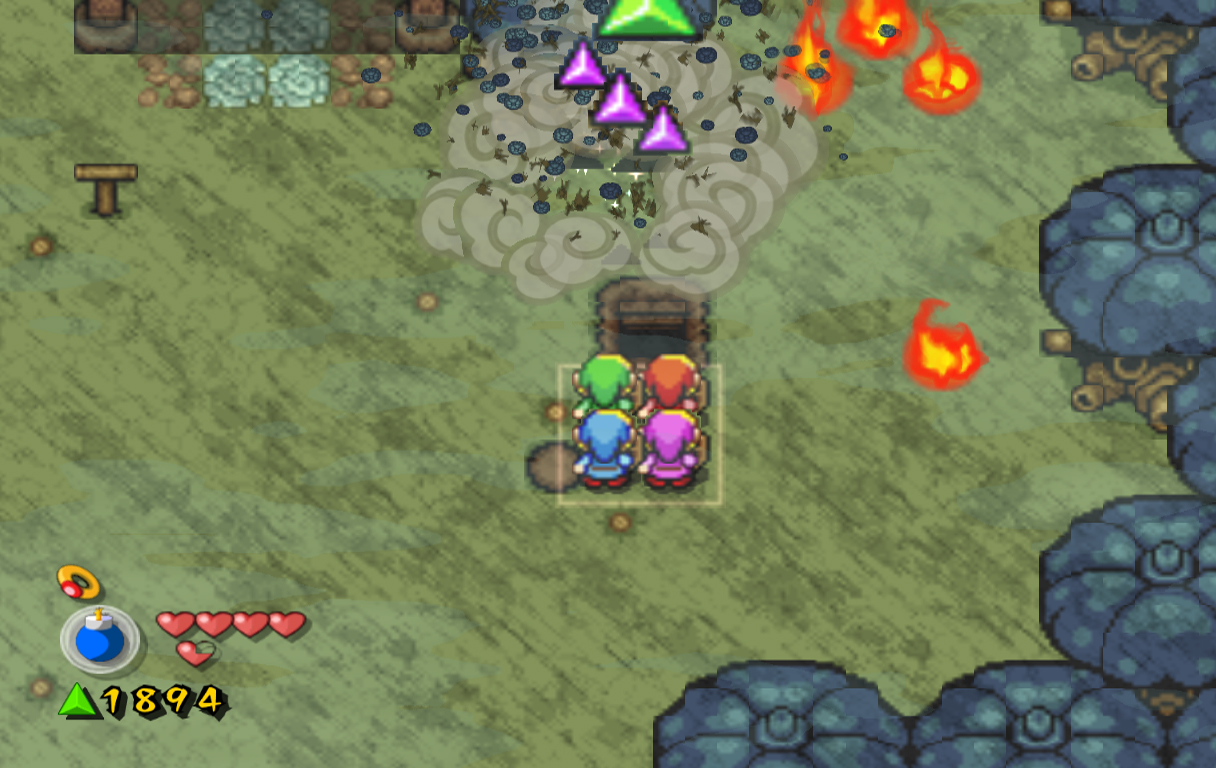
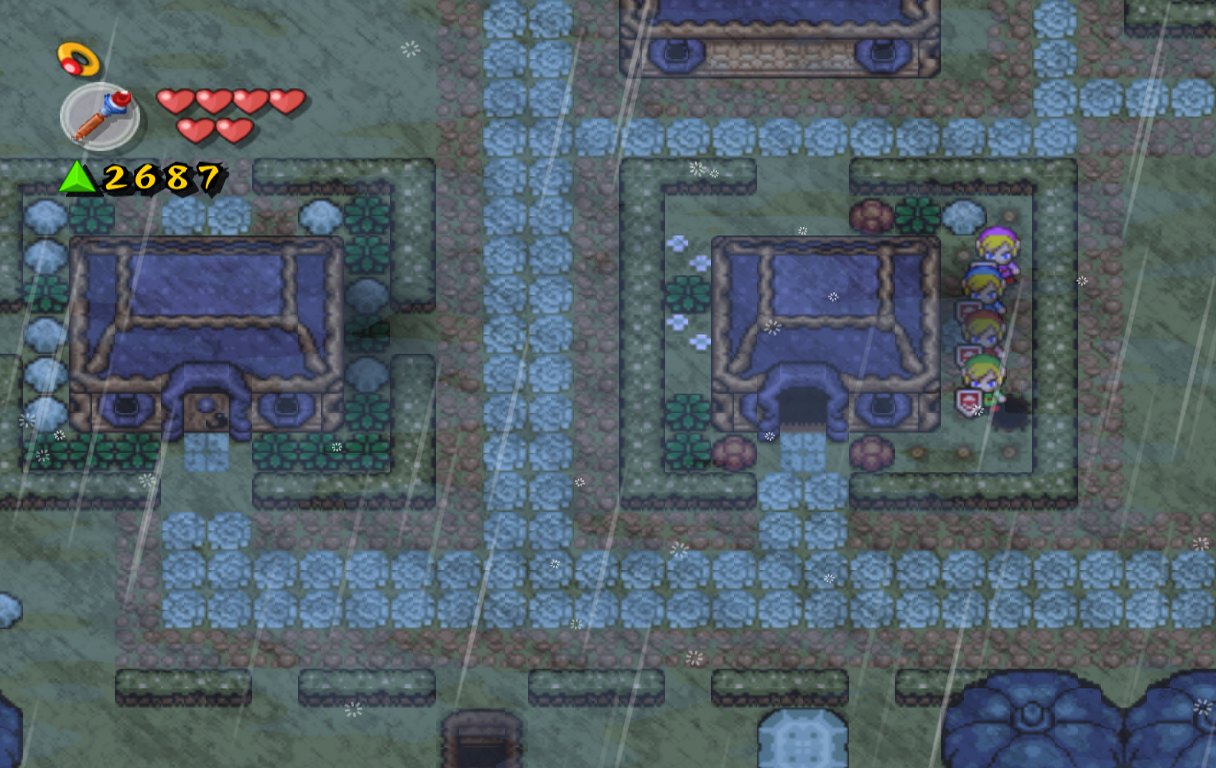
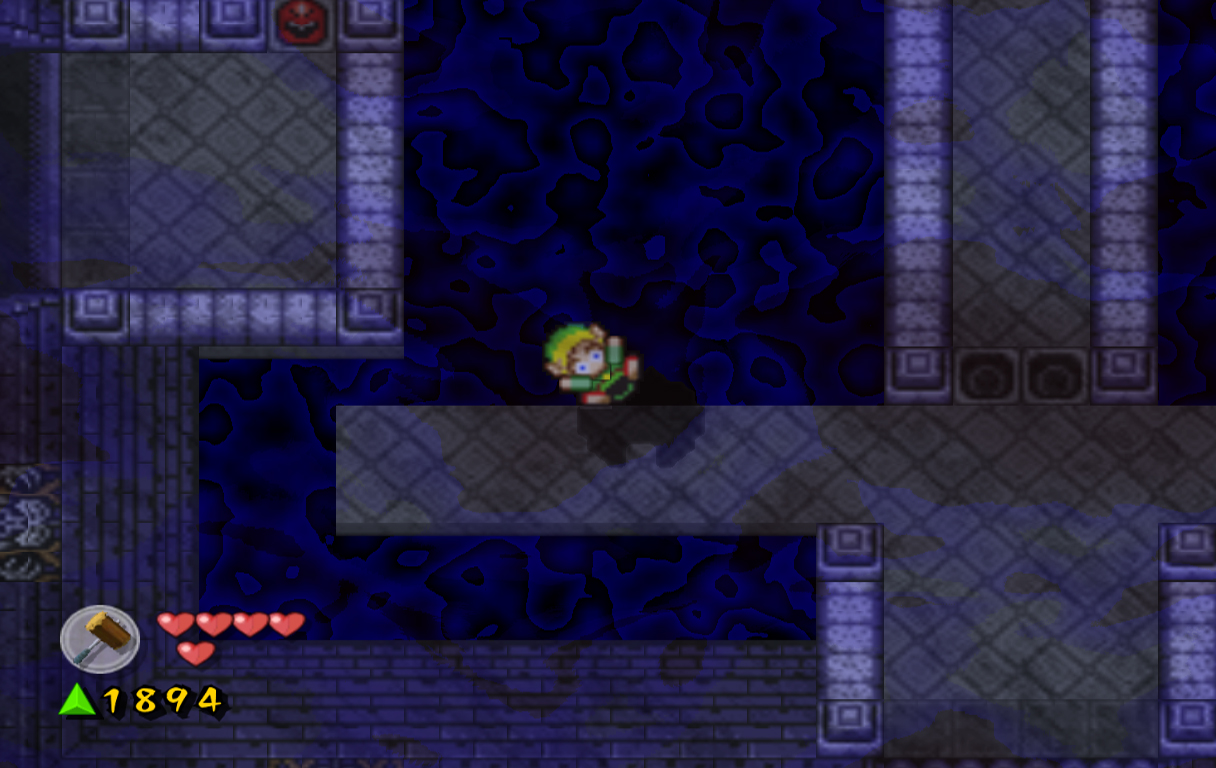
After the White Maiden finishes her speech head left a screen. Here you'll find two of the most annoying enemies in the game: Buzz Blobs and Floormasters. Buzz Blobs we've met before, and as you may have noticed before, they can only be defeated with weapons or magic. As we have neither of those, these enemies will be quite bothersome for most of the level. Along with the Buzz Blobs are the new Floormasters. These dark purple creatures move around through the ground and will pop up right next to you. They'll try to grab you and if they do, will pull you into the Dark World, where you must then find a portal back to the normal world. Floormasters don't actually hurt you, but they can still be rather annoying.
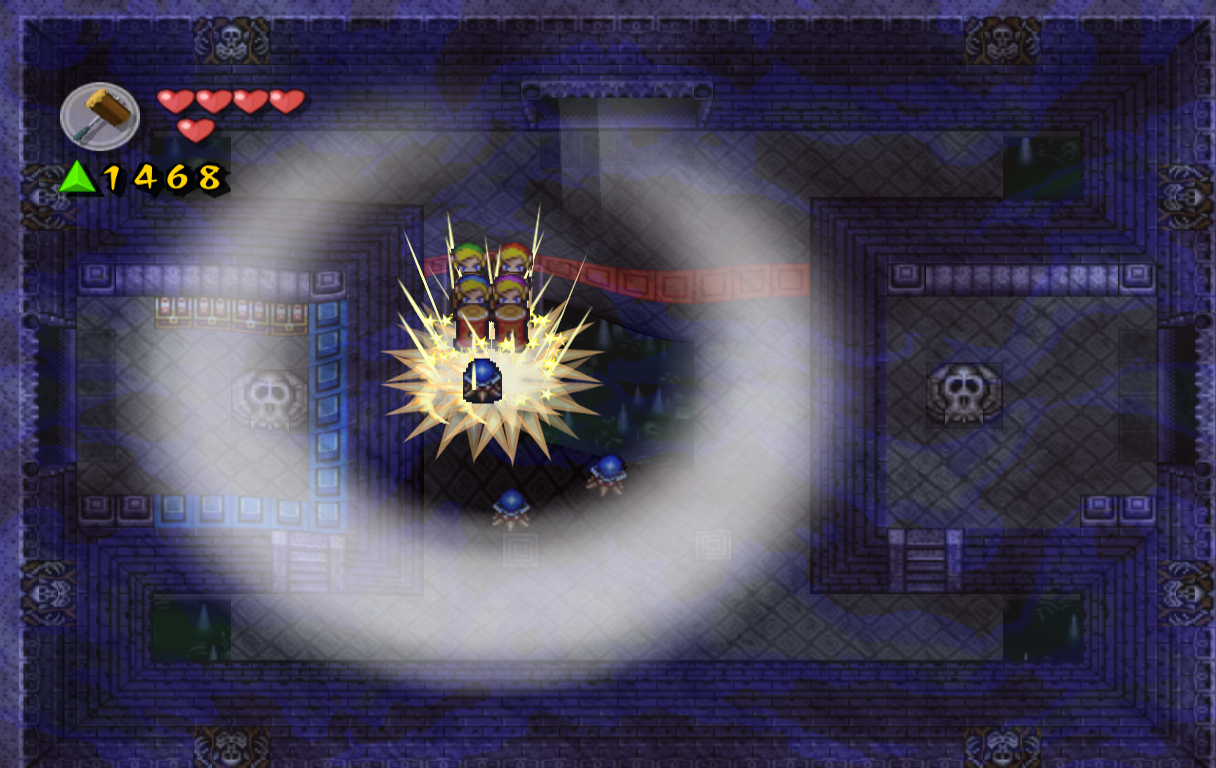
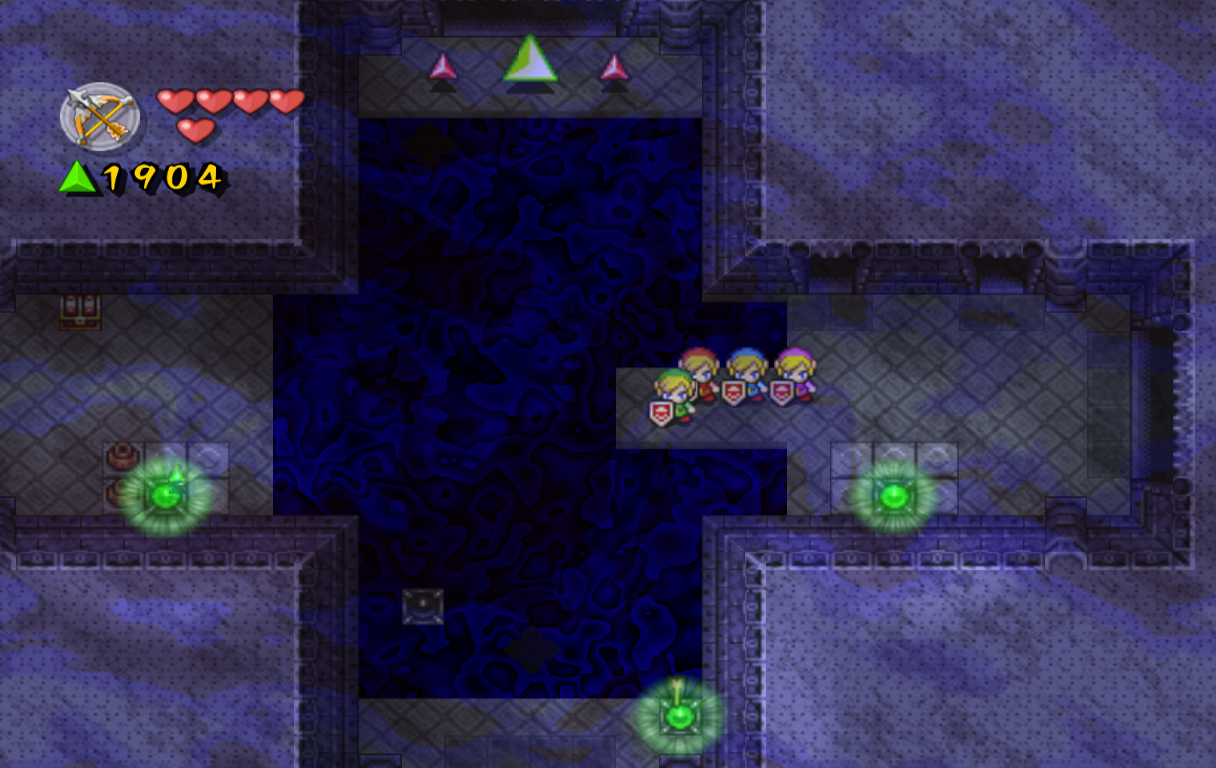
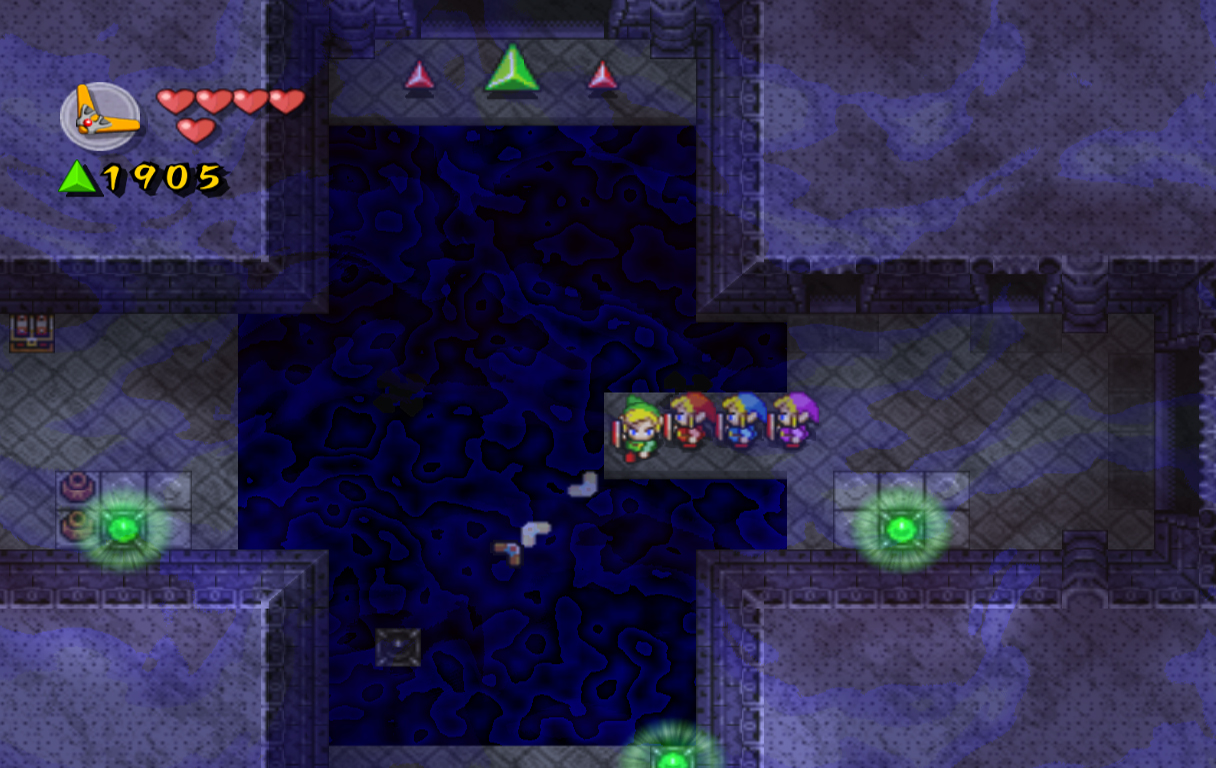
Head south a screen and you'll find another Tingle Times sign to the left, simply explaining that there are trees everywhere. Walk right a screen, then immediately walk to the north or south part of the screen to avoid the two charging Shadow Links. Defeat them when they stop moving, then speak with the Deku Scrub at the top of the screen. Deku Scrubs have been in many past Zelda games, including Ocarina of Time and Majora's Mask. In Four Swords Adventures they can only be found in this level, and speak constantly of the one who turned these woods dark, Ganon. If you have played (almost) any Zelda game, Ganon will be a familiar name. It can be confusing at this point though, since we only know of Vaati and his capture of Princess Zelda. We'll learn more about Ganon as the stage and level continues. For now, head back left a screen, then south two screens.
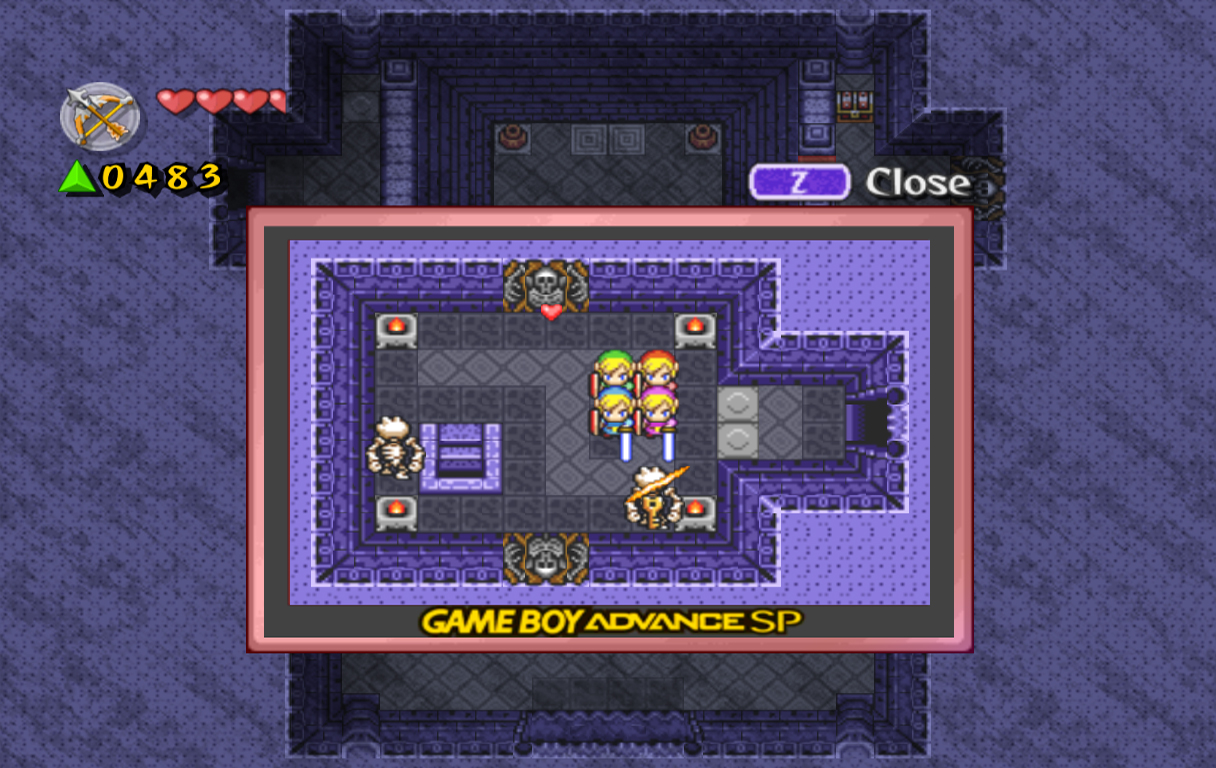
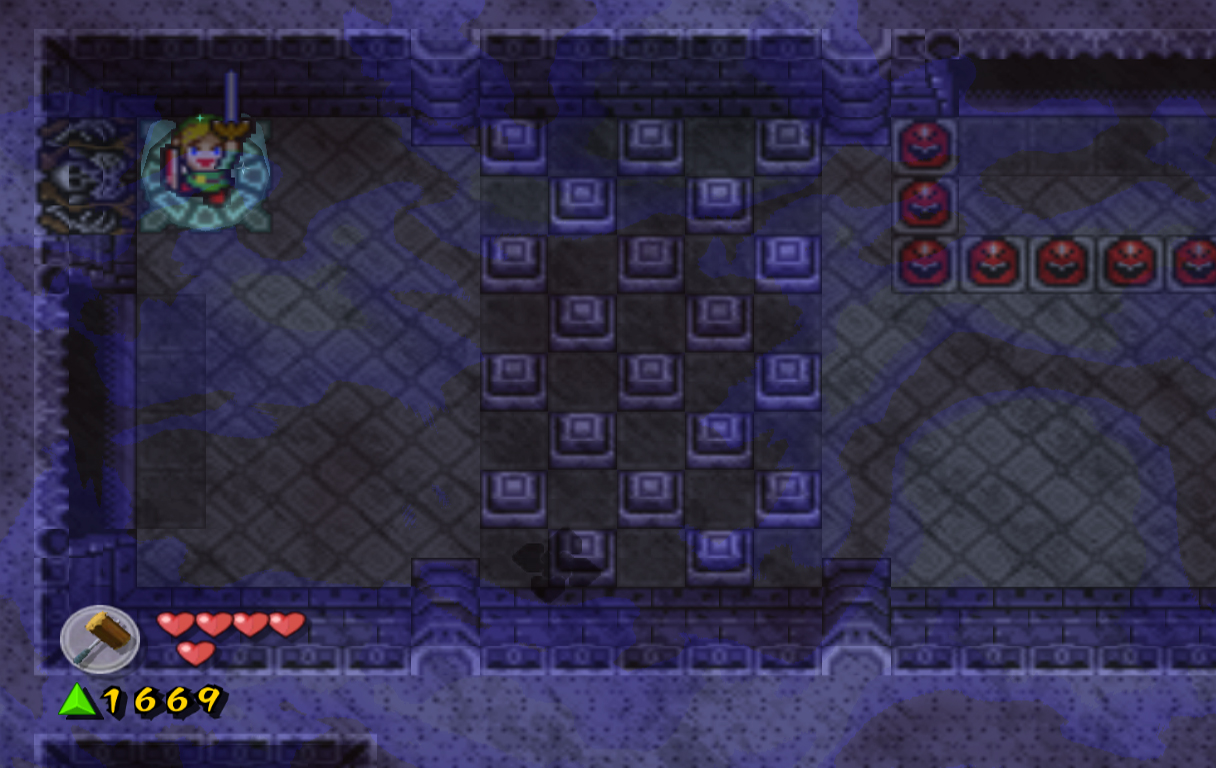
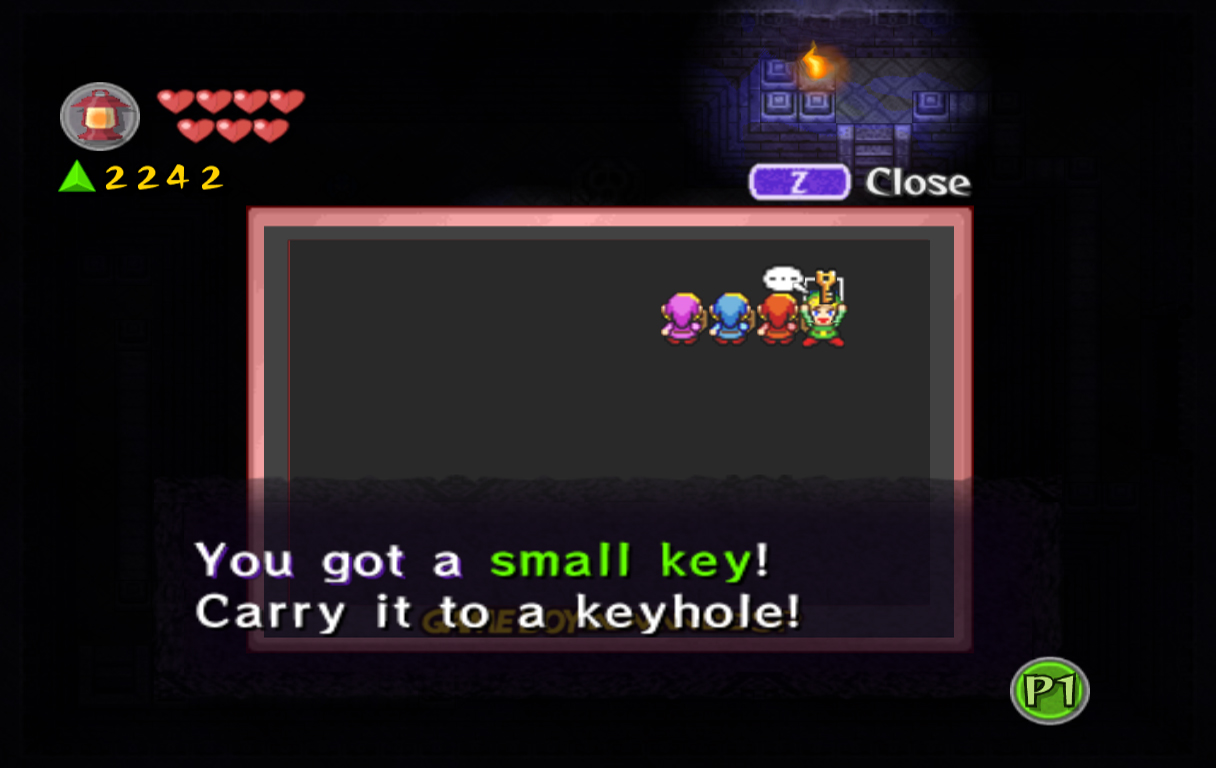
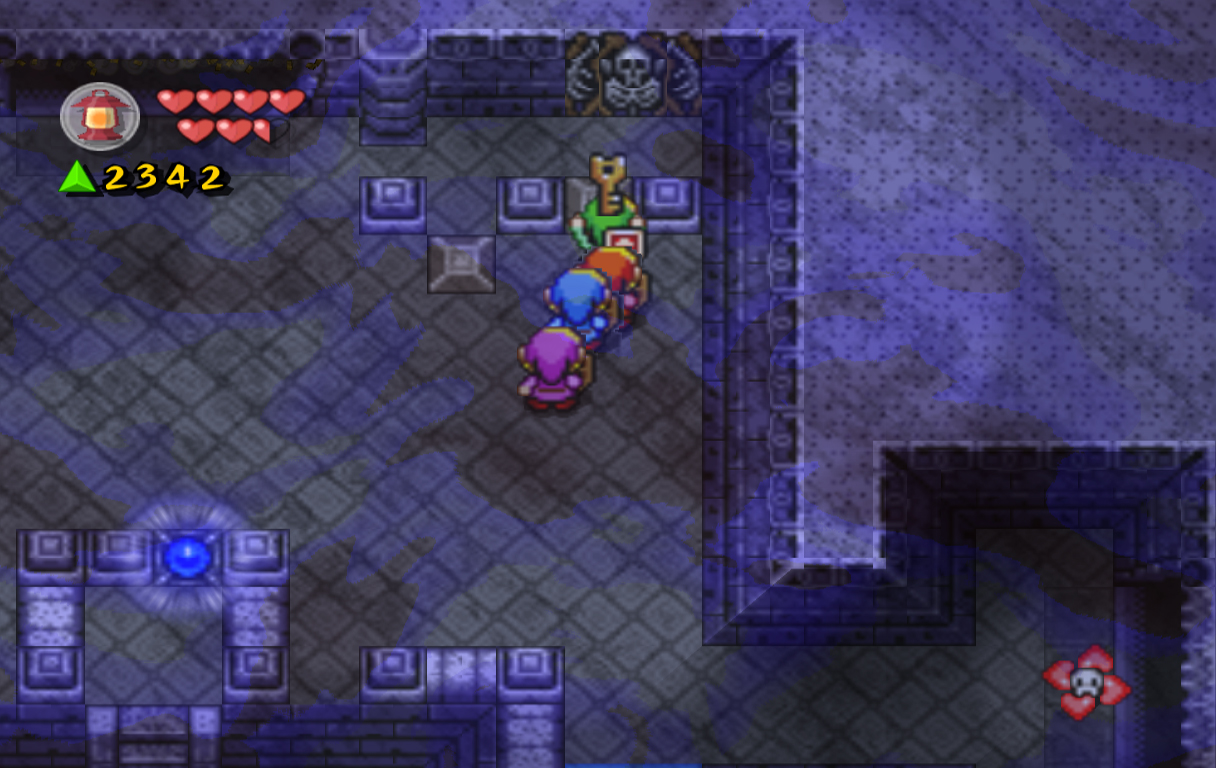
Defeat Shadow Link with a Wide formation, then use a Box formation to step on the gray switch. Defeat the four Wizzrobes that appear on screen, then grab the small key that drops down. Walk into the skull staircase at the top-right of the screen and open the locked door inside. Grab the Roc's Feather in the next room, then head back outside.
Head north a screen, then jump over the gap to the right with the Roc's Feather and continue to the next screen. Use a Wide formation to defeat Shadow Link here, then create a Cross formation and use it to hit all four black switches at once. This will cause two chests to appear; one containing 150 force gems, another containing a Moon Pearl. Grab the Moon Pearl, then head left a screen, north a screen, and right a screen. Walk next to the Deku Scrub from before and a Moon Gate will appear. Enter it to reach the Dark World.
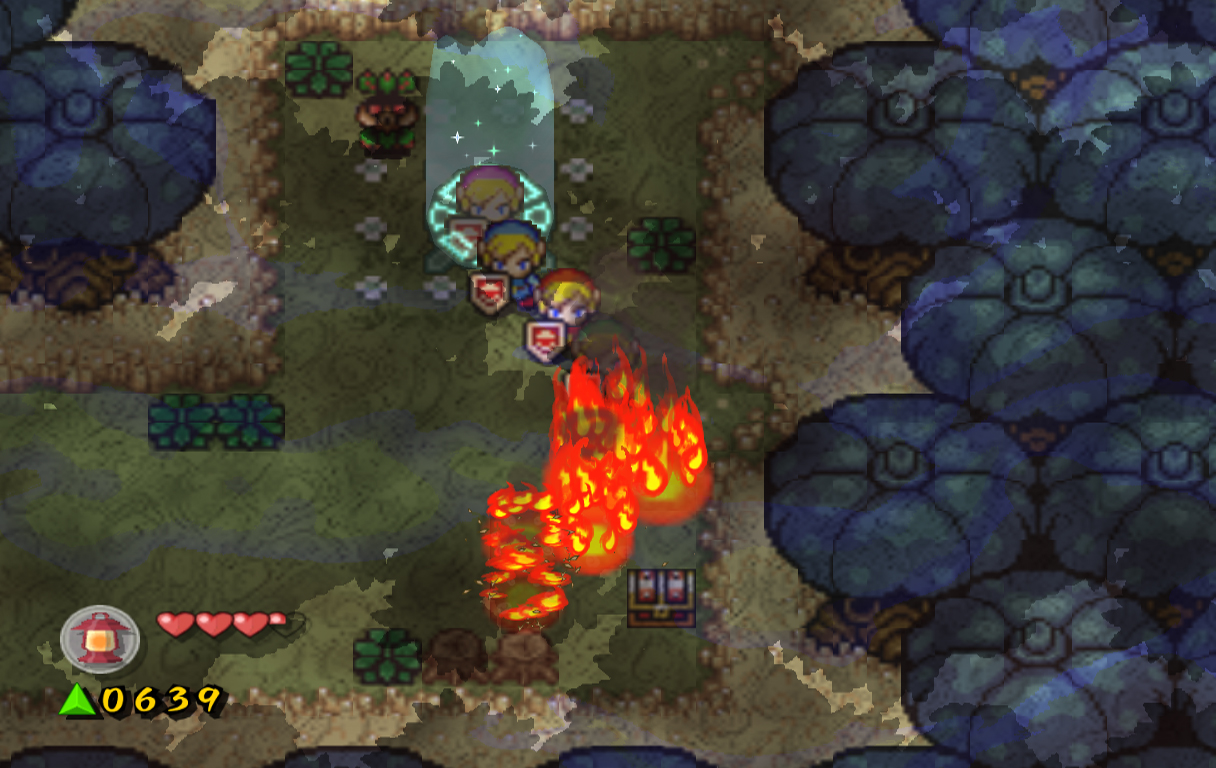
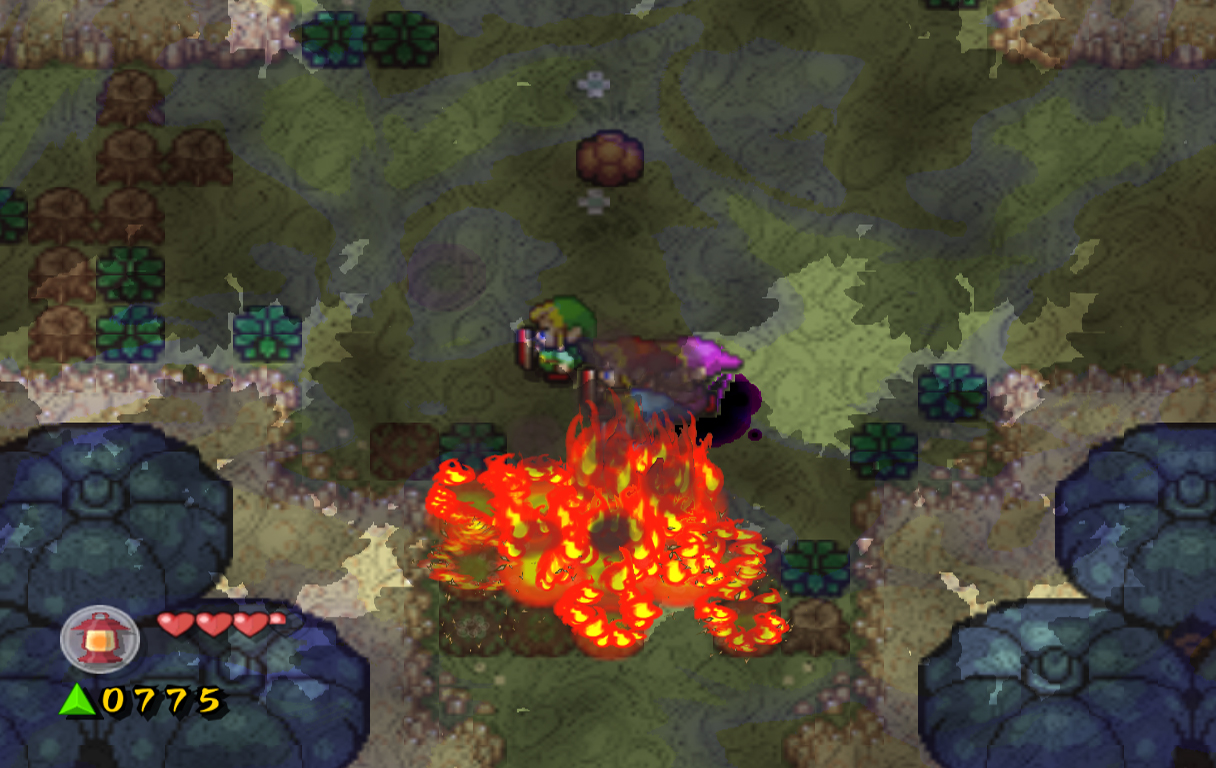
Once inside the Dark World, push the bottom block to the left, then push the middle block north. Grab the Lamp here, then exit back to the normal world. Light the tree stumps to the south on fire with the Lamp, then open the chest for another 100 force gems.
Head left two screens, then burn the stumps to the south and head two screens in that direction. Speak the Deku Scrub here and it will say nothing of importance as with most characters. Burn the stumps to the south and it will burn all the grass and stumps on the screen. Collect the many force gems left behind, then open the two chests on the screen to find another 100 force gems. Create a Box formation, then step on the switches at the bottom-left to reveal another chest containing a Heart Container.
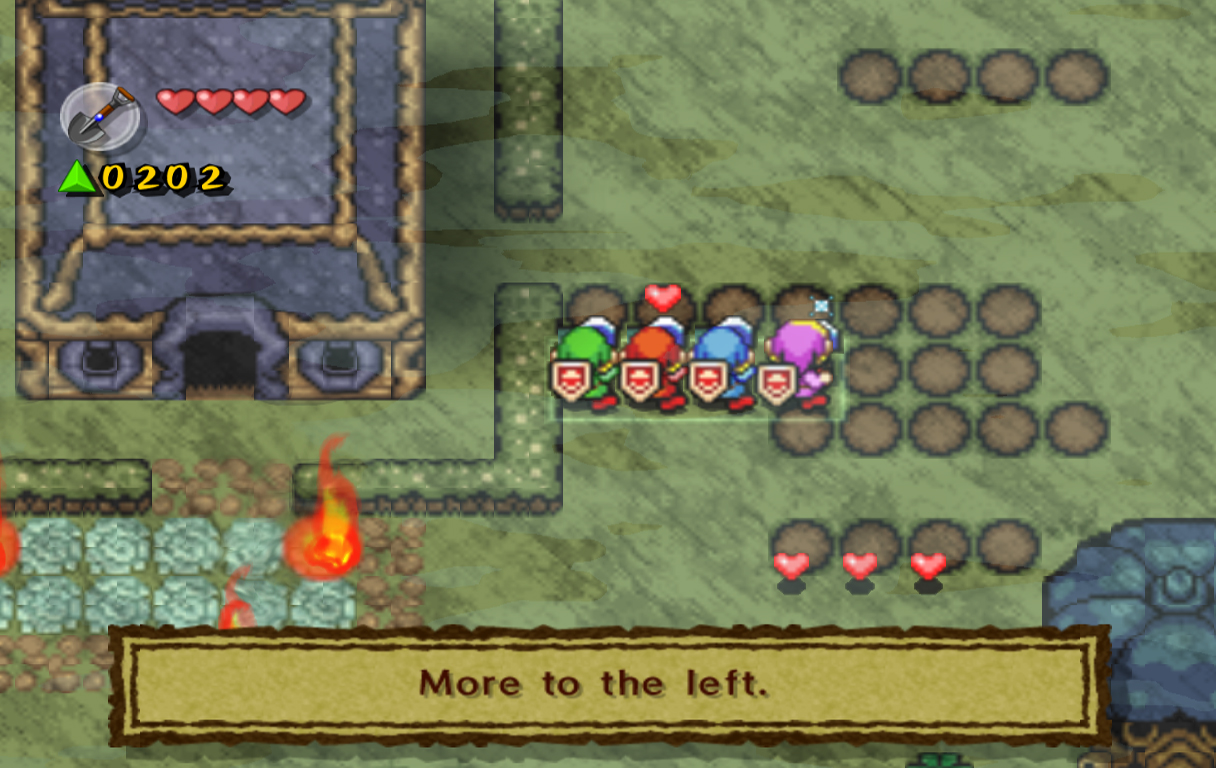
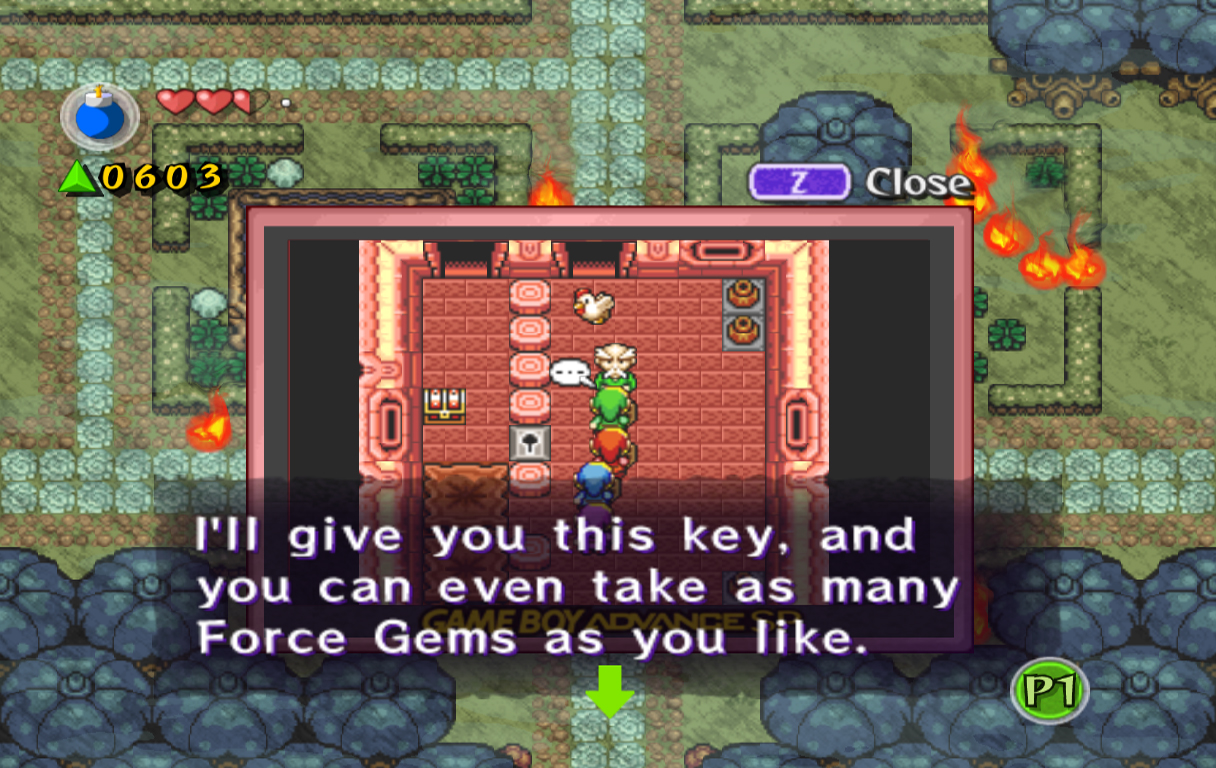
Walk back up a screen, then left a screen, then south a screen. Speak with the Deku Scrub at the bottom edge of the screen and it will say that we need to find Dekki if we want to help them move stuff. Seeing as there's a Deku Scrub-shaped shadow in the Dark World, our best bet is to hop in the Moon Gate to see if he's in the Dark World. Sure enough, Dekki is nearby. Speak with him and he will give you 3 items to find in the Lost Woods, and you will need bring them back to his counterpart Deppi in the normal world. Here's where things get tricky: There are actually six possible items that Dekki can request, and as such, I can't automatically know which 3 he gave. To counteract this, listed below are all 6 options, along with where you can find them in the Lost Woods.
After giving Deppi the three items in the correct order, she will direct you to speak with Dekki again. Do so and he will give you the Power Bracelet. Head back out into the normal world, then walk north a screen. Lift the two trees to the left and collect the force gems they leave behind. Head left a screen.
Use the Lamp to destroy much of the grass on this screen, then use the sword to destroy the rest of it. Fall into the hole at the bottom of the screen and open the chest inside for another 50 force gems. Head back out, then fall into the hole at the top of the screen. Grab the Bow here and head back out again. Create a Wide formation, then hit the four black switches in the middle to drop force gems all over the screen. Collect them, then head north. Defeat the two Gohmas here with the Bow, and make sure to watch out for bees in the trees in the corners of this screen. Head north a screen and you'll find another Gohma here, except this one is much larger, can attack, and takes more hits to defeat. When you get close, this Gohma will shoot small fireballs out of its eye. These are easy to dodge at first, but the more times you hit it with the Bow, it will shoot more fireballs at once and do it more rapidly. Dodge as best you can, and after being hit enough with the Bow, it will die.
Head right a screen and open the chest for a small key. Ignore the right area and head back left a screen. Continue down two screens, right one screen, and up another screen. Lift the trees to the left and open the chest for another 50 force gems and a force fairy. Continue up the next screen and head right a screen. You can now defeat the buzz blobs here with the Bow if necessary; otherwise, continue up a screen.
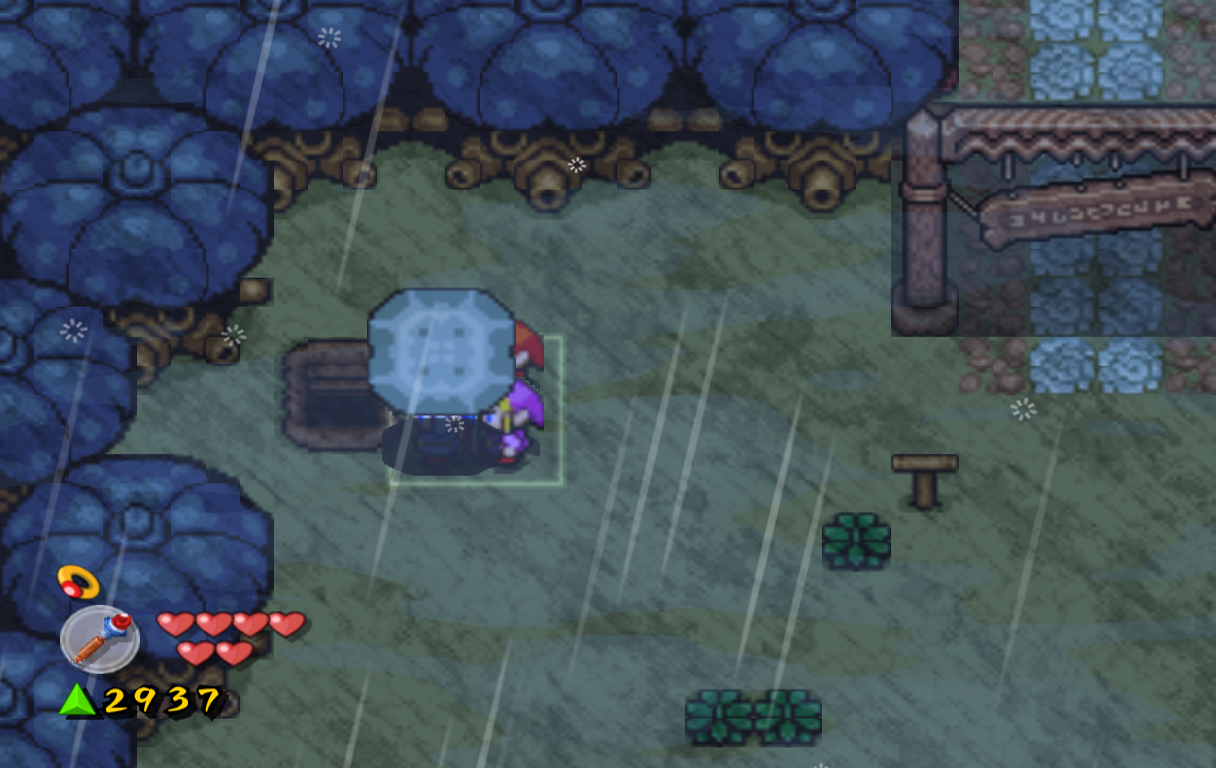
Enter the skull building in the center of the screen and open the locked door to find the Shovel. Before you grab it, get the Lamp inside, then head back outside. Burn the tree stumps and grass to the left, then switch the Lamp for the Shovel back inside the shed. Walk back outside, then head right a screen. On this screen there is a hole in the upper right corner. It is 5 from the right and 4 down, going by the circular shovel holes. When you find it, enter it.
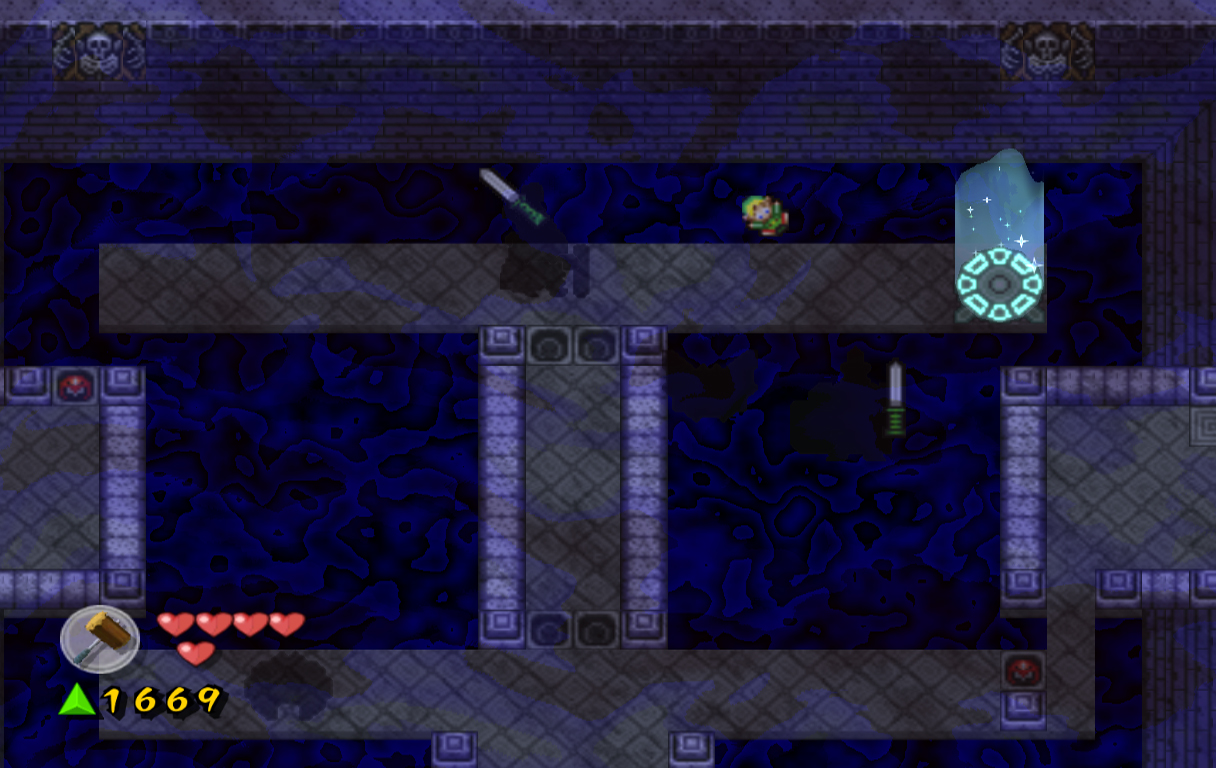
Defeat the Keese if you want to, then climb up the ladder and head right a screen. Shadow Link will appear back on the screen, this time with more Giant Bombs. There is a hole on the top of the screen, but this is not the one we want. When you have a chance to, walk two shovel circles right of the Giant Bomb and three up from the bottom to find another hole. Hop inside, then follow the path back outside when it's safe. Head up to the next screen and you'll find four more eye barriers. Slash them away, collect the fairies and join me for the next stage, Kakariko Village. |
 Floormaster Floormaster
Floormasters are dark enemies that act differently than most others. These hands will not harm Link; rather, they will pull him into the Dark World. These enemies can not be defeated, but can be stunned with the sword. [more]  Deku Scrub Deku Scrub
Deku Scrubs are a race of creatures that live almost exclusively within the Lost Woods. They serve Ganon, but will not harm Link and most simply wish to talk or do their work. [more]  Heart Container #1 Heart Container #1
After obtaining the Lamp, head left two screens and down two screens. Use a box formation to step on the switches at the bottom-left, producing a chest containing the Heart Container. [more]  Deppi Deppi
Deppi is a Deku Scrub found in the Lost Woods. During a quest to obtain the Power Bracelet, Link must give three items to Deppi in order to please his partner Dekki. [more]  Dekki Dekki
Dekki is a Deku Scrub found in the Lost Woods. During a quest to obtain the Power Bracelet, Dekki will ask Link to give three items to his partner Deppi. [more]  Power Bracelet Power Bracelet
To find the Power Bracelet, Link must find Dekki in the Dark World near the south central area of the Lost Woods. Dekki will ask Link to give three different items to his partner Deppi. After doing so, Link can speak with Dekki again to obtain the Bracelet. [more] |


5.2 Kakariko Village
|
|
|
|
|
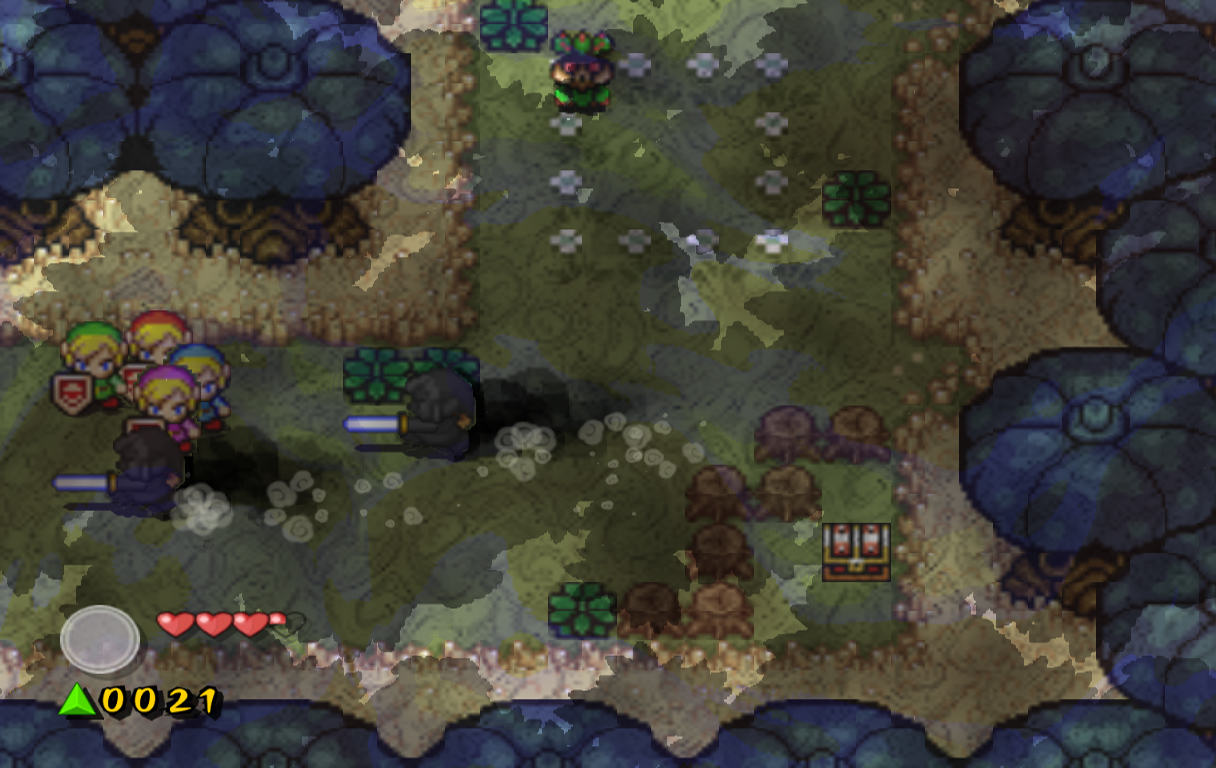
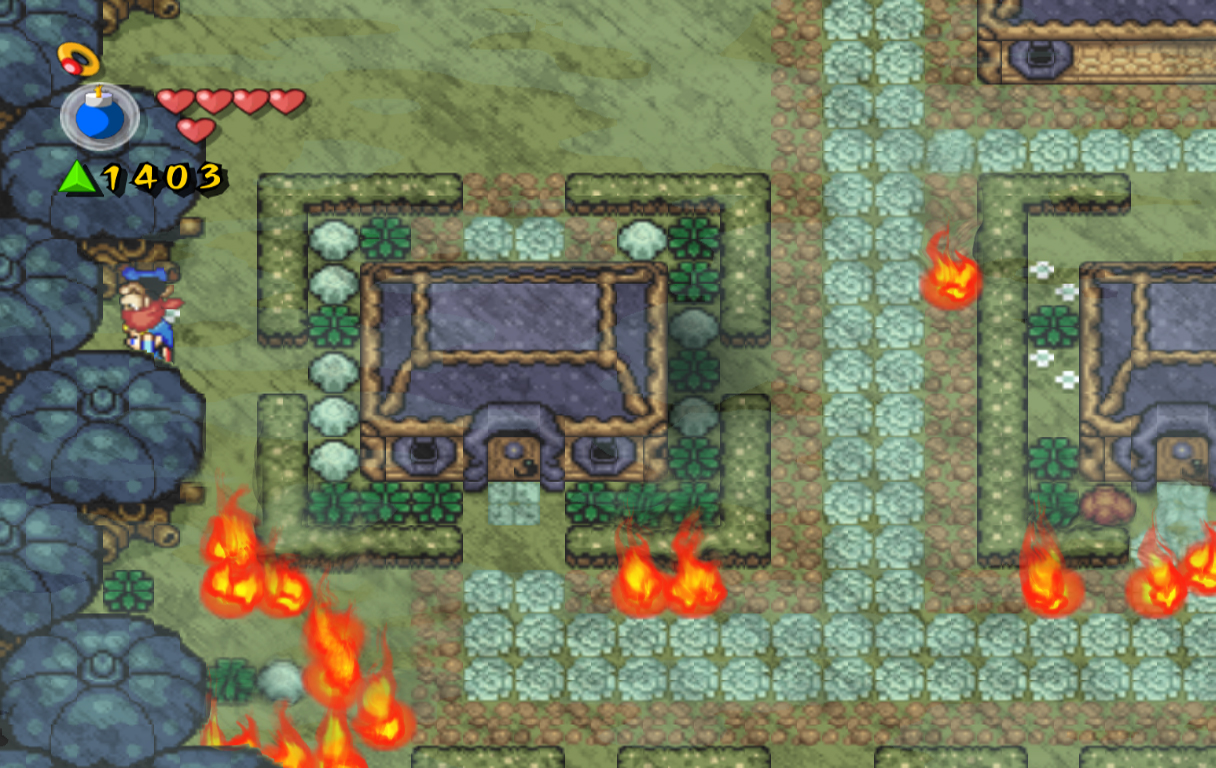
Welcome to the second stage in the level, Kakariko Village. This village is full of fire and thieves, and it's our job to deal with it. Start walking north and you'll immediately be met by Kaepora Gaebora. He'll reiterate the gist of what I just mentioned, then fly away, leaving you to deal with the problem. Start by heading north to the next screen.
Speak with the woman here and she'll yell at you to fix the town, then tell you to get out once you do. Jerk. Head right a screen and you'll find two Shadow Links setting fire to the screen once again. Defeat them, then enter the house nearby. Speak with the man here and he'll allow you to use the shovel to find a hole on the screen. Head back outside and dig around the screen. The location of this hole is random, though it is usually at the top of the screen near the fire. If you can't find it, the old man will help you by giving you directions when you start digging.
You'll find a thief inside this cave, one of ten throughout the village that we must capture and lock up. Instead of trying to kill him, slash at him once with your sword, then use R to grab him. Continue south and break the pots (with the thief you want to), then enter the portal to get back outside. Head left a screen, then head north a screen. Here you'll find two more Shadow Links and two more thieves. Use a Link that isn't holding the thief to defeat the two Shadow Link, then slash at the thieves and throw them into the pen at the top of the screen. Throw the thief from before into the pen as well, which will bring our total to 3 thieves.
Head left a screen and you'll find another Shadow Link. Ignore him for now since we can't attack him. Slash the grass to the left and drop down into the hole in the center of the screen. This maze puzzle is fairly easy to complete; simply walk directly south every time you land and you'll eventually find the Bombs. Grab them, then use the stairs to get back outside. Separate the Links, then use one to enter the house nearby. Bomb the upper wall to find an entrance to the backyard. Once you get near Shadow Link he will quickly jump outside, so switch to another Link and attack him before he moves again. Switch back to the previous Link and open the chest in the backyard to find another 200 force gems. Before you leave the yard, grab a Cucco. Switch to another Link, then bring them together and head east a screen and down a screen.
Back when we first started the level we spoke with the woman at the bottom of the screen. Enter the house she's standing in front of and speak with the man inside. Show him the Cucco you brought with and he will thank you by giving you the key to unlock the block to the left. Do so, and open the chest to find more force gems. Continue upwards and open two more chests to find more force gems and the Power Bracelet, which will allow us to lift large objects like before. Exit the house, then head back north a screen. Lift the tree near the center of the screen and head down the stairs. You'll find three sets of bomb-able blocks here, with thieves hiding behind two of them. Use one Link to bomb the one to the left and grab the thief, then do the same for the bottom side. Once you have the two thieves, head back outside and throw them into the pen, bringing our total to 5 thieves.
Walk left a screen and south a screen. You'll find two more Shadow Links here; defeat them when you can. Afterwards, lift the large stone at the bottom of the screen to find another staircase containing another thief. Grab him and head back outside. To the left is a house with a back entrance. Walk into the house from the back to find another thief and a chest containing a Heart Container. After you obtain both, walk back outside. On the left side of the screen you'll see a line of trees. To the left of the house in these trees is another thief; grab him as well. Finally, the house to the right has a patch of grass along its left side that is hiding a hole. Slice the grass and drop down to find another thief. Grab him, then head back to the pen and throw all the thieves inside, bringing out total to 9 thieves.
Head south two screens and you'll wind up where we first started the stage. With the Power Bracelet we can now lift the trees to the left and right, giving us many force gems and a staircase containing the last thief. Grab the force gems from each tree and grab the thief, then throw the last one into the pen.
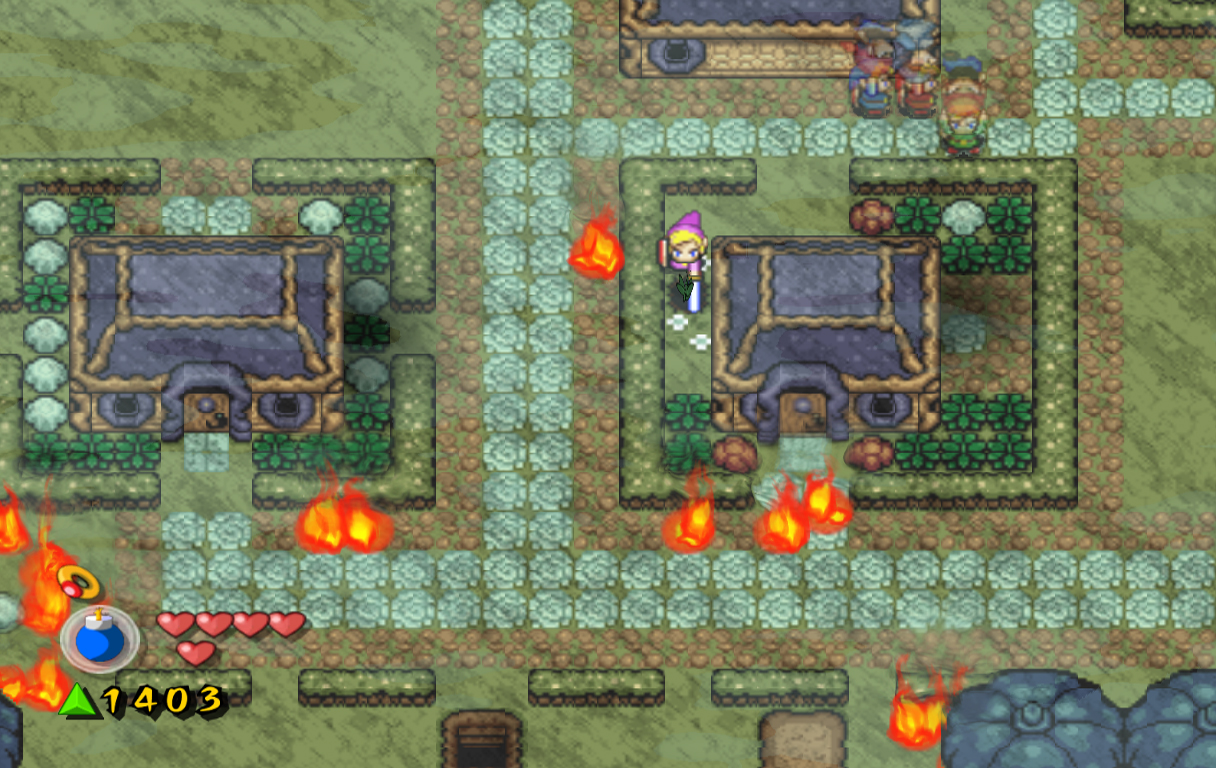
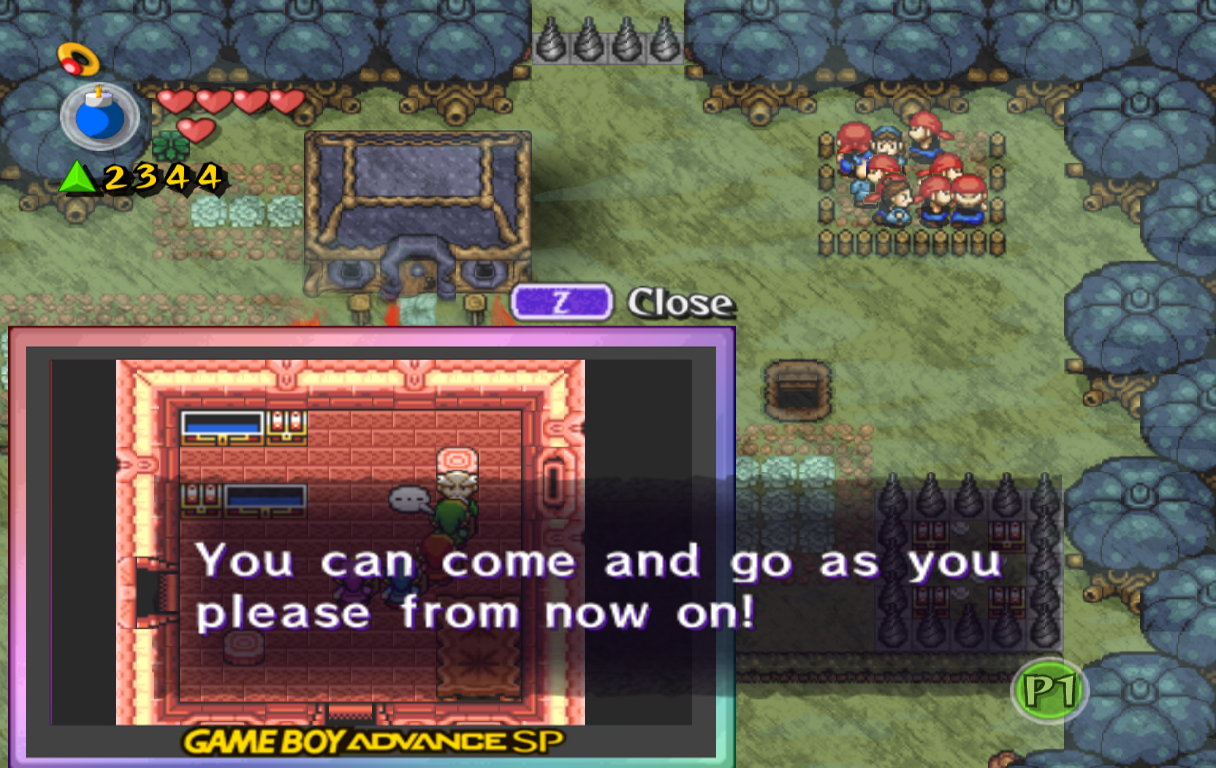
To the left is a house that is seemingly blocked off by fire. Lift the tree to the left of the house to find a secret entrance inside. Speak with the man here and he will thank you for finding all the thieves, and will bring down the borders surrounding the village. Head back outside and open the chests in the corner to find another 355 force gems.
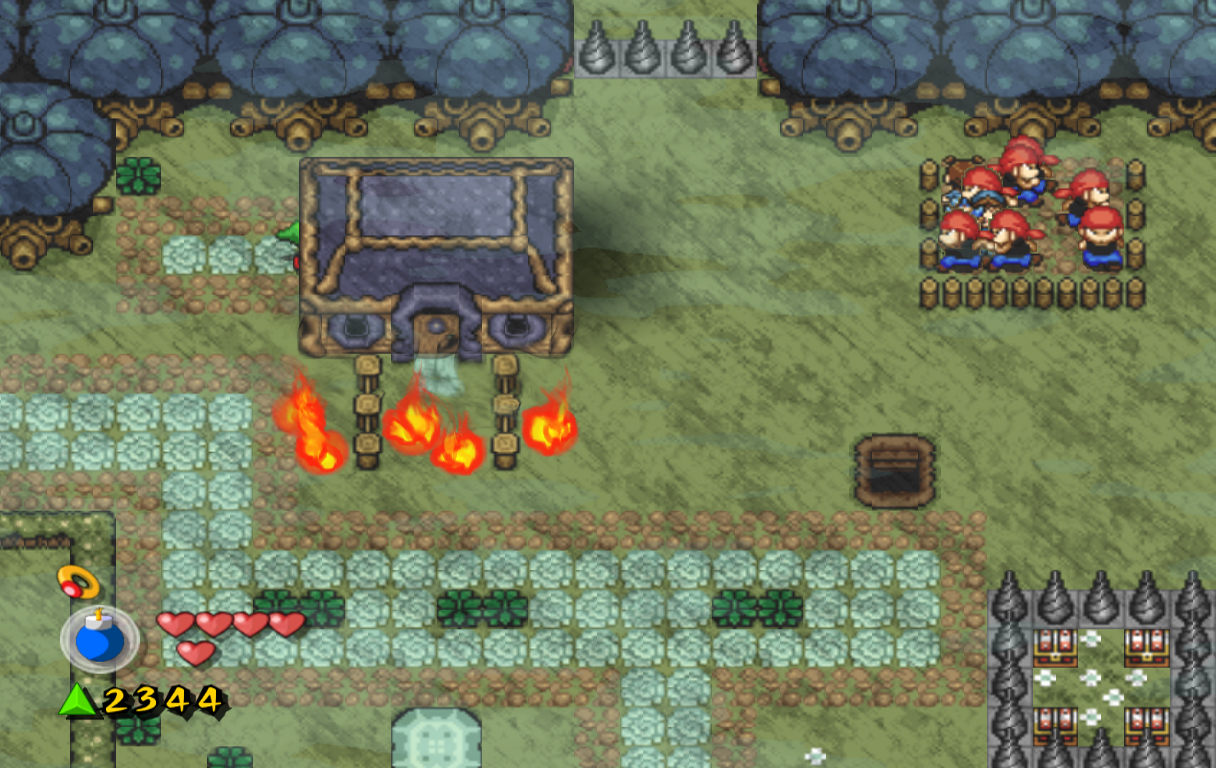
Walk north a screen and you'll find a maze with fire and a Chain Chomp, an enemy from the Mario series. The maze itself is fairly easy to navigate through, just watch out for the Chain Chomp and make your way to the southwest corner. You'll find a large rock here that you can lift to find another staircase containing another cave. Bomb the wall to the right and climb the staircase to find a black switch. This switch has a timer so we can't hit it with the sword to make it across the path. Instead, place a bomb next to the switch and stand at the edge of the platform, then quickly run across when the switch activates. Grab the Fire Rod then head back outside. Head north a screen and light the four torches here to make it start raining, effectively putting out the fires in the village. Walk back south a screen and head to the right where there is now an accessible chest containing a Heart Container. Grab it, then head down a screen, left a screen, then south one more screen. Enter the house on the right and exit back outside through the right door. Burn the grass to the south to find a hole containing more force gems.
Backtrack through the house and head right a screen and down a screen. To the left is a large rock that was blocked by fire before, but is now accessible. Lift it and head down the staircase. Lift another rock and grab the Boomerang, then head back outside. Walk up a screen, then walk right a little bit. Look up and you'll find a square area with a few areas of grass. In the top right corner of this square is a lone piece of grass; slash it to drop down a big blue force gem.
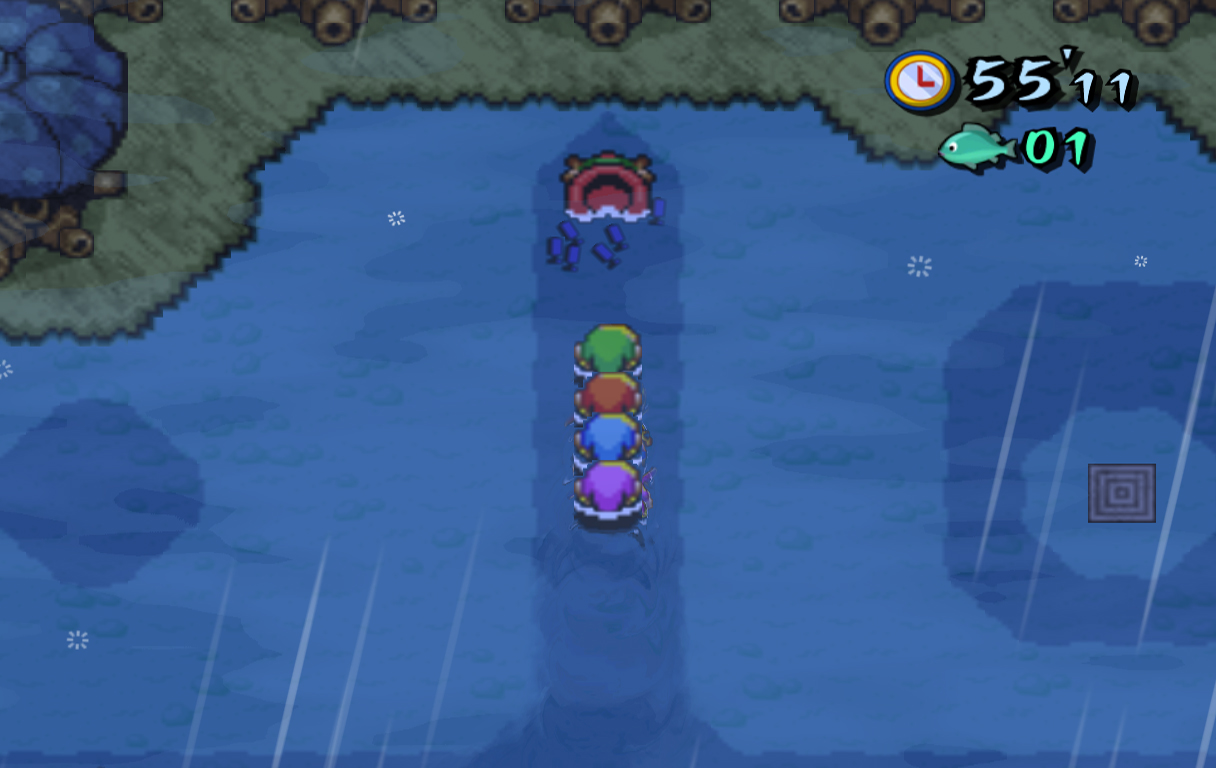
Head up a screen, left a screen, and up another screen. You'll find a Zora here who is quite famished and would like you collect 10 fish for him so he can eat. You must do this in under a minute, and it is rather difficult. You have a sort-of upside-down T-shaped area to work with. You must push the fish up the vertical line to feed the Zora. Once you do so, he will give you a big green force gem and a chest containing a Heart Container will appear. Head back down a screen, right a screen, down another screen, right a screen, and then exit through the now open area at the top-right corner.
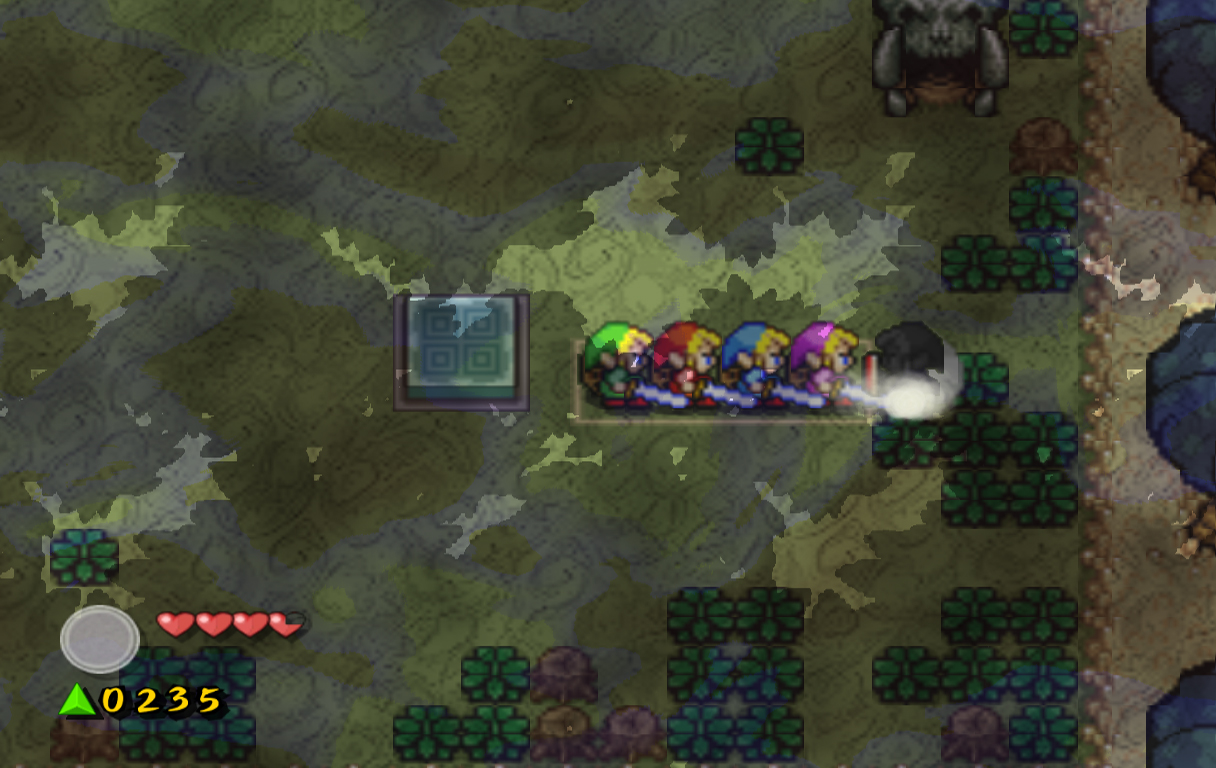
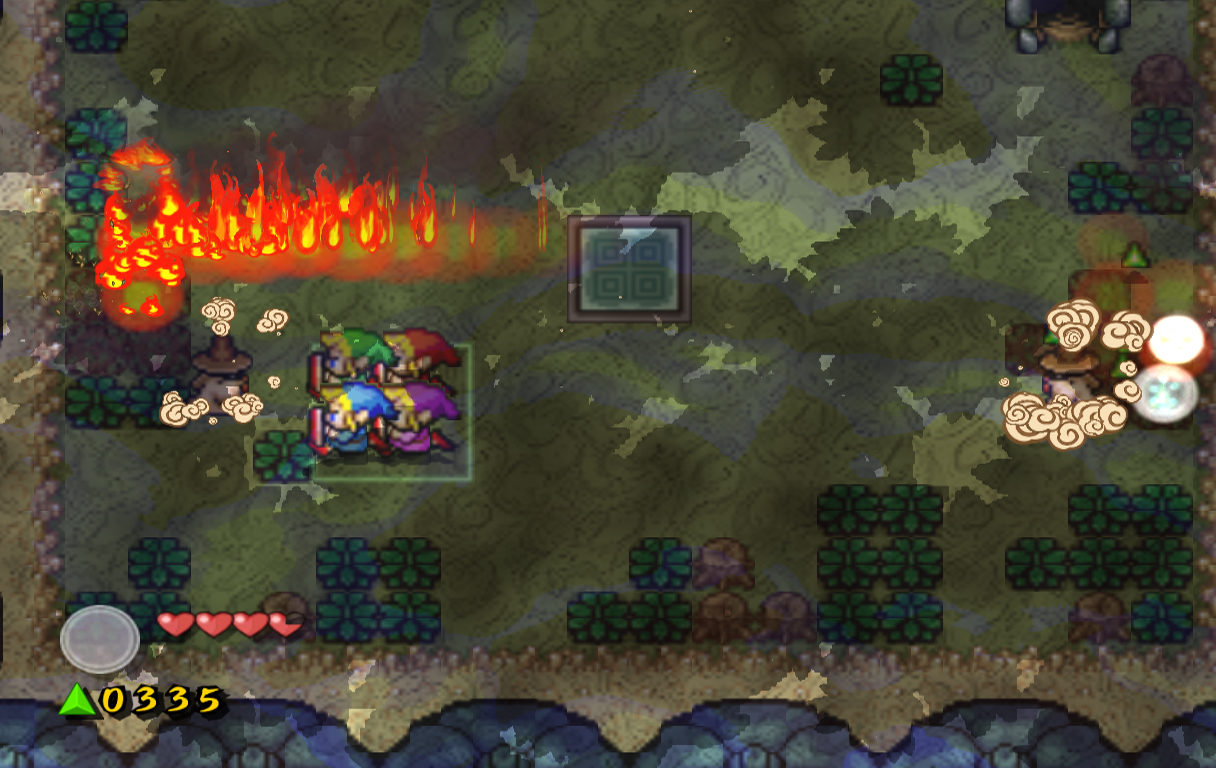
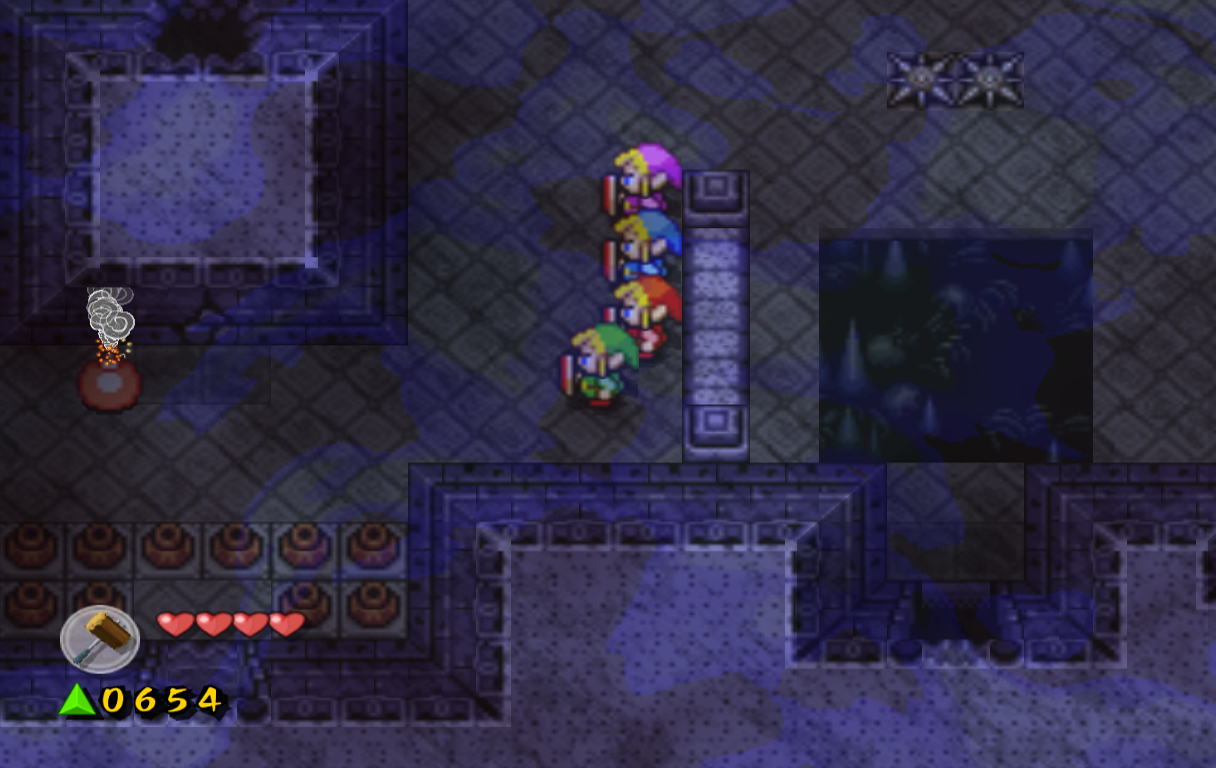
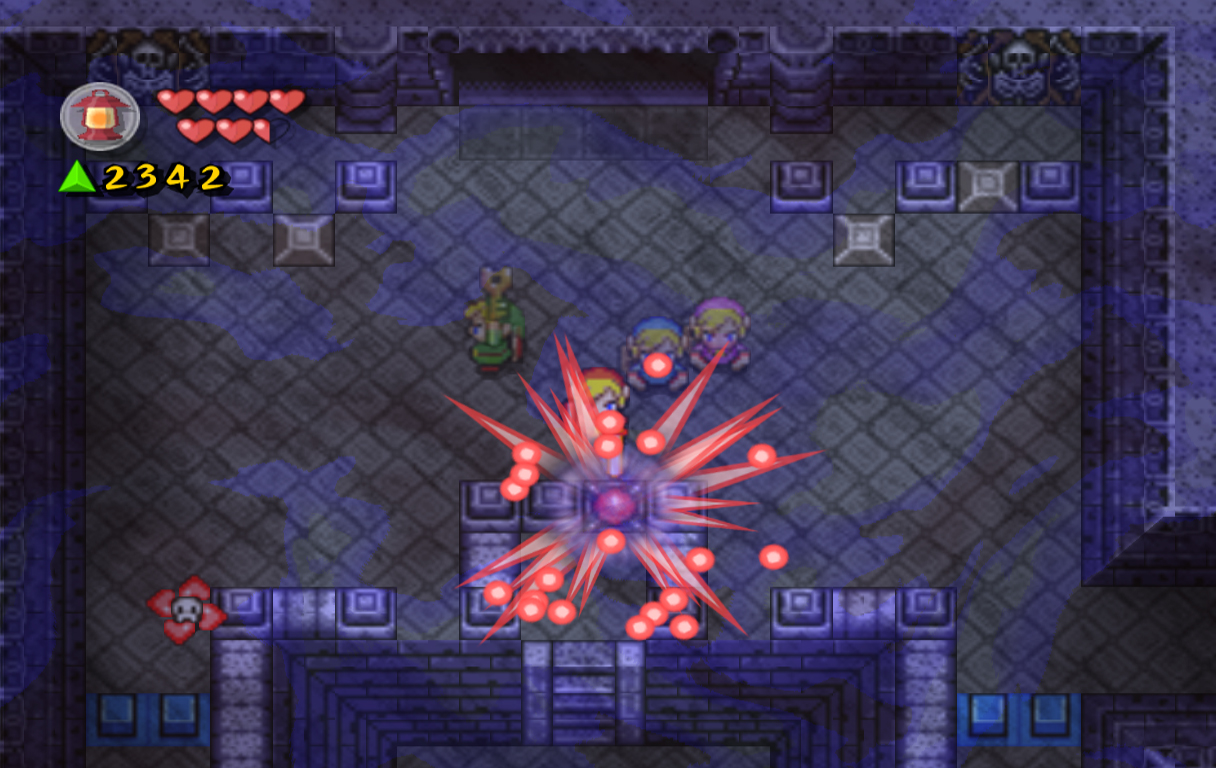
Shadow Link will appear once again, this time as a group of four. As with most mini-boss or boss battles like this, there is a leader of the group, and the only one who will change colors. If you're looking for a quick defeat, find him and kill him right away. On this screen there are multiple holes that the Shadow Links will occasionally jump into. These caves are naturally dark, which makes it difficult to navigate around them. Lighting them isn't necessary, but if you'd like to, step on the star-shaped switch above ground near the holes with one of the Links, and keep him there to keep the light on. Once you defeat them, continue to the next screen. You'll find a river on this screen with two big green force gems floating across. Use the Boomerang to grab them, then hop down into the river. This river goes for quite a while, and the speed of the river will rapidly change through the swim. There are a huge amount of force gems floating along the river. While it's not necessary to collect all of them (although it is possible), it's still fun to try and do so. While you are adventuring, make sure to be on the lookout for force gems under the water. Watch out for the River Zoras that will try to shoot fireballs at you, as well as the spiky balls lining the river. You can't defeat either of these, so do you best to avoid them. A few times during the swim you'll be at the top of a waterfall where force gems are floating across. I'd recommend using a wide formation to try and capture as many as possible. By doing this you should wind up with around 6,000 force gems if you've collected almost all in the stage, the most force gems of any stage in the game.
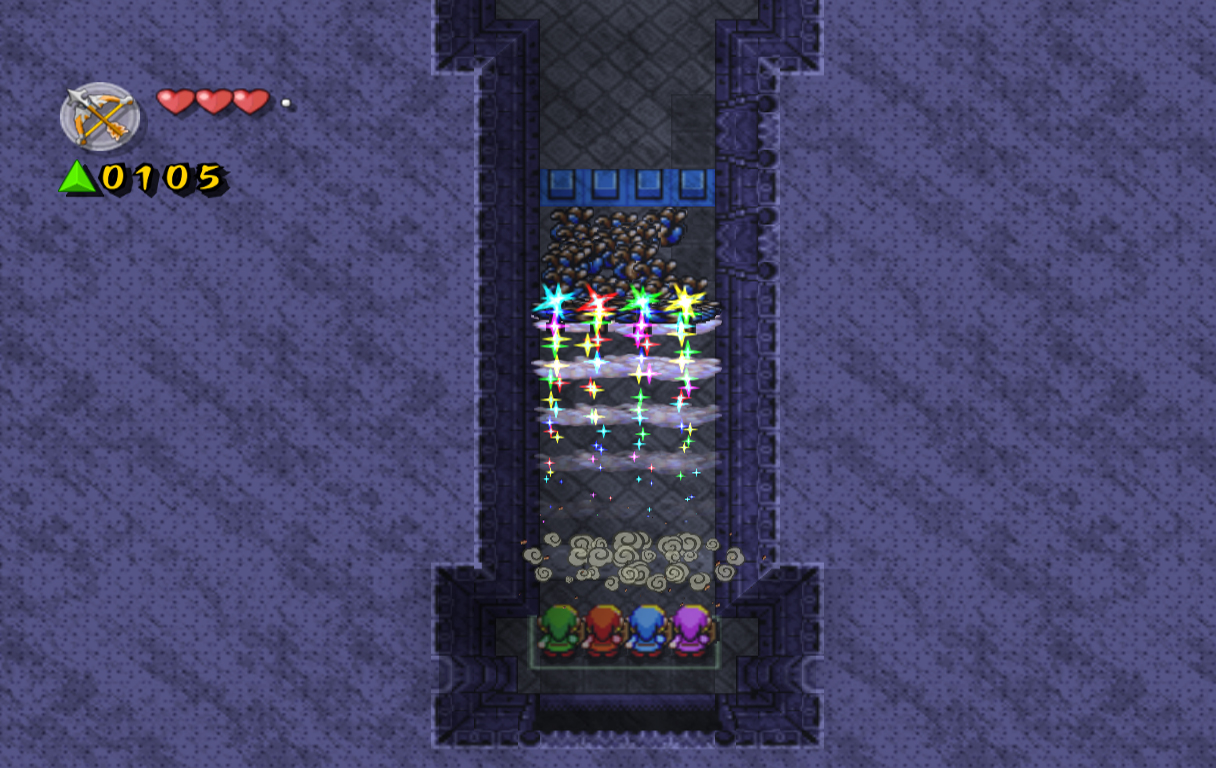
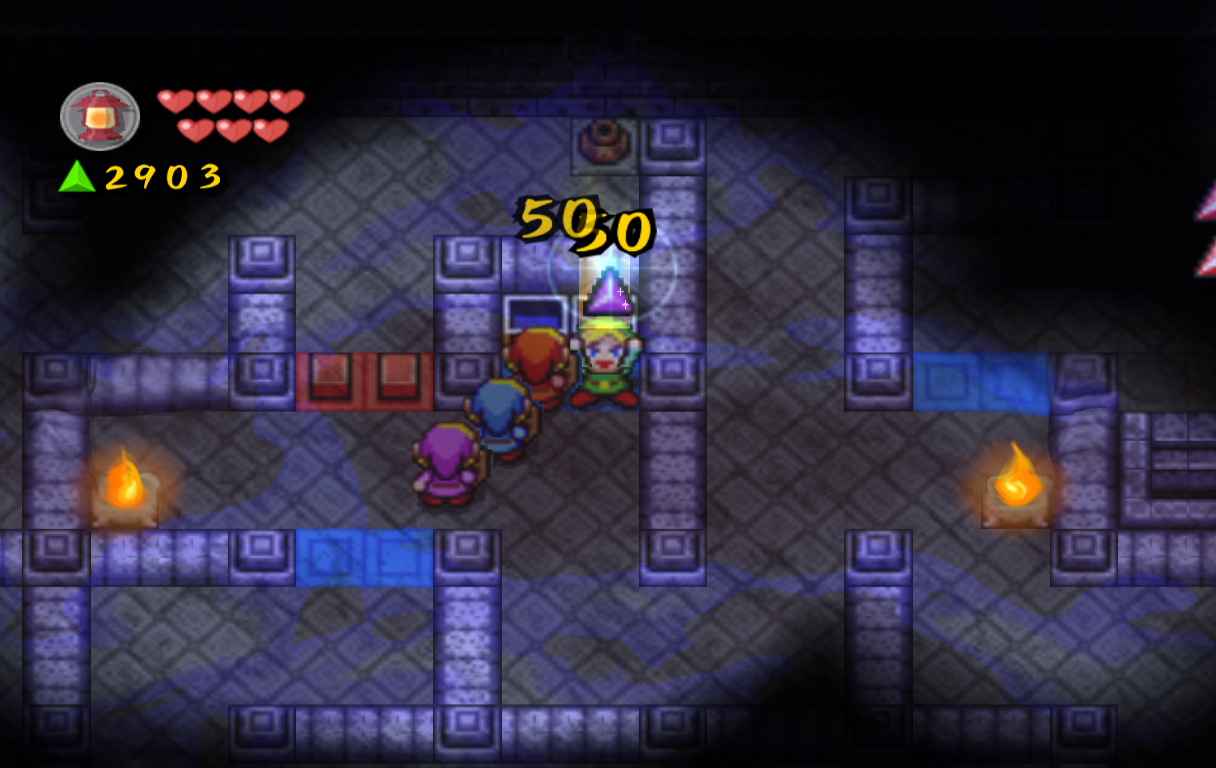
Once you wind up at the end of the river, continue right a screen to find the boss screen. This is another screen much like before, where you kill two enemies, then face off with the boss, who is actually one of the Knights of Hyrule. Defeat the two Soldiers, then attack the Big Dark Stalfos in the Dark World. Once he's defeated he will give a speech and the Green Jewel, bringing the total to 2. Afterwards, continue to the next screen and break the eye barriers. Collect the fairies and join me for the next stage, the Temple of Darkness. |
 Thief Thief
A Thief is a resident of Kakariko Village that was driven to criminality by the influence of the Dark World. Ten of them need to be found to complete the stage. [more] Power Bracelet
The Power Bracelet in this stage can be found by bringing a cucco from the top-left screen to the house in the middle-bottom screen. After giving the Old Man the cucco, he will allow you into the back room where the Bracelet is kept. [more] Heart Container #1
The first Heart Container can be found in the far left house on the bottom-left screen. Via the back entrance you can access a chest containing the Heart Container. [more]  Chain Chomp Chain Chomp
The Chain Chomp is another enemy from the Mario series; appearing in only one screen in the entire game. The Chain Chomp cannot be defeated, and must simply be avoided while making your way across the screen. [more] Heart Container #2
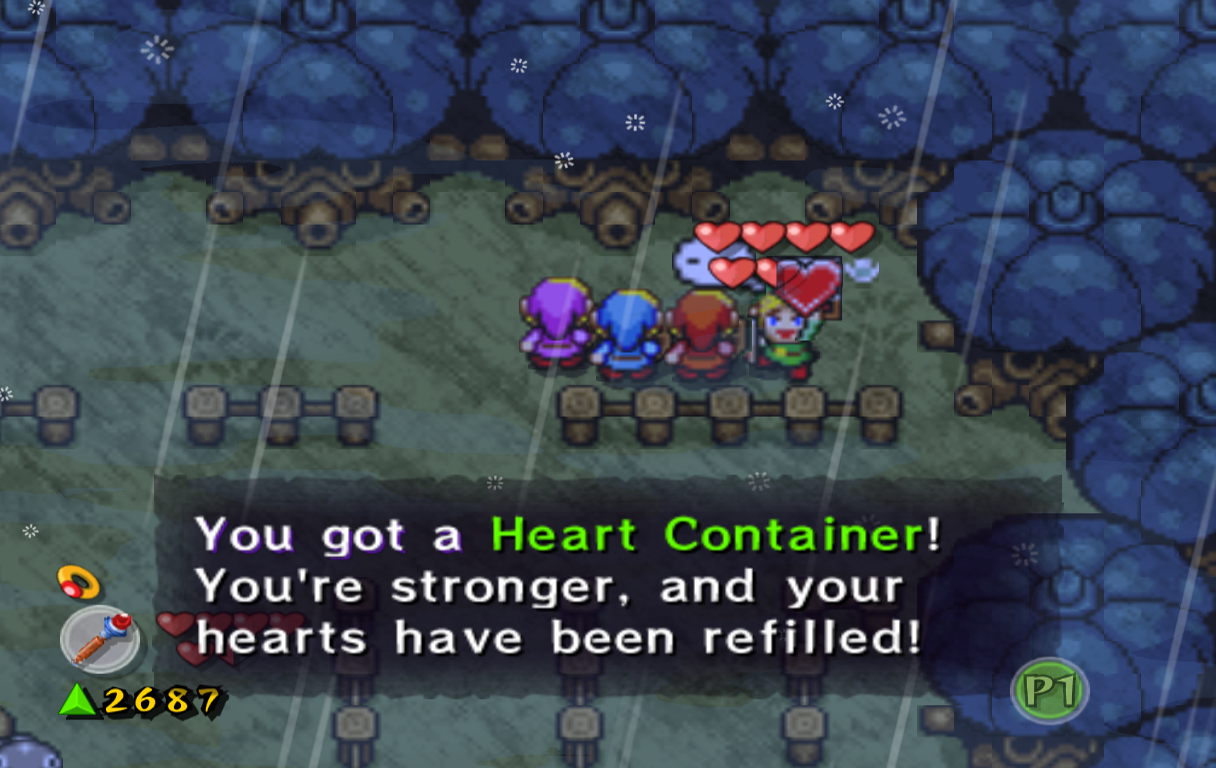
The second Heart Container can be found on one of the top-most screens where the Chain Chomp resides. After lighting the torches to make it rain, head back down a screen and open the chest to the right for the Heart Container. [more]  Zora Zora
Only one friendly Zora exists in Four Swords Adventures, and he is part of a mini-game. If you can manage to feed him ten fish, he will give you one hundred force gems and a Heart Container. [more] Heart Container #3
The third Heart Container can be obtaiined after completing the Zora mini-game. If you can manage to feed him ten fish, he will give you a chest with the Heart Container. [more] Green Knight of Hyrule
The Green Knight of Hyrule is one of the four Knights of Hyrule. He was transformed into a Giant Stalfos while his land turned to darkness. [more]  Green Jewel Green Jewel
The Green Jewel is the first of a series of Jewels received in the game. Originally kept safe by the Green Knight of Hyrule, it is given to the Links after they transform the Knight back to his normal form. When combined with the other three Jewels they will reveal a path to the Realm of the Heavens. [more] |


5.3 Temple of Darkness
|
|
|
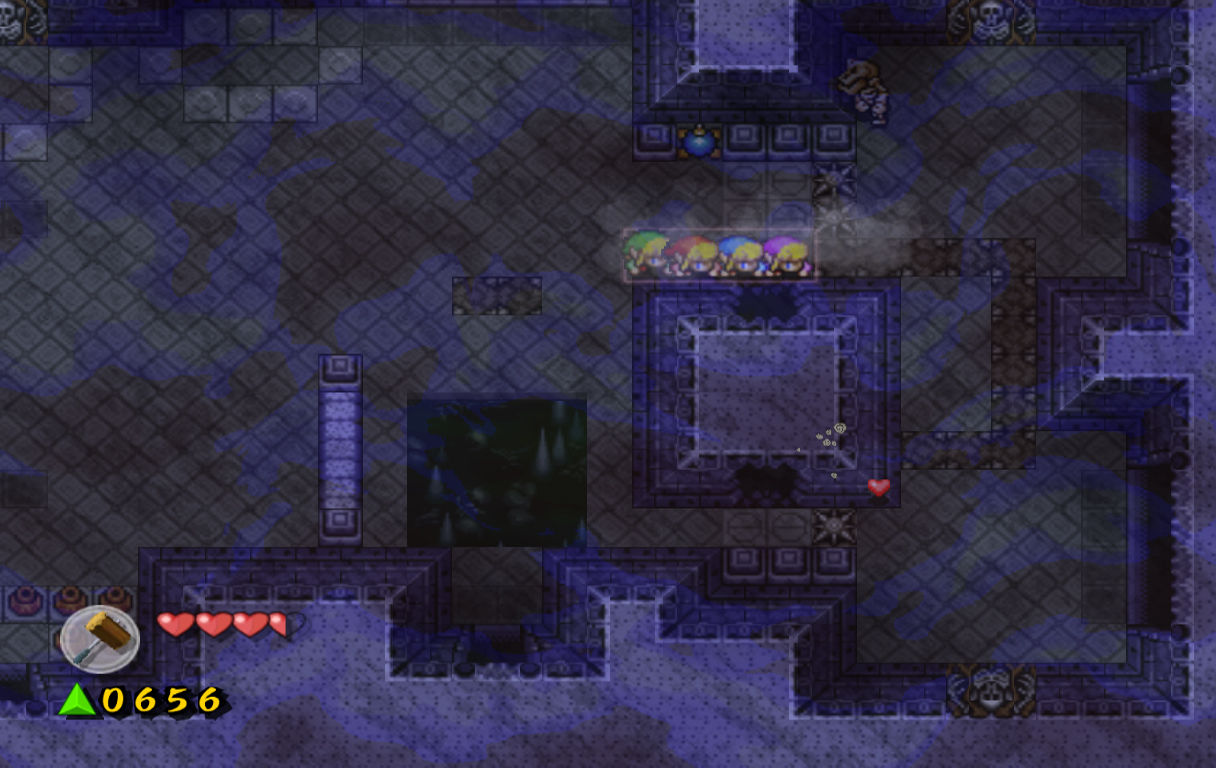
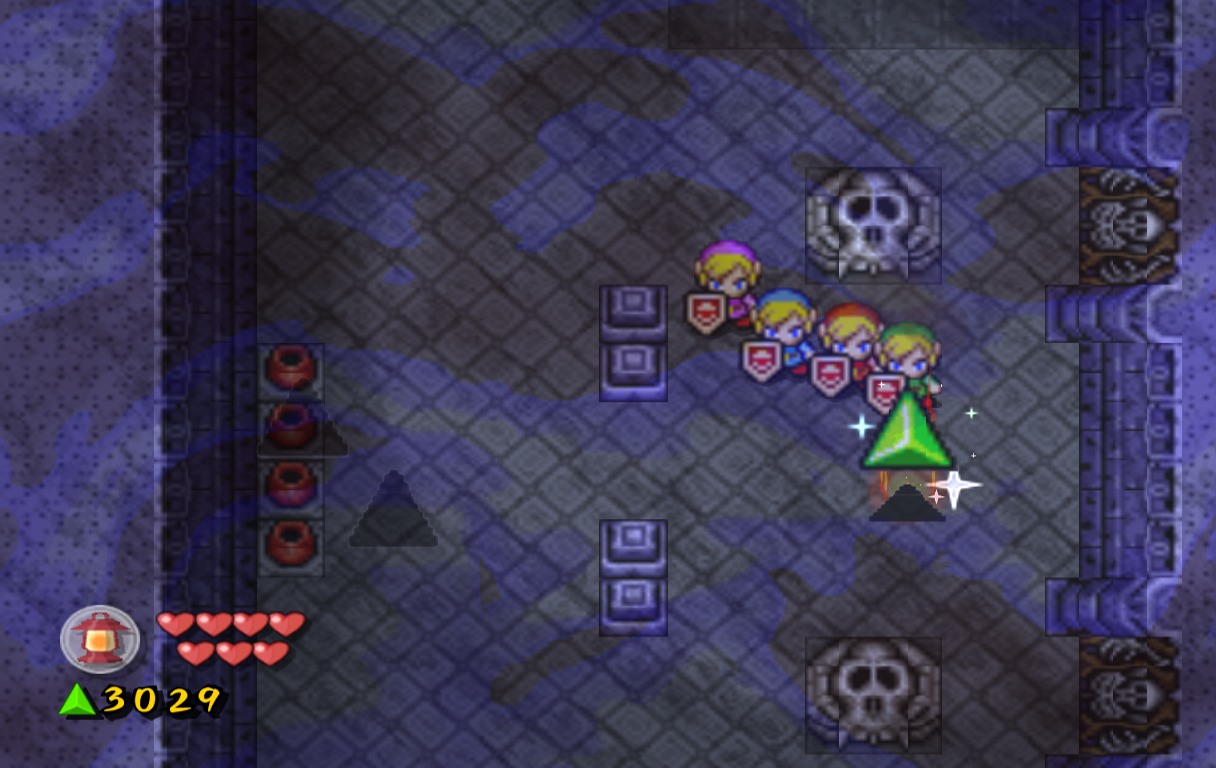
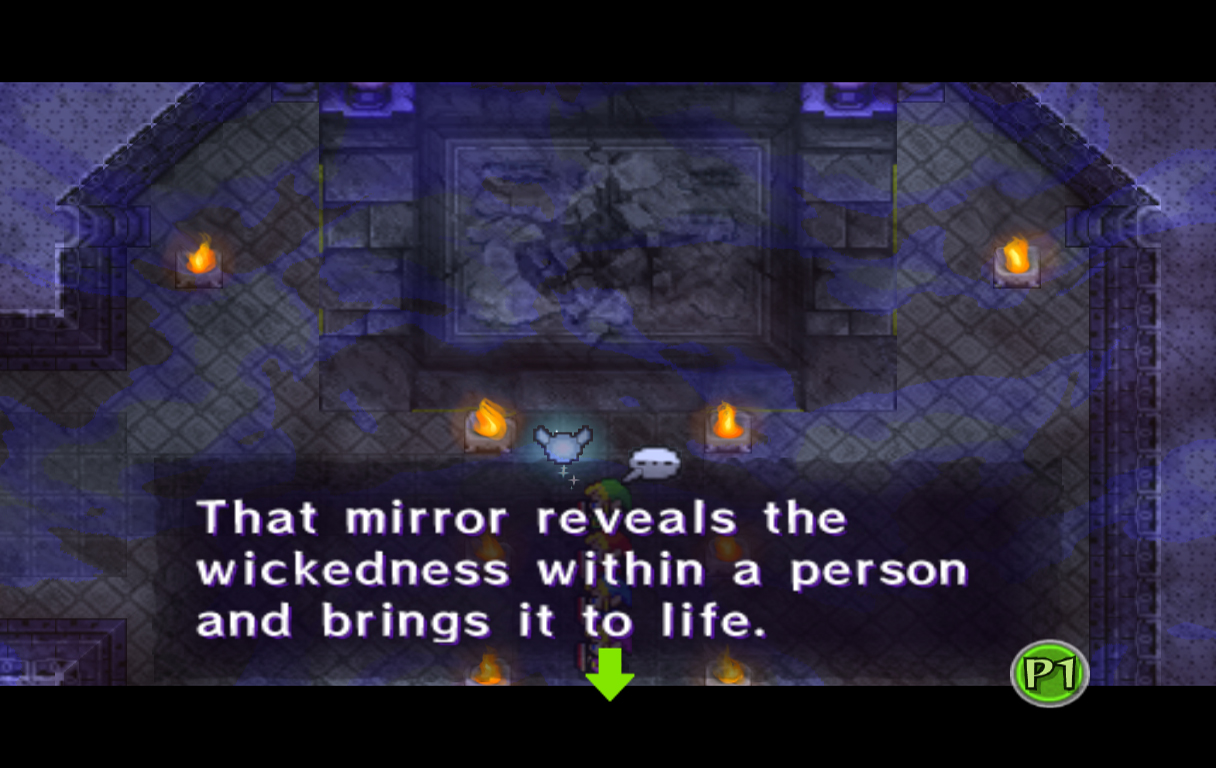
Welcome to the third and final stage of this level, the Temple of Darkness. This temple is a sort-of shrine to Ganon, and you will notice similarities between it and Ganon's Castle from other Zelda games. This Temple is said to hold the Dark Mirror we so long for. Right away you'll see a semi-circle of Deku Scrubs that magically appeared since the end of the last level. You can speak with them if you wish, but they only praise the great Ganon like usual. Enter the Temple when you're ready.
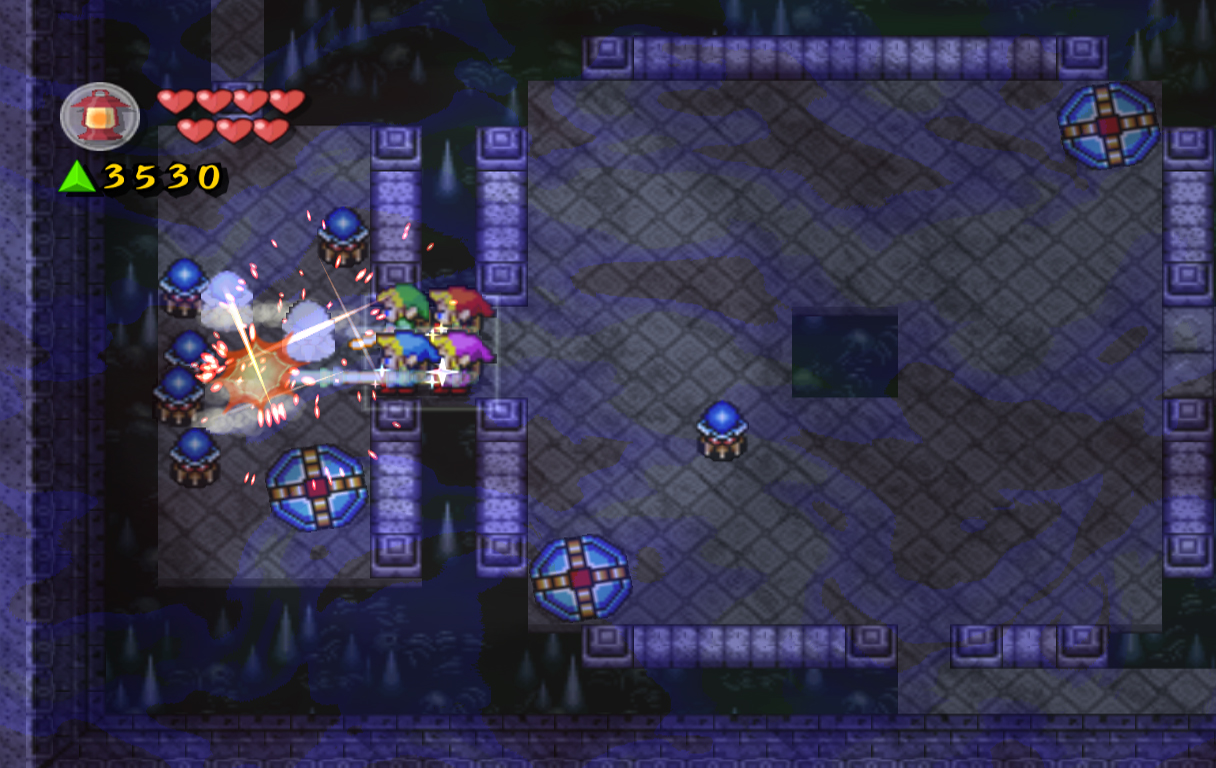
Start off by hitting the switch to the left which will create a bridge across the gap. At the end of the bridge hit another switch to give access to three chests containing 105 force gems total. After you have them, grab the Bow and Arrow and head into the next room. Create a Wide formation in this room and use the Bow to smash the pots and kill all the Ropa. Doing so will open two doors, although we can only access one for now due to a raised blue barrier. Enter in the first door to the right and hit the red orb inside, changing it to blue and lowering the blocks outside. Head back out through the previous door and now enter the second door on the right. Smash the pots along the right wall to find four switches. Put all four Links on the switches and 200 force gems will drop down outside. Grab them, then hit the orb again to change it back to red. Head north to the next room.
You'll immediately see a chest here, but don't open it as it contains a Giant Bomb. Instead, head along the left pathway and into the room here. Defeat the three Stalfos here and grab the key that one of them drops. Head back to the previous room, past the Giant Bomb chest and around the right side pathway. Open the locked block here and grab the 50 force gems inside the chest. Hop down into the lower pit and defeat the Ropes that appear. Afterwards, open only the chest on the right to receive a big red force gem, as the other chest once again contains a Giant Bomb.
Smash the pot in the left corner to find a hole you can jump into. Open the chest here for another 20 force gems, then defeat the two Stalfos and grab the Magic Hammer. Follow the pathway up to the next room, then head right and back down into the pit. Continue south on the stairs to the next room.
To start off this room, defeat the two Stalfos to the left. Look to the southwest and you'll see a square building. The goal is to bomb the top and bottom of this building to allow us to move it. Grab a bomb at the top-right of this area and use it to bomb the top wall, then do the same for the bottom. We want to move the building over to the right and down over the gap at the bottom of the screen. Once you've used Wide and Long formations to push the building directly over the gap it will create a pathway into the room at the bottom of the screen. Once inside, head left and push each block onto its respective dark area (right block up, top block left, left block down, bottom block right), which will open the door above and cause a force fairy to appear. Head right and enter the small square area. Create a Cross formation and hit the black switches, lowering the spikes outside the room. Head left and back out through the middle entrance.
Walk through the building once again, then use the building to break the remaining spikes to the right. You want to push the building over so that it runs over the spikes, allowing access to both rooms along the right wall. Once you've accomplished this, head into the lower-right room first. Pound the blocks here with the Magic Hammer, then use the platform to transport across the gap. Use the Hammer again to pound this turtle and flip it over, revealing its weak spot. Kill it with either the sword or the Hammer, then use a Wide formation to pull the levers above. This will open a door at the top of the room. Transport back across the gap and to the previous room. In the room with the building from before, head into the room at the top-right part of the screen. Use the Magic Hammer to pound through the blocks and turtles, then restore your health with the pots at the end of the screen. When you're ready, head up to the next room to face the dungeon mini-boss.
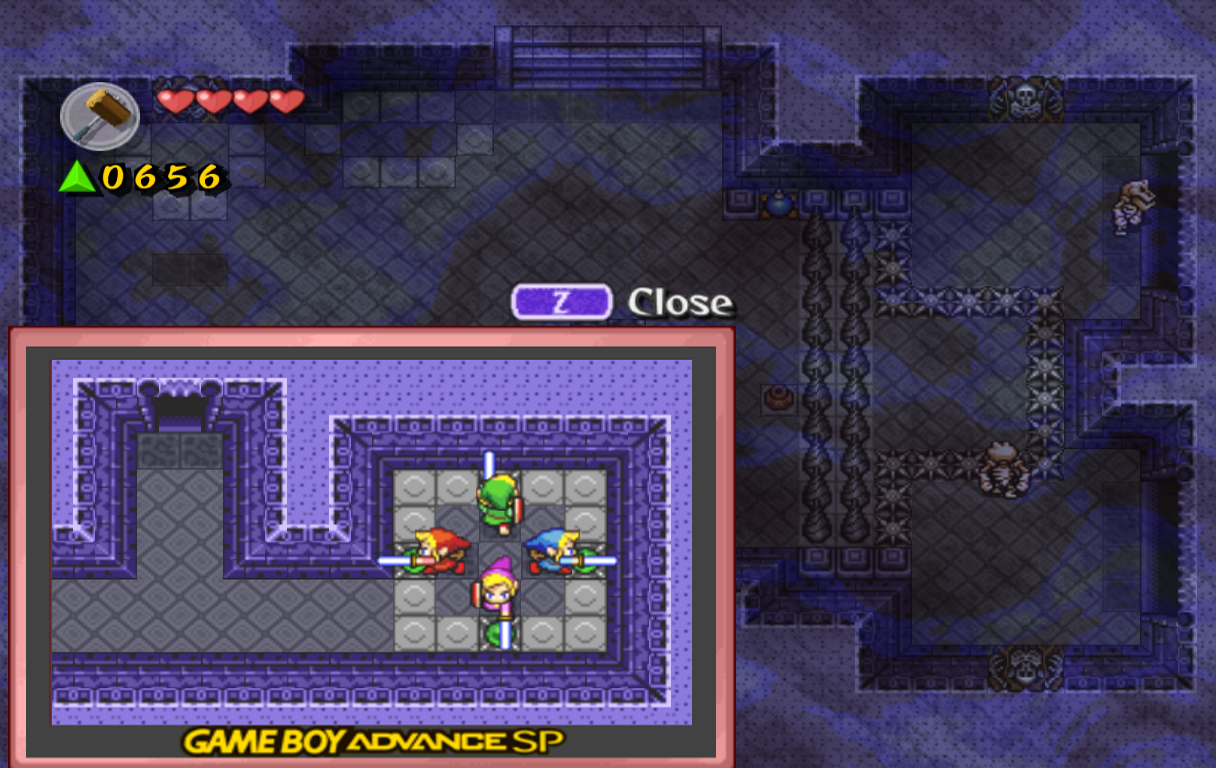
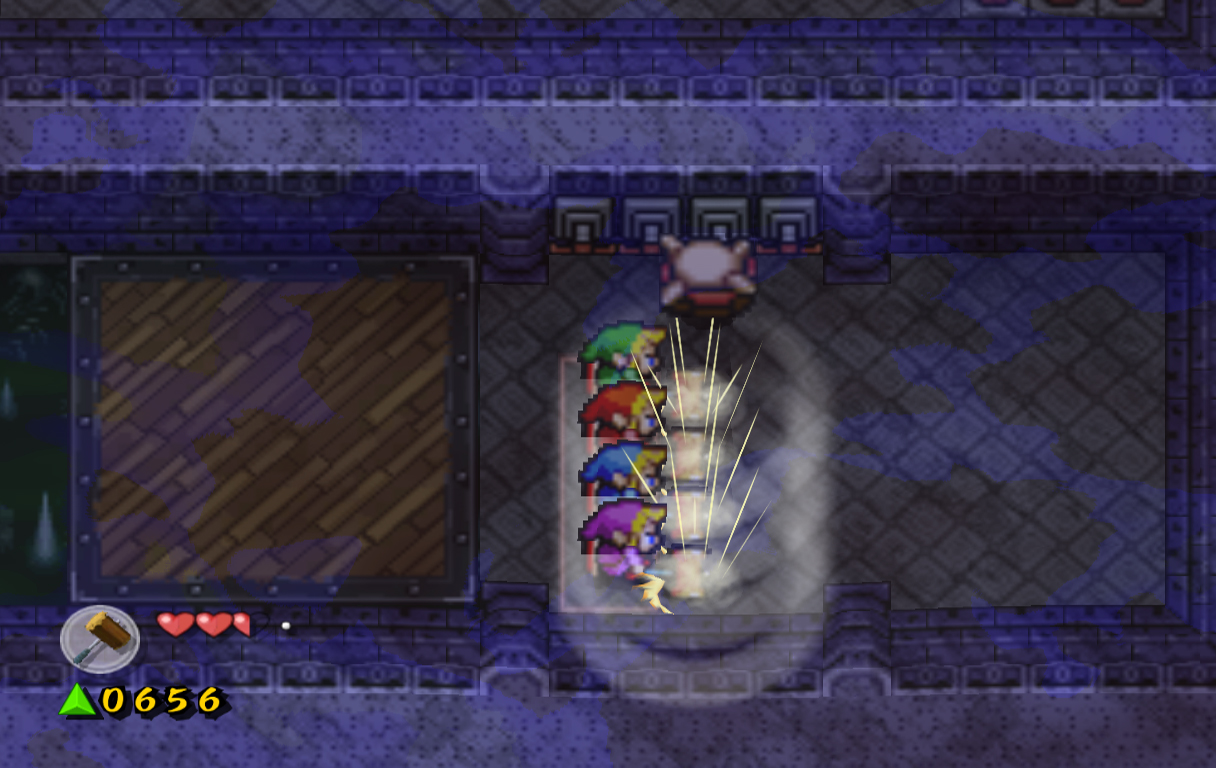
Ball and Chain Trooper is back again, and this time, he is much more difficult. At the start of the battle the Trooper is surrounded by breakable blocks, which means you can't attack him right away. You must move around the screen, causing him to throw his ball through the blocks, creating more open space. You don't necessarily have to break all the blocks, but it makes the battle much easier if you break most of them. Once you feel confident you can attack him, you can progress in two ways. You can work your way around the Trooper and attack when he is rotating his ball around or just previously threw it at you. The method I prefer though is to be incredibly aggressive by running up and relentlessly attacking him. The Trooper won't have enough time to react and throw the ball at you, allowing you a quick defeat if you do it correctly. You can also create a Box formation if you have enough room to make the defeat even faster.
Once he's dead, collect the force gems he leaves behind, then enter the lower-right room. Use a Box formation to defeat the Ropa here, then open the chest at the end for a Heart Container. Backtrack to the previous room, then walk all the way across the room and enter the door on the left side. Jump off the platform here and you'll find 3 Hardhat Beetles. You can either use the sword to push them into the gap in the middle, or use the Hammer to stun them, then kill them with a powered-up Hammer. Either way, defeat them, then open the two chests for 100 force gems and a Moon Pearl. Head north and separate the Links in the next screen. Keep three Links at the bottom center of this area, then use one to walk up to Shadow Link above. When he moves, switch to another Link and attack him. Once he's defeated, head back down a screen, right a screen, then enter the door at the top-right. Use the Moon Pearl in the top-left corner of this screen and enter the Dark World. Grab the Slingshot on the right side and you'll find a puzzle with five black switches. You need to hit the left switch, the middle switch, and the right switch with individual slingshot shots to make a straight path in the normal world. Once you do this, grab the Hammer again, then head back to the normal world.
Head right and pound the stakes here, then continue to the next room. You'll find three enemies here, all contained within the Dark World. Ignore them for now and pound the stakes above. Enter the portal at the top-right of the screen and open the chest here for some more force gems. Use the portal to get back out, then walk to the left. Drop down into the purple area above, which will lead you to the Dark World. Defeat the two Stalfos here, then use the portal in the southeast corner.
Pound the stake below and to the left, then walk to the bottom-left part of the screen. Drop down in the Dark World again and you'll find the third enemy, a simple Stalfos head. Defeat this enemy as well, then use the portal to reach the normal world. Open the chest along the right wall for a small key. Drop down on the left side again and use the key to open the locked block. Enter the new portal and head left to the next screen. In this room there are four black switches that need to be hit to progress. They are found all across room and we need to find some innovative solutions to hit them. Start off by hitting the switch at the bottom of this platform. After, head north into the first room on the left. Push the left block up and the second block from the left to the right to open an area with different items. Break the pots and grab the Bow, then head back to the previous room.
Walk directly south and turn to the left. Shoot with a powered up arrow across the gap and hit the switch. Head left onto the platform that is stretching over the gap, then turn to the south. Use the Bow to shoot the switch at the south end of the room. Now, walk back into the room on the left with the items. Swap out the Bow with the Pegasus Boots, then head back out of this room. Now walk right and enter the second room here. Push the right block upwards, then push the second block from the right to the left. Use the Pegasus Boots to break the block here, then grab the Boomerang. Head back to the previous room once again, then walk out onto the platform. Use the Boomerang to diagonally hit the last switch on the gap, creating a bridge connecting the areas.
Walk back right and into the left item room. Grab the Lamp, then head back out. Walk north across the new platform and collect the force gems at the top, then enter the next room. Hop into the portal here and you'll find two Deku Scrubs who speak of a statue they're building. Speak with them both and they'll tell you two parts of the inscription they're writing on it: "1. Put four in a vertical line." and "4. Four push together as one." We are obviously missing two parts of this "inscription" and clue, so for now, it makes no sense. Head back out of the Dark World, then head south two rooms back to the mini-boss room. Break the pots to the left and create a Box formation. Stand on the switches here to drop the spikes. Open the chest to the right to get a small key. Head back up a screen, then head left and use the key on the locked door.
Defeat the two Stalfos in this room as best you can, then hit the orb in the middle so it turns blue. Head along the right and left sides of this room to find two chests containing 20 force gems and a Heart Container. After you collect these head back right a room, then down a room and left a room. Walk all the way to the left side of this room and open the four chests for another 76 force gems.
Head left to the next room and you'll be almost completely enveloped in darkness. Follow the path and light the torch at the end to allow us access down. Avoid the Blade Traps here as best you can and light the four torches in the room. This will reveal a hole in the ground. Enter it and you'll be in complete darkness. This room is incredibly simple though; there are chests in the top-left, top-right and bottom-right corners containing another Heart Container, a small key, and a big green force gem. Collect them, then exit the room via the stairs in the bottom-left corner.
Follow the pathway back down into the hole with the Blade Traps, then backtrack right two rooms, north a room and left a room. At the top of the screen are four blocks and a closed door. Push the right block upwards and the door will open. Before you enter, hit the orb in the middle of the room and make sure it is red.
In this room there are four Wizzrobes that will immediately start to attack you. Ignore them temporarily and quickly use the key on the left door, then head back to the Wizzrobes. One of them will drain your force gems, so make sure to single out and kill him first. Kill the remaining three, then grab the force gems that drop down. Head right a room and you'll find another portal leading to two more Deku Scrubs. These ones will give us two more clues, giving us the full clue of:
Once you've completed this, walk back to the northwest corner of the room where the orb is. Separate the Links, then take one and place him in front of the chests you passed when you first started the room, a little bit to the southeast of the orb. Use another Link to hit the orb and cause the blue blocks to drop, allowing the previous Link to open the chests for more force gems. After you open the chests, head right and up to the now open path containing more force gems and the path to the next room.
This is the room where we need the clue from before. Start off by heading down and using the Lamp on the force gem, restoring it. After, head to the left side of the room and creating a Long formation. Lift the oil pots to the left and throw them somewhere distant to get rid of them. Push against the wall where the pots were, eventually destroying the wall. Head into this small area and you'll find four dark tiles on the ground, indicating you need to create a Wide formation and push up against the wall, creating the path to the next room.
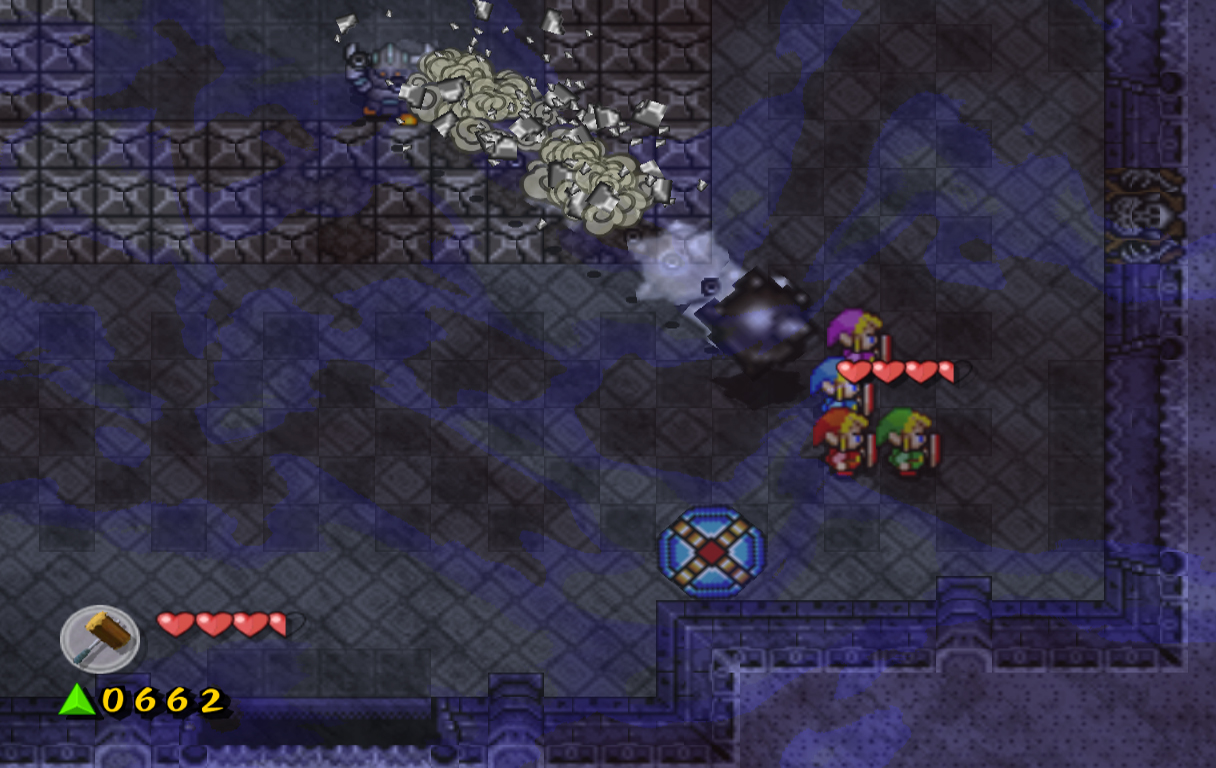
Before you leave this room, grab the Moon Pearl in the chest and use it at the bottom-left corner of the room to create a Moon Gate. In the Dark World, grab the four big green force gems, then head back into the normal world and through the door to the left. In this room there are a ton of hardhat beetles, along with holes and circular objects that you will bounce off of if you make contact. In this first area you can use Wide and Long formations if you want to hit the beetles into the small square gap. Once you do, the pathway to the next group of beetles will open. Immediately create a Box formation and push them back through the gap off the left side of the path. After doing this, head back to where the first group of beetles was. Head south along the small path and open the chest for another 50 force gems. Head back along this path then left to where the second group was. Follow another small path and hit the black switch at the end to reach two more chests containing another 250 force gems. When you're ready, enter the door above to face off with the dungeon boss.
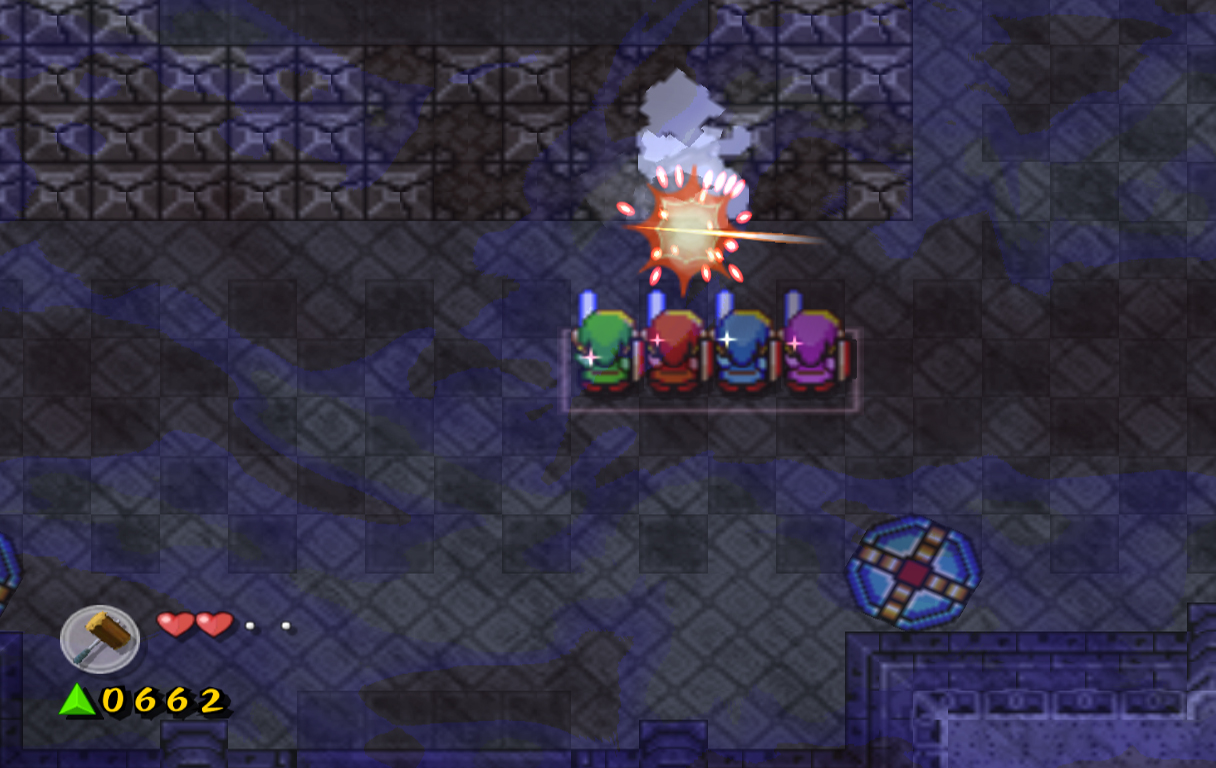
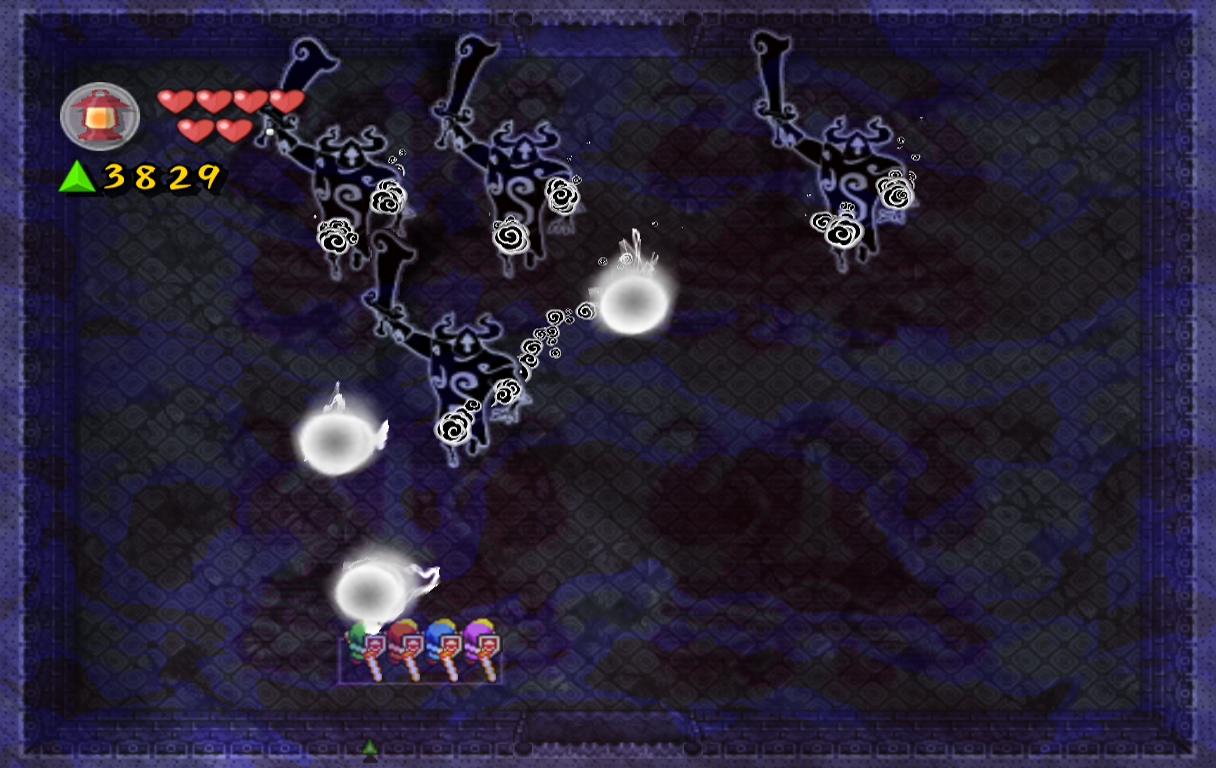
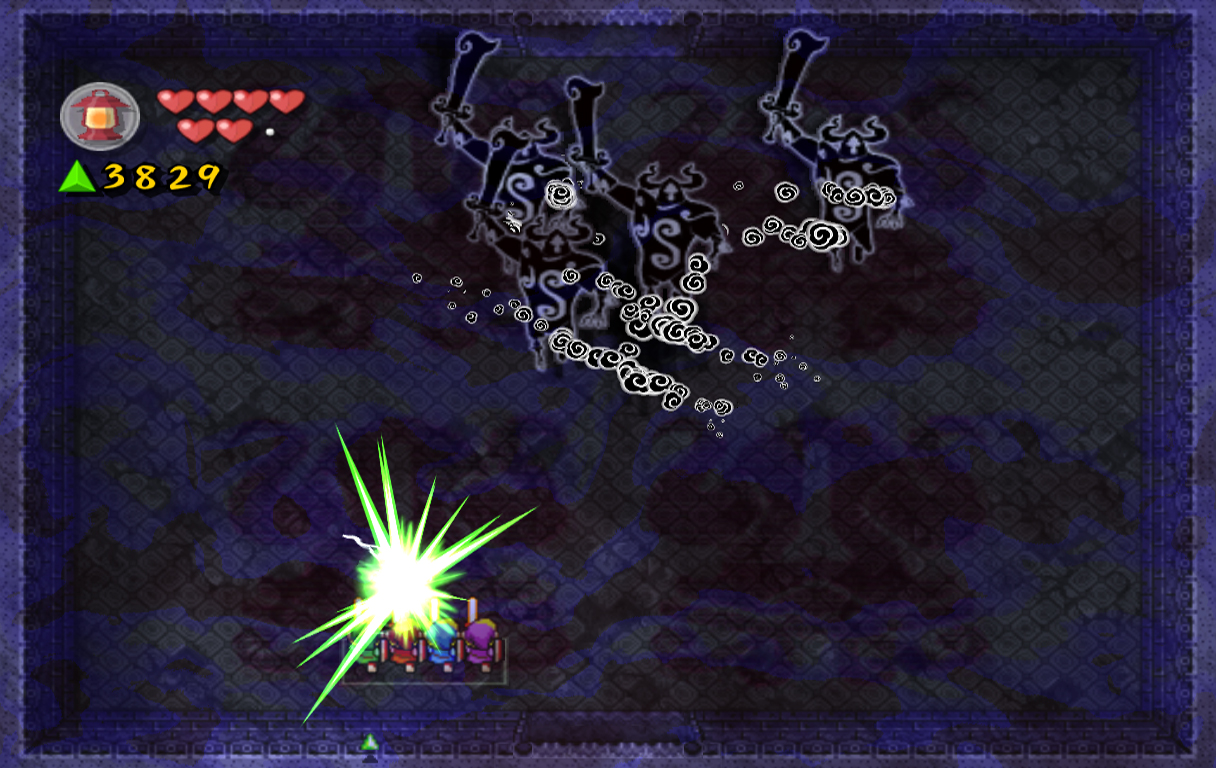
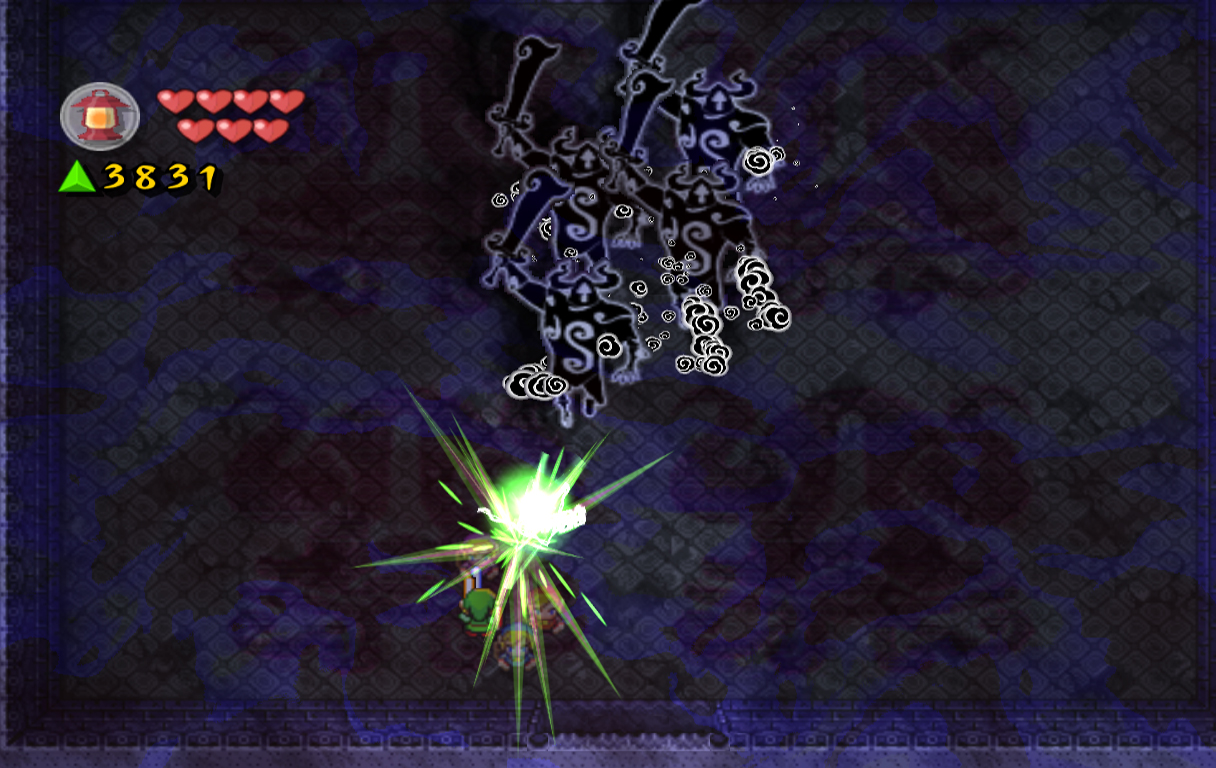
Phantom Ganon is back again, and this time there are four of him. This does make the battle a tad bit more difficult, but nothing impossible. The structure of the battle is almost the same as before, with a few minor changes. The main Phantom Ganon will throw out a green ball of energy, which is the one you need to hit back. The other three will throw out white balls of energy that will dissipate when you hit them with the sword.
I'd advise again creating a Wide formation and hitting all the balls of energy regardless of their color. Once you hit the green ball back enough times you can attack the boss, eventually defeating him. Once you do, collect the force gems and head into the next room. Break the eye barriers and collect your fairies, then listen to the Maiden's speech. Join me for the next level and stage, the Desert of Doubt.
|
Heart Container #1
The first Heart Container can be found after defeating the Ball and Chain Trooper mini-boss. Enter the room to the bottom-right and defeat the Ropa inside. Open the chest at the end for the Heart Container. [more] Heart Container #2
The second Heart Container can be found in the room with the colored orb. Change the color of the orb to blue, and walk down the path to the bottom-left for a chest containing the Heart Container. [more] Heart Container #3
The third Heart Container cane be found in the room with a pit of darkness. Walk to the top-left of the dark room and open the chest for the Heart Container. [more]  Phantom Ganon Phantom Ganon
Phantom Ganon reappears as the boss of the Temple of Darkness. The fight is relatively the same as the first one, though now there are four Phantom Ganons instead of one. Use either a formation or single out a Link to hit the colored ball of energy back at Phantom Ganon. Continue this until the boss is hit, then attack him with the sword. Repeat this until he is defeated. [more] |


| Four Swords Adventures Site Walkthrough | |
|
Chapter 1 - Whereabouts of the Wind Chapter 2 - Eastern Hyrule Chapter 3 - Death Mountain Chapter 4 - Near the Fields
Chapter 7 - Frozen Hyrule Chapter 8 - Realm of the Heavens | |
| Previous | Next |