- Chapter 3 – Inside Jabu Jabu’s Belly
- Chapter 4 – Forest Temple
- Chapter 5 – Fire Temple
- Chapter 6 – Ice Cavern
- Chapter 7 – Water Temple
- Chapter 8 – Bottom of the Well
- Chapter 9 – Shadow Temple
- Chapter 10 – Spirit Temple
- Chapter 11 – Gerudo Training Grounds
- Chapter 12 – Ganon’s Castle
3.1 Inside Jabu-Jabu's Belly
Your first view of the inside of this fish’s mouth isn’t a pleasant one. Rows of sharp teeth, a boulder in the middle, and a door on the far side surrounded by infected-looking blue veins, and yes, those are those cows sticking out of the walls. A few bubbles, known as Shabom, floating around this area. Approach the boulder and an octorok appears in a shallow puddle. Deal with it in whichever method you choose; a bomb works well for both killing it and destroying the boulder. Destroying the boulder reveals a switch underneath. Press the switch to earn a treasure chest containing the Dungeon Map, then shoot the cows with your slingshot. The left one drops a chest with Deku Nuts, and the right one opens the door. You can easily ignore the Shabom unless they get in your way.
Proceeding through the door, you’ll quickly discover the electric dangers in this dungeon. The floating jellyfish, known as Biri, patrol this area. They can be dealt with using any non-metal weapon, meaning Deku Sticks, bombs, or your Fairy Slingshot. You can also stun them with Deku Nuts and attack with your sword, if you choose. After dealing with them in the method of your choice, look to the left to see another cow in the wall. Shooting it will drop a small chest to a ledge far below. You can ride the elevator or simply jump down into the waters. On the platform, open the chest to claim more Deku Nuts.
Your next goal requires a short dive under the water. Watch out for the Stinger, and dive through the underwater passageway when the path is clear. You’ll swim over a cow. When you emerge on the other side, climb onto the platform here and press the button switch to open the door that is back on the platform above the next room. Turn around, and shoot the underwater cow to earn the chest which contains your Compass. Make sure to grab it before heading back under the passageway. Avoid the Stinger as you climb onto the platform. Ride the elevator back up, and jump over to continue through the newly opened door.
More Biri in here, gaping holes in the ground, boulders, and… Princess Ruto! After a quick (and snooty) word, she falls into a hole. Blowing up the boulders will yield some quick-growing item grass, should you have need of supplies. Follow Ruto through the hole, and talk to her a few times to earn the “privilege” of carrying her. Pick her up, and stand atop the yellow button switch in the center of the room. When you’ve raised high enough, jump to the north platform with the blue button switch, and set her down on top of it. Shoot the two cows embedded in the walls of the north wall to drop two chests into the room, both easily accessible in the east and west corners of the room. Open the chests to get some more Deku Nuts and Bombchu!
Once again, stand on the yellow switch to raise on the column of water, and jump towards the door that Princess Ruto is holding open. Through the door to be taunted by the familiar sound of an unreachable Golden Skulltula. The small chest in this room contains Deku Nuts, so wait until you need it to open it. Watch out as you jump down into the water, as both a Like Like and Stingers wait for you. Defeating all of them will make a new chest appear in the small alcove to the west. Climb up and open it to claim your boomerang.
Now that you have the most useful young-link item, it’s time to kick some butt! Jump down and head south to the next door, which takes you back to the room Princess Ruto waits in. Climb the vines at the east of the room back to the top, deal with any Bari that may be in your way, then take the north path. You’ll be blocked by an electric sponge, so use your boomerang to pacify it as you climb over. Take the next path on the left, past the web, and through the far door. There is a cow in the left and right walls of this room, and shooting either will release an unimportant item: Deku Nuts, magic potion, a recovery heart, etc. Don’t go for it, because few seconds later, a Like Like will drop down directly over the random item. Kill both to get the treasure (deku sticks) and more importantly start the fire. Light a Deku Stick with fire, and take it back to the Web; burning it up to grant you access to the far west room.
Cutting the Parasitic Tentacles is the same as before, with the boomerang not actually being the only method, but being the most efficient. Be careful, however, as it does a significant amount of damage. When you hear the melodic tone of accomplishment you are free to exit the room. Head down the right corridor. Take the far north door first, opening to a room with a switch, some boulders (one is embedded in the ceiling), a couple Shabom, and some Tailpasaran burrowed into the ground.
Kill everything from a distance. Then, either press the yellow button switch or use a bombchu to destroy the boulder in the ceiling, and use your boomerang to claim the next Golden Skulltula token! Leave this room and head to the far east door. Kill the next Parasitic Tentacle as before and leave. Head up the center path and kill the Lizalfos that tries to ambush you alone, then destroy the boulders. Take a box that you earlier passed by from the east corridor and place it on the switch to open the door. Kill the final Parasitic Tentacle and leave (the Lizalfos will be back again, but just deal with him the same as before).
Drop through a hole in the big room, any hole really, and go get Princess Ruto again. Take her with you as you ride the water pillar from the yellow button switch, and jump to the highest level and through the newly-accessible door. She’ll see her sapphire on the platform, and nearly have a seizure from anticipation. Throw her to it for a short cutscene as she reclaims it. Get closer to her, and she’ll be whisked away above you, as you’re ambushed by the mini-boss, Big Octo.
This giant Octorok isn’t stuck in the confines of the water alike his brothers. He circles around a spinning spiked platform of doom trying to run you over, and he runs just about as fast as you do, so it’s difficult to catch up to him. Once he rams into you, he’ll then turn around and start over again. Occasionally, he’ll disappear and reappear on the opposite side of the track. Just watch the spikes to know which way he’s traveling.
As is pretty obvious, you’re going to have to stun him using your new-found Boomerang. You can hit him anywhere with it to stun him, but he’s only vulnerable to your sword from the backside once stunned. Below are the two ways to defeating him:
Catching Up (Semi-Hard) The first method is to run away from him, sticking close to the spikes so you gradually catch up. Once you’re close enough, Z target, Boomerang, slash his backside. Simple, but lengthy and he can be tricky at times, suddenly turning on you or burrowing to the opposite side.
Standing Still (Very Easy) The easy way is to understand one thing: he turns around if he hits you or occasionally when you stun him. What does this mean? Stand still and get mowed over on purpose, then stun him and slash away. Repeat. OR… Stun him with Boomerang. Wait until stun wears off, let him spin around a little bit, stun him again while he’s facing away. Smack him. Repeat.
The second method makes this battle pathetically easy once you notice the way he moves. Either way, after four sword slashes (or two jump attacks) to his vulnerable spot, Big Octo will be a Big Loser.
Ride the platform up to a small room, and once again you need to shoot a cow to open the door. Heading down the corridor toward the door will drop a Bari right on your head, so back off and either kill it or run around. Proceed through the door and grab a box. The cow on the wall yields an unneeded item, and jumping down to claim it yields a Lizalfos you don’t need either. The cow on the bottom cannot be shot, but can be… milked. If you have Epona’s Song. Strangely enough, you can also walk straight through it. Boomerang the two electric sponges quickly, and hop over carrying a box across to the blue switch to continue through the next door.
Jump across, and head for the last door (the chest just contains a recovery heart), and kill the two Like Likes below before jumping down. There should be a cow in the wall to your left. Shooting it moves it along the wall, and on the third hit opens the door. The second cow drops a chest which contains a Deku Shield. Save this one for when you need it. Before exiting this room, there is a Golden Skulltula. Climb up the vines at the left, and strategically throw your boomerang around the translucent wall to claim a Golden Skulltula. Finally, jump back down and through the final door to the boss.
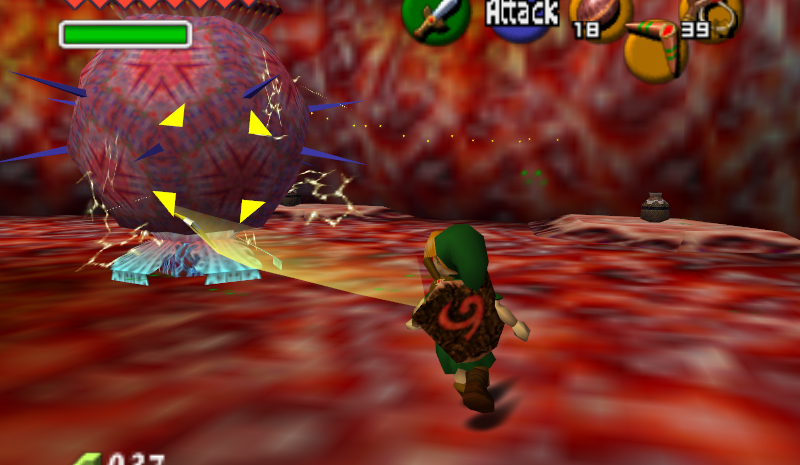
Phase 1: Tentacles
The battle starts out by slicing off the three appendages that are attached to the ceiling, sucking energy out of Lord Jabu-Jabu. The natural conclusion is to use the Boomerang. Target one at a time and dismember them as you circle around to avoid the electric beams.
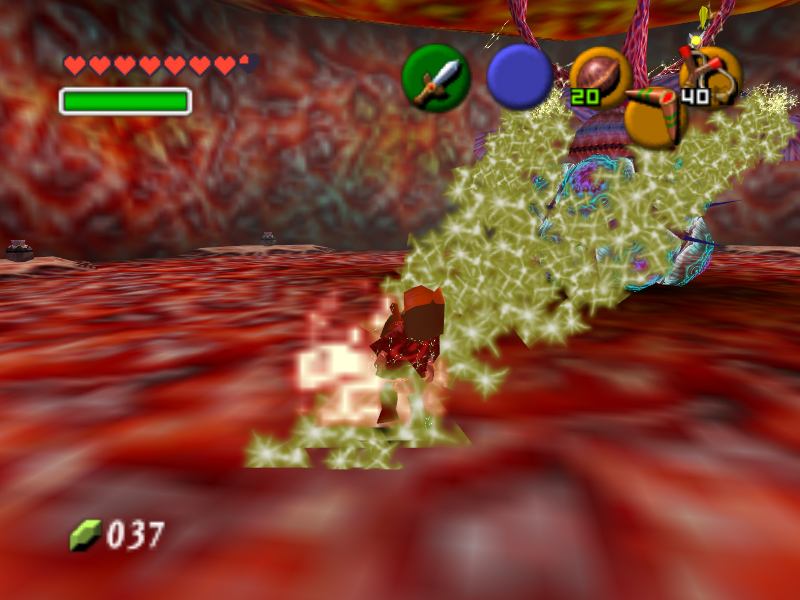

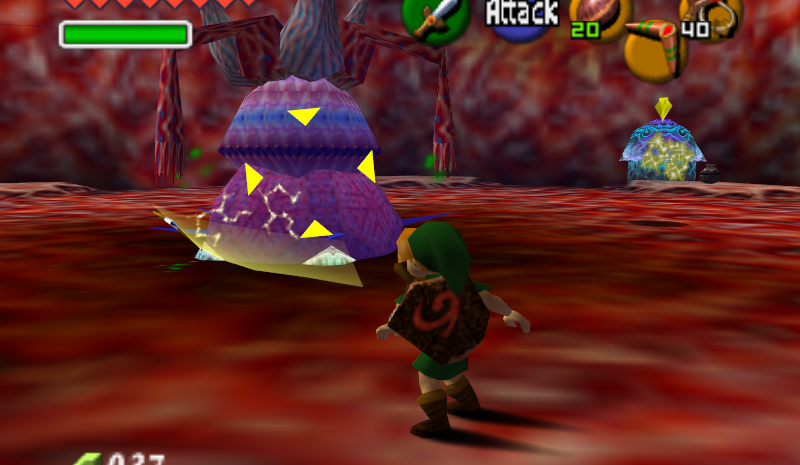
Phase 2: Jellyfish
The next phase is a little harder. He releases the top row of jellyfish and allows them to orbit around the main body. The electric “connection” to them is dangerous as well, so try to weave in and out to get close. Once you’re close enough, use your Boomerang on the main body (which is now slightly vulnerable). This causes the connection to the outer jellyfish to break momentarily, making them no longer invincible. You can also just wait awhile and he’ll disconnect, but he’ll shoot while disconnected. Slash up the jellies, stun the main body again before it comes back to life, repeat. Your sword and Din’s Fire work for killing them, but Deku Nuts and the Boomerang get my vote for the best methods.
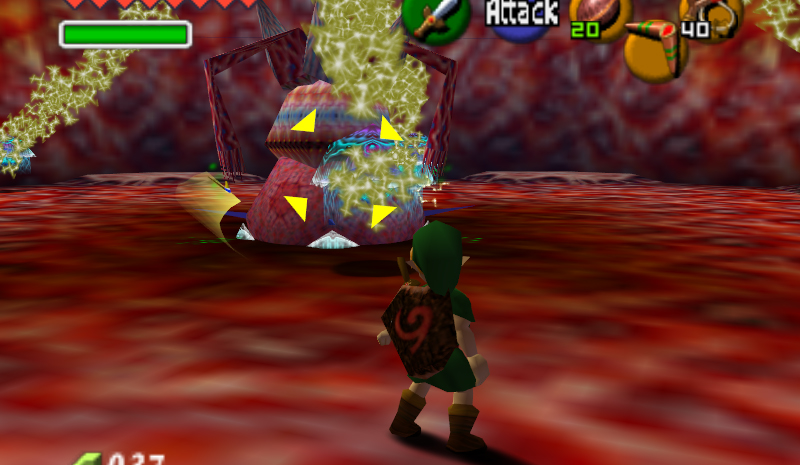
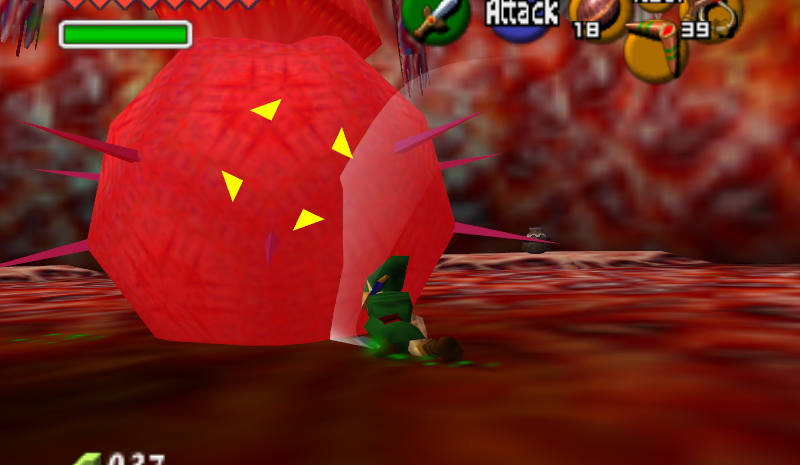
Phase 3: Spinning Defense
After the first set of Jellyfish die out, he’ll send out his last line of defense, spinning around the main body quickly as he zips around the room. Z target the main body and try to keep some distance between you as you continually use your Boomerang. Once you make it through the jellyfish, they’ll be separated again. This time however, he can shoot you while stunned. Quickly run forward and throw a Deku Nut at the main body (to hopefully take them all out at once), or use the previous methods.

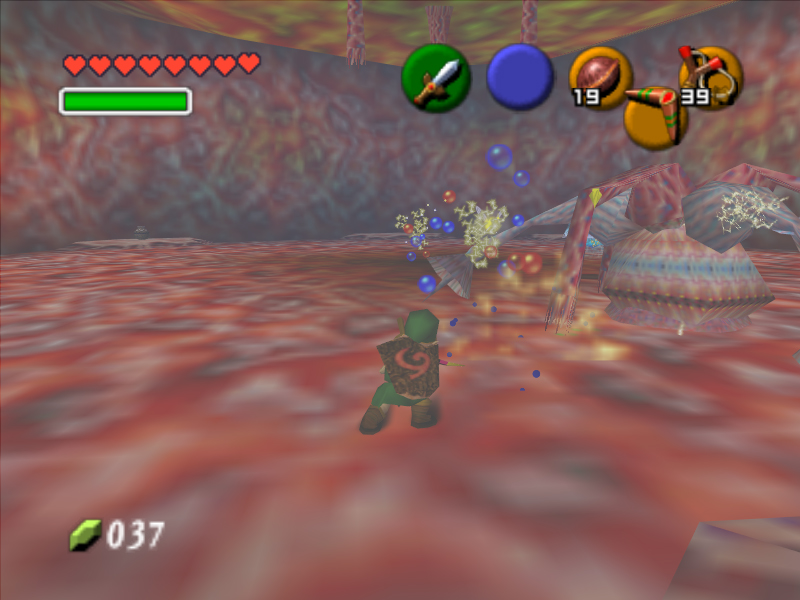
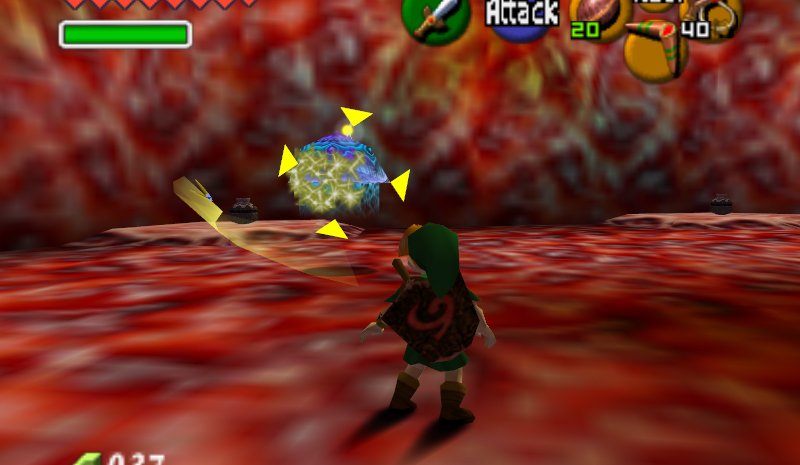
Phase 4: Vulnerable At Last!
Once all of the jellyfish are gone, he’ll zip around the room a little more aggressively and shoot faster. Just keep moving and using your Boomerang to stun him once again. Once you get him, go slash away at the main body with your sword. After a couple slashes, he’ll sink down into the ground to protect the body. Run away for a bit until he gets back up. Repeat. After a good ten sword slashes or so, Barinade will explode.