Welcome to the Legend of Zelda Walkthrough. The walkthrough below is a complete 100% guide through the entire game, along with miscellaneous guides for the various collectibles, oddball secrets, and everything else there is to find in the game. Additionally, we have a complete Video Walkthrough of the Legend of Zelda.
Primary Walkthrough
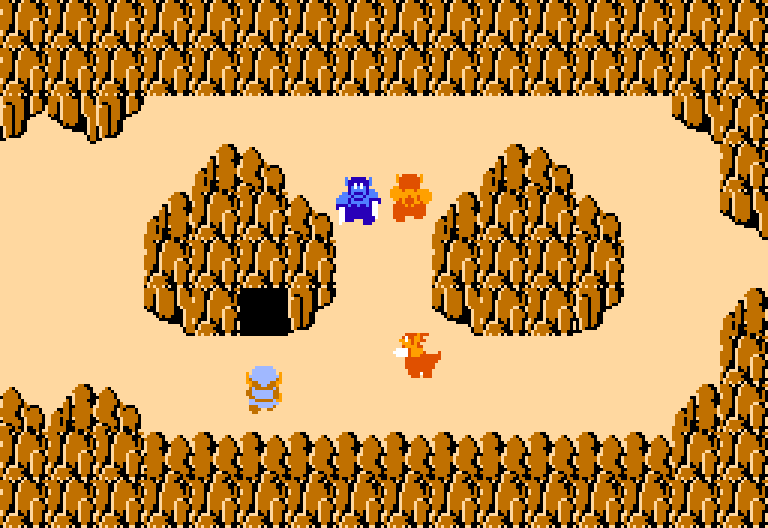
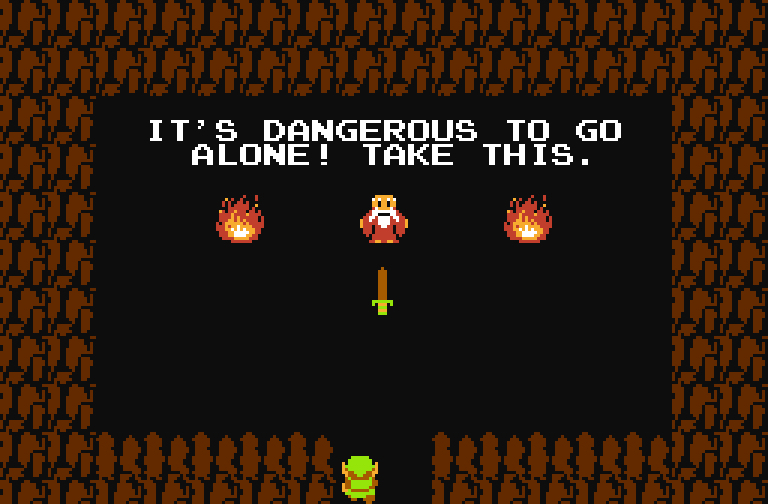
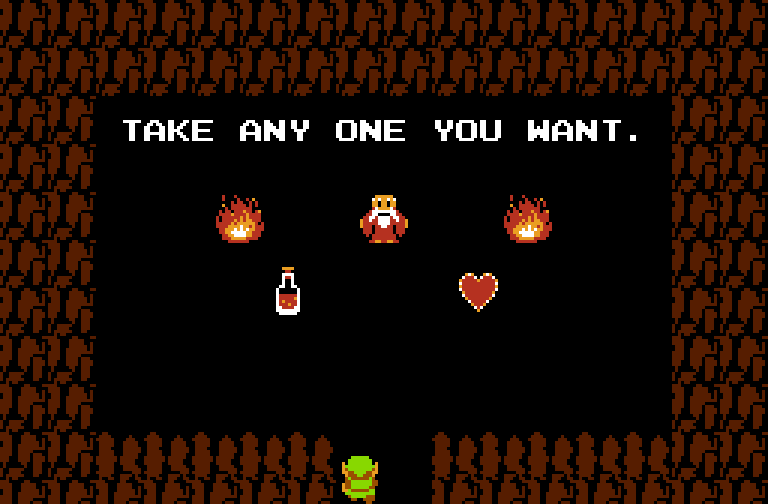
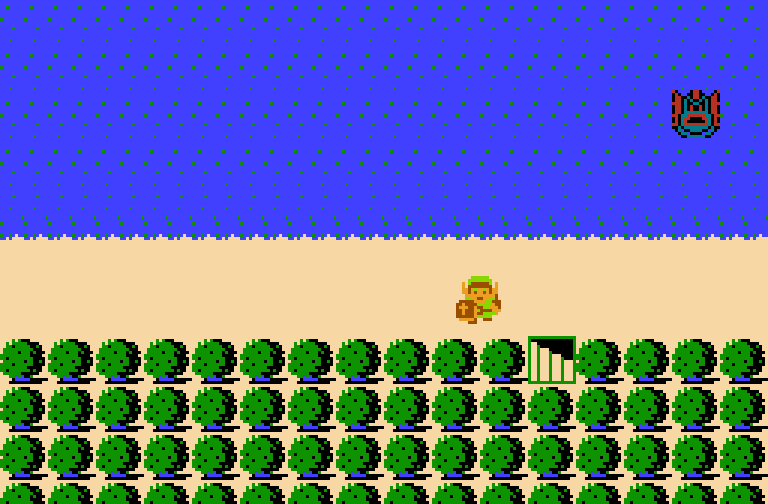
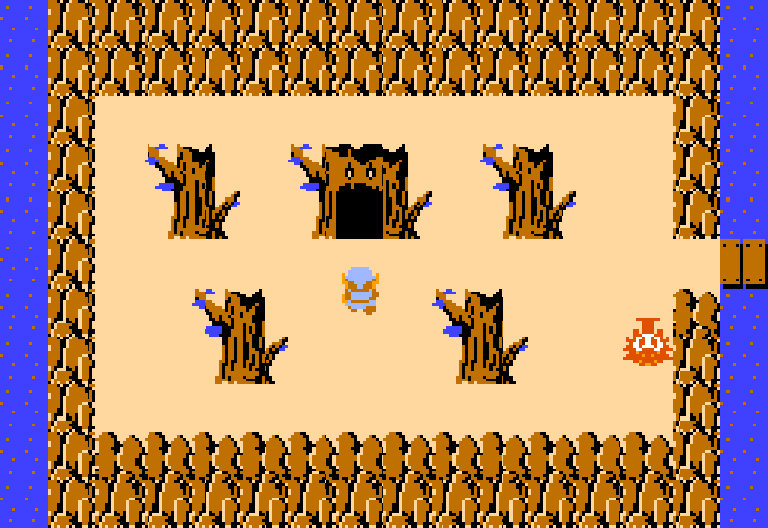
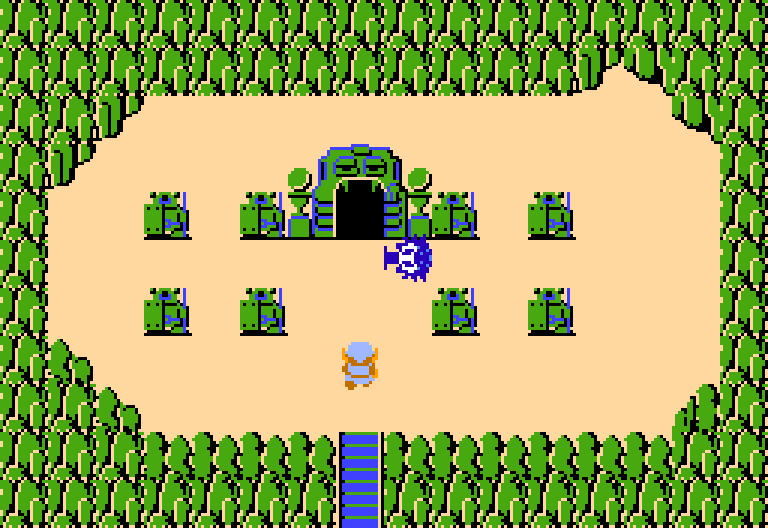
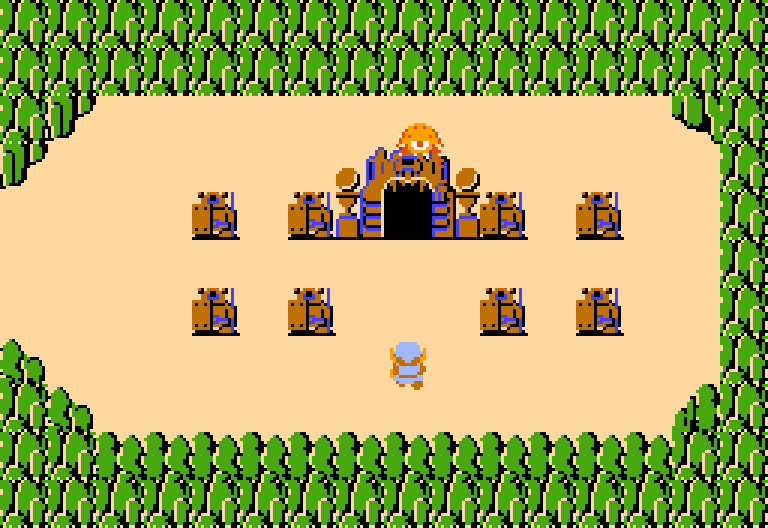
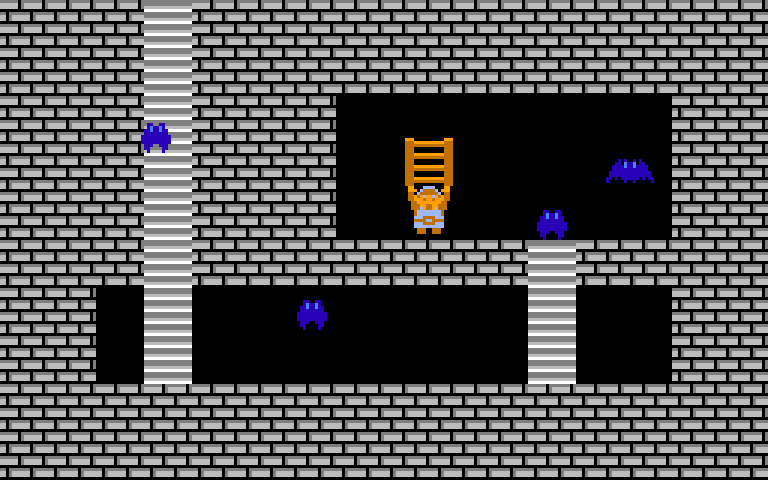
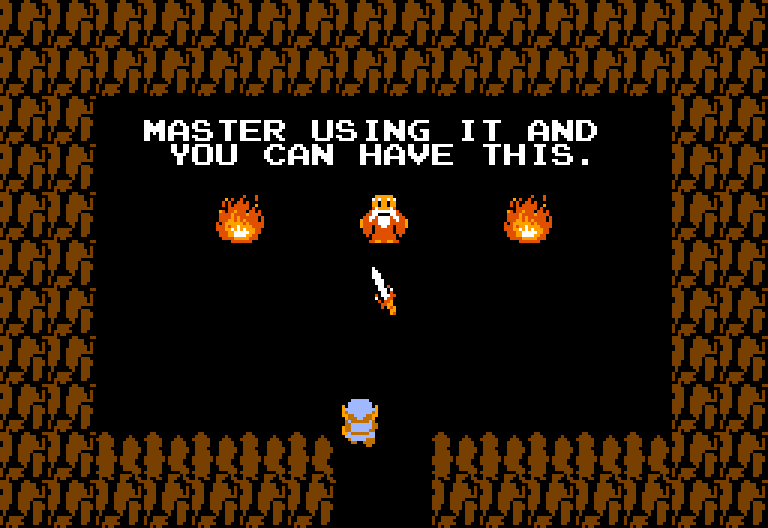
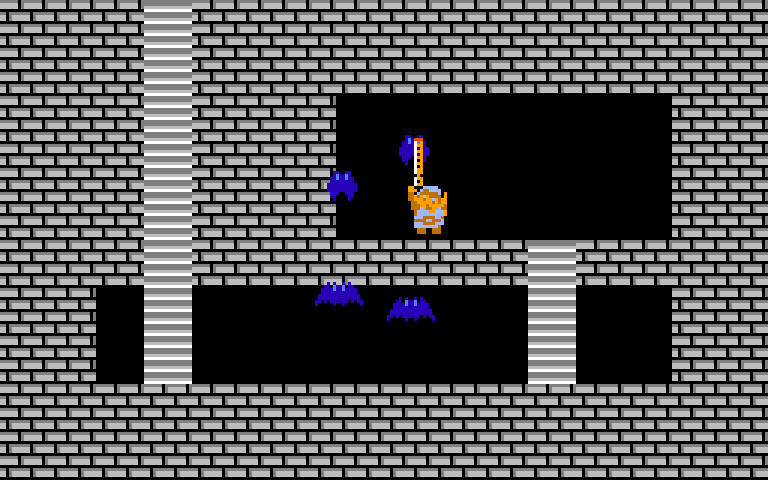
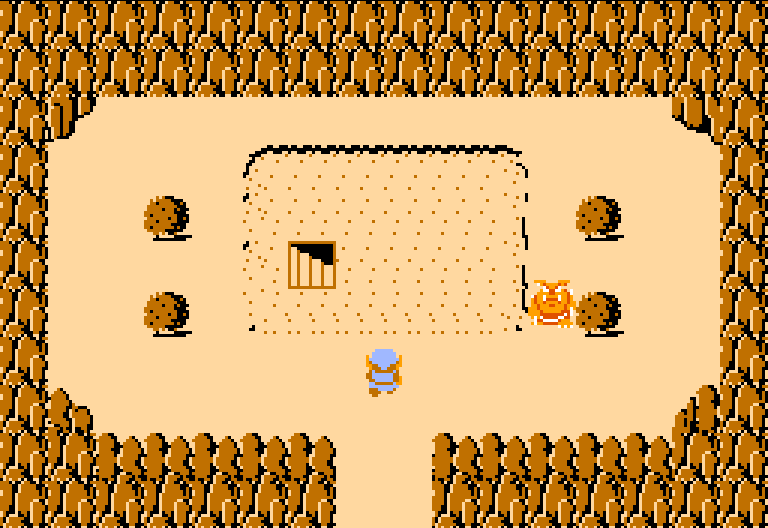
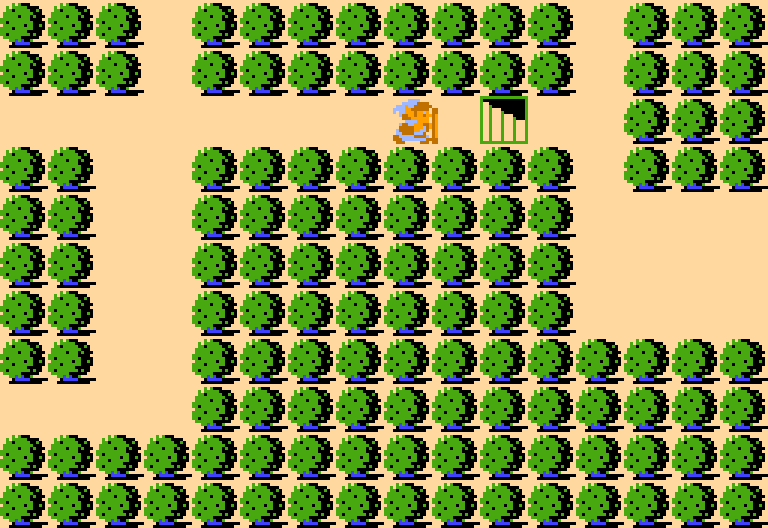
- The Gathering
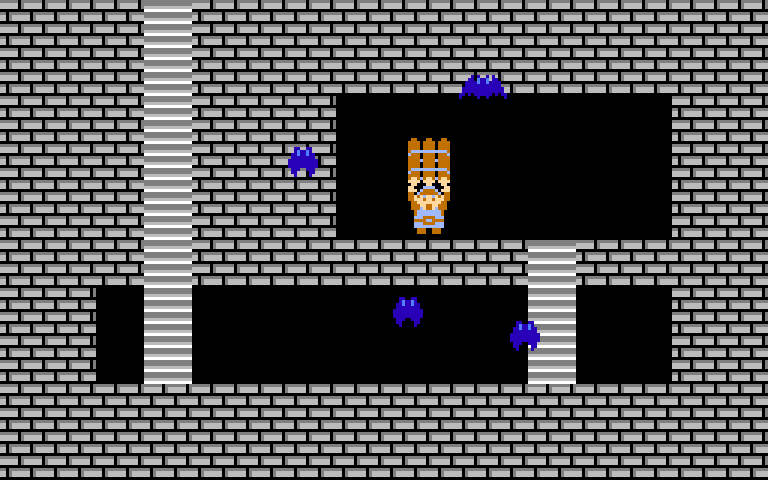
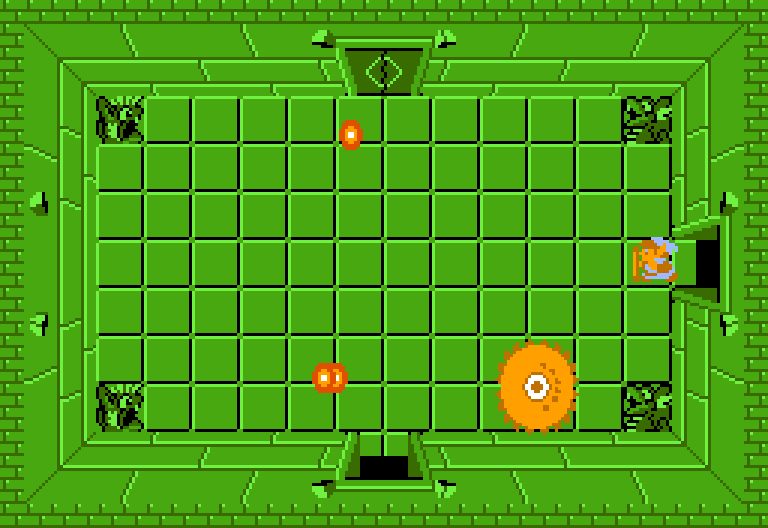
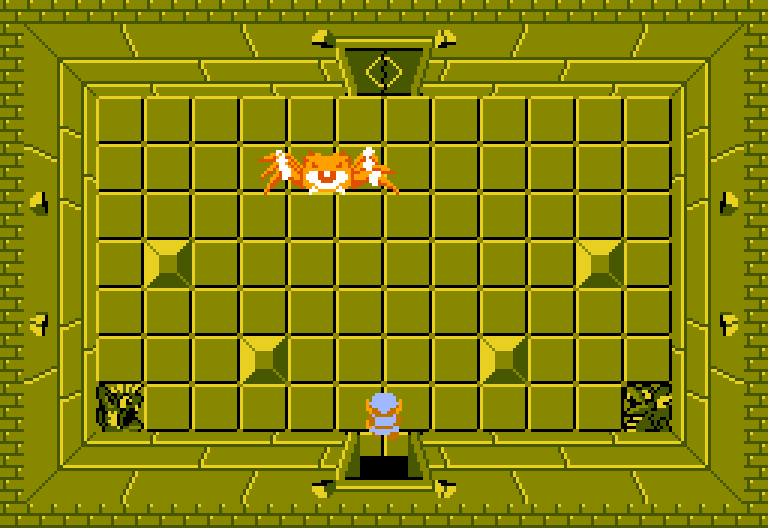
- Level 1: The Eagle
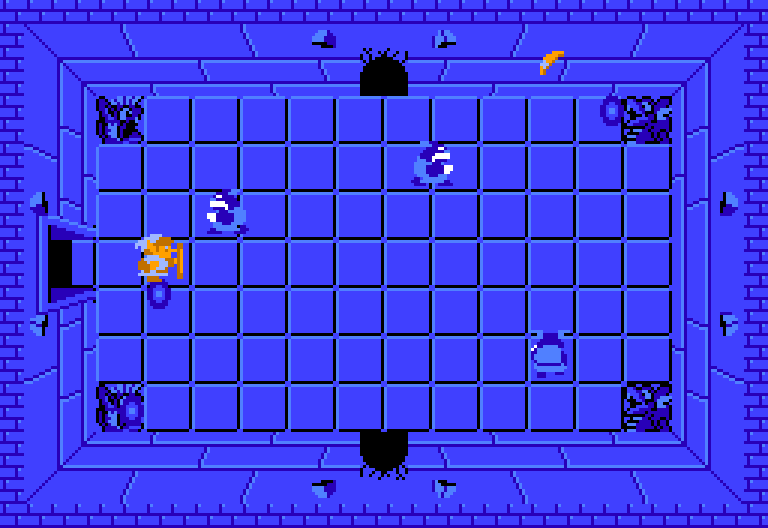
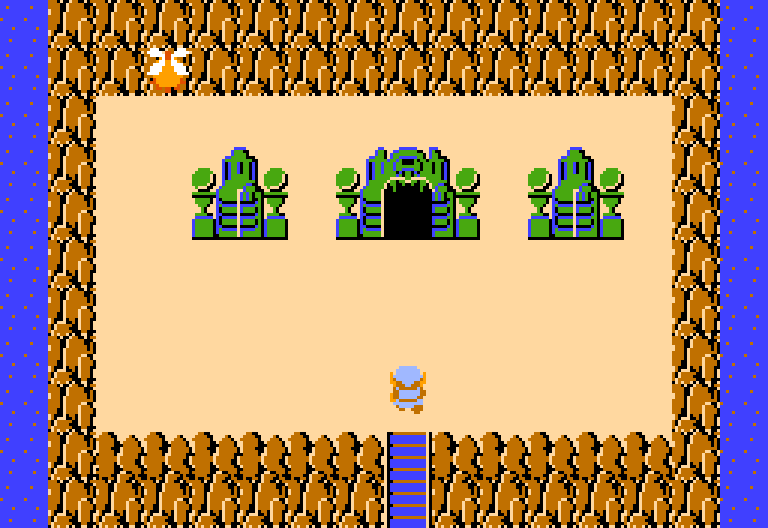
- Level 2: The Moon
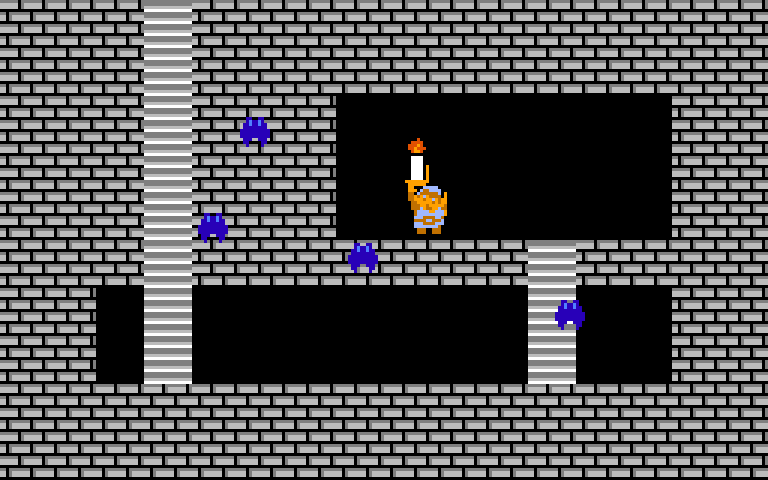
- Level 3: The Manji
- Level 4: The Snake
- Level 5: The Lizard
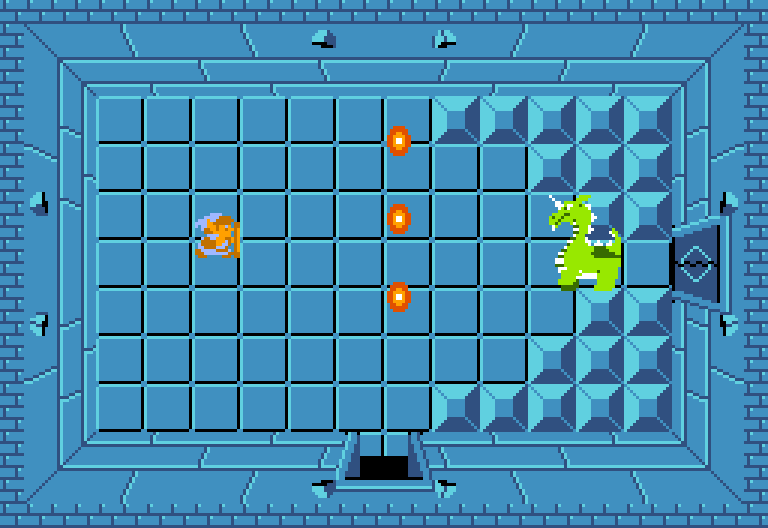
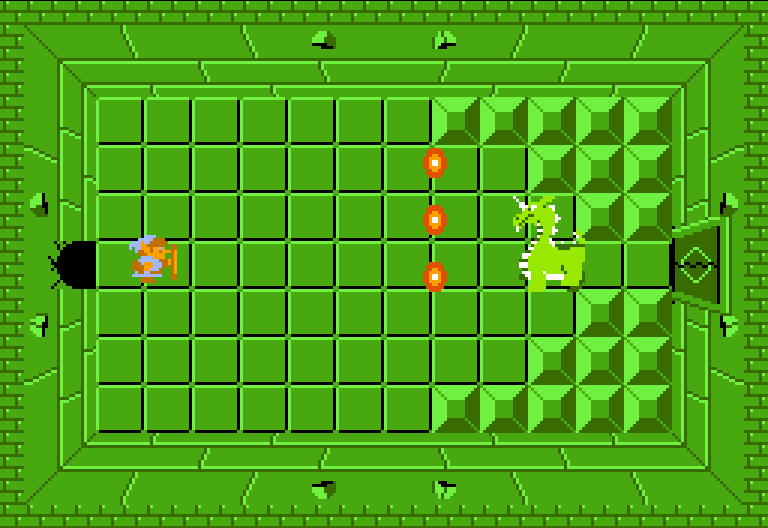
- Level 6: The Dragon
- Level 7: The Demon
- Level 8: The Lion
- Level 9: Death Mountain
More Guides and Information
- Game Index Page
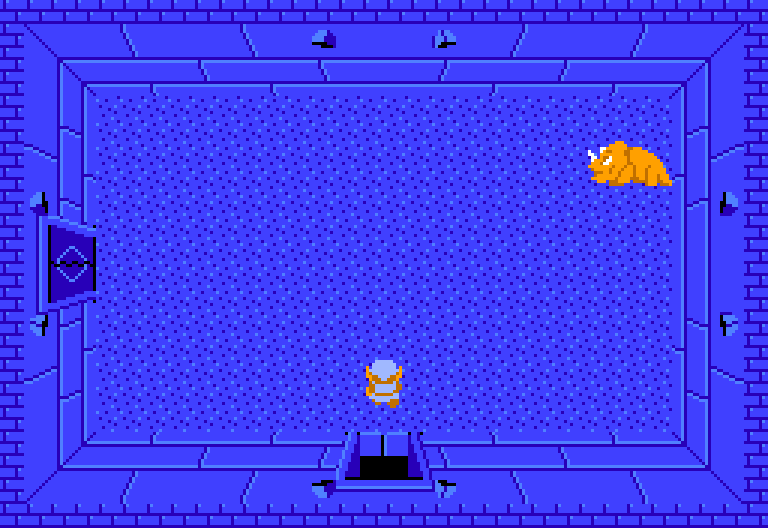
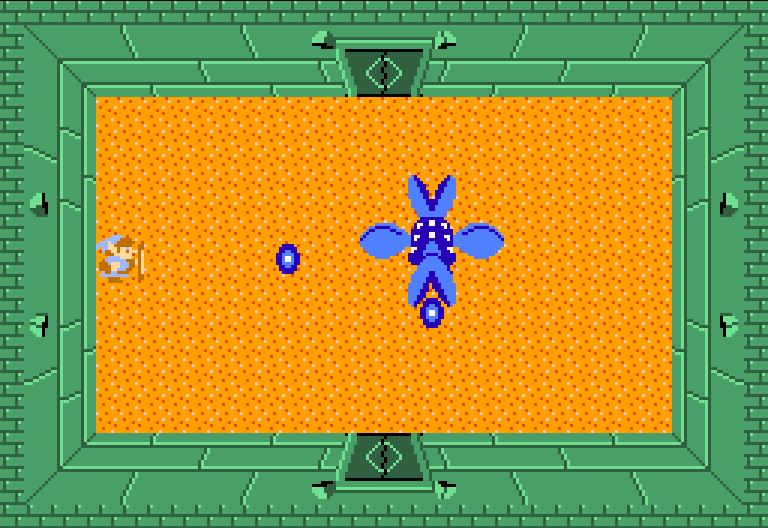
- Bosses
- Characters
- Door Repairs
- Dungeons
- Enemies
- Fairy Fountains
- Heart Containers
- Image Gallery
- Items
- Money Making Game
- Old Man Quotes
- Potion Shops
- Second Quest
- Secret Rupees
- Shops
- Story
- Warps
The Gathering
Level 1: The Eagle

Level 2: The Moon
Level 3: The Manji
Level 4: The Snake

Level 5: The Lizard
Level 6: The Dragon


Level 7: The Demon
Level 8: The Lion
Level 9: Death Mountain