Majora's Mask Masks
Jump to navigation
Jump to search
Want an adless experience? Log in or Create an account.
Below is a listing of all 24 Masks located within Majora's Mask. The transformation masks are listed first, followed by when they are found in the Majora's Mask Walkthrough.
| Name | Location | First Available | Details | Screenshots |
|---|---|---|---|---|
| Deku Mask | Clock Tower | After obtaining the Ocarina of Time | Wear it with (C) to assume Deku form. Use (C) to change back. This allows you to interact with other Deku Scrubs, stun enemies, hop on water, use flowers to fly, as well as shoot bubbles once you learn it from the Great Fairy. Because you're made of wood, fire is your weakness in this form. To get it, you must get back your Ocarina of Time from Skull Kid and speak with the Mask Salesman. |
|
| Goron Mask | Goron Graveyard | After obtaining Lens of Truth | Wear it with (C) to assume Goron form. Use (C) to change back. This allows you to interact with other Gorons, move heavy objects, roll, Goron Stomp, walk on lava, and even punch with fists of fire. To get it, you must speak with the Spirit of Darmani who is waiting outside the cave after you get the Lens of Truth. He will lead you back to the Mountain Village and up a slope with invisible ladders. Climb up to the top and enter his grave, then speak to him. He will beg you to heal is soul. Play the Song of Healing to receive the mask. |
|
| Zora Mask | Great Bay | After obtaining Epona | Wear it with (C) to assume Zora form. Use (C) to change back. This allows you to interact with other Zoras, swim incredibly fast, fight underwater, use your fins as weapons, and even shoot them out like boomerangs. To get it, you must get Epona back from Romani Ranch and jump over the wall leading to Great Bay from Termina Field. When you get there, you will see something floating in the water. Help this Zora get back to shore by pushing him and then hear his final song explaining the situation. Play the Song of Healing to put the spirit of Mikau the guitarist into a mask. |
|
| Fierce Deity Mask | Moon | After obtaining all 20 normal Masks | Wear it with (C) to assume Fierce Deity form. Use (C) to change back. While wearing this mask, you look very much like your normal form, but older and a lot stronger. Your sword is now two handed and does a significant amount more damage. Also, while Z targeting, you can shoot beams at your enemies. The catch is that it can only be used in Boss rooms. In the Japanese Version, people call him Oni Link. Oni is a Japanese word roughly meaning "ogre demon". In English, this doesn't make too much sense and is considered "evil" to call someone a demon, but it's really just to insinuate power. Thus, in English, he is called Fierce Deity Link. To get it, you have to give all 20 normal masks to the kids on the Moon. The last child, wearing Majora's Mask, will give you this mask because you have no more left. |
|
There are twenty masks in the game that do something other than change your form and each have a specific purpose. While most of them are rather pointless, you need all of them in order to get the best mask in the game as well as the full credits at the end.
These masks are listed based upon when they are obtained in the Majora's Mask Walkthrough.
| Name | Location | First Available | Details | Screenshots |
|---|---|---|---|---|
| Postman's Hat | West Clock Town | Available on the Final Night during the Anju and Kafei Sidequest | This mask allows you to get Rupees out of the Mailboxes around Clock Town. The first time you check the Mailbox in East Clock Town near the exit, you will get a Piece of a Heart. You get it during the Anju & Kafei Quest. See that section for more information. |
|
| All Night Mask | Curiosity Shop | Available on the Final Night Must save the Old Lady from Sakon the Theif on the First Night |
This mask has one use only: to listen to Anju's Grandmother's stories, which normally make you fall asleep. Listen to the first story (Carnival of Time) and choose all the top answers to receive a Piece of a Heart. Listen to the second story (Four Giants) and choose "I dunno" to receive another Piece of a Heart. To get it, on the First Night at 12:00 AM, you have to stop Sakon the Thief from stealing the Bomb Bags from the Old Lady, or else those will be at the Curiosity Shop later. Then, on the Final Night at 10:00 PM, you can buy the All-Night Mask at the Curiosity Shop for 500 Rupees. |
|
| Blast Mask | Clock Town | Anytime | Wear this mask and press B to explode. Nothing else to it really. Use this when you're out of Bombs. Hold R immediately after you press it to not take any damage! To get it, save the Old Lady in North Clock Town on the First Night at 12:00 AM from being robbed by Sakon the Thief. She'll give you this as a reward. |
|
| Stone Mask | Ikana Canyon | After learing Epona's Song | Wear this to be ignored by guards that would normally throw you out, such as those in the Deku Palace and the Pirates' Fortress. To get it, go to the road leading to Ikana Canyon and right before that cliff where the one-eyed guy appears there's a circle of stones. Use the Lens of Truth to see an invisible soldier named Shiro. Give him a Red Potion to heal him of his invisibility and he'll give you this mask. |
|
| Great Fairy Mask | Clock Town | Anytime | This mask will float and shimmer when there's a Stray Fairy in the room. It will also make those Stray Fairies fly towards you unless they are trapped. You have to use this in order to put the Great Fairies back together. To get it, grab the Stray Fairy at either the Laundry Pool (day) or East Clock Town (night) and bring it to the Fairy Fountain in North Clock Town in your normal form. |
|
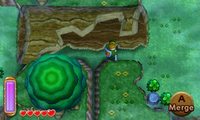
| 10 | Great Swamp | Bombs | Just south of Link's House, there is a heart piece that is visible next to a cave, but it appears to be blocked off. Walk to the southeast and you'll see a pair of large stone pillars. Place a bomb between the pillars to reveal a cave. Make your way through this straight forward cave and head outside to find the piece of heart. | 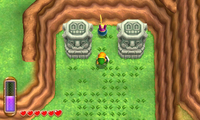 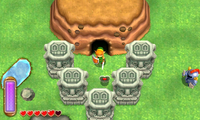
|
| 11 | South of Eastern Palace | Merge Bombs |
Just south of the Eastern Palace that is a cracked wall that can be exploded. The wall can be reached by merging into a wall on the level just below and then walking to the east side of the Eastern Palace. Alternatively, this area is easily accessible after acquiring the Power Glove. Blast open the cracked boulder and merge along the wall to reach the piece of heart. | 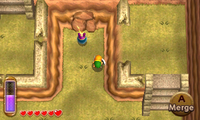 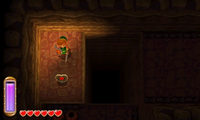
|
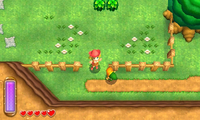
| 12 | South of Eastern Palace | Hammer | From the Eastern Palace, walk one screen to the south. At the southeast corner of this region you'll find a piece of heart that is surrounded by a bunch of stakes. Pound the stakes with the hammer and grab the heart piece. | 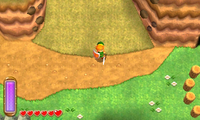 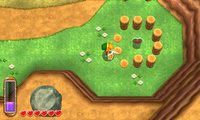
|
| 13 | Death Mountain | Power Glove Hookshot Hammer |
From just outside of the Tower of Hera head eastward until you come to a cave with a sign pointing you in the direction of Rosso's Ore Mine. Enter this cave and fall down a series of moving platforms until you reach a large central platform with a pair of Lynels. Merge along the western wall and land on the moving platform. Use the hammer to smash a series of large moles, while timing the jumps. After a series of platforms you'll come to a large pillar that has a piece of heart on it. | 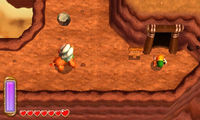 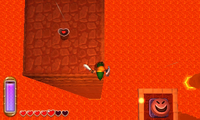
|
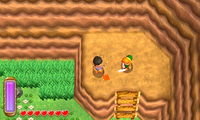
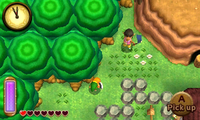
| 14 | Hyrule Field | Pegasus Boots | Make your way to the far southeast corner of Hyrule and head north from there. On a higher ledge you will find the Racing Bro. He challenges you to a racing game for the cost of 20 Rupees. Link will need to run to the north end of Hyrule, right near Rosso's house. Link is not able to use the Bell during this mini-game. The first time Link plays, he has to reach the goal in 75 seconds. While difficult, this is possible to do without the Pegasus Boots, but it is rather difficult. The reward is 100 Rupees. The second time, Link must reach the goal in 65 seconds. This time he has to use the Pegasus Boots and if he makes it successfully, he can earn a Piece of Heart. |
|
| 15 | Kakariko Village | Merge | There is a locked house in Kakariko Village that Link cannot enter from Hyrule. After entering Lorule for the first time, head to Thieves' Town and the corresponding house is not there. However, there is a Fissure that leads back to Hyrule. Go through the crack and you'll appear inside the locked house within Kakariko Village. The Stylish Woman will blow you a kiss, giving you a heart piece. | 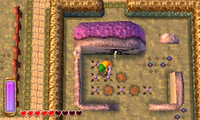 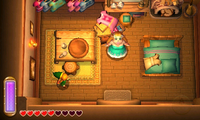
|
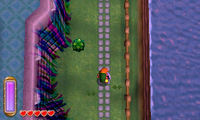
| 16 | South of Skull Woods | Merge | Directly south of Skull Woods, make your way to the house that corresponds to Sahasrahla's in Hyrule. Merge along the wall and travel to the south end of the house to find the heart piece. | 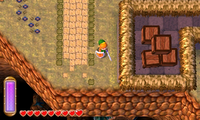 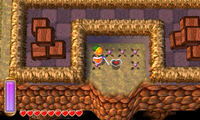
|
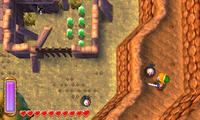
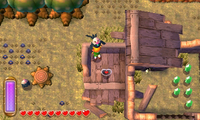
| 17 | Lorule Field | None | In the area just east of Skull Woods and west of Death Mountain, a piece of heart can be found on top of the roof of a crumbling building. This corresponds to Rosso's house in Hyrule. Travel to the southeast and climb the ladder on the next screen. Lift up the cucco and make your to the far north part of this higher ledge. Leap of the ledge and try to fly so that you land right on top of the piece of heart. Although it seems you can land on the roof, its steep slant will send you dropping to the ground. Land on the heart piece to get it. |
|
| 18 | Fortune's Choice Thieves' Town |
Rupees | At the east part of Thieves' Town, there is a treasure chest game. Pay the Fortune's Choice Guy 200 Rupees to play and you can open up three treasure chests. One of the treasure chests contains a piece of heart. You may need to play multiple times and it can be quite costly. | 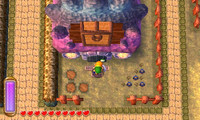 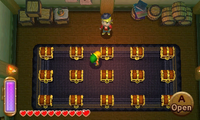
|
| 19 | South of Thieves' Town | Rupees | Play the Rupee Rush game in Lorule and collect at least 150 Rupees, while finishing the game with less than 3 seconds remaining. | 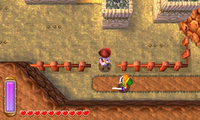 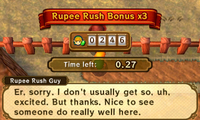
|
| 20 | Southeast of Thieves' Town | Rupees | Play the Octoball Derby game and score at least 100 points. | 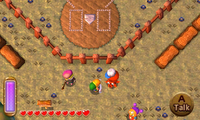 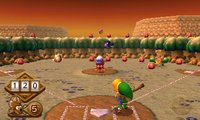
|
| 21 | Graveyard | Bombs Merge |
Enter Lorule through the Fissure that is in the Sanctuary. Just north of the Graveyard in Lorule there is another fissure on the higher ledge. Return to Hyrule and enter the cave to find the heart piece. | 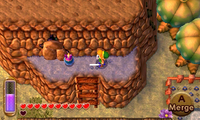 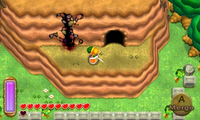
|
| 22 | Outside Dark Palace | Merge | While going through the maze just outside of the Dark Palace, there is a piece of heart that can be reached on a higher ledge where the guards are patrolling. You can sneak by the guards to collect the heart piece. Alternatively, the guards will disappear after completing the Dark Palace, making it significantly easier to acquire the piece of heart. | 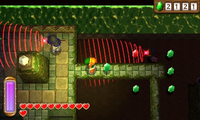 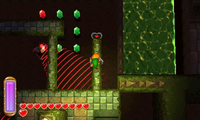
|
| 23 | East of Swamp Palace | Bomb Flower | Grab a bomb flower from the bomb flower shop and lead it just east of the Swamp Palace. Blowup the large boulder found here and enter the cave to get the heart piece along with 400 Rupees. | 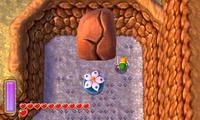 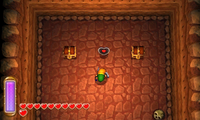
|
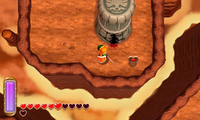
| 24 | Death Mountain | Merge Tornado Rod |
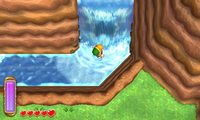
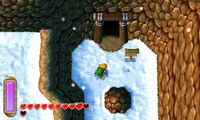
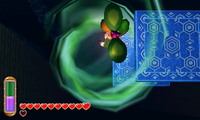
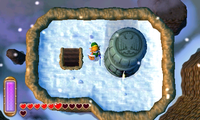
Just east of the Tower of Hera, there is a piece of heart that can be seen on a lonely island. Follow the pathway to reach Rosso's Ore Mine and then access Lorule through the fissure in the wall. Now in Lorule, enter the cave along the right side that leads to the Ice Ruins. Follow the platforms until you reach the large platform with the giant ice gargoyle. You can travel northward to make your way to the Ice Ruins, but instead, travel to the west using the nearby platform. You will need to use the Tornado Rod to cause yourself to reach the higher platform. Continue to the next stationary platform and take the northern route. You'll reach a few platforms that move at the same time. Wait until it has moved northward and then use the Tornado to launch yourself in the air and you'll land on the next platform as it moves southward. Continue doing this and then exit the cave at the end of the pathway. Merge onto the statue to renter Hyrule where you will find the piece of heart. |
|
| 25 | Treacherous Tower | Rupees | Located in Lorule corresponding to the location of the Tower of Hera is the Treacherous Tower. There are three difficulty levels and you will first need to complete the game on the easiest difficulty to earn some Rupees. If you complete the game on the intermediate level, you will earn the piece of heart. | 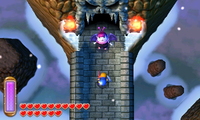 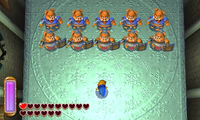
|
| 26 | Turtle Rock | Ice Rod | While inside of Turtle Rock on the first floor, go through the door at the southwest portion of the large chamber. Use the see-saw to get to the higher platform and step into the warp tile. Step into a second warp tile to reach a lava filled room. Use the Ice Rod to create platforms and navigate your way to the exit. Back outside you'll find yourself right at a piece of heart. | 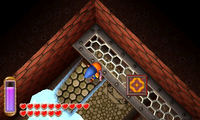 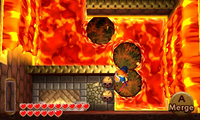
|
| 27 | Desert Palace | Bombs Merge Sand Rod |
In Hyrule, make your way to the north end of the desert and climb the staircase that is accessible. Use the sand rod to create a pathway heading eastward to the platform. You can either time a bomb throw or make a path against the wall with the sand rod and lay a bomb, blowing up before the sand falls, so that you can crack the boulder that is hiding a Fissure along the northern wall. Merge into the wall and travel into Lorule to find the heart piece. | 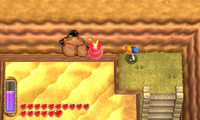 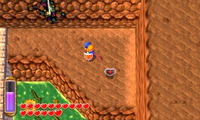
|
| 28 | Next to Blacksmith's House | Titan's Mitt | Lift the large rock in front of the Blacksmith's House in Hyrule to find a cave that holds the heart piece. | 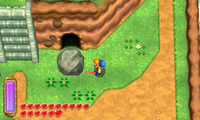 
|


