Gallery:Hyrule Warriors: Age of Calamity: Difference between revisions
Jump to navigation
Jump to search
Want an adless experience? Log in or Create an account.
No edit summary |
|||
| Line 41: | Line 41: | ||
File:Link vs Blue Bokoblins - HWAoC prerelease screenshot.jpg|Link fights [[Blue Bokoblin]]s | File:Link vs Blue Bokoblins - HWAoC prerelease screenshot.jpg|Link fights [[Blue Bokoblin]]s | ||
File:Link vs Guardian - HWAoC prerelease screenshot.jpg|Link fights a [[Guardian (Breath of the Wild)|Guardian]] | File:Link vs Guardian - HWAoC prerelease screenshot.jpg|Link fights a [[Guardian (Breath of the Wild)|Guardian]] | ||
File:Link with Master Sword - HWAoC prerelease screenshot.jpg|Link holding the [[Master Sword]] | |||
File:Mipha and Zelda - HWAoC prerelease screenshot.jpg|[[Mipha]] and Zelda | File:Mipha and Zelda - HWAoC prerelease screenshot.jpg|[[Mipha]] and Zelda | ||
File:Urbosa vs Yiga - HWAoC prerelease screenshot.jpg|[[Urbosa]] fights [[Yiga]] | File:Urbosa vs Yiga - HWAoC prerelease screenshot.jpg|[[Urbosa]] fights [[Yiga]] | ||
Revision as of 19:51, September 8, 2020
A gallery of images from Hyrule Warriors: Age of Calamity.
Scene art


Characters

Link with Lucky Ladle and Pot Lid (DLC)


Weapons

Lucky Ladle (DLC)

Icons
Pre-release screenshots

The Champions

Hyrule Castle
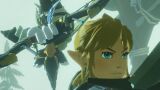
Link and Revali
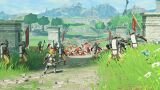
Link and a group of Hylian Soldiers vs. a Bokoblin army
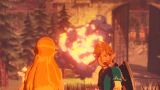
Link and Zelda see a firebomb

Link Spin Attacks

Link fights Blue Bokoblins
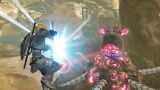
Link fights a Guardian
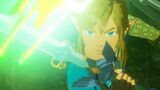
Link holding the Master Sword

Mipha and Zelda

Zelda uses Magnesis

Zelda uses a Magnesis'd metal crate as a weapon

Zelda uses Remote Bombs

Zelda seals Calamity Ganon

Zelda uses Magnesis with Cryonis blocks behind her

Link slashes at Bokoblins


Miscellaneous
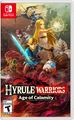
Nintendo of America box art

Nintendo of Europe (exc. Germany) box art
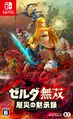
Japanese box art

English-language logo

Japanese logo


