Gallery:Ocarina of Time Enemies: Difference between revisions
Jump to navigation
Jump to search
Want an adless experience? Log in or Create an account.
No edit summary |
No edit summary |
||
| Line 20: | Line 20: | ||
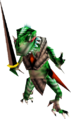
{{Gallery/Box|file=DinalfosG Large.png|link=Dinolfos|caption=[[Dinolfos]]}} | {{Gallery/Box|file=DinalfosG Large.png|link=Dinolfos|caption=[[Dinolfos]]}} | ||
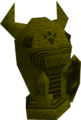
{{Gallery/Box|file=Dodongo-OoT.png|link=Dodongo|caption=[[Dodongo]]}} | {{Gallery/Box|file=Dodongo-OoT.png|link=Dodongo|caption=[[Dodongo]]}} | ||
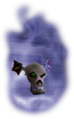
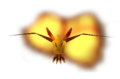
{{Gallery/Box|file=Fire-Keese.png|link=Fire_Keese|caption=[[Fire Keese]]}} | |||
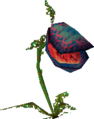
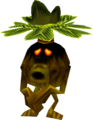
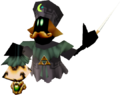
{{Gallery/Box|file=Flat.png|link=Flat|caption=[[Flat]]}} | |||
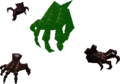
{{Gallery/Box|file=Floormaster-OoT.png|link=Floormaster|caption=[[Floormaster]]}} | |||
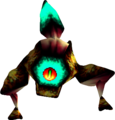
{{Gallery/Box|file=Freezard.png|link=Freezard|caption=[[Freezard]]}} | |||
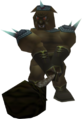
{{Gallery/Box|file=Gerudo-Guard.png|link=Gerudo_Guard|caption=[[Gerudo Guard]]}} | |||
{{Gallery/Box|file=Gerudo-Thief.png|link=Gerudo_Thief|caption=[[Gerudo Thief]]}} | |||
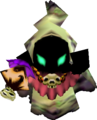
{{Gallery/Box|file=Gibdo-OoT.png|link=Gibdo|caption=[[Gibdo]]}} | |||
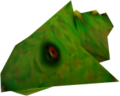
{{Gallery/Box|file=Gohma-Larva-OoT.png|link=Gohma_Larva|caption=[[Gohma Larva]]}} | |||
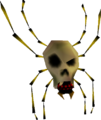
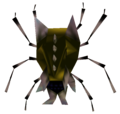
{{Gallery/Box|file=Gold-Skulltula.png|link=Gold_Skulltula|caption=[[Gold Skulltula]]}} | |||
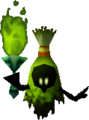
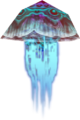
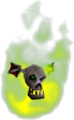
{{Gallery/Box|file=Green-Bubble.png|link=Green_Bubble|caption=[[Green Bubble]]}} | |||
{{Gallery/Box|file=Guay.png|link=Guay|caption=[[Guay]]}} | |||
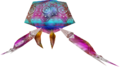
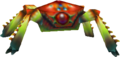
{{Gallery/Box|file=Red-Tektite.png|link=Red_Tektite|caption=[[Red Tektite]]}} | {{Gallery/Box|file=Red-Tektite.png|link=Red_Tektite|caption=[[Red Tektite]]}} | ||
{{Gallery/Bottom}}</center> | {{Gallery/Bottom}}</center> | ||
Revision as of 16:43, January 6, 2019
Below is a listing of all the Ocarina of Time enemies that appear throughout the game.


Here is a listing of all of the enemies found within Ocarina of Time.