Gallery:Hyrule Warriors Characters: Difference between revisions
Jump to navigation
Jump to search
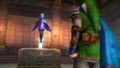
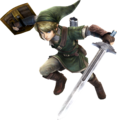
Link - Hylian Sword
Link - Magic Rod
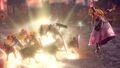
Impa - Giant Blade
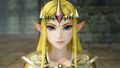
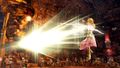
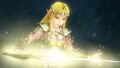
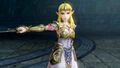
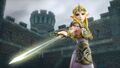
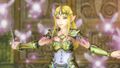
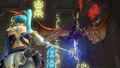
Zelda - Rapier
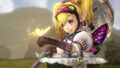
Zelda - Wind Waker
Lana - Book of Sorcery
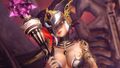
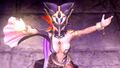
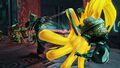
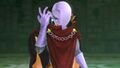
Agitha - Parasol
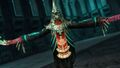
Midna - Shackle
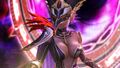
Fi - Goddess Blade


Want an adless experience? Log in or Create an account.
No edit summary |
mNo edit summary |
||
| Line 29: | Line 29: | ||
{{Gallery/Box|file=Hyrule Warriors Artwork Midna Shackle.png|caption=[[Midna]] with the [[Shackle]]}} | {{Gallery/Box|file=Hyrule Warriors Artwork Midna Shackle.png|caption=[[Midna]] with the [[Shackle]]}} | ||
{{Gallery/Box|file=Hyrule Warriors Artwork Lana.png|caption=[[Lana]]}} | {{Gallery/Box|file=Hyrule Warriors Artwork Lana.png|caption=[[Lana]]}} | ||
{{Gallery/Box|file=Hyrule Warriors Artwork Lana Book of Sorcery. | {{Gallery/Box|file=Hyrule Warriors Artwork Lana Book of Sorcery.jpg|caption=[[Lana]] with the [[Book of Sorcery]]}} | ||
{{Gallery/Box|file=Hyrule Warriors Artwork Agitha.png|caption=[[Agitha]]}} | {{Gallery/Box|file=Hyrule Warriors Artwork Agitha.png|caption=[[Agitha]]}} | ||
{{Gallery/Box|file=Hyrule Warriors Artwork Agitha Parasol.png|caption=[[Agitha]] with the [[Parasol]]}} | {{Gallery/Box|file=Hyrule Warriors Artwork Agitha Parasol.png|caption=[[Agitha]] with the [[Parasol]]}} | ||
| Line 145: | Line 145: | ||
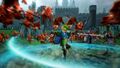
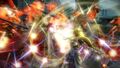
{{Gallery/Box|file=Hyrule Warriors Screenshot Cia Summon.jpg}} | {{Gallery/Box|file=Hyrule Warriors Screenshot Cia Summon.jpg}} | ||
{{Gallery/Box|file=Hyrule Warriors Screenshot Cia Front.jpg}} | {{Gallery/Box|file=Hyrule Warriors Screenshot Cia Front.jpg}} | ||
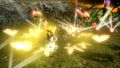
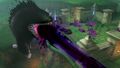
{{Gallery/Box|file=Cia | {{Gallery/Box|file=Hyrule Warriors Screenshot Cia Fire.jpg}} | ||
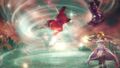
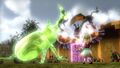
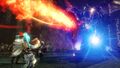
{{Gallery/Box|file=Hyrule Warriors Screenshot Wizzro.jpg}} | {{Gallery/Box|file=Hyrule Warriors Screenshot Wizzro.jpg}} | ||
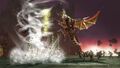
{{Gallery/Box|file=Hyrule Warriors Screenshot Valga.jpg}} | {{Gallery/Box|file=Hyrule Warriors Screenshot Valga.jpg}} | ||
Revision as of 07:46, July 19, 2014
Videos
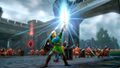
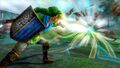
Link - Hylian Sword
Link - Magic Rod
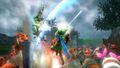
Impa - Giant Blade
Zelda - Rapier
Zelda - Wind Waker
Lana - Book of Sorcery
Agitha - Parasol
Midna - Shackle
Fi - Goddess Blade
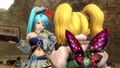
Artwork

Link with the Hylian Sword
Link from Twilight Princess

Link from Skyward Sword

Zelda from Twilight Princess

Zelda from Skyward Sword

Impa with the Giant Blade


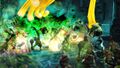
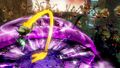
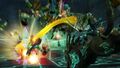
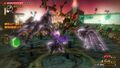
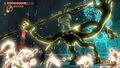
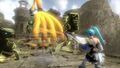
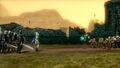
Screenshots


