This chapter covers the normal mode of Twilight Princess for the Nintendo Wii. If you are playing on the Nintendo Wii U, check out the Lakebed Temple – HD Version.
- Chapter 1 – Ordon Village
- Chapter 2 – The Twilight
- Chapter 3 – Faron Woods: Twilight
- Chapter 4 – Forest Temple
- Chapter 5 – Kakariko Village: Twilight
- Chapter 6 – Death Mountain
- Chapter 7 – Goron Mines
- Chapter 8 – Lanayru Province: Twilight
- Chapter 9 – Lake Hylia: Sidequests
- Chapter 10 – Lakebed Temple
- Chapter 11 – The Master Sword
- Chapter 12 – Gerudo Desert
- Chapter 13 – Arbiter’s Grounds
- Chapter 14 – Scaling Snowpeak
- Chapter 15 – Snowpeak Ruins
- Chapter 16 – Sacred Grove: Round Two
- Chapter 17 – Temple of Time
- Chapter 18 – In Search of the Sky
- Chapter 19 – City in the Sky
- Chapter 20 – Palace of Twilight
- Chapter 21 – Cave of Ordeals
- Chapter 22 – Hyrule Castle
10.1 Dungeon Map
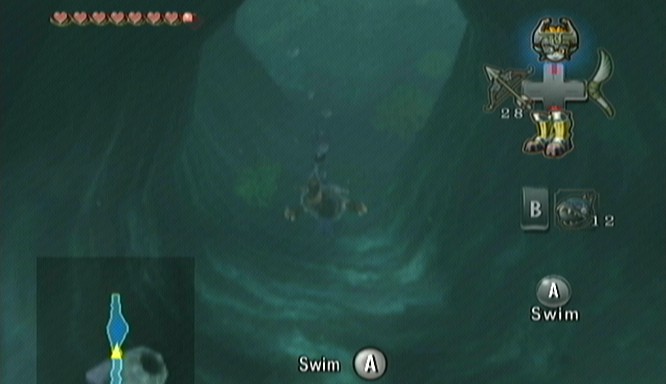
Start the Lakebed Temple by just swimming all the way to the north of this underwater area. You’ll come across two different enemies, a Shell Blade and a Bari. The Shell Blades sit near the bottom of the water and act as clam like creatures who try to bite Link with its two shells. The Bari creatures resemble jellyfish and have an electric charge to them. Just swim right passed these guys as you head northward. You’ll even swim up a bit, eventually being able to climb out of the water.

After a short cinema of the Lakebed Temple, you’ll regain control of Link. There are a variety of different Chus that are around this area, but it is best to just avoid them. If you do defeat them, you can use a bottle and depending on what color Chu you defeated, you’ll get a certain liquid jelly in a bottle.
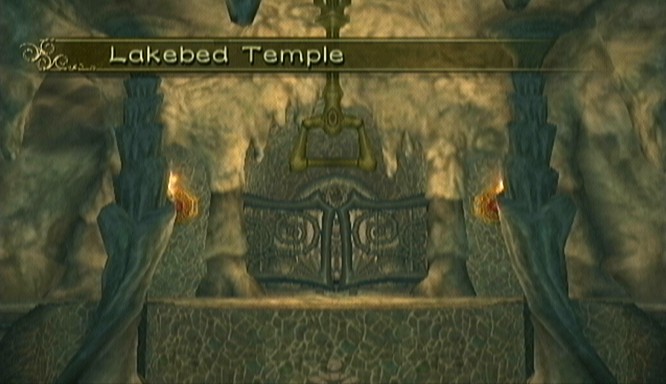

There is a treasure chest on the south side of the room that holds ten water bombs. There is also a treasure chest on the east side of the room that holds twenty arrows. Open both of them and then climb the steps at the north part of the room. Face towards the south and you’ll see a handle hanging from the ceiling. Jump over and grab it to pull it down. The door will open at the top of the room. Drop off the handle, run to the door, and go to the room above.
Once you enter, walk forward and a stalactite will fall from the ceiling. Midna will pop up saying you should knock down the ones from the ceiling first. Use bomb arrows and shoot them all down to create small platforms at the bottom of the room. Walk down the ramp and jump to the stalactite on the left. From here climb up to the next platform and you’ll find a new enemy known as a Helmasaur.
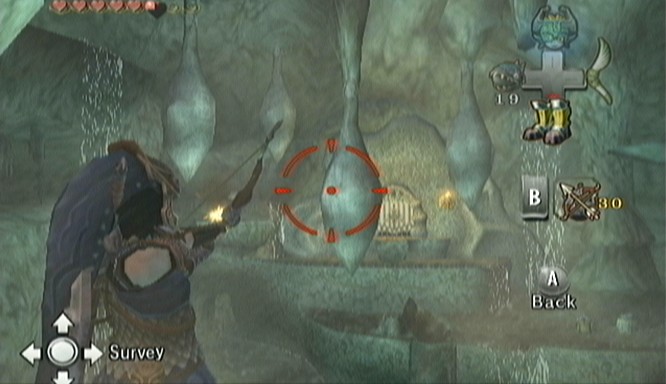

These creatures have a shield that makes them invulnerable from the front, but Link can still nail them in the back. Wait for him to dodge towards you and side step the enemy. From there, target the Helmasaur and attack its back. It will leave its shell behind once it is defeated. Climb up the stalactite and climb a few more platforms. Run towards the door but before passing through to the next room turn to your left and climb a series of platforms. Open the treasure chest that is here to get some more water bombs and then head into the room to the north.
A Lizalfos waits for you in this room. These foes are not too difficult. You can use your shield attack or back slice to attack these creatures. Once they have fallen to the ground, deliver an ending blow to finish it off. Open the door at the north end of the room.


This is the room with many levels, levers, and staircases. For the sake of the guide, I’ll be referring to this room simply as the central room. Walk straight down the long stairs and then walk clockwise around the room. Fight off a tektite as you make your way to the southern portion of the room. You will find a treasure chest here, so open it to get some extra arrows.
From the far south of the room, face northward and you will see a handle hanging from the ceiling. Jump over and grab it to make the large staircase turn 180 degrees. Drop down and walk up the staircase to get to the north side of the top floor.
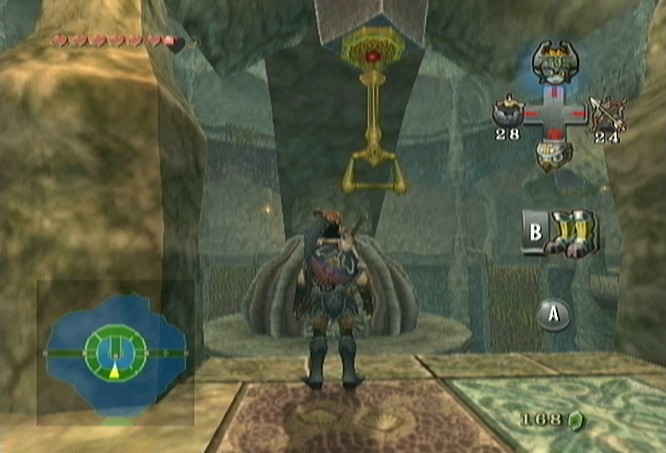

Walk counterclockwise around the room until you reach a small pot. Lift the small pot to meet up with Ooccoo once again. You can use Ooccoo to save your progress within the dungeon and warp to the outside of the temple.
Run clockwise to get to the east side of the room. From here jump and grab the handle and the staircase will turn 90 degrees. Run down the stairs and then turn to your right. Open the treasure chest that is nearby for the Dungeon Map. Now open the nearby door and head west.


10.2 West Water Gate
Defeat or just avoid the Helmasaur here and head through the door to your west. Two more stalactites hang from the floor above. Use bomb arrows to knock these down. They will block water geysers that would otherwise get in your way on the lower floor. Walk down the tunnel that is just to the right. This will take you down to the lower level.


Jump on the ivy that is on the center pillar and use it to climb over to another platform. Jump towards another platform that is at the northwest side of the room. You’ll see a geyser below and it will occasionally bring the fallen stalactite higher. Jump onto it when it is at its highest point and then jump over to the platform. Open the treasure chest that is here to get a small key. That’s all we can do for now in this room so return to the other side of the room, climb up the tunnel, and head back east towards the central room.
Run straight across this narrow area and return to the center room. Climb up the stairs and then walk counterclockwise around the room to get back to the west side, but now at a higher level. Use the small key you just earned to unlock the door. Go through the door and defeat another Helmasaur. Go west through another door.
Follow the path southward, defeating a Tektite in the process, and you’ll come to a treasure chest. Open it up for five more water bombs. Walk to the north side of the room and use the bomb arrows to knock down two more stalactites. Jump on top of the one that is on the left and then jump onto the nearby vines. Climb to the top of the vines and then over to the right. Keep climbing to the right until you are over a ledge. From there, drop down onto the ledge. Look around and you’ll see a handle nearby. Jump over and grab it to open the door just below.


Fall down to the bottom of the room and then continue walking around the corner. There is a boulder straight ahead but don’t mind it for now. Just enter the door that leads to the center area of this room.
Be careful not to fall in this room, otherwise you’ll be taken back to the floor below. Jump over to the center area and walk to the middle of the room. Defeat the Lizalfos that appears and then jump over to the door on the southwest end of the room. Walk to the south end of the room here and open the treasure chest for a small key. Walk back through the door to get to the inner part of the room once again. Just jump across and head through the door on the north end.


Now turn your attention to the boulder that is in the way. Use a bomb to blow up the boulder and you’ll be met with two more Helmasaurs. Defeat them and then head through the room to the west.
You’ll see a worm once you enter this room and it will run inside of a bubble, thus making a Chu Worm. You can use a bomb arrow to burst its bubble and then finish it off with the sword. It really shouldn’t give you much trouble at all.
Open the locked door on the side of the room. Turn to the right and jump off the ledge. From here climb the vines and then begin scaling the room. Defeat three Tektites as you make your way all the way to the top of this long path. At the very top, open a treasure chest that’s straight ahead for 10 water bombs. Turn your attention to the bridge that crosses the room. Climb up either of the ladders to get to the top of the arch. From here jump over and grab onto the handle to raise a sluice gate, causing water to flow down to the lower portion of the dungeon. There is a treasure chest straight ahead that contains 50 rupees, but we can’t do much about it for now.

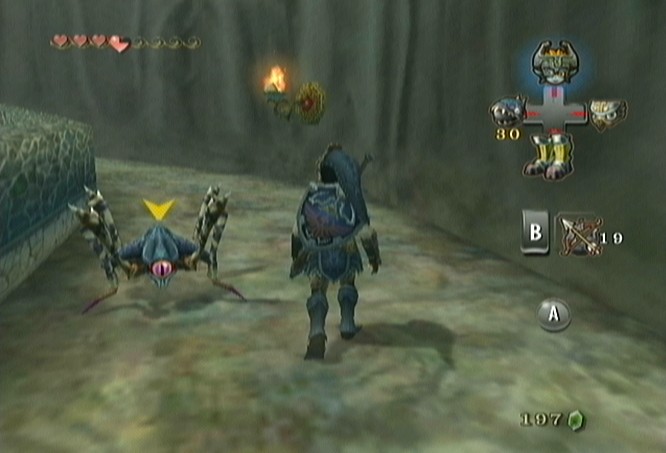


Walk back down the path and the water will help Link slide back down to the bottom of the room. With the water now flowing out, the base of this room will be filled and this will allow Link to reach the platform in the center of the area. Climb up onto this middle platform, and then jump over to the handle that is hanging. Pulling it down will cause a second sluice gate to rise and allow water to flow westward. Pass through to the east side of the room and then follow the flow of water through the door heading eastward.


10.3 The Clawshot
Go through the nearby door and re-enter the middle room. The water flow has caused the massive platform in the center of the room to start spinning. A short cinema will play, showing that there are multiple hanging platforms underneath this wheel platform. Drop down through one of the holes on the sides of the spinning platform to get to the area below.


You’ll most likely fall all the way to the bottom floor. If so, just take care of a few Tektites, climb up some vines, and make your way back through the tunnel on the north side of the room to return to the higher area. From here, you can jump onto one of the three rotating platforms that are hanging from above. Do so and then jump off at the area to the north. Go through the door.
In this room just walk to the left and open a chest that is at the end of the hall to get a small key. With key in hand, return to the previous room and jump back onto the nearest rotating platform. Ride the platform to the west side of the room and jump over to the ledge. Open the door and head west.
In this room immediately use the key to unlock the door that is straight ahead. Walk into the water and then equip the iron boots. You’ll see another Bari, but still cannot do much about it. There are currents of water being blown on each side of the room. With the iron boots equipped, you’ll be able to walk through the water currents. There is a treasure chest on each side with one holding a red rupee and the other holding five water bombs. Grab the items from the two treasure chests and progress further in this area. You’ll reach a large boulder blocking the way. Use a water bomb to blow it up and then continue forward. The shell blade here can only be defeated when its mouth is open. However, it is best to just simply take off the iron boots and swim right passed it.


After a scene change, continue swimming through the water and climb out of the circular pond to find that you are in a new room. The hole you just climbed out of will close and a few tiny enemies will appear. Defeat them and then look up to the ceiling. A giant frog like enemy will appear and drop to the floor.


The large Deku Toad will begin the battle by hatching a bunch of little Toados from his back. The little Toados are your main concern, so start slashing at them one by one. There are way too many to Z-target them individually, so just use spin attacks to attack several of them at once. Keep sword slashing until all of them have been defeated.
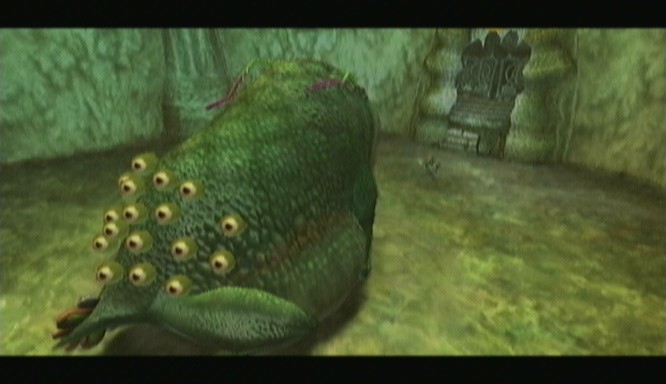
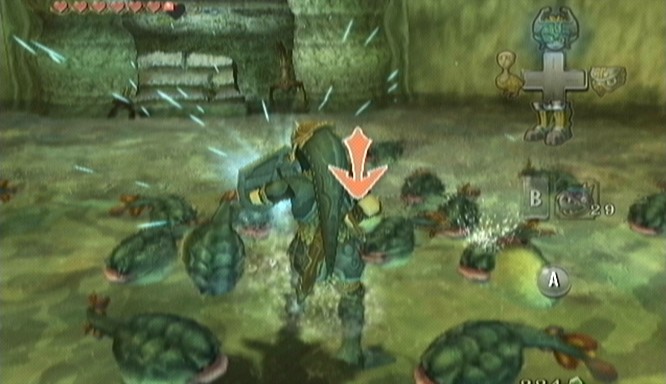
Once all the little Toados have been defeated, the Deku Toad will jump in the air and try to land on top of you. You will be able to see its shadow as it falls from the ceiling. It is best to roll to the side of the toad, rather than towards its head. The giant toad will miss and stun himself when he hits the floor. Quickly run to its mouth and target its tongue. Slash at it as many times as you can until the Deku Toad gets back up.
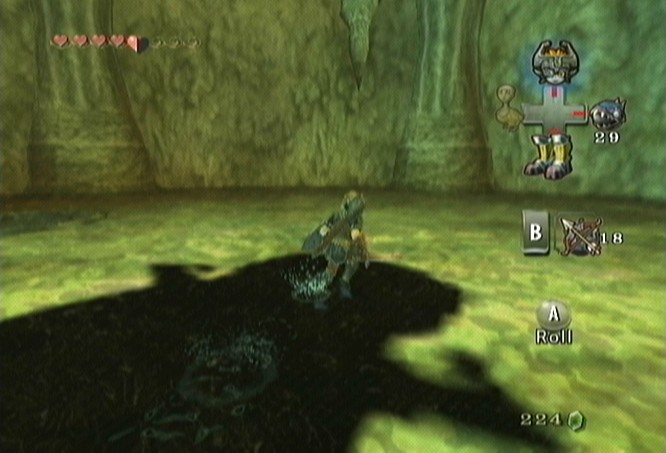
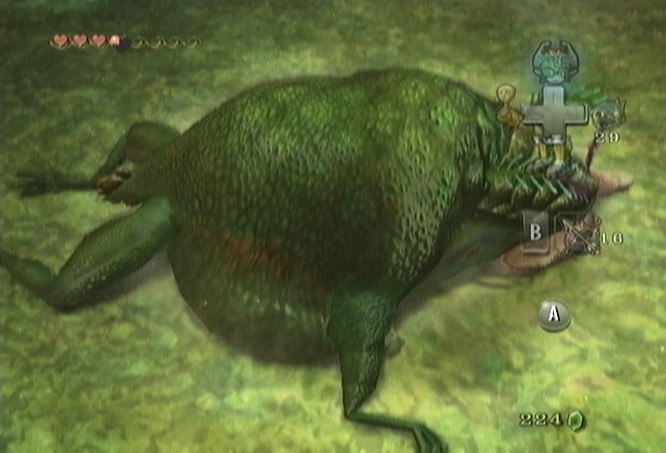
Once the Deku Toad gets up, it will soon open its large mouth. Quickly equip the bomb arrows and Z-target the toad. Send one flying and the toad will fall to the floor, stunned once again. Run over to his tongue and slash once again with your sword.

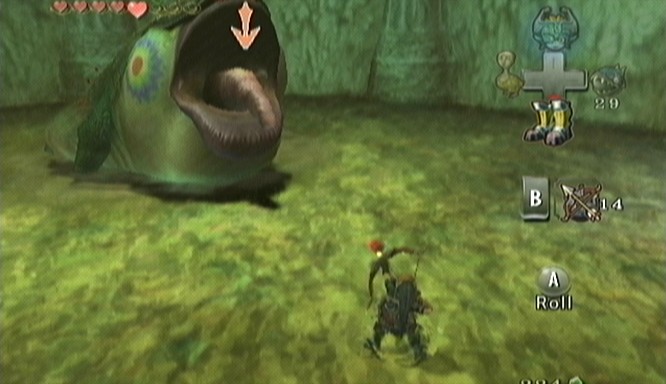
Once the toad awakes, it will shake and more Toados will fall to the ground. Defeat them just as before and the toad will jump in the air. Once again roll out of the way and once the toad is stunned, slash at its tongue. Repeat this process over and over until the Deku Toad has been defeated.
Once our toad friend has been defeated a treasure chest appears in the room. Open it up to get the Clawshot! This baby acts just as the Hookshot from previous Zelda games. Rather than just being able to use the clawshot to carry Link over to places, this will allow him to stay connected to do other cool things. With your new toy in hand, walk over to the south portion of the room. Use the clawshot to grab onto the red target above. The gate will open so drop down and head through the door.


10.4 East Water Gate; Compass
You can immediately test out your clawshot on the Helmasaurs that are in this room. Z-target them and use the clawshot to pull off their shields making them all but defenseless. Leave the room through the door to the south. Use the clawshot on the red dot on the ceiling that is on the right side of the room. Exit to the right and then run across this next room to return to the center room.


The first thing you will notice is that the water level has risen in the room. Climb the stairs and then look towards the ceiling to see a huge chandelier. Just above it you’ll find 4 red targets. Use the clawshot to hook over to any of these and then release to land on the chandelier. Open the treasure chest that is in the center to get a piece of heart.
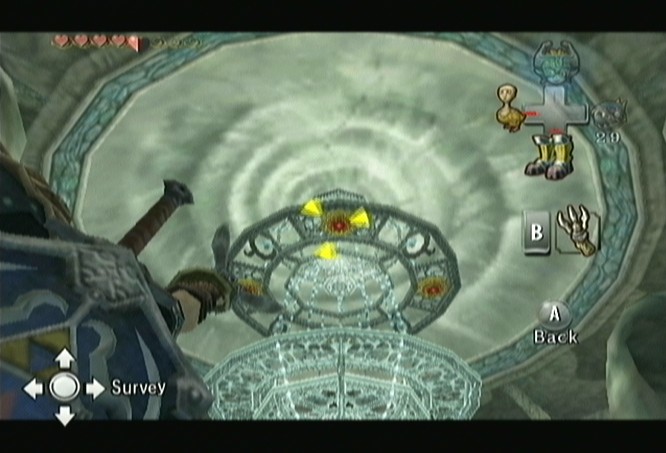

Jump back down to the staircase and walk counterclockwise to get to the west side of the room. From here, hook onto the red target near the ledge and it will rotate the staircase once again. Water will flood down the stairs leading to the door to the east. Open the door and enter this new area. Defeat the Tektite here and walk underneath the watermill. Open the door on the east side of the room.


There are two platforms hanging from the ceiling. These are similar to the ones that were spinning on the other side of the temple. For now however, they are not moving. Jump over to the first one and then aim for the red target on the ceiling at your left. Once you grab on, extend the hook down and release to land on a platform with a treasure chest. Open it to get ten water bombs.


Defeat any of the Keese that get in your way and then take a look to the north side of the room. Use the clawshot to hook over to some vines and climb to the right to get to a platform. From here face the south of the room and look up. There are more vines up here. Use the clawshot once again and then climb to the left to get to a platform. Take a look back at the north side of the room and you’ll see a red target. Hook on over and open the treasure chest that is on this ledge for a red rupee.


Hook back over to the vines we were just at. Turn to the east and you’ll see some vines on the wall to the north. Hook over and climb to the right. Open the door here to get to the outer area of this room.
Defeat the Chu Worm in this room and head east. Pull out the bomb arrows and shoot the stalactite on the ceiling and it will fall on top of the water geyser. Climb on top of the floating platform when the geyser is low. Wait for the water geyser to send you in the area and then jump over to the ledge to the south. Jump down on this side of the wall and defeat the Tektites. Walk to the east and use the clawshot on the red target that is just above the door. Open the door and head east.


There are two Chu Worms in this room. You can actually use your hookshot to pull the worms out of their bubbles. Once the enemies are defeated, look to the ceiling and hook onto the vines. Climb across the small blockage to get to the east side of the room. This room resembles the similar room that we were in on the west side. If you fall into the water when you release from the vines, just climb up the vines that are just to the south.


Begin scaling the room counterclockwise. This path isn’t as clean cut as the one we traveled to before. There are holes in the ground and geysers are shooting water upwards. However, there are red targets on the walls across these holes. Just use your clawshot to hook past them. Repeat this process as you walk up the room. There will be a four Helmasaurs on your way, but nothing you can’t deal with.
Once you reach the top, open the nearby treasure chest to get ten bombs. Like before climb the ladders that are on the bridge and jump over to the handle that is hanging from the ceiling. Like before, it will open a sluice gate allowing water to flow.


Drop down and then pull out your clawshot. Right behind the waterfall there is a red target that you can hook over to. Do so and open the chest to get the Compass. Ride down the room once again to get to the bottom where the water level has risen.
There are new enemies floating around within the water known as Skullfish. Just try to swim away from them, even if they attach on to Link. Move towards the middle platform and from there, jump and grab the handle. This will raise a second sluice gate allowing water to pass westward. Use the vines on the ceiling to get back over to the west side of the room. There are two doors here, take the one on the southern path.
10.5 The Big Key
Walk forward and jump into the water. Swim to the end of this area and use your iron boots to sink to the ground. There is a treasure chest here containing a red rupee. Also, now that we have the clawshot, you can finally Z-target these Bari creatures to defeat them. Climb up to the surface to the west and walk under the waterwheel here. Enter the door to get to the inner portion of this room.


With the gears spinning, the hanging platforms below will also be spinning. Look directly to your left and you’ll see a door with an enemy behind it. Jump onto the gears and move towards the door. Defeat the enemy and head through the door. Open the treasure chest that is here to get a red rupee. Then head back through the door.
Make your way to the door at the northeast portion of this room and head through it. Now that the water is flowing and the waterwheel is turning, we can access a treasure chest to the west. Do so to get ten bombs and then return to the water geyser. If you haven’t opened the gate, use the water geyser to get over the ledge on your right. Make your way to the room at the east again, and then immediately head back west through the other door. Swim through the water, walk under the waterwheel, and enter the door to get back to the room with the huge gears.
Jump over the west side of the room and then jump against the wall to the west. Link will fall down to the floor below, but should land safely. Use the rotating platforms to move eastward. However, you’ll notice the large gear to the east doesn’t have any rotating platforms. At this point it is important that you get rid of all these annoying Keese flying around as they are likely to get in your way. Use the clawshot to hook over to one of the red targets that are on the gear. Hold down on the joy stick to extend the chain of the clawshot and lower Link. Stay latched on until you are above the ledge on the right side of the room. Release the grapple and go through the door.


Jump in the water and equip the iron boots to sink all the way to the ground. It’s a good idea to defeat any of the Bari or Shell Blades that you see underwater as they will only get in your way. Walk over to the north portion of the water and pass some seaweed to get to the middle part of the room. Once you pass the seaweed look up and to the south. There is a piece of land that divides this area. Below the piece of land leads to a dead end so take off the iron boots and swim above this area of land.


Put the iron boots back on and you’ll notice a boulder blocking the way. There is also a Bombfish here that if you defeat it, will turn into a bomb. Either use the enemy or a water bomb to destroy the boulder. Take off the iron boots and swim through. At this side of the room, swim up to the surface and you’ll find a treasure chest on a platform to the east. Open it to get five bombs.
Use the iron boots to sink to the bottom of the water and walk to the south end of this area. Use a water bomb to destroy the boulder and then defeat the Shell Blade that is right behind it. Take off the iron boots and swim through this tunnel. Swim to the top and climb to the piece of land. Open the door to the south.


Defeat the Chu Worm and then look at the ceiling. There is a red target here so use the clawshot to hook over to it. A door will open in the floor of the room but if you release from the red target it will close. Grab on with the clawshot once again and stay connected to the target. While connected lower yourself through the hole. Open the chest at the bottom to get the Big Key. Use the iron boots and open the door that is underwater on the right side of the room. Swim through the tunnel and most of the room to get back to the door all the way on the west side of the room. Enter it to return to the room with the gears.
10.6 A Secret Heart Piece
This room is a little more annoying than it should be at this point of the temple. Use the clawshot to hook up to one of the red targets. Lower Link and land on a platform south of the gear. From here, use the clawshot over to a red target on the other gear. Lower yourself and land on the platform that had a treasure chest earlier. From here, use the clawshot over to the vines and climb up. Open the door on your left. Pass the waterwheel and return to the center room.


You’ll see the water level rise once again, allowing you to reach the boss door in the center. There still are a few things left for us to accomplish within the dungeon. If you’d really like to, you can return to the 4th floor on the west side of the dungeon for a treasure chest. You’ll have to use the iron boots to walk up the room and then use the clawshot to get behind the waterfall. It really isn’t worth it for just some bombs.
Anyway, walk counter clockwise around the room and use your clawshot to hook over to the vines on the wall to make it past this barrier. Walk towards the door but then turn to the face the middle of the room. Jump and hook onto the handle to rotate the staircase and allow water to flow westward. Open the door on the west side.
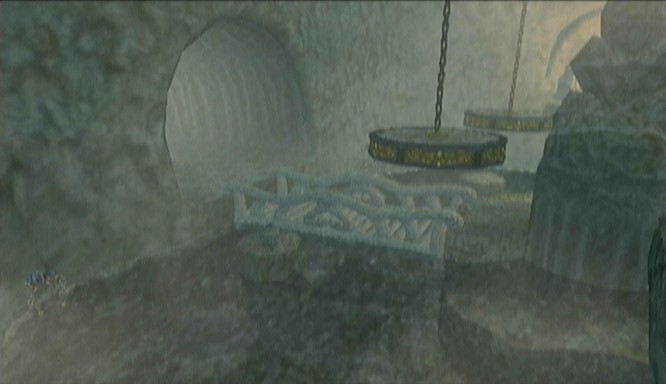
Cross this bridge and enter the door straight ahead. With the water level raised, a bridge will now extend southward. Jump to the middle area and cross the bridge to the south. Cross it and stand on the switch that is on the floor and the gate will open. The Lizalfos will attack you so defeat it just as you did before. Once again stand on the switch and use the clawshot to claw over to the red target behind the gate. Open the chest to get a Piece of Heart. Now use the clawshot at to the red target at the ceiling. Backtrack two screens to get back to the center room.

10.7 Twilit Aquatic: Morpheel
With the water level raised, we can now access the boss door in the center of the room. If you use the iron boots and fall to the level just under the locked door, you’ll find a treasure chest that holds a red rupee. Swim up the top of the water level and use the boss key to open the door. There are two large pots in this, one containing a few hearts, and the other holding a fairy. Once you are ready, jump down into the endless hole to face off with the Twilit Aquatic, Morpheel.
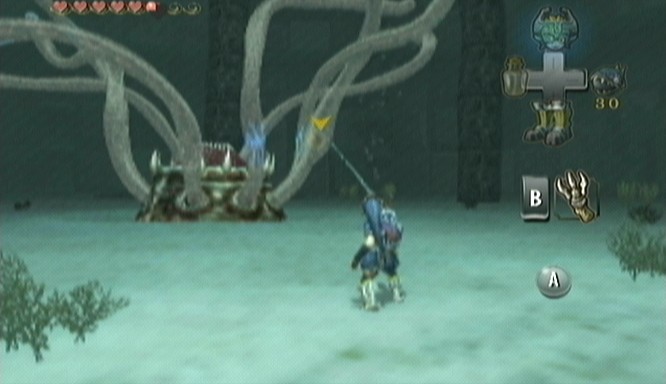
You’ll arrive in a small pool of water. Put on your iron boots to sink all the way to the tentacle on the floor. The tentacle has an eye and when it spots Link, Morpheel will appear from the ground.


As you may have guessed, that eye you saw is Morpheel’s weak spot in the first phase of the battle. It will move around through the various tentacles but can be z-targeted. Pull out the clawshot and pull the eyeball out of the tentacle. With the iron boots also equipped, just slash at the eyeball and it will then return to Morpheel’s body.
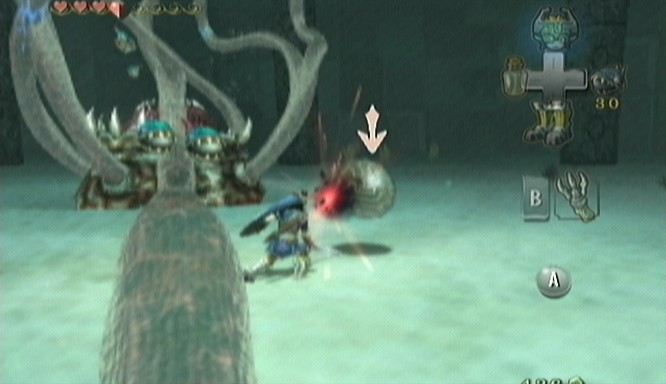
Try not to stand in a single place since Morpheel will use his tentacles to grab Link and then toss him into its mouth. He’ll then spit you out, so immediately remove the iron boots and swim away, otherwise you’ll fall right back into its mouth. Link can swing at Morpheel’s tentacles when they try to grab him and they will retract. Morpheel will also toss Bombfish towards Link. Striking them with your sword will activate the bomb, so quickly swim away or toss them to the side.
Repeat the process of pulling the eye out and slashing it with your sword a few times until the first phase of the battle is complete.
Morpheel will then come out from underground and reveal its entire gigantic body. The weak spot is now the eye on top of its head. Un-equip the iron boots and swim after Morpheel. Once you are close enough z-target its eye. Use the clawshot and it will bring Link onto its back. From there, just slash away with your sword, repeatedly hitting its eye. After a few hits, Link will be tossed off of Morpheel’s back.
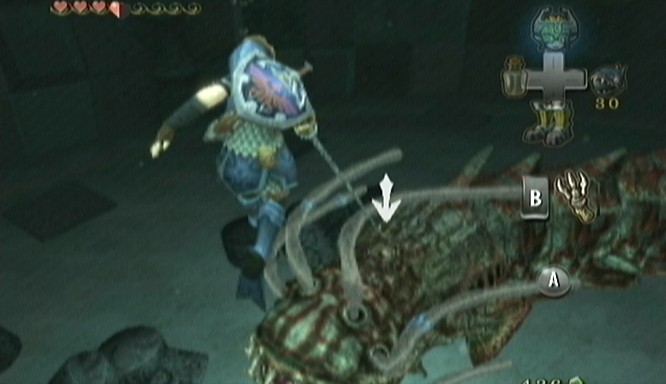

Repeat the same process once again, chasing Morpheel around the room. Since Morpheel swims rather quickly, it’s hard to chase after the eye, so try to intersect its path from other angles, sometimes even going head on in front of its mouth. Just be sure to claw on to its eye before it has a chance to suck you in.


The only attack Morpheel has at this stage of the battle is swallowing Link, so try not to get sucked in. After latching on three times and swinging at its eye, Morpheel will be defeated.
The battle ends with Morpheel swimming out of control and right into the wall, which creates a small hole. All the water apparently escapes through this tiny hole and Morpheel is vanquished. Link will be awarded with the third Fused Shadow, which Midna immediately takes away. After some more chit chat about Zant, you’ll regain control of Link. Grab the Heart Container and then use Midna to warp out of the temple.


- Chapter 1 – Ordon Village
- Chapter 2 – The Twilight
- Chapter 3 – Faron Woods: Twilight
- Chapter 4 – Forest Temple
- Chapter 5 – Kakariko Village: Twilight
- Chapter 6 – Death Mountain
- Chapter 7 – Goron Mines
- Chapter 8 – Lanayru Province: Twilight
- Chapter 9 – Lake Hylia: Sidequests
- Chapter 10 – Lakebed Temple
- Chapter 11 – The Master Sword
- Chapter 12 – Gerudo Desert
- Chapter 13 – Arbiter’s Grounds
- Chapter 14 – Scaling Snowpeak
- Chapter 15 – Snowpeak Ruins
- Chapter 16 – Sacred Grove: Round Two
- Chapter 17 – Temple of Time
- Chapter 18 – In Search of the Sky
- Chapter 19 – City in the Sky
- Chapter 20 – Palace of Twilight
- Chapter 21 – Cave of Ordeals
- Chapter 22 – Hyrule Castle


