This chapter covers the normal mode of Twilight Princess for the Nintendo Wii. If you are playing on the Nintendo Wii U, check out the Gerudo Desert – HD Version.
- Chapter 1 – Ordon Village
- Chapter 2 – The Twilight
- Chapter 3 – Faron Woods: Twilight
- Chapter 4 – Forest Temple
- Chapter 5 – Kakariko Village: Twilight
- Chapter 6 – Death Mountain
- Chapter 7 – Goron Mines
- Chapter 8 – Lanayru Province: Twilight
- Chapter 9 – Lake Hylia: Sidequests
- Chapter 10 – Lakebed Temple
- Chapter 11 – The Master Sword
- Chapter 12 – Gerudo Desert
- Chapter 13 – Arbiter’s Grounds
- Chapter 14 – Scaling Snowpeak
- Chapter 15 – Snowpeak Ruins
- Chapter 16 – Sacred Grove: Round Two
- Chapter 17 – Temple of Time
- Chapter 18 – In Search of the Sky
- Chapter 19 – City in the Sky
- Chapter 20 – Palace of Twilight
- Chapter 21 – Cave of Ordeals
- Chapter 22 – Hyrule Castle
12.1 Malo Mart
There are still a few miscellaneous side-quests that can be accomplished before progressing further in the main quest. One of these side-quests takes place right here in Kakariko Village. If you haven’t done so already, talk to Midna and warp to Kakariko Village. Once it is daytime, transform back into human Link and walk in the direction of Malo Mart.
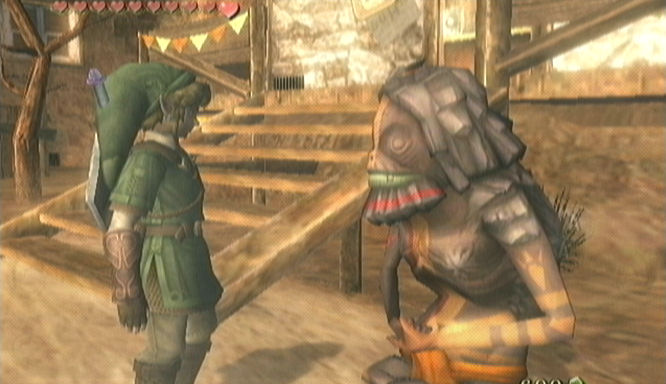
You’ll notice that there is now a strange looking Goron waiting outside Malo Mart. This is actually Gor Liggs, one of the Goron elders we found within the Goron Mines. Speak with him and after some gibberish, he’ll ask if you saw a young Goron in trouble in Castle Town. He is referring to the Goron just west of Castle Town who cannot return to Death Mountain because the bridge from west of Castle Town is broken. He then mentions that Malo Mart is taking donations to help fix the bridge. Enter Malo Mart.

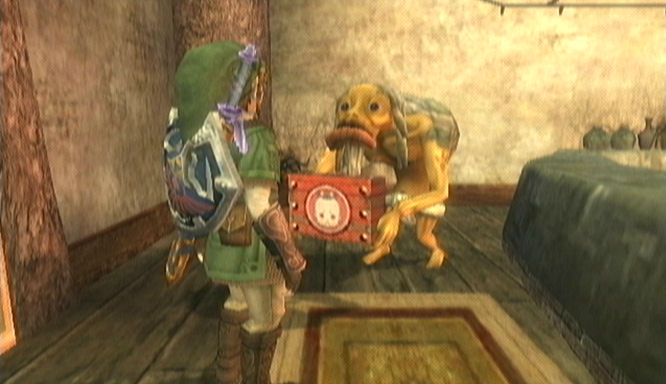
Another Goron elder, Gor Ebizo, has found his way to Malo Mart. Speak with the other weird looking Goron and he’ll mention the outrageous prices of goods in the Castle Town shop. Malo Mart is trying to move into Castle Town but cannot because the bridge is broken. Speak with him again and offer a donation. If you’ve been following the guide, you should easily have a full wallet by now. Pay off 600 rupees, (or as many as you have) and then exit Malo Mart.

Move away from any people and then use Midna to warp back to Castle Town. Enter the Castle Town and walk towards the house where you exchanged the golden bugs. If you have forgotten where it is, the building is Agitha’s Castle and it is in the south road portion of town. Speak with Agitha and exchange all the golden bugs that you have left. Hopefully you have enough bugs to reach the 1000 rupee amount that the Malo Mart fund needs to build a bridge. If you don’t have enough rupees, you can return to the cave in Lake Hylia where we were earlier. There were a ton of rupees there that we couldn’t get because of a full wallet. Return to Malo Mart once you have the rupees and donate so that the funding is up to 1000 rupees.
Now that it has reached 1000, their new goal is now collecting 2000 rupees to fund finances to open Malo Mart in Castle Town. This might take some time to fully fund. It isn’t vital at the moment since the end result will be the Magic Armor, which you’ll need to pay an additional 598 rupees for. However, there is a way to bring the 2000 rupee finance down to 200.
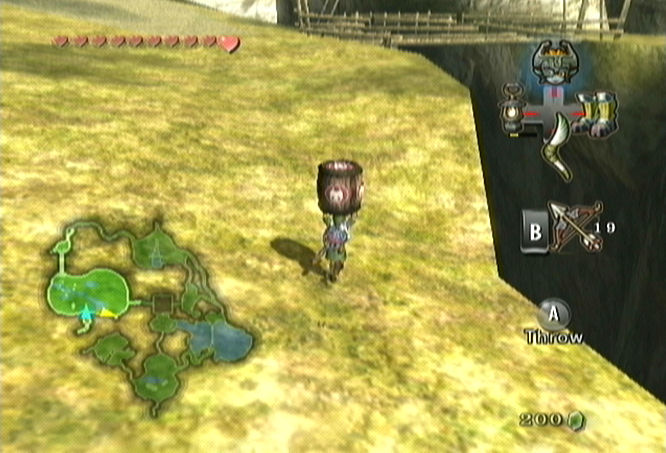
You can go check out the fancy bridge that connects West Hyrule Field with Castle Town. Afterwards, speak with Goron Liggs outside of Malo Mart and he’ll mention that even though the bridge has been built, his Goron friend still has not returned. Talk to him and offer to help out. You will next appear with a barrel of hot spring water above your head in the Bridge of Eldin portion of Hyrule Field. Walk towards the bridge that connects to Castle Town. If enemies come near, drop (Don’t Throw!) the barrel and defeat the enemies before pressing on. This process can be quite annoying and the barrel might break several times before you make it to the bridge. I suggest staying along the south portion of the field as much as possible since it appears to attract the least number of enemies.

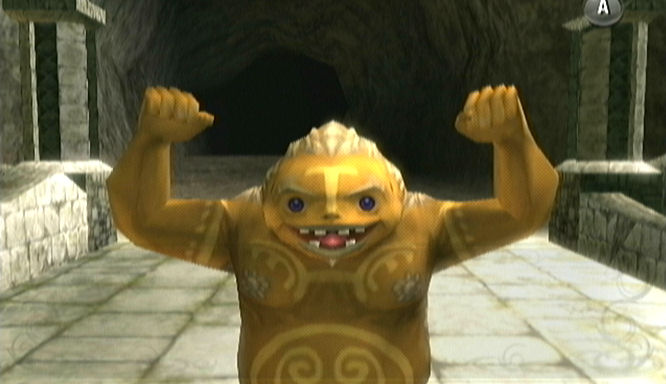
Once you finally make it past the bridge carrying the hot spring water, talk the Goron that is sitting on the ground and he will ask if that is some Kakariko hot spring water. He says that if you pour it on him, it will restore his strength. Do so and he’ll jump back on his feet and roll towards Kakariko Village. A few seconds go by and then we see the Goron roll back towards Link carrying a barrel of hot spring water. As he passes Link he will drop a Piece of Heart on the bridge. Walk up to collect the heart piece.

If you head back to Malo Mart in Kakariko Village, the financing for moving Malo Mart to the city is now only 200 rupees. If you’d like, visit any miscellaneous treasure chests that you’ve not been able to get because you had a full at the time. (You can return to this portion later in the game if you don’t have the rupees). Donate the 200 rupees and then leave the shop. It is now time to make our way back to Castle Town. Either use Midna to warp there or ride Epona across the western bridge.
As you get close to town, you should get a letter from the Postman. It is a letter confirming that Malo Mart is now open in Castle Town. Once you reach town head on over to the center of town. In place of the very expensive shop in the southwest part of the circle, Malo Mart has opened shop. If you enter, you’ll see that it is a party atmosphere in there. Seems everybody is happy for the grand opening of the new shop. We’ll have to save up 598 rupees for that armor. For now, walk on over to the east side of Castle Town.


12.2 Castle Town Goodies
In the east part of Castle Town, there is a large tent that holds the STAR Game. Enter the large tent and talk to the game owner. It only costs 10 rupees to play. The goal is to collect all the stars in the game in less than 30 seconds. Use the clawshot to hook across the gate and collect the stars much faster. It might take a few tries but you’ll start to memorize the locations of the stars eventually. Your reward for collecting all the stars is an Upgraded Quiver! You can now hold 60 arrows at once! Exit the tent and you’ll have your own fan club waiting outside for you. Three girls, Hanna, Kili, and Misha, will chase after you and recovery hearts will come out of them, before they run off.


Make your way to the south end of town right by the south gate. The Goron that was waiting at the west gate has now opened up shop and is selling hot spring water. He offers you a special deal of 20 rupees. Buy the hot spring water and then quickly leave the Castle Town to the south. Back outside quickly run southward all the way to the Goron that is in front of the boulders. Speak with him and he’ll smell the freshness of the hot spring water. Give it to him and he’ll start rolling towards the boulders to break them down. This will eventually clear the path and allow Link to reach Castle Town from South Hyrule Field.


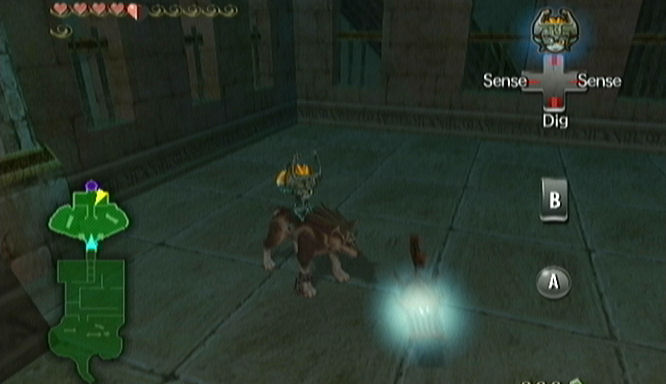
Head back to town, but before entering, transform into Wolf Link. Re-enter Castle Town and walk down the alley leading to the west. There is a small area with a ton of cats roaming around. This is Jovani’s house. Use your senses and dig into the house from the side. Walk on over and speak with Jovani. He told you to return when you have caught 20 Poe Souls and that we have. The Poe Souls will be put to use and Jovani will regain movement, although he is still a bit disfigured. He awards Link with the Great Fairy’s Tears. The tears will restore your health completely and also double your attack power until you have been hit. The real reward however, is the bottle that the tears come in. Link gets to keep the bottle, making it the 4th and final Bottle of the game. Jovani will then ask you to help find all 60 ghosts. Dig your way out of the house.


Once again leave town and transform into human Link. Re-enter the Castle Town and head towards Telma’s Bar. You can speak with her and she tells you of the group of members that are working together to try and save Hyrule. One of which is a man in armor who is actually Rusl. They will give you some information on what’s going on and mention that Auru is off in Lake Hylia. If you’ve followed the walkthrough we’ve already met Auru and got his memo. If not, take a look at the map and put a mental mark in your head to where he is located.


Leave Telma’s Bar and leave the Castle Town. Use Midna to warp over to Lake Hylia.
Transform back to human Link. If you didn’t earlier, go to where Auru is and get his memo. Afterwards, talk to Fyer and show him Auru’s Memo. He reads the note and then offers Link the oasis flight, free of charge. Agree to it and enter Fyer’s cannon. He will launch you to the Gerudo Desert to the east.


12.3 South Gerudo Desert
After a pretty lengthy scene of Midna explaining the history of the Twili and their descendants, you’ll regain control of Link in the Gerudo Desert. As we have reached a new area, there are a ton of new collectables to find in this area, including more Poe Souls, some Golden Bugs, a new ability, and a Piece of Heart. There are a ton of new enemies that you’ll find in this area, but it is best to just avoid them.


Our first destination is at the southwest corner of the desert, not far from where we are. In the far corner, there is a Poe Soul floating around and its lantern should be easily visible. (Remember, it has to be night time) Run over to the Poe and defeat it to get the 30th Poe Soul. If you use your senses you can dig underground here. This area is protected by several Skulltulas, but once defeated, a treasure chest with an orange rupee pops up.
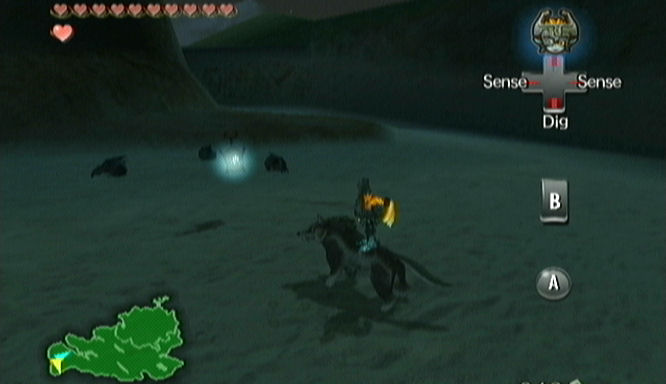
There are several areas in the Gerudo Desert that you will find miscellaneous treasure chests. One of them is found on a higher platform just to the east. You can use the clawshot to grab onto a dead tree branch and open the chest for 20 rupees. There is also a treasure chest on the west side of the desert that contains a red rupee and one near the center of the desert that holds some arrows. Neither of these are necessary and they are quite out of your way. If you are waiting for it to turn to night time for Poe Souls, these are good things to go after.
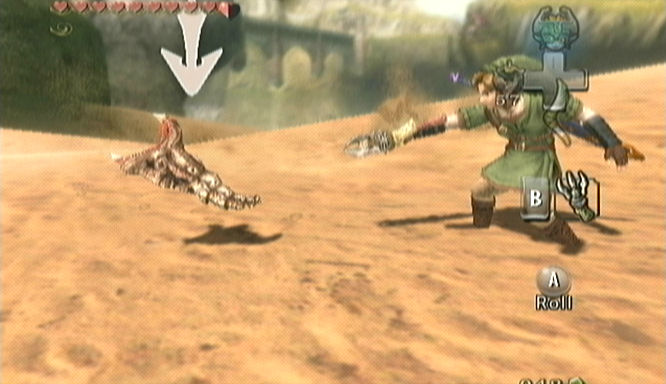
Our next destination is the far southeast corner of the desert. The area we want to go towards has a massive piece of stone sticking out of the ground. This is actually the missing portion of the Bridge of Eldin. On your way, you’ll battle a bunch of Moldorm creatures. These guys are mainly found underground and will jump out towards Link as they draw closer. You can pull them out of the ground with the clawshot and defeat them with a single sword slash. There is an endless amount of these creatures so it is best to just avoid them.
Once you reach where the Bridge is, you’ll see a small tree on a higher area. Use your clawshot to hook on over to the top of the tree. From there, take a look in the air and you will see a Peahat. Link can use the clawshot to grab onto the Peahat and then use it to get onto the higher platform. Walk towards the broken Bridge of Eldin and a wall of twilight will form, with shadow beasts falling from the sky. Remember, defeat one of the beasts and then defeat the last two at the same time to get rid of them.


Once defeated, walk closer to the bridge and Midna will want to speak to you. She asks you what is this thing and you then have an option to warp. Do so and warp to the Bridge of Eldin. The piece will fit perfectly in place and the bridge will be repaired. We can now use the Bridge of Eldin as a safe warping point. There is nothing we have to do here, so talk to Midna and warp back to our newest warp point in the Gerudo Mesa.


12.4 North Gerudo Desert
Warp back to the Gerudo Mesa if you haven’t already done so. Take a look at where the broken bridge used to be and you should see a Poe floating around. Use your senses as wolf Link and defeat the Poe for the 31st Poe Soul. Also, you may notice there is a small cavern in the ground where the broken bridge was. This cave is actually the Cave of Ordeals. A 50 floor side-dungeon where you fight seemingly endless enemies which will unlock fairy fountains throughout the land. The Cave of Ordeals is something we’ll come back to much later as we don’t have the tools needed to get through the entire thing.
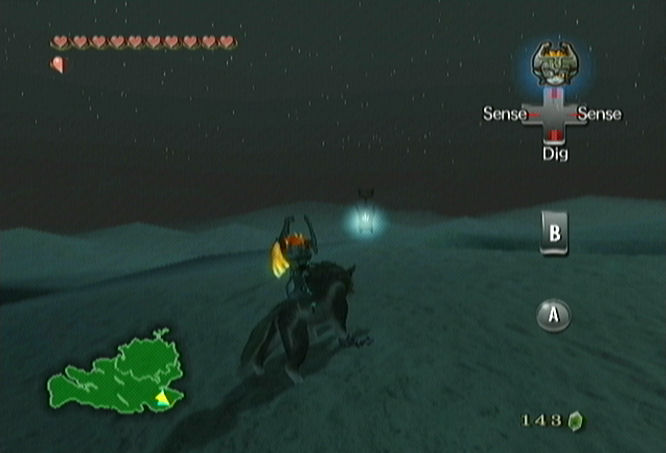

Begin heading back to the west and you’ll notice there are two lower paths that resemble trenches. Walk through the one that is just to the north of the other one. This place is filled with Moldorms, but remember, there are an endless amount of them. In the middle of the trench you’ll see a golden bug floating around. This is the Female Dayfly. Walk up and grab it, or if it is floating away, use the gale boomerang to pull it closer.


Keep heading west and once you leave the trench walk to the far south portion of the desert. Keep heading west until you see a small wooden gate to the south which you cannot pass. From this point, if you walk to the northeast just a bit, you should see a second golden bug floating around. This guy has a tendency to move around and can be a bit difficult to find in the sand. It is best to search for the bug at night. Once you do find it, grab it to get the Male Dayfly.

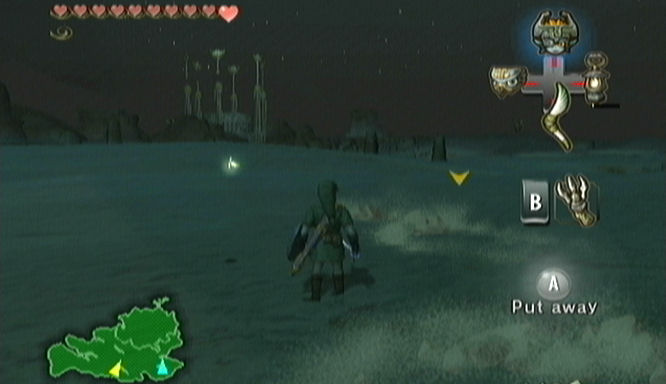
Our next destination is the northeast corner of the desert. Begin making your way in that direction and as you draw closer, you’ll notice a small camp fire that is surrounding by Bulblins. There are two Bullbos as well in this area. A Bulblin Archer will spot you from a watch tower and then send the rest of the troops at you. Defeat the archer with some arrows and then eliminate all the surrounding Bulblins.


Once defeated, open the nearby treasure chest to get 20 rupees. Walk over to one of the Bullbos and get on top of the animal. Ride the Bullbo to the east and use its dash ability to knock down any fences and towers in your way. At the northeast part of the desert there are two fences that protect a treasure chest. Break through the fences and then get off the Bullbo by running into a wall. Open the treasure chest to get another red rupee.
Return to the camp area and ride the Bullbo to the northwest. There are two more fences that you can knock over which lead to another treasure chest that holds a red rupee.
Walk westward from here along the north path. As long as it’s night time, you’ll see a Poe on the higher cliff. South of the Poe, you’ll see another dead tree which you can grapple onto with the clawshot. Do so and then walk towards the Poe. Transform into Wolf Link and defeat it for the 32nd Poe Soul.

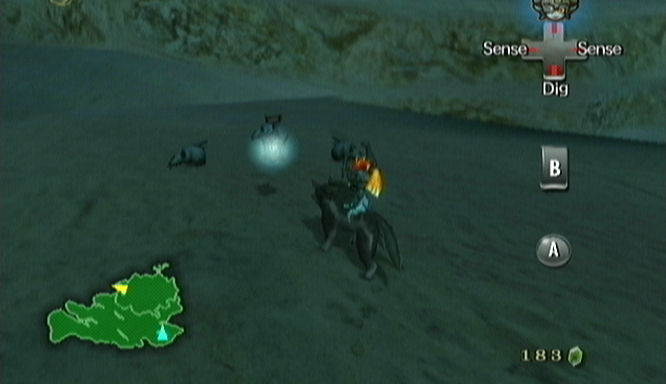
Once you’ve defeated the Poe, use your senses in the area right where the Poe was floating around. There is an area you can dig to get to an underground cavern. Once you arrive, there is a Poe immediately in front of you. Use your senses and defeat it for the 33rd Poe Soul.
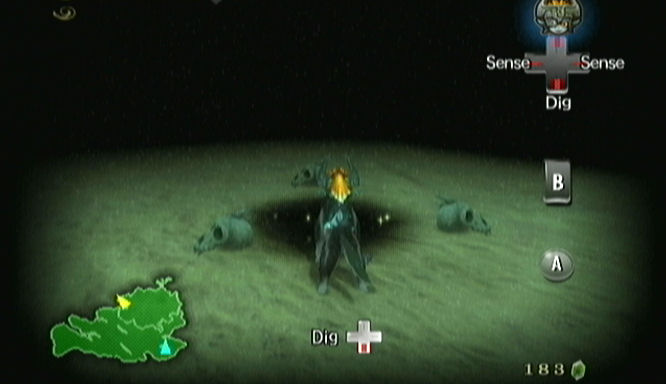

Transform into human Link and blow up the boulders with some bombs. Another Poe might seep through the boulders and if it does, transform into Wolf Link and defeat it for the 34th Poe Soul. Finish blowing up the boulders and you’ll notice a few torches in this area. Light the three torches and a treasure chest containing an orange rupee will appear. Open up the treasure chest and then leave this cavern.


That’s about all there is to find in the Desert, so make your way to the northeast corner. You’ll need to ride a Bullbo to break through some of the fences that are in your way. Get off the Bullbo and climb a series of steps. Turn to your left and go down a path until you reach a small treasure chest. Open it up to get some more arrows.
Return to the steps and this time take a right. If you howled the tune from the howling stone in Lake Hylia, then the golden wolf will be waiting for you here. Walk up to it and the wolf will attack you, taking you to a familiar scene with the mighty warrior. You’ll have to prove that you’ve mastered the helm splitter. If you’ve forgotten, just use the shield attack and then following by pressing A to perform the helm splitter. Finish him off with a sword strike.


The warrior will then teach you the Mortal Draw. Keep your sword behind your back and do not z-target your enemy. Come close to the warrior and the A button will flash at the bottom, press it to draw your sword and do a fancy attack. This attack leaves you vulnerable but it is indefensible. The mortal draw has been passed on.
Continue eastward and you’ll encounter three Leevers and yet another Poe. Get rid of the Leevers first and then use your senses as Wolf Link to grab the 35th Poe Soul. Return to where you met the golden wolf and head northward.

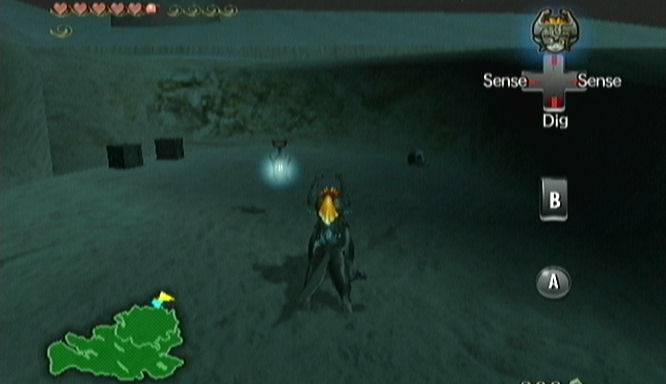
12.5 Bulblin Base
You’ll now be in a new area of the desert and the music has gone silent. The Bulblin base that is located here is run by the Bulblins. Walk forward towards the locked door and a Bulblin Archer will see you, sending another Bulblin in your direction. Defeat the Bulblin and then use the arrows to defeat the archer. There is a treasure chest to the west of the archer that contains twenty arrows if you need them. Continue heading eastward and you’ll encounter two more Bulblins and another archer. Defeat them in similar fashion and you’ll now be in an area with several tents.


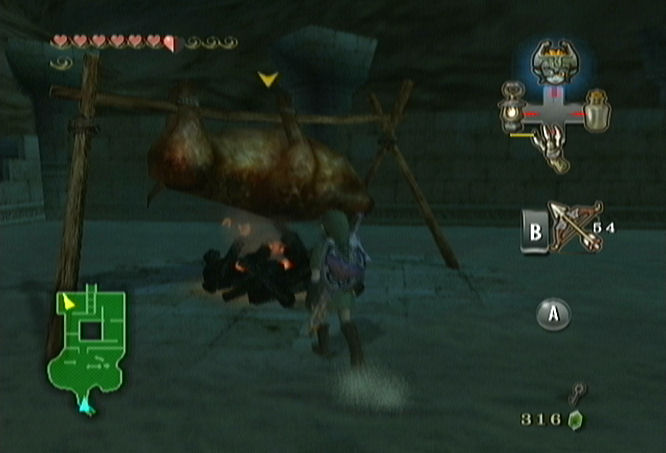
Continue northward and you’ll encounter several more melee Bulblins as well as Bulblin Archers. Defeat them and head west to fight off even more Bulblins. At the northwest area you’ll notice there is a Bulblin who is cooking a Bullbo. There is a shine to this Bulblin because he is carrying a small key. Defeat any charging Bulblins and then defeat the Bulblin Archer and grab the small key. There is a small treasure chest in the southeast corner of this small area that contains a purple rupee.


Return to where the Bullbo was being cooking and start slashing at it with your sword. The fire underneath will disappear and some hearts will come out of the Bullbo. Continue to slash at it and it will be defeated, with a Piece of Heart as your reward!

If you look at your map there is a small square area in the center. At the north end of this square area there is a locked gate where we can use the small key. Do so and we’ll encounter our old nemesis, King Bulblin.
This time King Bulblin holds a ridiculously large axe. He knocks his Bullbo to the ground and begins coming after Link. The battle is really not that difficult. Using the back slice technique and the helm splitter are very effective against King Bulblin. Even the mortal draw we just learned is quite effective. Use a mixture of sword techniques to defeat King Bulblin once again. Watch out for his strong axe attack as it will do quite the damage.
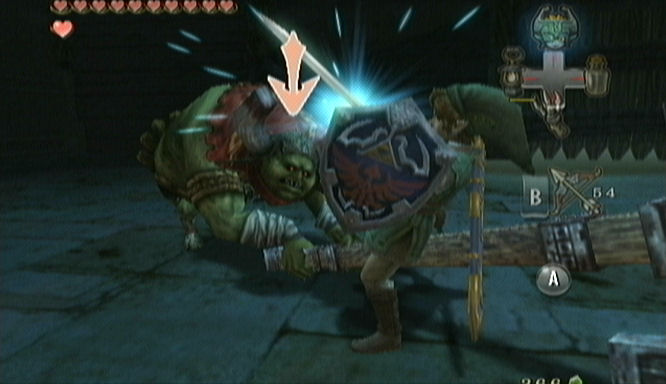
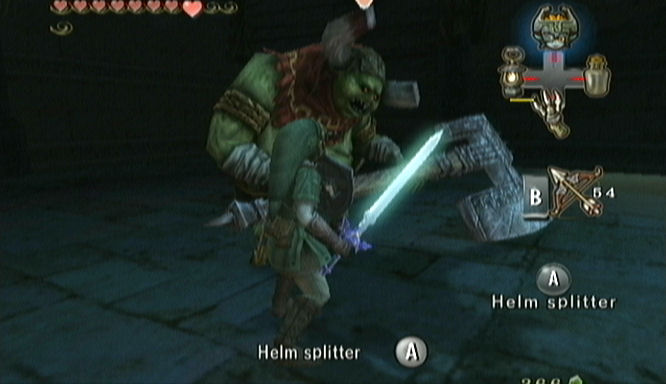
After several hits, King Bulblin will be defeated and he will walk away injured. As he leaves fire is set to the Bulblin Base. King Bulblin’s Bullbo awakes, so walk over and jump on top of him. Use its dash attack and run northward through a series of gates.


12.6 Entering Arbiter's Grounds
You’ll now be in an area just outside of the next temple, Arbiter’s Grounds. However, there are still just a few things to do before heading inside. Jump off the Bullbo, turn around, and head back to the Bulblin Base. In the area where you just fought King Bulblin, a Poe can now be found. The fire is done away with, so defeat the Poe just as before for your 36th Poe Soul. Return northward.
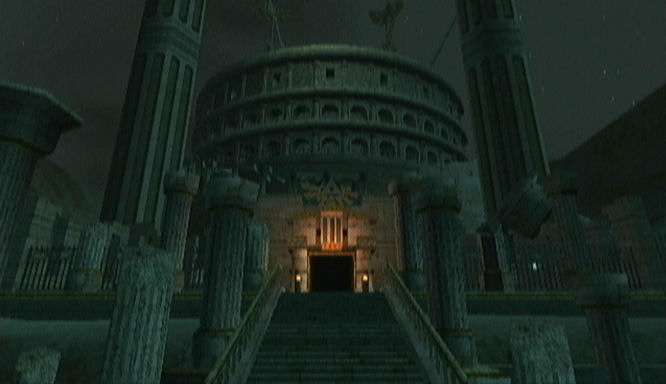
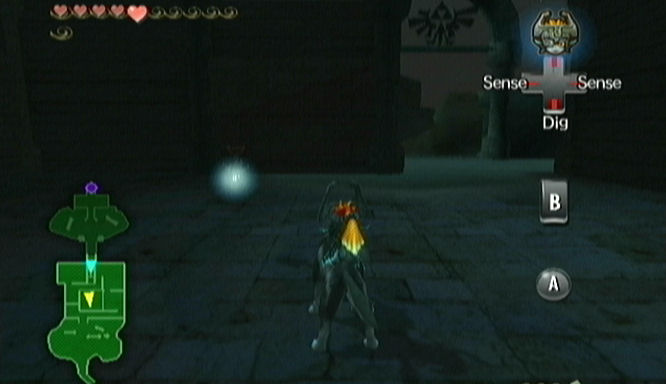
There is one more Poe soul that we can get. Climb the stairs and take a right. The Poe is waiting right there for you. Use your senses to defeat it and grab the 37th Poe Soul. On the other side of the stairs there are two torches. Light them up and a treasure chest appears containing a purple rupee. After collecting the rupee, head back to the staircase and enter the fourth dungeon, Arbiter’s Grounds.

- Chapter 1 – Ordon Village
- Chapter 2 – The Twilight
- Chapter 3 – Faron Woods: Twilight
- Chapter 4 – Forest Temple
- Chapter 5 – Kakariko Village: Twilight
- Chapter 6 – Death Mountain
- Chapter 7 – Goron Mines
- Chapter 8 – Lanayru Province: Twilight
- Chapter 9 – Lake Hylia: Sidequests
- Chapter 10 – Lakebed Temple
- Chapter 11 – The Master Sword
- Chapter 12 – Gerudo Desert
- Chapter 13 – Arbiter’s Grounds
- Chapter 14 – Scaling Snowpeak
- Chapter 15 – Snowpeak Ruins
- Chapter 16 – Sacred Grove: Round Two
- Chapter 17 – Temple of Time
- Chapter 18 – In Search of the Sky
- Chapter 19 – City in the Sky
- Chapter 20 – Palace of Twilight
- Chapter 21 – Cave of Ordeals
- Chapter 22 – Hyrule Castle


