Bottomless Swamp: Difference between revisions
Jump to navigation
Jump to search
Want an adless experience? Log in or Create an account.
No edit summary |
No edit summary |
||
| Line 1: | Line 1: | ||
{{Infobox|location | {{Infobox|location | ||
| image = [[File:Bottomless-Swamp.png]] | | image = [[File:Bottomless-Swamp.png]] | ||
| game = ''[[The Legend of Zelda: Breath of the Wild|Breath of the Wild]]'' | | game = ''[[The Legend of Zelda: Breath of the Wild|Breath of the Wild]]'' | ||
| inhab = | | inhab = [[Moblin]]s; [[Bokoblin]]s | ||
| pointsint = | | pointsint = | ||
| item = | | item = | ||
| Line 12: | Line 11: | ||
The '''Bottomless Swamp''' is a location found in ''[[The Legend of Zelda: Breath of the Wild|Breath of the Wild]]''. It is located in [[Central Hyrule]]. | The '''Bottomless Swamp''' is a location found in ''[[The Legend of Zelda: Breath of the Wild|Breath of the Wild]]''. It is located in [[Central Hyrule]]. | ||
As part of the <i>Captured Memories</i> Side Quest, [[Link#Breath of the Wild|Link's]] twelfth memory <i>Despair</i> takes in a forest | Its main feature is a gigantic horned monolithic skull in the middle of the swamp, which serves as a monster encampment for [[Moblin]]s and [[Bokoblin]]s, who are guarding a chest containing a [[Silver Rupee]]. The swamp is flanked by various [[Malice]] pools, as well as three stone skull encampments to its southeast. | ||
As part of the <i>Captured Memories</i> Side Quest, [[Link#Breath of the Wild|Link's]] twelfth memory <i>Despair</i> takes in a forest northwest of here. | |||
==Gallery== | |||
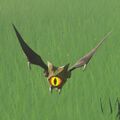
===Creatures=== | |||
{{Gallery}} | |||
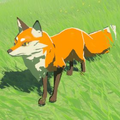
{{Gallery/Box|file=Hyrule-Compendium-Grassland-Fox.png|link=Grassland_Fox|caption=[[Grassland Fox]]}} | |||
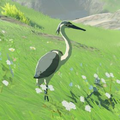
{{Gallery/Box|file=Hyrule-Compendium-Blue-Winged-Heron.png|link=Blue-Winged_Heron|caption=[[Blue-Winged Heron]]}} | |||
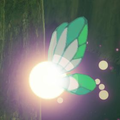
{{Gallery/Box|file=Hyrule-Compendium-Fairy.png|link=Fairy|caption=[[Fairy]]}} | |||
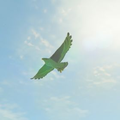
{{Gallery/Box|file=Hyrule-Compendium-Islander-Hawk.png|link=Islander_Hawk|caption=[[Islander Hawk]]}} | |||
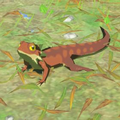
{{Gallery/Box|file=Hyrule-Compendium-Hightail-Lizard.png|link=Hightail_Lizard|caption=[[Hightail Lizard]]}} | |||
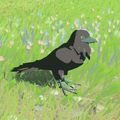
{{Gallery/Box|file=Hyrule-Compendium-Mountain-Crow.png|link=Mountain_Crow|caption=[[Mountain Crow]]}} | |||
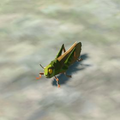
{{Gallery/Box|file=Hyrule-Compendium-Restless-Cricket.png|link=Restless_Cricket|caption=[[Restless Cricket]]}} | |||
{{Gallery/Bottom}} | |||
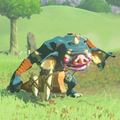
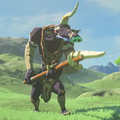
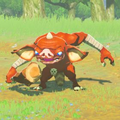
===Enemies=== | |||
{{Gallery}} | |||
{{Gallery/Box|file=Hyrule-Compendium-Blue-Bokoblin.png|link=Blue_Bokoblin|caption=[[Blue Bokoblin]]}} | |||
{{Gallery/Box|file=Hyrule-Compendium-Blue-Moblin.png|link=Blue_Moblin|caption=[[Blue Moblin]]}} | |||
{{Gallery/Box|file=Hyrule-Compendium-Bokoblin.png|link=Bokoblin|caption=[[Bokoblin]]}} | |||
{{Gallery/Box|file=Keese-botw.jpg|link=Keese|caption=[[Keese]]}} | |||
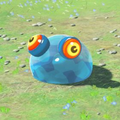
{{Gallery/Box|file=Hyrule-Compendium-Chuchu.png|link=Chuchu|caption=[[Chuchu]]}} | |||
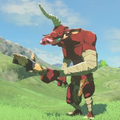
{{Gallery/Box|file=Hyrule-Compendium-Moblin.png|link=Moblin|caption=[[Moblin]]}} | |||
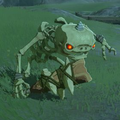
{{Gallery/Box|file=Hyrule-Compendium-Stalkoblin.png|link=Stalkoblin|caption=[[Stalkoblin]]}} | |||
{{Gallery/Bottom}} | |||
===Resources=== | |||
{{Gallery}} | |||
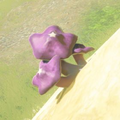
{{Gallery/Box|file=Hyrule-Compendium-Rushroom.png|link=Rushroom|caption=[[Rushroom]]}} | |||
{{Gallery/Bottom}} | |||
===Weapons=== | |||
{{Gallery}} | |||
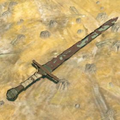
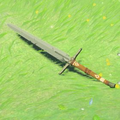
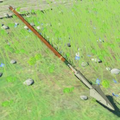
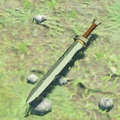
{{Gallery/Box|file=Hyrule-Compendium-Rusty-Broadsword.png|link=Rusty_Broadsword|caption=[[Rusty Broadsword]]}} | |||
{{Gallery/Box|file=Hyrule-Compendium-Rusty-Claymore.png|link=Rusty_Claymore|caption=[[Rusty Claymore]]}} | |||
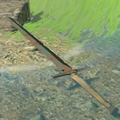
{{Gallery/Box|file=Hyrule-Compendium-Rusty-Halberd.png|link=Rusty_Halberd|caption=[[Rusty Halberd]]}} | |||
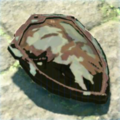
{{Gallery/Box|file=Hyrule-Compendium-Rusty-Shield.png|link=Rusty_Shield|caption=[[Rusty Shield]]}} | |||
{{Gallery/Box|file=Hyrule-Compendium-Travelers-Claymore.png|link=Travelers_Claymore|caption=[[Traveler's Claymore]]}} | |||
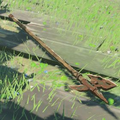
{{Gallery/Box|file=Hyrule-Compendium-Travelers-Spear.png|link=Travelers_Spear|caption=[[Traveler's Spear]]}} | |||
{{Gallery/Box|file=Hyrule-Compendium-Travelers-Sword.png|link=Travelers_Sword|caption=[[Traveler's Sword]]}} | |||
{{Gallery/Bottom}} | |||
==Nearby Korok Seeds== | ==Nearby Korok Seeds== | ||
<section begin=Seed670summary />[[File:Korok670.png|200px|thumb|left|Place an apple in the empty basket.]]<section end=Seed670summary />West of the Bottomless Swamp, place an apple in the empty basket on the side of the road.{{Korok Seed|Seed670}}{{Clear|left}} | <section begin=Seed670summary />[[File:Korok670.png|200px|thumb|left|Place an apple in the empty basket.]]<section end=Seed670summary />West of the Bottomless Swamp, place an apple in the empty basket on the side of the road.{{Korok Seed|Seed670}}{{Clear|left}} | ||
{{Cat|Breath of the Wild Locations}} | {{Cat|Breath of the Wild Locations}} | ||
Revision as of 00:12, September 5, 2021
Bottomless Swamp

Games | ||
Inhabitants | ||
Related | ||
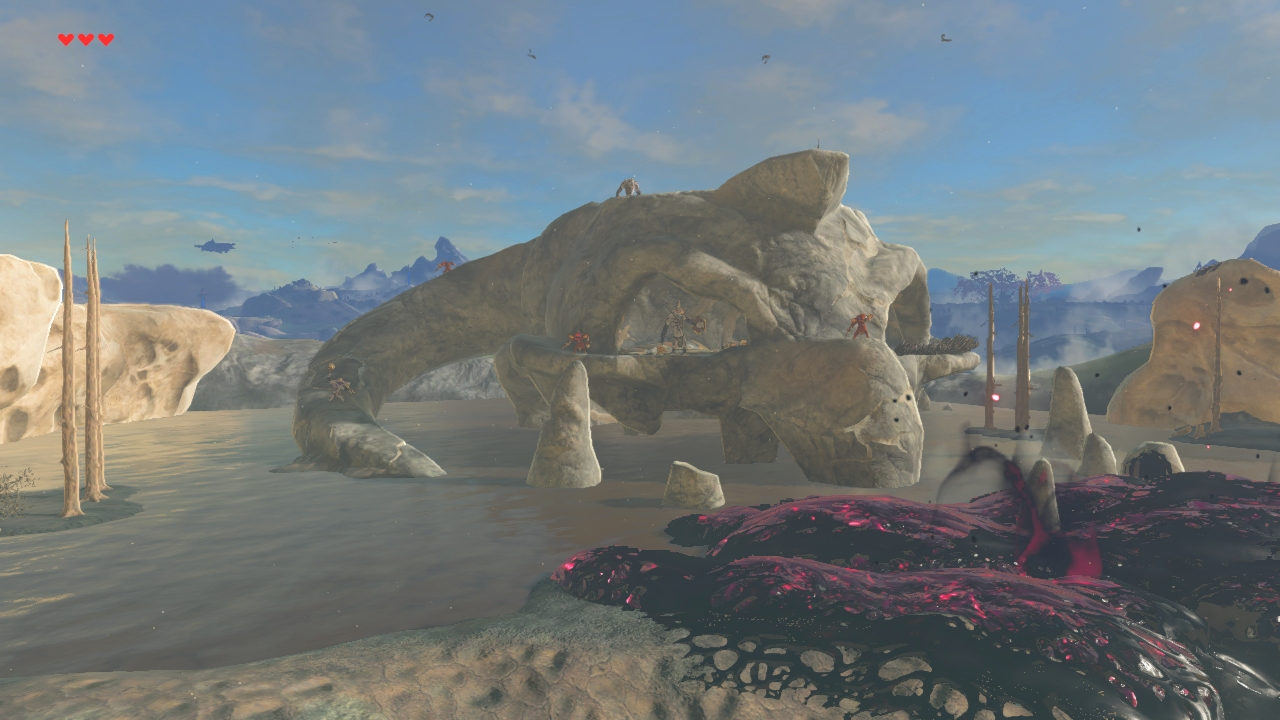
The Bottomless Swamp is a location found in Breath of the Wild. It is located in Central Hyrule.
Its main feature is a gigantic horned monolithic skull in the middle of the swamp, which serves as a monster encampment for Moblins and Bokoblins, who are guarding a chest containing a Silver Rupee. The swamp is flanked by various Malice pools, as well as three stone skull encampments to its southeast.
As part of the Captured Memories Side Quest, Link's twelfth memory Despair takes in a forest northwest of here.
Gallery
Creatures
Enemies
Resources
Weapons
Nearby Korok Seeds

West of the Bottomless Swamp, place an apple in the empty basket on the side of the road.