Sheikah Monk: Difference between revisions
Jump to navigation
Jump to search
Want an adless experience? Log in or Create an account.
No edit summary Tags: Mobile edit Mobile web edit |
(→Trivia) Tags: Mobile edit Mobile web edit |
||
| (7 intermediate revisions by 3 users not shown) | |||
| Line 1: | Line 1: | ||
{{stub}} | {{stub}} | ||
{{Infobox|group | |||
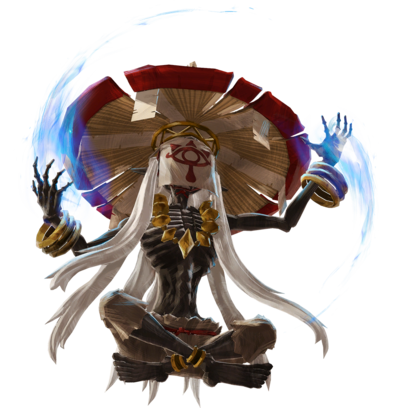
| image = [[File:Monk Maz Koshia - HWAoC.png|400px]] | |||
| caption = [[Monk Maz Koshia]] from ''Age of Calamity'' | |||
| game = ''[[The Legend of Zelda: Breath of the Wild|Breath of the Wild]]''<br/>''[[Hyrule Warriors: Age of Calamity|Age of Calamity]]'' | |||
| location = [[Shrine of Trials|Shrines of Trials]], [[Final Trial]] | |||
| leader = | |||
| purpose = | |||
| members = | |||
| related = | |||
}} | |||
'''Sheikah Monks''' are a group of ancient [[Sheikah]] from ''[[The Legend of Zelda: Breath of the Wild|Breath of the Wild]]'' and ''[[Hyrule Warriors: Age of Calamity|Age of Calamity]]''. | |||
==''Breath of the Wild''== | |||
{{stub|section}} | |||
==''Age of Calamity''== | |||
{{stub|section}} | |||
==Trivia== | |||
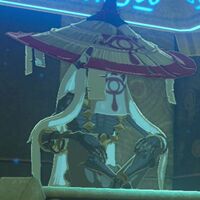
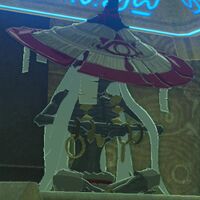
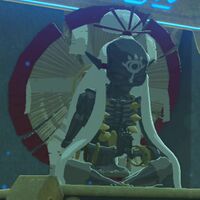
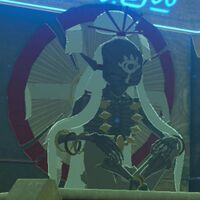
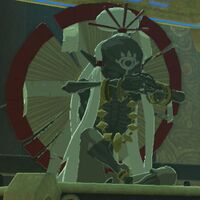
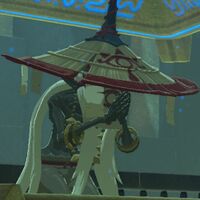
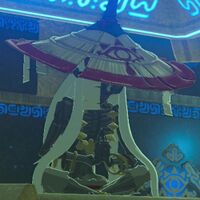
*[[Creating a Champion]] reveals that Monks have different ranks, designated through clothing.{{Ref|''Creating a Champion''|Here are examples of monks with the martial arts pose. Soh Kofi provides "A Minor Test of Strength." Ta'loh Naeg, being the highest ranking martial monk, emanates authority and wears clothing of distinction.|page 371}} Through the martial Monks, these designations can be ordered: | |||
**The lowest ranking Monks wear no complementary headpieces. Examples include [[Dunba Taag]], [[Rok Uwog]] and [[Kee Dafunia]]. | |||
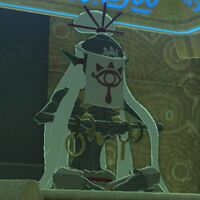
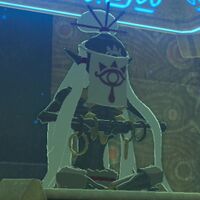
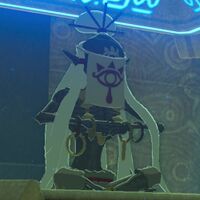
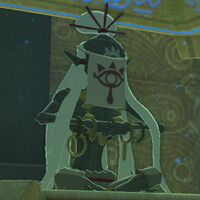
**The second lowest rank is signified by just a white veil with the Sheikah eye. Examples include [[Mezza Lo]], [[Kayra Mah]] and [[Gorae Torr]]. The Minor Test of Strength Monks, like [[Dah Kaso]], are at this rank. | |||
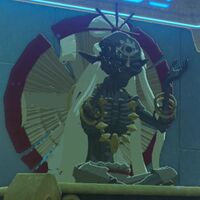
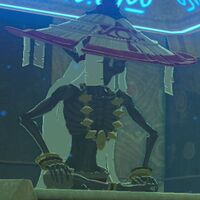
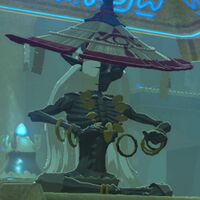
**The fourth rank wear a wide Sheikah hat on their back. Examples include [[Oman Au]], [[Tah Muhl]] and [[Keo Ruug]]. The Modest Test of Strength Monks, like [[Mijah Rokee]], are at this rank. Interestingly, so too is the Major Test of Strength+ Monk, [[Ruvo Korbah]]. | |||
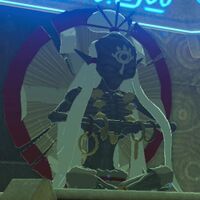
**The third rank have both a hat on their back and a veil on their face. Examples include [[Kiah Toza]], [[Tahno O'ah]] and [[Etsu Korima]]. | |||
**The penultimate rank have a Sheikah hat, but worn on their head. Examples include [[Gee Ha'rah]], [[Ka'o Makagh]] and [[Kihiro Moh]]. The Major Test of Strength Monks, like [[Chaas Qeta]], are at this rank. | |||
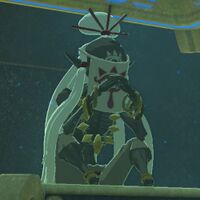
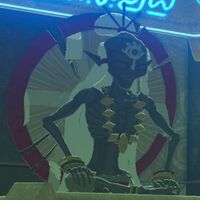
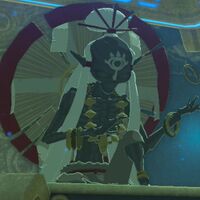
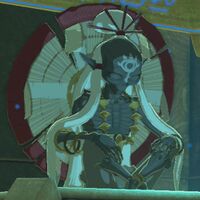
**The highest ranked Sheikah Monks have a hat on their head and a veil on their face. Examples include [[Monk Maz Koshia|Maz Koshia]], [[Korgu Chideh]] and the seven [[Sword Monks]]. The master of the Test of Strength Monks, [[Ta'loh Naeg]], naturally sits at this venerated position. | |||
***Though ''Age of Calamity'' proposes that higher ranking Monks may use [[Bands of Enlightenment]], and the highest [[Bands of Truth]], all Monks in ''Breath of the Wild'' wear the same [[Monk's Bands]]. | |||
==Gallery== | ==Gallery== | ||
===Akkala=== | Below is a listing of all of the Sheikah Monks that appear in ''[[The Legend of Zelda: Breath of the Wild|Breath of the Wild]]''. | ||
===Akkala Tower Region=== | |||
<center>{{Gallery|size=200|pad=0|margin=0}} | <center>{{Gallery|size=200|pad=0|margin=0}} | ||
{{Gallery/Box|file=Dah-Hesho-Model.jpg|caption=[[Dah Hesho]]}} | {{Gallery/Box|file=Dah-Hesho-Model.jpg|caption=[[Dah Hesho]]}} | ||
| Line 16: | Line 42: | ||
{{Gallery/Bottom}}</center> | {{Gallery/Bottom}}</center> | ||
===Central=== | ===Central Tower Region=== | ||
<center>{{Gallery|size=200|pad=0|margin=0}} | <center>{{Gallery|size=200|pad=0|margin=0}} | ||
{{Gallery/Box|file=Dah-Kaso-Model.jpg|caption=[[Dah Kaso]]}} | {{Gallery/Box|file=Dah-Kaso-Model.jpg|caption=[[Dah Kaso]]}} | ||
| Line 28: | Line 54: | ||
{{Gallery/Bottom}}</center> | {{Gallery/Bottom}}</center> | ||
===Dueling Peaks=== | ===Dueling Peaks Tower Region=== | ||
<center>{{Gallery|size=200|pad=0|margin=0}} | <center>{{Gallery|size=200|pad=0|margin=0}} | ||
{{Gallery/Box|file=Bosh-Kala-Model.jpg|caption=[[Bosh Kala]]}} | {{Gallery/Box|file=Bosh-Kala-Model.jpg|caption=[[Bosh Kala]]}} | ||
| Line 41: | Line 67: | ||
{{Gallery/Bottom}}</center> | {{Gallery/Bottom}}</center> | ||
===Eldin=== | ===Eldin Tower Region=== | ||
<center>{{Gallery|size=200|pad=0|margin=0}} | <center>{{Gallery|size=200|pad=0|margin=0}} | ||
{{Gallery/Box|file=Daqa-Koh-Model.jpg|caption=[[Daqa Koh]]}} | {{Gallery/Box|file=Daqa-Koh-Model.jpg|caption=[[Daqa Koh]]}} | ||
| Line 54: | Line 80: | ||
{{Gallery/Bottom}}</center> | {{Gallery/Bottom}}</center> | ||
===Faron=== | ===Faron Tower Region=== | ||
<center>{{Gallery|size=200|pad=0|margin=0}} | <center>{{Gallery|size=200|pad=0|margin=0}} | ||
{{Gallery/Box|file=Kah-Yah-Model.jpg|caption=[[Kah Yah]]}} | {{Gallery/Box|file=Kah-Yah-Model.jpg|caption=[[Kah Yah]]}} | ||
| Line 66: | Line 92: | ||
{{Gallery/Bottom}}</center> | {{Gallery/Bottom}}</center> | ||
===Gerudo=== | ===Gerudo Tower Region=== | ||
<center>{{Gallery|size=200|pad=0|margin=0}} | <center>{{Gallery|size=200|pad=0|margin=0}} | ||
{{Gallery/Box|file=Joloo-Nah-Model.jpg|caption=[[Joloo Nah]]}} | {{Gallery/Box|file=Joloo-Nah-Model.jpg|caption=[[Joloo Nah]]}} | ||
| Line 76: | Line 102: | ||
{{Gallery/Bottom}}</center> | {{Gallery/Bottom}}</center> | ||
===Great Plateau=== | ===Great Plateau Tower Region=== | ||
<center>{{Gallery|size=200|pad=0|margin=0}} | <center>{{Gallery|size=200|pad=0|margin=0}} | ||
{{Gallery/Box|file=Etsu-Korima-Model.jpg|caption=[[Etsu Korima]]}} | {{Gallery/Box|file=Etsu-Korima-Model.jpg|caption=[[Etsu Korima]]}} | ||
| Line 89: | Line 115: | ||
{{Gallery/Bottom}}</center> | {{Gallery/Bottom}}</center> | ||
===Hateno=== | ===Hateno Tower Region=== | ||
<center>{{Gallery|size=200|pad=0|margin=0}} | <center>{{Gallery|size=200|pad=0|margin=0}} | ||
{{Gallery/Box|file=Chaas-Qeta-Model.jpg|caption=[[Chaas Qeta]]}} | {{Gallery/Box|file=Chaas-Qeta-Model.jpg|caption=[[Chaas Qeta]]}} | ||
| Line 100: | Line 126: | ||
{{Gallery/Bottom}}</center> | {{Gallery/Bottom}}</center> | ||
===Hebra=== | ===Hebra Tower Region=== | ||
<center>{{Gallery|size=200|pad=0|margin=0}} | <center>{{Gallery|size=200|pad=0|margin=0}} | ||
{{Gallery/Box|file=Dunba-Taag-Model.jpg|caption=[[Dunba Taag]]}} | {{Gallery/Box|file=Dunba-Taag-Model.jpg|caption=[[Dunba Taag]]}} | ||
| Line 117: | Line 143: | ||
{{Gallery/Bottom}}</center> | {{Gallery/Bottom}}</center> | ||
===Lake=== | ===Lake Tower Region=== | ||
<center>{{Gallery|size=200|pad=0|margin=0}} | <center>{{Gallery|size=200|pad=0|margin=0}} | ||
{{Gallery/Box|file=Ishto-Soh-Model.jpg|caption=[[Ishto Soh]]}} | {{Gallery/Box|file=Ishto-Soh-Model.jpg|caption=[[Ishto Soh]]}} | ||
| Line 127: | Line 153: | ||
{{Gallery/Bottom}}</center> | {{Gallery/Bottom}}</center> | ||
===Lanayru=== | ===Lanayru Tower Region=== | ||
<center>{{Gallery|size=200|pad=0|margin=0}} | <center>{{Gallery|size=200|pad=0|margin=0}} | ||
{{Gallery/Box|file=Dagah-Keek-Model.jpg|caption=[[Dagah Keek]]}} | {{Gallery/Box|file=Dagah-Keek-Model.jpg|caption=[[Dagah Keek]]}} | ||
| Line 140: | Line 166: | ||
{{Gallery/Bottom}}</center> | {{Gallery/Bottom}}</center> | ||
===Ridgeland=== | ===Ridgeland Tower Region=== | ||
<center>{{Gallery|size=200|pad=0|margin=0}} | <center>{{Gallery|size=200|pad=0|margin=0}} | ||
{{Gallery/Box|file=Mijah-Rokee-Model.jpg|caption=[[Mijah Rokee]]}} | {{Gallery/Box|file=Mijah-Rokee-Model.jpg|caption=[[Mijah Rokee]]}} | ||
| Line 151: | Line 177: | ||
{{Gallery/Bottom}}</center> | {{Gallery/Bottom}}</center> | ||
===Tabantha=== | ===Tabantha Tower Region=== | ||
<center>{{Gallery|size=200|pad=0|margin=0}} | <center>{{Gallery|size=200|pad=0|margin=0}} | ||
{{Gallery/Box|file=Akh-Vaquot-Model.jpg|caption=[[Akh Va'quot]]}} | {{Gallery/Box|file=Akh-Vaquot-Model.jpg|caption=[[Akh Va'quot]]}} | ||
| Line 161: | Line 187: | ||
{{Gallery/Bottom}}</center> | {{Gallery/Bottom}}</center> | ||
===Wasteland=== | ===Wasteland Tower Region=== | ||
<center>{{Gallery|size=200|pad=0|margin=0}} | <center>{{Gallery|size=200|pad=0|margin=0}} | ||
{{Gallery/Box|file=Dako-Tah-Model.jpg|caption=[[Dako Tah]]}} | {{Gallery/Box|file=Dako-Tah-Model.jpg|caption=[[Dako Tah]]}} | ||
| Line 177: | Line 203: | ||
{{Gallery/Bottom}}</center> | {{Gallery/Bottom}}</center> | ||
===Woodland=== | ===Woodland Tower Region=== | ||
<center>{{Gallery|size=200|pad=0|margin=0}} | <center>{{Gallery|size=200|pad=0|margin=0}} | ||
{{Gallery/Box|file=Daag-Chokah-Model.jpg|caption=[[Daag Chokah]]}} | {{Gallery/Box|file=Daag-Chokah-Model.jpg|caption=[[Daag Chokah]]}} | ||
| Line 188: | Line 214: | ||
{{Gallery/Box|file=Rona-Kachta-Model.jpg|caption=[[Rona Kachta]]}} | {{Gallery/Box|file=Rona-Kachta-Model.jpg|caption=[[Rona Kachta]]}} | ||
{{Gallery/Bottom}}</center> | {{Gallery/Bottom}}</center> | ||
{{References}} | |||
{{cat|Breath of the Wild}} | |||
{{Cat|Age of Calamity}} | |||
Latest revision as of 10:22, October 9, 2023
| This article is a stub. You can help the Zelda Dungeon Wiki by expanding it. |
Sheikah Monk
Games | ||
Location | ||
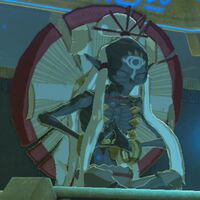
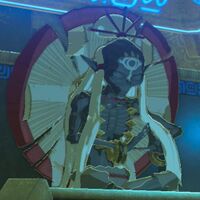
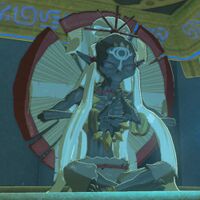
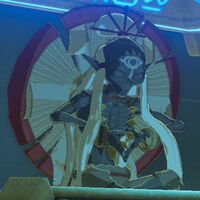
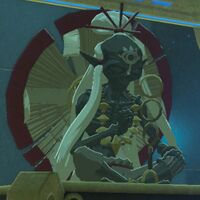
Sheikah Monks are a group of ancient Sheikah from Breath of the Wild and Age of Calamity.
Breath of the Wild
| This section is a stub. You can help the Zelda Dungeon Wiki by expanding it. |
Age of Calamity
| This section is a stub. You can help the Zelda Dungeon Wiki by expanding it. |
Trivia
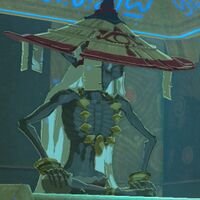
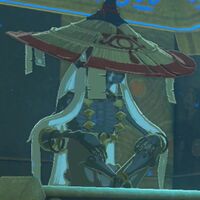
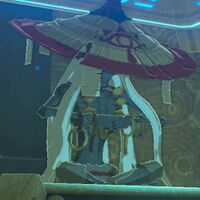
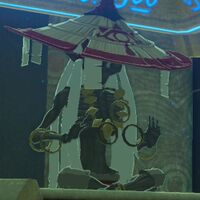
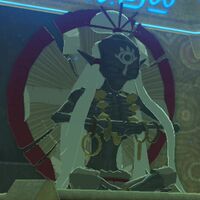
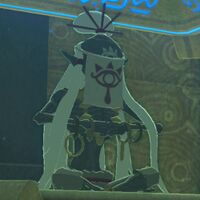
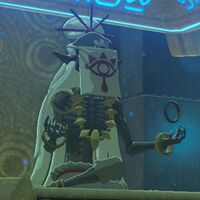
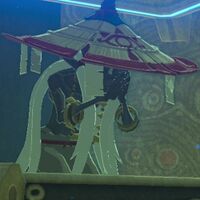
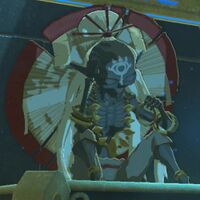
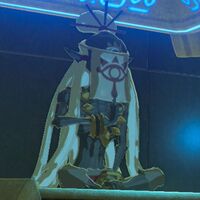
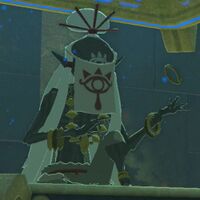
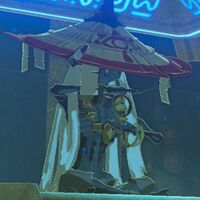
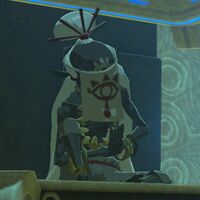
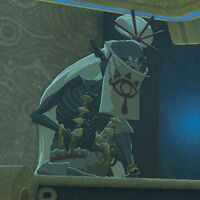
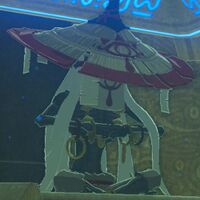
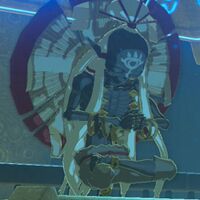
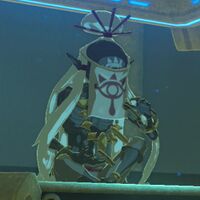
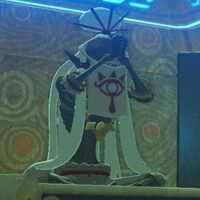
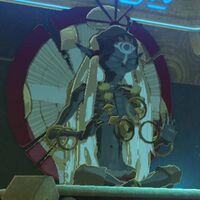
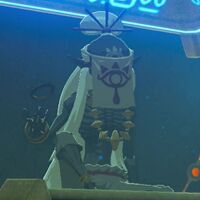
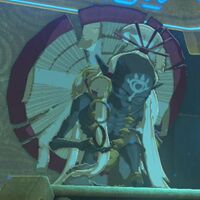
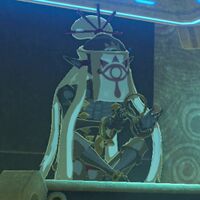
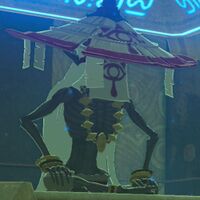
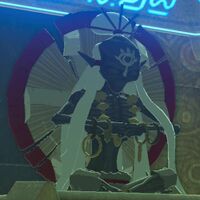
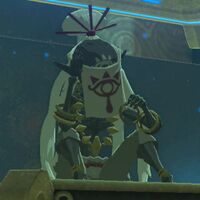
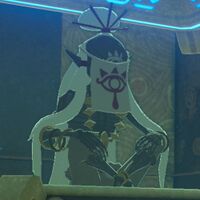
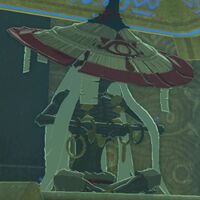
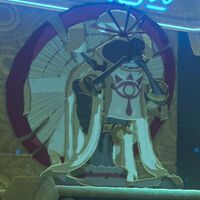
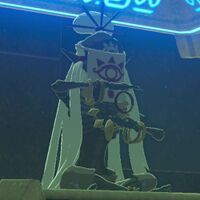
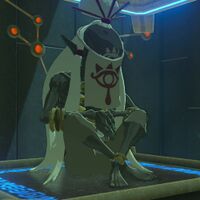
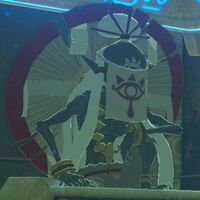
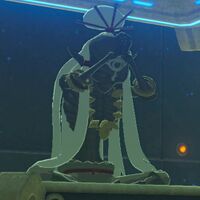
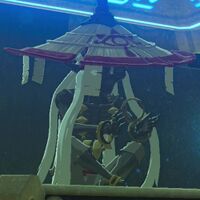
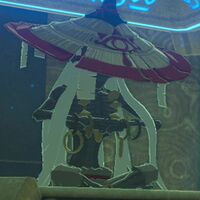
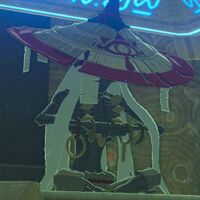
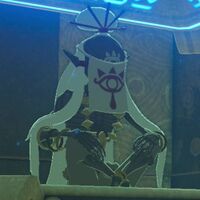
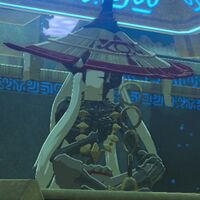
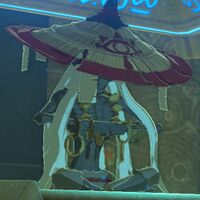
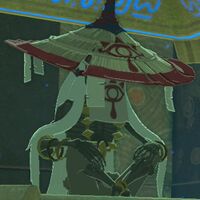
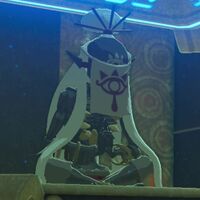
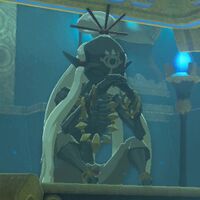
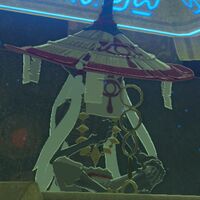
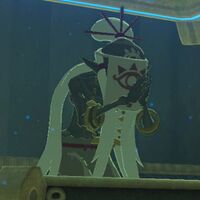
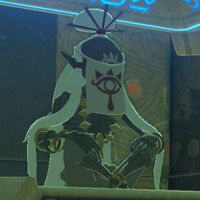
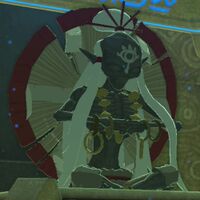
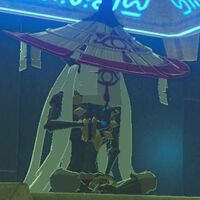
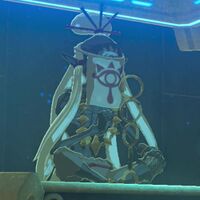
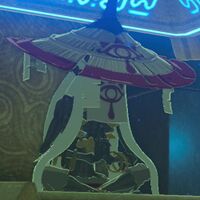
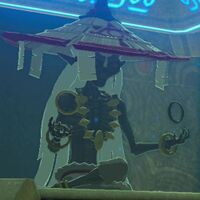
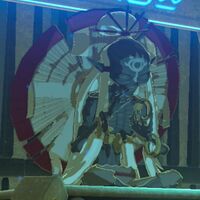
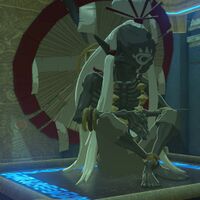
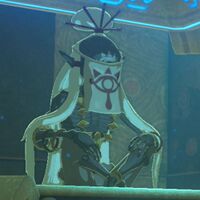
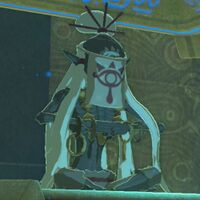
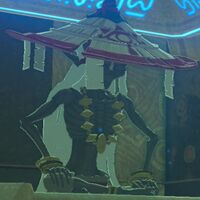
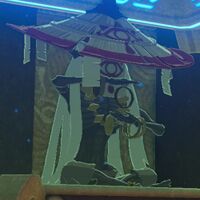
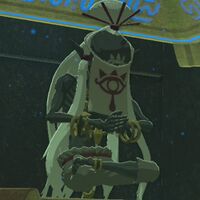
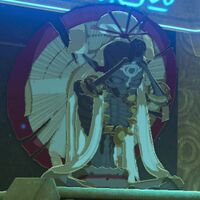
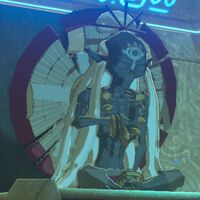
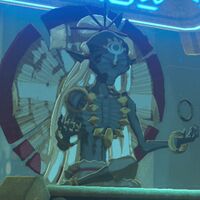
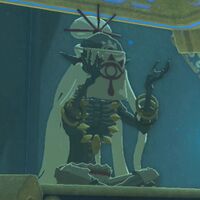
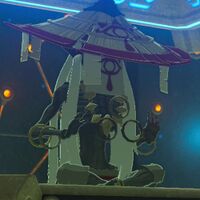
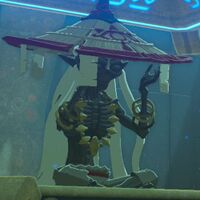
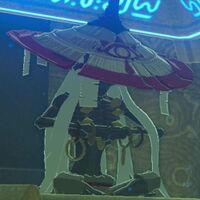
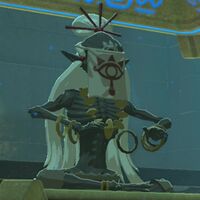
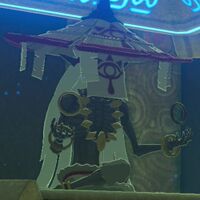
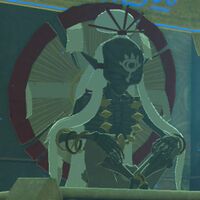
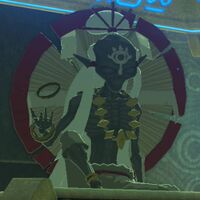
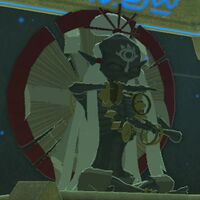
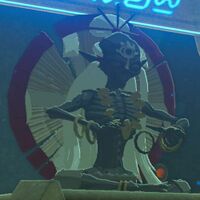
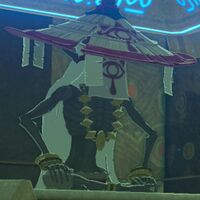
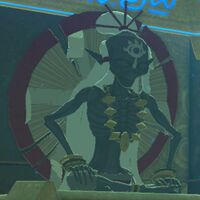
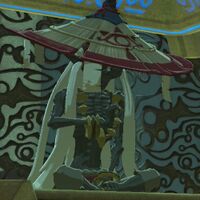
- Creating a Champion reveals that Monks have different ranks, designated through clothing.[1] Through the martial Monks, these designations can be ordered:
- The lowest ranking Monks wear no complementary headpieces. Examples include Dunba Taag, Rok Uwog and Kee Dafunia.
- The second lowest rank is signified by just a white veil with the Sheikah eye. Examples include Mezza Lo, Kayra Mah and Gorae Torr. The Minor Test of Strength Monks, like Dah Kaso, are at this rank.
- The fourth rank wear a wide Sheikah hat on their back. Examples include Oman Au, Tah Muhl and Keo Ruug. The Modest Test of Strength Monks, like Mijah Rokee, are at this rank. Interestingly, so too is the Major Test of Strength+ Monk, Ruvo Korbah.
- The third rank have both a hat on their back and a veil on their face. Examples include Kiah Toza, Tahno O'ah and Etsu Korima.
- The penultimate rank have a Sheikah hat, but worn on their head. Examples include Gee Ha'rah, Ka'o Makagh and Kihiro Moh. The Major Test of Strength Monks, like Chaas Qeta, are at this rank.
- The highest ranked Sheikah Monks have a hat on their head and a veil on their face. Examples include Maz Koshia, Korgu Chideh and the seven Sword Monks. The master of the Test of Strength Monks, Ta'loh Naeg, naturally sits at this venerated position.
- Though Age of Calamity proposes that higher ranking Monks may use Bands of Enlightenment, and the highest Bands of Truth, all Monks in Breath of the Wild wear the same Monk's Bands.
Gallery
Below is a listing of all of the Sheikah Monks that appear in Breath of the Wild.
Akkala Tower Region
Central Tower Region
Dueling Peaks Tower Region
Eldin Tower Region
Faron Tower Region
Gerudo Tower Region
Great Plateau Tower Region
Hateno Tower Region
Hebra Tower Region
Lake Tower Region
Lanayru Tower Region
Ridgeland Tower Region
Tabantha Tower Region
Wasteland Tower Region
Woodland Tower Region
References
- ↑ "Here are examples of monks with the martial arts pose. Soh Kofi provides "A Minor Test of Strength." Ta'loh Naeg, being the highest ranking martial monk, emanates authority and wears clothing of distinction." — page 371, Creating a Champion


