Shae Mo'sah Shrine: Difference between revisions
No edit summary |
No edit summary |
||
| Line 32: | Line 32: | ||
Climb up the ramp and then drop down. Backtrack around the corner all the way to get to the locked door. Use the small key and head on through. This final puzzle has multiple solutions. However, by far the easiest solution is just step on the floor switch, use Stasis, and then run on through. Run up to the altar and speak with [[Shae Mo'sah]] to get the [[Spirit Orb]]. | Climb up the ramp and then drop down. Backtrack around the corner all the way to get to the locked door. Use the small key and head on through. This final puzzle has multiple solutions. However, by far the easiest solution is just step on the floor switch, use Stasis, and then run on through. Run up to the altar and speak with [[Shae Mo'sah]] to get the [[Spirit Orb]]. | ||
==Gallery== | |||
<gallery widths="400px" heights="220px"> | |||
File:Shae-Mosah-Shrine-01.jpg|<center>Step on the first switch to open the gate.</center> | |||
File:Shae-Mosah-Shrine-02.jpg|<center>Use [[Stasis]] to keep it pressed down.</center> | |||
File:Shae-Mosah-Shrine-03.jpg|<center>Open the chest around the corner for a [[Stone Smasher]].</center> | |||
File:Shae-Mosah-Shrine-04.jpg|<center>Take care of the [[Guardian Scout II]].</center> | |||
File:Shae-Mosah-Shrine-05.jpg|<center>Open the chest tucked away to get a [[Ruby]].</center> | |||
File:Shae-Mosah-Shrine-06.jpg|<center>Another chest here contains ten [[Ice Arrow]]s.</center> | |||
File:Shae-Mosah-Shrine-07.jpg|<center>Step on the switch to cause a lantern to drop down.</center> | |||
File:Shae-Mosah-Shrine-08.jpg|<center>Use [[Magnesis]] or shoot it with an [[Arrow]].</center> | |||
File:Shae-Mosah-Shrine-09.jpg|<center>This will light the ivy on fire, dropping the ball.</center> | |||
File:Shae-Mosah-Shrine-10.jpg|<center>Step on the switch to get the ball to fall onto the wheel.</center> | |||
File:Shae-Mosah-Shrine-11.jpg|<center>Open the chest to get a [[Small Key]].</center> | |||
File:Shae-Mosah-Shrine-12.jpg|<center>Backtrack to the locked door and open with the key.</center> | |||
File:Shae-Mosah-Shrine-13.jpg|<center>Once again use Stasis on the floor switch.</center> | |||
</gallery> | |||
{{Cat|Breath of the Wild Shrines}} | {{Cat|Breath of the Wild Shrines}} | ||
Revision as of 01:46, July 29, 2020

Games | ||
Inhabitants | ||
Items | ||
| Guides | ||
|---|---|---|
Walkthrough | ||
The Shae Mo'sah Shrine is one of the many Shrine of Trials found in Breath of the Wild.
Requirements
The Shae Mo'sah Shrine is located at Goron City, along the path leading towards the Abandoned North Mine.
Swinging Flames
In the first room there is a floor switch that needs to be pressed down. The easiest way is to step on the switch and then use Stasis to keep it pressed down. Alternatively, Link can use a Fire Arrow or flaming weapon to burn down the nearby ivy. This will lower a barrel which can be placed on the switch.
Run passed the first gate and turn left to find a treasure chest that contains a Stone Smasher. Continue on and fight two Guardian Scout I's and a Guardian Scout II. Be sure to open the nearby treasure chest that contains a Ruby. Then head up the ramp.
Ignore the locked door here for now and continue onward. Climb the stairs to find a platform with a switch on top. Just beyond the floor switch, down below, there is a treasure chest which contains 10 Ice Arrows.
Climb back up and step on the switch, which will cause a flame to drop down. Link can use Magnesis to grab the flame, causing it to hit the ivy. Alternatively, Link can shoot it with an Arrow. Once the ivy burns, this will cause a metal ball to roll down the chute until it hits a gate.
Follow around the corner and there is another floor switch. Step on it and it will cause the ball to roll down, causing the wheel to spin. This will temporarily open the nearby door, so run on through before it closes. Open the chest here to get a Small Key.
Climb up the ramp and then drop down. Backtrack around the corner all the way to get to the locked door. Use the small key and head on through. This final puzzle has multiple solutions. However, by far the easiest solution is just step on the floor switch, use Stasis, and then run on through. Run up to the altar and speak with Shae Mo'sah to get the Spirit Orb.
Gallery
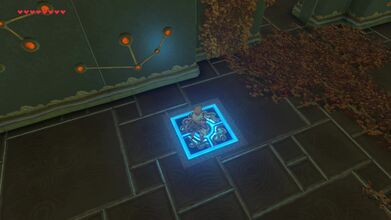
Step on the first switch to open the gate. 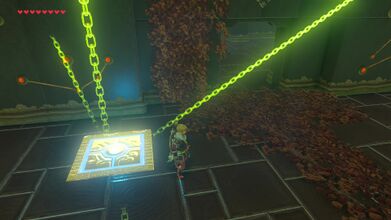
Use Stasis to keep it pressed down. 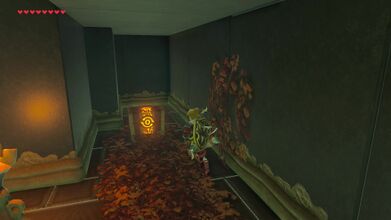
Open the chest around the corner for a Stone Smasher. 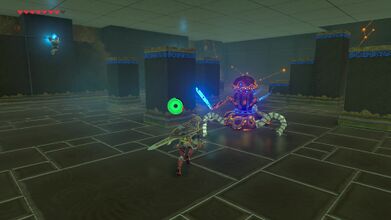
Take care of the Guardian Scout II. 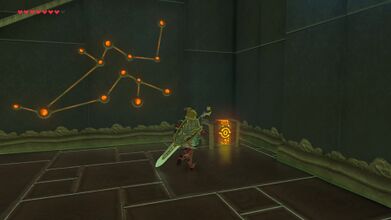
Open the chest tucked away to get a Ruby. 
Another chest here contains ten Ice Arrows. 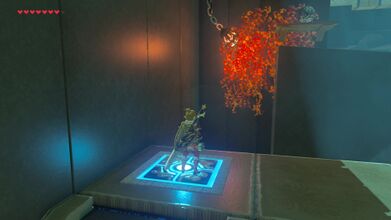
Step on the switch to cause a lantern to drop down. 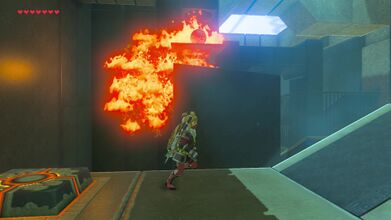
This will light the ivy on fire, dropping the ball. 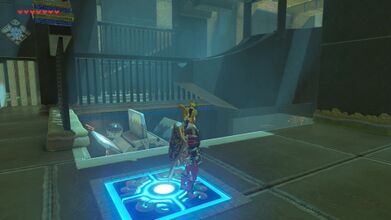
Step on the switch to get the ball to fall onto the wheel. 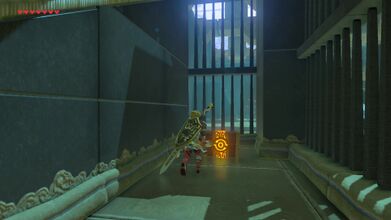
Open the chest to get a Small Key. 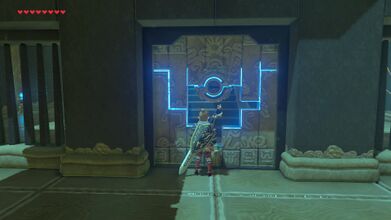
Backtrack to the locked door and open with the key. 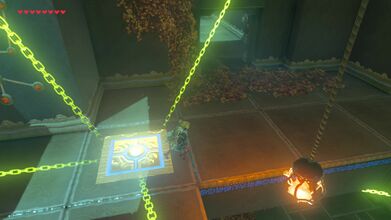
Once again use Stasis on the floor switch.


