Speedrun:A Link to the Past/Any% (NMG, No S+Q)/Tower of Hera: Difference between revisions
| Line 286: | Line 286: | ||
Slash the crystal switch from wherever you end up bouncing to, then collect the bomb from this pot before dashing out. Sometimes the pot can reactivate the switch if you're standing under it so make sure the switch is '''blue''' when you dash out. | Slash the crystal switch from wherever you end up bouncing to, then collect the bomb from this pot before dashing out. Sometimes the pot can reactivate the switch if you're standing under it so make sure the switch is '''blue''' when you dash out. | ||
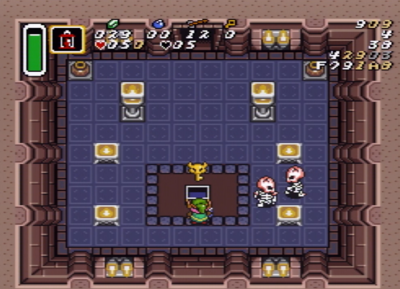
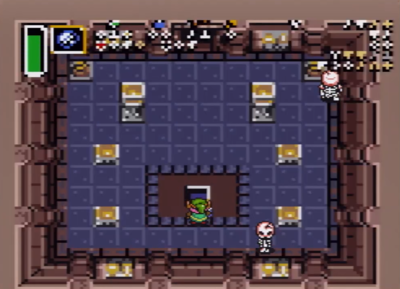
[[File:LTTP toh21-1 key door.png|400px]] [[File:LTTP toh21-2 key door.png|400px]] | |||
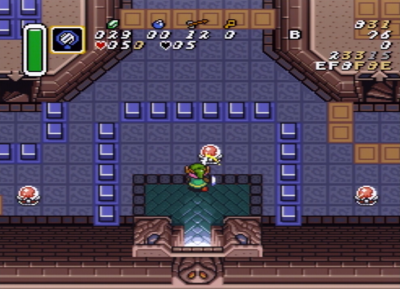
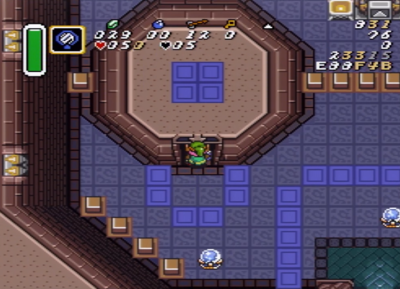
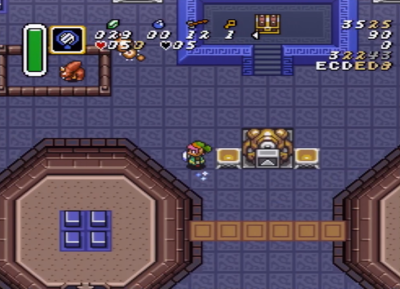
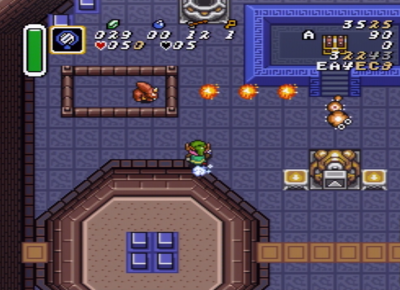
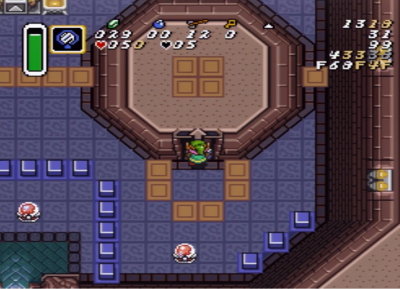
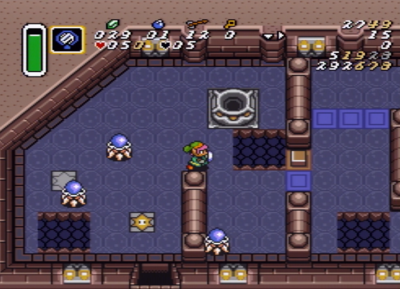
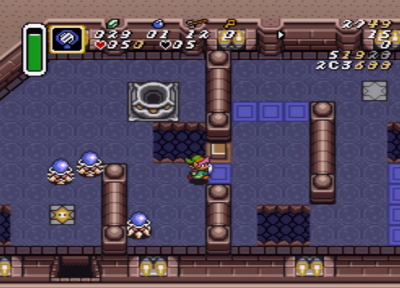
Hold '''Up+Left''' as you exit the door to avoid activating this floor tile. | |||
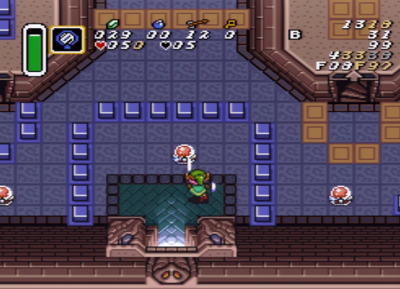
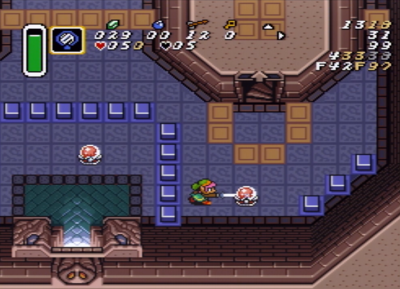
[[File:LTTP toh22-1 pits.png|400px]] [[File:LTTP toh22-2 pits.png|400px]] [[File:LTTP toh22-3 pits.png|400px]] | |||
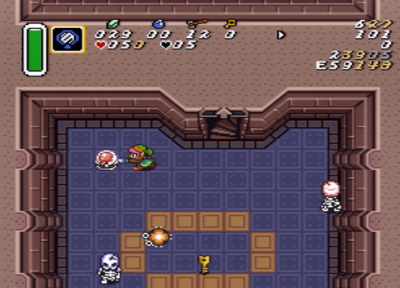
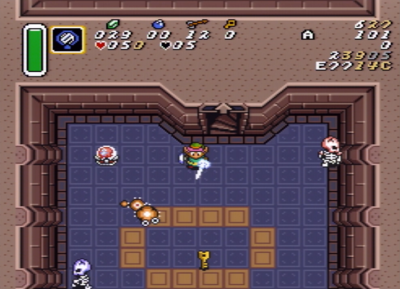
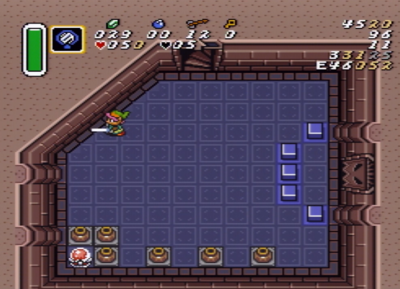
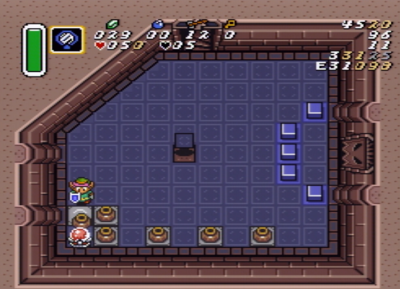
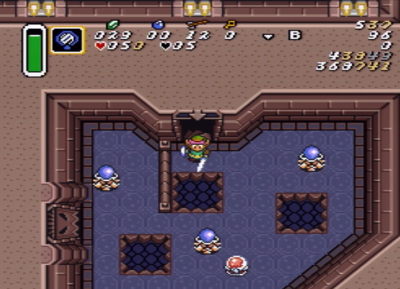
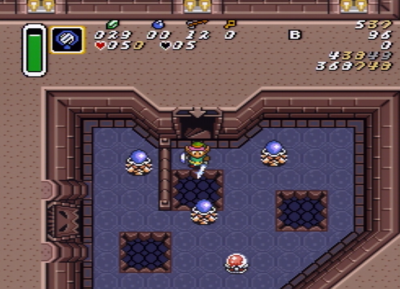
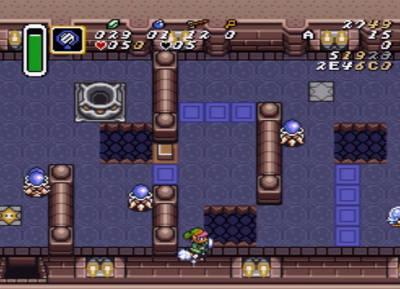
Again hold '''Up+Right''' to avoid the floor switch, then hold a '''Down+Right''' angle against this wall to avoid the pit. | |||
[[File:LTTP toh22-4 pits.png|400px]] [[File:LTTP toh22-5 pits.png|400px]] | |||
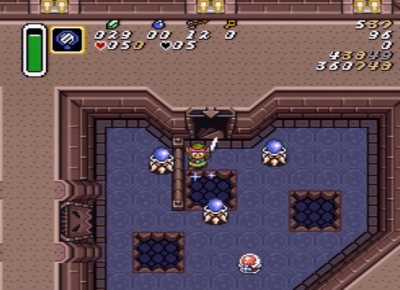
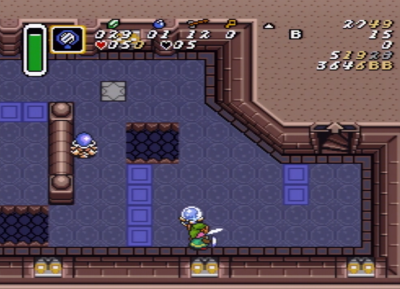
Move down to the bottom wall to dash along the edge of the pit. There are a couple things to keep in mind here with how pits work in ALttP. When you stand against the bottom wall you are exactly halfway onto the pit edge. If you are any higher than this you will fall in to the floor below. Also when dashing, normally you can continue to hold a direction on the dpad without any issue but dashing next to a pit makes it so '''ANY''' dpad input will stop your dash. In this case it's just another annoying detail to remember, but we will actually use this for something more helpful later on. | |||
Stop to slash this crystal switch and walk the rest of the way to the next floor. | |||
=== Moon Pearl Bomb Jump === | === Moon Pearl Bomb Jump === | ||
Revision as of 01:27, March 8, 2024
Tower of Hera Overworld
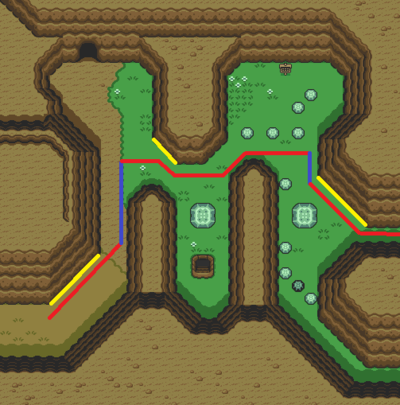
Hera is the first significant difficulty spike of the game. This segment features two of the more notable tricks in the route and much more difficult random enemy patterns than we have seen up to this point.
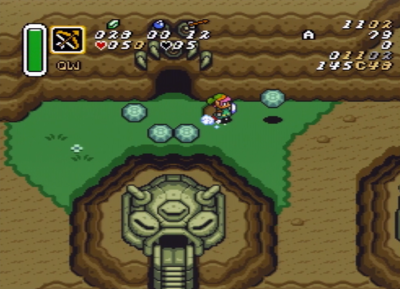
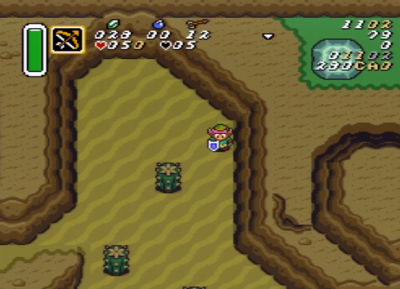
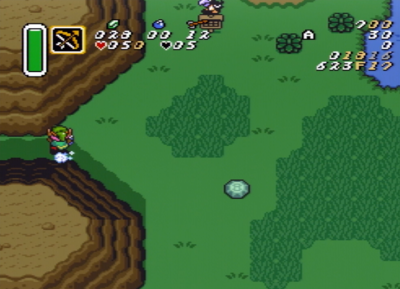
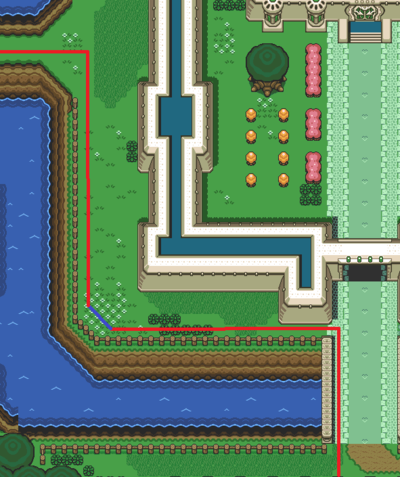
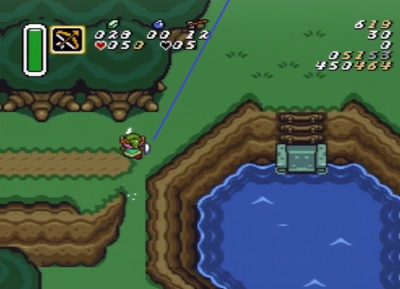
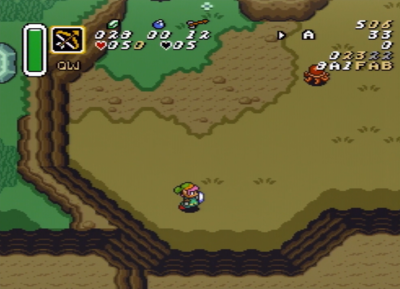
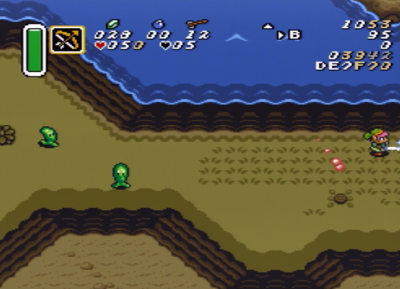
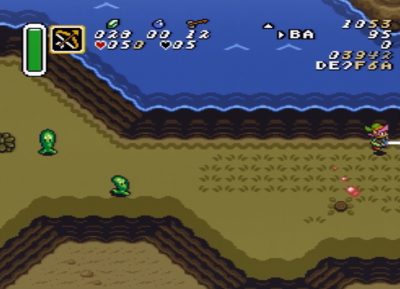
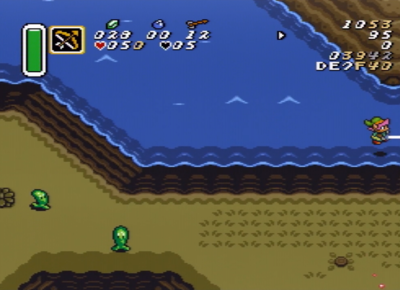
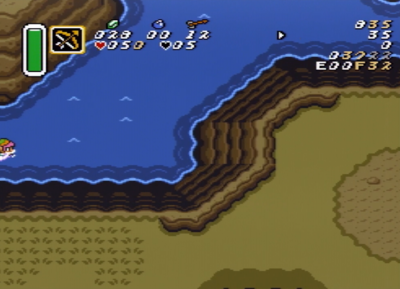
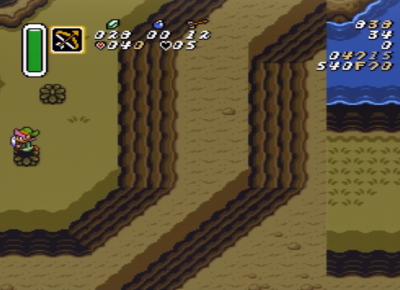
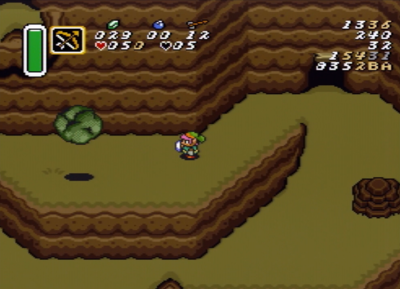
Pick up the rock on the right and dash off the ledge, then get as far right as possible before dashing down. It's important to get as far over as you can so you don't hit a cactus on the way down.
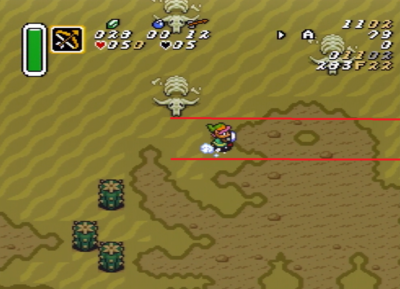
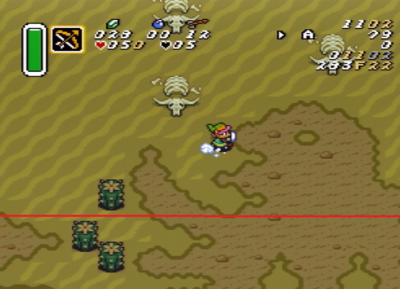
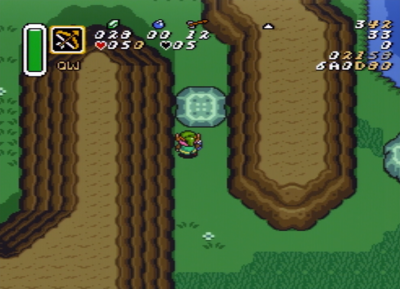
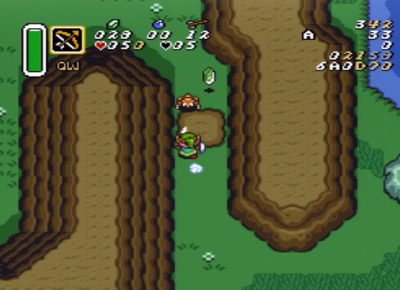
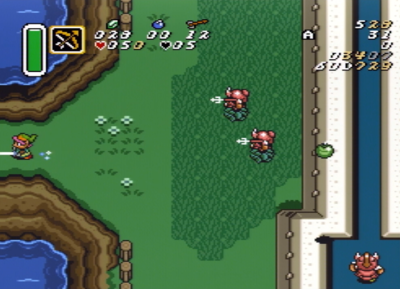
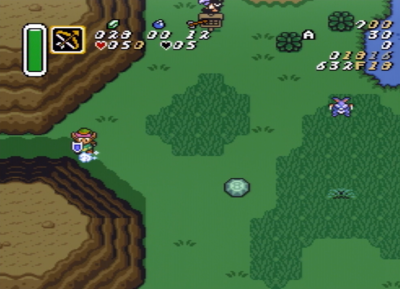
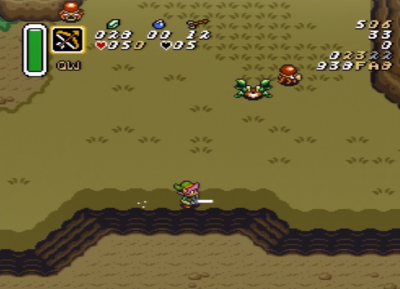
Start dashing Right when you get to the Eye of the octorock. This is about a 2 tile wide gap. Alternatively you can aim for the lower gap which is a bit bigger.
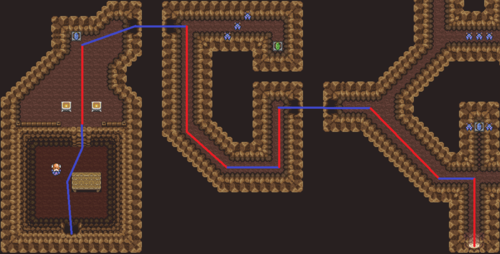
Start dashes while facing slopes indicated in yellow. Dash cancels are indicated in blue.
Fake Flippers Skip
The Fake Flippers glitch is a staple of the JP 1.0 route for A Link to the Past. This trick only saves 8 seconds, however and tends to be a common Reset Point for newer players. I recommend trying both routes to see which you like better.
To skip fake flippers, dash up when you get past the slope then Walk up and lift up this rock before dashing. It IS faster to dash here but only if you dash very close to the rock, so the risk of bonking is not worth the very minimal time save.
Walk up to this opening and dash up, then move to the next opening and dash up again.
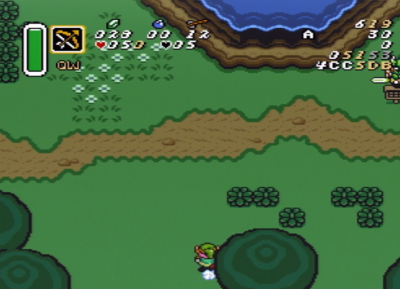
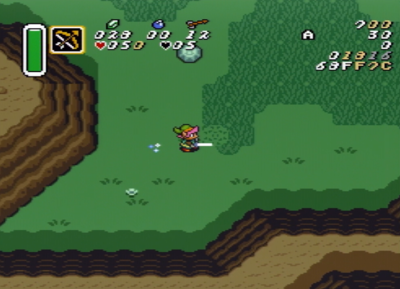
Slash this bush and dash just under the tall grass. It's not a big deal if you dash higher but this grass will slow down your movement a little.
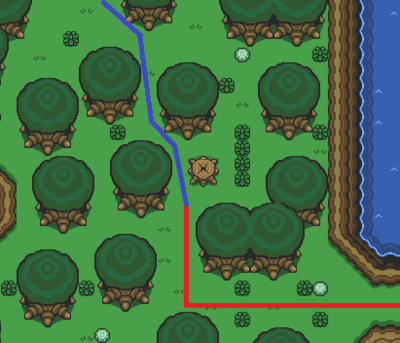
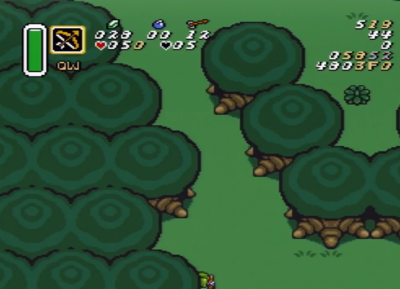
Follow this route for the rest of the screen. Make sure to exit in the middle of the gap to avoid some obstacles on the next screen.
Dash about halfway up this screen being careful not to bonk anything so you don't get swarmed by guards. At this point just hold Up+Left until you get through.
Dash along the slope until you reach this gap then walk the rest of the way. This screen transition is where we meet up with the other route.
Fake Flippers Tutorial
Fake Flippers is the second JP 1.0 glitch that we encounter in this game in the standard Any% route. Skip this part and do the alternate route in the previous section if you're playing on any other language.
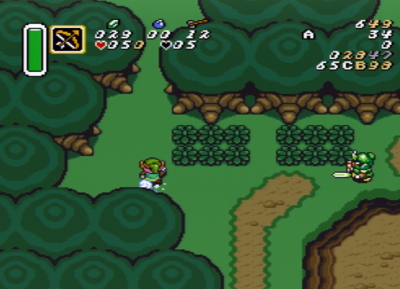
Dash down at the corner of the slope, then dash right through this lower strip of grass.
Hold Up+Right until you get to the opening in the ledge. Normally the game will prevent you from falling off ledges by forcing you to press a direction against it for at least 20 Frames. We can get around this by holding a direction and tapping the A button to jump instantly. This is known as a Quickhop and we'll be using it quite a bit throughout the run.
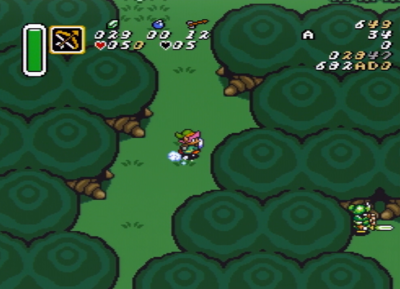
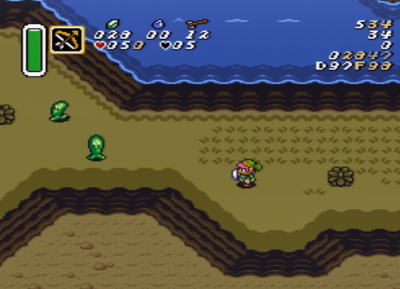
Move Down+Right until you are below the grass texture. It's ok to nudge the slope here. You want to be lined up with the mountain ledge on vertical position FA8 for the next part but it's ok if you get nudged up a Pixel or two higher.
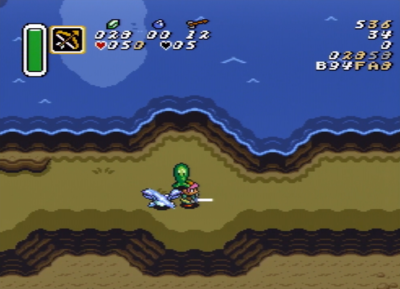
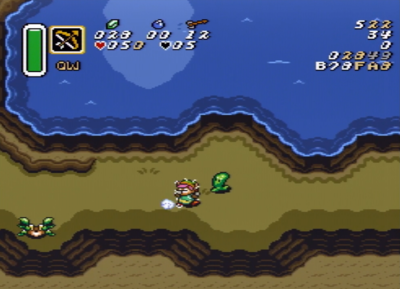
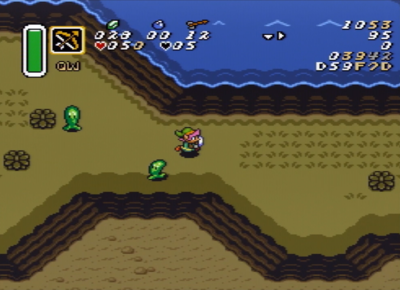
The vertical position is worth mentioning here because you'll hit the Buzz Blob in the first example if you are any higher. You may still need to move down if you get a bad RNG like in the second example.
Continue dashing and turn back when you get close to this last bush on the right side of the screen. The only thing we're really concerned about here is turning around before you hit this bush. We need it for the next part of the glitch setup. You may have to go around this last buzzblob if it moves down. The Sand Crab sometimes lurks over in this area and you'll have to slash it if it gets too close.
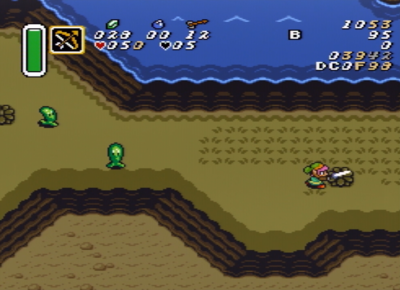
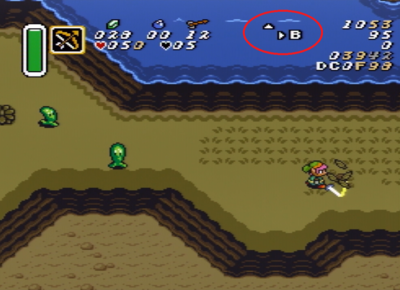
When you get to this point you need to still be aligned with the mountain slope on the vertical axis on coordinate F98. If you had to adjust your movement at all to avoid enemies you'll need to go back and nudge the slope again, then walk back over to the bush. You can tell you did it right if the bottom of Link's shadow is touching the grass texture below. If there's a small gap you need to go back and set up again. When you're all the way up against the bush you'll get the horizontal coordinate DC0 and we're ready to attempt the fake flippers glitch.
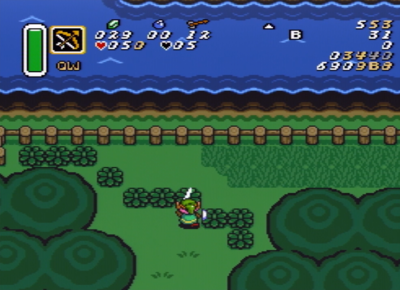
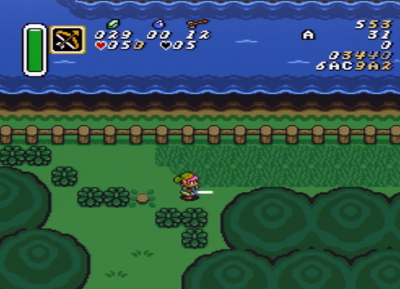
From this position, slash the bush and continue holding the B button, and Buffer an Up+Right input during the sword animation. This buffered input will let you move perfectly to the next coordinate DE7 F70.
When you get to this point you can choose to tap A to Quickhop, or just wait the 20 Frames until Link naturally jumps off the ledge into the water. During the falling animation you want to buffer a Right input to move to the screen transition. If you did everything correctly you will scroll to the next screen.
This glitch works because in this version of the game Link is able to move for 1 frame before it checks your inventory for flippers. If you hit a screen transition during that 1 frame the game never bothers to check again on the next screen and assumes you already have the flippers. The reason for this whole setup is for Normalized movement that gets you to an exact position every time.
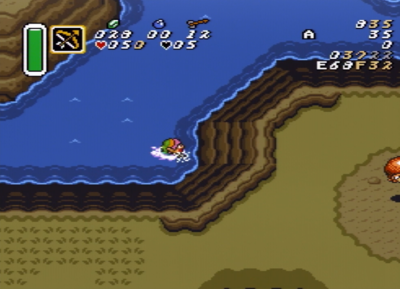
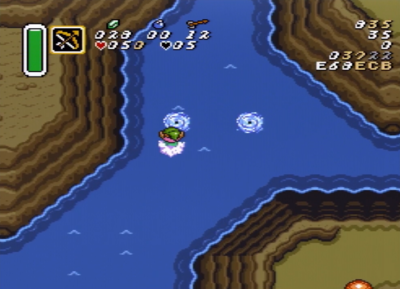
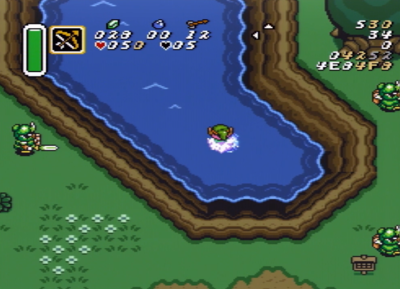
Swim directly to the right until you hit the wall, then swim straight up into the warp.
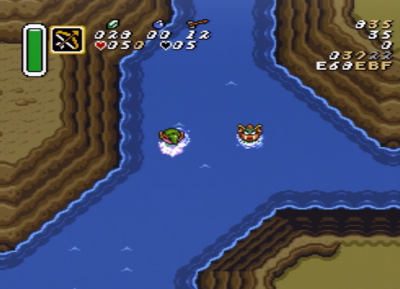
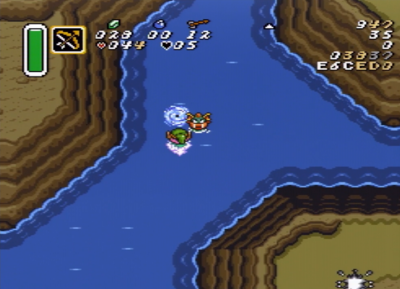
If the path is clear of enemies like in this first example you'll get through without any problems. Sometimes a Zora will Spawn directly on top of the warp though and you won't be able to make it through without taking damage. In this case you'll want to dodge the fireball and get in when the path is clear again. If you take damage while in the glitched fake flippers state, the game will attempt to put you back on land on the wrong screen and it will just scroll infinitely in a glitchy mess.
If this happens you'll have to start from the beginning of the run because save and quit is banned in this Category. This is the reason many newer players opt to skip fake flippers.
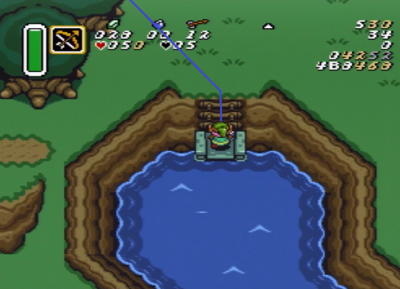
If you made it this far you successfully used fake flippers. Hold Up+Left and mash A to swim to this ladder, then move to the top-left area of the screen.
Death Mountain Climb
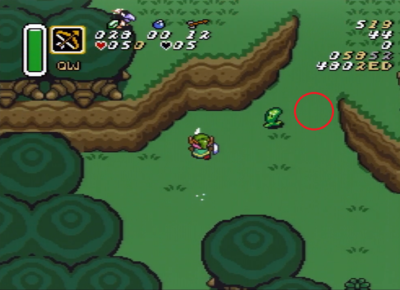
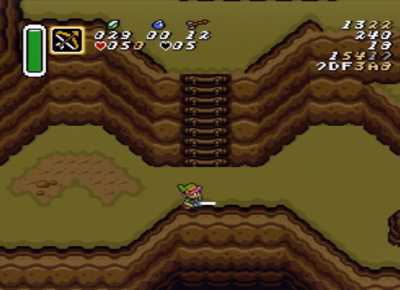
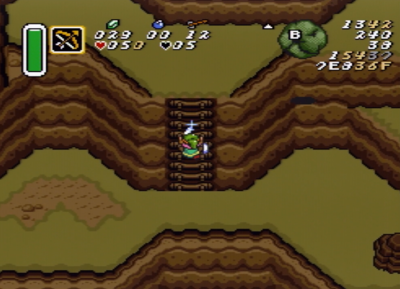
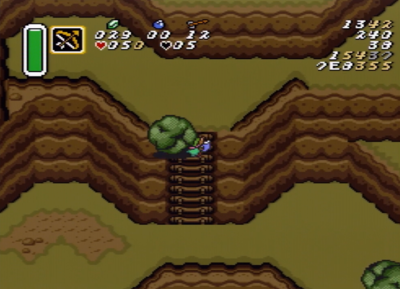
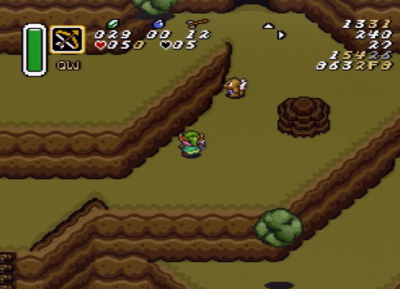
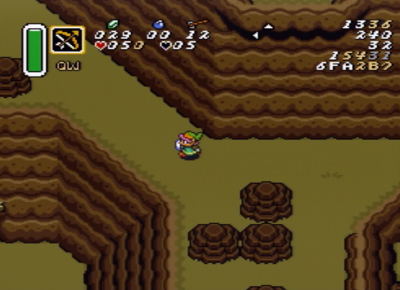
This is where the two route options meet up again. Dash up to the mountain slope and go around this buzzblob. Usually you go under him but you may need to go above if he is lurking in this red circle area.
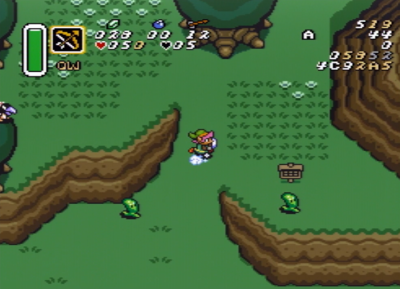
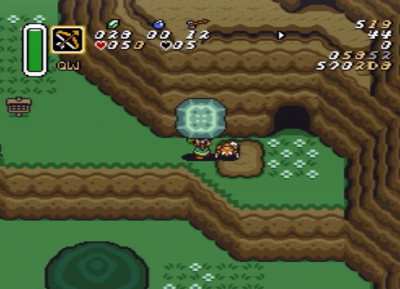
Dash along the slope and lift this rock to get inside the cave.
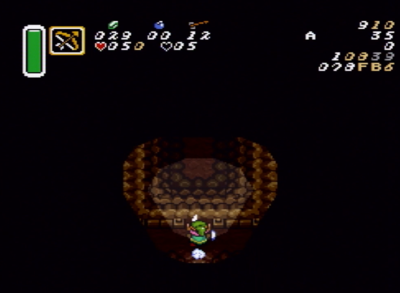
We dash off this ledge because it isn't possible to Quickhop a North facing ledge like this. Normally we wouldn't dash such a short distance but it ends up being slightly faster. You can follow the route as indicated with dashes or just walk the whole thing so you don't bonk the walls. Either one is fine is this case.
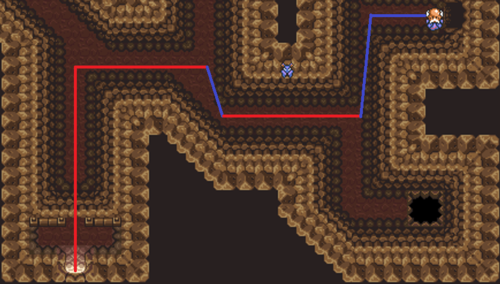
Keep in mind you can dash with the Lost Old Man following you, but you won't move any faster. Walk along this path while clearing the text boxes at these two locations. Be careful to stay low enough so you don't fall in the pit. Once you finish the second text box, hold Down+Left along the wall to get the Keese to dodge you.
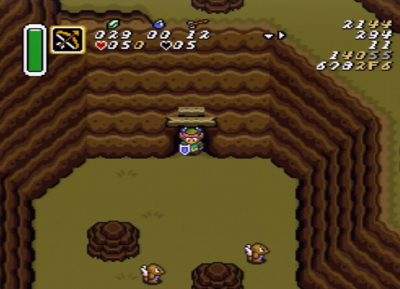
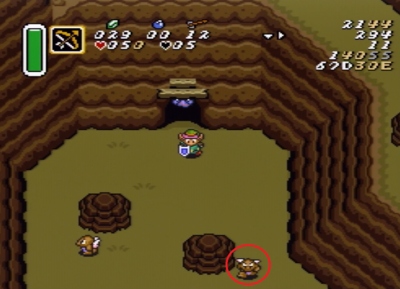
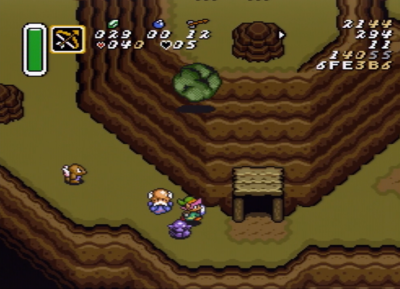
This is our first of three Death Mountain climbs. This is both the longest and most difficult screen we've seen up to this point. There are 3 Deadrocks in the lower part of the mountain that always spawn in the same locations. Their movement from here however is very quick and completely random. They can move in whatever cardinal direction they choose and they quickly bounce off objects and start moving in the opposite direction.
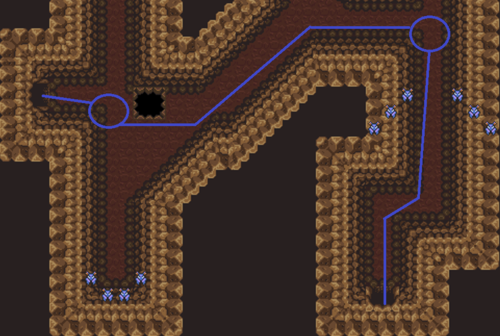
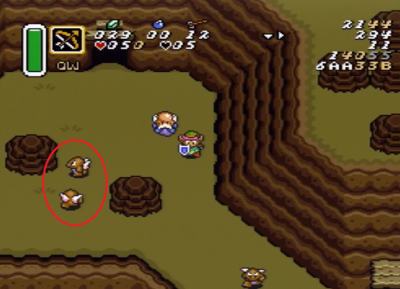
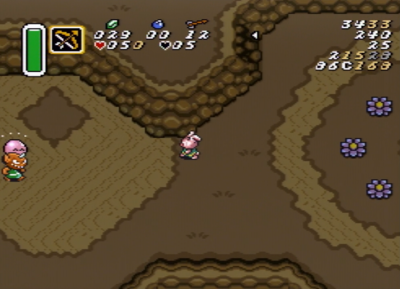
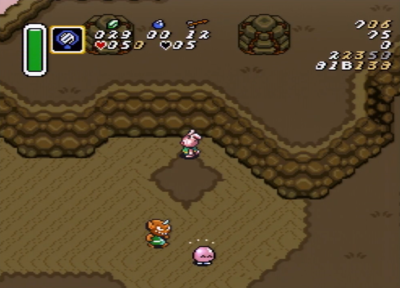
Our goal is to safely escort the old man to the cave opening and obtain the Magic Mirror. Start by moving Down+Right. Usually you'll get past the first two deadrocks without any issues but occasionally this one will move down and sit right in your path.
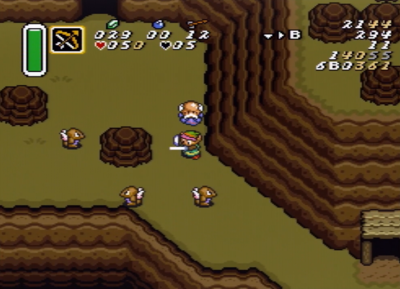
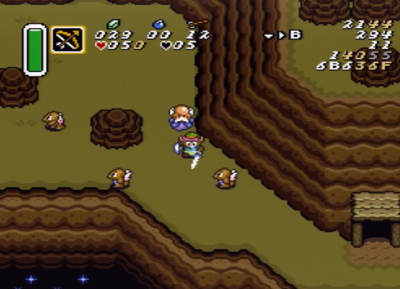
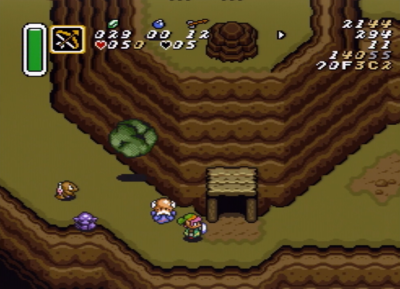
Slash your sword to stun the deadrocks in your path. If you miss you can still continue to hold the sword out to poke them.
On rare occasions a deadrock will block your path after you stun it and you'll have to dodge the falling boulders while you wait the 10 seconds or so for it to wake up.
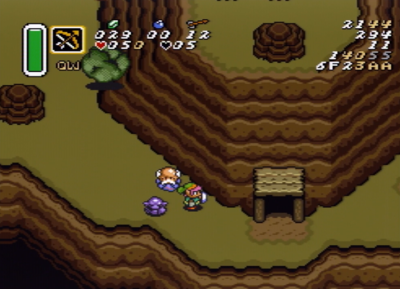
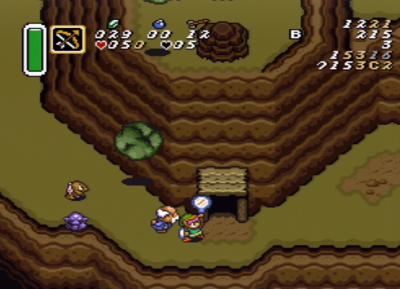
You want to stick to the mountain slope if possible as you enter this Cutscene Trigger. The old man will take much longer to enter the cave if he is below you. Mash the text to get the mirror and wait for him to go inside the cave.
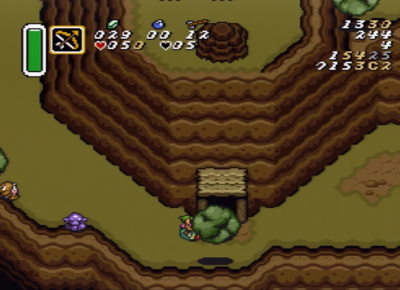
At this point we have to start worrying about RNG from falling boulders. In rare cases it's possible for one to hit you right as the cutscene ends. Dash to the right, or just walk if the path is blocked by boulders.
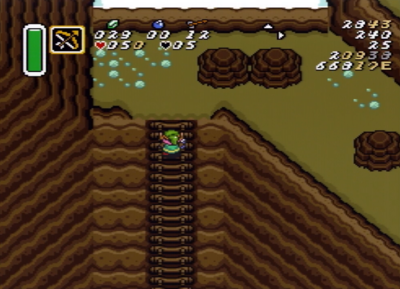
Make sure to face Up before entering the ladder and do a Spinspeed when you hear the sword charge sound. Spinspeed won't be armed properly if you face left or right. Dealing with boulder RNG on this ladder is the most difficult part of this climb. Don't worry if you get hit as long as the sword doesn't come out when you mash B. Sometimes the boulder will cancel the sword spin late enough that it still works.
Keep in mind you can just walk to the next part of the mountain if the boulders are giving you a hard time.
Hold Up or Up+Right as you exit the ladder to activate spinspeed. You may need to wait for a deadrock or a boulder to pass as you come around this ledge.
Alternatively you can choose to skip the spinspeed section by navigating through the caves. When you come out the other side it takes a few seconds for the boulders to start spawning so you can getthrough the rest of the lower area without ever having to worry about them at all.
If you're still in spinspeed you can just hold Up+Left when you get past this corner. Otherwise face up and dash against it.
Take this opportunity to rearm spinspeed if you need to for any reason. Make sure to mash Left+Right as you climb this ladder to save extra frames. Exit by moving up and to the right. Hold Down+Right along the slope until you get to the bottom corner. This movement is a bit safer and easier than going under the rocks and it prevents you from accidently quick hopping off the open section of the mountain ledge below.
Go above the rocks again then aim for the opening and head straight for the warp tile.
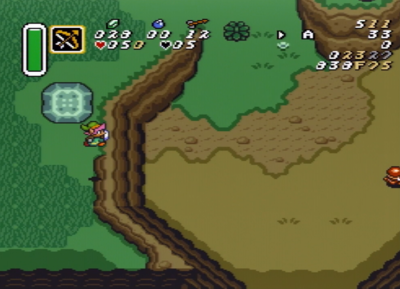
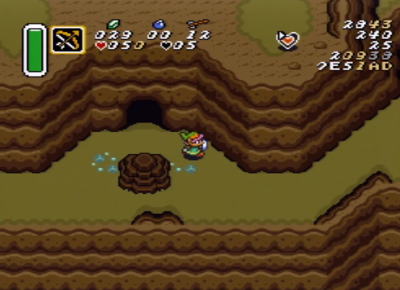
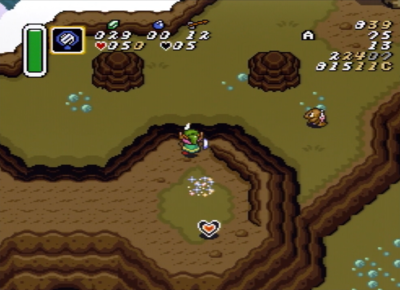
Walk to the left and use the mirror at the top of this diamond texture to avoid landing on the heart piece. Make sure you avoid the Bully's Friend and his long conversation about the Moon Pearl.
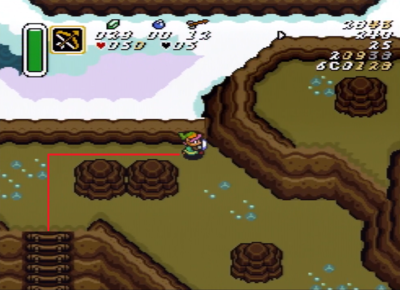
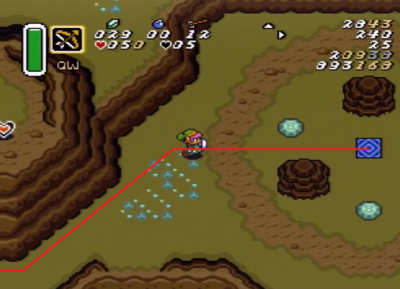
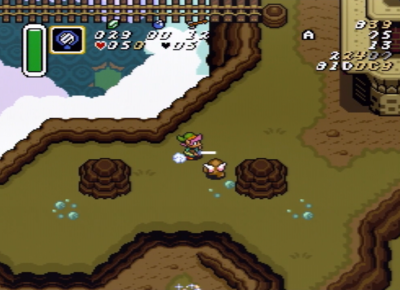
Dash off this ledge and dash right above the rocks. Sometimes this deadrock will block your path but it's usually safe.
Hera Basement
Now that we're safely inside the dungeon things will start moving along a little more quickly. Here we encounter the first Crystal Switch in the series. Slash this one and enter the door on the left.
Slash the switch, then move back above the key and dash down. This movement will let you knock the Mini-Moldorm out of the way if it stays close to the key. Cancel your dash and use the mirror to return to the start of the dungeon.
Slash both of these switches and dash up to the top half of the room.
Move left and dash up to the key door at the top of the room. You may need to delay your dash a bit if the Kodongo shoots fire to the right.
Dash along the slope and throw the pot at this switch.
Quickly get into position by holding the sword out and walking backwards against the wall, then slash each tile as it gets close to you.
As soon as you clear this tile, pick up the pot and walk to the corner of the room, then turn around and throw it at the last tile when you get to the door. This timing will let you break the tile faster than waiting for it to get all the way to you.
Walk over to the switch and slash it to dash out. Because this mini moldorm can be in the way pretty often, it helps to start a sword charge right away and spin in the middle of the room. Even if you miss you should still have a clear path at this point.
Hold Down+Left until you get to this position, then menu to lamp and light this torch first. After Lighting the second torch you can choose to walk or dash over, but keep in mind that if you scare the Red Stalfos with your dash they will throw bones at you.
Grab the key before changing the menu back to mirror so you don't accidentally erase the last minute or so of progress.
Tower of Hera Climb
Slash this switch one more time while moving to the right side of the room and head for the top of the tower.
This is one of the more unusual rooms in the speedrun route. Hardhat Beetles chase you by tracking your current position, but it's a bit tricky and inconsistent because they have a random amount of delay before they start moving so they'll never act exactly the same twice.
Start by holding the sword out, then move down just a little.
You want to release the spin into the left beetle while you're up against the rail. The timing is important because you want the right beetle to be close enough for you to bounce into it. This counts as spin damage on both of them in one quick movement.
Turn to the left and slash this beetle as soon as it gets close enough. This will kill it and also bounce you closer to the other beetle. Slash the second beetle and you should be right back in front of the door where you started with only one remaining.
Walk down to this position and slash the last beetle into the pit while facing Left or Up.
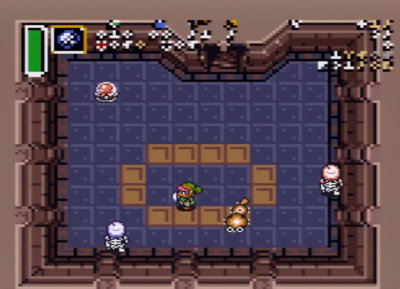
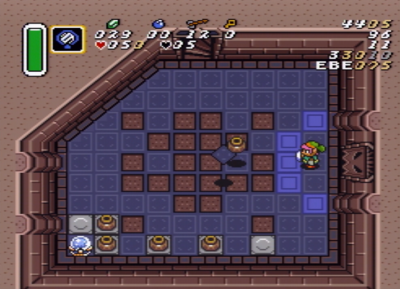
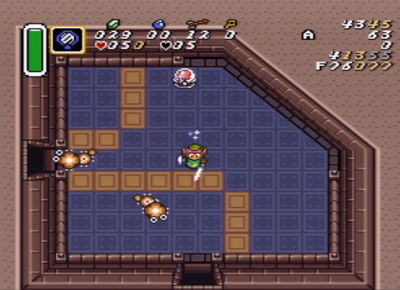
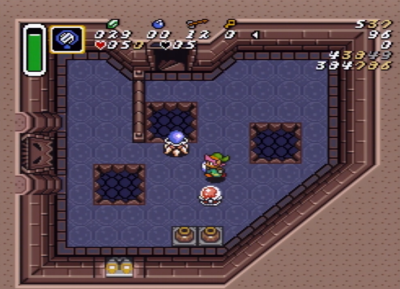
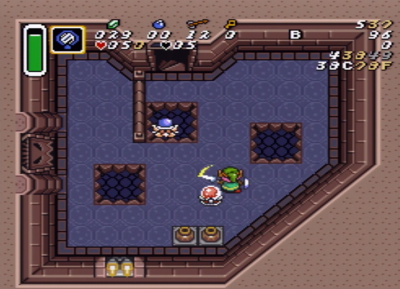
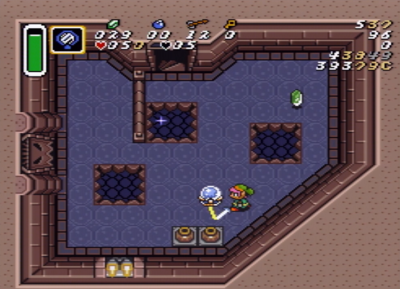
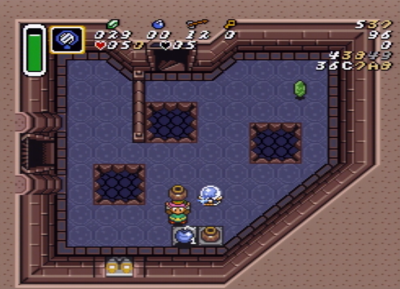
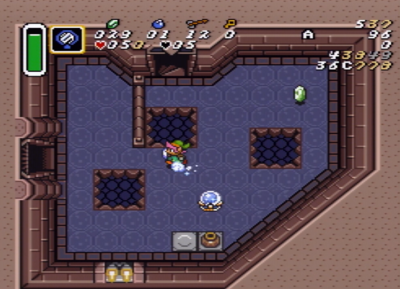
Slash the crystal switch from wherever you end up bouncing to, then collect the bomb from this pot before dashing out. Sometimes the pot can reactivate the switch if you're standing under it so make sure the switch is blue when you dash out.
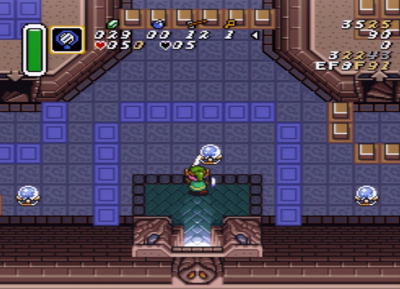
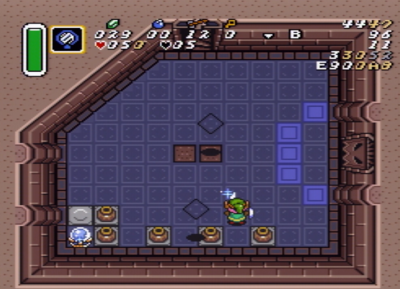
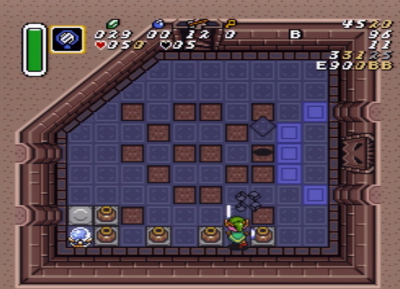
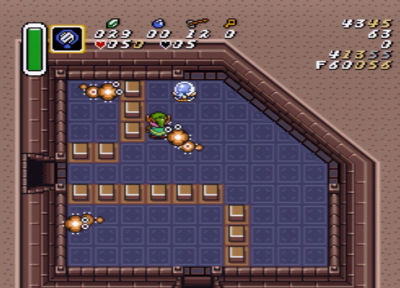
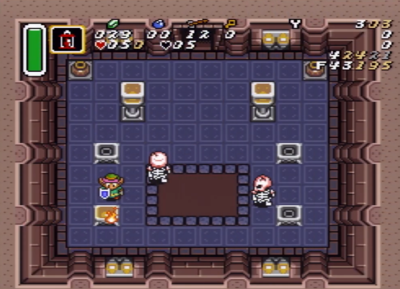
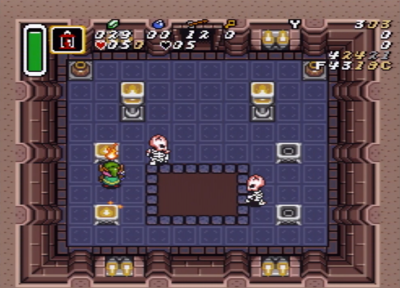
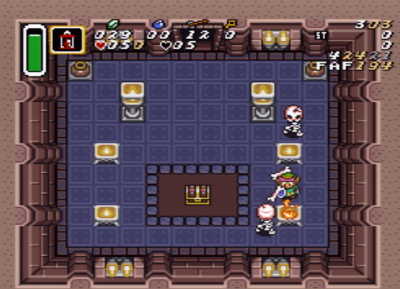
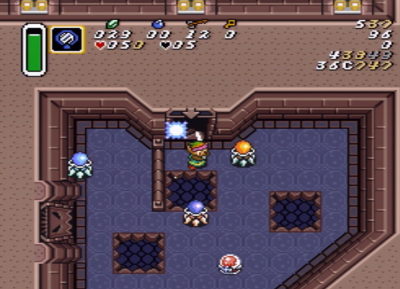
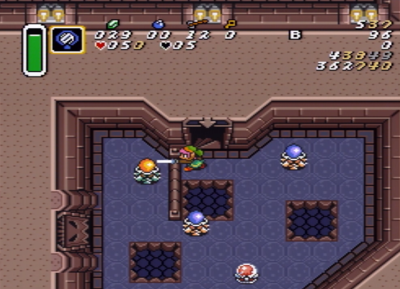
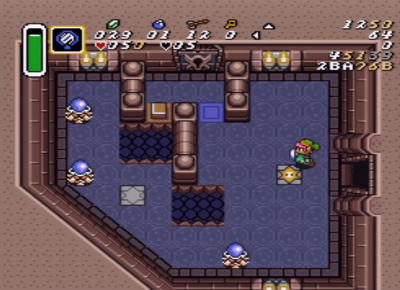
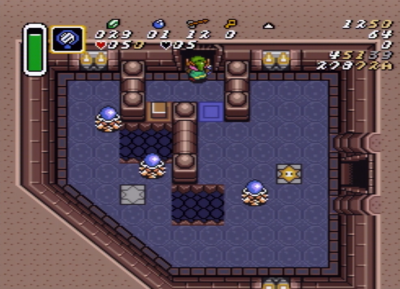
Hold Up+Left as you exit the door to avoid activating this floor tile.
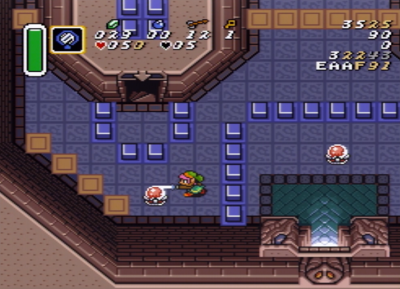
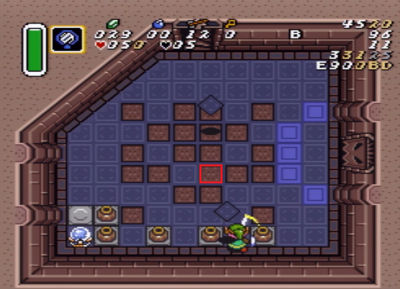
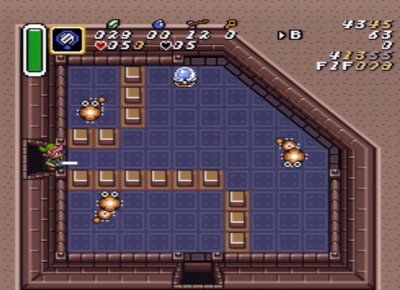
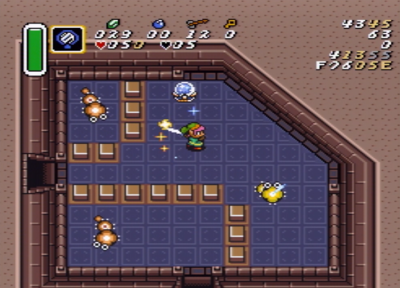
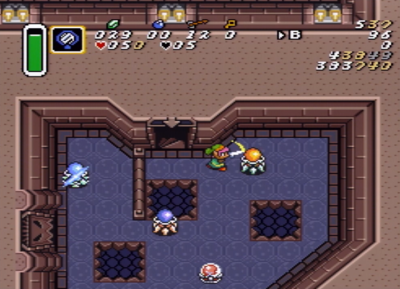
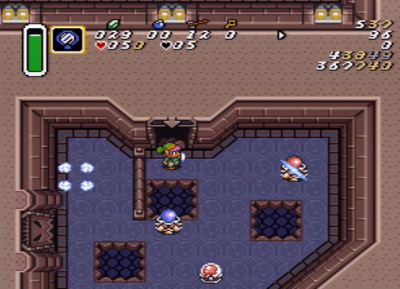
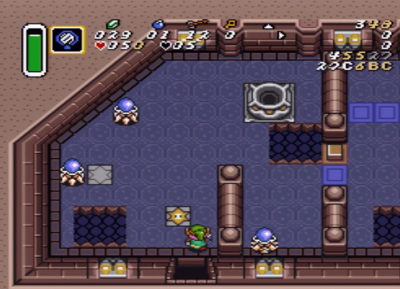
Again hold Up+Right to avoid the floor switch, then hold a Down+Right angle against this wall to avoid the pit.
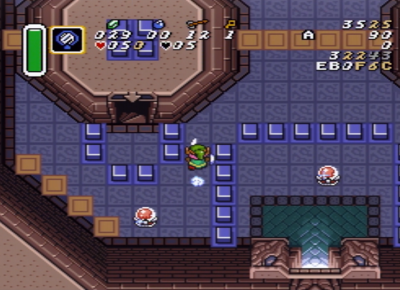
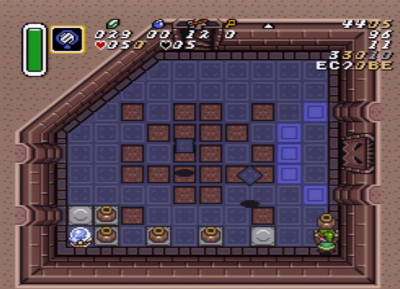
Move down to the bottom wall to dash along the edge of the pit. There are a couple things to keep in mind here with how pits work in ALttP. When you stand against the bottom wall you are exactly halfway onto the pit edge. If you are any higher than this you will fall in to the floor below. Also when dashing, normally you can continue to hold a direction on the dpad without any issue but dashing next to a pit makes it so ANY dpad input will stop your dash. In this case it's just another annoying detail to remember, but we will actually use this for something more helpful later on.
Stop to slash this crystal switch and walk the rest of the way to the next floor.


