Ruvo Korbah Shrine: Difference between revisions
(Created page with "{{Infobox|location | image = | game = ''Breath of the Wild'' | inhab = Ruvo Korbah | pointsint = | item = Spirit...") |
No edit summary |
||
| Line 1: | Line 1: | ||
{{Infobox|location | {{Infobox|location | ||
| image = | | image = [[File:RuvoKorbahShrine.png]] | ||
| game = ''[[The Legend of Zelda: Breath of the Wild|Breath of the Wild]]'' | | game = ''[[The Legend of Zelda: Breath of the Wild|Breath of the Wild]]'' | ||
| inhab = [[Ruvo Korbah]] | | inhab = [[Ruvo Korbah]] | ||
Revision as of 23:09, December 9, 2017
Games | ||
Inhabitants | ||
Items | ||
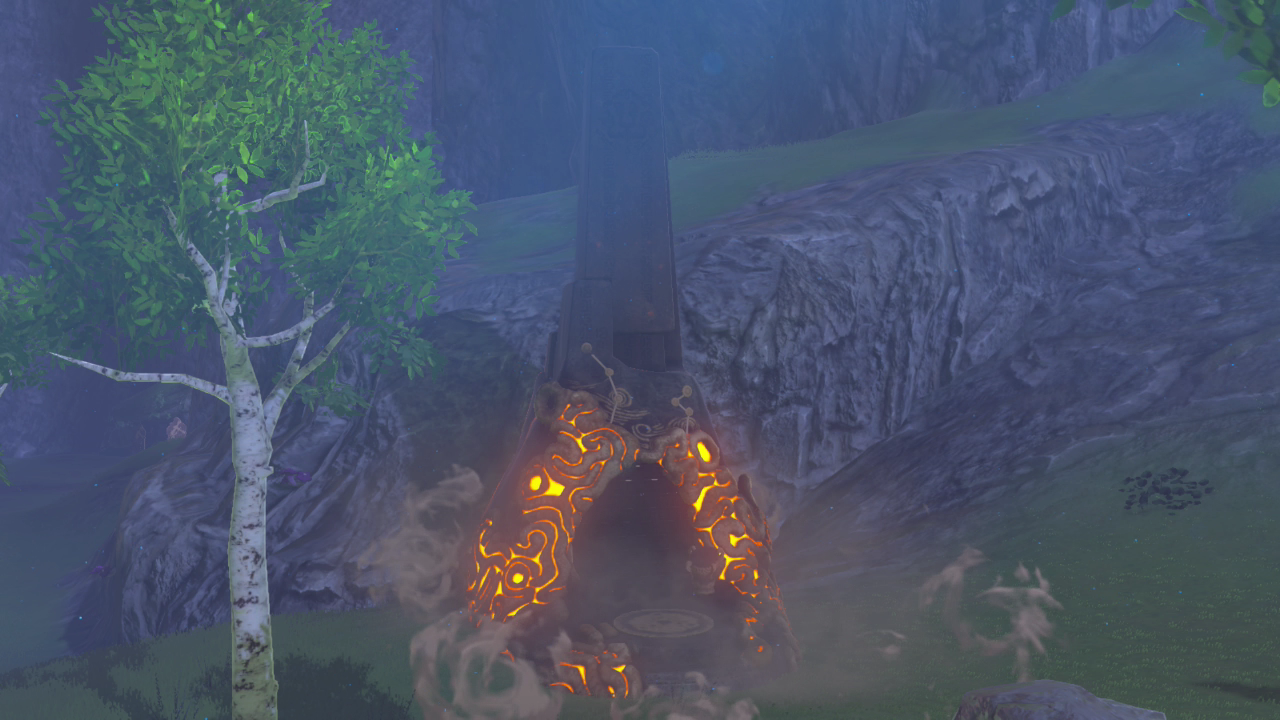
The Ruvo Korbah Shrine, also known as A Major Test of Strength+, is one of the many Shrine of Trials from Breath of the Wild.
This shrine is located south of the Temple of Time, and is accessed during the Divine Beast Tamer's Trial, as a part of The Champions' Ballad DLC pack.
Requirements
- DLC pack 2: The Champions' Ballad downloaded.
- All four Divine Beasts completed.
Discovering the Shrine
This Shrine is only accessible after returning to the Shrine of Resurrection and obtaining the One-Hit Obliterator. This weapon is used exclusively during this Shrine, and is the only weapon Link has during the quest.
The aim here is to defeat all the enemies in the surrounding area. Use the One-Hit Obliterator on the more difficult enemies. Watch out for spikes too.
Your bow is your best friend here, use your arrows liberally to take out the lower tier enemies. Use Bombs if you want to save arrows.
Be careful of any beehives, as you only have ¼ of a heart, they are deadly.
After you eliminate all the enemies, the Shrine will appear.
A Major Test of Strength+
First and foremost, you still only have ¼ of a heart, so take extreme caution.
This Shrine starts just like any other Test of Strength, with a Guardian Scout IV being present to fight. Use your shield to block any laser shots and wait for an opening to take him out with the One-Hit Obliterator.
After he is defeated, head through the now-open gate to find a chest. Open it for 10 Bomb Arrows. Step on the switch behind it to lower the floor in the main room.
Once you arrive at the basement you'll see a locked door. As we can't do anything about this now, head left through these linear corridors, taking out any Guardian Scouts as you go. They only have 13 HP so one shot with a decent bow will eliminate them.
Watch out for the Guardian Scout III in this section: it has 1500 HP so hold up your shield, wait for an opening, and take him out with the One-Hit Obliterator.
Continue on and eventually you'll come across a room with a ladder. As you enter this room, take a left and you'll see another corridor next to the one you came from. Follow it to find a chest, it contains a Giant Ancient Core.
Head back to the ladder room and this time climb it. Cross the platform to find another chest, containing a Small Key.
Now, navigate your way back to the locked door and head through it. You'll be in an open room which has a few Guardian Scouts.
Use Cryonis to make a pillar of ice which will block the scout on the ledge above. Stand hidden from it, then take out the other scouts with your bow, or paraglide down to them to take them down with your weapon.
Head up a staircase behind where your fought the weaker scout, whilst avoiding the scout's laser shots by holding up your shield or darting behind a gate.
As you reach the top platform, continue to hold out your shield then get up close. Wait for an opening, then take it out using the One-Hit Obliterator.
Once all the scouts are taken down, the gate will open to the Sheikah Monk. Speak with them to obtain a Spirit Orb.


