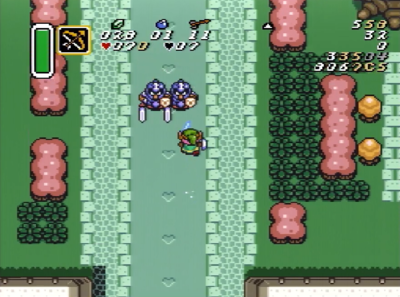
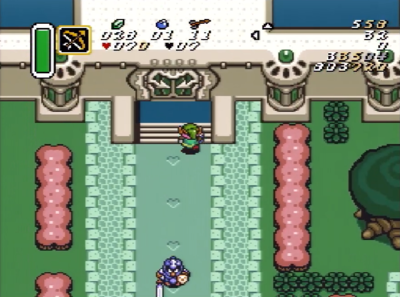
Speedrun:A Link to the Past/Any% (NMG, No S+Q)/Hyrule Castle Tower
Agahnim's Tower Overworld
Now that we have our three Pendants of Virtue the intensity from the previous segment drops off quite a bit while we collect the Master Sword and head off to visit Agahnim for the first time. The pace stays pretty quick for the tower climb portion but we won't be doing any difficult trick setups here.
Obtaining the Master Sword
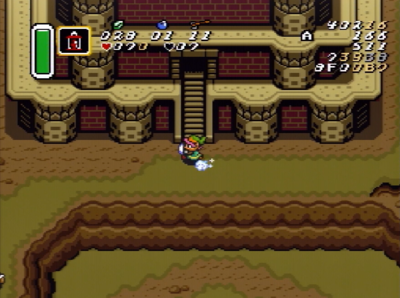
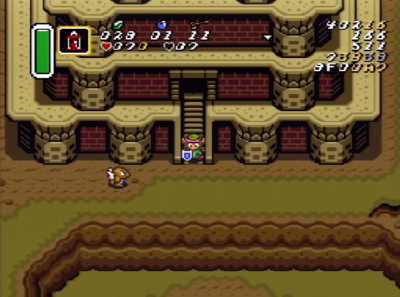
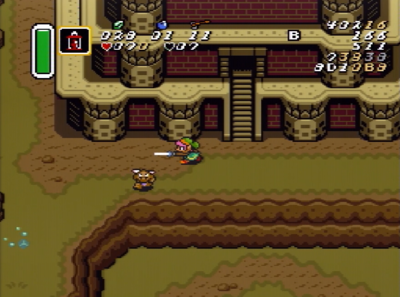
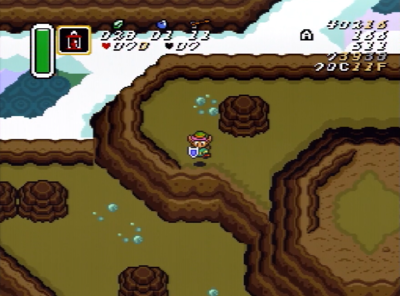
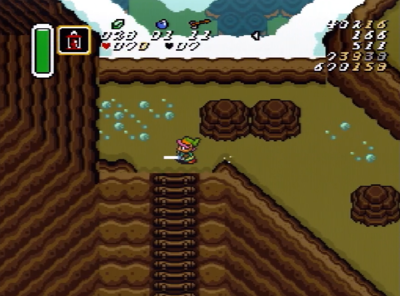
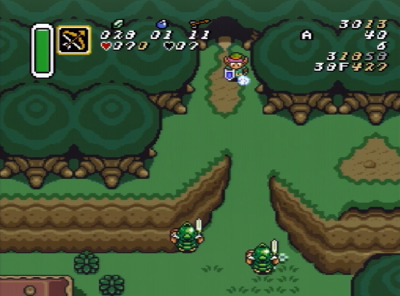
Walk down the stairs and dash to the left. Sometimes this Deadrock will sit right here as you're coming down and you'll have to be prepared to slash it if it's still in your way.
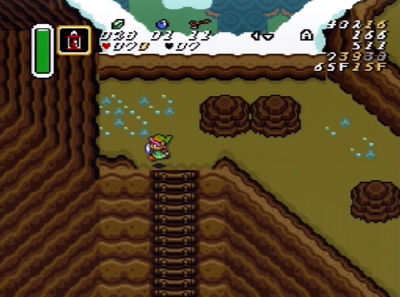
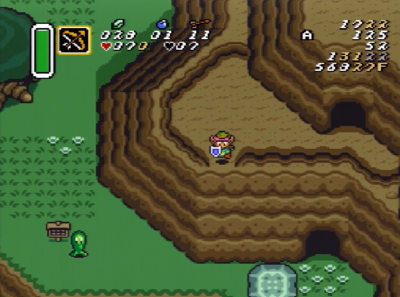
Stop your dash after this rock, then walk down and do a Quickhop by tapping A at the ledge.
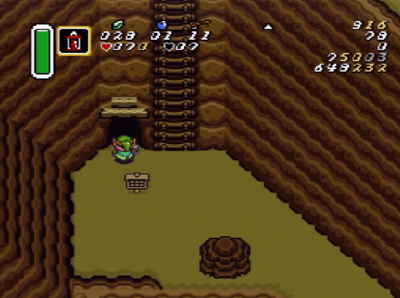
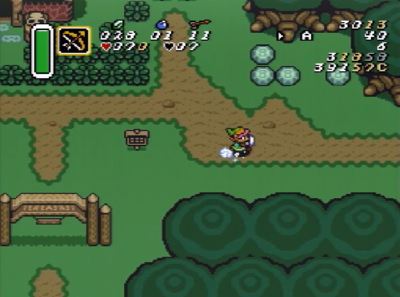
Dash left and get ready to cancel your dash with a Down+Left input. Hold this diagonal and tap A at the ledge to drop down in front of this cave entrance.
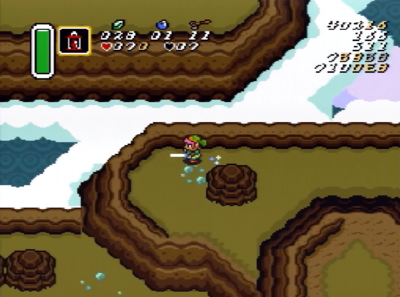
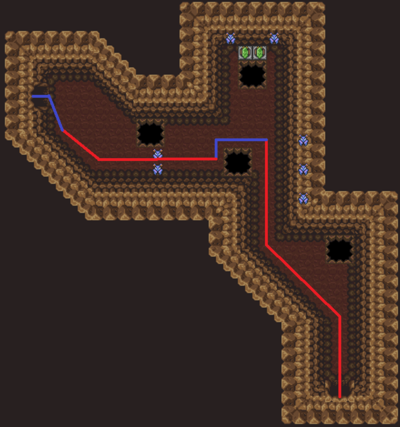
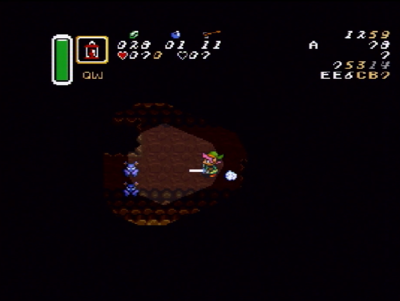
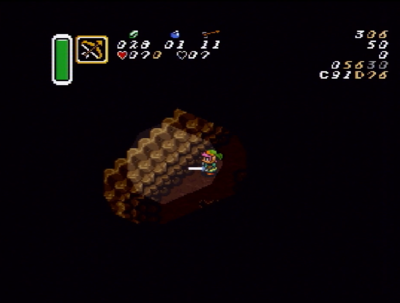
Dash along the slopes and walk in cardinal directions around the first pit to avoid falling in. Dash under the next pit a bit lower than you think you need too just to be safe. It takes a few Frames to move down lower but it takes several seconds to fall in the pit and wait for the camera to scroll back to the entrance.
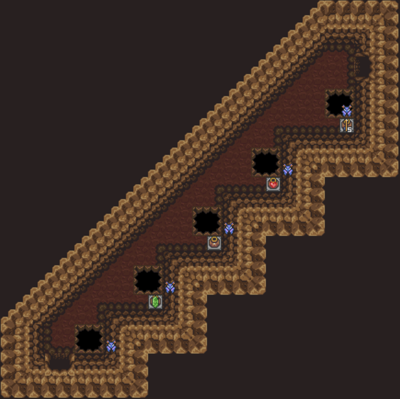
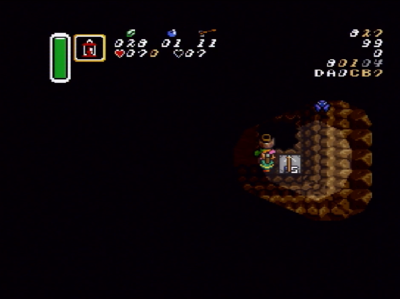
It's usually a good idea to grab this 5 pack of arrows under the first pot if you have less than 10. You need a minimum of 9 arrows going forward and that gives you no room for error on the next 9 arrow shots. Dash left along the slope and count the 5 pits as you go down. As soon as you can see the last pit, use your menu to arrows to Buffer a Down+Left input and walk the rest of the way to the cave exit. This is a really good place to use the menu because it costs about 8 seconds extra if you bonk and fall in the pit.
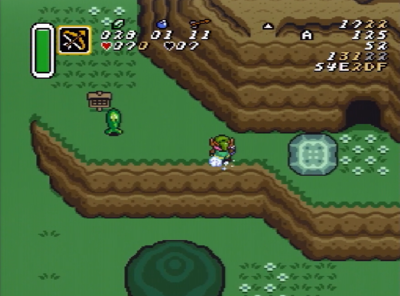
Do a quickhop at this ledge then dash Up against the slope.
Dash left and move up through this gap.
Cancel your dash up with a diagonal Up+Left and exit at the top of the screen. Just make sure you're not all the way at the top Pixel or you'll bonk the bush on the next screen.
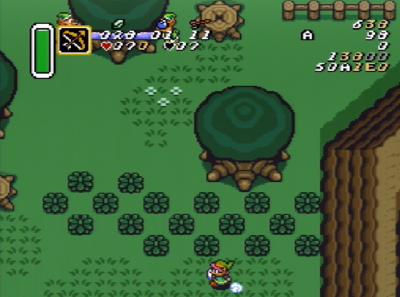
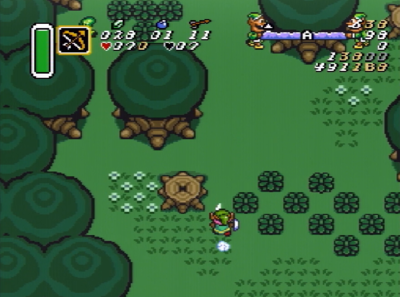
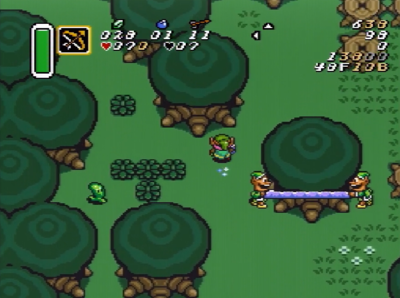
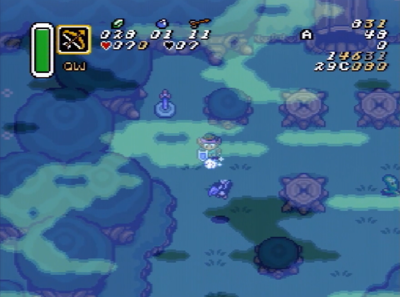
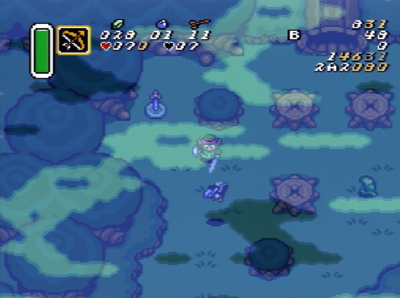
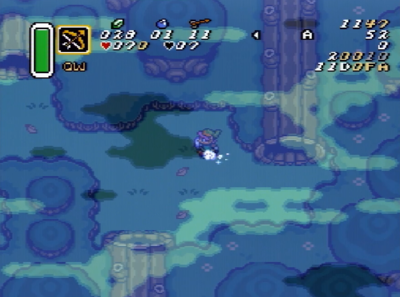
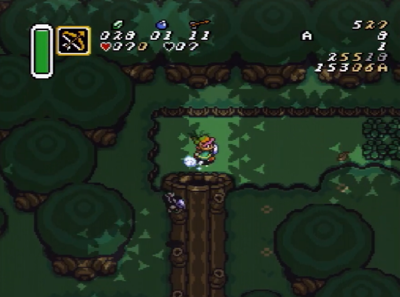
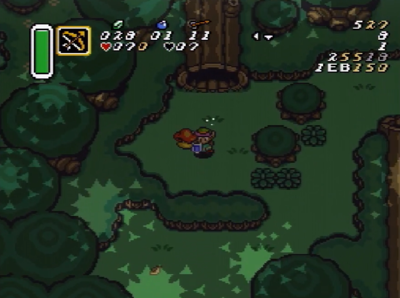
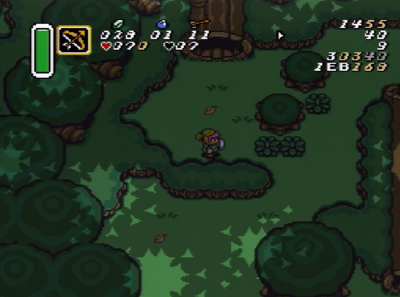
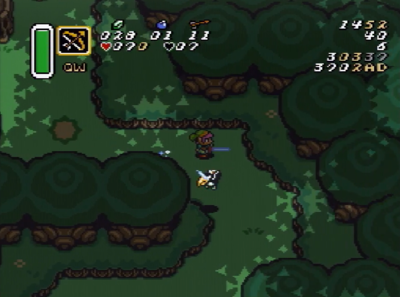
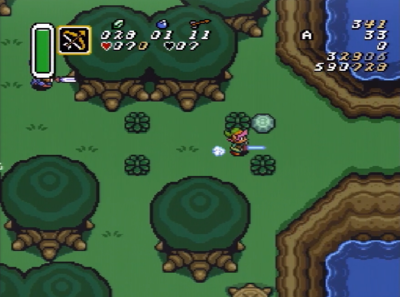
Dash left until you are directly above this middle grass texture and dash down. A lot of the objects in the Lost Woods area have a much lower tolerance for nudging which means it's much easier to bonk on them. The Crow also gets back to you very quickly which make both the timing and spacing pretty tight for this movement. If you like you can choose to hold the sword out instead, and then you can take an extra second to line up your dash down.
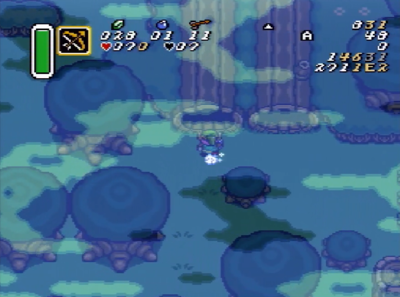
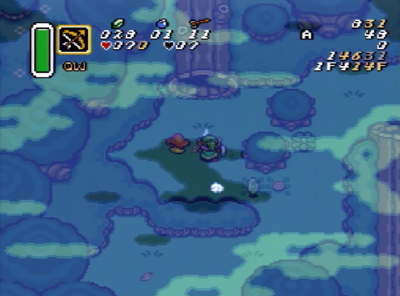
Dash up through this next log, then move Down+Left toward the two bushes. It's important to use a cardinal down input here and Dashturn to the left so you don't accidentally grab the first bush. Dash up and ignore the Mushroom for now.
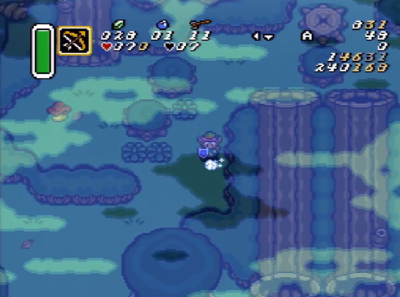
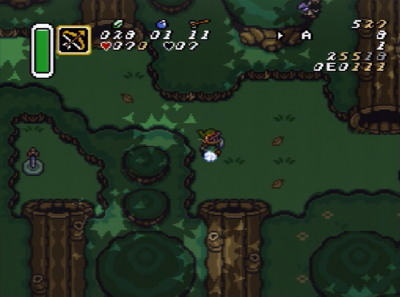
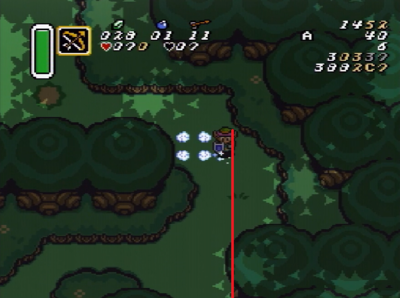
Dash left through the bushes. Don't worry if you accidentally go through the top row. This dash down is similar to the first one with the crow. You can choose to cancel your dash early and walk down through the log instead of the more difficult movement.
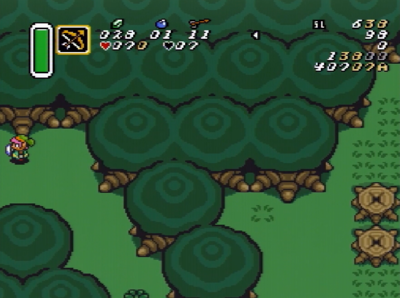
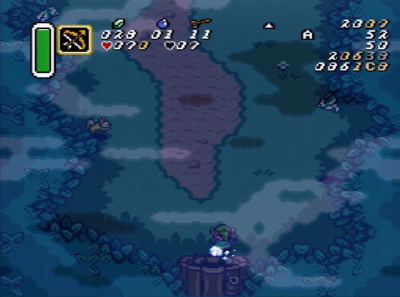
Dash left through this gap and walk the rest of the way to the top exit.
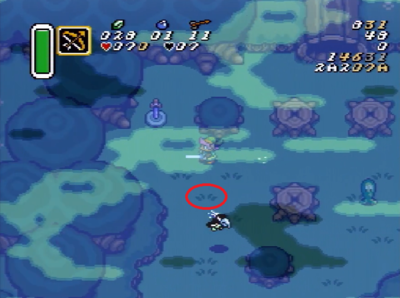
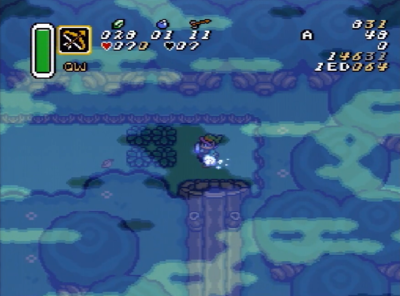
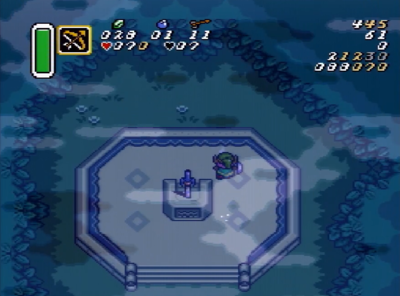
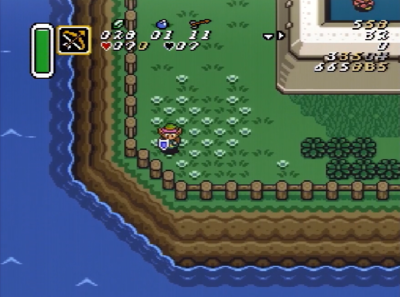
Move slightly to the right so you can dash all the way to the back of the pedestal and grab the sword.
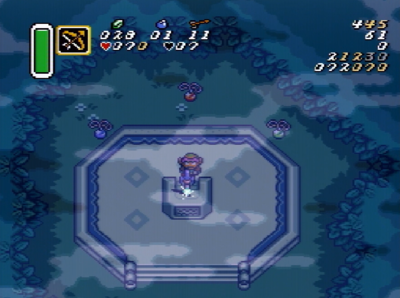
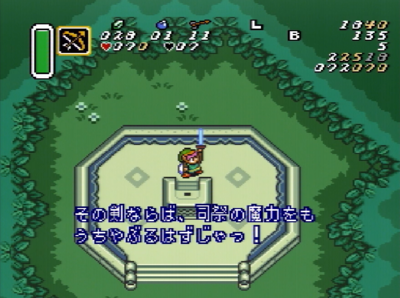
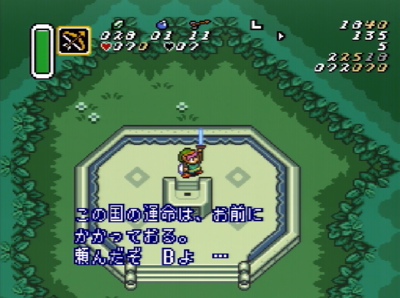
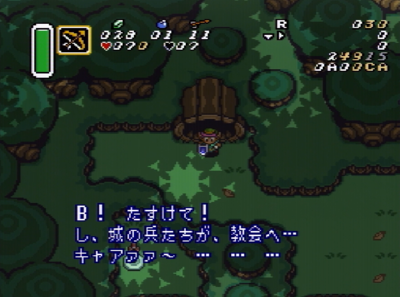
Look for this exclamation point to know when the last text box is coming. Hold right and mash L+R during the last text box.
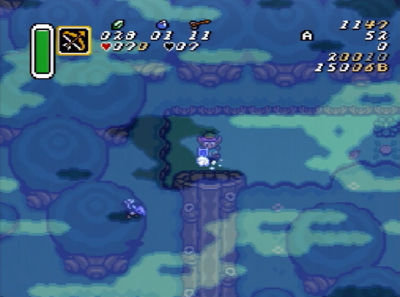
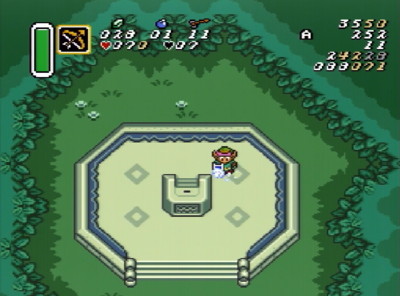
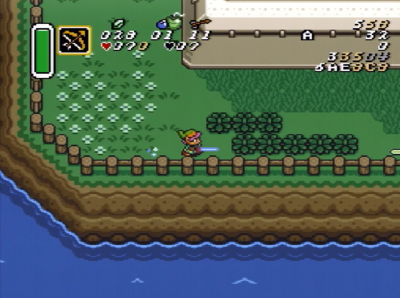
Dash all the way down and make sure to cancel your dash early enough to avoid the bonk.
Entering the Tower
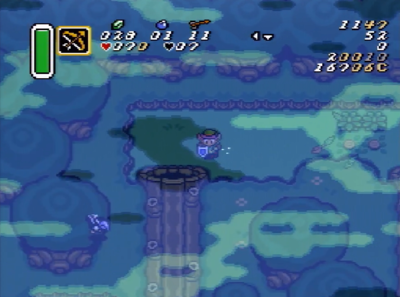
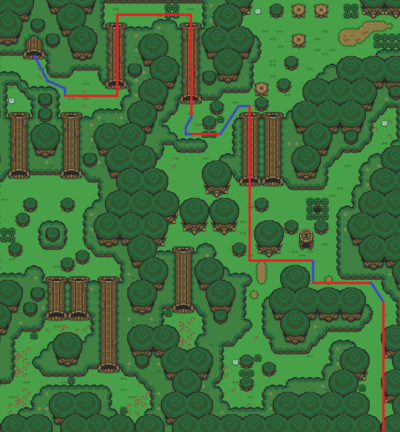
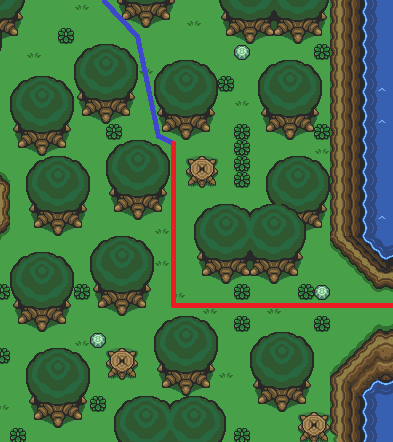
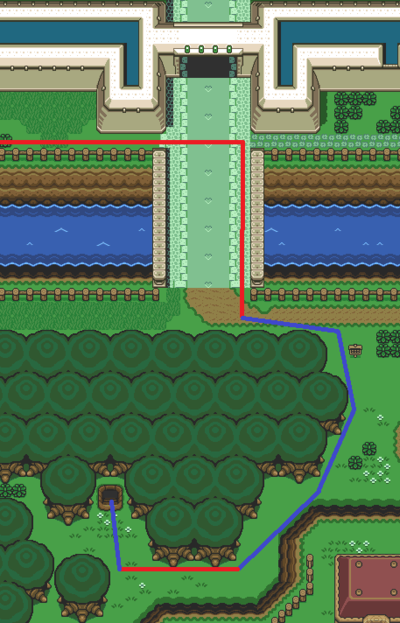
Follow this route to exit the Lost Woods.
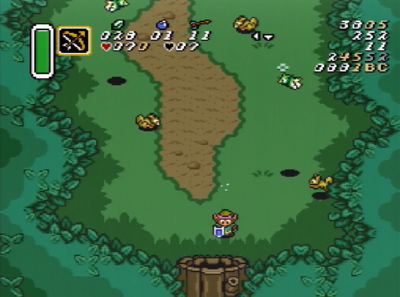
You can hold diagonal Down+Right and mash L+R to clear the single text box here. Dash right under the log.
We get to just ignore the crow this time.
Cancel your dash down with a diagonal Down+Left into the mushroom. We do this for a couple reasons. You don't want to accidentally collect the mushroom twice so we always do it on the way out and this also makes it easier to set up the next movement. Normally we would want to dashturn through these bushes like last time, but in this case you want to avoid grabbing the wall below. So in cases like this it's best to face to the right before dashing through.
After dashing through the last crow you need to be partially on this line to avoid bonking the exit.
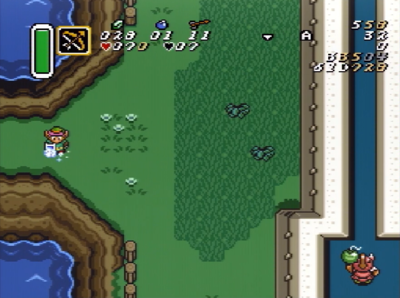
Nudge slightly Down+Right before dashing down here. Sometimes this green soldier will react very quickly and hit you but there isn't a whole lot that can be done about it. Dash to the right anywhere in this gap, then use two dashes to exit the next screen as close to the left side of the tree as possible. Use the bushes below for a good Visual Cue of where you can dash.
Move diaginally Down+Right in between the first two trees, then dash down and right to exit. Aim for the gap in between the two sets of bushes.
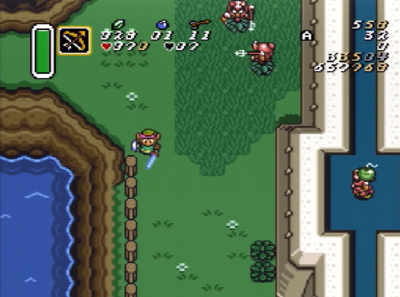
Move to the right until you clear to corner, then dashturn down. It's important to stay on vertical coordinate 728 so you can dash past the fence without bonking. It doesn't work 100% of the time but usually if you get the vertical position correct it doesn't matter how far right you go.
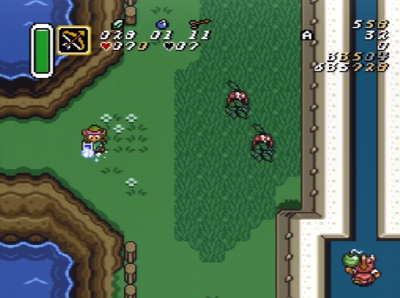
Move diagonally Down+Right along this corner and dash through the bottom row of bushes. Sometimes a fairy will spawn in these bushes but it usually isn't worth the effort to chase them.
If you need a fairy refill this is your best opportunity to take a detour.
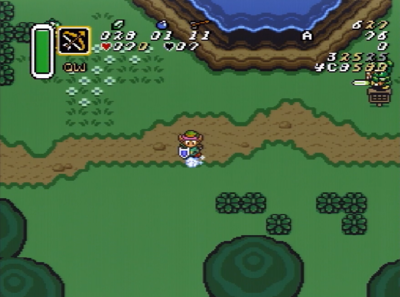
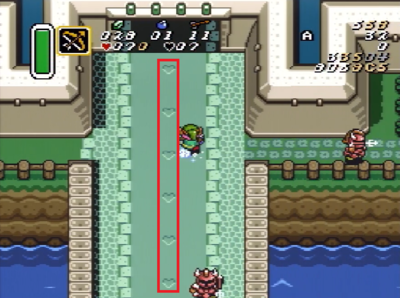
Cancel your dash when you are past these heart textures and dash up. This visual cue ensures that you always avoid running into sword on the way up. Move diagonally Up+Left up the stairs to take advantage of the increased movement speed that you get from moving diagonally on manual stairs.


