Gallery:Phantom Hourglass Items: Difference between revisions
Jump to navigation
Jump to search
Want an adless experience? Log in or Create an account.
No edit summary |
No edit summary |
||
| Line 28: | Line 28: | ||
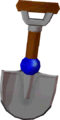
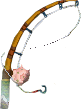
{{Gallery/Box|file=Cyclone_Slate_PH.png|link=Cyclone_Slate|caption=[[Cyclone Slate]]}} | {{Gallery/Box|file=Cyclone_Slate_PH.png|link=Cyclone_Slate|caption=[[Cyclone Slate]]}} | ||
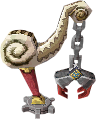
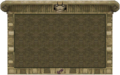
{{Gallery/Box|file=Sand-of-Hours.png|link=Sand_of_Hours|caption=[[Sand of Hours]]}} | {{Gallery/Box|file=Sand-of-Hours.png|link=Sand_of_Hours|caption=[[Sand of Hours]]}} | ||
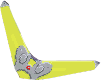
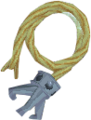
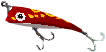
{{Gallery/Box|file= | {{Gallery/Box|file=Big_Catch_Lure.png|link=Big_Catch_Lure|caption=[[Big Catch Lure]]}} | ||
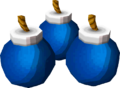
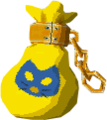
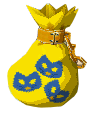
{{Gallery/Box|file=Bomb-Bag-1.png|link=Bomb_Bag|caption=[[Bomb_Bag|Bomb Bag #1]]}} | {{Gallery/Box|file=Bomb-Bag-1.png|link=Bomb_Bag|caption=[[Bomb_Bag|Bomb Bag #1]]}} | ||
{{Gallery/Box|file=Bomb-Bag-2.png|link=Bomb_Bag|caption=[[Bomb_Bag|Bomb Bag #2]]}} | {{Gallery/Box|file=Bomb-Bag-2.png|link=Bomb_Bag|caption=[[Bomb_Bag|Bomb Bag #2]]}} | ||
| Line 36: | Line 36: | ||
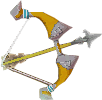
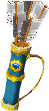
{{Gallery/Box|file=Quiver-Upgrade-1.png|link=Quiver|caption=[[Quiver|Quiver Upgrade #1]]}} | {{Gallery/Box|file=Quiver-Upgrade-1.png|link=Quiver|caption=[[Quiver|Quiver Upgrade #1]]}} | ||
{{Gallery/Box|file=Quiver-Upgrade-2.png|link=Quiver|caption=[[Quiver|Quiver Upgrade #2]]}} | {{Gallery/Box|file=Quiver-Upgrade-2.png|link=Quiver|caption=[[Quiver|Quiver Upgrade #2]]}} | ||
{{Gallery/Box|file=|link=Round_Crystal|caption=[[Round Crystal]]}} | |||
{{Gallery/Box|file=|link=Square_Crystal|caption=[[Square Crystal]]}} | |||
{{Gallery/Box|file=|link=Triangle_Crystal|caption=[[Triangle Crystal]}} | |||
{{Gallery/Box|file=|link=|caption=[[]]}} | |||
{{Gallery/Bottom}}</center> | {{Gallery/Bottom}}</center> | ||
Revision as of 05:38, March 14, 2018
Below is a listing of all the items and equipment that appear in Phantom Hourglass.
Major Items and Equipment


Other Items

[[]]


{{Gallery/Box|file=|link=Triangle_Crystal|caption=[[Triangle Crystal]}}