Speedrun:A Link to the Past/Any% (NMG, No S+Q)/Escape
Rescuing Link's Uncle
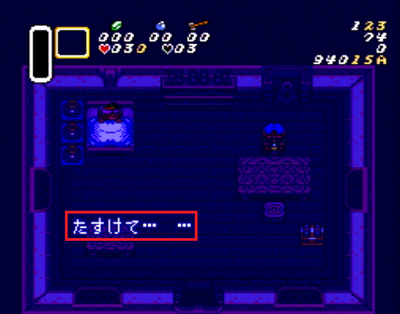
Hold A as this first line of text appears to Buffer your Input. A buffered input will always be performed on the first possible Frame.
Mash through the rest of this text with all 4 face buttons (A, B, X, and Y) by gripping the controller on the right side and using the index and middle fingers on both hands. You want to roll your fingers so that you avoid pressing buttons on the same frame.
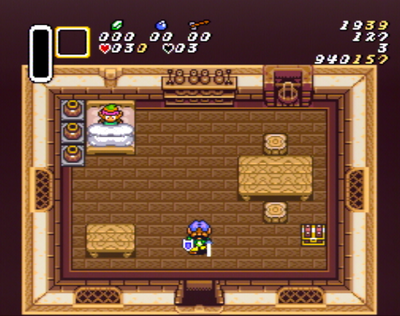
After all of the text has been cleared Link's Uncle will exit the house. At this point you can start to hold angle Down+Right on the D-Pad and mash L+R. L and R can be used to clear the last text box in a conversation and in this case they can be used to get Link to jump out of bed. Down+Right is buffered here so you don't waste any frames on movement. Hold until you are aligned with the doorway and move down to exit.
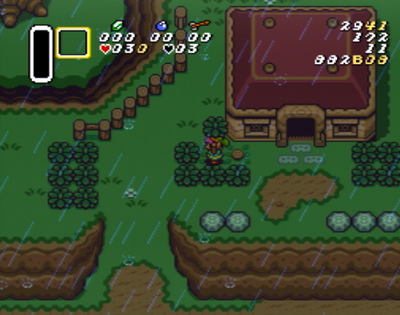
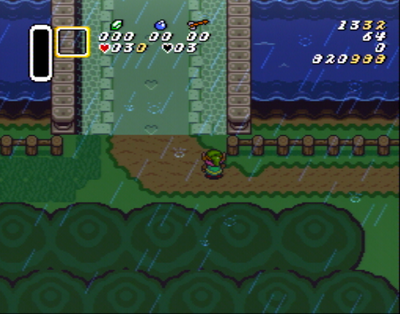
As you exit the house, grab and throw these first two bushes. Because we don't have the Sword yet, both the A and B buttons will work for these. I like to hold the controller against my leg and mash with my index and middle fingers.
Follow this path and exit the screen as far to the left side as possible.
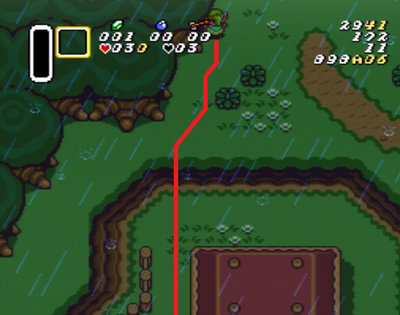
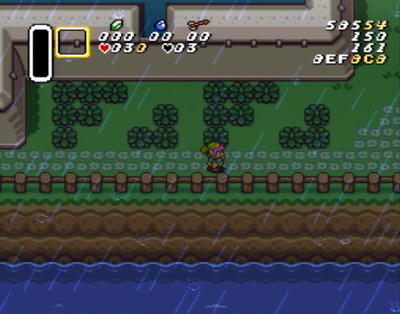
Hold Up+Left until you get to this point, then start moving up to the gap at the top side of the bridge. Optionally, you can mash Right on the D-Pad as you move up to save a few frames of movement. This is known as Pumping and can be utilized to save around 10 seconds over the length of a full run. It is simple to execute but can be very hard to make it actually save time consistently. A couple of notes about pumping if you choose to do it: only pump when moving North or West, and never sacrifice clean movement to get more pumps.
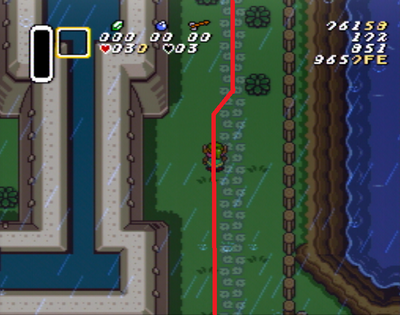
Begin holding angle Up+Right at this point until you clear the East edge of the castle.
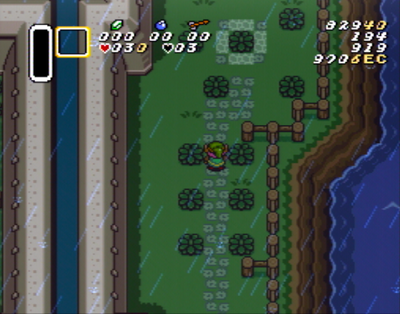
At this point begin moving up along the blue path, then nudge into the first bush to align Link in the center of the path. This works because the game is laid out on a Grid of 16px tiles. Nudging the bush will place Link in the center of the path ensuring that you don't nudge any other objects on the way up.
While in between these sets of bushes you can optionally mash Left+Right on the D-Pad with the index and middle finger of your right hand. This is known as double pumping. Link will not go through these 1 tile gaps while pressing a diagonal direction so you can safely get extra pumps here.
Begin holding Up+Right when you get to the last set of bushes, then move up and begin to mash A as you approach the bush covering the hidden path.
Hold angle Up+Left as you land until you clear this corner and move Left along the bottom edge of the screen. You can optionally mash Down to get some easy pumps in here.
Mash all 4 face buttons to clear the text and receive the Fighter's Sword. Hold Left during the animation and switch to Down+Left as you clear the corner. Begin moving down when you are above the doorway.
On this screen simply hold Down to exit.
Courtyard and First Floor
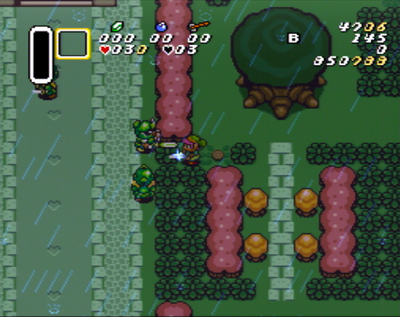
Hold angle Down+Left as you exit the tunnel. It's worth noting here that Link's walking speed is slightly slower in tall grass so do your best to avoid it as you move down to slash this first bush. Move down past the fence and nudge into the right side of the large tree as you move down.
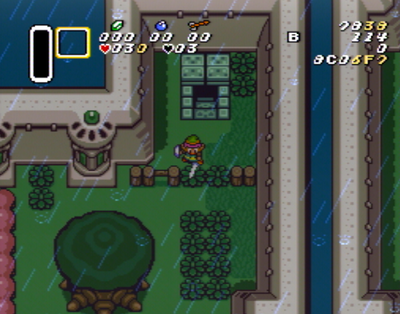
Move down and slash these 3 bushes to gain access to the castle entrance. You may need to continue holding B as you slash the last bush if you managed to alert the Green Sword Soldier. You can just hold the sword out and poke him out of your way, then continue on up to the main entrance.
Follow this path through the first room. You may get an RNG where this Green Soldier is in your path. You can tell where he intends to go by paying attention to which way he is looking. If the guard will be in your way simply move around him. Nudge up against the pillars at the top of the screen to align perfectly with the West exit.
Move past the small red tiles in the doorway to avoid nudging the corner as you move up. Do your best to align with the center of the carpet to enter the doorway without nudging.
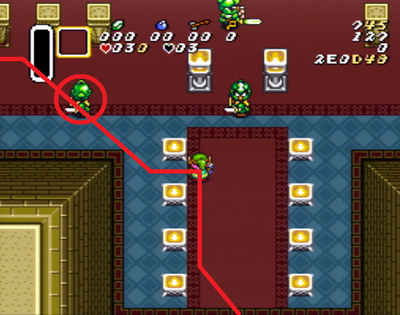
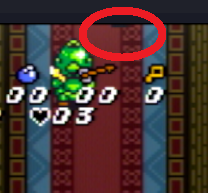
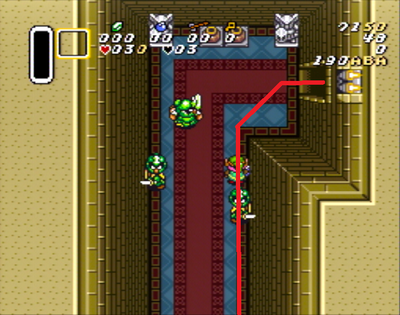
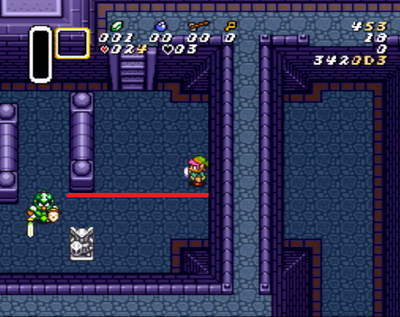
On some monitors you may have the ability to see the shadow of this guard on the top row of Pixels. If this shadow is not moving from Left to Right it maybe be possible to just move Up+Right to the wall and go straight to the Northeast exit. If any guards are blocking your path it is recommended to stay in the center of the room until it is safe to move over.
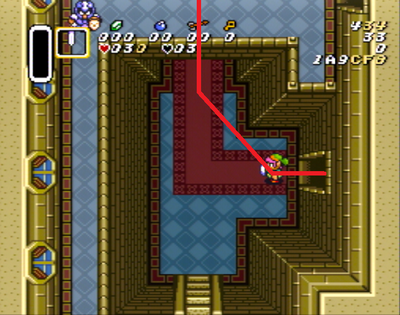
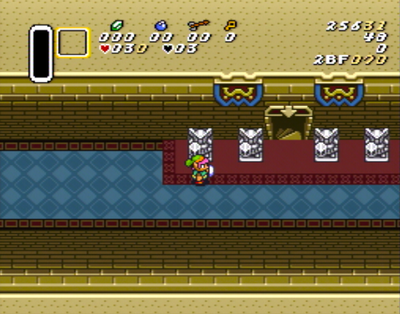
You can nudge against this statue and hold Up+Right to get a cleaner door entry as you enter the stairs.
Into the Basement
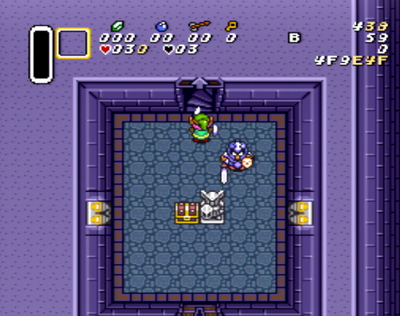
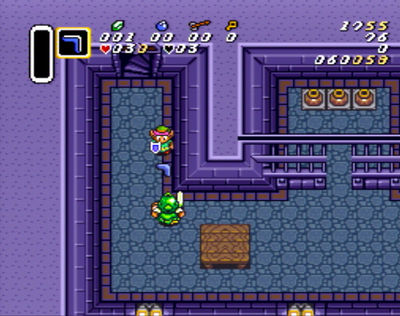
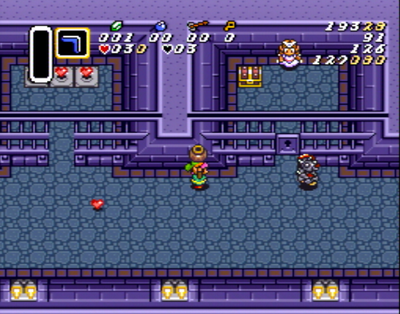
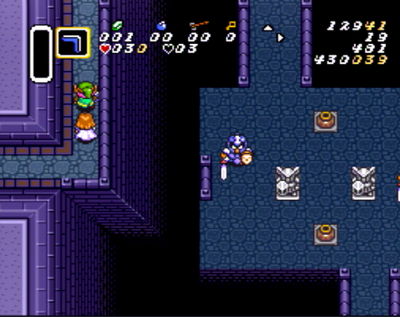
This is your first real combat in the run. Hold Up as you enter the room so that you can slash your sword while facing up as quickly as possible.
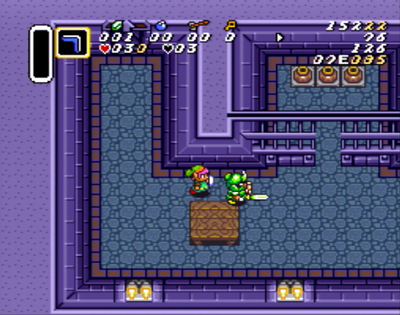
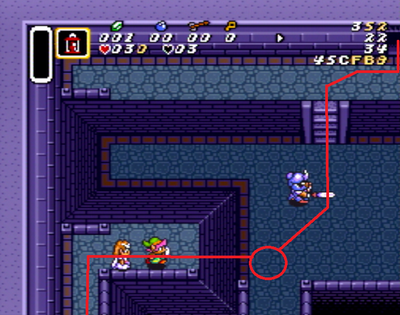
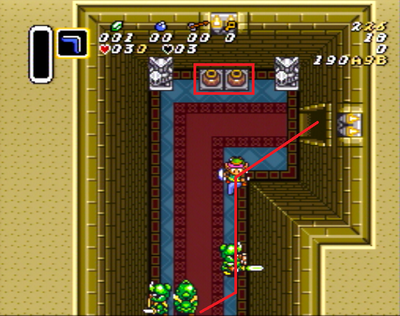
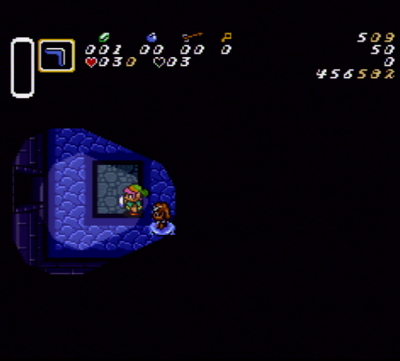
Move along the path shown to position the guard between Link and the statue. Releasing your sword spin here will bounce the guard against the statue causing the spin to hit hit twice. A Blue Sword Soldier only needs 3 damage to kill and each spin does 2 damage so this move takes him out instantly and has the added bonus of moving the key closer to the door.
If this maneuver is too difficult it is perfectly fine to just walk down and slash 3 times. Be sure to stay slightly Left of the guard if you do this to avoid clinking his sword.
Collect the key as you move to the locked door.
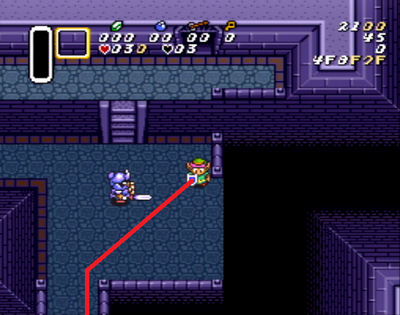
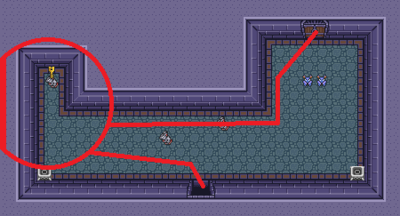
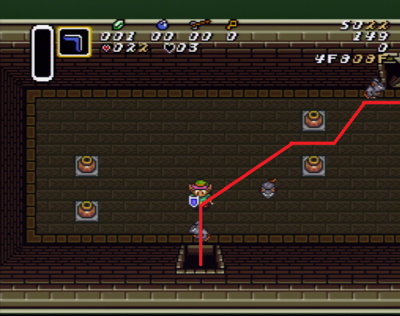
Hold Down to hop off the ledge and walk down slightly past the bottom of the rail. When you get here, start holding angle Down+Left until you clear the corner at the bottom. You may clip through the guard's sword slightly as you move across the room. It is possible to move left even earlier but this is risky and only saves a few frames.
Hold angle Down+Right until you reach this point, then move down and nudge against the right rail.
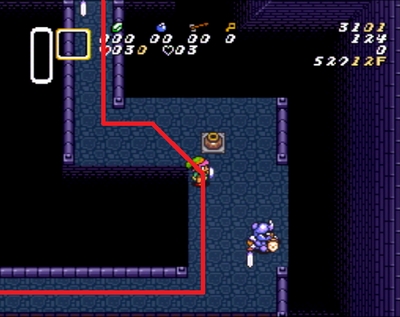
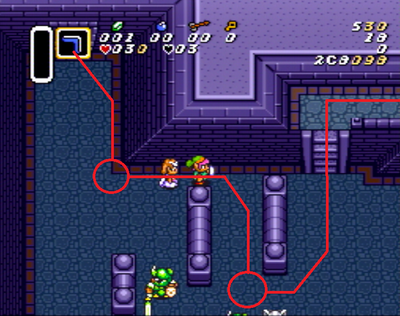
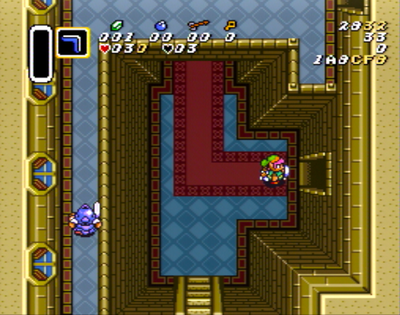
Take this path to get past the rest of the guards. You may need to practice the timing for cutting this corner without Slipping on the edge. Begin holding Up+Left to exit the screen after you clear the last corner and get to the bottom section. You can choose to mash Up here as you hold Left to save a handful of frames.
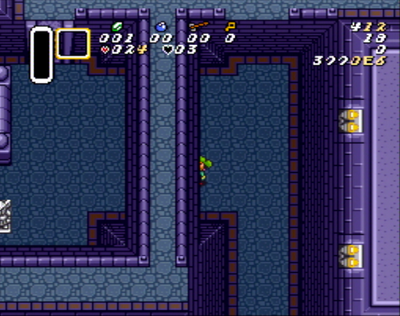
Hold Up+Left until Link disappears under this bridge.
You want to move up just a bit more while you are under the bridge to ensure that you are slightly above the bottom of this barrier next to the guard. This will prevent him from noticing you as he walks by which means you can safely move above him between the two walls. When you get under the first wall you can just hold Up+Left again until you are right below the door.
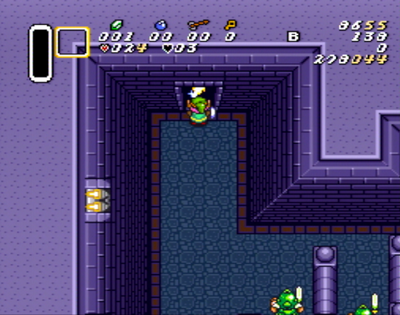
When you reach the exit you want to hold a sword charge as you transition to the next screen. This will ensure that you have a fully charged sword when you gain control in the next room. Ideally you want to slash as late as possible because Link moves slower with his sword out. It is possible to slash much closer to the door transition but it loses a lot more time if you are late, so to balance speed and consistency we intentionally go just a little early.
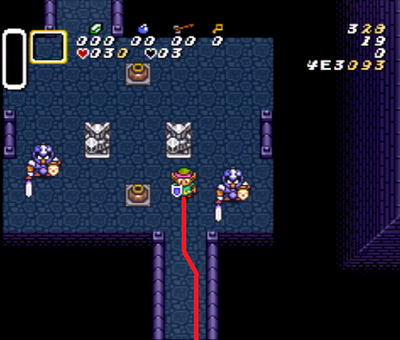
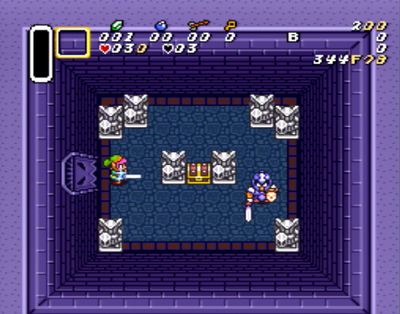
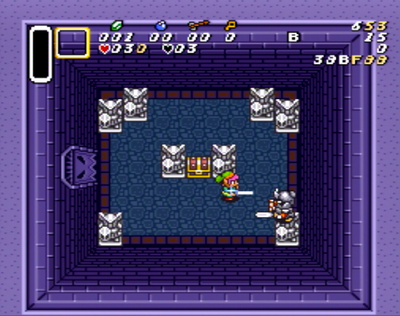
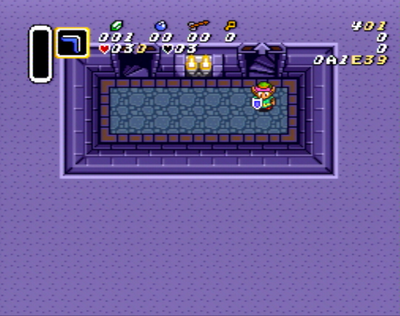
The sword will be fully charged when you enter this room. Many times you can tell where a guard intends to go by where he is looking, but this room is an exception. He will look to the right as you enter and then randomly choose one of four cardinal directions to move.
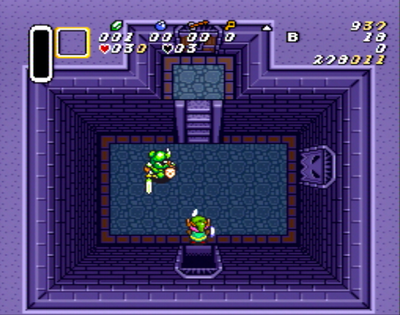
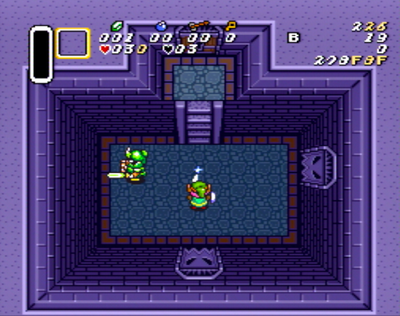
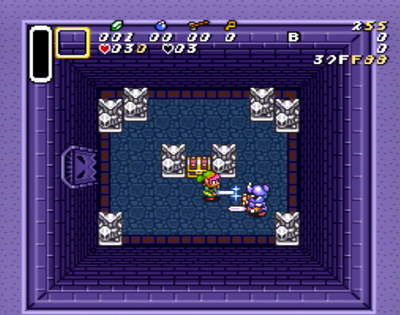
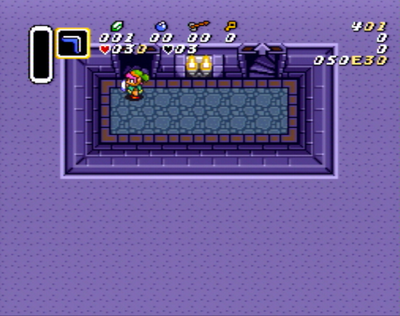
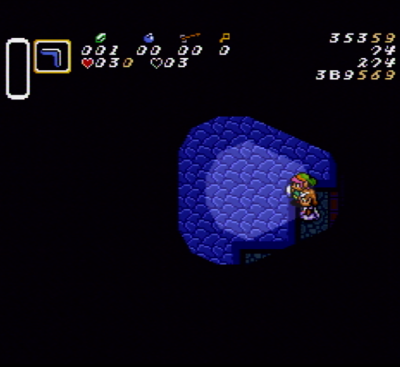
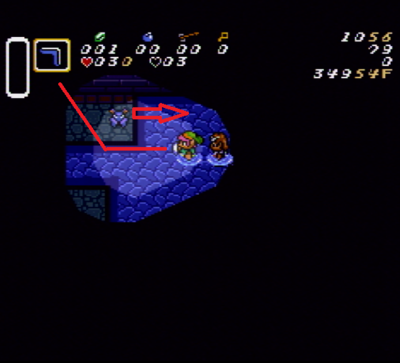
You should always start the room by getting to this point. If the guard moved Down or Right you can spin here and exit. If he moved Up or Left as shown here you will need to follow him a bit before spinning.
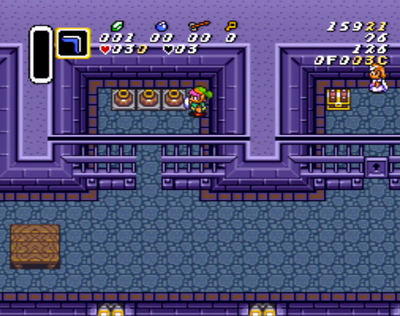
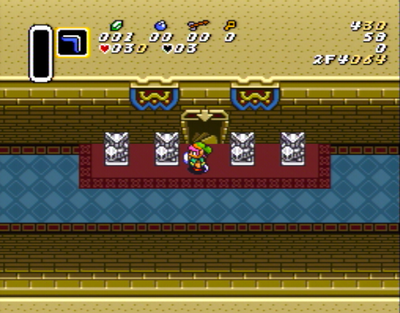
This room contains our first real speedrun trick. I've included this because it is what most players prefer to do, but keep in mind that it only saves about 5-10 frames (about .1 seconds) so it's worth it to do the easier movement which I demonstrate later if you struggle with this.
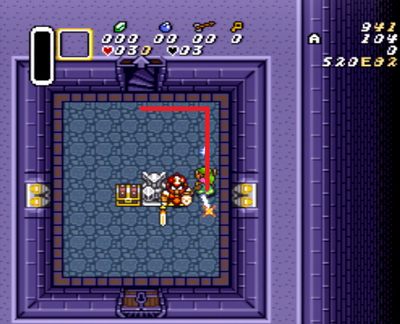
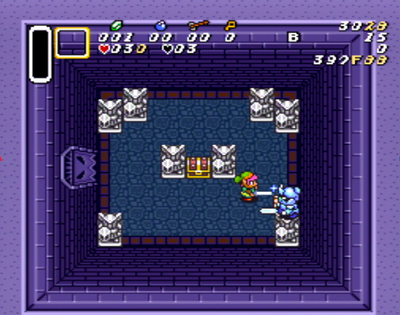
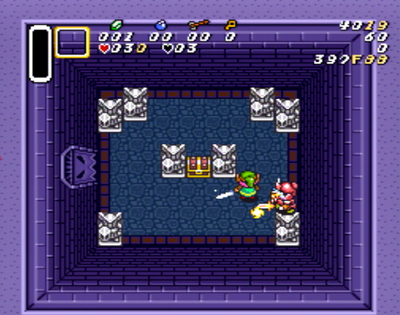
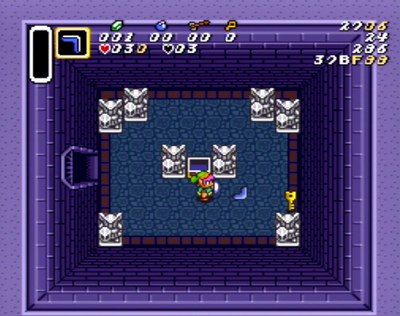
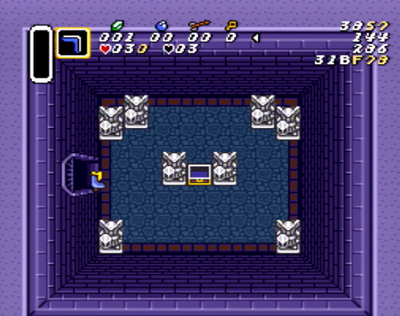
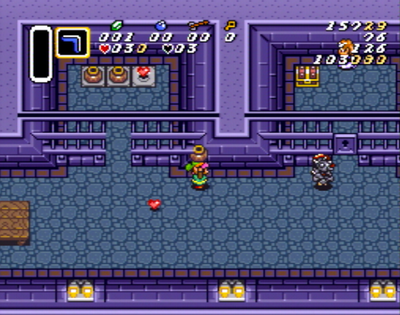
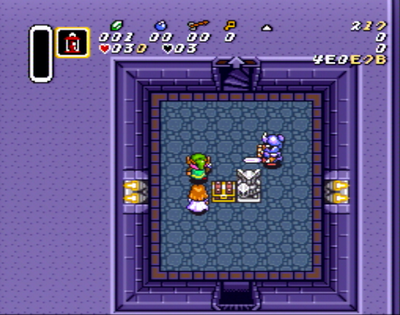
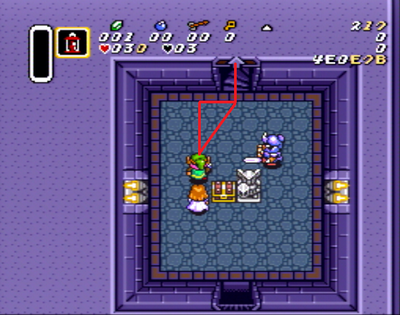
Start by holding Right as you enter the room and begin holding B as soon as Link moves out of the doorway. Move down below the chest, staying as high up as possible and eventually you will poke the Blue Sword Soldier. Continue holding Right and B until Link has fully cleared the second statue as shown in the third image then release the B button to spin and kill the guard.
Normally when you poke an enemy with the sword, Link will drop the sword after a short amount of time. We get around this by releasing the spin quickly enough and we are able to do the required 3 damage in one quick move.
Alternatively, you can stand here and quickly slash the guard into this corner three times to kill him and it loses very little time. If you move any farther right than this you may accidentally bounce him down instead of to the right which makes things just a bit harder. Just make sure you stay ABOVE his sword so you don't clink.
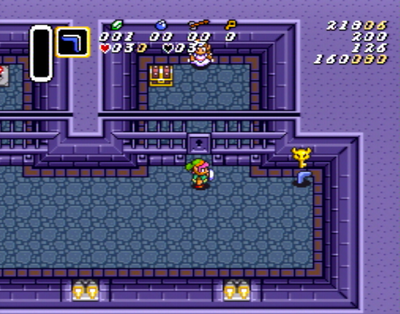
After you have finished off the guard, quickly open the chest to receive the blue Boomerang, mash L and R to clear the single text box, and throw the boomerang to the right to collect the key. You can start to exit the room as soon as you throw the boomerang and the key will follow behind.
Nothing much to see here, just exit through the locked door.
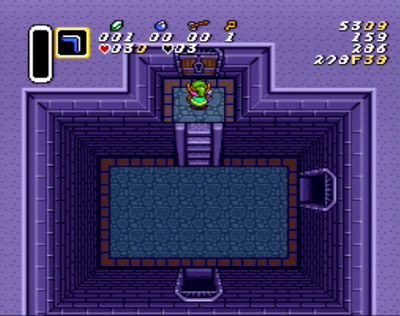
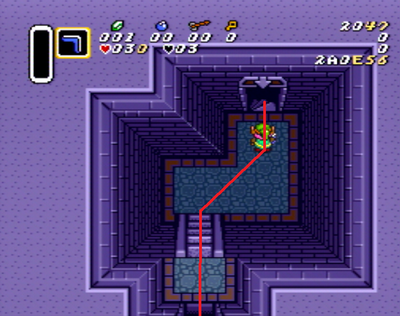
The fastest path through this room is to hold Up+Right as you descend the stairs, then move Up when you are below the door.
This room may not look like much but there's a lot going on here. After you descend one of these spiral staircases, Link will have some additional lag in his movement. You can see it if you wait for him to come to a full stop here and then try to move down. You will notice that he stutters a bit. This is known as Stair Lag and it loses around 7 frames of movement.
To cancel stair lag you simply make sure your first input is a cardinal Left or Right movement. Since we are moving left, we can just hold Left on the D-Pad as Link enters the room and he will start moving at normal speed.
Nudge up to the top wall as you move to the doorway. Wait until Link is aligned with the center of the doorway before moving up. The reason for this is Link moves quite a bit slower if you nudge along the inside of a doorway. This slower movement is known as Door Drag and it is how the game adjusts your position so Link can fit perfectly in the one tile wide doorway. Door drag will lose up to 7 frames depending on how far away from the center of the doorway you are.
These two things are very small details that you would likely never notice, but these small adjustments can add up to many seconds saved over the course of a full run. It's also a good lesson in understanding core Game Mechanics.
Mini-Boss: Ball and Chain Trooper
Hold right as you enter the room to cancel stair lag.
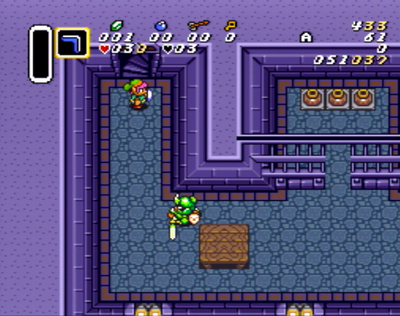
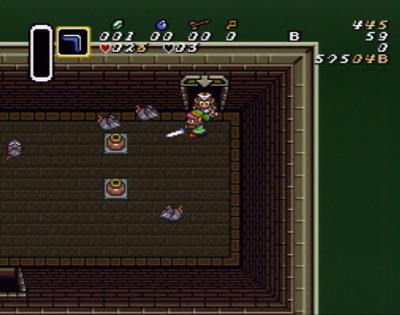
This Green Sword Soldier will randomly choose to move in one of four cardinal directions. If he does not move to the right, you can boomerang him as you walk down. If he does move to the right however, you may choose to quickly slash him twice so he isn't in your way later.
Grab this pot from the Right side. It seems like this should be slower but we are actually going out of the way to scroll the camera farther to the right. This camera manipulation will cause the Ball and Chain Trooper to notice you and start moving closer.
Kill the enemy with the two pots then stand in front of the cell door and use the boomerang as the Big Key appears. Make sure to collect the key before moving up or you will get a warning message.
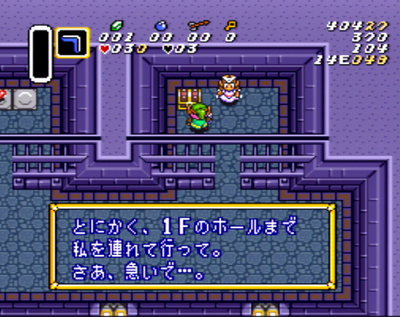
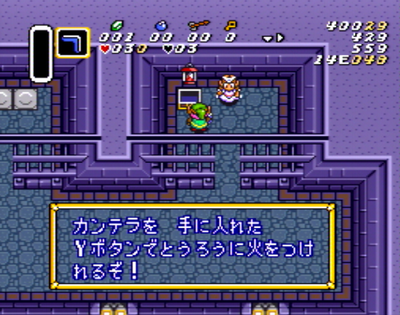
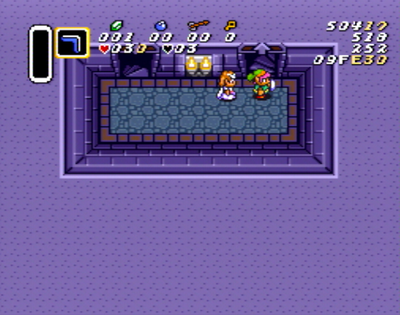
Move up to the right side of the chest and initiate the conversation with Zelda. Here you will hear Zelda's Lullaby for the first time in the series. If you are playing on JP 1.0 you will need to clear 6 text boxes by mashing with all four face buttons. On the final text box shown here, begin mashing A to clear the text and open the Lamp chest.
When the Lamp appears, begin holding Down+Right as you mash L+R to clear the final text box. After collecting Zelda and the lamp, exit the room the way you came in. You can choose to mash Up as you are moving left along the jail cells to save several frames.
Backtracking
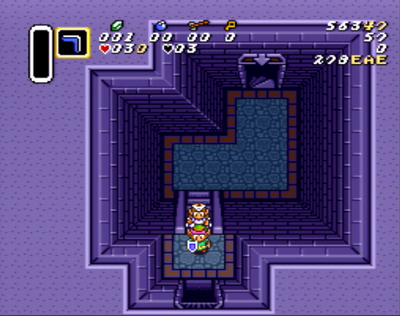
Start making your way back to the castle entrance with Zelda.
Again this green guard won't bother you if you follow this path. Hold Up+Left when you get to the stairs and continue holding through the next room.
Drop down from the ledge and move diagonally to the stairs. You can ignore this guard as well.
Move Up along the left side of the chest. You may have to adjust your path as shown in the second image if this guard notices you.
You can optionally grab these heart pots if you are low on health. Stick to the right side wall as you move down and boomerang anyone that gets in your way.
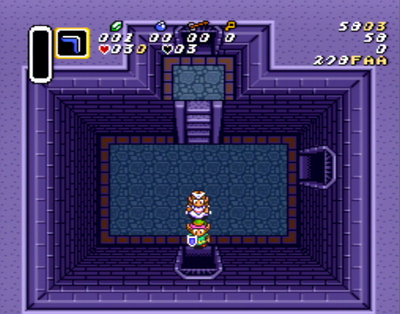
Hold Down+Right until you are aligned with the doorway and exit to the right.
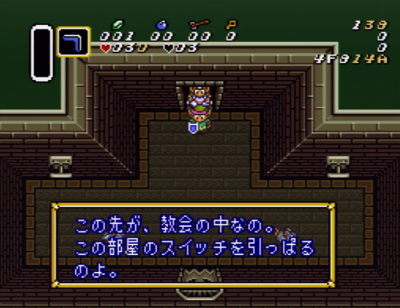
Hold Up+Right and mash L+R to cancel the single text box. Walk in between the two large pots and use the stairs to exit North to the throne room.
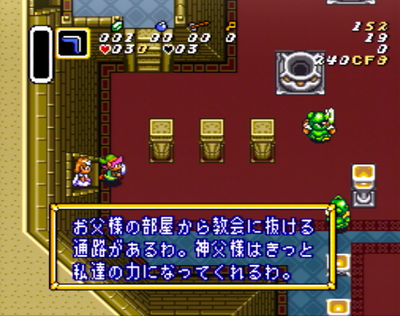
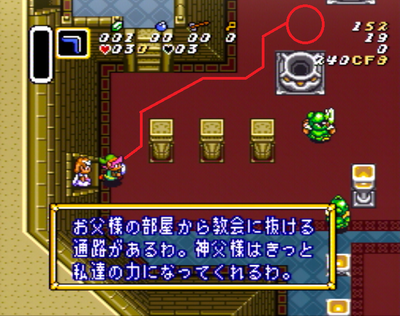
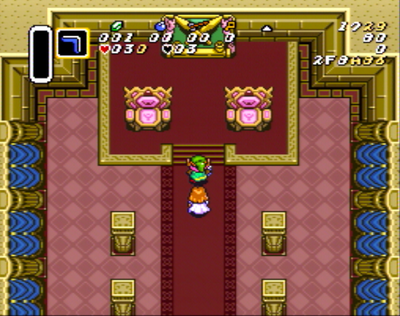
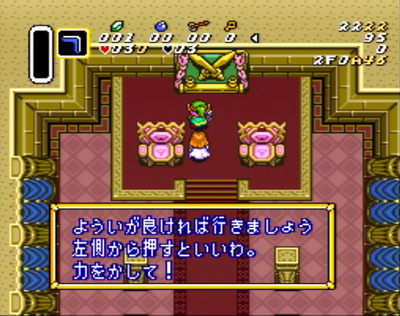
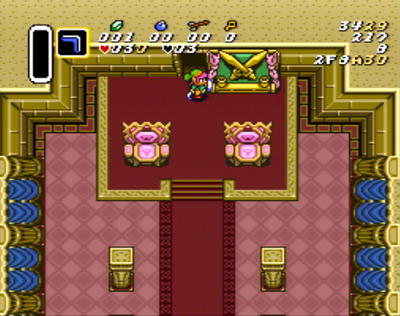
Walk up to activate these two text boxes. You can mash the face buttons for the first and then hold Left and mash L+R for the second. Push the shelf to the Right until there is an opening just large enough for Link to get through. Most people like to use the back of Link's hat as a Visual Cue for when he can fit.
Sewers
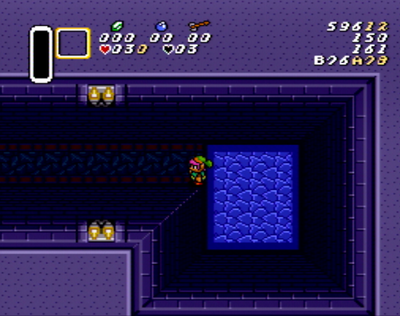
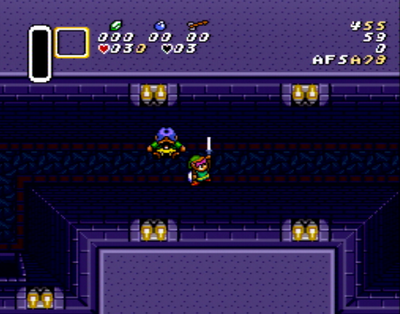
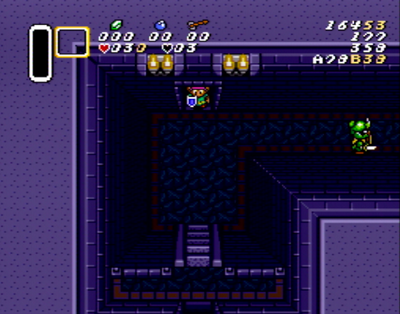
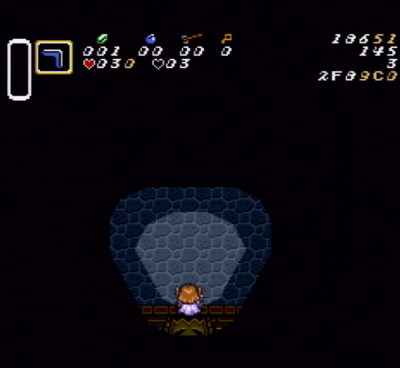
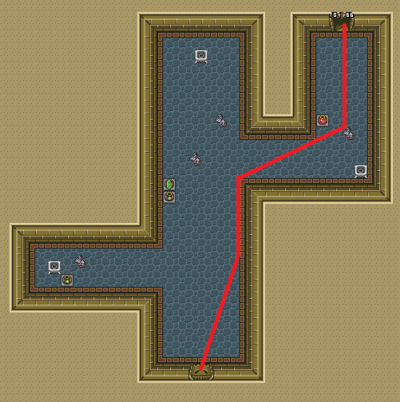
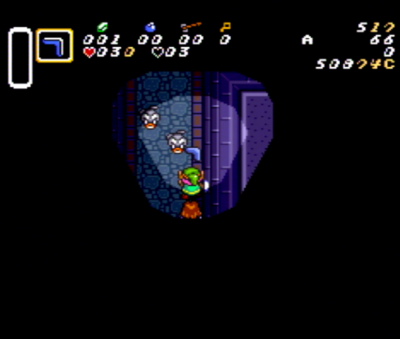
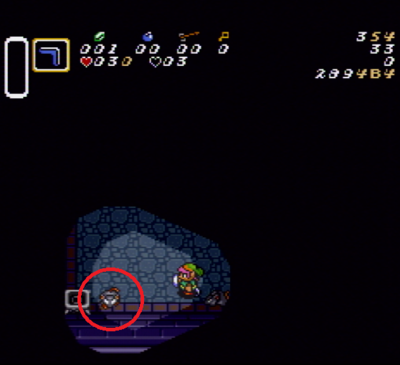
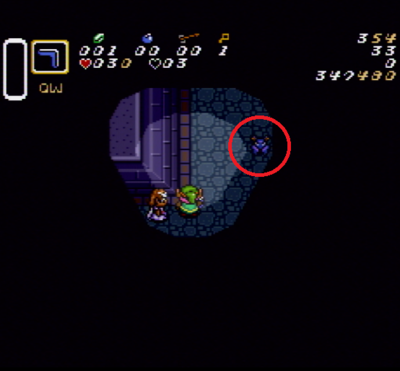
The next several room will be dimly lit as you move through them but we can get by without lighting any torches. Hold Up+Right until you get just past the pot in the upper right part of the room. You may have to slash or boomerang the rat if it gets in your way. You can choose to grab the heart pot if you need it.
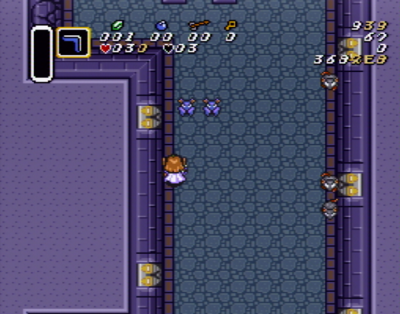
The Snake Avoidance Room has 3 "lanes" that the Ropes will travel through. Take the center lane and boomerang anything in your path.
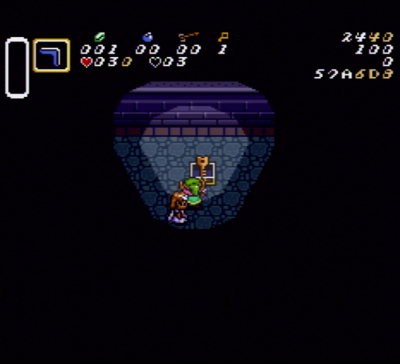
Move up along the right side of the path and boomerang this rope. Grab the key chest and make your way to the North exit. You make have to boomerang more enemies on your way through.
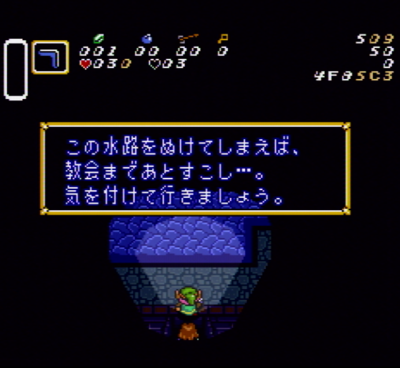
A single text box will appear as you enter this room. Hold Left and mash L+R to clear it. Follow this path through the room to avoid walking through water as much as possible. Link moves much slower while in shallow water or tall grass.
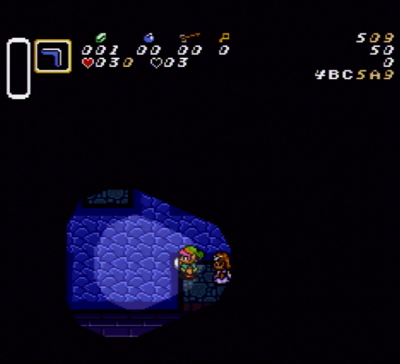
Enter the water at the corner again to avoid slower movement and move up until you are just below this bat. When you get to this point in the room you want to walk under where it is sitting. This will cause it to move to the right, out of your path so you can easily get to the door.
In this room you need to find the key rat. He will spawn in the upper left part of the room and he can sometimes move down and to the right. It will be the first rat you see if you move left out of the door. Collect this key and exit through the door on the right side. Staying close to the left wall as you move up will manipulate the bat to move out of your way.
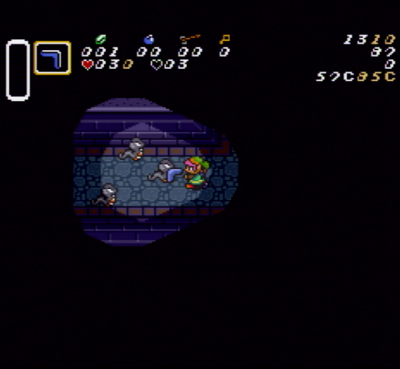
You may need to slash a couple of these rats as you move up into the room. Stay close to the left wall to make the bats move out of your way.
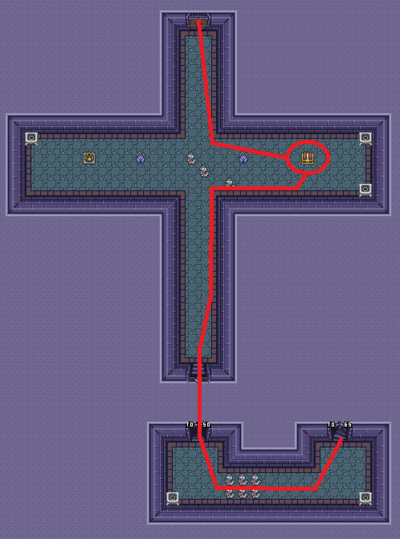
Follow this path to get to the next room. Optionally, you can turn left and slash as you enter the room to deal with the possibility of bad rat rng. You may also need to deal with another rat or two at the bottom as you exit.
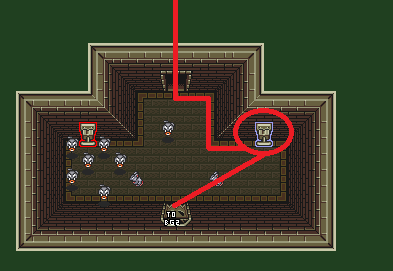
An extra text box will appear if you move down through this room. Follow the path shown to avoid it and slash any rats in your path as you exit to the Sanctuary.


