Speedrun:A Link to the Past/Any% (NMG, No S+Q)/Desert Palace: Difference between revisions
No edit summary |
mNo edit summary |
||
| Line 101: | Line 101: | ||
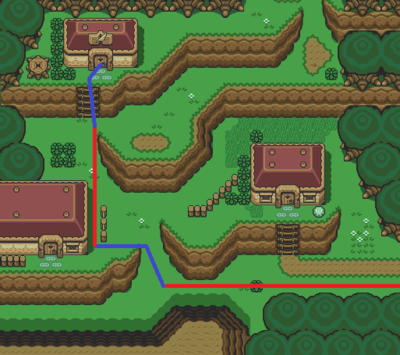
Follow the path to the library as indicated (dash in red, walk in blue). | Follow the path to the library as indicated (dash in red, walk in blue). | ||
[[File:LTTP 12dp 1 library.png|400px]] [[File:LTTP 12dp 2 library.png|400px]] | [[File:LTTP 12dp 1 library.png|400px]] [[File:LTTP 12dp 2 library.png|400px]] | ||
Revision as of 05:16, March 1, 2024
The main objectives of this segment are going to be obtaining the Pegasus Boots and the Book of Mudora to gain access to Desert Palace. Completing this dungeon will open the way to Death Mountain. Fortunately we have the opportunity to acquire a few additional Safeties along the way which will make death much less of a risk going forward.
Obtaining the Book
We're going to start by visiting Sahasrahla to turn in the Pendant of Courage.
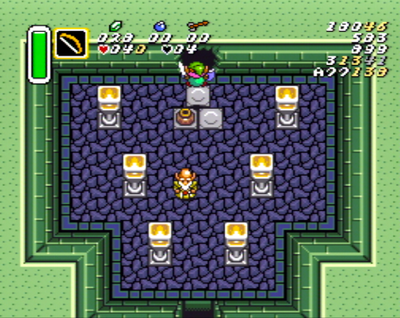
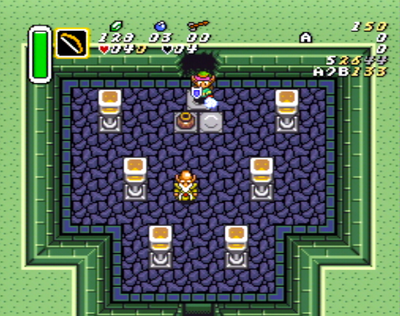
Nudge up against the Right torch to get past Saharsrahla without getting stuck and talk to him from the right side to receive the Pegasus Boots.
Clear the way and move up above the pots. Hold the A button to start charging a Dash, then turn and face Up to break the wall. You can choose to dash into the wall normally but we do it this way to avoid grabbing the wall and so the pot prevents Link from being knocked back further.
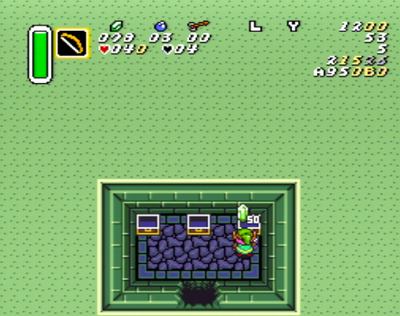
Open these three chests to obtain 100 Rupees and 3 Bombs. These rupees will be used later in the run to access Palace of Darkness.
Back in this room, press angle Down+Right to nudge slightly right and start dashing. If you don't move out of the doorway you will just Bonk into the pot.
Now that we have the boots we can do the first JP 1.0 Glitch which is Spinspeed There are two steps to performing this Glitch. First we have to Arm spinspeed state, then we need to Activate it.
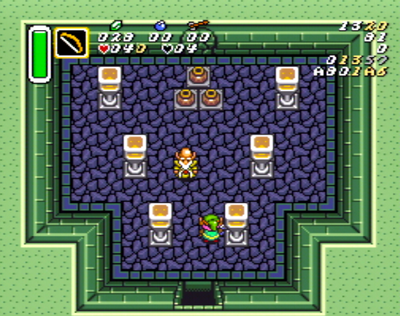
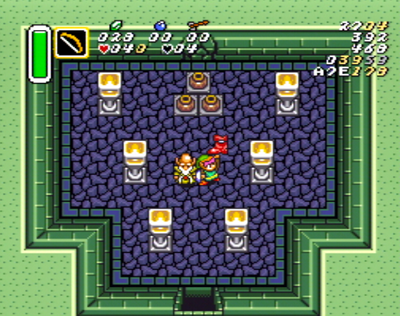
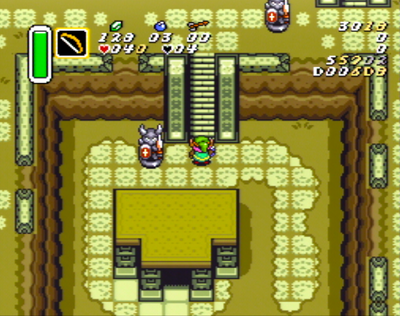
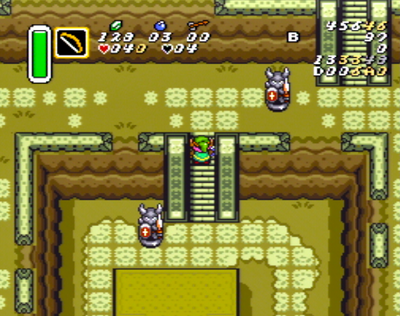
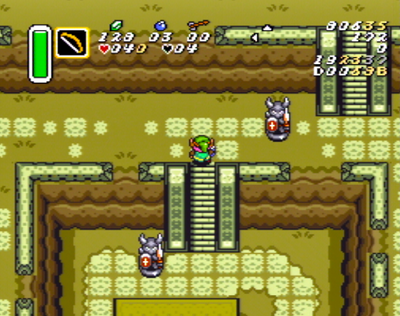
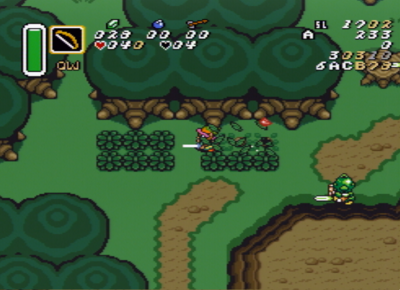
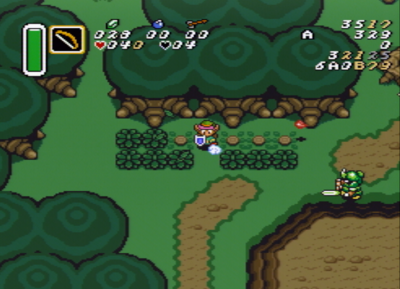
Hold the sword out as you climb to the top of the stairs. Now we are at the part that may take a few tries. Slide your thumb very quickly from B to A. You will know you did this correctly if you press the B button after and the sword doesn't come out. You can see this on my input display on the images above. Spinspeed is now armed. If you have trouble getting to this step it's possible that you aren't playing on a JP 1.0 version. This trick saves around 10 seconds over the full run so it isn't a huge deal if you aren't able to get it. I recommend trying no more than 3 times in a real speedrun attempt before just moving on.
To activate spinspeed you just need to exit a Manual Staircase with a diagonal or cardinal input. Hold angle Up+Left and you will exit the stairs at dash speed.
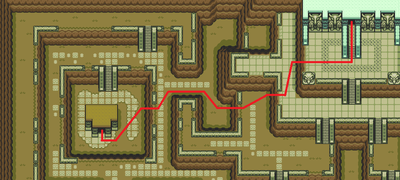
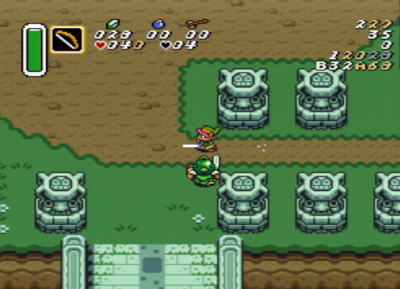
Follow this path to exit the screen. You may prefer to go around the eagle statues rather than through them if you find this movement to be easier. Falling down from the slope with cancel spinspeed and you'll need to dash down from here.
Walk down just below the corner of the slope then start a dash and turn Left.
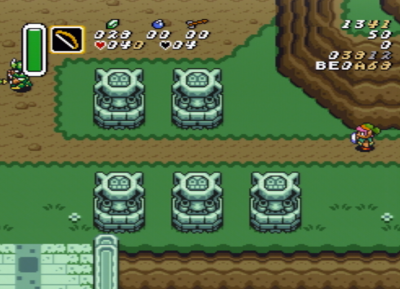
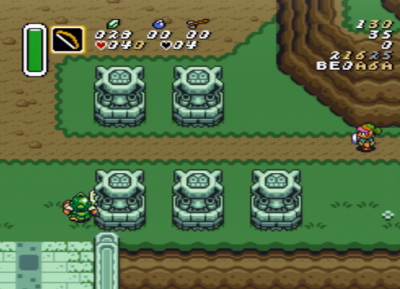
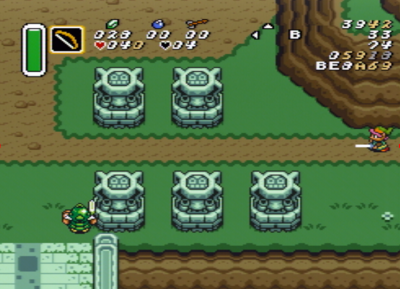
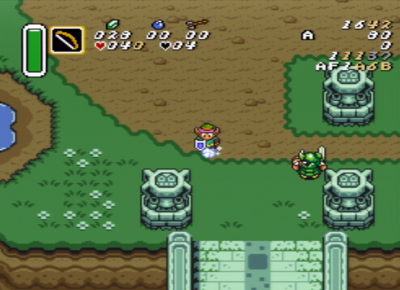
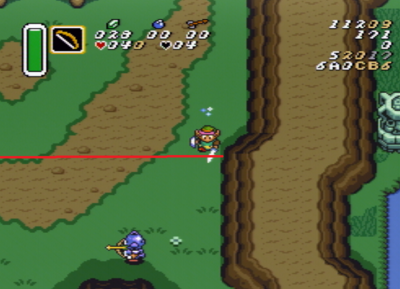
If you recall from the start of Eastern Palace Overworld, we needed to line up on a specific pixel to avoid being attacked by an enemy. This screen works in a similar way but we have to get a bit deeper in the weeds with some hidden Game Mechanics so you understand what we're doing here. If you're following along on the ALTTP Practice Hack you can pay attention to the vertical position coordinates A68 and A6A as you enter this screen.
In order to get through this screen quickly you'll need to be touching the top wall on vertical position A68, but you'll notice that dashing along the slope on the previous screen sometimes nudges you down by one or two Pixels.
You can ensure that you get on this correct position every time by holding Up+Left on the dpad as you enter this screen. Start a dash as soon as you begin moving. It may be helpful to practice this setup a few times to learn the timing.
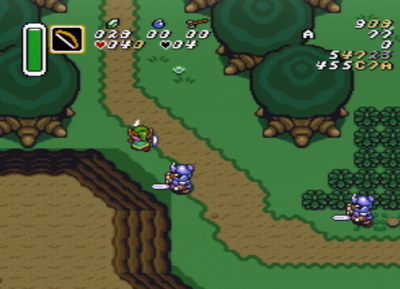
Ideally you want to dash here as early as possible to avoid hitting the green soldier's sword. It's not always going to matter if you hit him however. You may still get lucky and he could be slow to react to you, giving you enough time to still dash down safely. Getting through quickly without alerting him will still improve your chances quite a bit.
If you get knocked out of your dash and catch everyone's attention, your best bet is to give up on dashing down and walk until you clear of all enemies. You may need to hit one of the way with your sword if this happens.
Just dash left here.
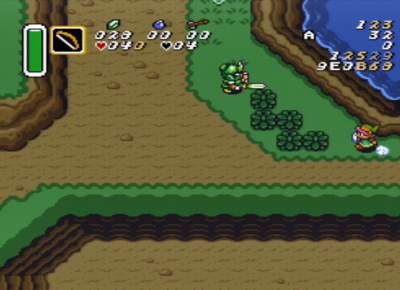
Dash Left until you are in between the two sets of bushes. Make sure to face down before dashing again to avoid picking up a bush.
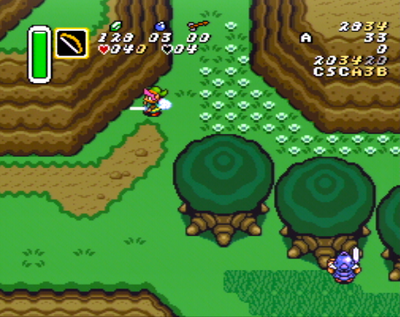
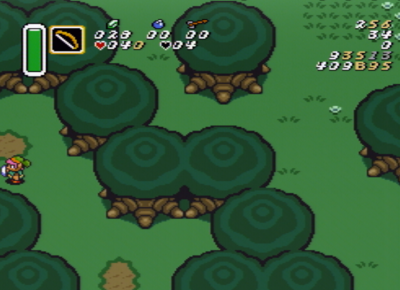
Dash down below this slope and then dash Left to the next screen. You just need to be far enough down to avoid bonking the tree on the next screen.
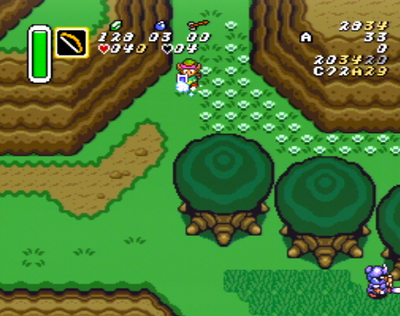
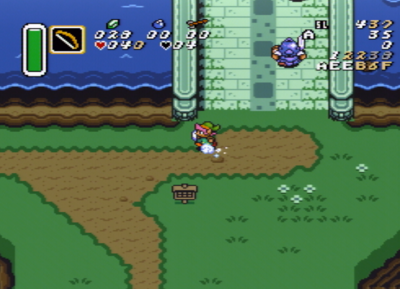
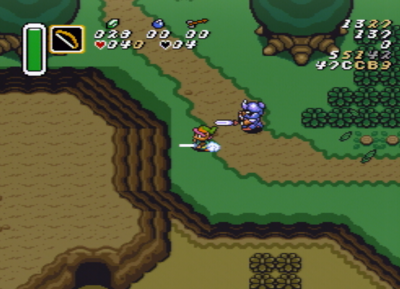
Dash Left until you pass this blue guard then move Up+Left and start dashing up after you get past him a little. This is a pretty tight gap to get through so if you're having trouble you can start a bit lower on the screen when you dash left to give yourself more time to react. You can also slash him out of the way if that helps. Getting hit out of your dash is always the slowest option.
Here you just want to walk up and exit below the dirt path. Dashing is only faster than walking when you have a long enough straight path (at least 5 tiles).
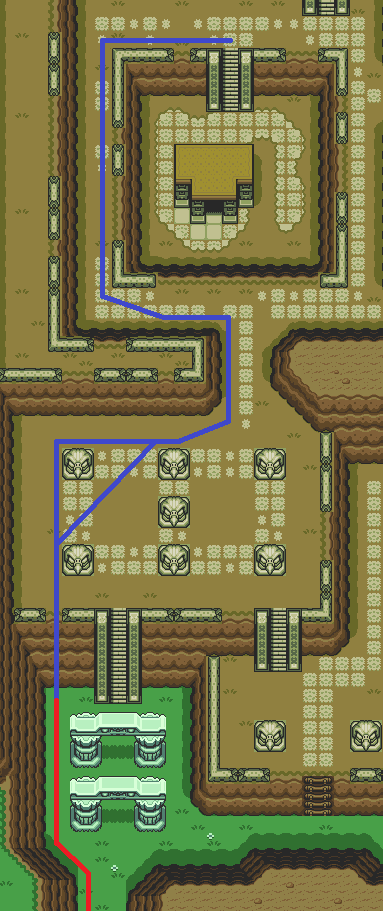
Follow the path to the library as indicated (dash in red, walk in blue).
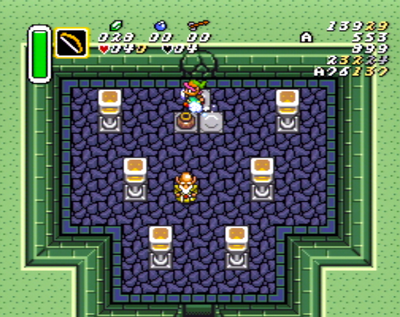
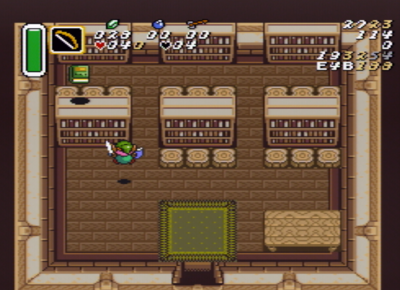
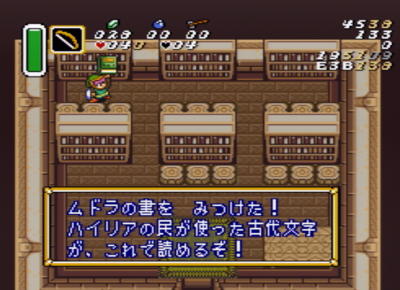
Bonk into the shelf to collect the Book of Mudora. I like to hold Right as the text box appears because you can just mash L+R when there's only one text box. Dash down to the bottom to exit.
Early Net & Bottles in Kakariko
Here we have our first diverging route options. Most beginners will choose to visit Kakariko Village at this point to collect either one or two Bottles. However if you are confident in your ability to defeat Helmasaur King with only 7 hearts, you can save a significant amount of time by doing this chore while you activate the Flute later on. If this is your first time running the game, you'll probably want to follow along with the safer "early bottles" route.


