Shae Mo'sah Shrine: Difference between revisions
No edit summary |
Thortok2000 (talk | contribs) No edit summary |
||
| Line 9: | Line 9: | ||
| walkthrough = [https://www.youtube.com/watch?v=-rMkegtq5IQ Video Walkthrough] | | walkthrough = [https://www.youtube.com/watch?v=-rMkegtq5IQ Video Walkthrough] | ||
}}<section begin=summary /><includeonly> | }}<section begin=summary /><includeonly> | ||
Swinging Flames</includeonly><section end=summary /> | Swinging Flames<br><br> | ||
'''Requirements:''' None<br> | |||
'''Enemies:''' [[Guardian Scout I]], [[Guardian Scout II]] | |||
</includeonly><section end=summary /> | |||
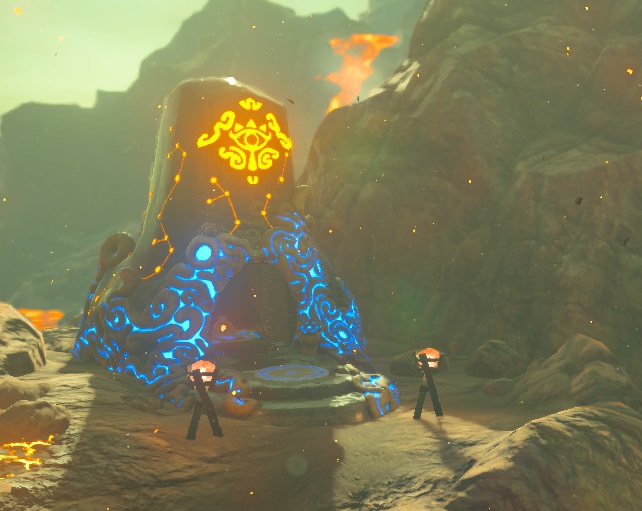
The '''Shae Mo'sah Shrine''' is one of the many [[Shrine of Trials]] found in ''[[The Legend of Zelda: Breath of the Wild|Breath of the Wild]]''. | The '''Shae Mo'sah Shrine''' is one of the many [[Shrine of Trials]] found in ''[[The Legend of Zelda: Breath of the Wild|Breath of the Wild]]''. | ||
== Requirements == | == Requirements == | ||
{{Shrine | {{Shrine}}{{Clear|left}} | ||
{{Clear|left}} | |||
==Swinging Flames== | ==Swinging Flames== | ||
There's a couple different options for getting through the first gate. One of the fastest and simplest is to just step on the switch, then use Stasis on it and continue. | |||
As soon as you pass through the gate, turn left and open the chest. | |||
Continue on and fight two [[Guardian Scout I]] and one [[Guardian Scout II]]. Open the chest here as well, then head up the ramp. | |||
On the other side of the platform the stairs lead to is another chest. Open it, then head up the stairs and step on the switch. | |||
This gives you a lantern that you can use to light the ivy on the wall with (or burn it some other way). This in turn releases a metal boll which rolls down a chute until a gate blocks it. | |||
Follow along the path the chute takes you until you find the switch that opens that gate. The ball will continue, powering a paddle wheel and opening a gate you passed. U-turn back to the gate before it closes again, and open the chest on the right. | |||
Head up the ramp and drop down. Now head to the back wall in front of you and take a right. You should pass the ramp up from below and the stairs to that first switch. Continue past and you'll get to a door to unlock, and continue. | |||
Not entirely sure what the puzzle here was meant to be, probably involving swinging flames, but it's way easier to just step on the switch near the door, use Stasis, and head to the altar for your [[Spirit Orb]]. | |||
{{Cat|Breath of the Wild Shrines}} | {{Cat|Breath of the Wild Shrines}} | ||
Revision as of 00:45, March 30, 2017
Games | ||
Inhabitants | ||
Items | ||
| Guides | ||
|---|---|---|
Walkthrough | ||
The Shae Mo'sah Shrine is one of the many Shrine of Trials found in Breath of the Wild.
Requirements
Swinging Flames
There's a couple different options for getting through the first gate. One of the fastest and simplest is to just step on the switch, then use Stasis on it and continue.
As soon as you pass through the gate, turn left and open the chest.
Continue on and fight two Guardian Scout I and one Guardian Scout II. Open the chest here as well, then head up the ramp.
On the other side of the platform the stairs lead to is another chest. Open it, then head up the stairs and step on the switch.
This gives you a lantern that you can use to light the ivy on the wall with (or burn it some other way). This in turn releases a metal boll which rolls down a chute until a gate blocks it.
Follow along the path the chute takes you until you find the switch that opens that gate. The ball will continue, powering a paddle wheel and opening a gate you passed. U-turn back to the gate before it closes again, and open the chest on the right.
Head up the ramp and drop down. Now head to the back wall in front of you and take a right. You should pass the ramp up from below and the stairs to that first switch. Continue past and you'll get to a door to unlock, and continue.
Not entirely sure what the puzzle here was meant to be, probably involving swinging flames, but it's way easier to just step on the switch near the door, use Stasis, and head to the altar for your Spirit Orb.


